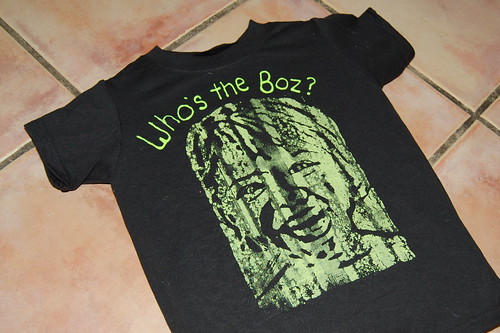

I recently discovered two new and exciting craft tools – the Tulip ScreenIt and Me on a Pumpkin. You are probably wondering what these two things have to do with each other. Let me explain. Me on a Pumpkin is software that you download and can use again and again to create images that you can carve on a pumpkin. Upload a photograph and there are countless ways to tweak the photograph and get a print out of a perfect stencil. Sure the images look great carved onto a pumpkin, but I couldn’t help but think how awesome they would be burned onto a screen and printed onto anything and everything that would sit still. Enter the Tulip ScreenIt.

SUPPLIES
T-Shirt
Tulip Soft Fabric Paint
Me on a Pumpkin Software
Tulip ScreenIt
Photograph
Computer
Printer
Black Marker
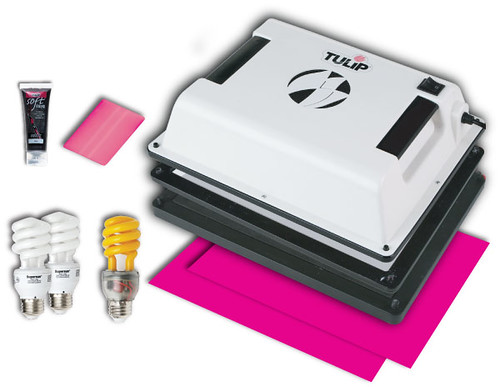
I was one of several lucky bloggers selected to receive a free Tulip ScreenIt in the mail. Think Yudu, but smaller and quicker. I like it already. After watching the easy to follow online how-to videos I was screwing in light bulbs, removing film in the dark and scrubbing sheets of pink with a sponge. Easy peasy and great results.

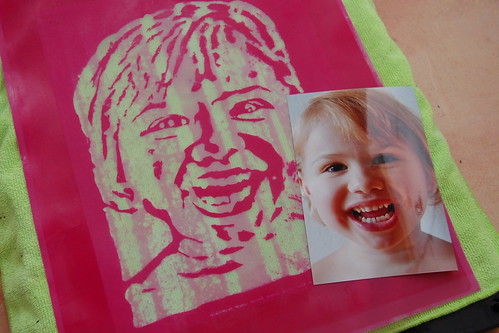
So as I mentioned the first thing I did was tweak a photo of Tallulah in my Me on a Pumpkin software. I printed the image out and with a black marker filled in the gray areas. You need thick black lines to properly burn a screen.

Following the Screenit instructions I pulled out a pre-emulsified screen by the light of the yellow light bulb that came with the kit. Placed my pink sheet on the included foam padding, put my image on top, placed the Screen It lid on top turned her on and set a timer for 15 minutes.
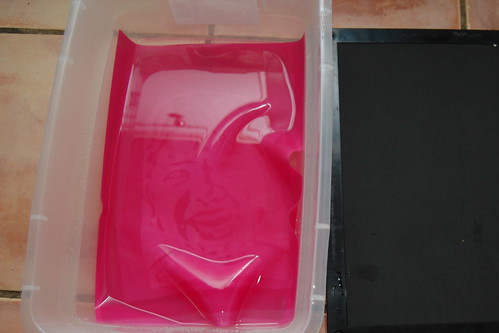
When the timer went off I rinsed my screen in water for 30 seconds. I immediately started to see Tallulah smiling back at me on the screen. I placed the screen on the included foam padding and using a sponge and started wiping. When your screen is fully visible you need to dry it. I patted mine dry and swung it around in the air for about 5 minutes and it was ready for action.
The next step is to stretch your material over the padded the base. Place your screen on top. There is a frame to click into place on top and hold everything down.
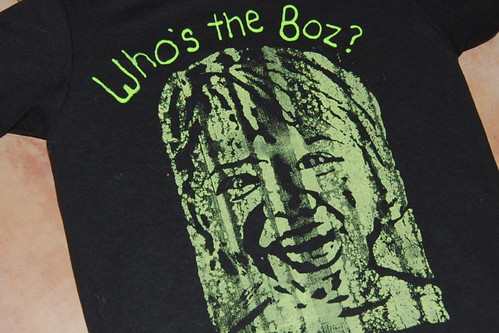
Use the Tulip Soft Fabric paint of your choice and place a good amount across the top. Use the enclosed squeegee to pull your paint across the screen. Clearly I did something a little wrong somewhere since my screen has stripes. Give me a break it was late after a long day of playdates and swim lessons when I decided to bust out my ScreenIt. Practice makes perfect. Plus I kinda like the stripes.
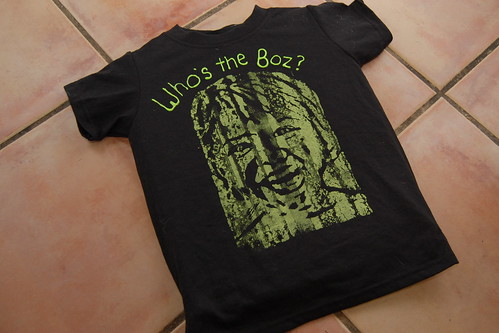
Lift your screen and rinse. I can now use Tallulah’s face up to 75 times! Everyone in the family is getting a T-shirt, I see a customized pillowcase in her future, goodie bags at parties, lunch boxes for school, place mats for the fam. I’m getting excited just thinking about the customizable possibilities of Me on a Pumpkin and the Tulip ScreenIt!
For a little added humor I went in with some Tulip Slick Paint and added a caption to the shirt I made Tallulah. We have called her The Boz (or T-Boz) since she was a baby. A Who’s the Boss joke seemed fitting for the T-shirt. I can’t wait to see the look on her face when I show it to her tomorrow.

4 comments:
I bought the this product and really enjoyed it. The down side is that it only comes with two screen papers. The first one I messed up, the second one turned out pretty good. Guess I didn't think about buying extra sheets and it turns out they are $20 each for extra ones. Lame.
where are they selling by chance you know?
I have one that I might be selling soon it I can't get this other screen burned right. Out of 3, 1 burned good. I followed the instructions on You tube. They discontinued it, they should remove the info from their website then, right??
I can let you know if I sell, if you want to buy mine.
Post a Comment