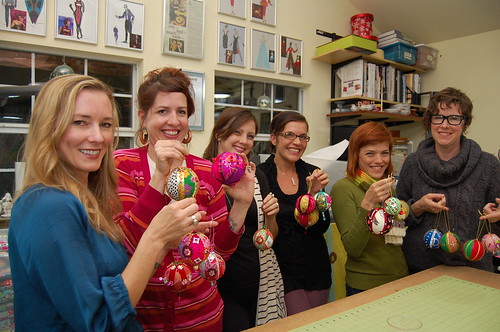

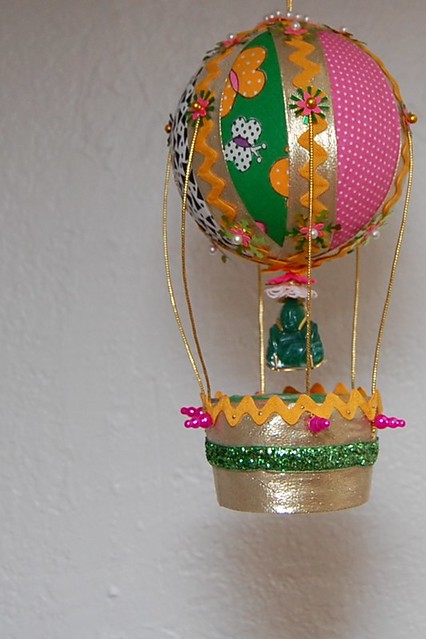
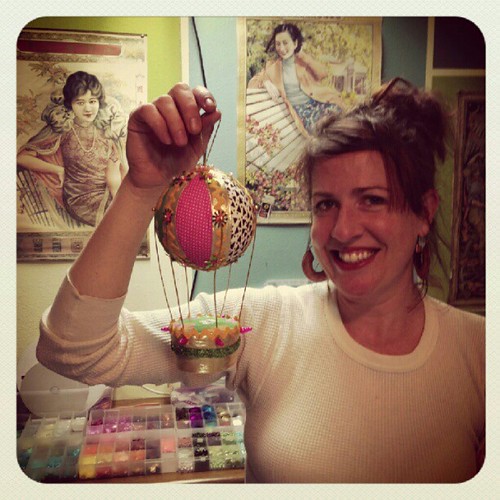
I recently got to spend the evening at one of my favorite places in Austin - Stitch Lab. Well actually, the old Stitch Lab. It was evening of crafty fun with some fabulous ladies. We all decided to take a class together to learn how to make spangled ball ornaments. You know, like the tacky ones your Aunt Zelma had on her tree. Ya those. Anyway, I made mine into a hot air balloon so today for I Love to Create I thought I would show you how to make your own.
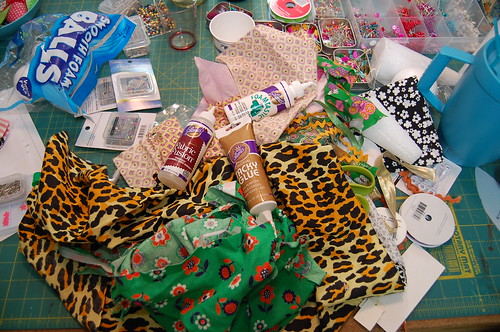
SUPPLIES
foam ball
foam Cone
Serrated knife
Aleene's Foamtastic Foam Glue
Fabric Scraps
Decorative Ribbon
Sequins
Pins (sequin style and those with decorative heads)

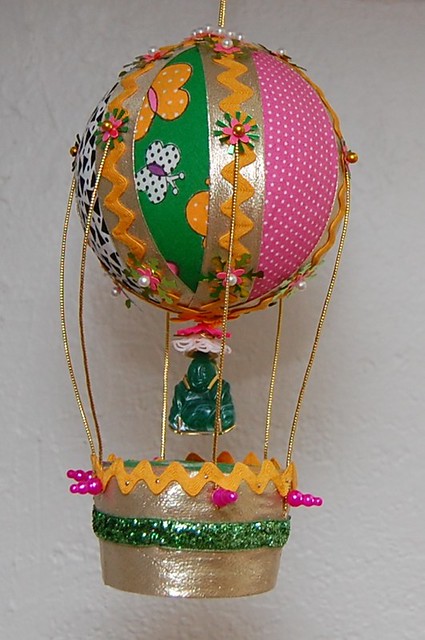
I don't wanna give away too many of the trade secrets so that people will still take this amazingly fun class. First things first you want to cover your ball with fabric. Use a combination of sequin pins and Foamtastic Glue. Once you have a base on your ball it is time to start adorning and that is where the fun begins. Use trim and ribbon to cover any raw edges you might have. Again a combination of glue and pins can be used. Using sequins, beads and decorative pins add sparkle!

For the bottom of your hot air balloon cut off the base of a small foam cone using a knife with a serrated blade. Use another piece of foam as sand paper and smooth out the rough edge.
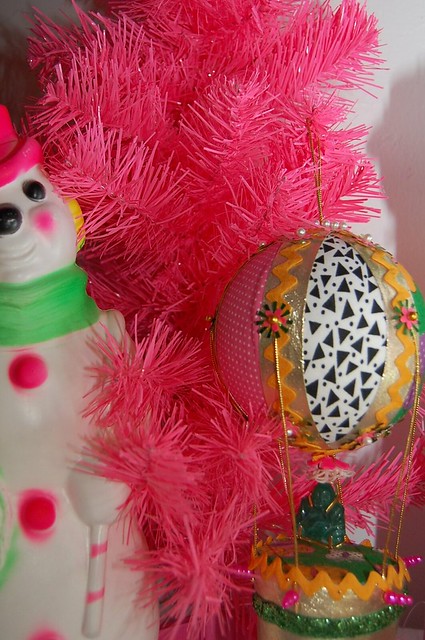
Cut fabric scraps and ribbon to fit on your base and using Foamtastic glue and pins attach into place.
Once you have your balloon and base looking how you want it is time for them to join forces. Cut 6 lengths of decorative trim. Mine are about 5"s long. Dip the ends of your string in glue so they do not fray. Using pins attach the string to the balloon at the equator of your ball. Next attach the string to the base.
All that is left to do is add some string to your ornament and hang. I added a wee little Buda charm to mine, but be sure to give someone a ride in your new hot air balloon.

1 comment:
What a cute project! Might have to try it!
Post a Comment