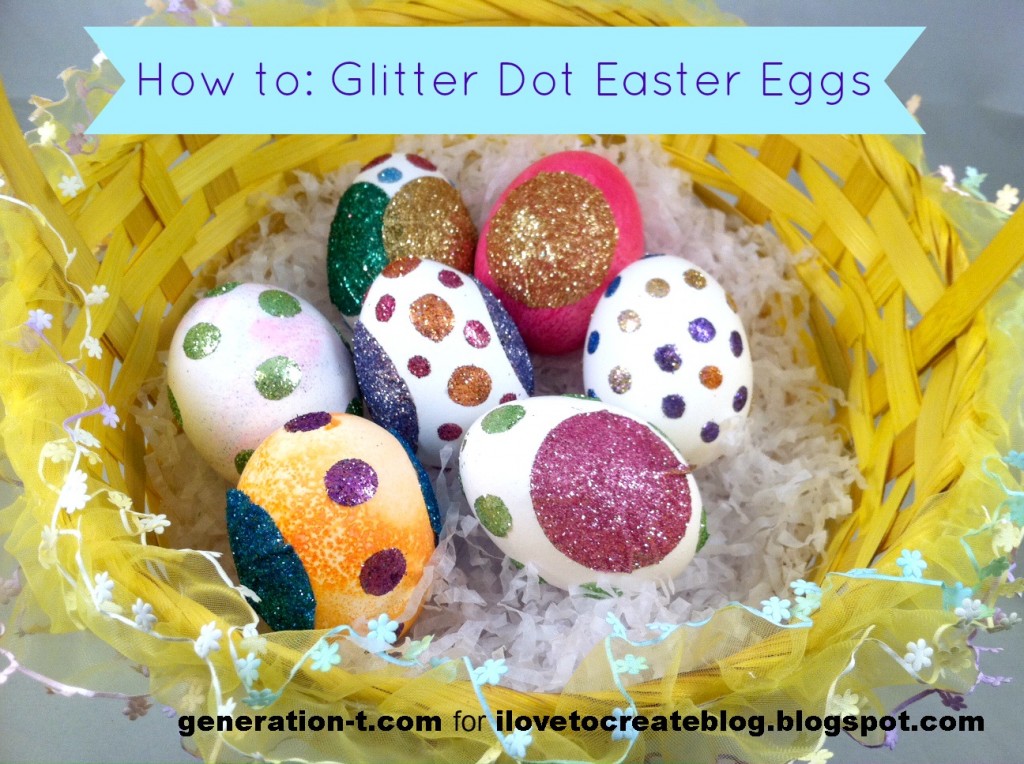
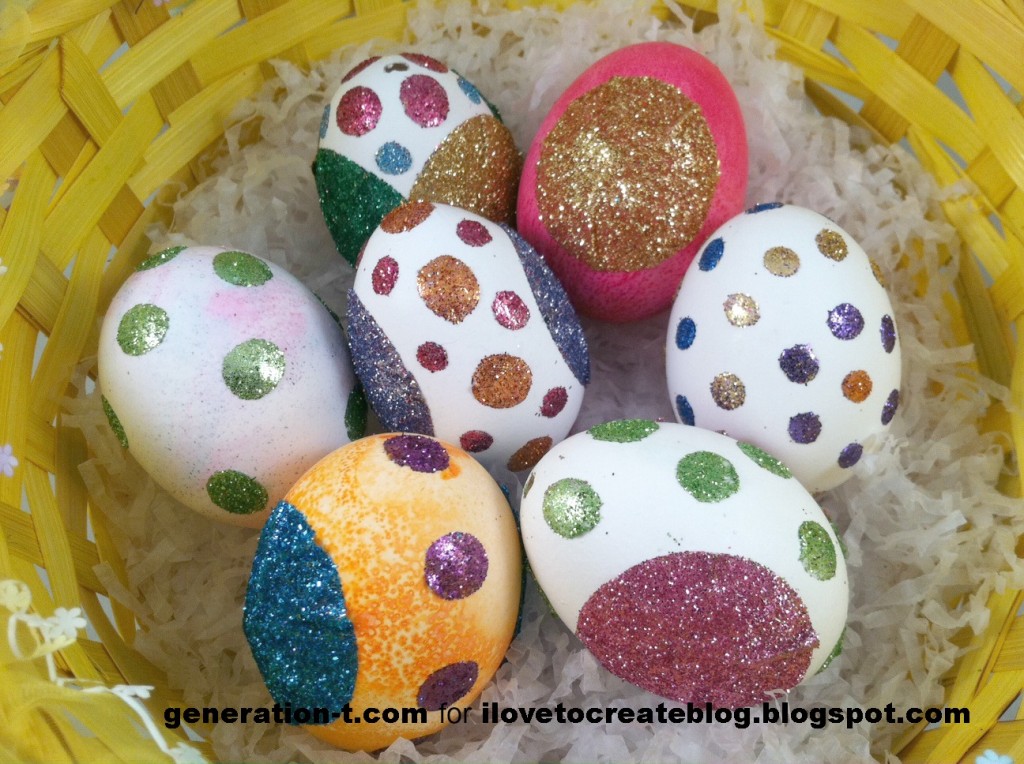
I'm pretty traditional when it comes to decorating eggs at Easter time (dollar store egg dying kit, anyone?), but to be honest, it was getting kind of dull year after year. My solution: Bring on the polka dots! Bring on the disco sparkle! The best part? No waiting around for dye to set or glue to dry. This is egg decorating with immediate (and rather shimmery) results.
What you need:
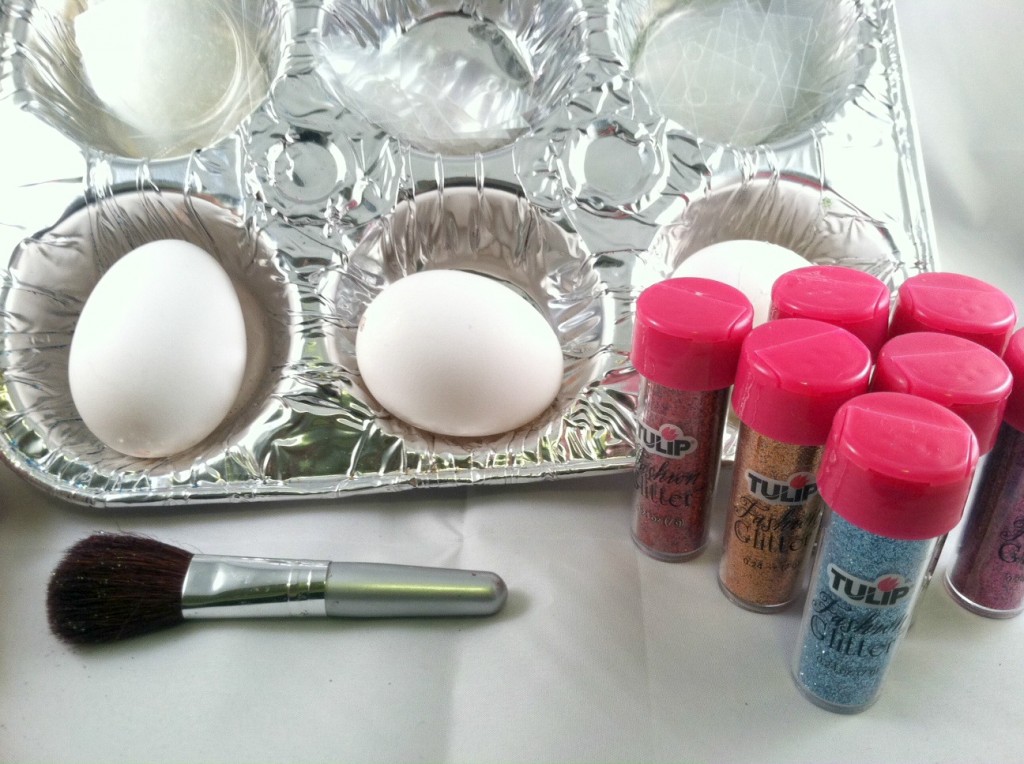
-clean, dry blown eggs (hard-boiled will work fine, too; I personally just don't like to mix food and glitter!)
-Aleene's Tacky Dots
-Aleene's Tacky Dots Singles (small and medium)
-Aleene's Fashion Glitter
-aluminum muffin tin or tray
-makeup brush
-Aleene's Tacky Dots
-Aleene's Tacky Dots Singles (small and medium)
-Aleene's Fashion Glitter
-aluminum muffin tin or tray
-makeup brush
Click through to watch the video tutorial I did for About.com, or follow the instructions below!
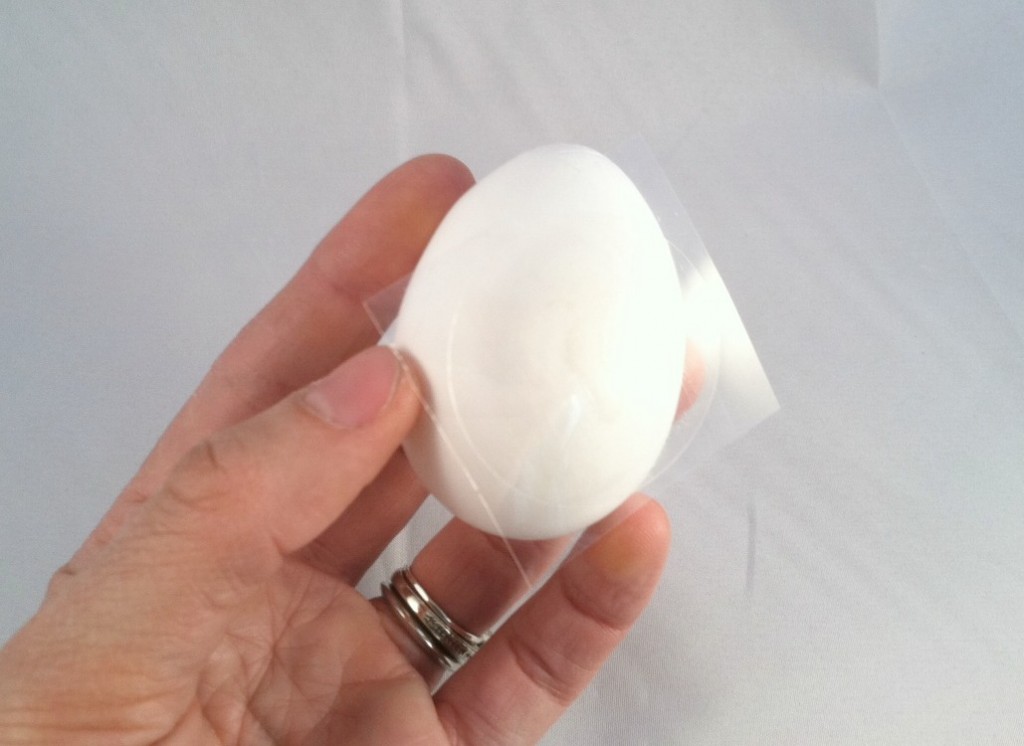
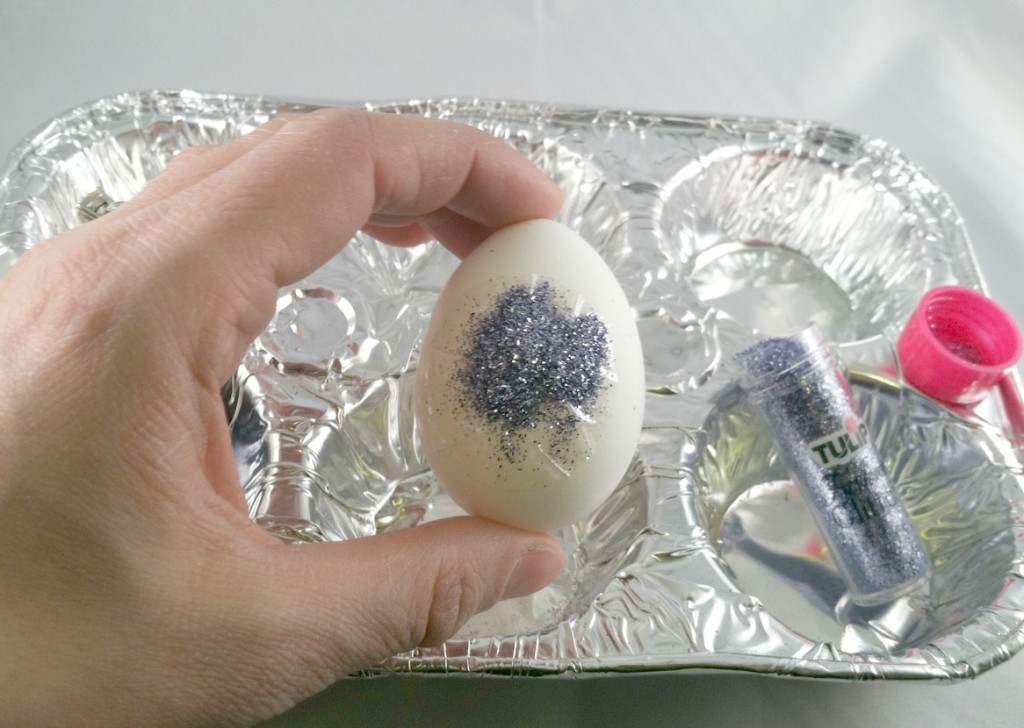
Center one of the Tacky Dots on the side of the egg, and gently press it down.
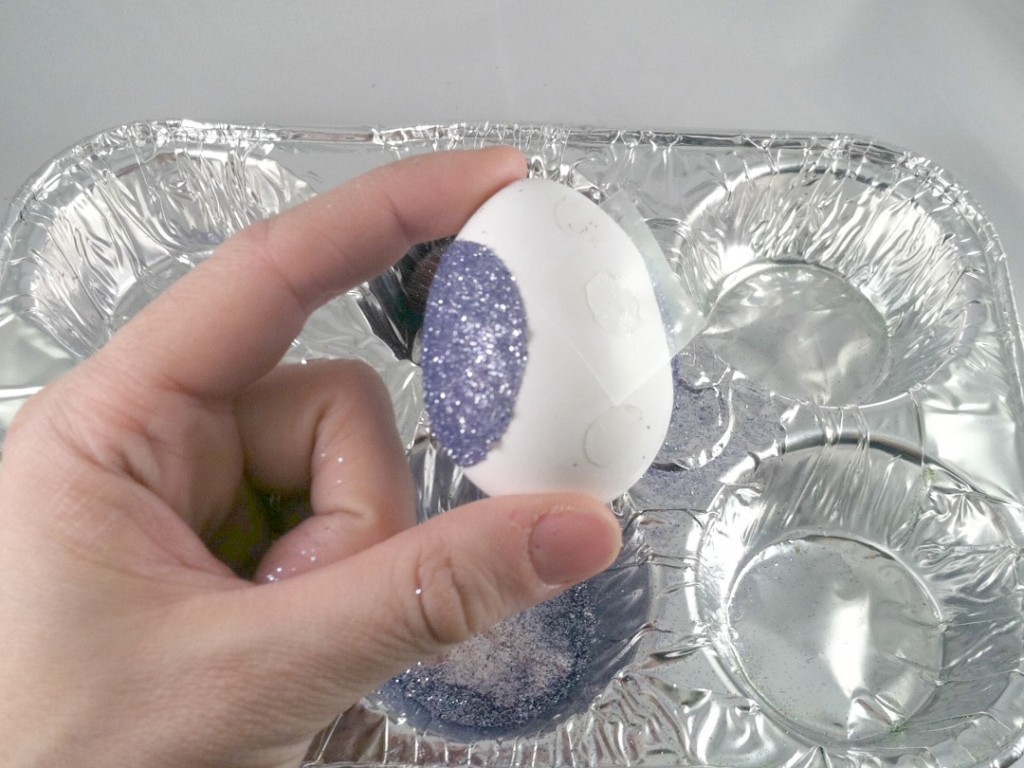
Peel off the backing and gently press down any wrinkles. Then repeat on the other side with another Tacky Dot.
Hold the egg gently over the muffin tray and liberally sprinkle glitter over the tacky dot. Brush off the excess with the makeup brush and rotate the egg to repeat on the other side.
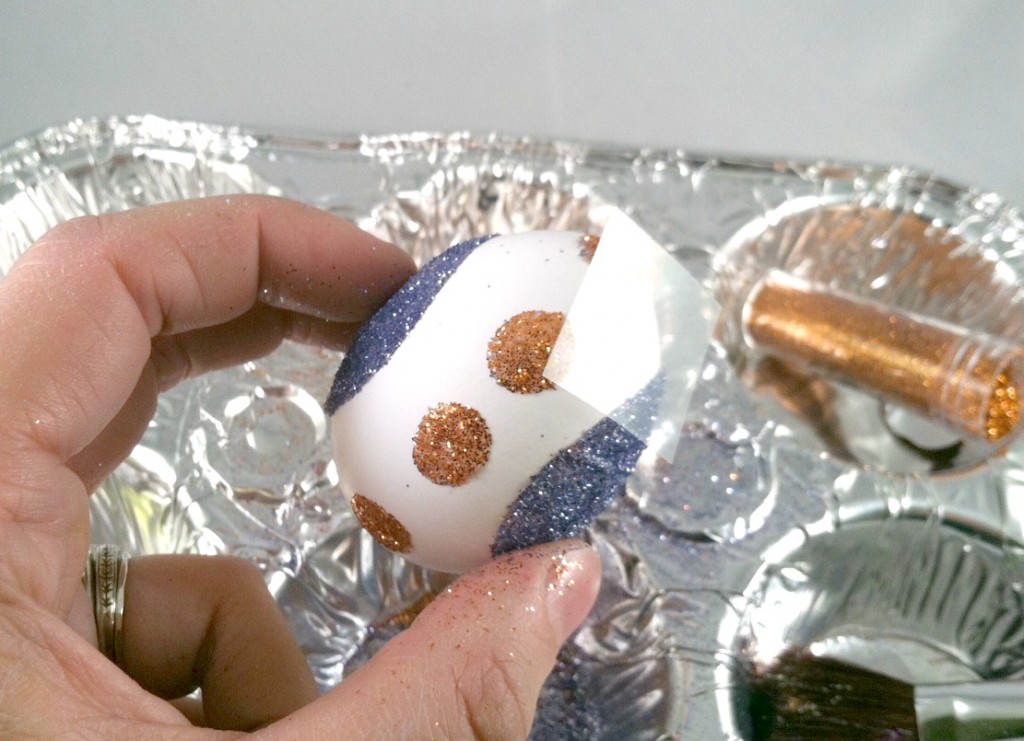
Try adding medium Tacky Dot Singles around the egg, between the large dots, and repeat the process: Shake on the glitter (new color!); brush off the excess.
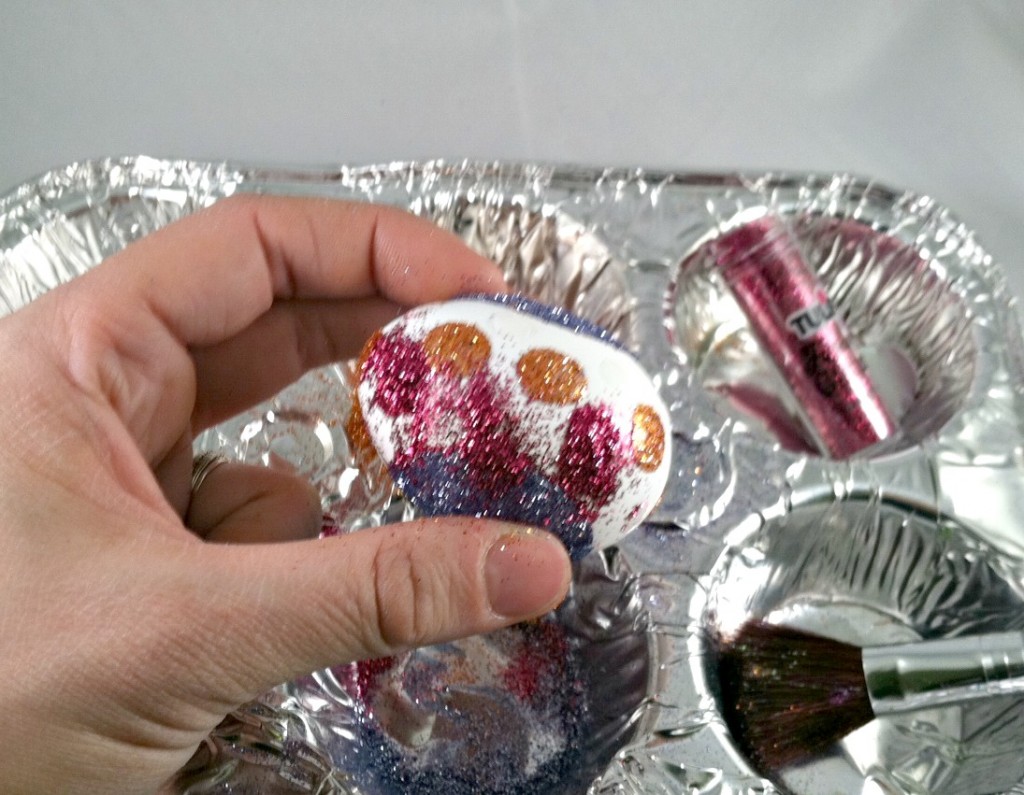
Next, I try sticking the small Tacky Dot Singles in the white area around the large dots and repeat the process a third time (again, with a new color).
Shake the glitter on, then dust off the excess.
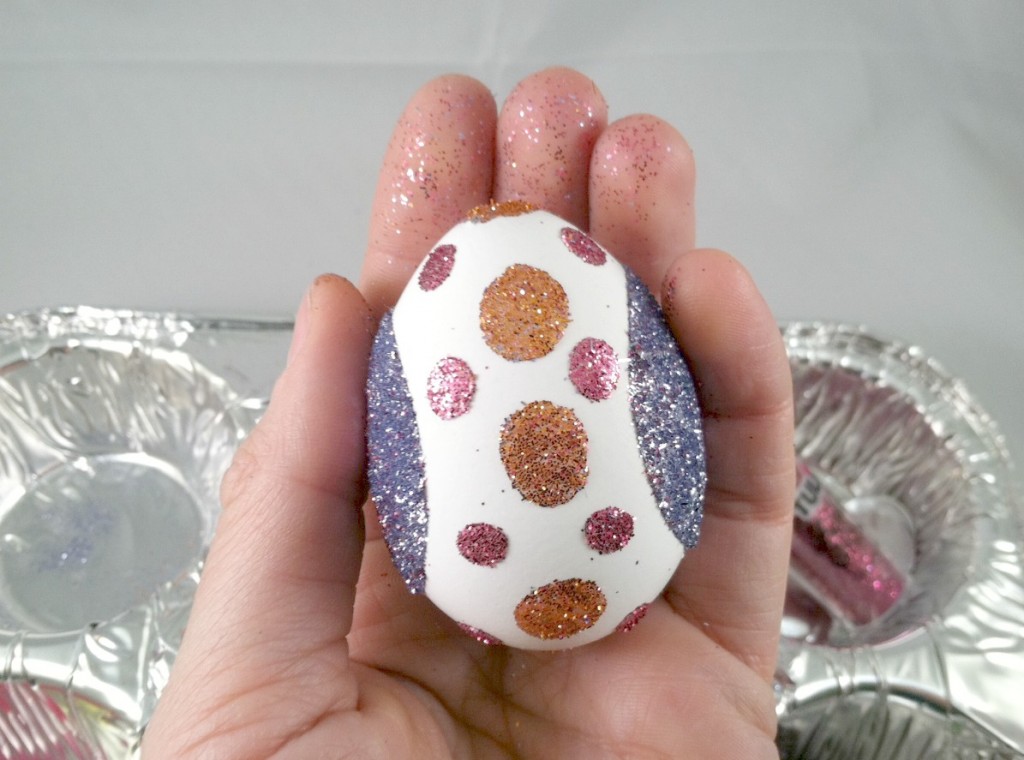
Try different combinations of glitter color and dot sizes to repeat and fill your basket.
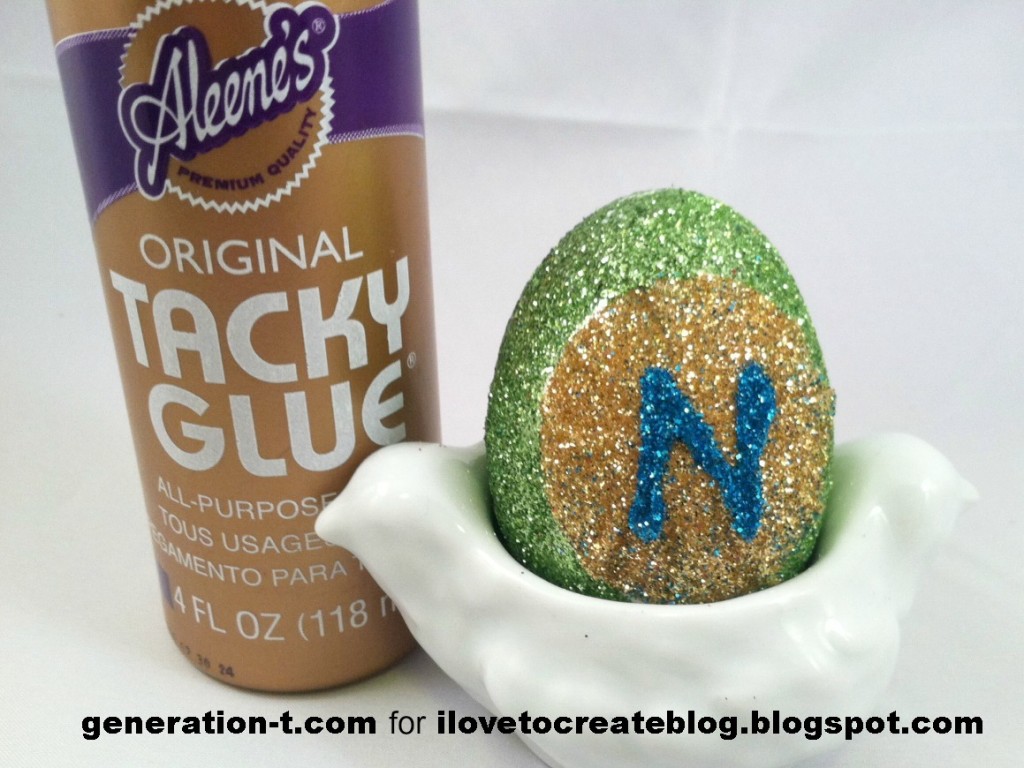
Variation: To personalize your egg, use Tacky Glue to write an initial over the glitter layer on the large Tacky Dot, then sprinkle it with contrasting color glitter. Let it dry completely before brushing off any excess sparkle.

.jpg)

No comments:
Post a Comment