I like little touches here and there that suggest that there is a holiday occurring without being too obvious. This is largely because it is some time before I get around to putting everything up and a giant MERRY CHRISTMAS pillow makes you look very lazy come January. So I turned some Tulip Pillow Covers into some throw pillows that I just plain adore!
paintbrush
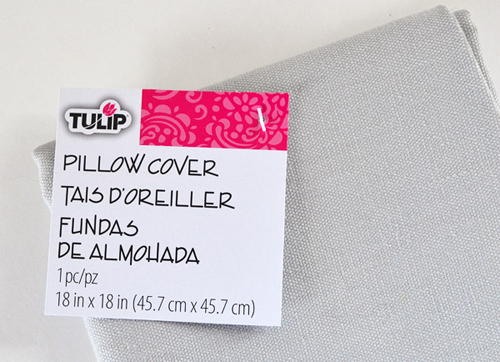
Now here is a Tulip pillow cover. They come in different colors and sizes. It's pretty fab!
Remove the swing tag and iron your pillow case to remove the creases. You can try to go the lazy route and toss it in the dryer with a wet towel but that won't work. You may even try to wet the cover itself and then toss in the dryer, but that won't work, either. In the end, I just made more work for myself by trying to be lazy :)
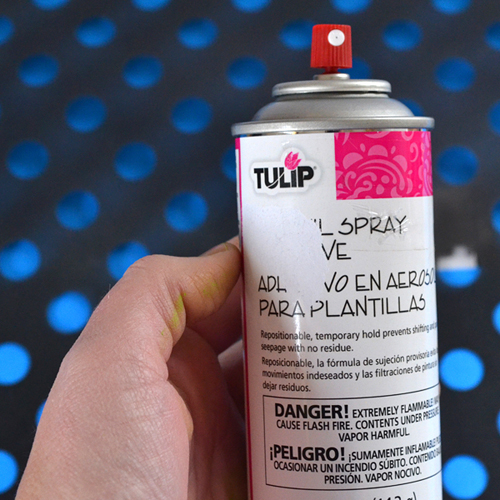
Spray the backside of your large textile stencil. This is Stencil Spray Adhesive, I swear it. I just managed to mess up my can!
Next take your choice of fabric paint. I chose white to go with the white cover of my other pillow in the set.
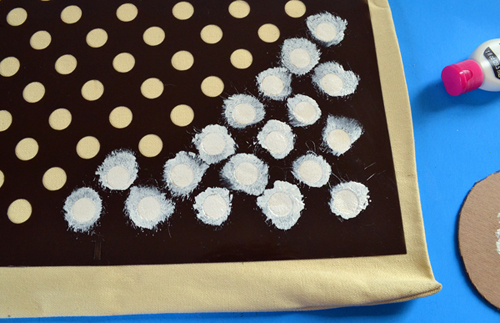
Use a paintbrush or sponge brush to fill in the blank areas of the stencil. Take care to use an up and down motion so you have fewer bleeds when done.
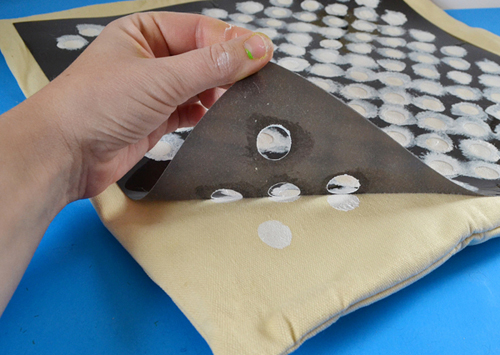
Allow to dry then carefully remove the stencil. Clean your stencil with baby oil.
Next, grab the deer head freebie from Lolly Jane. Isn't it fab?
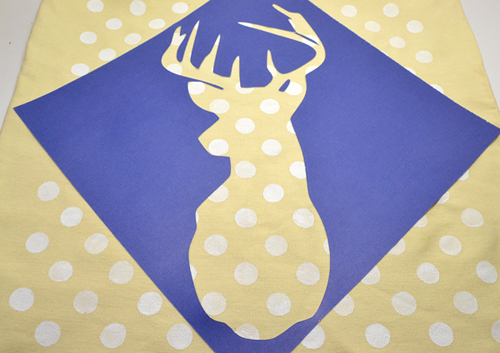
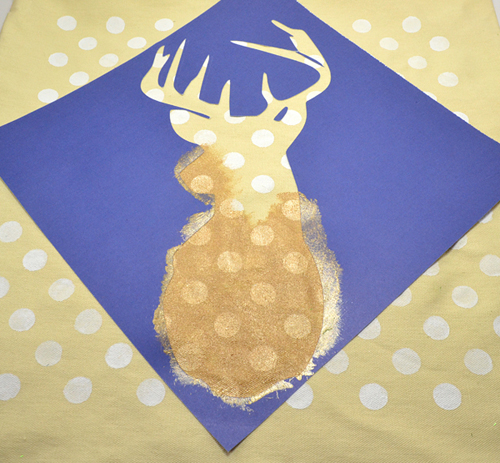
I used my Silhouette Cameo to cut the shape out of card stock but if you don't have a cutting machine, you can print the picture the size you need it (may have to print on multiple sheets and piece together). Cut the shape out and trace onto your pillow cover. Carefully fill in your outline with paint.
Since I was able to cut my own stencil, I just kept on daubing.
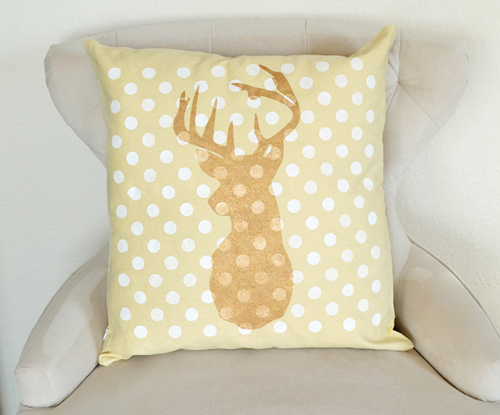
Now the thing I love about this pillow is how you can still see the polka dots through the deer. The metallic paints are a bit more transparent when applied lightly than the matte paints. So if you like the look, just do a single, light coat of paint. If you don't want to see your pattern from behind, simply repeat the paint until you are happy with the coverage.
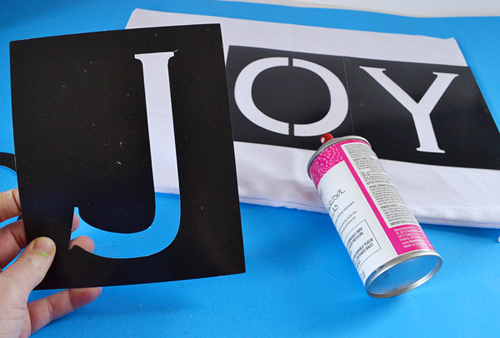
Next I wanted a joy pillow to go with my stag head. Since my white cover was short and long, joy seemed the perfect word. And not overly Christmas-y.
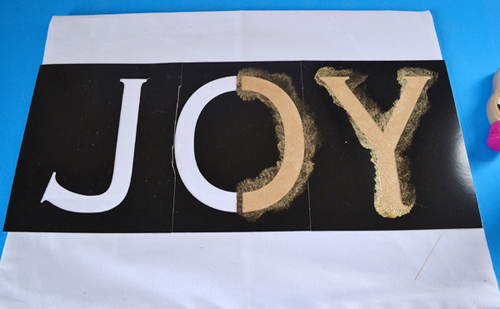
Lightly spray the backside with adhesive of your middle letter. Apply and use your hand to make sure it is adequately sticking. Continue for the other letters, overlapping just enough that you can follow the line from the previous stencil and have your letters amazingly straight when painted.
Continue the bouncing up and down to fill in the stencils and allow to dry. Remove the stencil and save for later use!
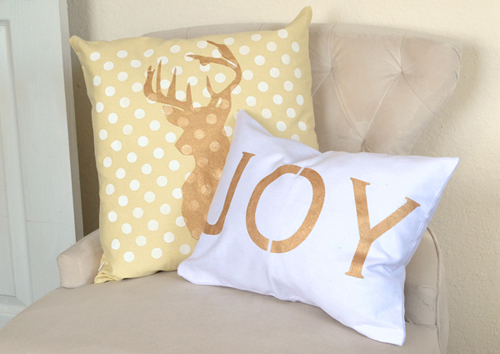
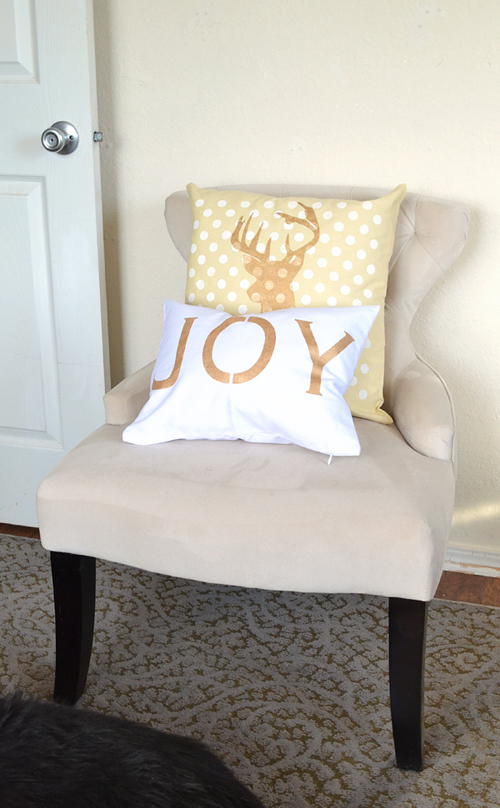
And there is my set! I have to say that I'm super duper happy with how they turned out!
And I especially love that one is canvas colored and the other white. I think that sharing the colors between the two really tie them together! And I do believe that stag head will be out long past January because I am simply nuts about it!
For more tutorials by yours truly, you can hit me up here at iLoveToCreate or on my own site Dream a Little Bigger. Hope to see you soon!



1 comment:
Love these!!:)
Post a Comment