
Craft on!Click here for today's daily giveaway!
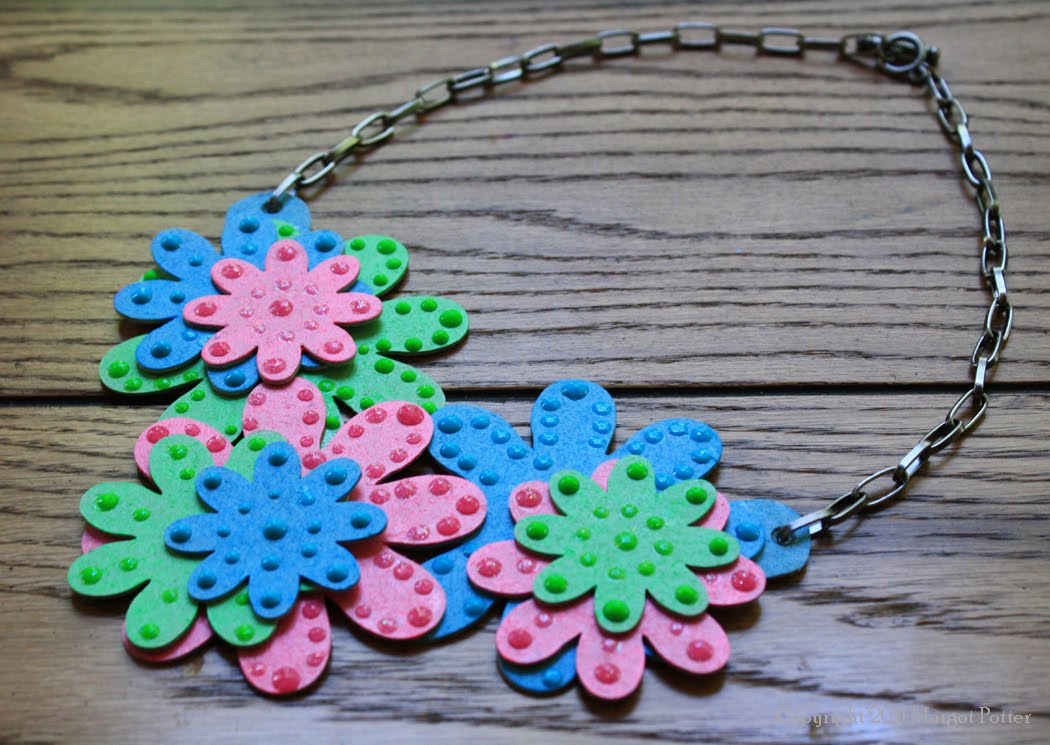
 Floral Stacked Bib Necklace Copyright 2011 Margot Potter
ILovetoCreate Teen Crafts
Floral Stacked Big Necklace
Margot Potter for Avalon Potter
“Mom crafted, teen approved.”
Avalon had a mountain of school work this weekend, so I agreed to step in and make this project and let her focus on her school work. This was really easy and fun to execute and came together quickly using some fabulous new ILovetoCreate products mixed with Grungeboard from Tim Holtz. The fabric paints went on easily in two quick coats and the grey background softened the neon colors just enough. I LOVE the new Aleene’s Fabric Fusion Tape, no more waiting for glue to dry! I am impatient, have I mentioned that? Adding texture with the super easy to use Beads and a Bottle brought it all together perfectly. I think I’ll be borrowing this necklace myself in the near future. Just because it’s teen friendly doesn’t mean Mom can’t sport it too. Avalon squealed when she saw this, so I'm thinking...we have a winner here folks!
Materials
Scribbles brush on fabric paint in blue, green and pink neon
Tulip Beads in a Bottle Semiprecious in sparkly pink, turquoise and bright green
Aleene’s Fabric Fusion Peel and Stick craft tape
Plain Grungeboard basics sheets or other thick substrate
2 7” segments gun metal chain
Gun metal toggle clasp
Tools
Die cutting machine
Stacked flower dies
Scissors
Hole punch
2 pairs chain nose pliers
Scribbles paint brush
1. Use die cutting machine to cut flower shapes out of Grungeboard or other substrate (you could use canvas or denim here if you stiffen it with Aleene’s fabric stiffener spray to give it stability.)

2. Layer flowers in segments of three and then on top of one another to create a bib using Aleene’s Fabric Fusion tape to adhere the layers together.

3. Use Beads in a Bottle to add texture to flowers following shapes of petals. Start with the bottom layers and work up, taking care not to crush any of the beads as they are drying. If you have any mishaps, use paint brush to gently remove bead and add a new one.

4. Let beads dry overnight.
5. Create two u-shaped tabs to attach to top of bib segment on each side using glue tape. Use hole punch to create a hole in each tab for attaching chain.
6. Open and close chain links with chain nose pliers, sliding the bottom link on each chain into the holes on the tabs. Attach clasp to open ends of chain using pliers. Make sure chain links are fully secured.
Margot Potter For:


No comments:
Post a Comment