Showing posts with label mid-century modern. Show all posts

Thursday, June 20

Summer Spoons Starburst Mirror


I just bought a new house I am itching to decorate. Top things on the list new couches, subway tile backsplash and fancy hallway mirror. I'm thinking tile and couches will be tricky to DIY. However, a starburst mirror is totally doable..
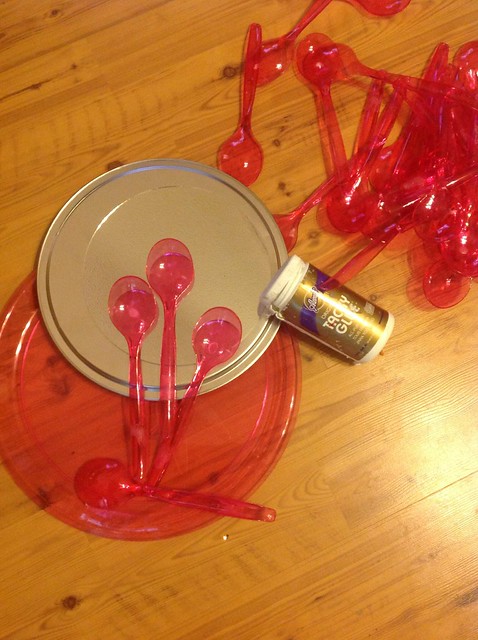
Supplies

Aleene's Tacky Glue

Hot Glue and Gun

Pink Serving Spoons

Pink Serving Tray

Pizza Tin

Round Mirror

The hardest part of this project is getting the price tags off the plastic spoons. I scored mine at the party store and it took soap, hot water, scrubbing, olive oil, alcohol and finally WD40 to get the sticky off. Once you have clean spoons, the rest of the project is super duper easy.
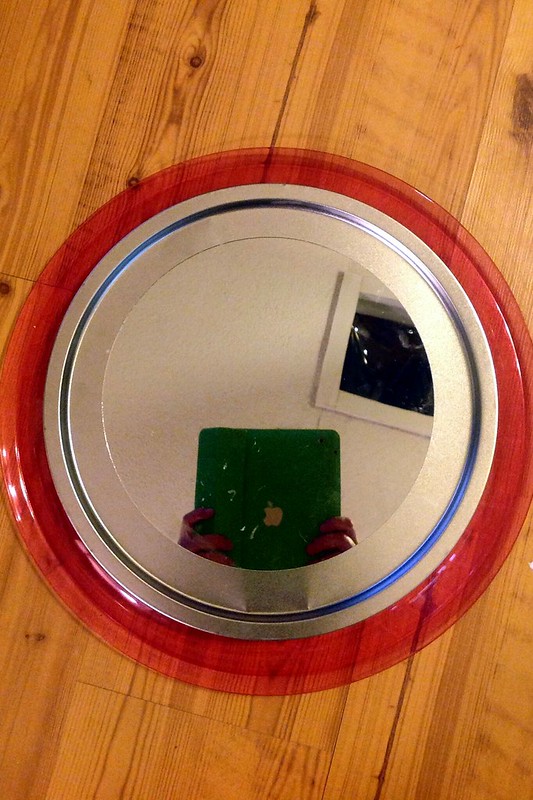
What you use as a base for your mirror is totally up to you. I used a combination of acrylic neon pink serving tray and pizza pan. Use Tacky Glue to adhere these two parts together. Next using Tacky Glue attach your mirror to the center.
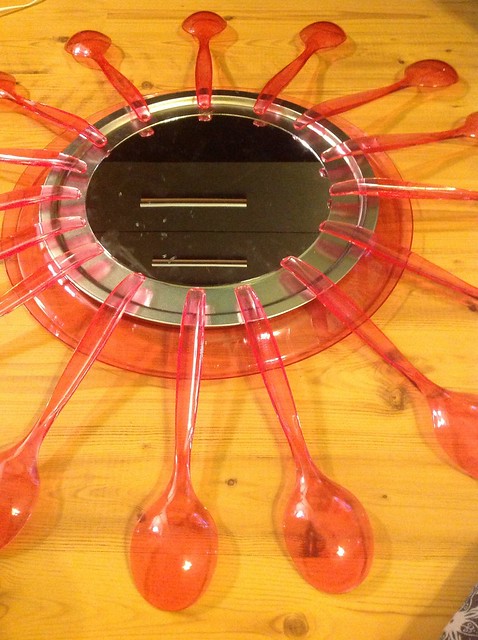
Lay your spoons out around the edge of your mirror and choose a pattern. Remember you want as much spoon as possible to touch the base (more contact to glue).
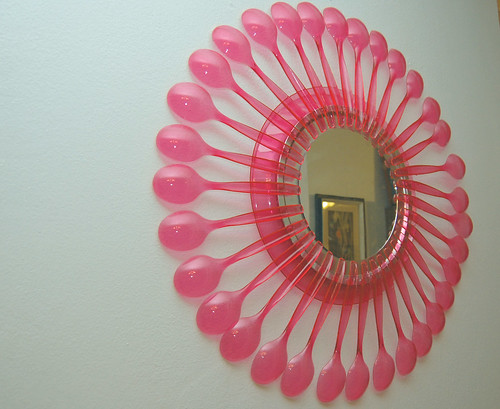

Using a hot glue gun attach your spoons around the edge.

All that was left to do was hang my mirror. The new house has a pool, I'm thinking this little gem might go on the patio.

Monday, June 25

Kristin's Mid-Century Rainbow Inspired Office!

mid-century-color-inspired-office-decor-sm

We have many colorful personalities here at iLoveToCreate. One of those is Kristin Bibb, our Director of Customer Loyalty!  Kristin recently got a new office space and instantly went to work infusing her own design and décor sensibilities! It's a mid century colorful! Of course, she used some iLoveToCreate products along the way.  Let's take a little tour!

crayon-breathe-wall

Kristin did a large crayon art canvas in a rainbow of colors.  She used our Aleene's Fast Grab to attach the crayons and then a hair dryer to melt them to make the abstract art.  She repainted some inexpensive toile containers grey to better match her room as well!

red-door-desk

This is a conference-like table Kristin created to hold impromptu meetings at with her team.  Don't you just love that she used an old door for the table. Such a genius idea!

Thursday, April 7

Mid-Century Modern Knitting Needle Clock


A few years ago I was on the hunt for the perfect mid-century modern clock.  I wanted something atomic, colorful and unique.  Actual vintage clocks can be pricey and often times don't work so I thought about how to make my own.  On a trip to the Round Top flea market I saw a dealer selling oodles of colorful knitting needles and it all became clear to me.


SUPPLIES
Knitting Needles
Wooden Disc
Clock Face
Saw
Pen
Yarn
Clock Mechanism 
Wooden Balls
Dremel Tool


You might recognize this clock face as it has made a crafty appearance on the blog before as a picture frame.  I decided it was better suited for it's original purpose in life, a clock.

My mom helped out quite a bit with this project since she lives for any excuse to use her power tools.  The clock needed a backing so we used a piece of board I had in my studio.  We traced the clock twice and using a small saw cut out the wooden circles.


Once we were sure the circles would fit up inside the clock face (look at the thrift store to find one) we also needed to cut out squares in the center to fit the clock mechanism inside.


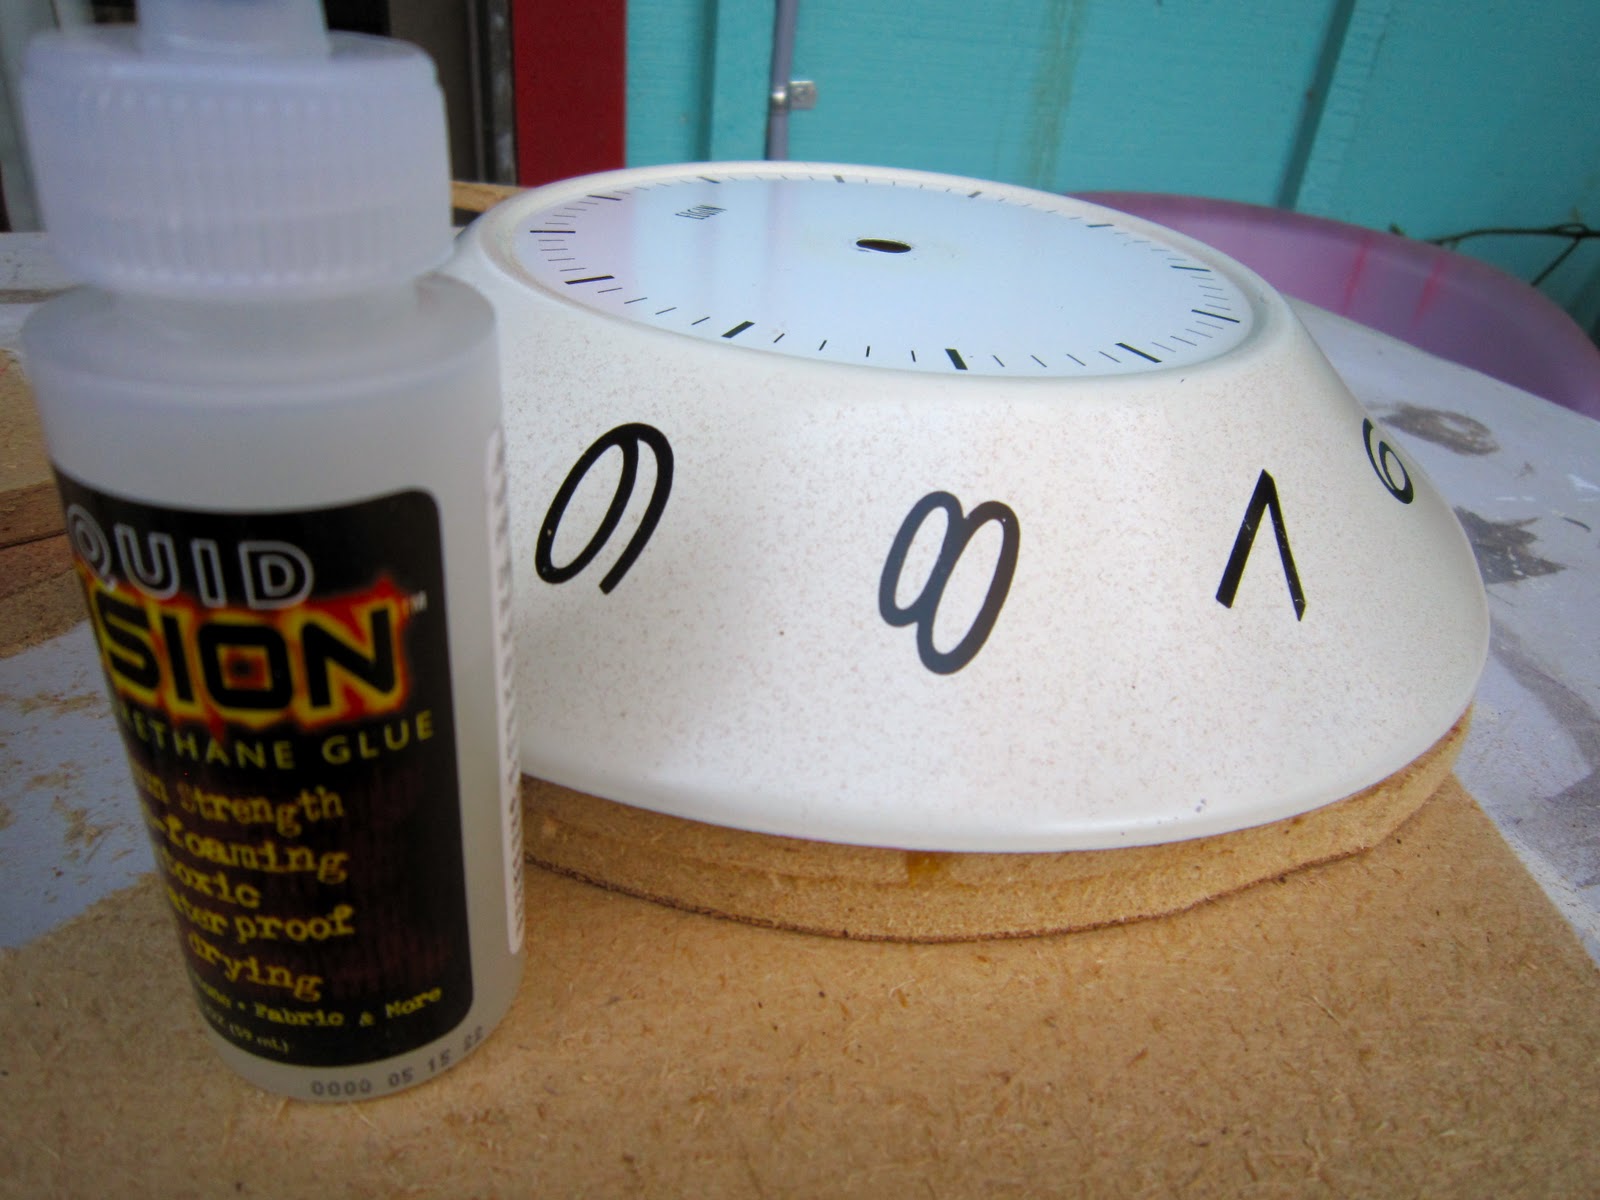
We attached the two circles together using Liquid Fusion Glue and also glued them inside the vintage metal clock face.


Using the cutting tool on a Dremel we removed the metal tips of 4 of the knitting needles.


Where the metal tips once lived we glued on wooden balls.  Some of the holes were not the right size for the knitting needle and so using a drill we bore out the holes to make them larger.  Once the beads fit on the knitting needles we attached them with Liquid Fusion Glue.


Lucky me my friend Vickie Howell has the mother load of Caron yarn and was nice enough to give me a few skeins to do fun things like crochet and make clocks with.


The 4 wooden ball tips were wrapped in yarn and held in place with a dab of Liquid Fusion Glue.


Using a Dremel we drilled holes the size of our knitting needles all the way around the edge of our clock into the wooden discs.  We placed the 4 knitting needles with yarn wrapped balls at strategic points.


Using Liquid Fusion Glue we inserted the rest of the needles all the way around the clock, trying to keep them spaced out evenly.


Once the glue had dried I set the time on my clock and hung it on the wall in my dining room.  Now I have my very own customized mid-century modern clock.


Wanna see some more I Love to Create Projects?  How about another clock project involving vinyl records and silk screening? 


Visit us on Facebook!
Craft on! Click here for today's daily giveaway!
Clicky Web Analytics
Pin It button on image hover

Subscribe to our newsletter

* indicates required
I am interested in products and inspiration for...
Close