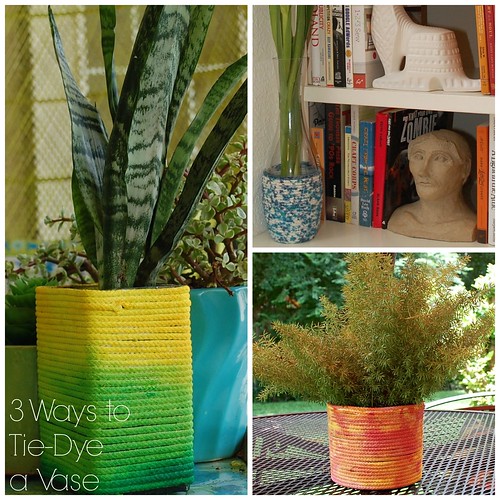
Cotton clothesline might be one of my favorite craft mediums. You can wrap it in yarn, paint it and now I have discovered dying it. So versatile and fun, who would ever think to use this stuff just for laundry when it is possible of so much more.
Shibori, the ancient art of Japanese tie dye, is one of the hottest trends in fashion and home decor. Off-the-rack, shibori items can be painfully expensive, but thanks to Tulip's new Shibori kit -- you are all set to make these items at home!
Watermelon and tie-dye are two of the hottest trends this summer. Thanks to tulip, an old jean jacket, and your washing machine, you can carry these trends right into the fall. Who wants to rock this awesome outfit their first day at school? Everyone. That’s who!
Tie dye is always a popular summer project, but isn't it nice to make something to be used indoors year round? This blue-on-blue deep sea inspired bedspread would make a great addition to any bedroom in the house!
Summer is the season of tie-dye and anything is game! How about a pair of TOMS? They are perfect because they come in white cotton, which takes the Tulip dye beautifully! Check out my video to see how I made these!
There is something so sweet when it comes to a birthday party. I especially love hats, balloons, bows and ton's of color. Most of the time I find it very difficult to find that perfect birthday hat that can be worn for memorable pictures. Let's face it, who doesn't feel special with a birthday hat on! I know I do. Today I wanted to show you a fun way to make your very own with a few supplies. The great thing about this hat is anyone can wear it! You can make it with one color or 19.
Clothespins aren't just for hanging up laundry –they are a
clever and inexpensive workhorse for all around the house! Everything from
displaying children’s artwork, to wrapping presents, to sealing off an open bag
of chips. Why would anybody buy a $2 chip clip when you can buy 36 clothespins
for a dollar? A clever organizing staple in any classroom, a bundle of these candy colored
clothespins make for a fun and inexpensive teacher’s gift any time of year!
These clothespins are colorful and kid-friendly craft you can make by the dozen in a single afternoon. Want to learn how? Keep reading...
Due to the lack of cool plus-size blouses at a lot of retail stores, I took matters in my own hands! Dharma Trading has a nice collection of plus-size dyeable blouses that work beautifully with our Tulip One-Step Dyes. Here is the finished look of a blouse I made this week while here at the iLoveToCreate studios!
Happy Hump Day! I know it's Fall and almost Halloween but I just felt the need to post something bright, whimsical and fun. You know, something that you can look at and it instantly makes you feel good inside. I will show you today how much fun Tie-Dye and Fabric markers can be. I am really happy with today's neon lampshade and I know you will love it!
If you find yourself near a Hobby Lobby this Saturday chances are good that you might come across an I Love to Create blogger like myself whipping up some tie-dye magic. This coming Saturday I'll be in Round Rock and would love to see your smiling face. Bring your own pre-washed T-shirt and I'll get it all dyed up for you. After all of these demos I am amassing quite the collection of tie-dye shirts. My husband has incorporated them in to his wardrobe happily, but I stole a few from his drawers and decided to make them into jewelry. You know me, if it will sit still long enough I will make it into jewelry.
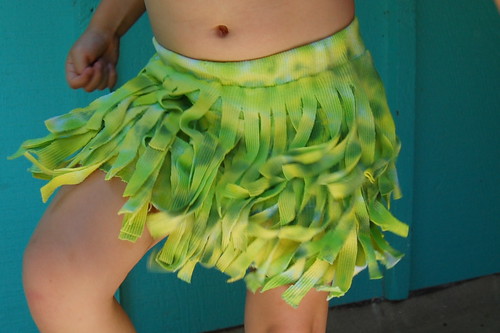
Nothing says sumer quite like tie-dye. The bright colors, the cheery abstract designs and the ease of dying all make summer fashion fun. Always looking to set my tots apart from the rest of the playground I decided to make them Hawaiian themed tie-dye outfits. This will be a 3 part series that includes a hula skirt, tank top and onesie with leigh. First up, the hula skirt!
SUPPLIES
Old T-shirts or tank tops
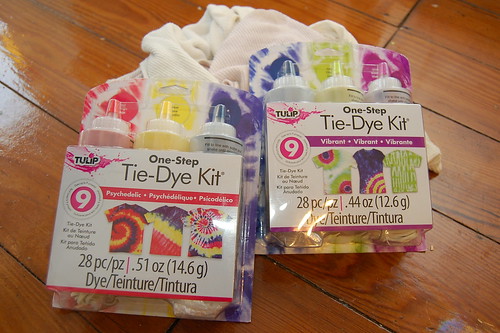
Tulip One Step Tie-Dye Kits
Scissors
Sewing Machine
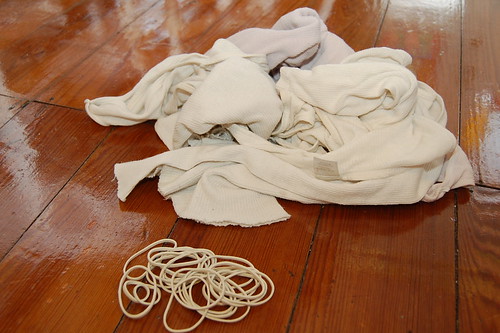
Let me start by saying: this was my first attempt at tie-dye. I have to say it was so stinkin' easy my 4 year old helped. We are talking wrap cloth with rubber bands, squirt with dye, go to bed, wake up and rinse, dry and wear easy. I'm totally a tie-dye convert. When selecting your material to dye, think natural. I went with some old undershirt tank tops of mine that were headed for the rag pile.
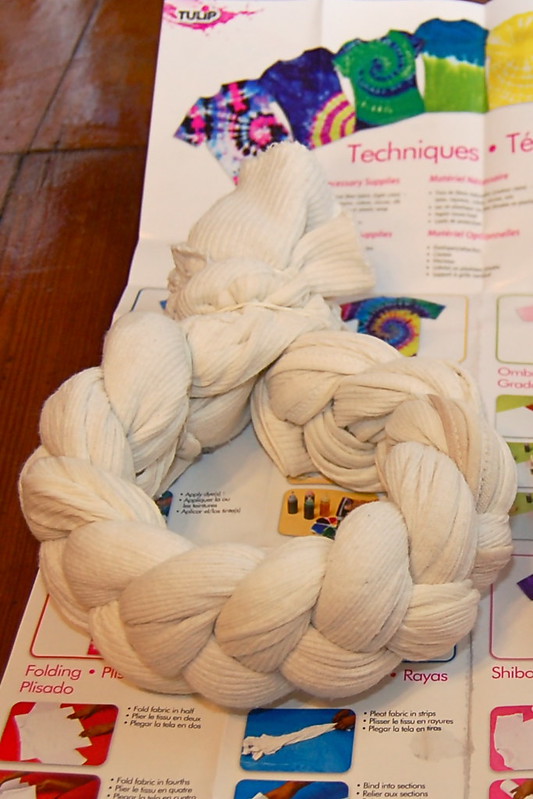
The Tulp One step Tie-Dye Kit comes with super easy to follow instructions that walk you through achieving various tie-dye patterns. I was using 3 tank tops for my shirt so I went with a braid. I used the rubber bands included in the kit to hold everything together.
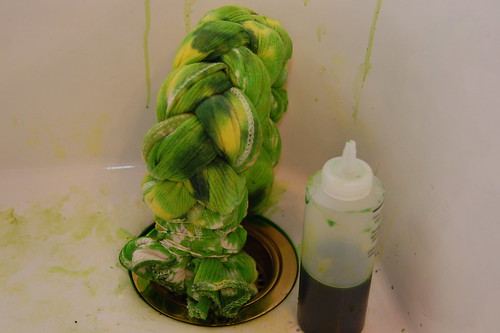
Next I put my braided shirts into the sink. The kit comes with quirt bottles that all you have to do is add water. I used two kits. One had lime green and the other had blue and yellow which I combined to make another shade of green. Coat your braid making sure to A) get into the folds and B) Not over saturate. I wanted contrast so that the material would look like grass for my grass skirt.
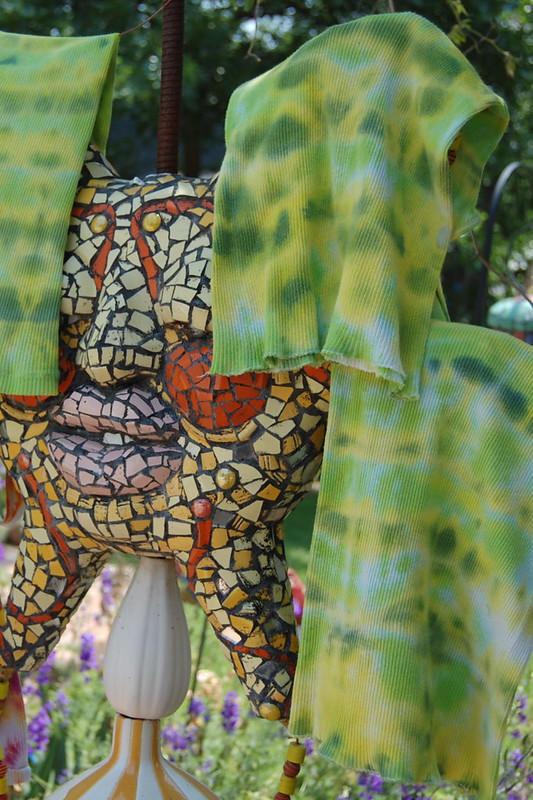
The dye needs to sit on your material for 6-8 hours so I went to bed and let everything work it's magic. In the morning I cut my rubber bands off and popped my tanks in the washing machine. Now I just needed them to be dry so I (or my mother rather) could start sewing.
This skirt was inspired by a post I saw on Make It and Love It. Ashley made an ombre style skirt using different red shirts. I saw the fun her daughter was having twisting and turning and I knew Tallulah needed to hula. Check out her site to learn how to make your skirt. Be sure to catch the next 2 installments where I'll walk you through making a matching tie-dye halter top and a tie-dye onesie complete with leigh for little brother.
When you work for a company that makes and sells fabric dye, you can't help but stop for anything cotton, rayon, hemp...you get the idea. The other day I came across a brand new package of cotton cording and the first thing that crossed my mind was - "I want to dye that!" Not only did I dye the entire package, but I also cranked out a collection of macrame bracelets! Here's how I did it!
Cut the cord into equal parts so you have about five-six piles. Wet the cords either by running under water or with a spray bottle. Line your work area with a plastic covering. Set the piles down and add dye.
Cover the wet cording with another plastic and let set for six hours. Wash under cool water to remove excess dye. Tie the bundle with rubberbands and run through the washer, and then the dryer. The ends will be frayed, but just snip those off!
Do you know how to macrame? You'll need a clipboard, blue painter's tape and scissors and little bit of duct tape. Cut apiece of cord that measures 24" long. Fold it in half and place the loop end under the clip on the clipboard. Tape the two ends down to the bottom of the clipboard. Now cut another piece of cord that measures about 30". Slip it under the two cords, bring the ends up so they meet and tie a knot at the top. Take the left cord and create an L across the two straight cords, then take the right cord, place it down and then under the two cords and up through the opening of the left cord.
TIP: You'll end up with four long strands at the end of the bracelet. The ones connected to the knots, you'll want to glue those ands then snip them. Coat the ends with more glue to seal them, or you can use decorative duct tape. The other two, you'll use those to tie on the bracet. Tie one through the lopp and knot it.
Watch my video tutorial to see how to do it!
Other ideas: Belts, hats, purses, plant holders (of course!)
It doesn't matter that it's still 100 degrees in my hometown...it's September! Which equals...FALL! This is my "Hurry up and cool down Arizona, It's September, duh." scarf.
Place a trash bag to cover your table/workplace. Pinch scarf as shown to start applying zip ties.
Attach zip tie in 1" increments along the scarf. (It looks like a centipede! eeww :p )
Wet scarf so that the tie dye can absorb it then apply on to scarf.
I wanted a faded look, so I let it dry outside for two hours (instead of wrapping in plastic for six hours like the directions say) since the fabric was thin.
Cut off zip ties (this could take some time....) and wash separate in cold water! Hang dry.









.JPG)


