

I was recently invited to a housewarming party. Feeling extra domestic I decided to make a batch of Cake Pops that I had seen on a fabulous baking site called Bakerella. My dilemma was how to transport and serve the cake pops in a cute and festive way. Today on I Love to Create it's a double whammy. I'm gonna show you how to make cake pops and how to make a cake pop carrier.

SUPPLIES FOR CAKE POPS
Red Velvet Cake Mix
Lollipop Sticks
Cream Cheese Icing
Cake Pan
Wax Paper
Mixing Bowl
Eggs
Oil
Water
White Chocolate Bark

BAKE A CAKE
Follow the instructions on the box and make yourself a cake. Let the cake cool completely.
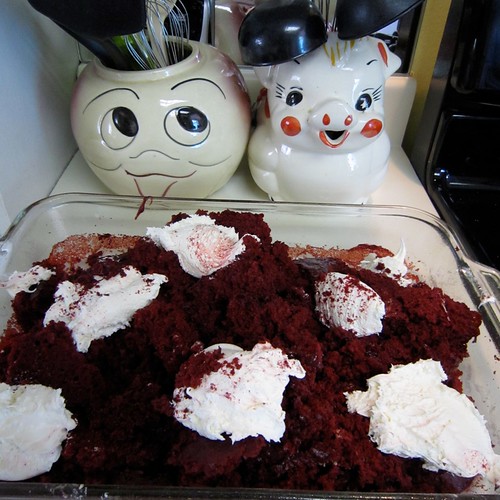
BREAK YOUR CAKE
It feels so wrong, but next you are gonna break up your cake and mix in your can of cream cheese icing. I'm not sure if my cake balls were too moist or not. They were a hit at the party either way. However, that being said Bakerella called for a 16oz can, mine was 14oz and the cake balls were pretty dang moist.
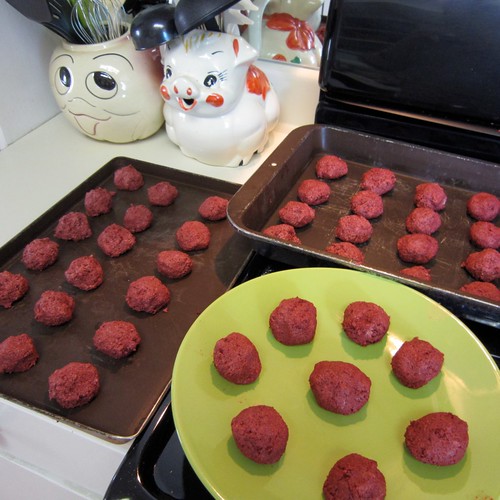
HOLY CAKE BALLS
Be aware that the next step is super messy, but rest assured it washes off easily. Take a small amount of cake goo and roll into a small ball. Bakearella recommends the size of a quarter and I suggest you listen. I eventually had to go back and split all my cake balls in half and re-roll into smaller balls. If the ball is too heavy it will crumble off of your stick. Place your cake balls in the fridge for a few hours to harden.
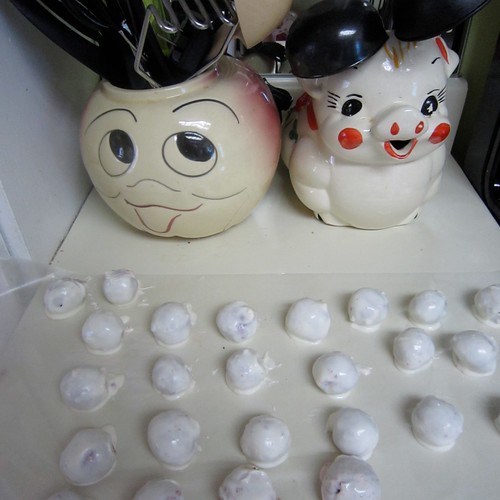
TAKE A DIP
Here is a tip I learned the hard way. The recipe calls for White Chocolate Bark which is not the same thing as White Bakers Chocolate or White Chocolate Chips. Oh and none of it takes kindly to you adding food coloring. My guess is the candy melts I used to make Fawn Pops at Tallulah's birthday would work, but I don't know for sure.
Anyway melt your BARK in the microwave. My microwave was broken so I created a ghetto double broiler with two pots. I dipped the balls in the melted bark one at a time to completely cover them and sat them on wax paper to harden. If you are a pro like Bakerella you can put the cake balls on a stick as you dip, but alas I was not that talented.
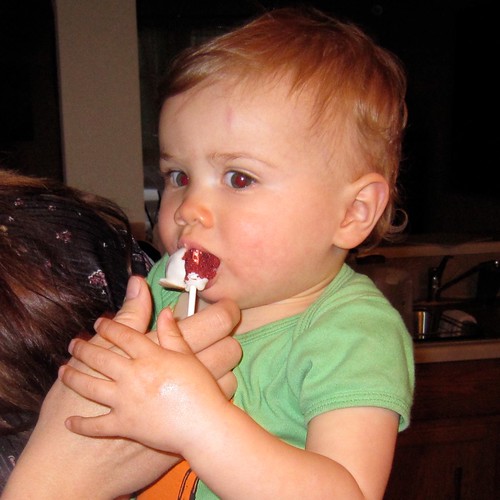
YUMMY TO MY TUMMY
Once my cake ball bark had hardened I heated the last little bit of bark in my double broiler. I dipped the end of a lollipop stick in the melted bark and then into the bottom of my cake ball. This way the ball was attached to the stick. Sure they had little flat bottoms and were not perfectly round, but the party guests gobbled them up nonetheless.
Now this is where my dilemma came in....how do I serve my cake pops. Laying on their side on a plate takes away from the pop appeal. Clearly they needed to be upright. Bakerella suggested letting your pops dry in a piece of foam and this is where my inspiration came from.

SUPPLIES FOR CAKE POP CARRIER
Sheet of foam
Wooden Craft Tray
Crafty Chica Little Chica Paint Pack
Decorative Paper
Tape
Aleene's Tacky Glue
Paint Brush
Collage Pauge Instant Decoupage
Ruller
Knife
Scissors
We R Memory Keepers Crop-A-Dile II Big Bite Punch

PAINT
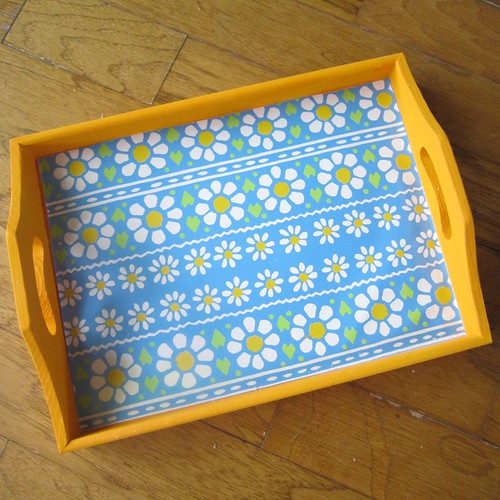
First things first I painted my tray yellow with Crafty Chica Paint. Allow your paint to dry completely.
DECORATE
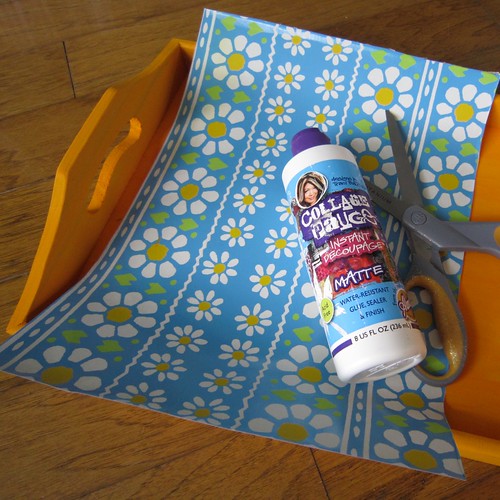
I wanted my tray to be functional not only as a Cake Pop Carrier, but also as an actual tray. That being the case I busted out the vintage wall paper books I scored at Round Top. Lucky for me Wall Paper typically comes in a theme with several patterns in the same color way. There were several versions of a blue paper with white and yellow daisies thatI knew would work perfectly.
I measured the bottom of my tray and cut out a piece of wall paper to fit. Using Collage Pauge or Aleene's Spray Tacky Glue adhere the sheet of paper to the bottom of your try. If you use plain craft paper you might want to coat the paper with either Aleene's Final Step Spray Acrylic Finish or Paper Glaze. This way if you serve someone OJ in bed on your new tray it will not watermark the paper. Allow to dry completely.

CUTS LIKE A KNIFE
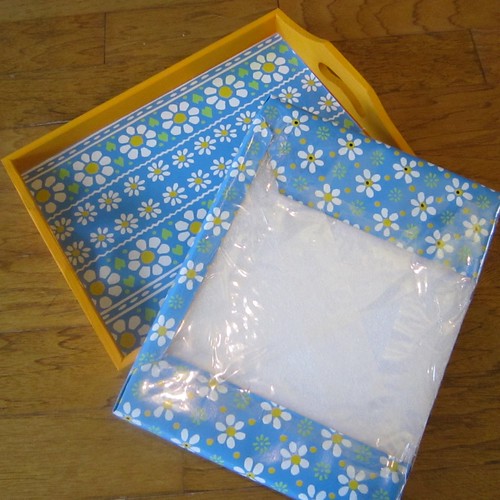
Using the same measurements you used on the paper cut out a piece of foam in the same size. I found using a knife with a serrated blade works well.

DO THE HOKEY POKEY
Luckily my daisy pattern worked out better than I had ever planned. I used my Crop-a-Dile to punch holes the size of my lollipop sticks in the center of each daisy.
WRAP IT UP
Using another sheet of Wall Paper I wrapped my piece of foam. I applied Aleene's Tacky Glue (instead of the Floral Glue pictured) to the top side of the foam and used tape on the sides and the back.

JOIN FORCES
All that was left to do was put my piece of wrapped foam into the tray and insert the cake pops. I love the way it turned out. The tray is functional as a Cake Pop Carrier and as a serving tray.

SERVE IT WITH A SMILE
The Cake Pops were delicious and much more impressive than a plain old cake. I'm taking another batch (in my new Cake Pop Carrier of course) to my mommy meet-up group tomorrow and can't wait to see everyone's reactions.
Now I'm on the hunt for the next baked good to make and present. Will it be pie pops or cupcakes in an ice cream cone? Who knows, I'll keep you posted and I'm open to suggestions.
4 comments:
AH. Thank you so much for posting this recipe! It unravelled the mystery for me and my grandmother as we embarked on the journey towards cake-pop phenomena.
thanks for the cool suggestion on the carrier! and low cost too!!
LOVE the serving idea, I was looking for JUST this solution. Thank you! I'm making pumpkin cake pops for a fall celebration at work tomorrow. Simple yet brilliant!
Cake lollipops and a custom cake pop carrier are the perfect combination to elevate the experience of enjoying the world's staple cake. These delightful treats take the traditional cake to new heights, offering a convenient and portable way to savor every delicious bite.
Post a Comment