I seem to have a thing for notebooks, sketchbooks, journals, basically anything paper. What I love best about them (aside from everything) is being able to personalize them, to make them your own. Many journal or sketchbook covers are fabric which makes them perfect for decorating with drawings or doodles using fabric markers. For lighter colors you can easily use the regular fabric markers but for dark colors Tulip’s Opaque Fabric Markers work perfectly! With back to school right around the corner, decorating a new sketchbook or journal is a perfect way to get ready for the new school year. Let’s get started!
Showing posts with label DIY teen crafts. Show all posts
Monday, July 20
Wednesday, March 11
Promposal T Shirt

Prom season is quickly approaching! If you are planing to ask some to come as your date, you will definitely want to ask in a creative way! The term for asking someone to prom is "promposal" and there are so many awesome ways to do it! Today i'll be sharing a really fun DIY Promposal T Shirt!
Wednesday, February 11
Puffy Paint Monogram Storage

I have totally fallen for the Monogram trend. I just want to put my initials on everything! I made this supper cool Monogram storage tote for my friend using some Puffy Paint and her initial that I printed from my computer using word art. It was so easy!
a denim or fabric storage bin
Word Art letter (printed and cut out)

Step 1: Using the Clear Gell Tacky Glue, wrap ribbon around the bin near the top. Layer 2 different ribbons for more visual appeal.

Step 2: Place the cut out word art letter in the middle of the storage bin. If you are worried about it moving you can adhere it down with repositionable adhesive. Take the puffy paint along the outside of the letter. Add more dots closer to the letter and less as you move outwards. Then remove the paper letter.

Step 3: Cut the ribbons into about 6 inch strips and tie and tie them around the handles. You can add a few or cover the entire thing like I did. This adds such a fun twist!

It was so easy to make, but the results are awesome! Personalization is everything these days! This would be such a cute basket for a gift too, that they can then use as storage in their room! It is perfect to store all of those random knick knacks in a stylish way!
Wednesday, January 14
Cool Leather Cuff Bracelets
Looking for a quick, fun, and inexpensive project for you and your friends? These Leather Cuff Bracelets are awesome! They are super fun to make and double as a fashion piece. If you are anything like me and my friends, you love to coordinate with each other! Get together this weekend and make some matching jewelry!
Wednesday, September 24
DIY Geometric Canvases
Hey Guys! What is going on? Tanner Bell here sharing a really fun decor idea featuring the Tulip Fabric Markers. The possibilities are truly endless. These markers are fun to use on all kind of surfaces and I'm super excited to share that with you.
Tuesday, August 26
DIY Fabric Lined Drawers
Hey everyone! Tanner Bell here, I'm super excited to share with you this easy DIY featuring Liquid Fusion Spray adhesive. You're going to love how simple this is to make and will have to use this tutorial to customize all your drawers.
Tuesday, April 22
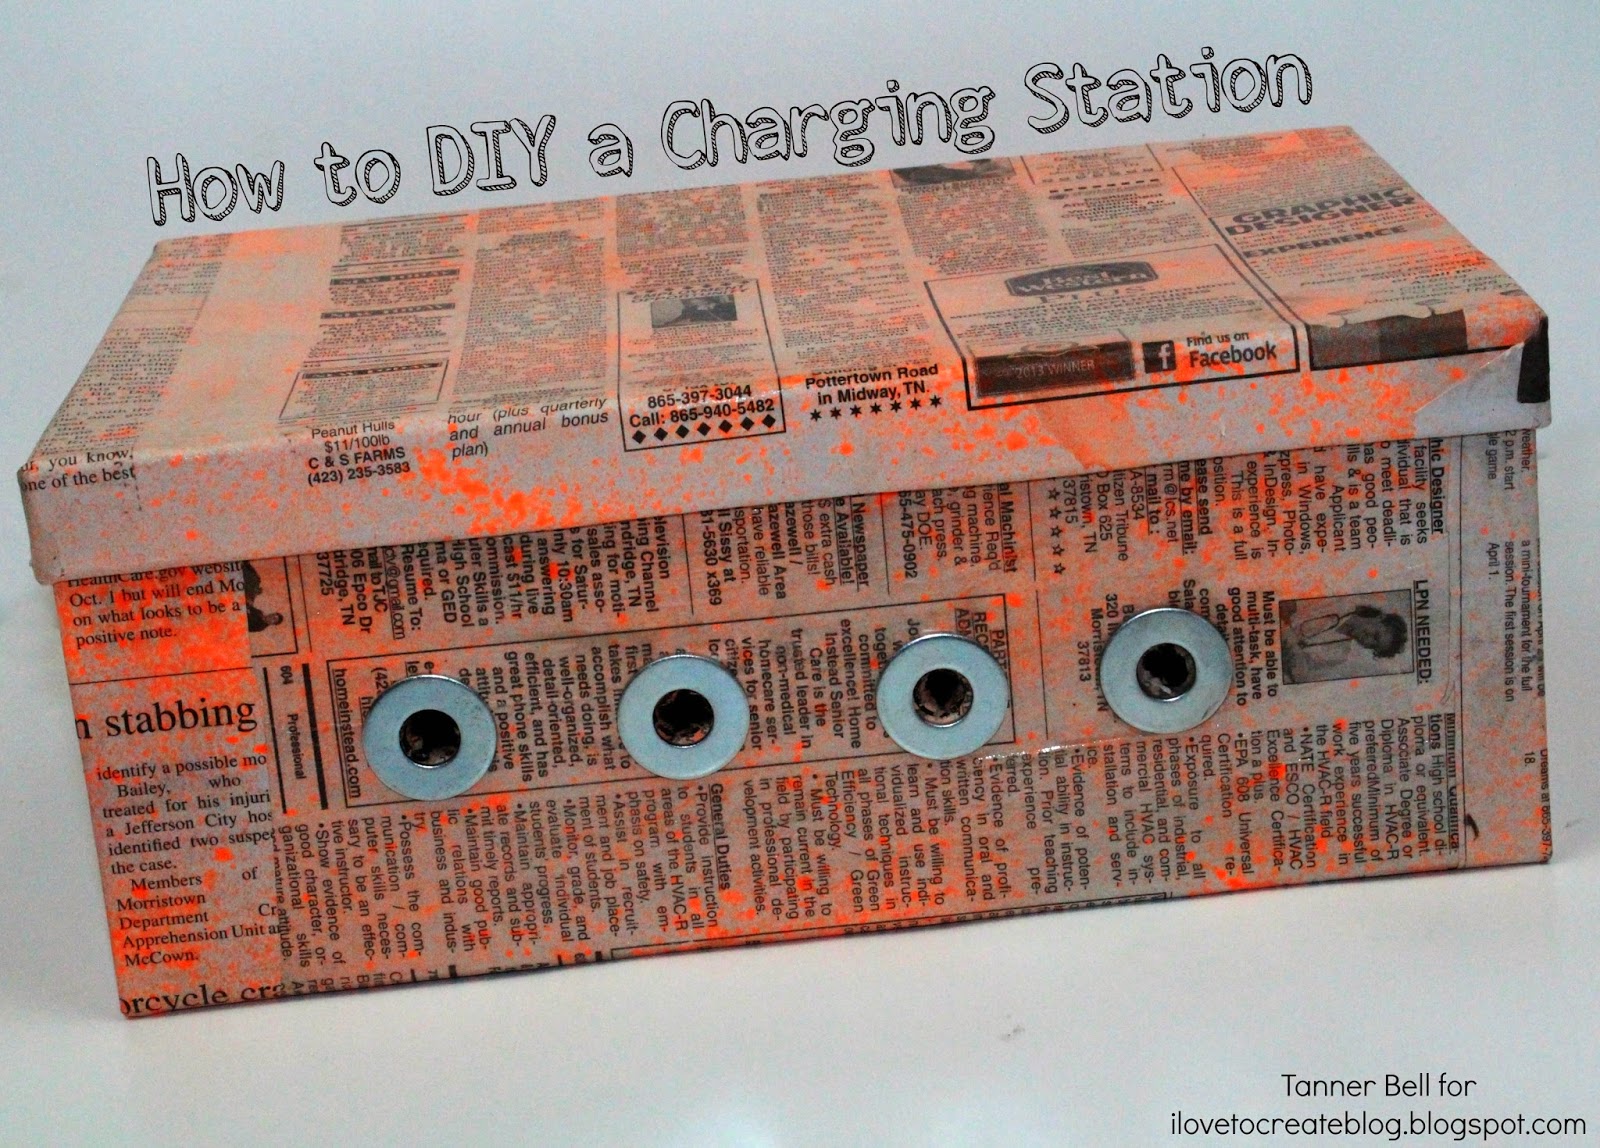
How to Make a DIY Charging Station
Hey everyone! Happy Wednesday, today I'm teaching you how to make a DIY Charging Station. It's perfect for charging your electronics and hiding the mess of the cords. I love DIYs that I'm able to incorporate in my home. This one is for sure going to rock!


Labels:
Charging Station,
Craft,
diy,
DIY teen crafts,
fabric spray,
recycle,
recycle craft ideas
Wednesday, January 22
DIY BFF Earrings
Best friends are forever, true blue and faithful to the end. Why not show your BFF a little love with these super simple DIY BFF Earrings? A little paper, some decoupage medium and twine turn craft store wooden hearts into two sided earrings that are sure to cheer your BFF up every time she wears them! PLUS they're cute coming and going! Avalon and I put our heads together here, she loves these muted colors and simple jewelry, I scaled back on my usual over the top size to make them easy and comfortable to wear every day. These are perfect for a trend savvy teen.
Wednesday, March 20
How To Stud Your Flats!
These are my "Tell me about it, STUD." Flats. (Clever, right?) I LOVE me some black flats, but what do you do when they get scruffed up? STUD THEM! This is a QUICK and EASY project using Liquid Fusion! Here we go!
Supplies:
Step One: I lightly sanded my shoes in the area I wanted to glue. Next, pour some glue into a paint tray, and with a bamboo stick, apply glue on to the back of stud.
Step Two: Place stud on to your shoe. If you're unsure of a pattern, google "Studded Flats" and you'll find some ideas! For this project I did sort of a triangle, top row=6, middle=5, and bottom=4. Play around with it!
Step Three: Wait for about an hour for them to dry. After that, wear those babies out!
Check out this quick video I posted on Vine(@mayainthemoment) of the process!
Love, Mayainthemoment.com
FOLLOW ME ON INSTAGRAM, VINE & TWITTER: @mayainthemoment
YOUTUBE: youtube.com/ahhmaya1234
:)
Supplies:
- Studs (7mm)
- Liquid Fusion
- Flats
- Sand Paper
- Bamboo Stick
Step One: I lightly sanded my shoes in the area I wanted to glue. Next, pour some glue into a paint tray, and with a bamboo stick, apply glue on to the back of stud.
Step Two: Place stud on to your shoe. If you're unsure of a pattern, google "Studded Flats" and you'll find some ideas! For this project I did sort of a triangle, top row=6, middle=5, and bottom=4. Play around with it!
Check out this quick video I posted on Vine(@mayainthemoment) of the process!
FOLLOW ME ON INSTAGRAM, VINE & TWITTER: @mayainthemoment
YOUTUBE: youtube.com/ahhmaya1234
:)
Wednesday, January 16
MAYA IN THE MOMENT TEEN CRAFT: Easy Puffy Paint iPhone Cases
Hey guys! I LOVED making these cases. I've been seeing everybody with their crazy cell phone cases and decided to make my own versions. My mom recently bought a batch of clear cases on eBay super cheap and they just happened to fit my iPhone 4s.
The most common way of decorating these is the "decoden" method and using bathroom silicone and all kinds of little charms and baubles. I tried out using Puffy Paint because I wanted a brightly colored background and it worked! Once you see all the colors of Puffy Paint, you'll get a lot of ideas. The Puffy Paint acts as a glue to hold everything in place.
Here is my tutorial video:
You'll definitely get addicted. Enjoy!
LINK SUPPLIES:
Tulip Crystals
Tulip Puffy Paint
A Chop Stick
Clear iPhone case
Other objects: Buttons, big gems, plastic charms, old jewelry pieces, guitar picks, anything small and eye catching!
| Puffy Paint, topped with giant gems, then filled in with Tulip Glam It up Crystals! |
Cover your work surface with plastic. Squirt the Puffy Paint on the phone case and move it around with the chopstick so you have a thick even layer. When placing items on the cover, start with the larger objects and then use the Tulip Crystals to "fill in." Make sure to let dry over night or ever longer if needed!
Wednesday, January 9
How to Make a Zig Zag Chevron Canvas
Learn how to make a super cute glittered Zig Zag Chevron Canvas in a few quick steps in this easy to follow tutorial from the talented Miss Avalon Potter for iLoveToCreate Teen Crafts!
You'll need a canvas, some scrap cardboard, painter's tape and a pencil to trace. Print a chevron pattern out for a guide, cut the cardboard, line it up and trace, then add tape.
Mix up some Crafty Chica Little Chica Paints to make a soft yellow and turquoise blue. Paint on canvas in exposed areas with a Tulip paint pouncer. Let paint dry completely.
Once paint is dry, remove tape.
Wednesday, October 10
'A' is for Awesome DIY Framed Initial
(It's another AWESOME DIY Teen Craft Project from the AWESOME Ms. Avalon Potter!)
A is for Awesome
(Avalon and Autumn)
DIY Framed Initial
DIY Framed Initial
Avalon Potter foriLoveToCreate
'Teen Crafted, Mom
Approved'
Autumn
has always been my favorite season. The way the leaves form a masterpiece of
color, and the crisp air rejuvenates the mind amazes me. Even though I have
never been a large fan of Halloween (I don’t do scary), I still love the thick
textures and shabby chic appeal that pops up during this time. I have a beach
theme throughout my room the blends naturally with this style, so I am always
finding new things I would love to hang up. I decided for this project I would
make something that would go with the theme of my room and the theme of the
season. I hope you enjoy it!
Materials
Weathered wood frame
Sturdy cardboard
Burlap
Wooden letter
Crafty Chica white paint
Aleene’s Fast Grab Tacky Spray
Aleene’s Fabric Fusion
Tulip Glitter Spray Paint diamond
120 grit sand paper
![]() |
| Paint the letter with the Crafty Chica white paint and let dry. |
![]() |
| Measure and cut cardboard to fit inside of frame. |
![]() |
| Glue burlap to fit cardboard with spray adhesive. Glue one layer, allow to dry. Glue second layer and allow to dry. |
![]() |
| Sand paint in various spots to distress. |
Subscribe to:
Posts (Atom)