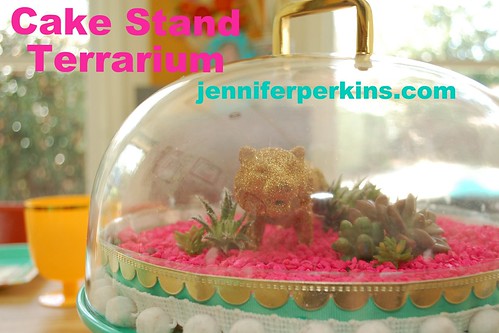
Make a terrarium from a liter bottle and watch plants grow!
Liquid Fusion™ is perfect for this project – it keeps all your treasures in place that decorate the terrarium..
Supplies–
Liquid Fusion™ Clear Urethane Glue – Marker
– Pebbles
– Tumbled glass pieces
– Scissors
– Liter bottle
– Dessert plate
– Wax paper
– Terra Cotta pot
– Low tack masking tape
– Craft stick
Instructions1. Wash and dry liter bottle. Have a parent use scissors to cut bottom fourth from liter bottle.
2. Line up tumbled glass pieces, small pebbles or driftwood along edge of dessert plate. Pick up a piece and add a drop of Liquid Fusion to back. Press back in place. A small piece of tape can be used to hold in place till dry if needed. Continue with remainder around plate. Let dry.
3. Place liter bottle, cut edge down, on a piece of waxed paper. Apply a dot of glue to back of smooth pebble then press at cut edge, letting stone rest on waxed paper. Hold in place with tape till dry. Continue around entire bottom of bottle.
4. Place terra cotta pot upside down on waxed paper. Glue pebbles around edge of pot letting them rest on surface. Hold in place with tape till dry.
5. To create plant marker, glue a stone at end of craft stick, let dry, then use pen to write what kind of plant it is.
6. Glue a slightly larger pebble on top of liter bottle to create handle.