I have a hard time leaving the thrift store without spotting at least one buried treasure. And while there is something to be said for clothing and housewares, I just love a good knick-knack! Animal figurines in particular. And because a little kitsch is never enough, I like to double down with a good coat of glitter. The great news is, if you follow the secret recipe, you can cover any surface in glitter and it will never shed. That's right folks: IT WILL NEVER SHED.
Monday, August 10
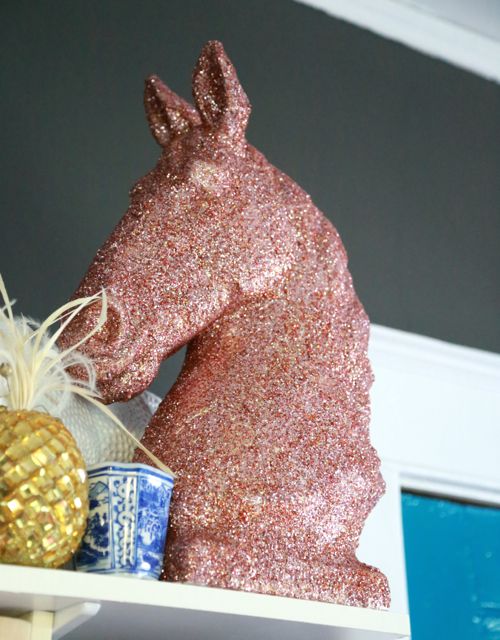
"Horsing Around" with Glitter and Tacky Glue
I have a hard time leaving the thrift store without spotting at least one buried treasure. And while there is something to be said for clothing and housewares, I just love a good knick-knack! Animal figurines in particular. And because a little kitsch is never enough, I like to double down with a good coat of glitter. The great news is, if you follow the secret recipe, you can cover any surface in glitter and it will never shed. That's right folks: IT WILL NEVER SHED.
Wednesday, December 3
DIY Ornament Chandelier
I LOVE ALL THINGS THAT ARE GLITTERY AND MAKE MY HEART FLUTTER!
Wednesday, November 12
Inspiration Board
Thursday, May 8
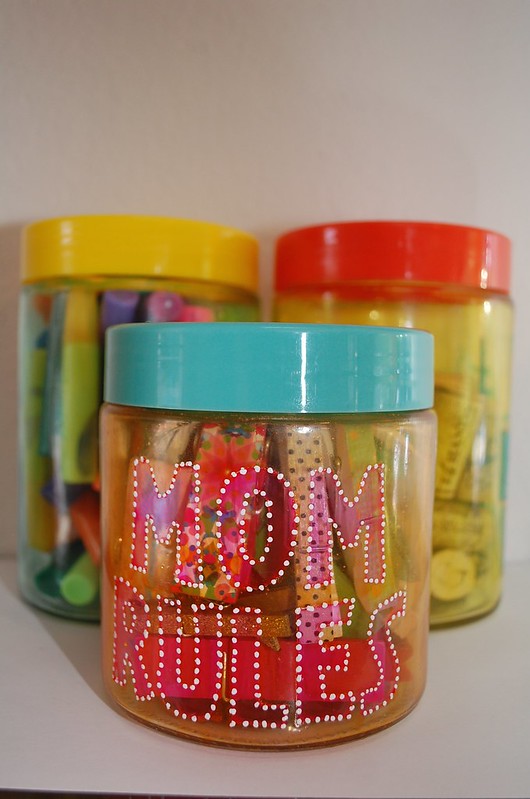
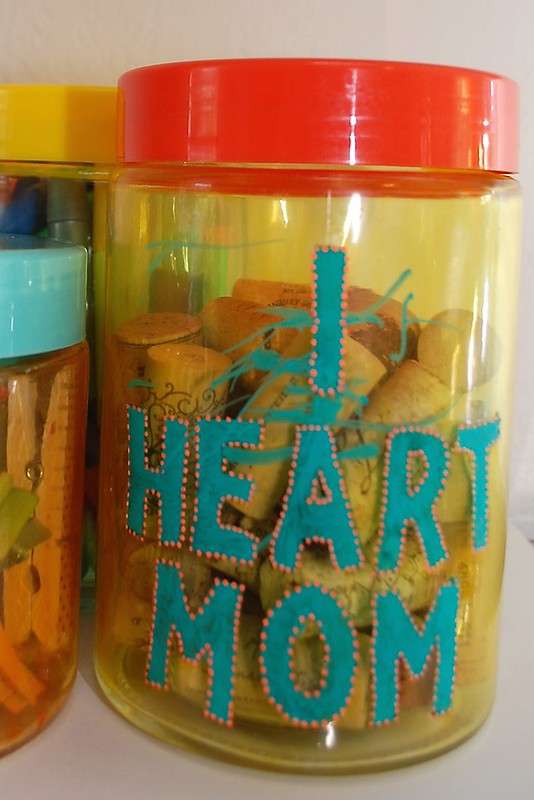
Faux Stained Glass Mother's Day Jars
Thursday, March 20
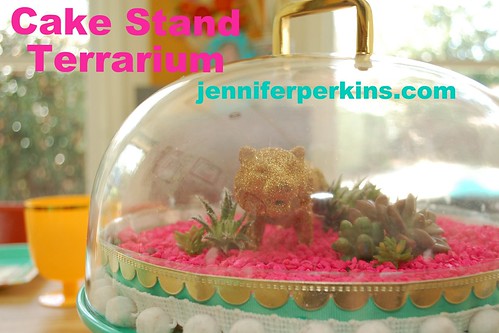
Oh Joy! Cake Stand Terrarium
Thursday, January 17
Whoooo Loves You? Owl Themed Box of Valentine's Candy Tutorial
You can't think of Valentine's Day without a box of chocolates coming to mind. Too bad the boxes these days ain't got nuthin on the frilly boxes of yesteryear. I love the look of vintage Valentine candy boxes, so much so today for I Love to Create I decided to make my own.
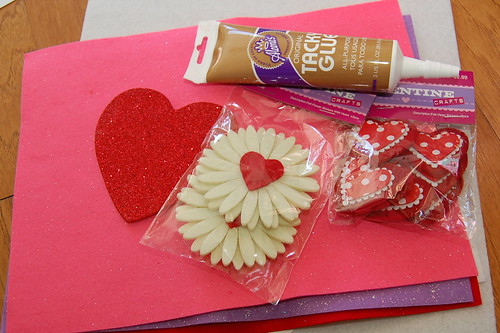
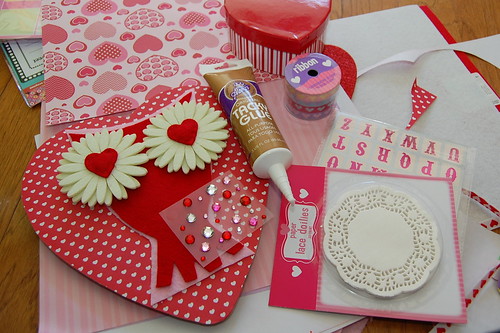
SUPPLIES
Craft felt
Heart shaped boxes of chocolate
Scissors
Craft Paper
Aleene's Tacky Glue
Paint brush
Valentine's stickers
Carnival tickets
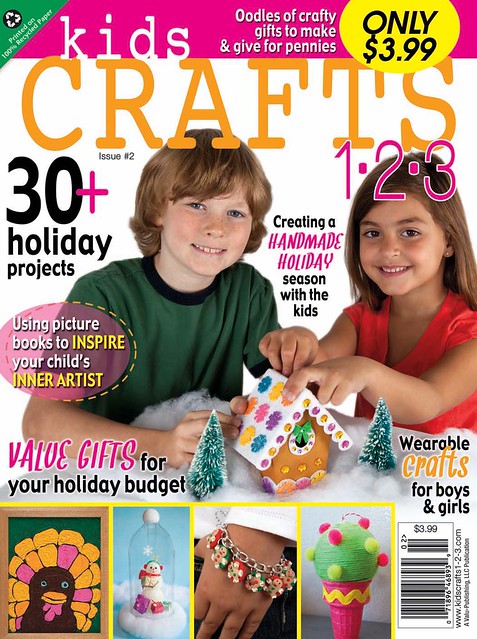
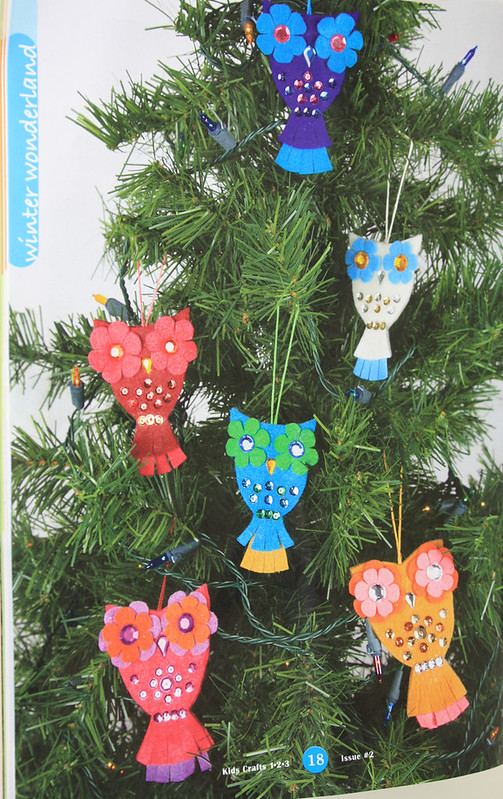
This project is inspired by some felt owl ornaments that Karen of Midwest Maude fame made for Issue #2 of Kids Crafts 1-2-3. Sure issue #3 of Kids Crafts 1-2-3 is out at Walmart and chocked full of fun Valentine projects, but I never got a chance to make these owl ornaments. Whoooo loves you? The owl Valentine greetings are endless.
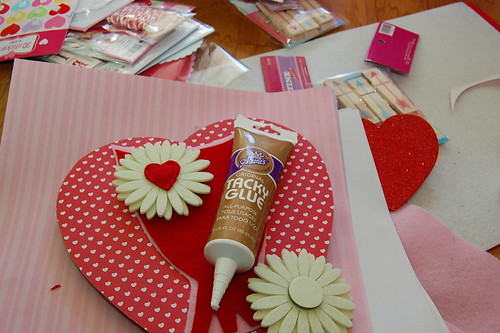
The first thing I did was cover my box. I traced the lid on a piece of paper, cut it out and glued it to the top of my box. I applied Tacky Glue all over the lid and spread it evenly with a paint brush.
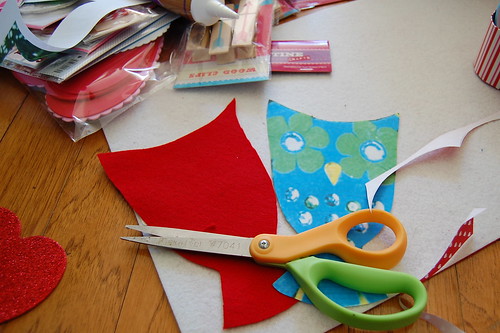
If you can eyeball the owl image good for you. I cropped the picture and blew my owl up and printed it out to use as a template. Using said template I cut out two owls in pink and red.
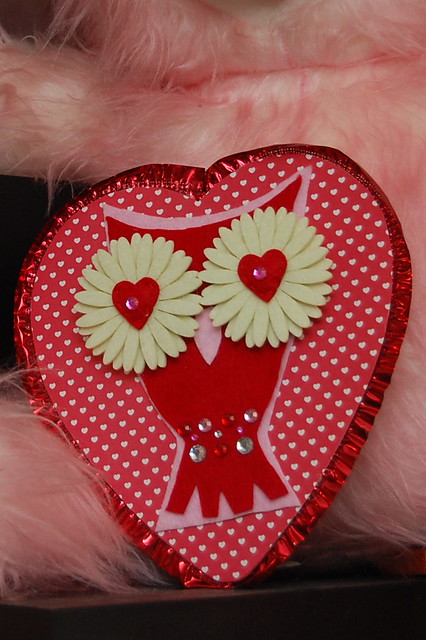
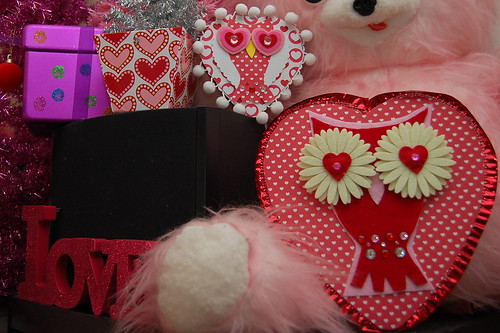
Using Tacky Glue I attached my owls to the chocolate box. I used some fun felt flower stickers for the eyes. Sure they were stickers, but I went ahead and added some Tacky Glue for good measure.
Tacky Glue and a few strategic gem stones gave my owl a little sparkle.
Using a hot glue gun I added some foil trim around the edge of my box.
I must admit I dumped all the candy out and glued my boxes shut. A) The candy had peanuts and I can't have that around with Baxter's allergy. B) I'm on a diet. I love the way they turned out. Check out another version of the box on BlogHer.
Thursday, November 8
Yarn Turkey Tutorial
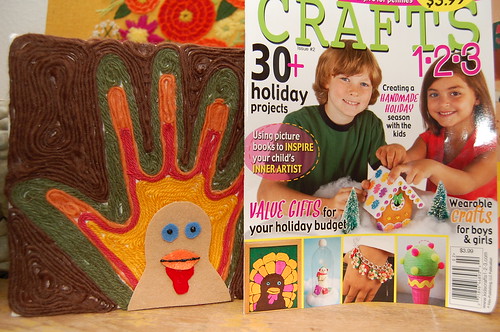
Have you heard the news that I am the Editor in Chief of a new kids crafts magazine for Walmart called Kids Crafts 1-2-3? It's true. Race out to Walmart and snag issue #2 with oodles of fall crafts, including a turkey 'painted' with yarn by Becky Joiner. You can see Thomas on the cover!
I thought today for I Love to Create it might be fun to reinterpret Thomas. Handprints and turkey crafts go together like sweet taters and marshmallows.
SUPPLIES
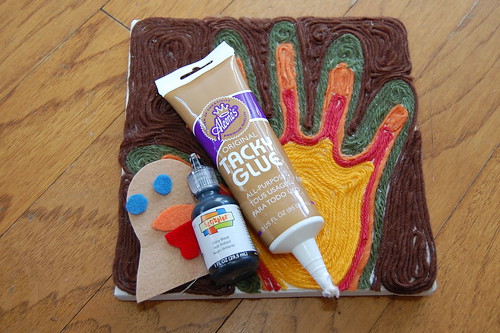
Yarn in fall colors
Black Tulip Slicks Paint
Small Canvas
Paper
Felt
Aleene's Tacky Glue
Scissors
Pen
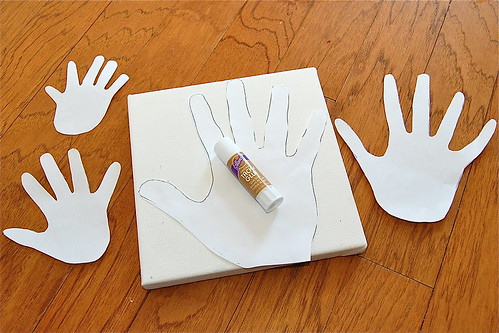
I decided to trace everyone's hands on paper first. Tracing squirmy, sick, cranky kids hands can be tricky.
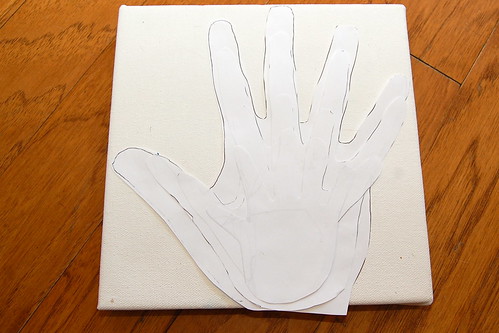
After I had everyone's hands cut out I used a glue stick to adhere them to the canvas. I did Chris' hand first, then mine, then Tallulah and lastly Baxter. In retrospect I wish I had used coordinating construction paper for each hand. That way there would be no white showing behind the yarn. Hindsight is always 20/20.
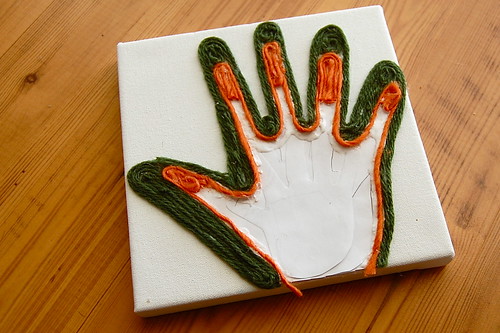
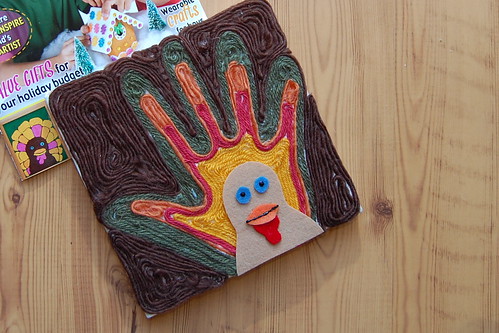
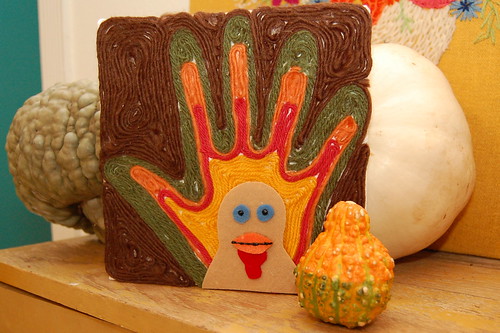
Next using Tacky Glue I started filling in each hand with yarn. Chris was green, I am orange, Tallulah is red and Baxter is yellow. I also filled in the back with brown yarn.
In the issue of Kids Crafts 1-2-3 we supply the template for you to trace to make Thomas. I kinda eyeballed his face and cut him out in felt.
I applied my felt pieces with Tacky Glue and using Scribbles paint in black I added a few features to his beak and eyes.
I'm super smitten on how he turned out! I'd love to hear if you try making your own. Yarn art is kinda addicting I see a Santa portrait in my near future.
P.S. Check out another fun Thanksgiving handprint tutorial with this cardigan project. Oh and someone might like a set of these gardening gloves for Christmas.
Thursday, December 22
Seasonal Sensory Bottles
Last week when I did my series on handmade stocking stuffers I realized most of them were for toddlers. What about the babies? They need some handmade love too right? Don't worry I whipped up something fun and festive for Baxter too. Sensory bottles!
SUPPLIES
Empty Plastic Containers
Tacky Glue
Crafty Chica Glitter
Various small Toys
I had been saving clear plastic jars for awhile waiting for just the right craft moment. Seasonal sensory bottles were the perfect use for them.
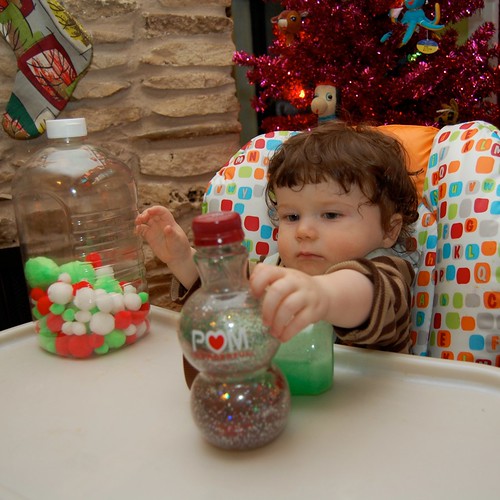
Fill your bottles with various items. I put red, white and green pom poms in one. Another had oil, water and glitter. The third was full of red, silver and green glitter.
Once your jars are full add some tacky glue to attach the lids. We don't want baby swallowing any pom poms.
When the glue is dried completely park baby in front of the Christmas tree and watch him twirl and twist his new toys with delight. Not just for babies. These sensory bottles were also a big hit with the toddler set.
Visit us on Facebook!
Craft on!
Monday, December 19
Recycled Snow Bottles Video - KSEE24 NBC - We Are Fresno Live!
Host Stefani Booroojian was so much fun on the LIVE show on Thursday,
as she shredded foam with a cheese grater
while I covered recycled bottles
with Aleene's Tacky Glue.
You've got to watch and see how easy and cool these bottles turn out,
and how inexpensive they are for fabulous winter centerpieces.
Craft on!
Thursday, November 10
Not your Typical Bridesmaid Bouquet
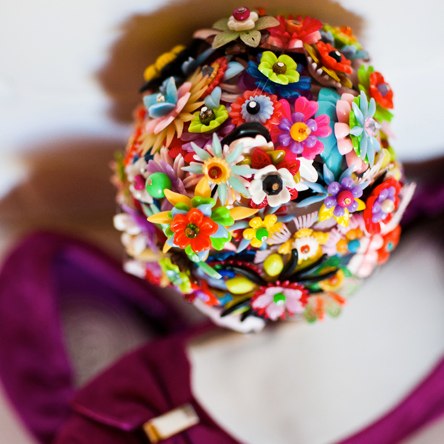
I have a new brother-in-law named Noah. He makes the best pizza in all of Austin (might I suggest stopping by East Side Pies sometime). He is also a very patient man. Anyone who will let their new bride adorn their wedding with Vegas style showgirls, tiger masks and polka dotted giraffes is alright by me. He also did not bat an eye when she wanted to carry a brooch bouquet and her Matron of Honor (me!) wanted to carry one made of plastic flowers. We are just not live flowers kind of sisters I guess.
SUPPLIES
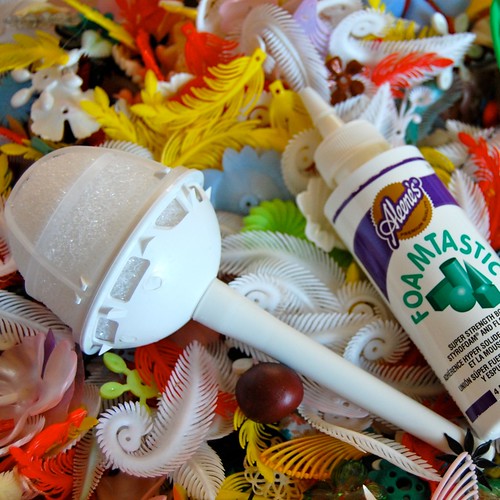
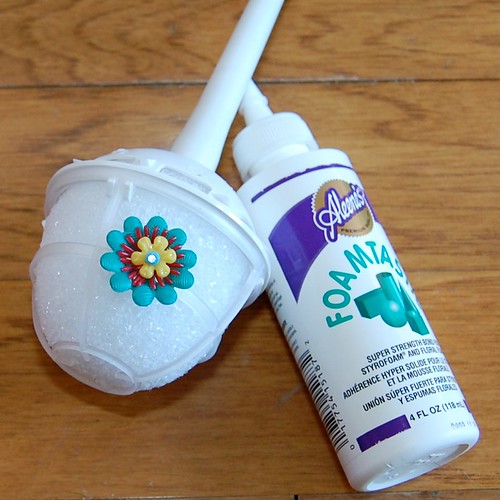
Bouquet Form
Foamtastic Glue
Ribbon
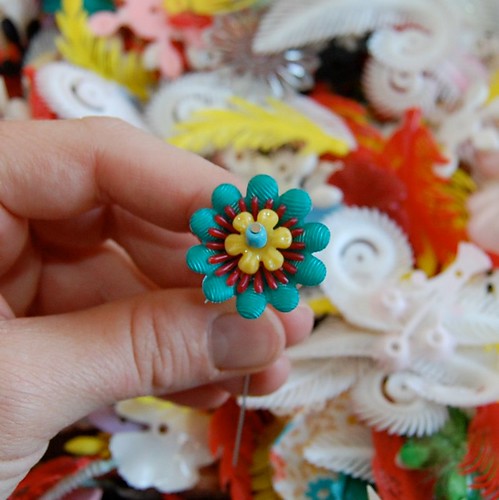
Head Pins
Small Beads
Plastic Flower Petals
Aleene's Fast Grab Tacky Glue
It takes a lot of flowers to fill a bouquet form. With each flower I used a dab of Aleene's Foamtastic to make sure the flowers stayed in place as I walked down the aisle herding two toddler flower girls.
After I covered the entire foam part in glorious plastic flowers I covered the base handle with zebra print ribbon using Aleene's Fast Grab Tacky Glue.
I wish them many years of happiness together. I hope their days are filled with rainbows, unicorns and plastic flower bouquets.
Check out more crafty posts here.
*Please note the very talented Cory Ryan took the photographs of my finished bouquet*
Visit us on Facebook!
Craft on!
Thursday, October 27
Handmade Halloween Coloring Books
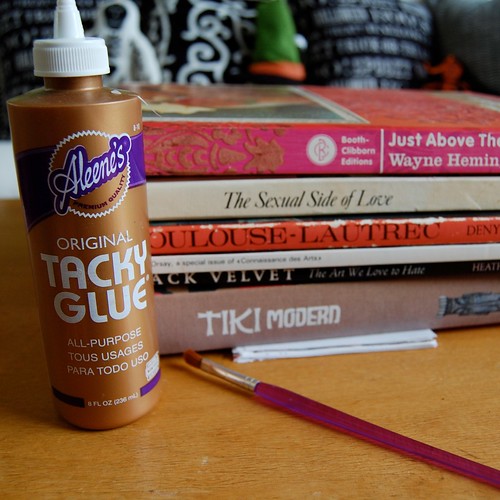
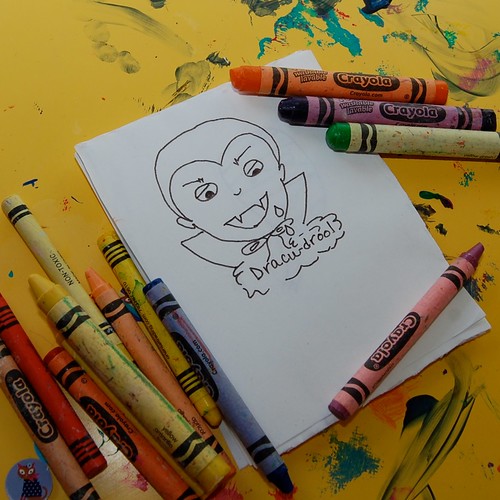
Did you know you can make your own notepad, coloring book, to-do list with just some Tacky Glue and paper? I didn't either until recently. My mom showed me a cute project in Country Living where they had made a weenie dog notepad doing not much more than cramming several pieces of paper together under a stack of heavy books and painting one edge with Tacky Glue. Always on the look out for purse size coloring books to have with me at all times in case of long restaurant wait emergencies I had an idea.
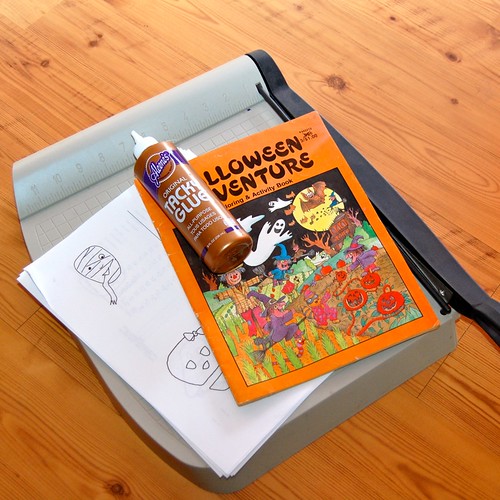
The first thing I did was scavenge online for cute Halloween coloring pages and my favorite embroidery patterns. These designs are by Vickie Howell. They look as cute colored as they do embroidered.
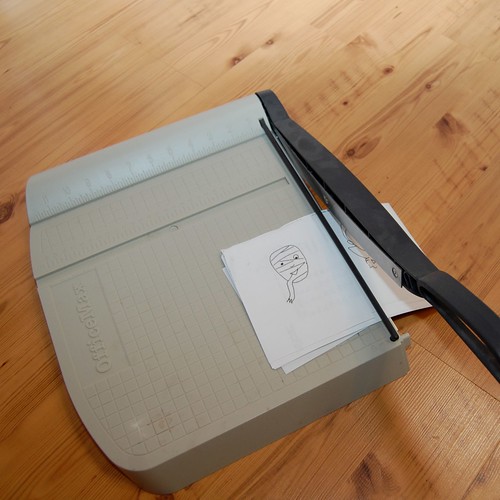
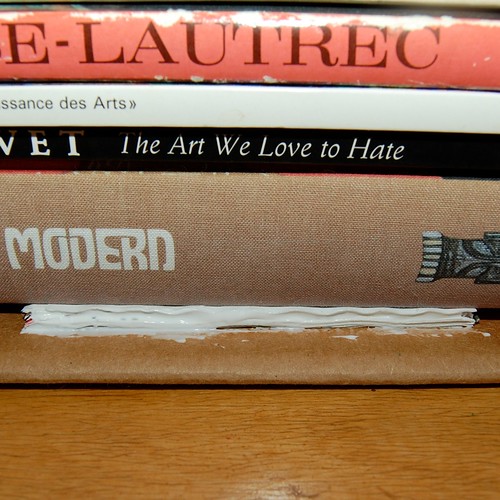
I printed the images four to a page and cut the paper into 4 squares using a paper cutter. I stacked my paper together into a neat pile and stuck it under several books.
Once my coloring book was in place using a small paintbrush and tacky glue I applied several coats to what will be the spine. I allowed the glue to dry in-between coats.
Presto magic a coloring book is born! Next I think I will make notepads for all the grandparents with my kids artwork water-marked in the background. Perfect handmade Christmas gifts.
Visit us on Facebook!
Craft on!


.png)