Watermelon and tie-dye are two of the hottest trends this summer. Thanks to tulip, an old jean jacket, and your washing machine, you can carry these trends right into the fall. Who wants to rock this awesome outfit their first day at school? Everyone. That’s who!
Showing posts with label crafting with denim. Show all posts
Thursday, August 7
Wednesday, June 26
DIY American Flag-Inspired Shorts
Fourth of July is right around the corner, and if you're like me you want to look fly for the holiday weekend..
.
because let's face it Jeshua...you're single and you need to make an effort... at some point.
-_-
The other day I was shopping at an overpriced boutique store - and by shopping, I mean looking at everything saying "I could make that"- and I came across some denim cut-offs with an American (USA) Flag pattern painted on it.
I decided to do my own take on the painted denim. It's subtle enough to be worn all summer long and patriotic enough to be an Independence Day statement piece.
– A pair of denim shorts
– Sand paper
– Painter's tape
Tuesday, February 26
"A is for Animal" Wall Decor!
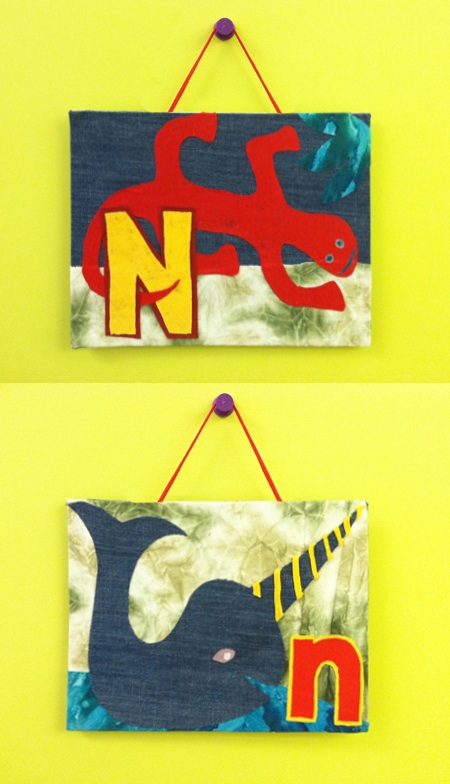
A is for Ant, B is for Beetle, C is for Cat.... Here's an easy way to
turn old clothing scraps (in this case, T-shirts and jeans) into
personalized decoration for a young (or young at heart) friend's
bedroom wall or door. Whether you stick with the animal theme, or go
with fruits and veggies (A is for Apple, B is for Broccoli, C is for
Carrot), geography (A is for Australia, B is for Belgium, C is for
China), or a more random selection
of words (A is for Astronaut, B is for Bubbles, C is for Castle), part
of the fun is brainstorming the image that will represent the
recipient's initial. For me, N is for Narwhal was a shoo-in. N is for
Newt came second. What animal would you choose for your name?
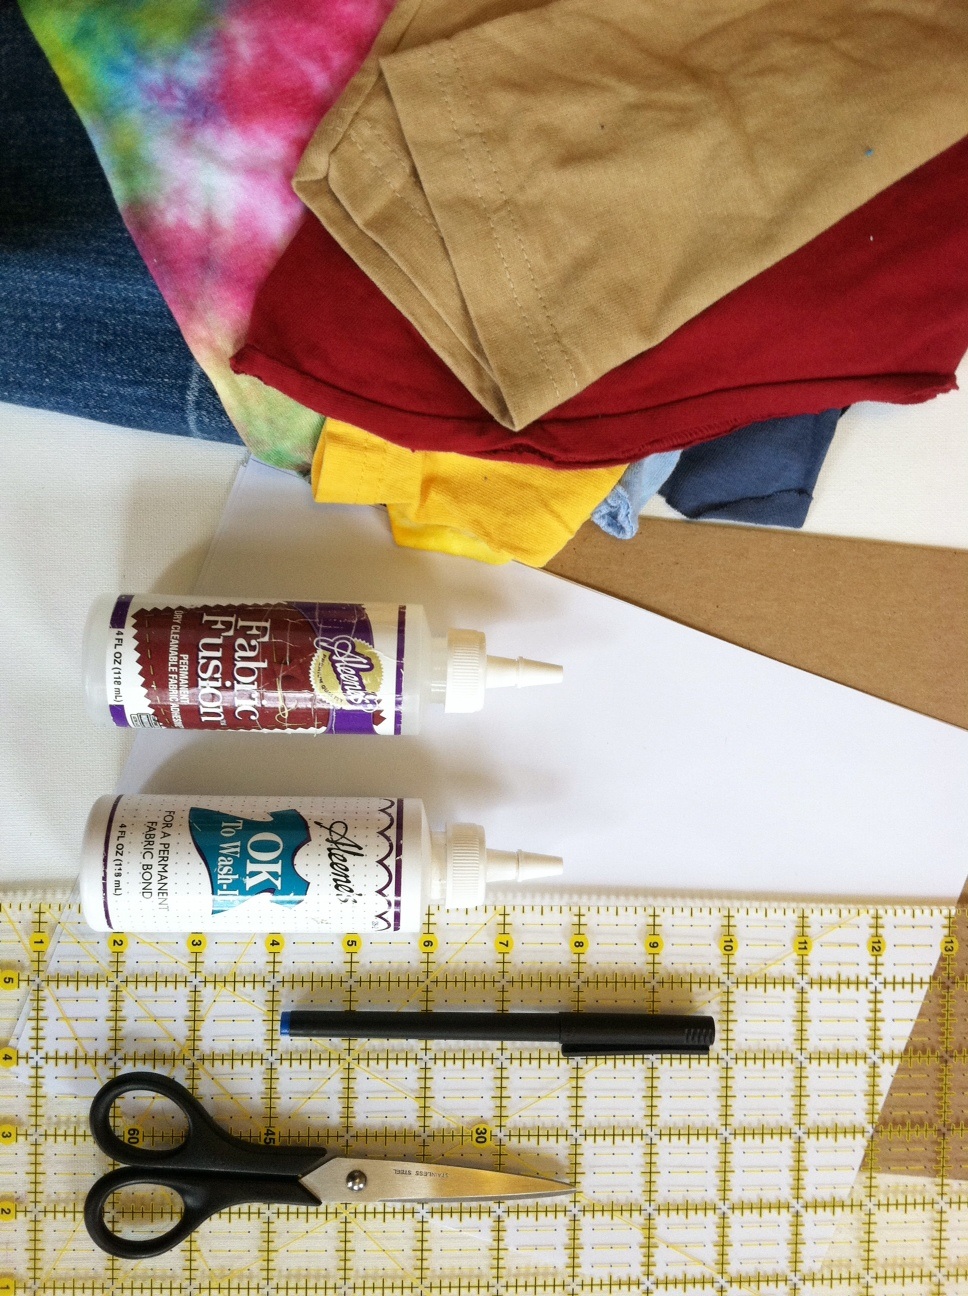
Materials:
-Paper
-Pen or pencil
-Scissors
-Fabric scraps (old T-shirts and denim pieces)
-2 sheets 8 1/2" x 11" medium-weight cardboard (often used as stiffener in a flat parcel)
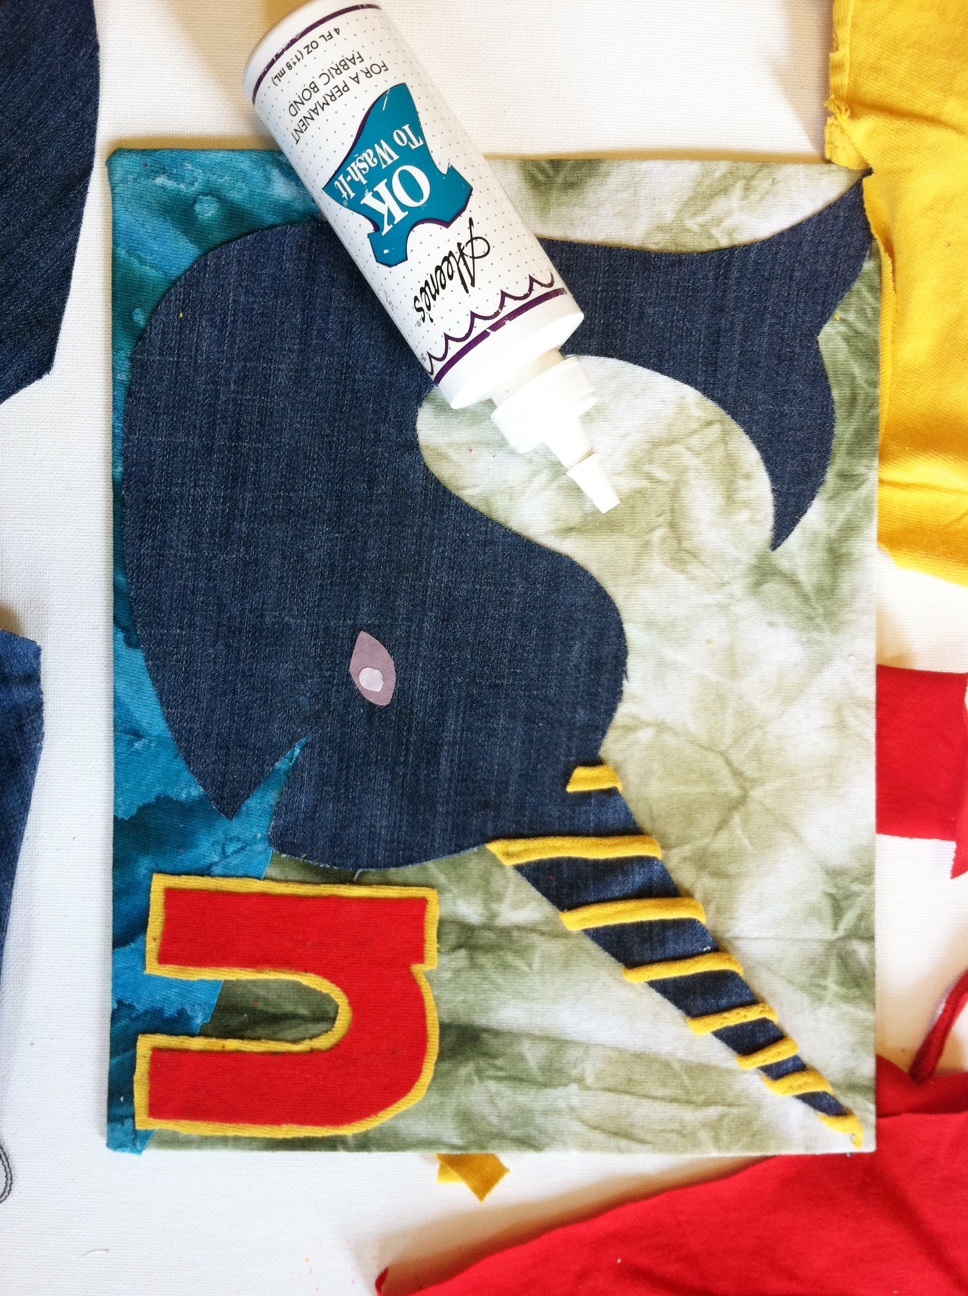
-Aleene's OK to Wash It or Aleene's Fabric Fusion permanent fabric adhesive
-Ruler
-Fabric paints (optional, for additional embellishment)

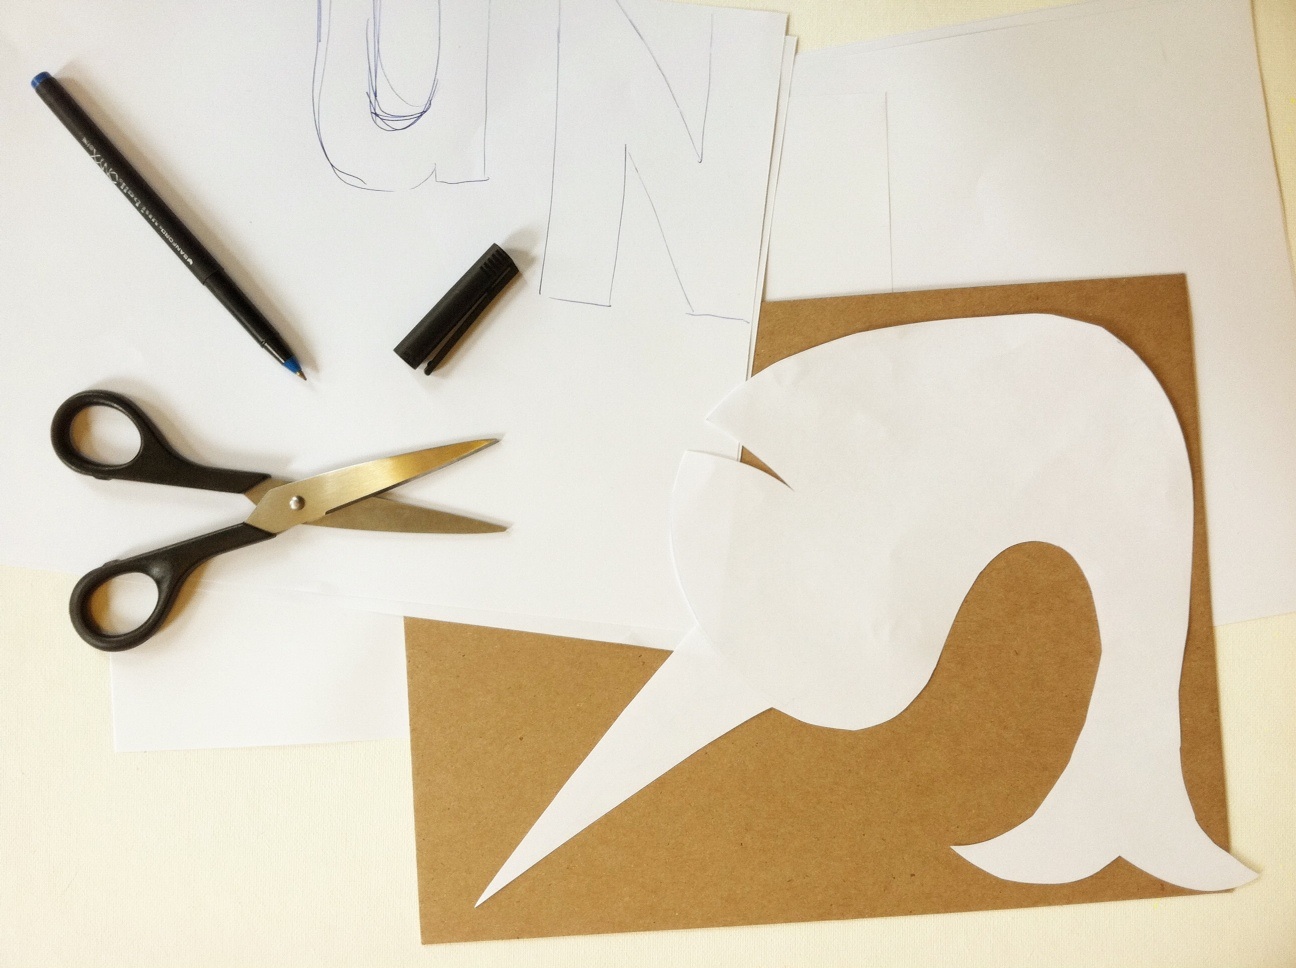
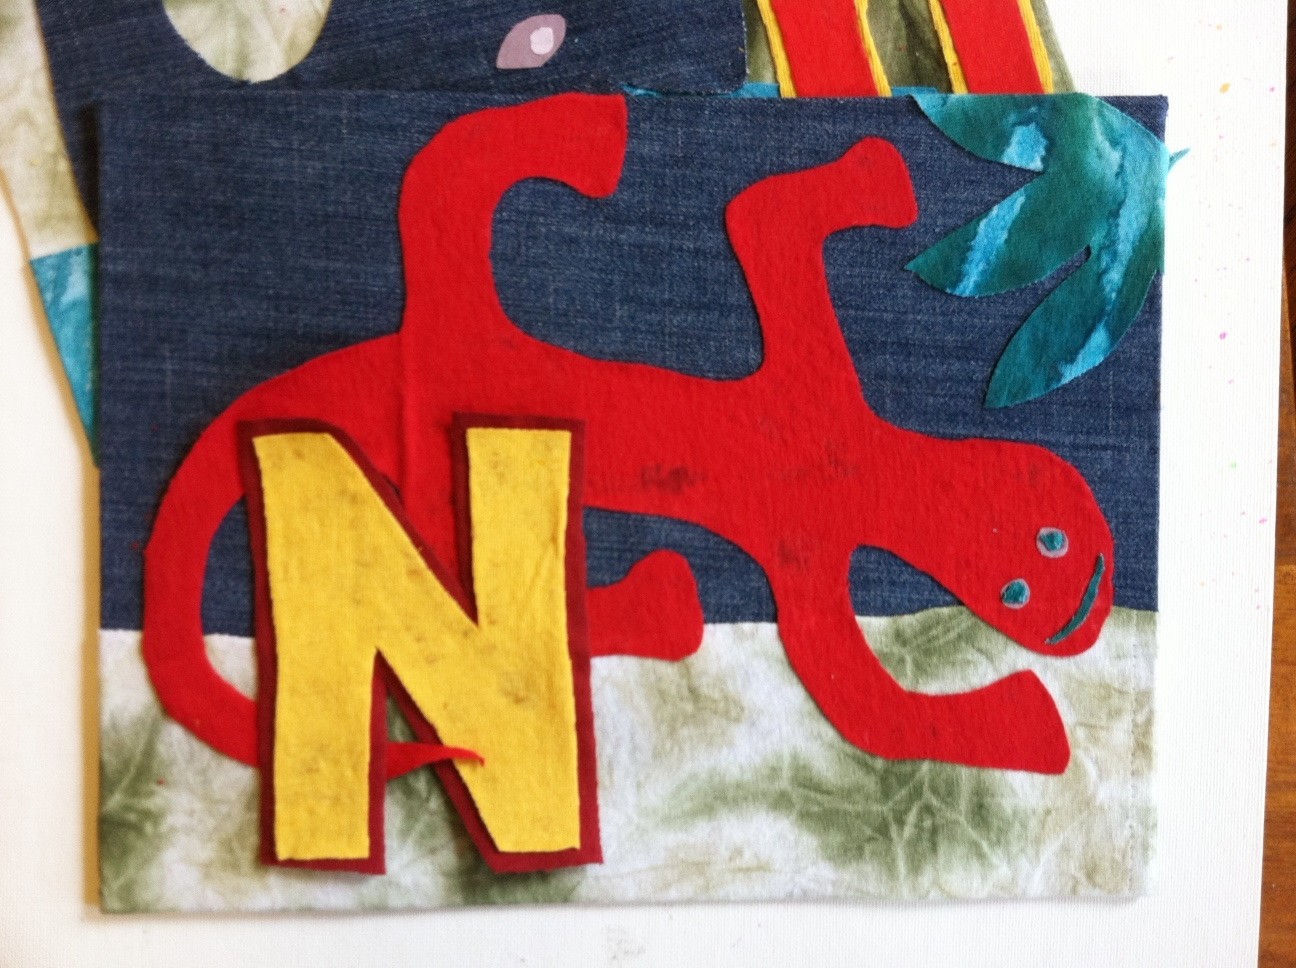
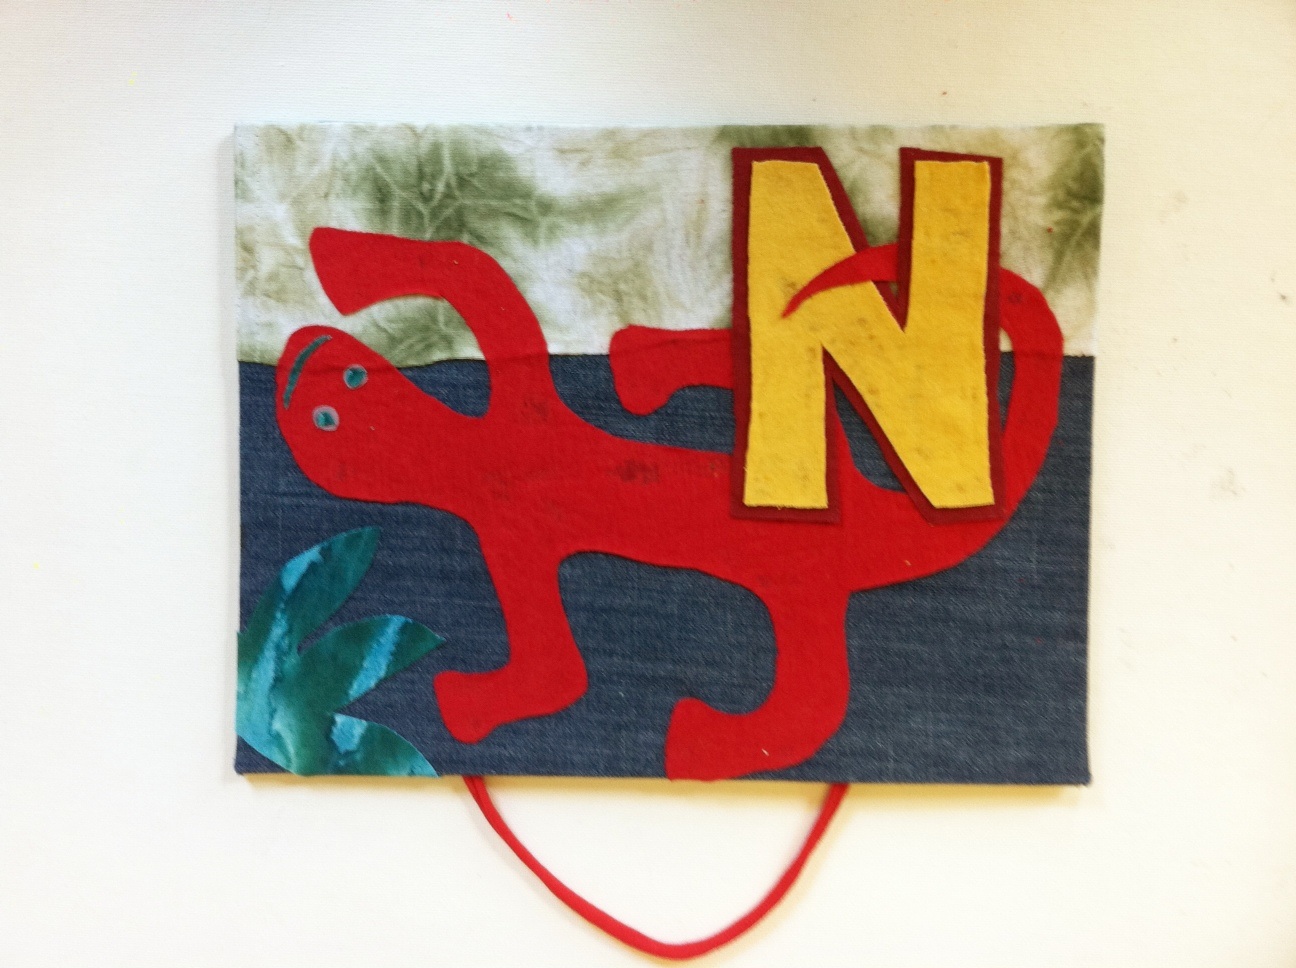
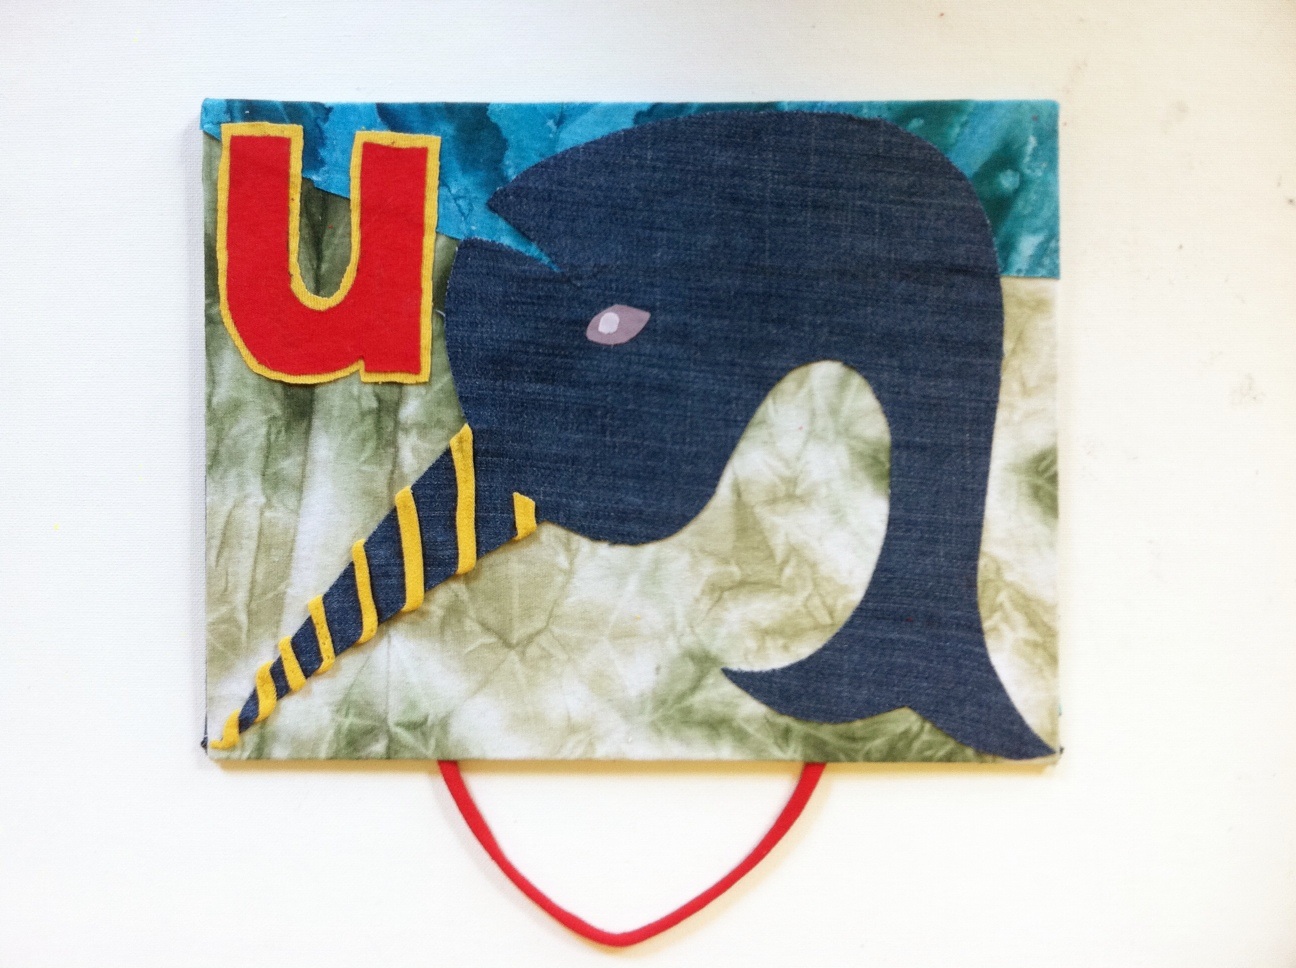
1. Select a first initial and then choose an animal (or two) with a name that also begins with the letter: I chose to start with N for Narwhal (that fabulous sea mammal that looks like it was crossed with a unicorn) and N for Newt (an orange salamander. Draw an outline of each animal and the capital and lowercase letter. Cut them out and arrange them on the cardboard to make sure they'll fit. Set them aside.

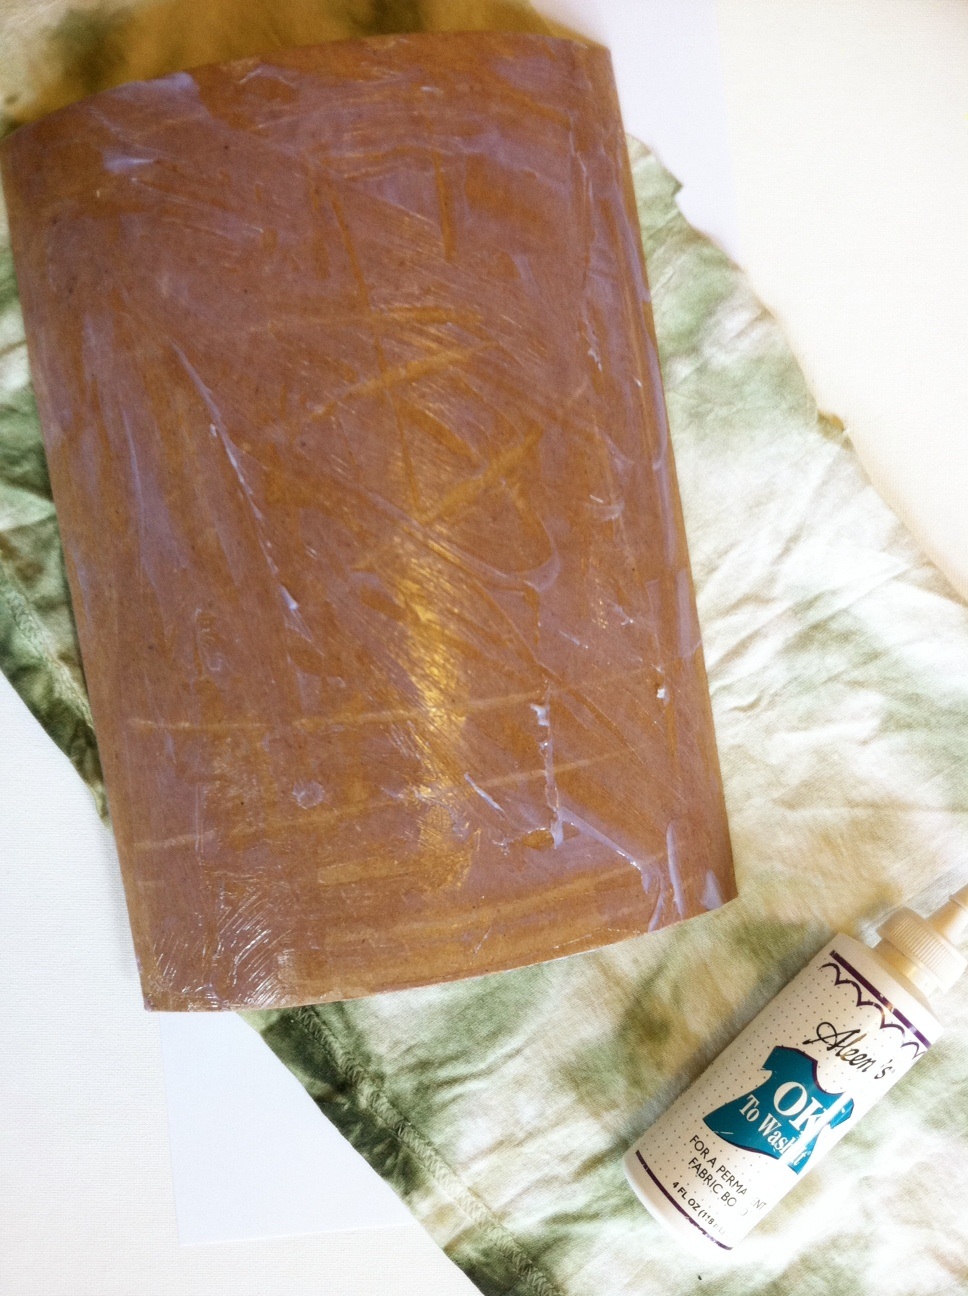
2. Spread fabric glue evenly over one side of one of the sheets of cardboard and press it onto fabric.

3. Fold and glue the edges to the back of the cardboard. (It's okay if the edges are messy -- they'll be covered up.)

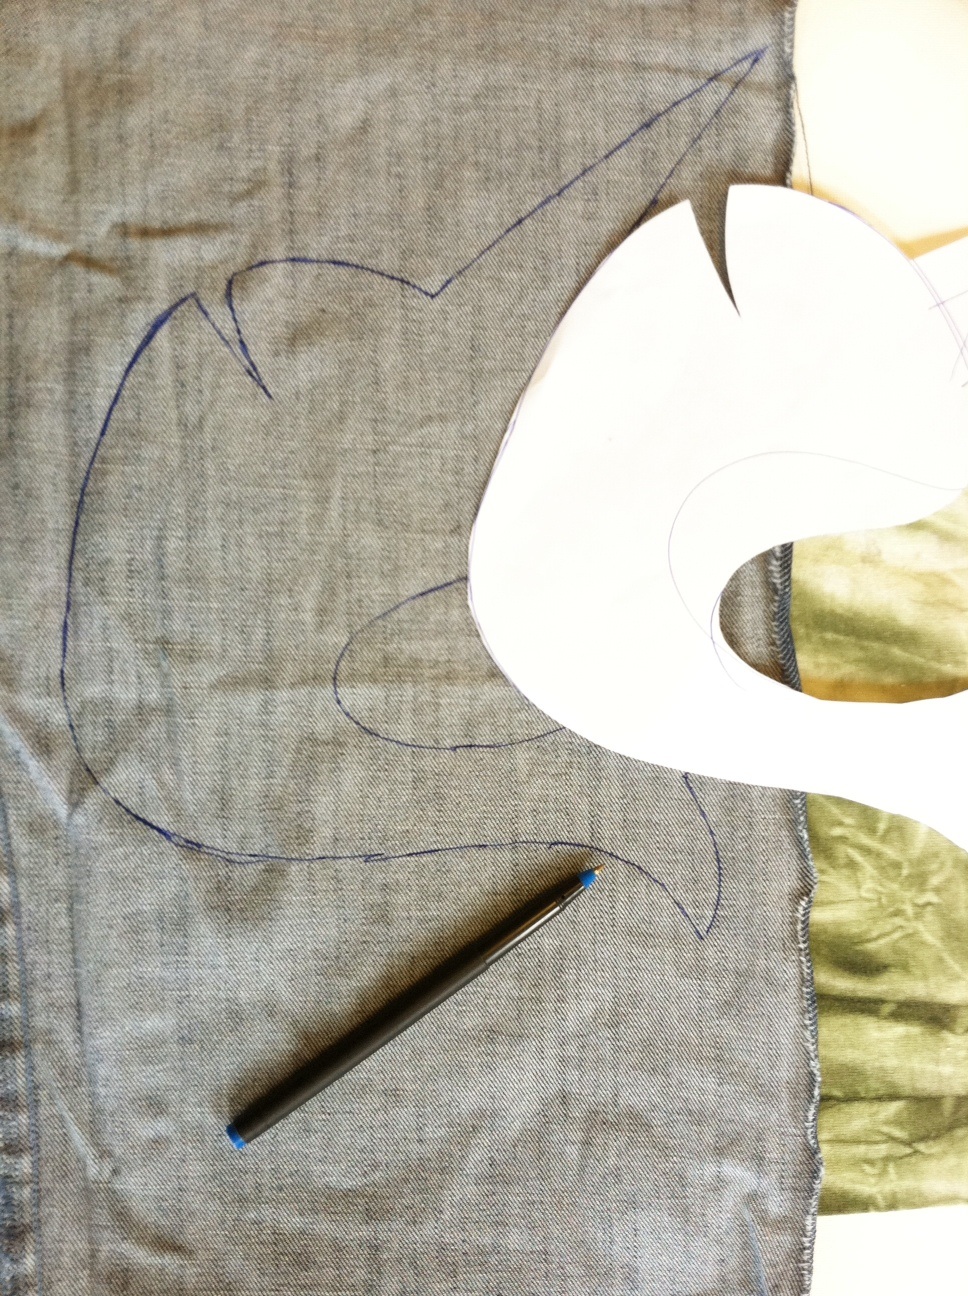
4. Trace one of the paper animal templates (in reverse) onto the wrong side of one of the fabric scraps. Repeat with different scraps with the letters and second animal.

5. Arrange and glue each of the elements onto the fabric-covered cardboard. Add background (like water!) and details (spiral on the horn, eyes!), making sure to layer the pieces appropriately. Let it dry and proceed to decorate the second piece of cardboard!

6. Cover the second piece of cardboard by following steps 1 and 2. Arrange and glue on the embellishments by following steps 4 and 5.

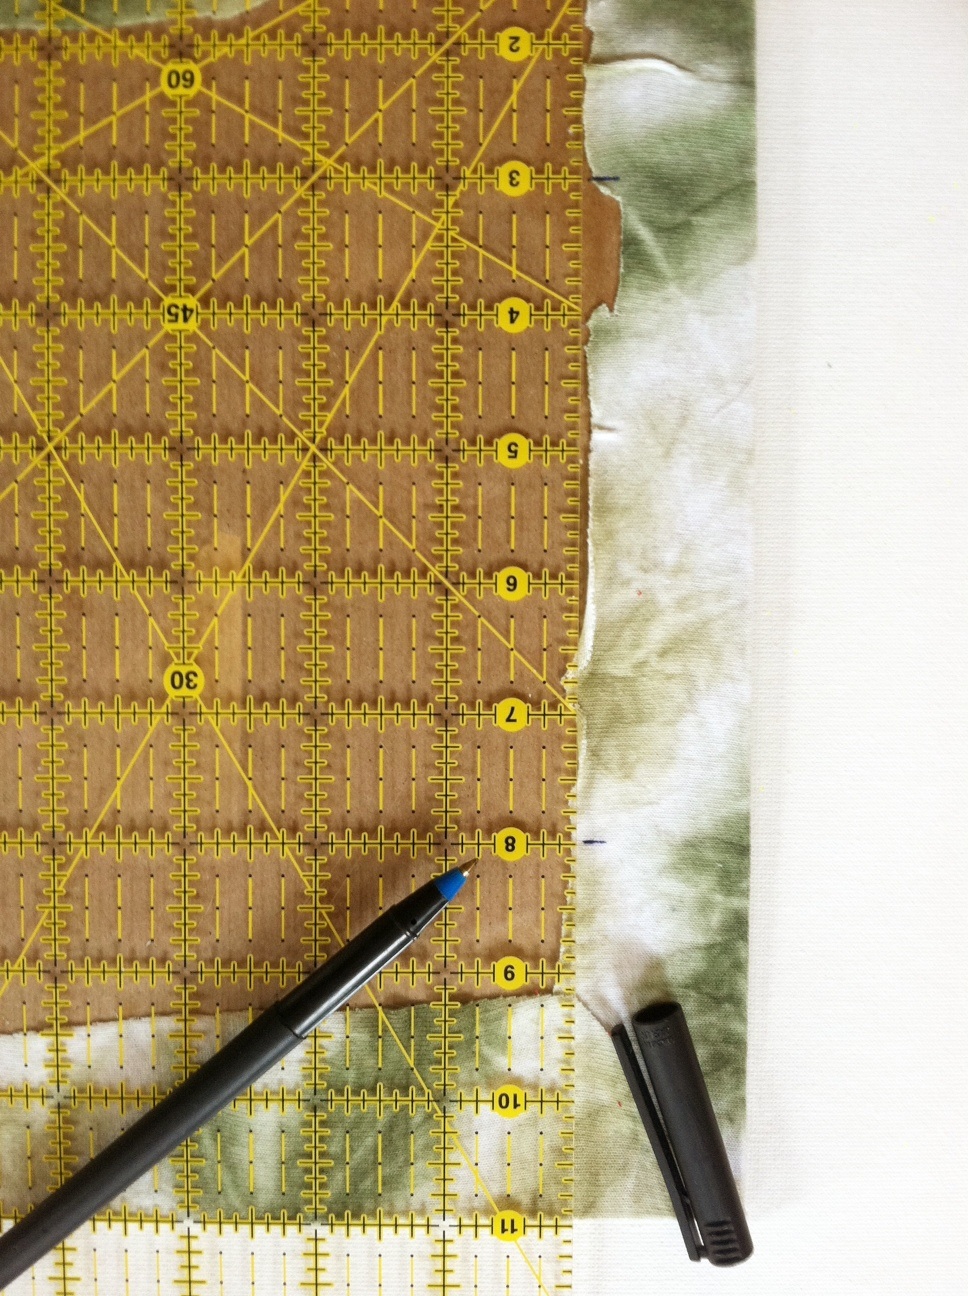
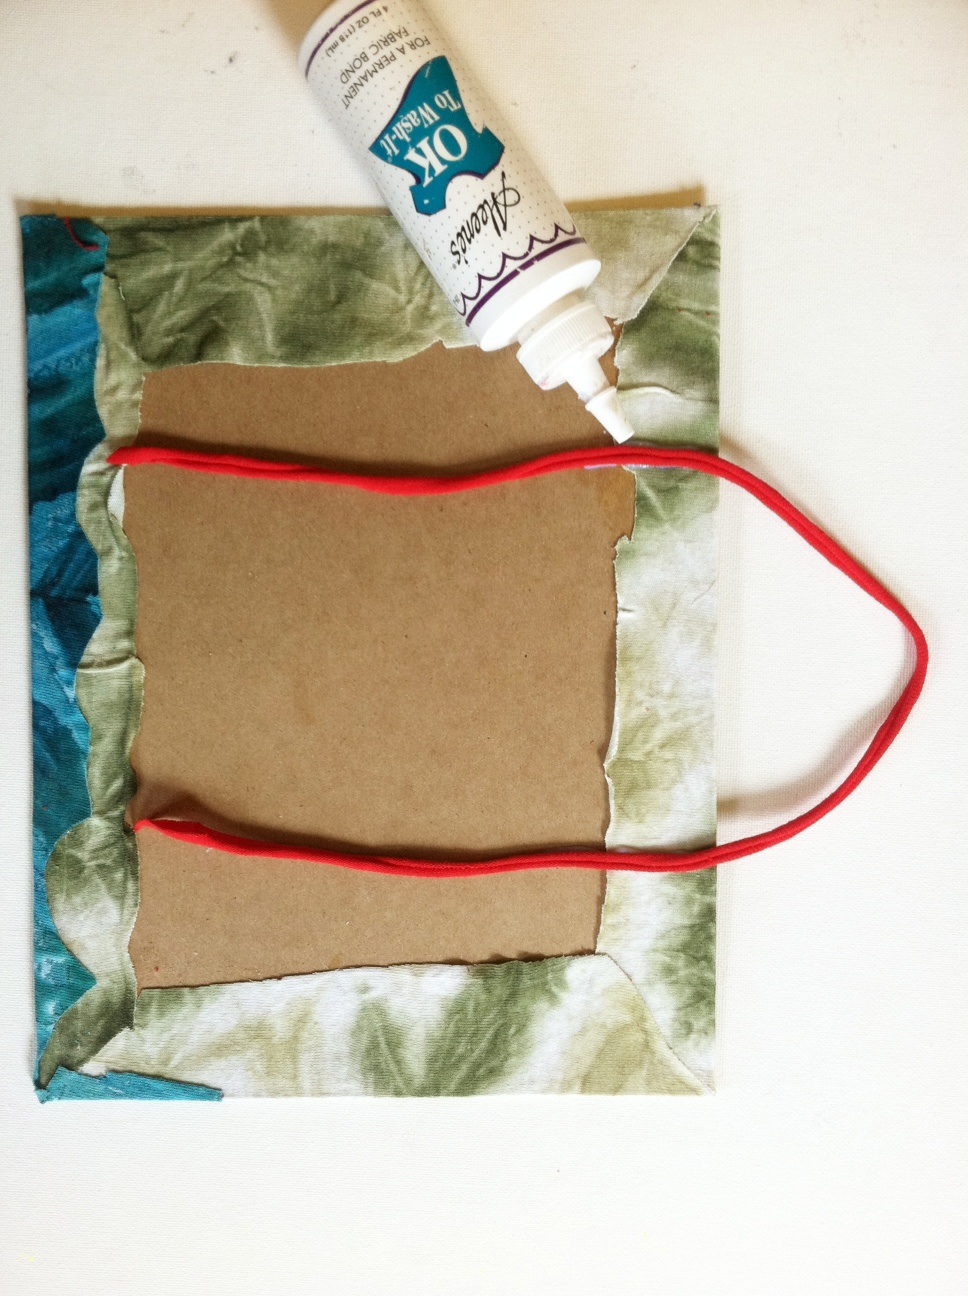
7. Flip one of the panels backside up and measure about 3" in from each side. Mark each point.

8. Squeeze fabric glue at each mark, and press the length of a T-shirt cord into each line of glue.

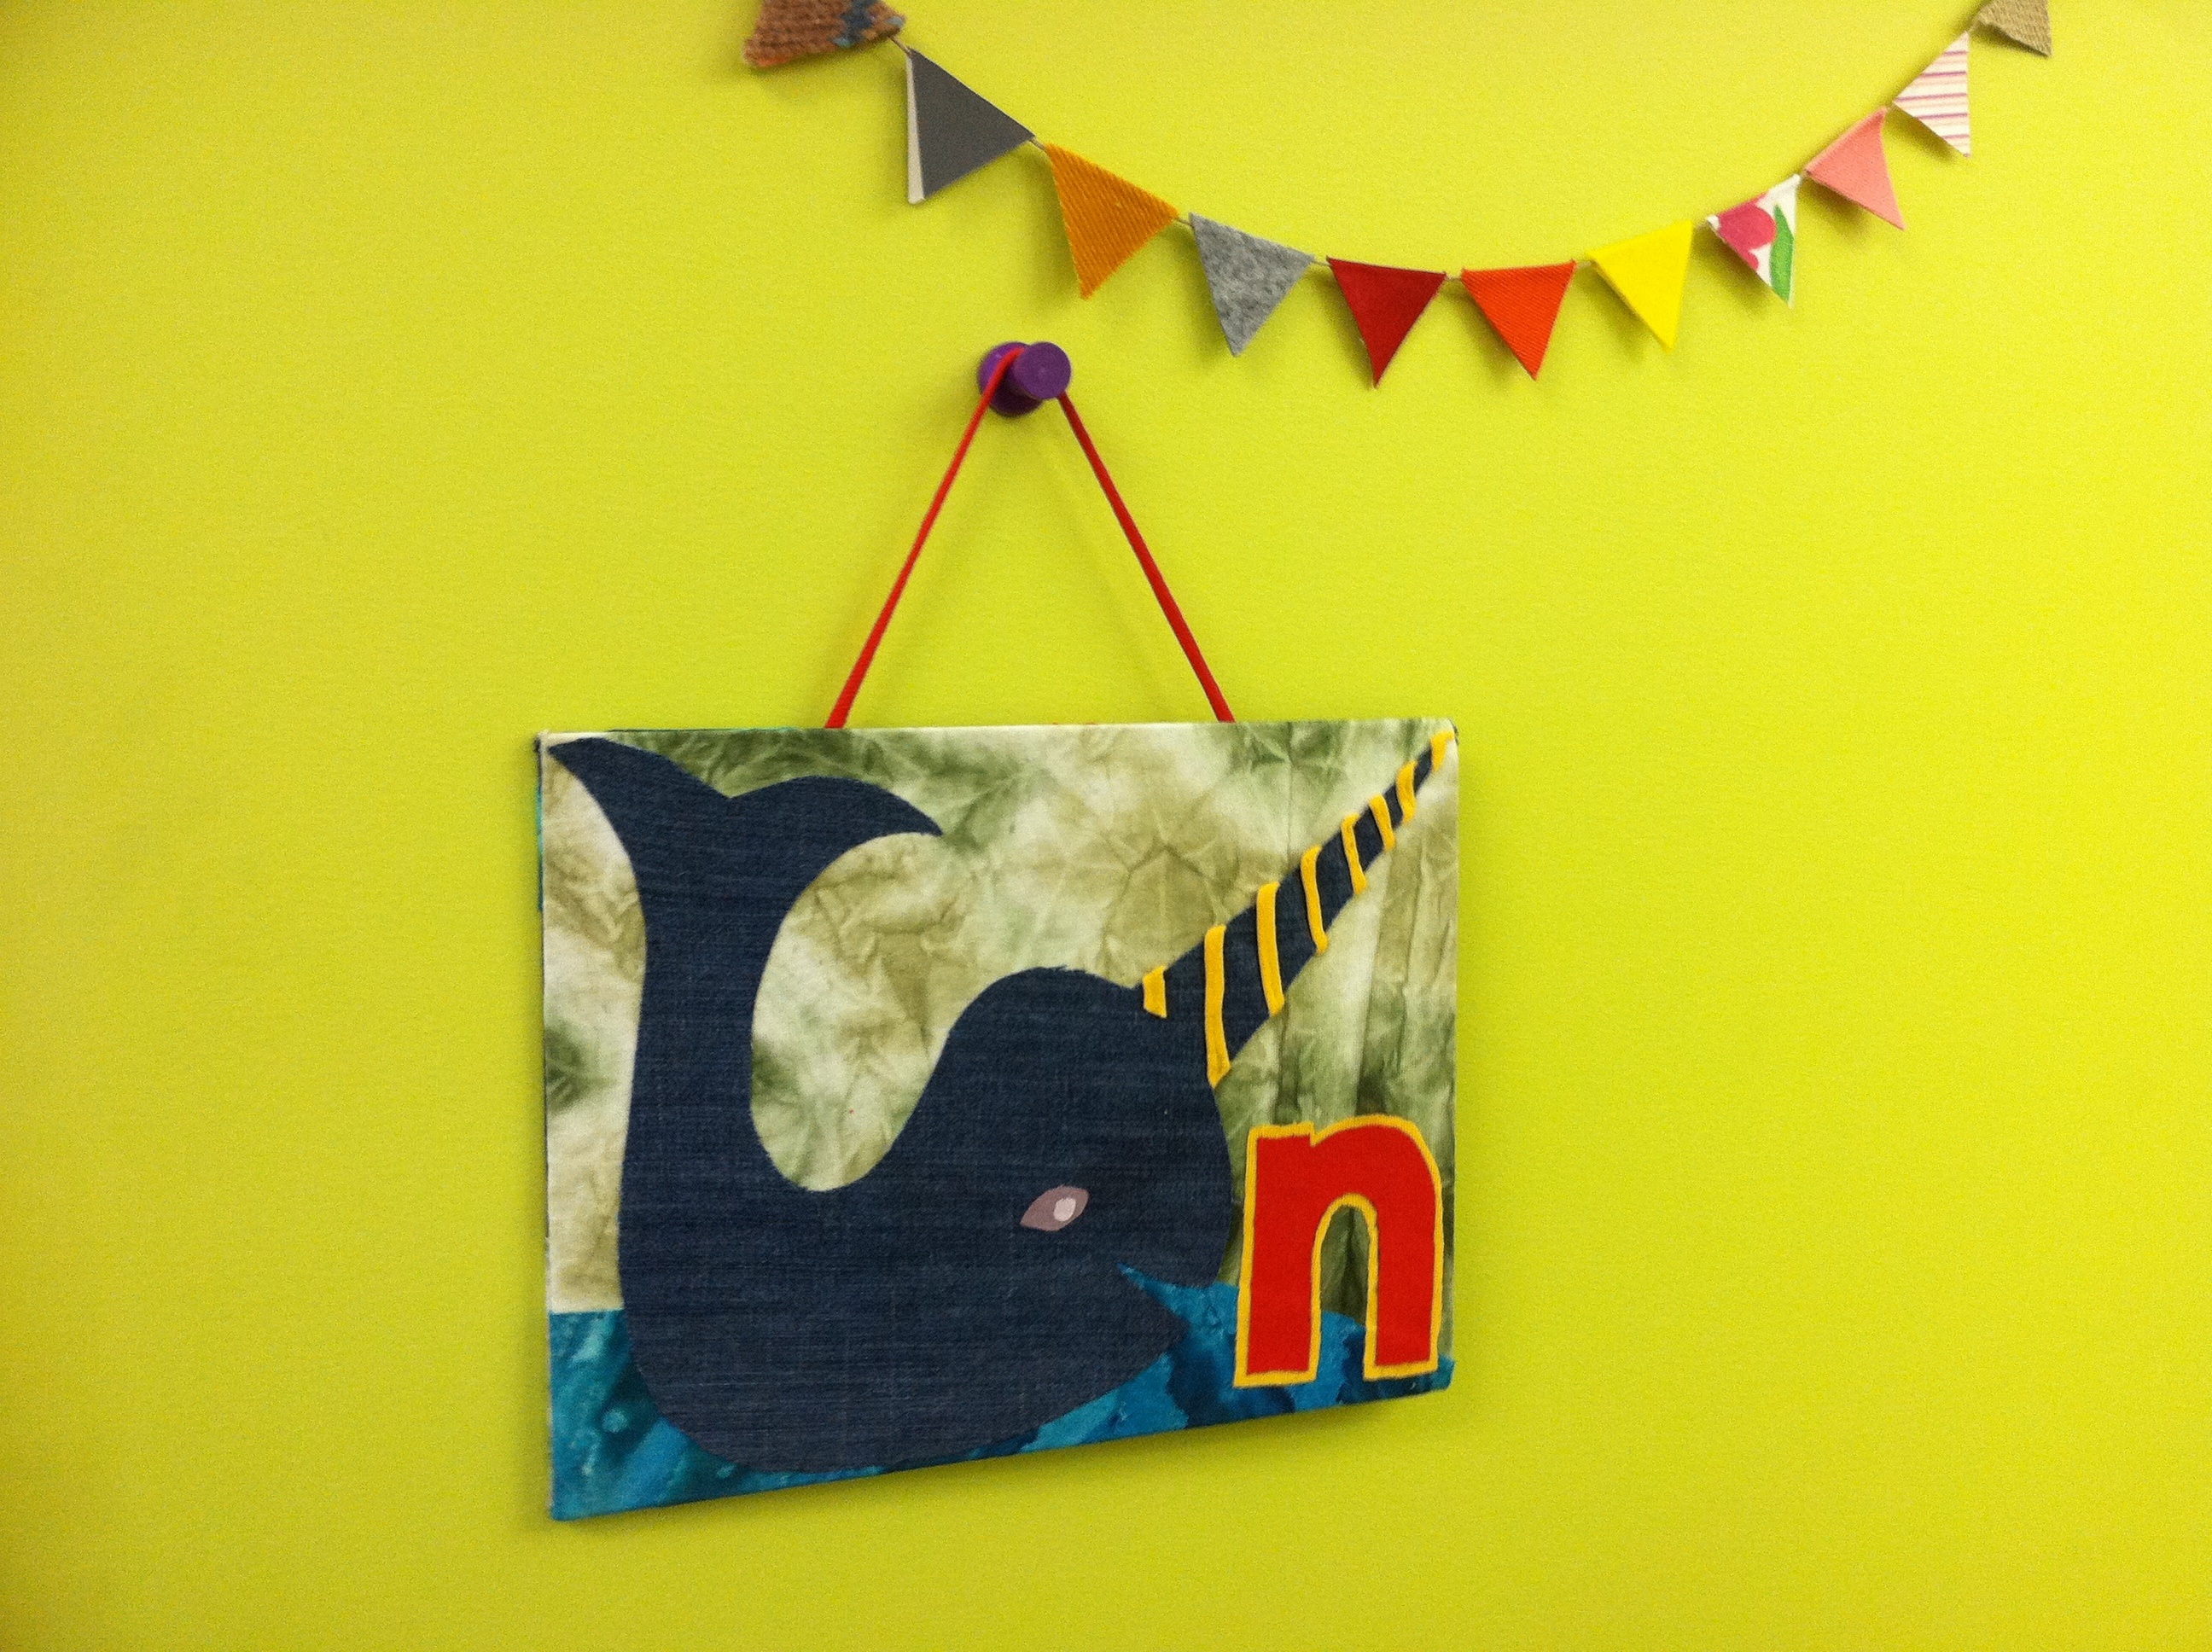
9. Then spread glue across the entire backside of one of the panels and press it firmly to the back of the other, sandwiching the hanging strap ends between them. (This tidily covers any messy work and makes the sign reversible, whether you prefer caps or lowercase -- or narwhals or newts.) Let it dry.

10. A, B, C, D, E, F, G...H, I, J, K, L, M, N is for Newt and Narwhal!

After it's completely dry, choose a side to display and hang it up!

Variations:
-If you're feeling ambitious, make multiple signs to spell out a person's name. Arrange them in a row, a column, or rectangle.
-If you're feeling really ambitious, make the whole alphabet, and line the edges of the room with A through Z animals!
Materials:
-Paper
-Pen or pencil
-Scissors
-Fabric scraps (old T-shirts and denim pieces)
-2 sheets 8 1/2" x 11" medium-weight cardboard (often used as stiffener in a flat parcel)
-Aleene's OK to Wash It or Aleene's Fabric Fusion permanent fabric adhesive
-Ruler
-Fabric paints (optional, for additional embellishment)
1. Select a first initial and then choose an animal (or two) with a name that also begins with the letter: I chose to start with N for Narwhal (that fabulous sea mammal that looks like it was crossed with a unicorn) and N for Newt (an orange salamander. Draw an outline of each animal and the capital and lowercase letter. Cut them out and arrange them on the cardboard to make sure they'll fit. Set them aside.
2. Spread fabric glue evenly over one side of one of the sheets of cardboard and press it onto fabric.
3. Fold and glue the edges to the back of the cardboard. (It's okay if the edges are messy -- they'll be covered up.)
4. Trace one of the paper animal templates (in reverse) onto the wrong side of one of the fabric scraps. Repeat with different scraps with the letters and second animal.
5. Arrange and glue each of the elements onto the fabric-covered cardboard. Add background (like water!) and details (spiral on the horn, eyes!), making sure to layer the pieces appropriately. Let it dry and proceed to decorate the second piece of cardboard!
6. Cover the second piece of cardboard by following steps 1 and 2. Arrange and glue on the embellishments by following steps 4 and 5.
7. Flip one of the panels backside up and measure about 3" in from each side. Mark each point.
8. Squeeze fabric glue at each mark, and press the length of a T-shirt cord into each line of glue.
9. Then spread glue across the entire backside of one of the panels and press it firmly to the back of the other, sandwiching the hanging strap ends between them. (This tidily covers any messy work and makes the sign reversible, whether you prefer caps or lowercase -- or narwhals or newts.) Let it dry.
10. A, B, C, D, E, F, G...H, I, J, K, L, M, N is for Newt and Narwhal!
After it's completely dry, choose a side to display and hang it up!
Variations:
-If you're feeling ambitious, make multiple signs to spell out a person's name. Arrange them in a row, a column, or rectangle.
-If you're feeling really ambitious, make the whole alphabet, and line the edges of the room with A through Z animals!
Subscribe to:
Posts (Atom)