
I'm kind of a nut about decorating for Halloween. Christmas is a close second. Easter and Valentines day even have their own decor around these parts. It was high time that I started showing fall and Thanksgiving the decorating respect they fully deserve. Today my daughter Tallulah and I whipped up a window to celebrate the season. Just don't tell her what I did with her crayons during nap time.
SUPPLIES
Tacky Dots
Scissors
Crayons in fall colors
Wax Paper
Iron
Pencil Sharpener
Tulip Soft Fabric Paint in Brown
Finger Paints
Construction Paper
Paint Brushes
Crafty Chica Fabric Marker
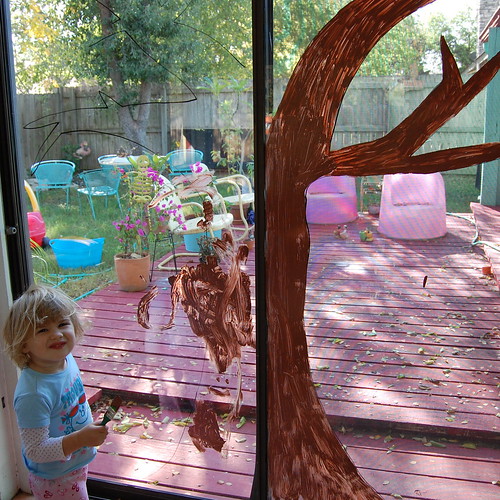
Using a Crafty Chica Fabric Marker (because it was what I had on hand) I drew a tree on one of the sliding glass doors in my house. Next Tallulah and I used Tulip Fabric Paint to fill in the tree. Yup, they both work on glass. You might check a small corner to test on your own windows.
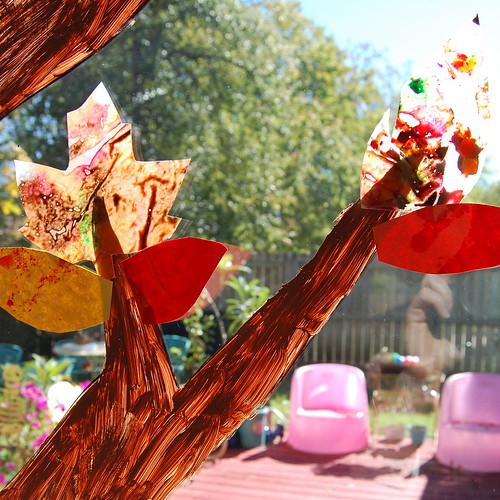
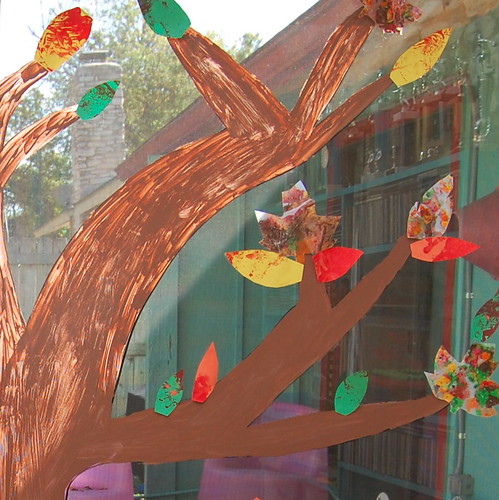
To make the stained glass leaves you will need crayons, wax paper and an iron. I stole a few crayons in autumn shades and using my eyeliner sharpener whittled them down to nubs. I then sprinkled the shavings between two sheets of wax paper. Using a low heat iron melt the shavings between the paper. When everything is cool cut out a few fall leaves.
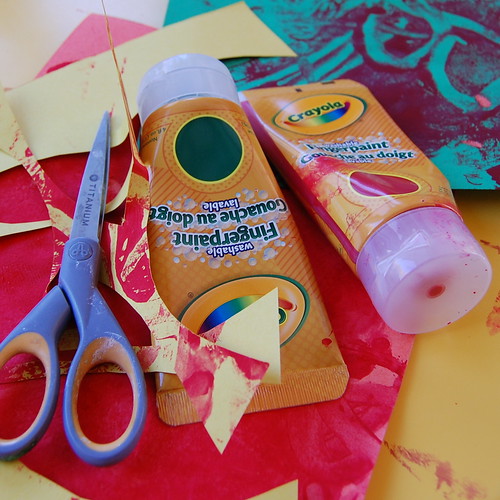
Tallulah helped make the second batch of leaves. I gave her some construction paper in fall colors and some red finger paint and let her have at it. When the paint was dry I cut out leaf shapes from the paper.
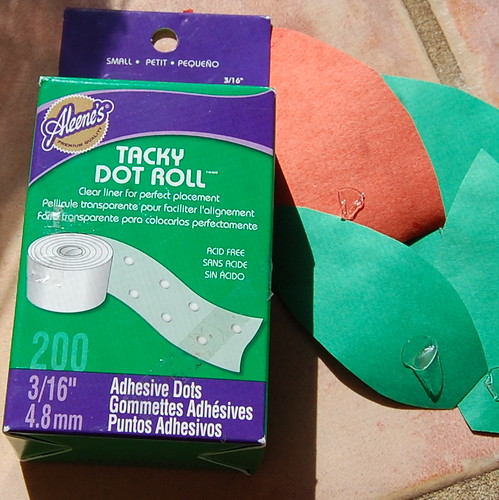
All that was left to do was to add my leaves to the tree using Tacky Dots. I put some in the branches and few falling to the ground. The crayon shaving leaves look great with the sun shining through them.
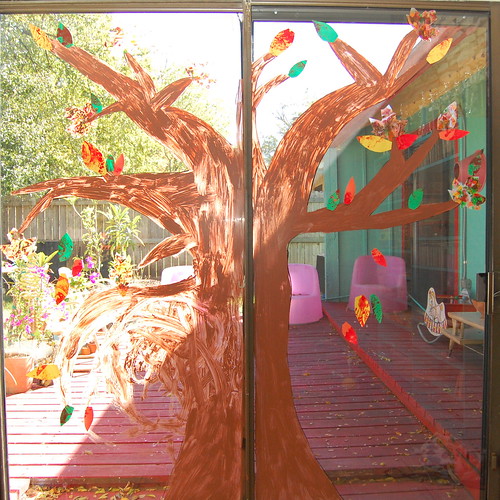
Fall has finally made it to Austin, TX. We may have had to help it along a bit, but it is here. Next week when I take all my Christmas stuff down from the attic I will just use a straight razor to scrape away most of the paint and a little Windex on the rest. Cute, festive and easy.
P.S. If you want to use window markers that would work too. I decorated for a birthday party with them once. Check out more I Love to Create posts here.
Visit us on Facebook!
Craft on!