Showing posts with label one-step tie dye. Show all posts

Tuesday, May 28

Tie-Dye Hawaiian Onesie


Summer is here and it is time to start sporting your hula skirts and/or Hawaiian shirts. Last week I showed you how I tie-dyed Tallulah's hula skirt, this week I wanna show you what I whipped up for Baxter. Boys can get into the spirit of the luau too, just you wait and see.

SUPPLIES

Onesie

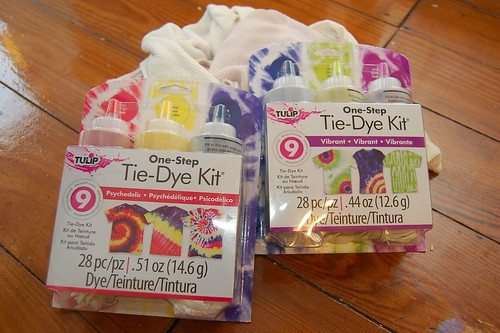
Tulip One-Step Tie-Die Kit

Floral fabric

Scissors

Fabric Fusion Peel and Stick Tape

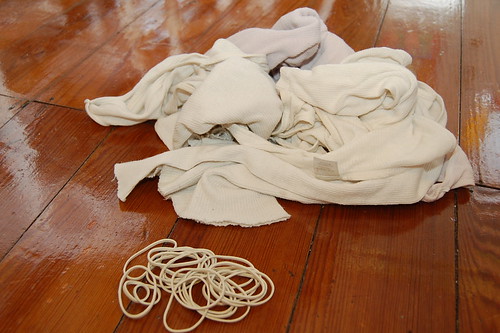
If your onesie is brand new you will need to wash it first.

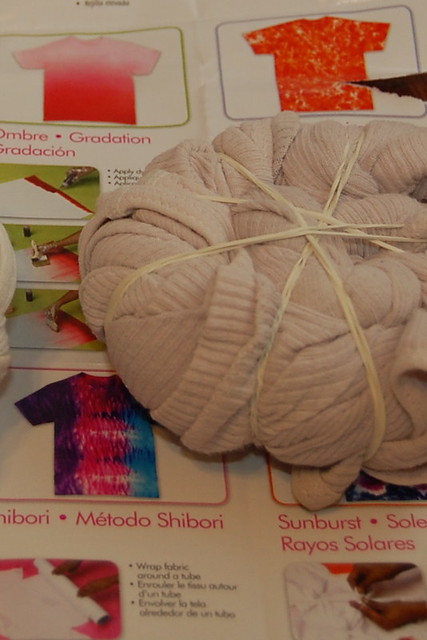
The Tulip One-Step Tie-Die Kit comes with oodles of rubber bands and an easy to follow diagram about how to bind your onesie to get your desired pattern. I went for the twist into a shell shape.

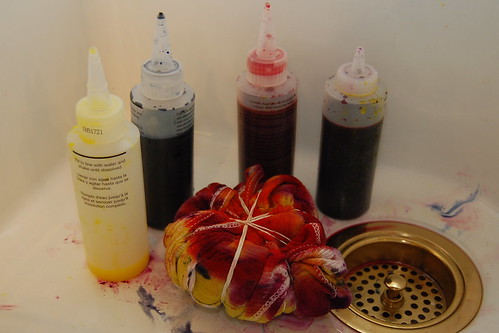
Once your onesie is bound with rubber bands it is time to apply the dye. I went with a rainbow effect adding a different color to each section of the 'pie'. Allow to sit overnight. The next morning wash according to package directions.

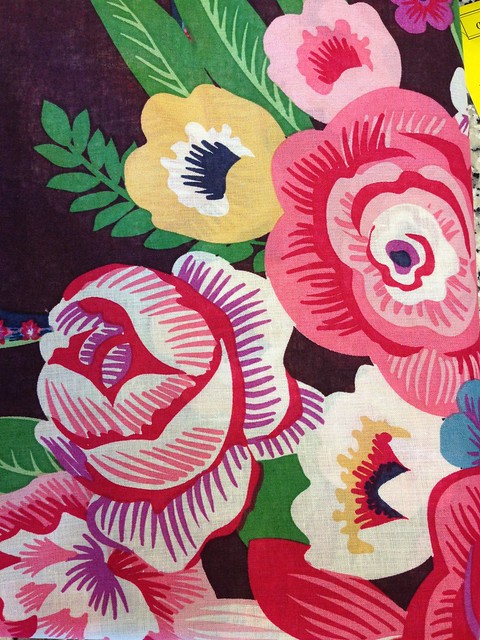
I wanted to add a lei to the onesie to tie my Hawaiian theme together. Like any red blooded mother, I love it when my kids match. I chose a floral cotton fabric.

The next step is to cut out enough flowers to make a lei. Using Fabric Fusion tape attach your flowers to the onesie in the shape of a necklace.

All that was left to do was slap this new outfit on my cutie pie of a son. I think he looks ready for the luau. What about you?

As always thanks to my crafty mama Fredda Perkins for all her help!

Tuesday, May 21

How to make a Tie Dye Doily Collage


Tie Dye Doily Collage
Jaderbomb for iLoveToCreate


I am always looking for a fun way to add Tie-Dye to my home decor. The colors are so vibrant when everything is complete. How fun will it be to see something everyday that adds pure happiness in your life. Since it's almost Summer I thought I would show you how to bring Tie-Dye into your outdoor decor. 
Let's get started because I am super pumped for you to make these! 
You will need:
*Tulip One-Step Tie-Dye Kit :  (Red, Yellow & Blue)
*Vintage Doilies or new ones

*Craft Brushes 
*Picture Frames
*Fishing string to hang them on fence
*Lot's of LOVE

The first thing you will do is fill up your bottles with water.  What I love the most is the powdered dye is already in the bottle when you get it. There is a bold line at the top of the bottle that states how much water to put in the bottle so you don't have to measure anything. 
When you get your pack of tie dye there will be a pamphlet in it showing you different techniques you can use. I like to use this for inspiration and possibly create new techniques from the ones shown on the paper. I always keep this for future reference.
(Trust me it comes in handy, plus it's pretty to look at)

Once you have your design complete in your head put the rubberbands that came with your package on your doily. Have fun and put as many as you want.
I start off by getting an old platter that I am ok with getting dirty and stained. I have an old cookie drying rack that I bought just for this purpose. I like it because it is raised and allows all of the dye to fall into the tray. If you are doing large items you might have to settle for a piece of visquin.
Don't forget to throw on the clear gloves that come with your tie-dye. This will prevent your fingers from getting stained.
I started by applying yellow first on one end. 
Don't forget you can create "other" colors by putting these colors together!
*Red+Blue= Purple
*Red+Yellow= Orange
*Blue+Yellow=Green
*Yellow+Green=Lime Green
These are just some of the colors you can create by mixing.
Then right after the yellow I applied blue since I know the two colors will make a nice shade of green where they touch. You can always squirt more blue directly over the yellow to get more green. 
Grab another doily and repeat the same steps. Make sure you change the pattern of your rubber bands to get different designs. This will look great once you hang them all up together. 
I decided to do an Ombre doily because I think it looks beautiful when complete. To start you will apply a single color to one side. Make sure you squirt out a good amount so you can spread it with your brush. Don't brush completely over the doily if you want to add another complimentary color on the other side. 
I like the color yellow and green create so I added yellow on my opposite end. It's really gorgeous because you get shades of lime green.
Time to dry. I always hang mine from a pot with a clothes pin. I enjoy when the colors bleed into each other. If you don't want the colors to fall downward lay your doily on a flat surface to dry. Let dry for 7-8 hours or overnight. I left my doily's outside all night. When you wake up take off the rubberbands and wash your doily. I recommend washing them by themselves.
(Make sure to keep your rubberbands, they will come in handy for bigger projects)
I love how delicate they look, yet so much fun!
I hope you enjoyed this tutorial! Just imagine how great these will look in your back yard (of course in a protected spot). If you don't have a backyard to put them in, you can always display them in your bathroom, kitchen, carport, living room, kids room or bedroom. 
Big hugs from Jaderbomb to you! See you in the next post.
P.S. I promise when you start playing with Tie-Dye you won't be able to stop, hehe! 
*Find more of my DIY decor at JADERBOMB.COM*
Oh and check out my other posts for iLoveToCreate below!

Friday, April 26

Tie Dye Your Summer + Enter to Win an iPad/Tulip Prize pack

We are so excited about our brand new Tie Dye Your Summer web site! The site is packed with tons of cool inspiration, step by step instructions, videos, and giveaways each month.  It's the one-stop place for all things TIE DYE and we hope you'll join us for the fun!
Here's just a few of the many things you will see when you visit the site...

We're running two awesome Tie Dye Giveaways!  For both giveaways, you can win an Apple® - iPad® mini Wi-Fi - 16GB with Tie-Dye Skin and supplies to throw your own Tulip® One-Step Tie-Dye party. You can enter in the form below -or- enter using Instagram.  All the contest rules and details can be found on our giveaway page!


a Rafflecopter giveaway


Click here for Tons of how-to's and inspiration.  Learn the basics of tie dye (prepping, rinsing, and washing) as well as all these fabulous techniques. The instructions are shown in clear, easy-to-follow photos along with lots of projects using that technique. And we've also compiled an informative list of frequently asked questions tie dye questions that will make your project the best it can be.

You might just want to try out the spiral technique!  So much of the fun of tie dye is the "MAGIC" reveal when you see the how your dyed item turned out!
Learn all about the history of our Tulip One-Step Tie-Dye Van. You'll also find info on our Tie Dye Tour down the California Coast this summer along with dates and photos of our appearances. Learn more on our Follow the Van page.

Planning a tie dye party?  We have a great video and detailed steps to plan a fun afternoon with you and your friends! Click here to find all the Tie Dye Party Planning details!

And finally, on our product page, you can see our brand new Tulip® One-Step Tie-Dye packaging!  It's so eye-catching and fun.


We hope you'll take a look at the site and that it will inspire you to TIE DYE ALL THE THINGS! 

Tuesday, April 27

Behind the Scenes at iLoveToCreate: Tie Dye Lion


Here in our design studios, we are revamping our walls with custom art we make ourselves using our iLoveToCreate products! Check out Ed's amazing tie dye lion creation he made using old tie dye t-shirt scraps (originally created using One-Step Fashion Dyes! Talk about upcycling! And a cool way to make an impact on a white wall!

Tuesday, April 14

Basic Tie Dye Video with Maya!

Crafty Chica's™ daughter Maya seems to have gotten the crafty gene too! Check out this funny and highly creative craft video that she made. Great job Maya!

Clicky Web Analytics
Pin It button on image hover

Subscribe to our newsletter

* indicates required
I am interested in products and inspiration for...
Close