
Showing posts with label ornament. Show all posts

Thursday, September 10

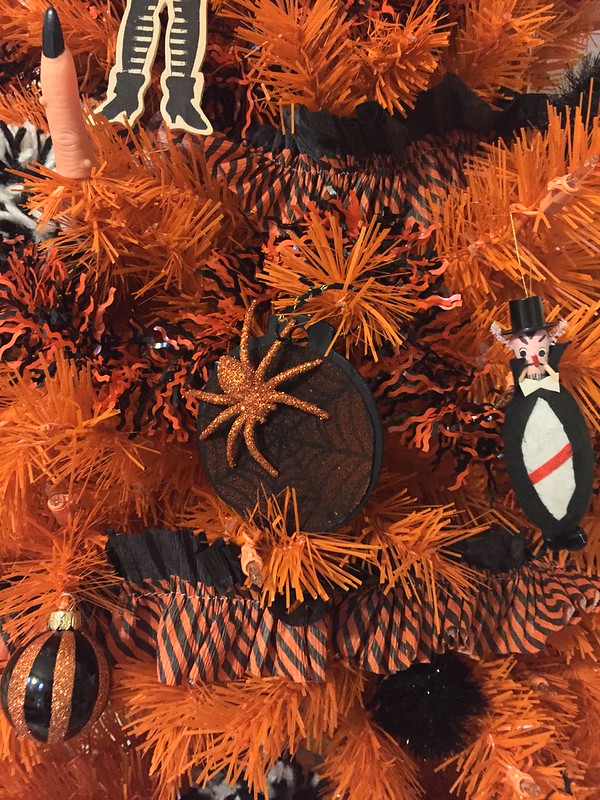
Halloween Spider Web Ornament How-To


I have a Halloween tree. OK, I have a lot of Halloween trees. Finding ornaments for a Halloween tree can be tricky business. Luckily it is easy to make your own.

Thursday, December 13

Hot Air Balloon Christmas Ornament How-To


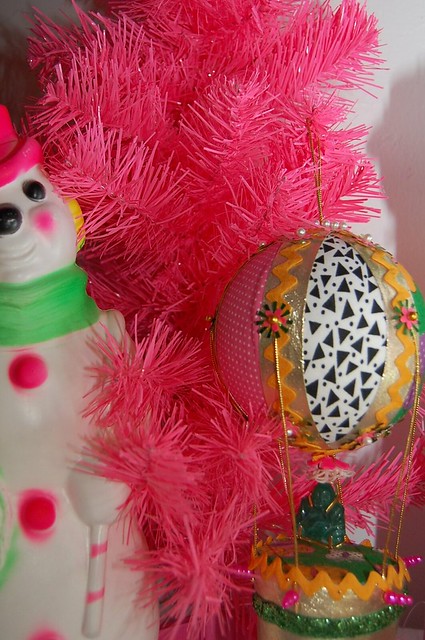
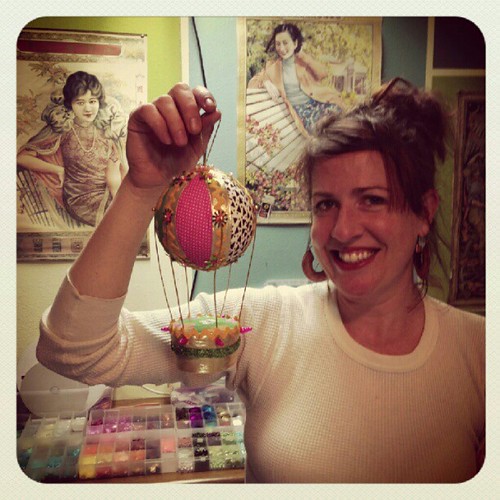
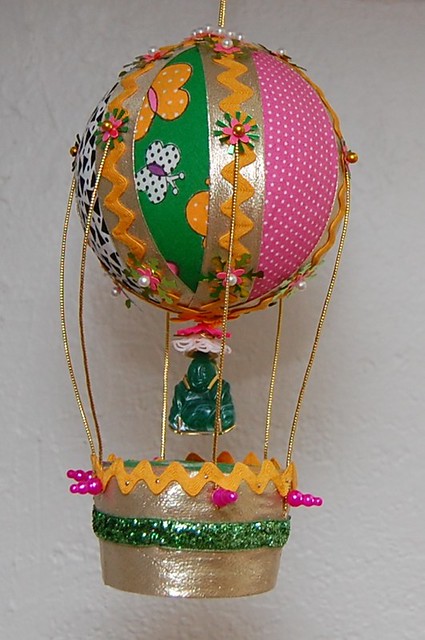
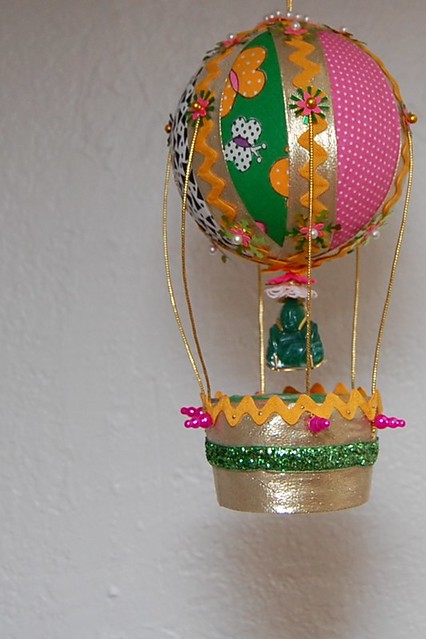
I recently got to spend the evening at one of my favorite places in Austin - Stitch Lab.  Well actually, the old Stitch Lab. It was evening of crafty fun with some fabulous ladies.  We all decided to take a class together to learn how to make spangled ball ornaments.  You know, like the tacky ones your Aunt Zelma had on her tree.  Ya those.  Anyway, I made mine into a hot air balloon so today for I Love to Create I thought I would show you how to make your own.


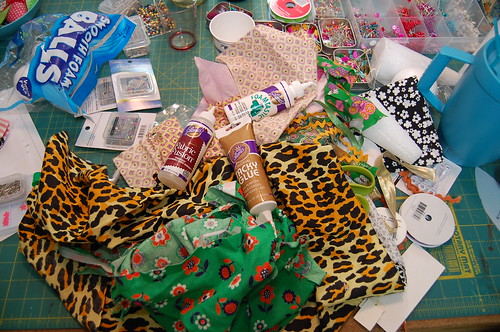
SUPPLIES
foam ball
foam Cone
Serrated knife
Aleene's Foamtastic Foam Glue
Fabric Scraps
Decorative Ribbon
Sequins
Pins (sequin style and those with decorative heads)


I don't wanna give away too many of the trade secrets so that people will still take this amazingly fun class.  First things first you want to cover your ball with fabric.  Use a combination of sequin pins and Foamtastic Glue. Once you have a base on your ball it is time to start adorning and that is where the fun begins.  Use trim and ribbon to cover any raw edges you might have.  Again a combination of glue and pins can be used.  Using sequins, beads and decorative pins add sparkle!


For the bottom of your hot air balloon cut off the base of a small foam cone using a knife with a serrated blade.  Use another piece of foam as sand paper and smooth out the rough edge.


Cut fabric scraps and ribbon to fit on your base and using Foamtastic glue and pins attach into place.


Once you have your balloon and base looking how you want it is time for them to join forces.  Cut 6 lengths of decorative trim.  Mine are about 5"s long.  Dip the ends of your string in glue so they do not fray.  Using pins attach the string to the balloon at the equator of your ball.  Next attach the string to the base.

All that is left to do is add some string to your ornament and hang.  I added a wee little Buda charm to mine, but be sure to give someone a ride in your new hot air balloon.

Thursday, November 29

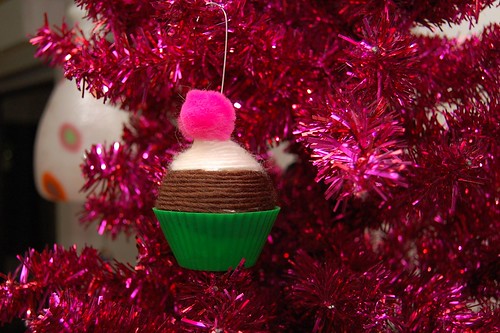
Yarn Wrapped Cupcake Ornament How-To

Christmas time is here! Finally I can start decorating the house and making crafty Christmas ornaments. Ok, the decorations have been up for a few weeks - but now I can openly talk about it. Today for I Love to Create I want to share a fun ornament I whipped up in about 5 minutes.
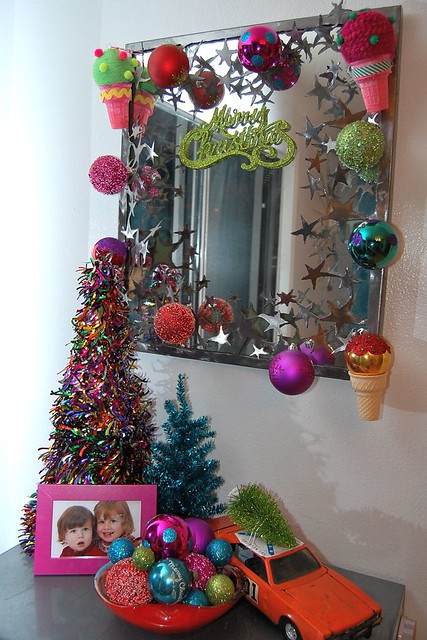
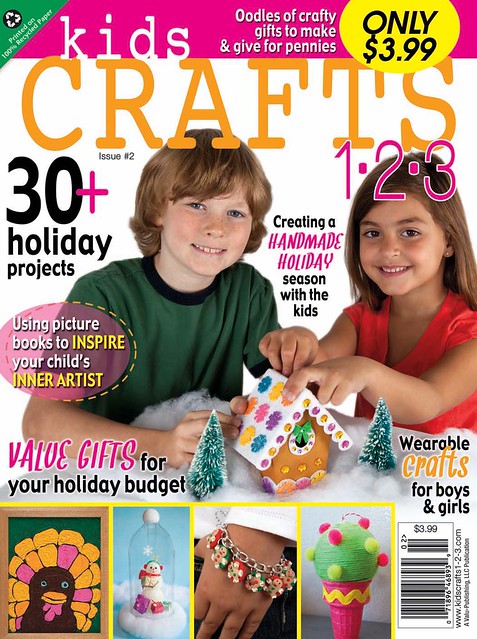
By now you have hopefully been to Walmart and gotten your hot little hands on a copy of Kids Crafts 1-2-3 the new magazine I am the editor for. I also happen to do a few of the crafts from time to time. You can see my handiwork on the cover with an ice cream cone Christmas ornament. The ornament is a yarn wrapped version of an ice cream cone ornament I did last year. I decided to roll with the sweet theme and go for a cupcake version!

SUPPLIES

Aleene's Tacky Glue

ornaments

Silicone cupcake liner

Scissors

Yarn

pom pom

The first thing you want to do is find ornaments that fit in your cupcake liners. Once you do that wrap your ornament in yarn. I went for a chocolate cupcake with vanilla icing look.

When your ornament is completely wrapped in yarn glue into your silicone cupcake liner. Feel free to add gem stone sprinkles or a pom pom cherry on top.

All that is left to do is hang from the tree. Now I need to figure out how to make a doughnut version of this ornament.

Thursday, November 1

DIY Holiday Ornaments with Pattiewack


It's the time of year to get in the spirit and start thinking about holiday décor and the gifts you are going to give. Here's six super fun ornament ideas that Pattiewack created perfect for decorating the tree, trimming a gift, or displaying in a bowl! Check them out!


Here's some great close-up examples featured in the video...


Which one is your fave?


Friday, December 2


Cool2Craft TV for December 5, 2011: Ornaments

Join host Tiffany Windsor for a new episode of Cool2Craft TV. This week's show theme is Ornaments. Tiffany creates a felt ornament with Aleene's Fabric Fusion Peel and Stick Sheets and Aleene's Fabric Fusion Peel and Stick Tape, EcoHeidi Borchers shares a favorite vintage Aleene's technique to create a Forged Foil Bird Ornament with Aleene's Original Tacky Glue and special guest Candace Jedrowicz crafts up a Photo Ornament with Aleene's Tacky Sticker Sheets. It's a terrifically tacky and creatively cool show!

It’s easy to watch the Cool2Craft TV Channel right from your computer. Airing Monday December 5, 2011 9am Pacific/10am Mountain/ 11 am Central/ Noon Eastern. Go to http://cool2craft.com and find the Livestream player and chat box. See you Monday!

Visit us on Facebook!
Craft on!

Thursday, October 21

Terrifying Topiary & Keepsake Ornament


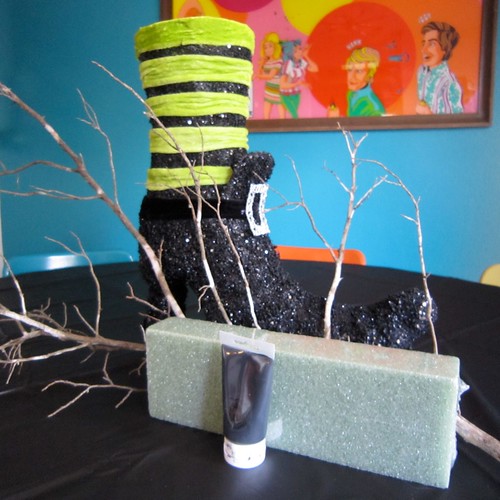
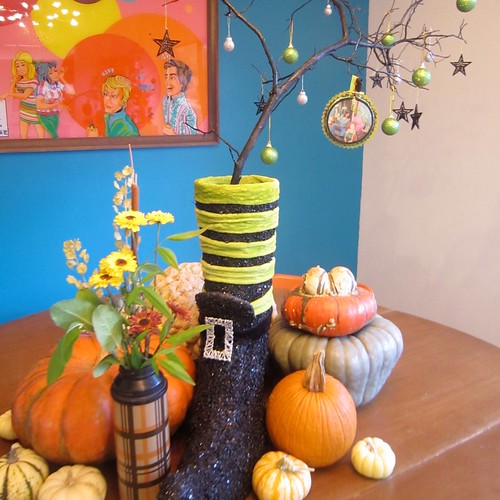
This week I have been chatting about creating the perfect Halloween themed table. Whether you are having a Halloween party or maybe just a few people over for dinner there is no reason not to set the mood with a festive centerpiece - and the mood is easier to create than you might think.

SUPPLIES
Vessel (I used a witches boot)
Florist Foam
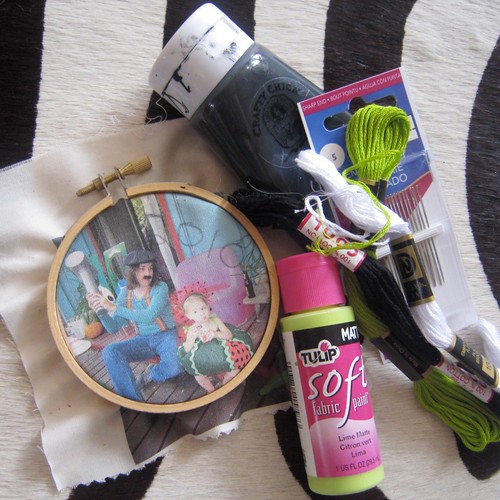
Crafty Chica Paint Pack
Scraggly Branch
Small Embroidery Hoop
Decorative Paper
Aleene's Tacky Glue
June Tailor Printer Fabric
Embroidery Floss
Decorative Ribbon
Embroidery Needle
Scissors
Small Christmas Ornaments
Paint Brush


First things first you are going to need the perfect creepy branch. This was a harder task than I had envisioned. It was even brush pick up week in the neighborhood so everyone had their trees trimmed, but none of the branches I spied on my walks were quiet right. Luckily the fam and I took a stroll to a local park where I found the perfect dead branch.


Your other quest for this project is finding the right vessel. I discovered my giant witch's boot at TJ Maxx. You are going to need florist foam to stuff inside your vessel and hold your branch in place. You are also going to need to paint your branch black with Crafty Chica paint for the full creepy effect.


I was pleased as punch with the centerpiece at my party! I found some small Christmas ornaments in black, silver and lime green at Hobby Lobby and decked the halls. This week however I had an epiphany. People make keepsake Christmas ornaments, why not make one for Halloween?


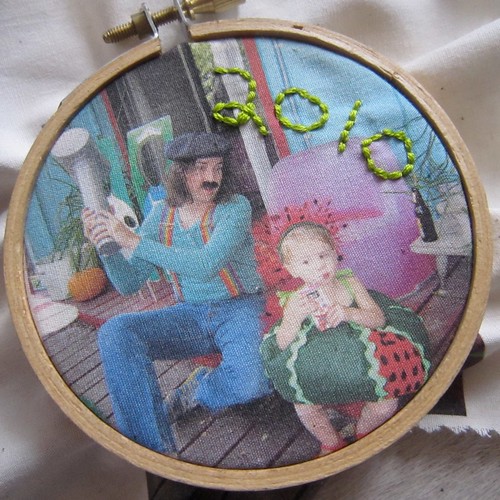
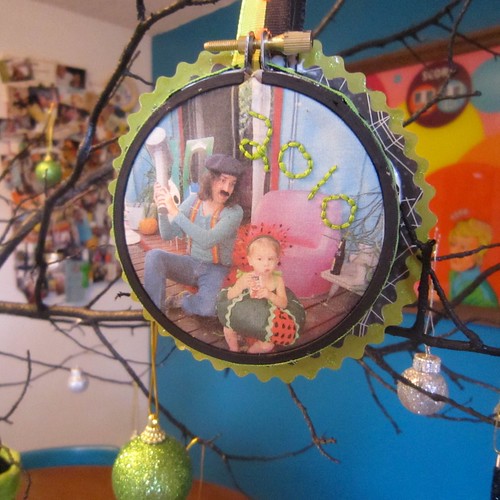
This year for Halloween Chris and Tallulah had a group costume. Chris was Gallagher, complete with Sledge-o-Matic and Tallulah was a squashed watermelon. I printed a picture of them up on fabric that goes through your printer. I wrote 2010 in pen on the fabric so I could embroider the year.


Using the wee-est of all wee embroidery hoops I could find I stretched my fabric and embroidered my 2010 using a simple back stitch.


After I was done embroidering I removed my photograph and set it to the side. Using Crafty Chica Paint in black I painted my wooden embroidery hoop. After the paint dried I trimmed the edge of the hoop with decorative ribbon using Aleene's Tacky Glue.


I made a back for my ornament using decorative paper and black craft felt. I attached a loop of ribbon so that I could hang my ornament from the tree.


Now all I need to do is make an ornament with a picture from Halloween 2009 and the tradition has begun!


Craft on!Click here for today's daily giveaway!
Clicky Web Analytics
Pin It button on image hover

Subscribe to our newsletter

* indicates required
I am interested in products and inspiration for...
Close