Showing posts with label planter. Show all posts

Thursday, July 9

Easy Air Dry Clay Embellished Pottery


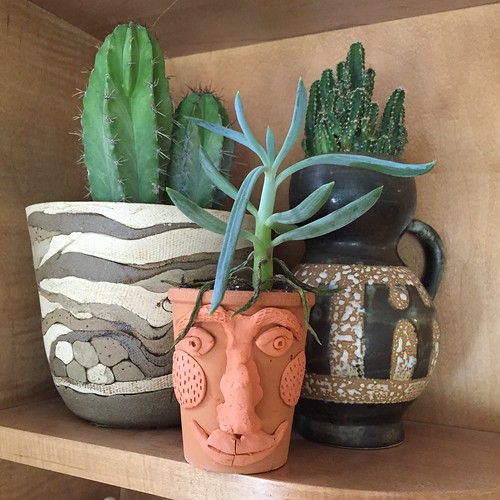
One of my crafty life goals is to learn how to throw pottery on a wheel. I can just see myself all Ghost style making ceramic magic. As a warm-up I have been playing with a lot of air-dry clay. You can make all kinds of fun things with this stuff. I thought I could embellish store bought pots by just adding a bit of clay. I was almost right, all I needed was some Tacky Glue.

Thursday, July 2

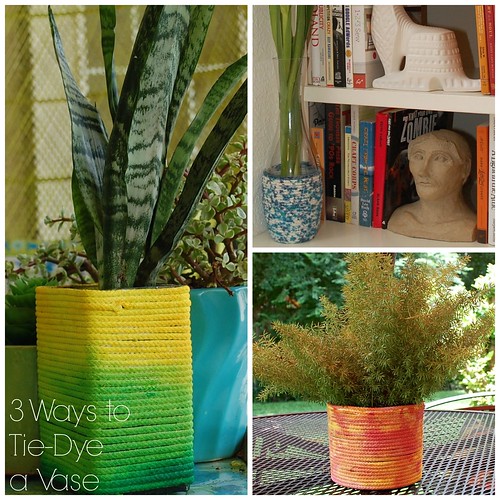
3 Fun and Funky Ways to Update a Thrift Store Vase with Tie-Dye


Cotton clothesline might be one of my favorite craft mediums. You can wrap it in yarn, paint it and now I have discovered dying it. So versatile and fun, who would ever think to use this stuff just for laundry when it is possible of so much more.

Thursday, October 9

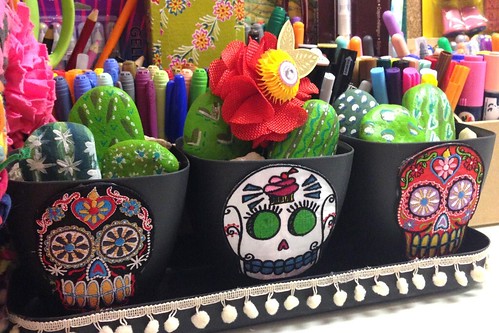
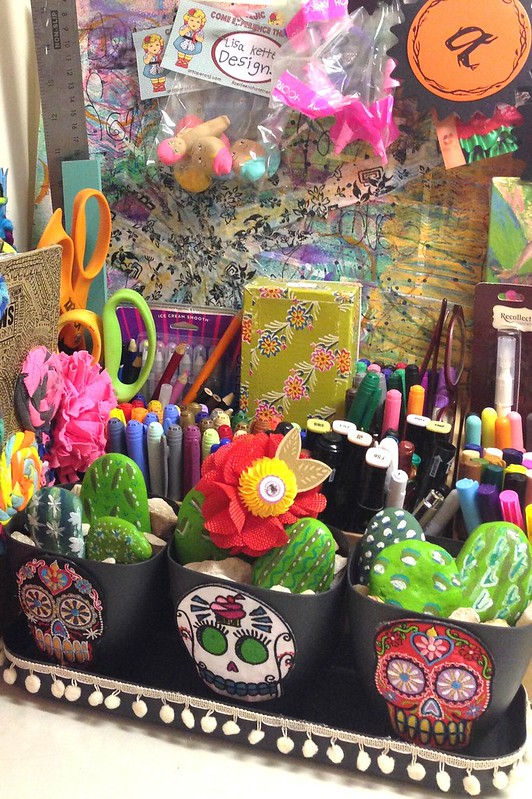
Day Of The Dead Faux Cactus Bookends


I love all things Day of the Dead. This rich vibrant holiday from Mexico has a beautiful meaning and adorably fun symbols. Leave it to the Crafty Chica to take sugar skulls to the next level. These iron on patches from her new line look great on a pair of jeans (just ask my daughter), but they also look good on a faux cactus planter.

Monday, April 7

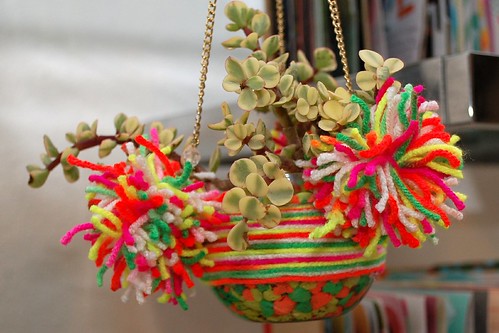
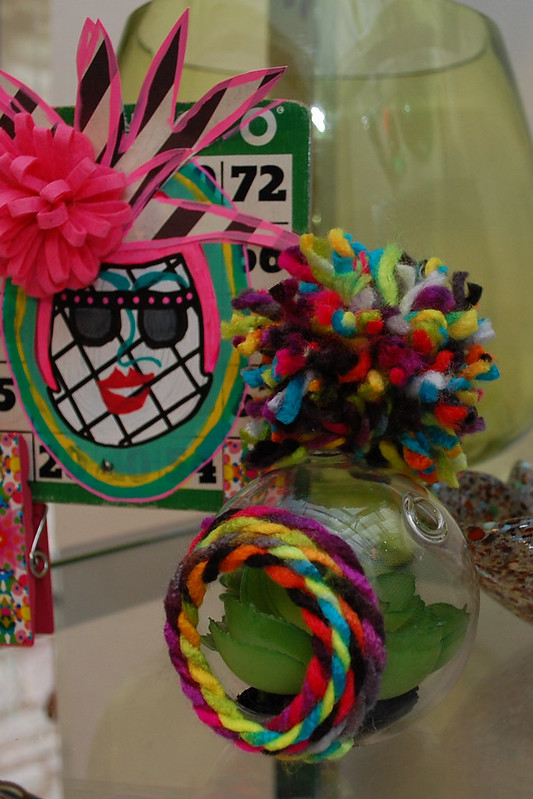
Yarn Wrapped Boho Succulent Planters

Air plants and succulents are hot. White hot. A quick glance through Pinterest and you are sure to spot a cluster of hanging glass globes with a wee little plant inside. I too love the trend. So much so that I decided to customize my planters. Bust out the yarn and Tacky Glue and let's get started.

Friday, May 3

DIY Mexican Painted Planters


It's Cinco de Mayo weekend and I know there is a lot of sombrero and chili pepper crafting going on, so I thought it was my duty to up the ante a bit and show a new side to Mexi-themed party decor! (I refuse to do sombreros and chili peppers for personal reasons, lol) How about learning to paint your own Mexican-style pottery?
 
Here at iLTC, we have a whole wall filled with shelves of blank bisque. This week I came across these wall planters that reminded me of Ensenada, Mexico. They had amazing, beautiful designs like this:
I decided to try my hand at the planters and give them my own spin! Here is what you need:
Pencil
Eraser
(carbon paper if you want to trace designs)
Duncan Blank bisque: 31531 Teardrop Wall Planter (you can ask your local paint on pottery store to order for you!)
Duncan® Cover-Coat® Opaque Underglazes or Duncan Concepts Underglazes
Red, blue, white, green, yellow, orange, teal, purple.
Duncan® French Dimensions™
Pure Brilliance® Clear Glaze
Assorted brushes
Fan brush or sea sponge

Draw your designs on the bisque. Don't worry, the pencil will burn off when you fire. Erase if needed. This is to get your design down, so you know where you want to apply the paint. I ALWAYS sketch my design first, it makes the process so much easier!

Once your base is completely covered with your paint, let it dry. For a traditional look, you'll want to add thin white lines to outline. I skipped that part because I wanted to give it my own spin!


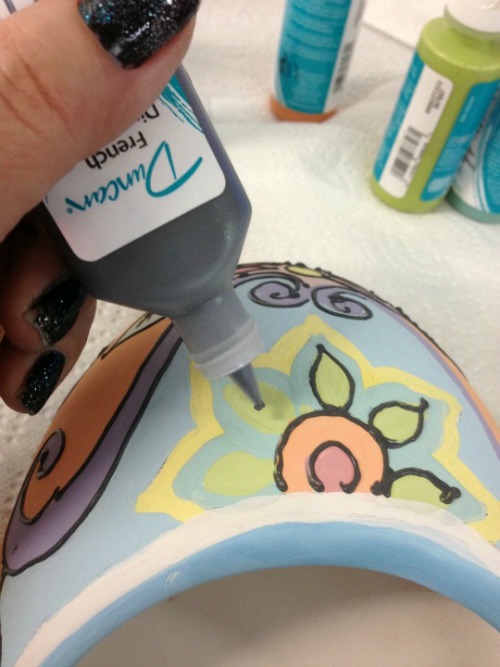
Time to break out the French Dimensions, this is my favorite part! It's like Puffy Paint for ceramics! Make sure the liquid flows easily from the tip, otherwise your hand will cramp from squeezing. I always knead my bottle before I open it and turn it upside down and tap, tap, tap, so the paint goes to the top of the bottle.

Outline everything in black! In the picture above, the photo on the left is the paint dry, and the photo on the right is of the paint still wet. It will look super matte when it is dry, but will fire to be super colorful and brilliant!

Once it is all dry, you'll want to coat it in glaze. This will make it super shiny and bold. TIP: I ONLY use a fan brush or a sea sponge to blot onthe glaze, otherwise the paint can smear and you'll cry because your work will be ruined!


Here are my pieces, glazed and in the kiln! fire at cone 06, if you glazed the back of the pieces, make sure to add stilts!


Thursday, October 6

Witch Nosedive Planter


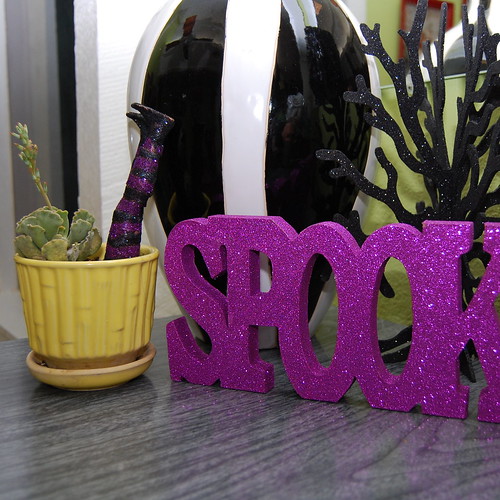
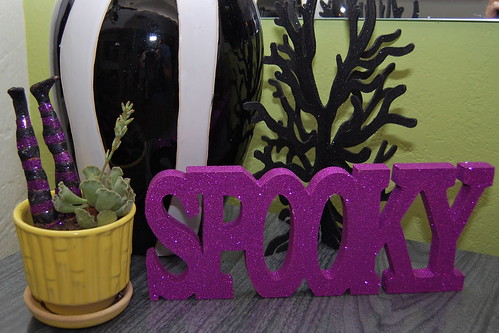
One of my favorite Halloween ideas I have seen this holiday season is a planter with two striped legs sticking out of them as if a witch lost control of her broom and did a nose dive. Today for I Love to Create I decided to make a small scale version in a potted plant.


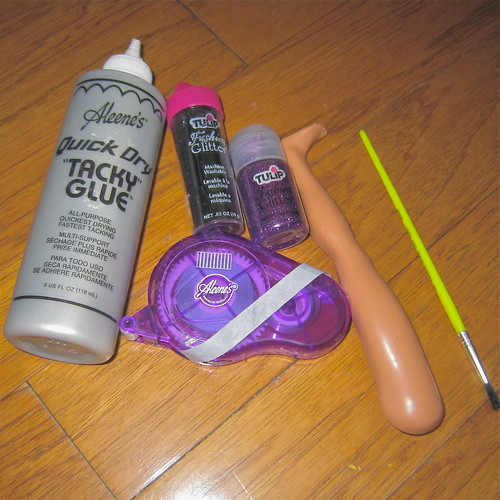
SUPPLIES
Aleene's Tacky Line Runner
Barbie Legs
Aleene's Quick Dry Tacky Glue
Tulip Fashion Glitter Black
Tulip Fashion Glitter Purple


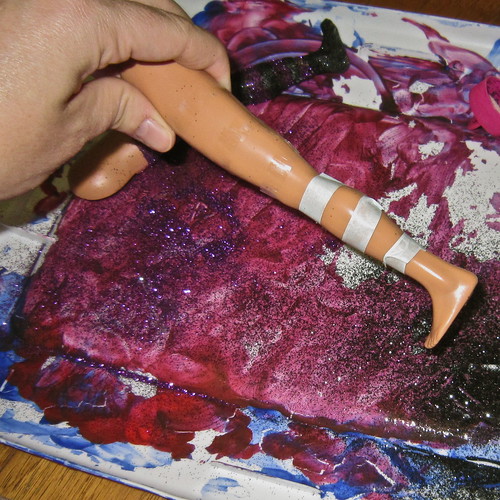
Stripe your legs with Tacky Line Runner. Once you have your first set of stripes cover with one of the colors of glitter. Shake off excess.


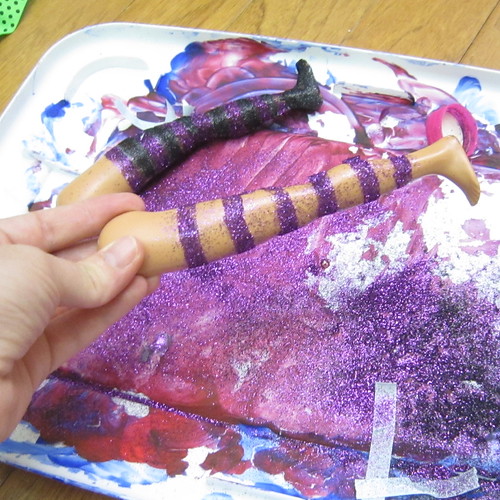
You can use the tape for the second set of stripes, but I opted for a paintbrush and glue. I was afraid I would have to handle the legs too much to add a second stripe of tape and would remove the glitter with my hands. After I had wet glue on the remaining stripes I sprinkled with the second shade of glitter. Be sure to give your witch legs some black shoes.


All that is left to do is stick your legs in a pot. I just bought a pair of striped tights tonight to make the big life size version for my front porch. I'll be sure to post pictures when I'm done!


Visit us on Facebook!
Craft on! Click here for today's daily giveaway!
Clicky Web Analytics
Pin It button on image hover

Subscribe to our newsletter

* indicates required
I am interested in products and inspiration for...
Close