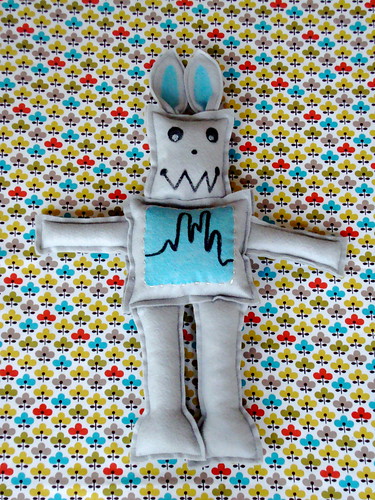
Rabbits are nice but robots are (dare I say) cooler--this year add a little techie love to a traditional bunny to make the kids a Robbit plushie for their Easter basket! Here's how.
Grey Felt
Poly or Bamboo Stuffing
Sewing Machine & Grey Thread
Fashion Graffiti Fabric Paint Tagger (in either color: Soho, Merge or Taxicab)
Fabric Marker (Black)
Tulip Matte Fabric Paint (White)
Fine Tip Paint Brush
Optional: Embroidery Needle & Floss (Silver & Light Blue)
Optional: Wooden Skewer
How-To
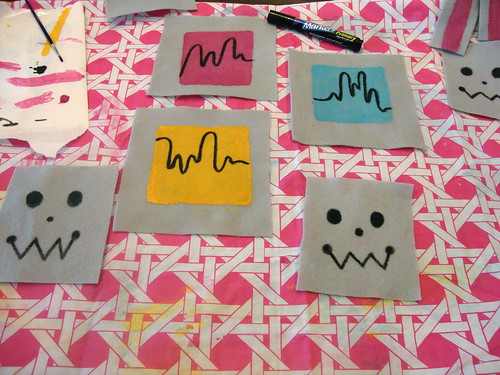
- Cut front & back pieces for the head, body, legs, arms & ears (see photo below for examples.)
- Use Fabric Paint Tagger to color in the center of the front ear pieces, and a square on the front body piece. Let dry.
- Use Fabric Marker to draw a robot-y face on front head piece and the frequency modulator line on the body front.
- Using needle & floss, embroider detailing on the body & eyes (optional).
- Sew Robbit together using a top stitch & 1/4" seam allowance; stuffing all pieces (except the ears) as you go along.
Note: If you don't want your Robbit to be all flopsy-mopsy, insert a wooden skewer through the stuffing in the body & head.
Blue Robbit
Pink Robbit
Yellow Robbit
Beep-beep, hippoty-hop--Happy Easter!
Craft.Rock.Love,


1 comment:
These plushies are so good! Hope it was a great Easter for you. Best of luck to you!
Post a Comment