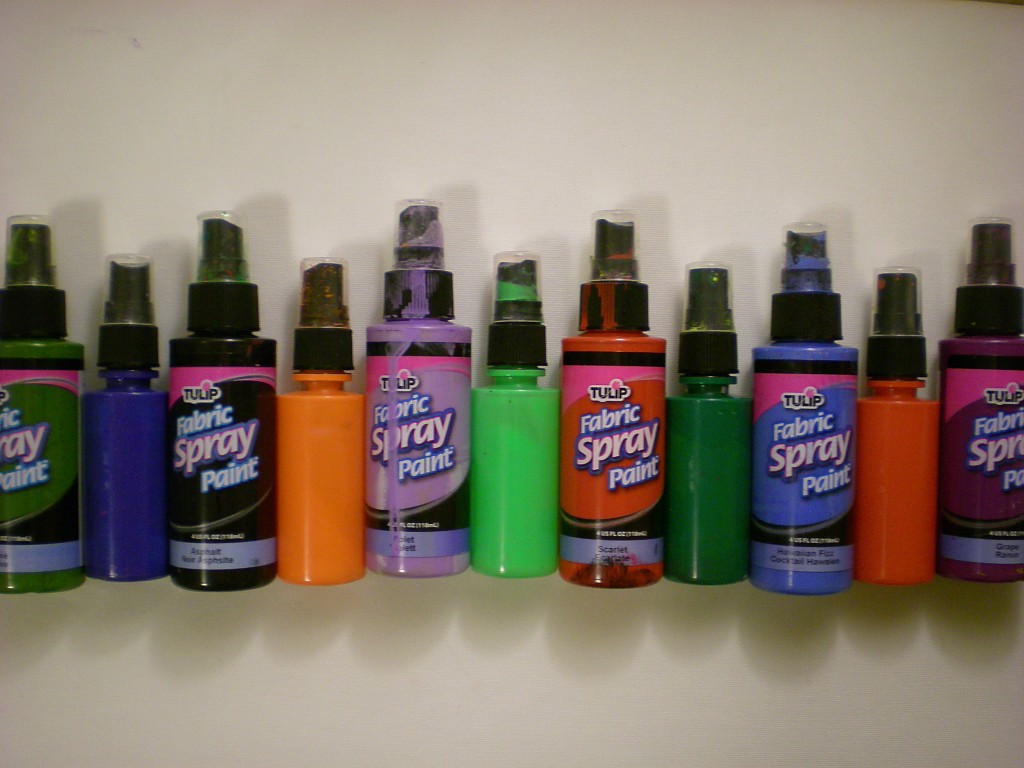
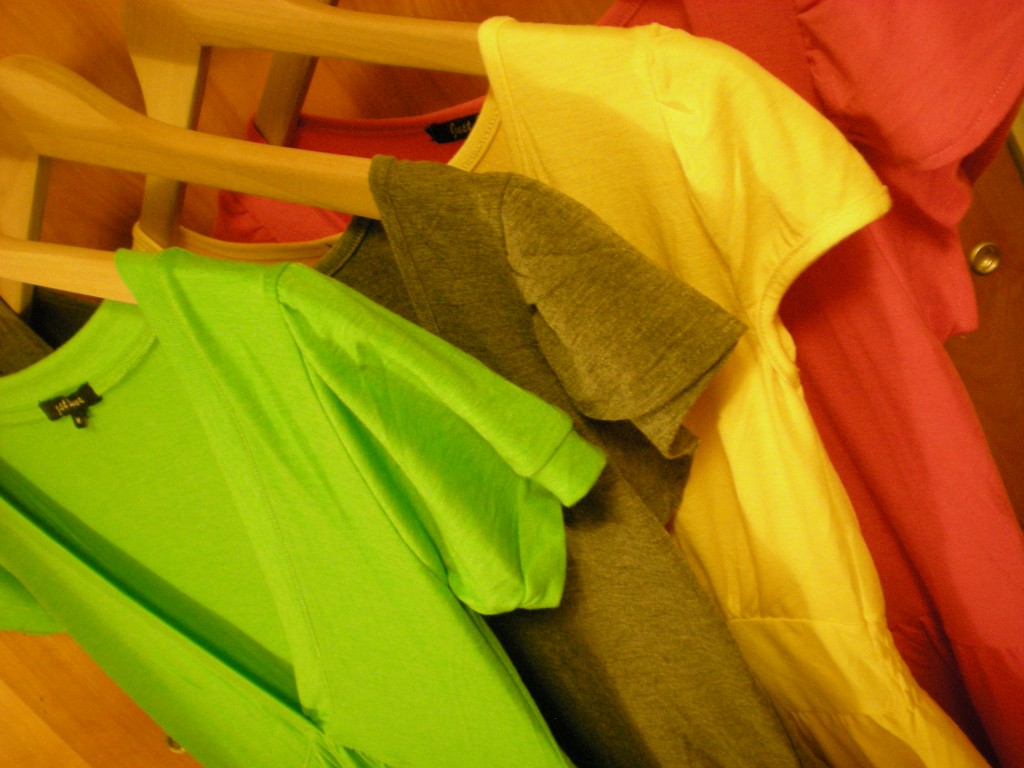
As some of you know, I've been just a little bit obsessed with my spray paints lately. And it's because they're the perfect quickie spiff-up and surface embellish for T-shirts, pillows, dresses--or any other fabric item you want to spray! Since it's spring, though, I grabbed up some plain cotton dresses to spray. Here are four different ways to pair those fabric spray paints with templates made from materials around the house including masking tape, stationery stickers, and freezer paper. Pull your spray paints from your holsters!
Once your paints are assembled, select your surfaces (in all different colors--though light colors will take the paint best).
Then introduce any number of "secret weapons from around the house" (i.e. items that can be used as templates or stencils to mask parts of the fabric (i.e. freezer paper, permanent marker, a craft knife; map dot stickers; rectangle sticker labels; masking tape) in each of the individual projects below!
1. Yellow Brick Road
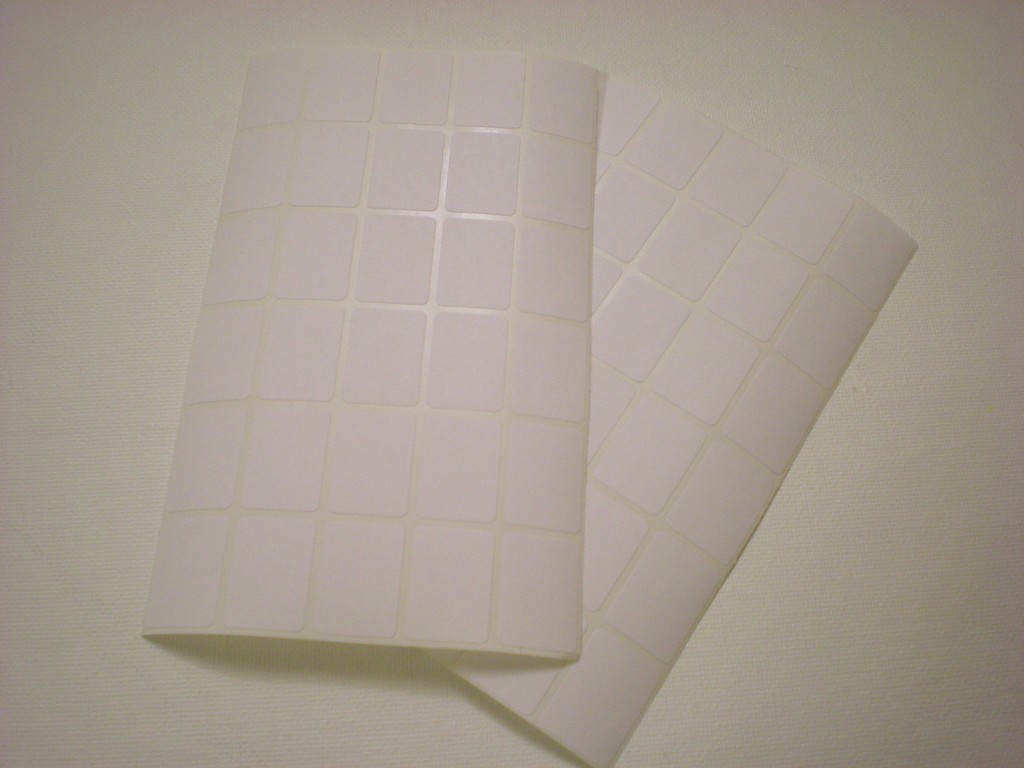
Secret weapon from around the house: Rectangle sticker labels
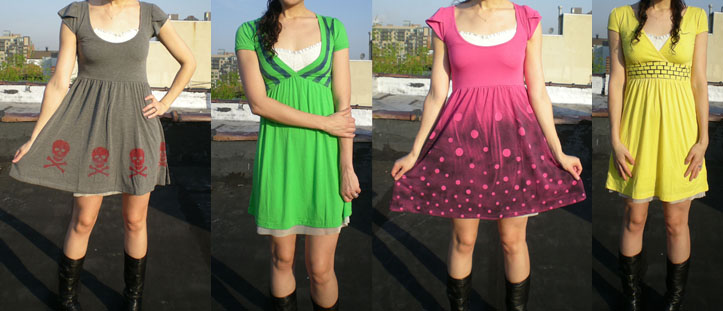
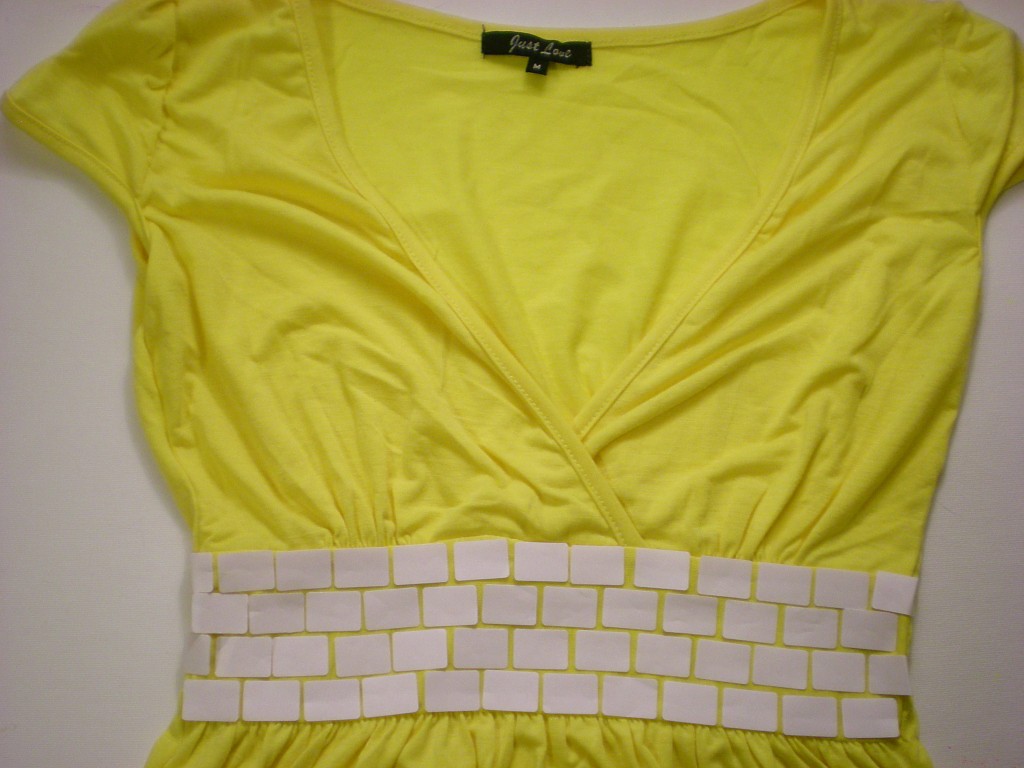
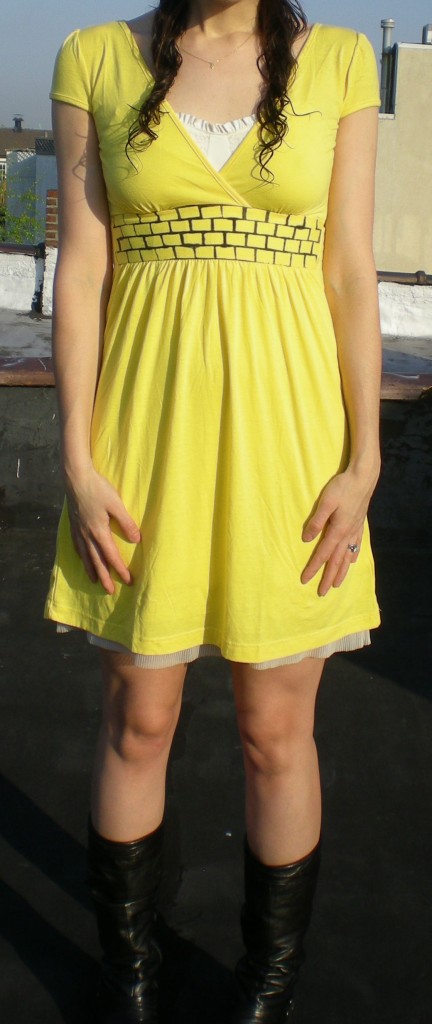
Originally, my plan was to stick on these labels in a checkerboard pattern to give the dress the feel of a racing flag. But the stickers so easily lent themselves to being bricks, that I immediately thought of the yellow brick road in the Land of Oz.
I chose to follow the yellow brick road along the waistband, but you could lay your bricks around the hem of the dress, up and over the shoulder, or a circle them all over the dress. I laid one row of bricks and then stuck down a second row, offsetting the first brick in the second row so that the rest of the stickers in that row would be slightly staggered to create the brick pattern.
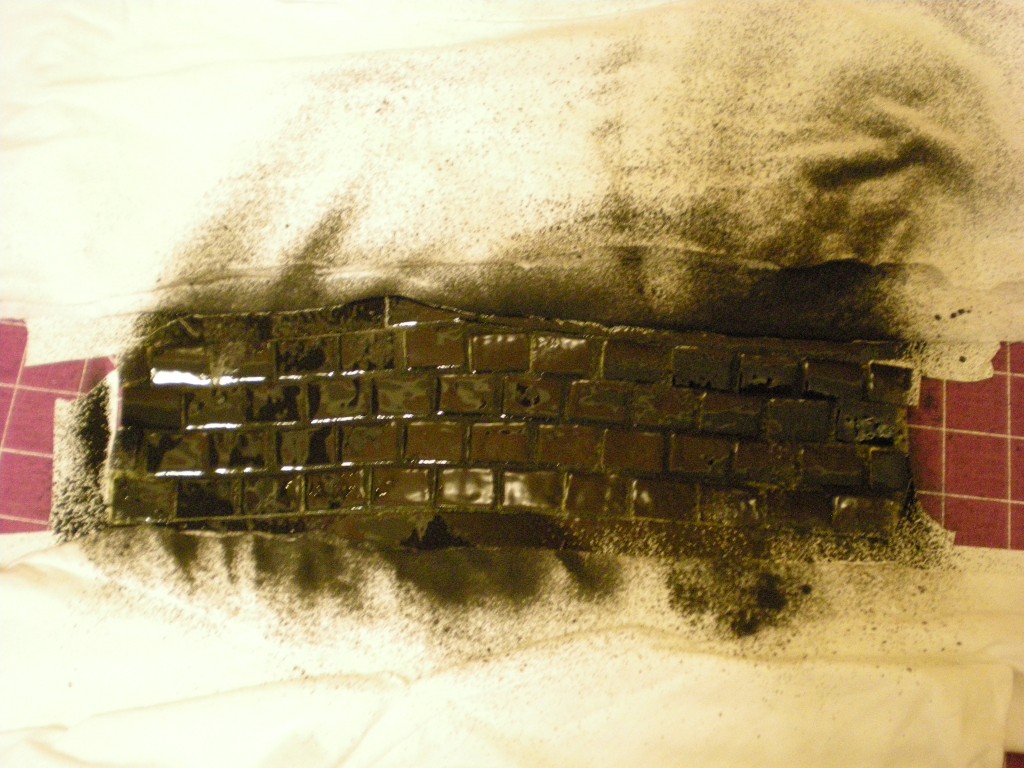
Mask the rest of the garment before spraying (I used T-shirt scraps and paper from my recycling bin) so that you can contain the paint to only the area you want to color. I used black spray paint to make the yellow bricks really pop!
Let the paint dry completely before you peel off the brick stickers and try it on!
2. Skull & Bones
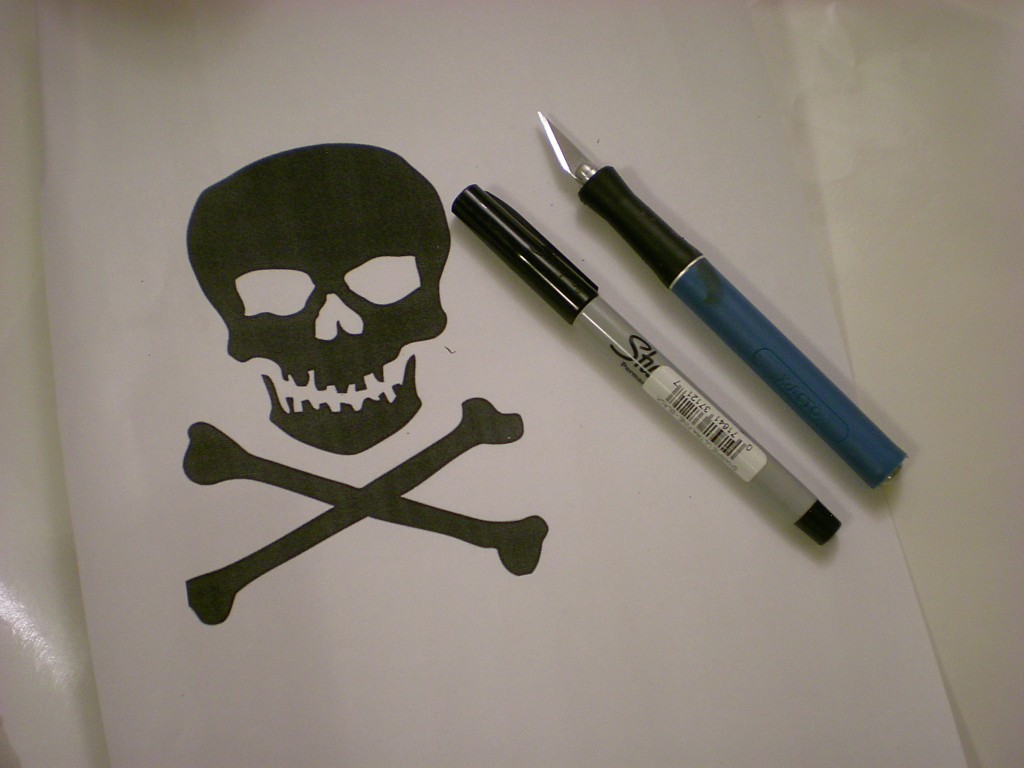
Secret weapons from around the house: Freezer paper, high-contrast image printout, marker, craft knife, and cutting mat
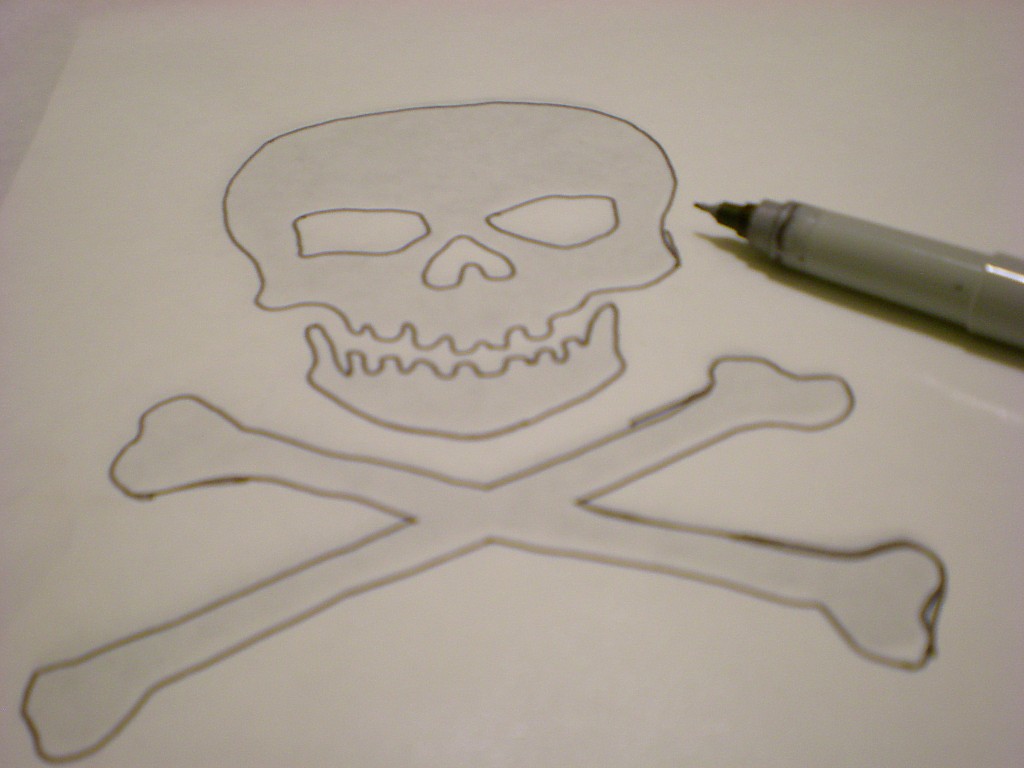
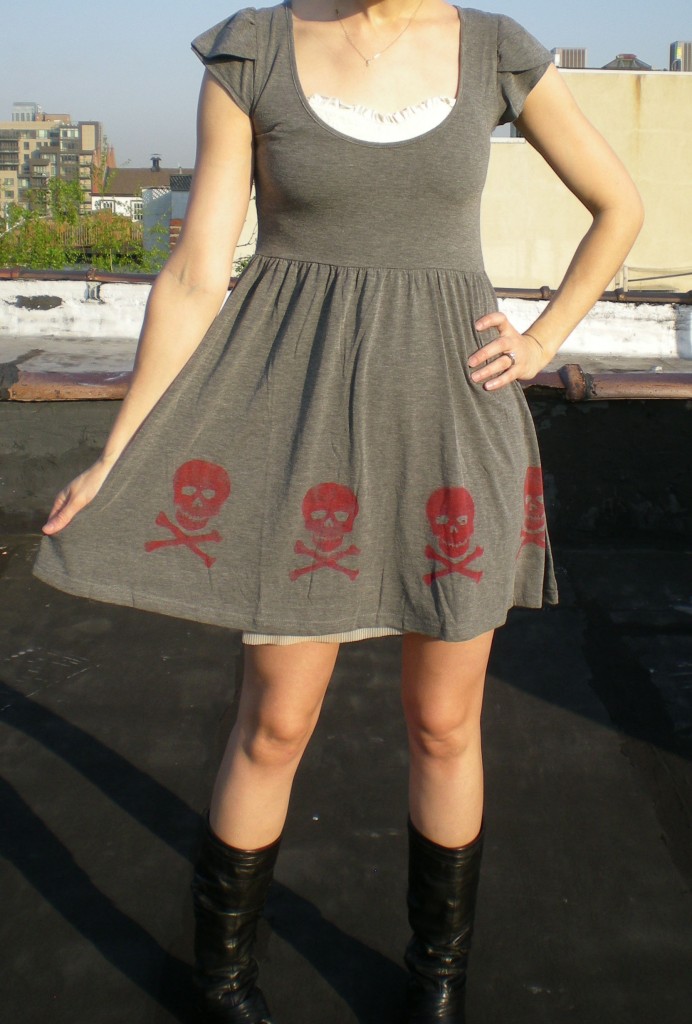
I chose the classic skull and crossbones as my image to download and print for creating the stencil, but any image is fair game!
Trace the design onto a sheet of freezer paper.
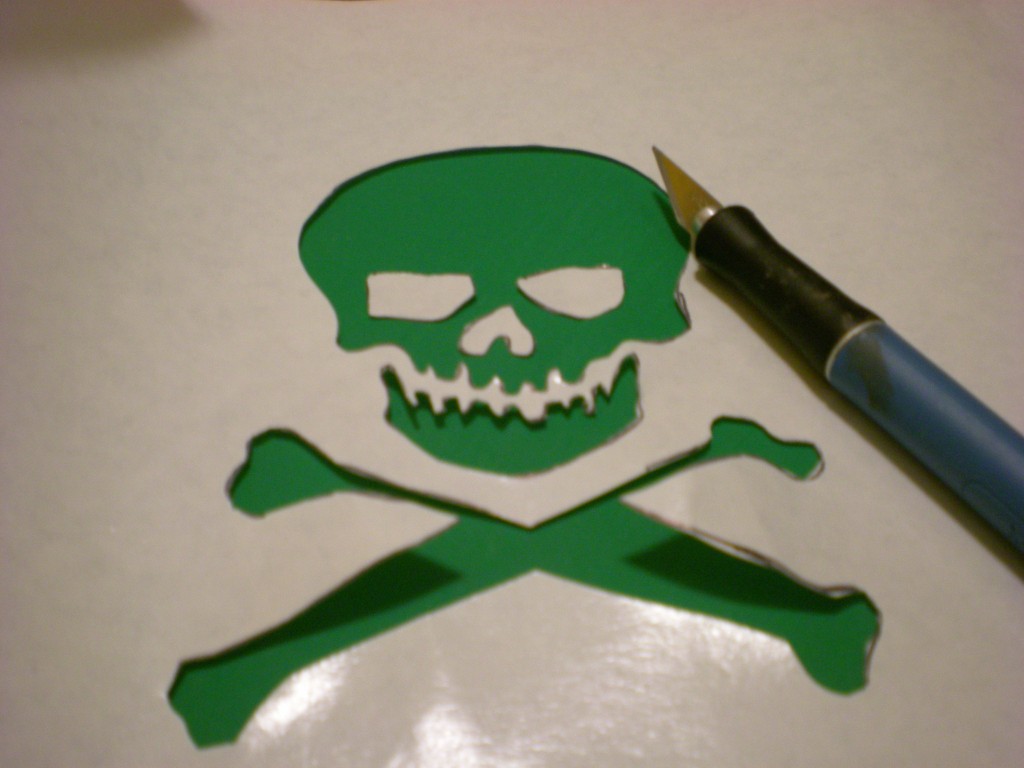
Then use the craft knife to carefully cut out the shapes.
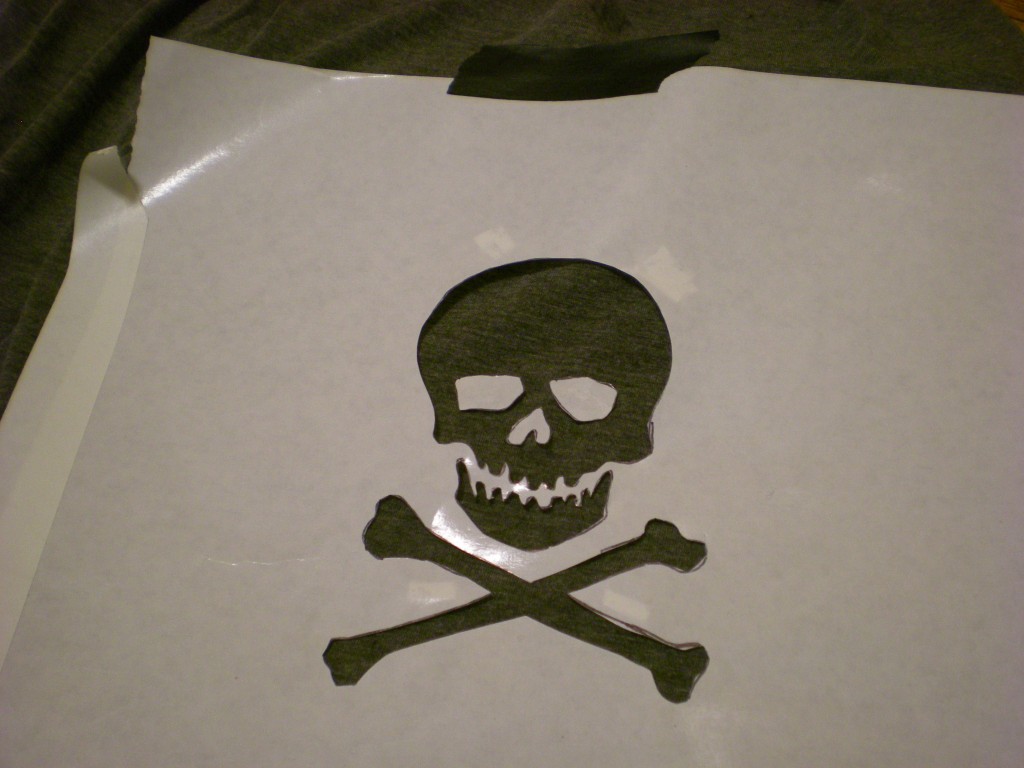
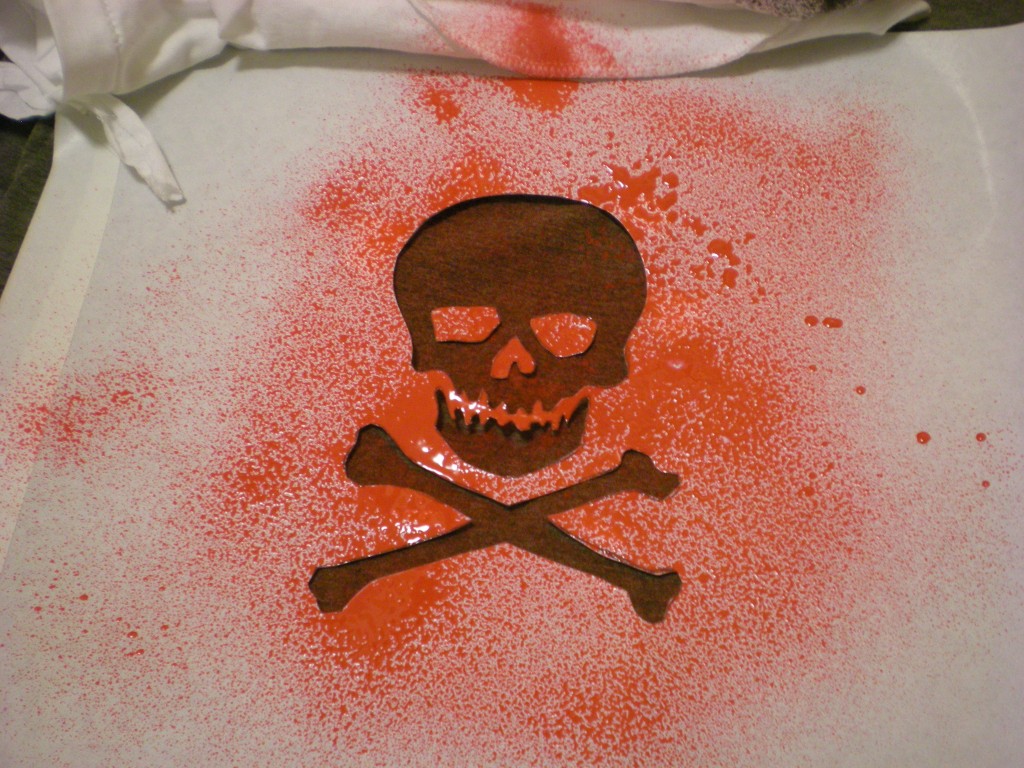
Tape the stencil onto the fabric surface (I placed it along the hem). Don't forget to place any loose pieces (in this case, the eye sockets and nose cavity!). I sprayed red spray paint on the charcoal gray surface and reused the stencil to create a pattern around the bottom of the skirt.
Let each image dry slightly before moving the stencil to another part of the fabric.
Then let the image dry completely before spraying it on the back of the garment. Let all the paint dry completely before you try it on!
3. Bubble, Bubble, Toil, and Trouble
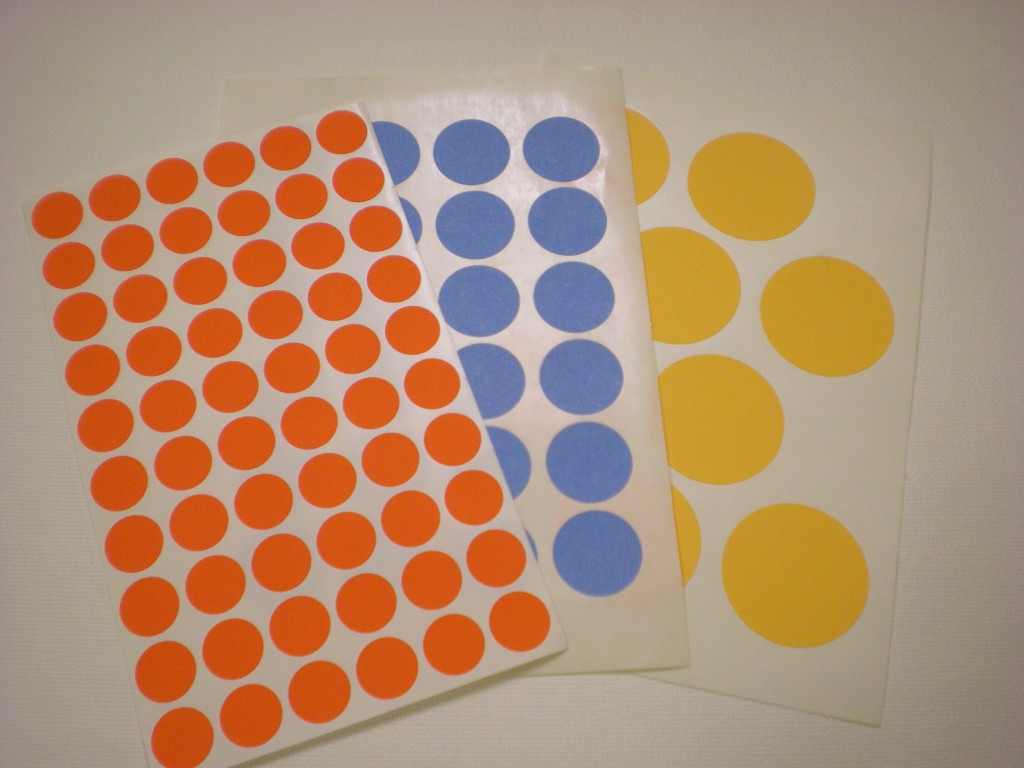
Secret weapon from around the house: Map or garage sale dot stickers in different sizes.
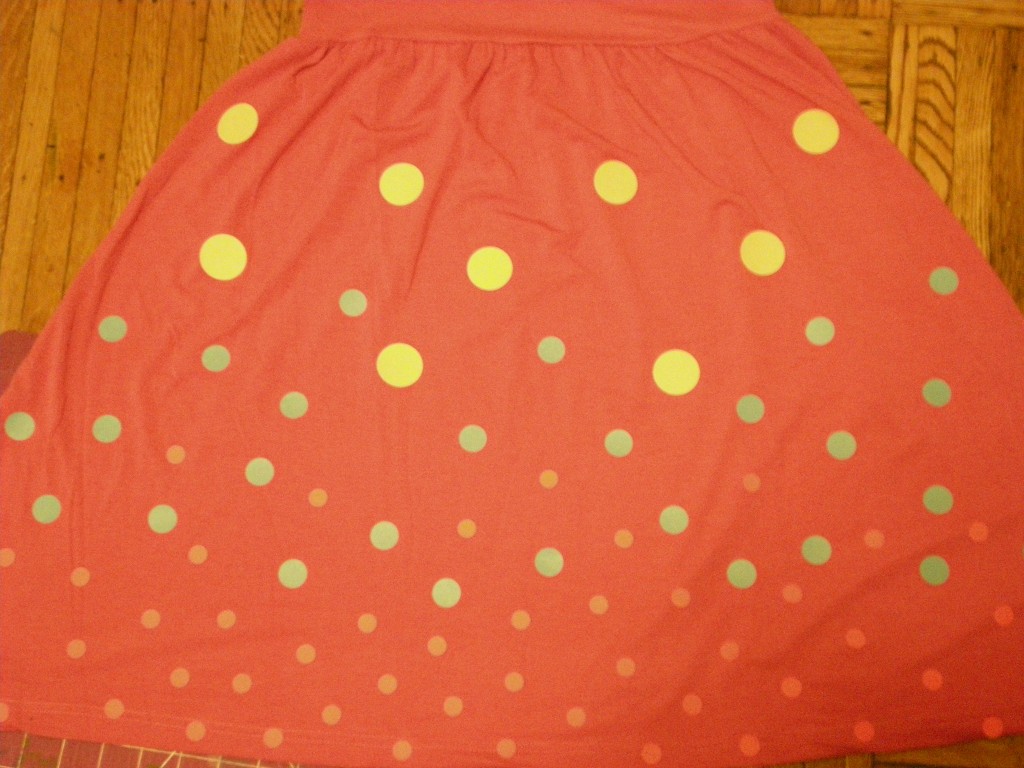
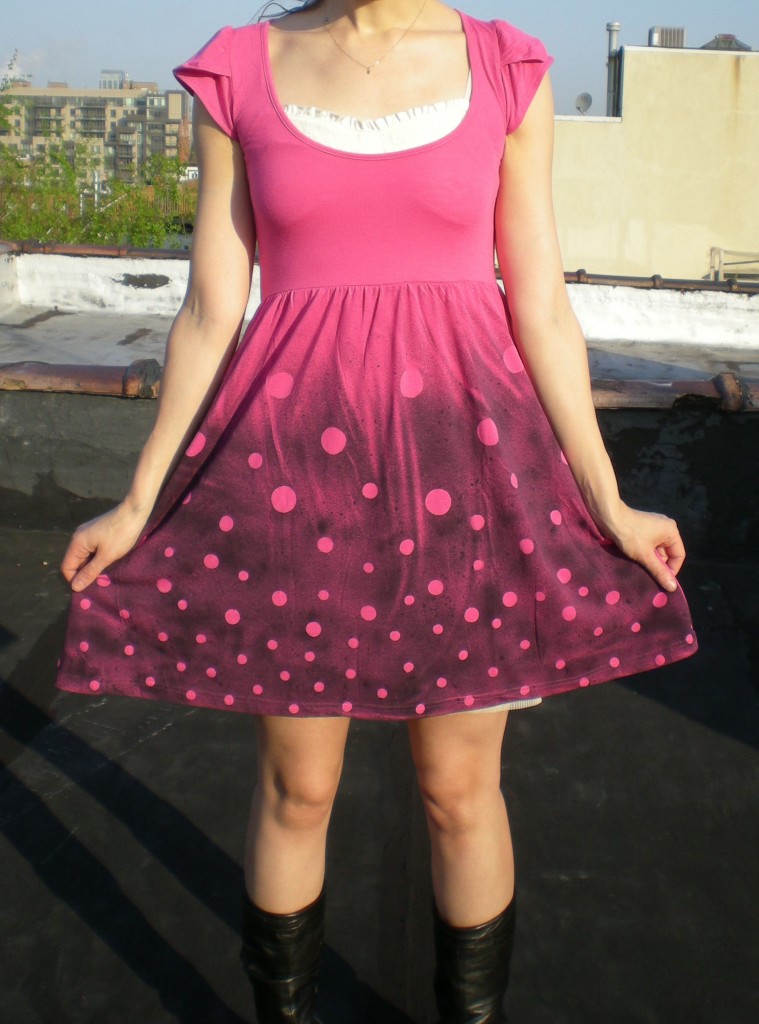
These stickers have so much potential. Beyond mixing up the sizes, you can arrange them into patterns, overlap them, use the surrounding sticker bits to create reverse dots, and so on. I used three sizes (3/4", 1 1/4", and 1 3/4").
To create the appearance of bubbles rising up to the surface, I started with closely spaced small dots at the hem, then transitioned to more widely spaced medium dots, with the large dots finishing below the bodice.
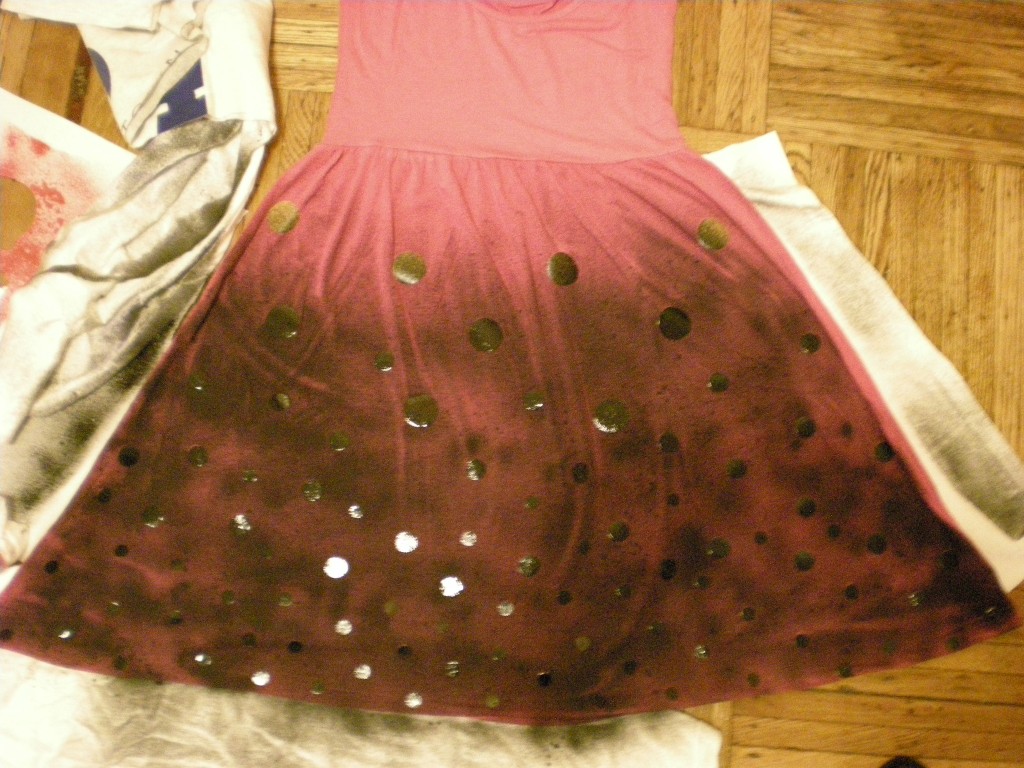
Mask all the parts of the garment you don't want to color. I used black spray paint, fading out at the top, to make the pink really shine through! I also allowed the naturally occurring wrinkles caused by the gathered skirt to form "cracks" in the paint.
Let the paint dry completely before you put it on. You that you've made your bubbles, go out and make some trouble!
4. Yipes Stripes!
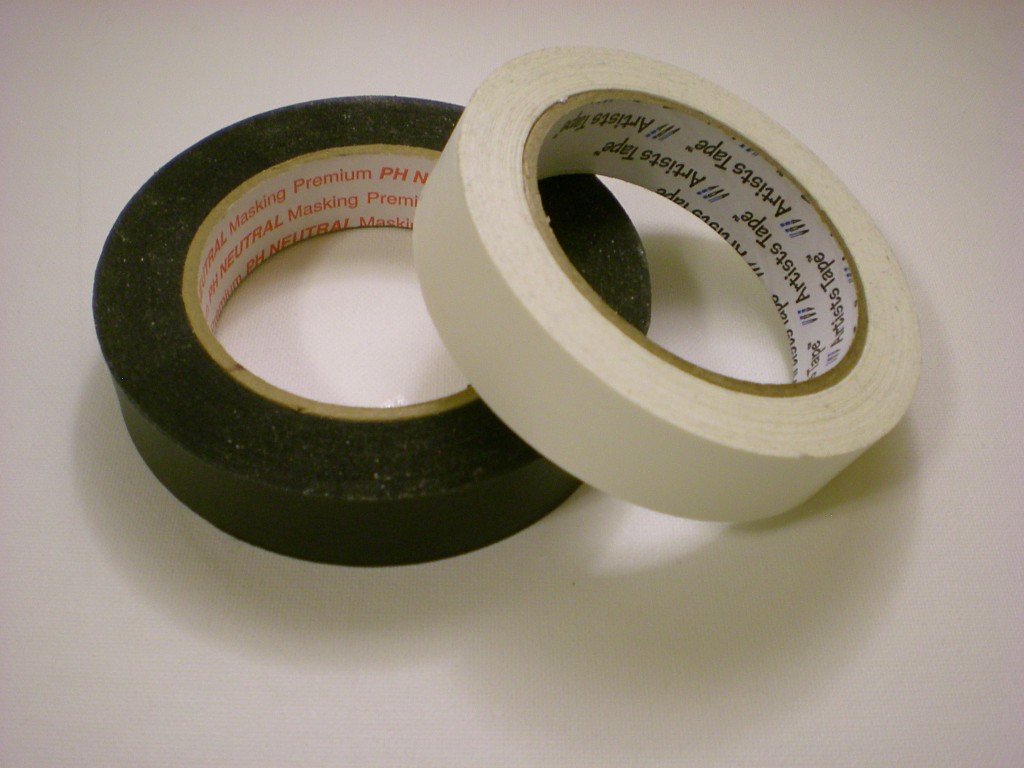
Secret weapon from around the house: Masking or Artists tape
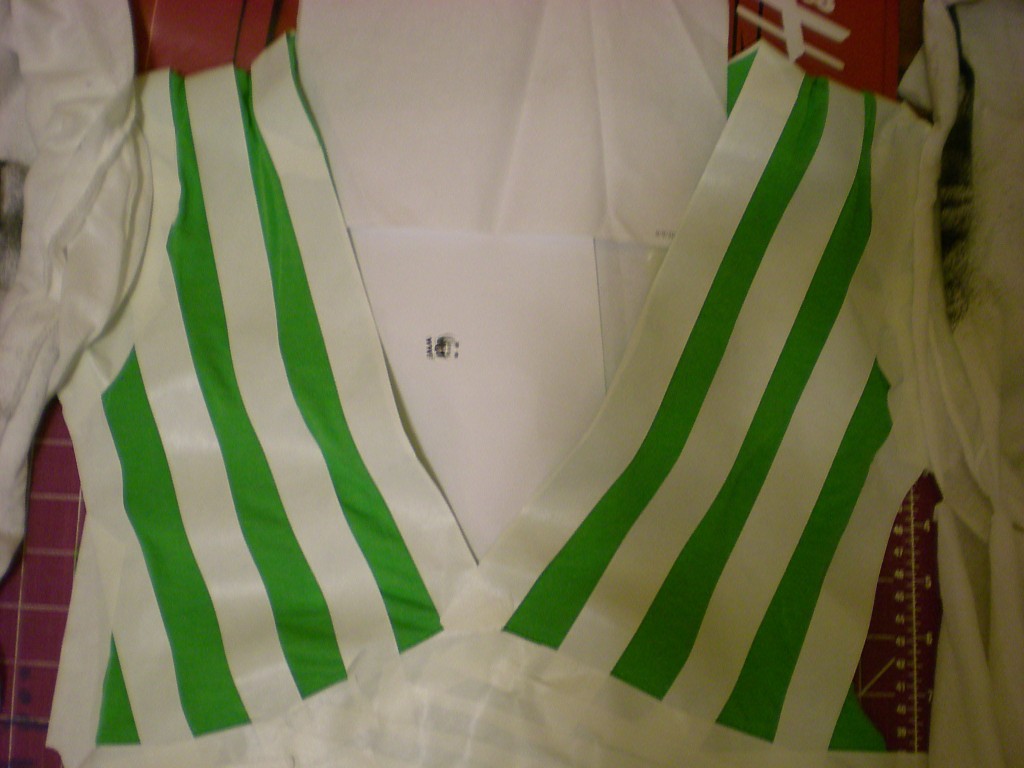
Stripes are just the beginning--you can create plaid, checkered, or gingham patterns with a roll of masking tape. Keep in mind that the width of the tape (and how closely you align them) determines the width of your stripes!
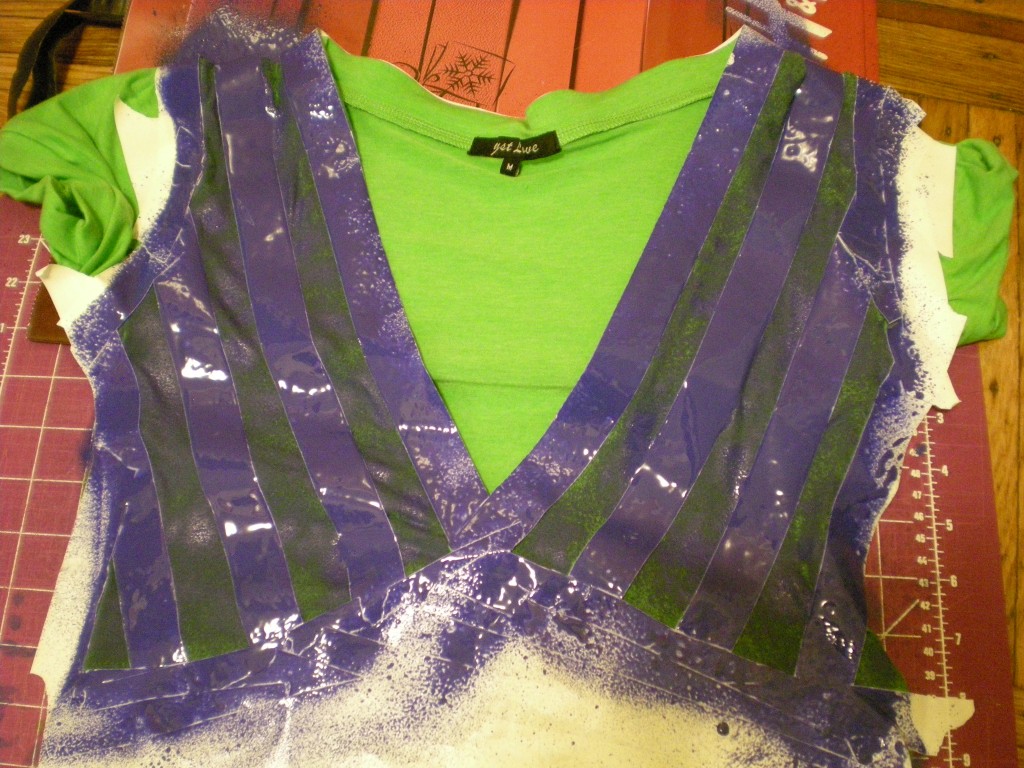
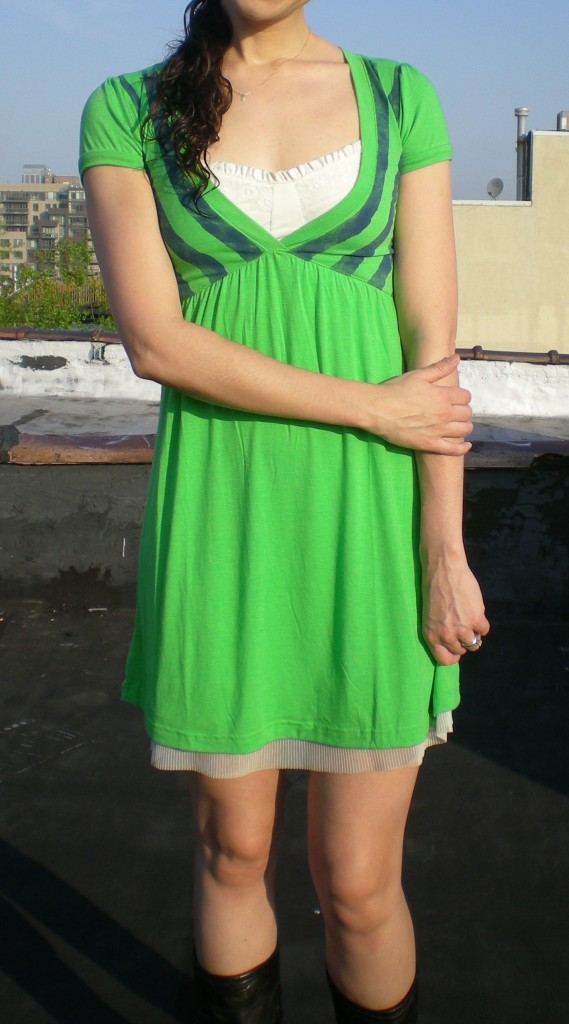
I followed the V-neck cut of the dress to create gently slanting diagonal stripes. Be careful to line up the tape strips carefully in order to keep your design symmetrical and even.
As always, mask the fabric you don't want to paint! I chose blue spray paint to pair with my bright green frock--a springtime inspiration, for sure!
Let the paint dry before peeling off the tape to reveal your sassy stripes!
One, two, three, four -- don't stop now, let's spray some more! How many more ways can you spray?

Visit us on Facebook!
Craft on!Click here for today's daily giveaway!


7 comments:
thanks for all the fresh inspiration!
omg I love this tutorial! thanks so much. I'm definitely trying this.
The skulls and stripes look so awesome! You should do them both together!!!! I think it would make an amazing outfit.
thanks all -- glad you like the projects! @Shayla: when I was spraying them, I was thinking how fun it would be to layer some of the patterns. A plaid with skull & bones over it would be super fun, too!
this is a wonderful idea! i love this. i can't wait to redo some of my clothes with these ideas!!
looking for Paint Sprayers and Paint Supplies to paint surfaces?
With 10 years of experience building and perfecting the highest quality
equipment and supplies, http://www.pro-paint-sprayers.com/ has the solution
you're looking for.
Thank you for sharing this interesting and informative article, painting with airless spray gun will be faster and more interesting!
Post a Comment