
This
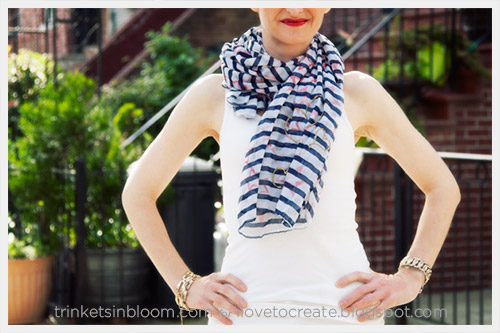
slightly nautical DIY Stars and Stripes Scarf is a fun way to
revitalize an old scarf and also get you ready for Memorial Weekend.


TOOLS & MATERIALS:
 step 1
Layout your scarf on a large flat surface.
I recommend putting some paper underneath your scarf just in case your ink or fabric paint bleeds through.
Press
your stamp firmly into your fabric ink pad, make sure you have ink on
the entire design of your stamp then press your stamp firmly onto your scarf.
You will need to reload your stamp with ink each time you want to stamp it onto your fabric.
As you go check the edges of your stamp for extra ink and clean it with a wet paper towel to keep it from ruining your design.
 TIP: To
get really strong color with your Scribbles stamps you will need to
make sure you have a lot of ink on your stamp and press firmly onto your
fabric.
TIP: To
get really strong color with your Scribbles stamps you will need to
make sure you have a lot of ink on your stamp and press firmly onto your
fabric.
The
great thing about the Scribbles fabric ink and stamps is that it really
stays on your fabric and doesn’t fade after washing. Also the inks have
a very nice hand feel on your fabric. You hardly know they’re there,
they’re never stiff or sticky. That’s why they’re perfect for a soft
sheer scarf!
step 2
When
you have finished stamping your design, you can add an extra touch with
your fabric paint. I painted 3 hearts onto a corner of my scarf.

This can be a great finishing touch to your scarf, make it your signature!
Be
sure to let your scarf dry for a few hours or overnight to make sure
all inks and paints are completely dry before washing or wearing.

To see more DIY projects and tutorials by Trinkets in Bloom please click here.
1 comment:
Preschool playground equipment is specifically designed to cater to the developmental needs of young children, fostering physical, social, and cognitive growth in a playful environment. Colorful and sturdy structures such as slides, swings, climbing frames, and imaginative play zones encourage gross motor skills, coordination, and spatial awareness. Safety is paramount, with rounded edges, non-slip surfaces, and low heights to minimize potential risks.
Many sets incorporate educational elements like alphabet panels or sensory components to enhance early learning. Preschool playgrounds aim to create a joyful atmosphere that promotes social interaction, teamwork, and creativity, laying the foundation for a positive and active approach to physical activity in young children.
Post a Comment