
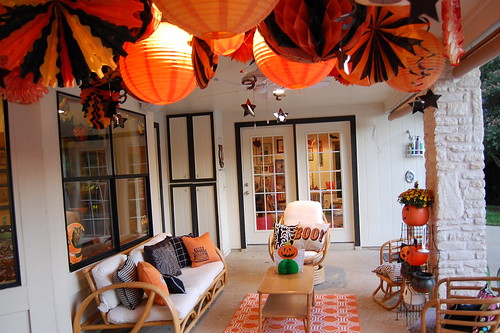

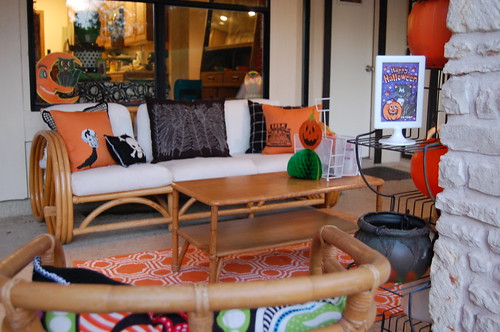
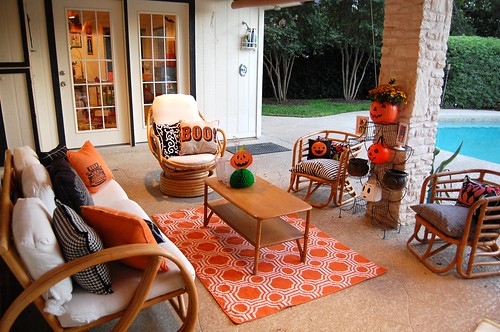
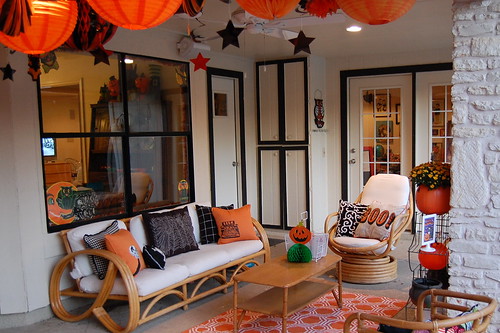
The Halloween party planning madness continues around these parts. I'm hoping for nice weather to coral people onto my patio and into the yard. I couldn't leave my patio furniture as is, oh no. Instead I gave everything a Halloween makeover complete with custom stenciled pillows.
SUPPLIES
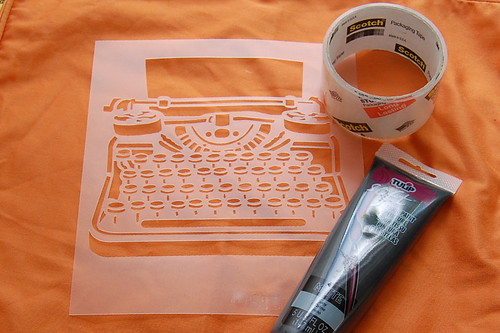
Tulip Soft Fabric Paint
Stencil 1 stencils
Paint brush
Tape
Letter stickers
Throw pillow covers
I love Stencil 1 stencils. I have used them to etch glass, adorn onesies, create custom fabric and even create appliques. I'm kinda a fan incase you can't tell. Even interviewed founder Ed Roth once. There is an amazing line of Halloween stencils from Stencil 1. You can enter to win a set of the stencils and an I Love to Create prize pack over on the Kids Crafts 1-2-3 Facebook page this month. I however did not have those stencils. I did however have a crow, skull and typewriter stencil from Stencil 1. All that being said I decided to make my own custom stenciled Halloween pillows.

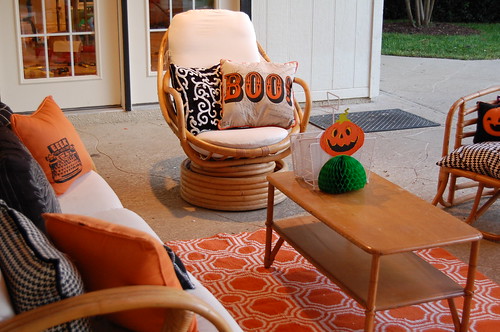
The first pillow I made was inspired by a typewriter I decorated with last Halloween. The orange typewriter belonged to my mother. I painted the words BOO! on a piece of sheet music and ran it through.

Instead of BOO! I thought my typewriter pillow could say EEEK! I taped down my Stencil 1 stencil and used bold letter stickers to spell my word. I found two orange pillow cases at a thrift store.

Next using my Tulip Soft Fabric Paint in black I used a dry brush technique to apply my stencil.
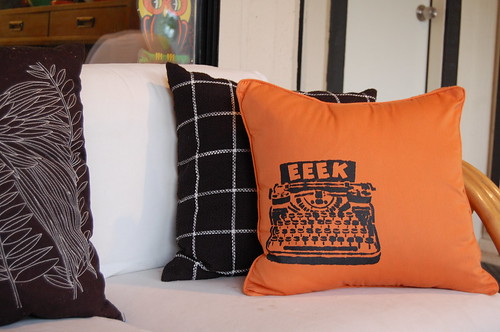
When your paint has dried remove your stencil and stickers. Behold your awesome new pillow. Stick a pillow form inside and your done.
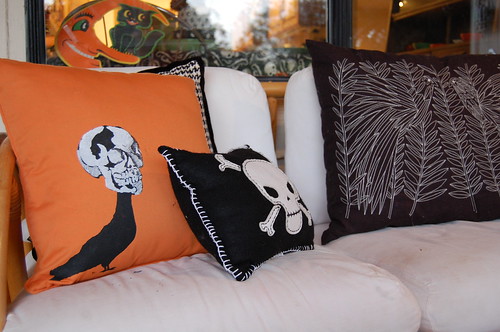
I made a second pillow combining 2 different stencils. One was a bird the other a skull. The skull has two parts and I used white Tulip paint for the features.
No comments:
Post a Comment