Showing posts with label aleene's foamtastic. Show all posts

Thursday, December 13

Hot Air Balloon Christmas Ornament How-To


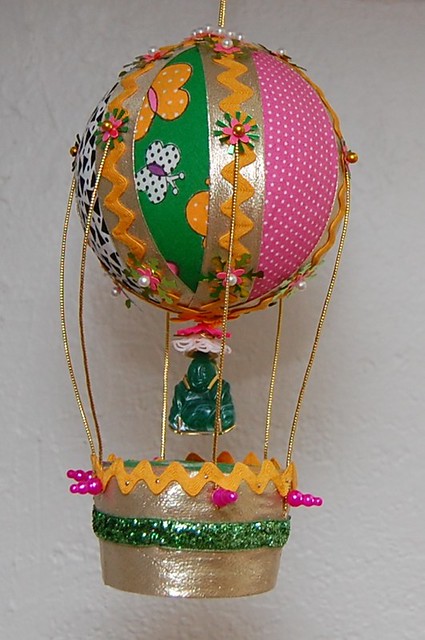
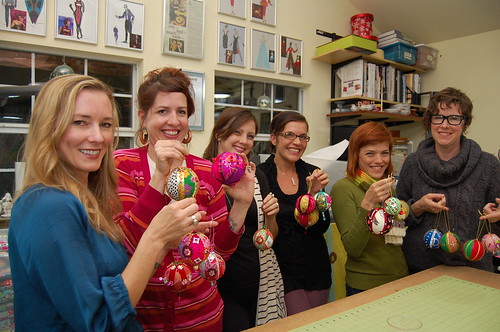
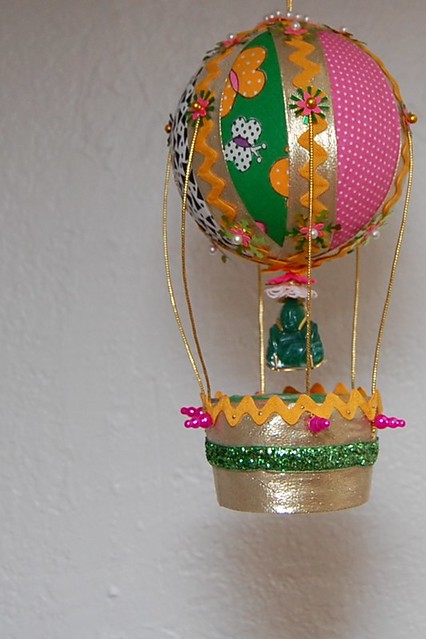
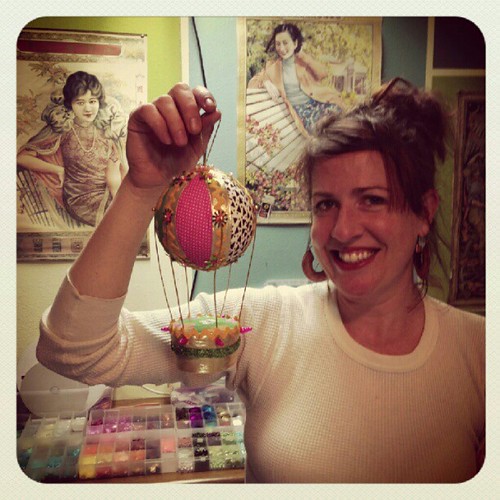
I recently got to spend the evening at one of my favorite places in Austin - Stitch Lab.  Well actually, the old Stitch Lab. It was evening of crafty fun with some fabulous ladies.  We all decided to take a class together to learn how to make spangled ball ornaments.  You know, like the tacky ones your Aunt Zelma had on her tree.  Ya those.  Anyway, I made mine into a hot air balloon so today for I Love to Create I thought I would show you how to make your own.
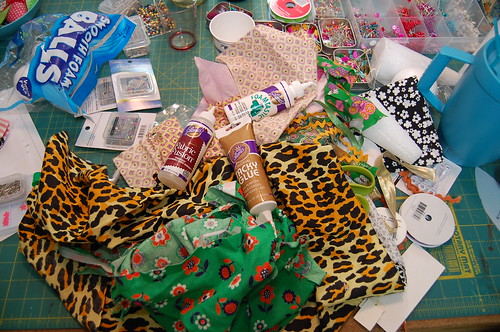

SUPPLIES
foam ball
foam Cone
Serrated knife
Aleene's Foamtastic Foam Glue
Fabric Scraps
Decorative Ribbon
Sequins
Pins (sequin style and those with decorative heads)


I don't wanna give away too many of the trade secrets so that people will still take this amazingly fun class.  First things first you want to cover your ball with fabric.  Use a combination of sequin pins and Foamtastic Glue. Once you have a base on your ball it is time to start adorning and that is where the fun begins.  Use trim and ribbon to cover any raw edges you might have.  Again a combination of glue and pins can be used.  Using sequins, beads and decorative pins add sparkle!


For the bottom of your hot air balloon cut off the base of a small foam cone using a knife with a serrated blade.  Use another piece of foam as sand paper and smooth out the rough edge.
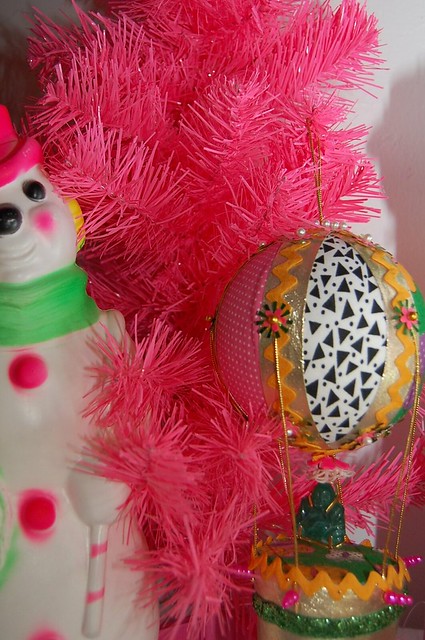

Cut fabric scraps and ribbon to fit on your base and using Foamtastic glue and pins attach into place.


Once you have your balloon and base looking how you want it is time for them to join forces.  Cut 6 lengths of decorative trim.  Mine are about 5"s long.  Dip the ends of your string in glue so they do not fray.  Using pins attach the string to the balloon at the equator of your ball.  Next attach the string to the base.

All that is left to do is add some string to your ornament and hang.  I added a wee little Buda charm to mine, but be sure to give someone a ride in your new hot air balloon.

Monday, April 2

iLoveToCreate Retrofabulous Crafts: Sparkletastic Easter Earrings


Sparkletastic Easter Earrings
iLoveToCreate Retrofabulous Crafts
Copyright Margot Potter
These ARE your grandmother’s crafts...ya gotta problem with that?”

From McCall's Needlework and Crafts 1968

I have been toying with making a pair of sparkly foam earbobs for a while now. There are endless variations on this idea in my stash of vintage craft magazines. They’re also made of cork and wood...I’ve even seen these made of crumpled aluminum foil. The idea is to suspend a round ball on a thin chain for a pair of swingy earrings. Remember that these are foam, so they weigh almost nothing, but if you like a more delicate silhouette, feel free to use smaller balls. I like my jewelry big and bold. These would be perfect for a teacher, young mom or if you’re feeling cheeky, to sport to the family Easter dinner. I’d make a matching necklace and wear this out and about just for fun, but I’m not afraid to be noticed.

Take this idea wherever you like, add sequins, seed beads, rhinestones. A splash of glitter gives it a little sparkle and the sparkly rick rack trim immediately evokes Easter eggs. I’m of the mind that life is short, so have a little fun now and then. What could be more fun than pink sparkly foam earbobs?!


Materials
2 1.5” foam balls
Sparkly silver rick rack trim
2 2” head pins
2 matching beads to secure headpins
2 ear wires
2 1” segments of thin chain
Aleene’s Foamtastic Glue
Crafty Chica Little Paints in red and white
Crafty Chica glitter in pink
Craft wire for painting and drying balls
Foam block for drying balls

Tools
Chain nose pliers
Round nose pliers
Flush cutters
Foam brush
Scissors


Insert a 5-6” segment of craft wire into each foam ball. Mix red and white paints to make hot pink. Use a foam brush to pounce pink paint on surface of ball. Sprinkle glitter on ball and shake off excess. You will probably have to go back in for a second coat to hit any spots that aren’t fully covered, if you repaint make sure to re-glitter. Allow to dry, inserting wire into foam block.  Keep ball on wire. Run a bead of Aleene’s Foamtastic glue along rick rack trim. Wrap trim around center of ball. Insert back into block and allow to dry.


When glue is dry, GENTLY thread a beaded headpin into the center bottom of your ball and thread to the center top. Make sure pin is straight and take your time.  Bend wire at a 90 degree angle using chain nose pliers. Cut to 1/4” with wire cutters. Grasp end of wire with round nose pliers and CAREFULLY turn into a loop. Open loop to add chains using chain nose pliers.


Cut chains and thread on open end of loop. Use chain nose pliers to secure closed.  Use chain nose pliers to attach earring wires to top of chain.


Optional: Add a beehive, tiara and a pair of cat eye glasses...hee.

Clicky Web Analytics
Pin It button on image hover

Subscribe to our newsletter

* indicates required
I am interested in products and inspiration for...
Close