Showing posts with label how to screen print. Show all posts

Thursday, May 30

DIY Screen Printed Canvas

 Small canvases are very inexpensive at the craft stores.  With just a little effort, they can pack a big design punch!  This time around I've used some graphic Ikat style fabric, which we stretched and stapled around the original canvas.  Then I created a pretty permission free graphic (you'll find it below) that I burned on a screen using the Tulip Screen-It.  This was so easy to do and if you follow the video instructions on the ILTC website, you'll have a stunning screen you can use up to 75 more times! Simply fabulous!
You will need:
12"x12" blank canvas
Black Tulip Soft Fabric Paint
Painter's Tape
Staple Gun and Staples
 1.) Print your image in black ink.  Set yourself up in a light free room with the ScreenIt and a small lamp with the yellow bulb provided in the machine.  Turn off over head light and turn on yellow bulb.  You'll need to spray the platform, place the screen on the platform.  Use squeegee to remove any air bubbles.  Spray your image, place image down on screen, use squeegee to remove any air bubbles.  Place cover on top, turn machine on and burn screen for 8 minutes.  8 minutes later, turn top of machine 180 degrees, turn back on and burn screen for an additional 8 minutes.  2.)  Soak screen in a tub of cool water for 10 minutes.  Gently rub the emulsion off of the burned areas with your fingers while screen is submerged.  Remove from water and use a soft sponge to remove remaining emulsion from the burned areas, you can do this on your printing platform.  3.) Set the screen on a towel to dry.  4.) Cut fabric to fit around edges of canvas.
5.) This is a two person job, really, but you can do it alone if you work slowly and methodically.  Stretch fabric tight and staple, start with the center and work out to sides, three staples per side is good.  To get the sides done, you will need to cut a little square off of one side of the folded fabric, then tuck, fold and staple.  6.) Tape the screen flat to the front of your canvas with painter's tape. Make sure there are no bubbles, you don't want the paint to spread outside of the printed areas. 7.) Place canvas on Screen-It platform.  Squirt out a thick line of paint and squeegee it across the screen.  8.) Remove tape and screen and let your canvas dry.

 Here is the image I used, just right click and save to your computer.  Print to fit 8.5x11 in jet black ink.


It's so much fun to screen print, you may find it just a little addicting.  I'm thinking about using my screen on some t-shirts and maybe even some pillows for our outdoor porch.  Have you ever screen printed?  What would you like to create with the Tulip Screen-it?

Get more great DIY tutorials on iLovetoCreate.com and find more DIY Fashion and Style at DIYDoyenne.com!

Cheers,
Madge

Tuesday, August 28

Back to (Pre)School Screenprinted T-shirt

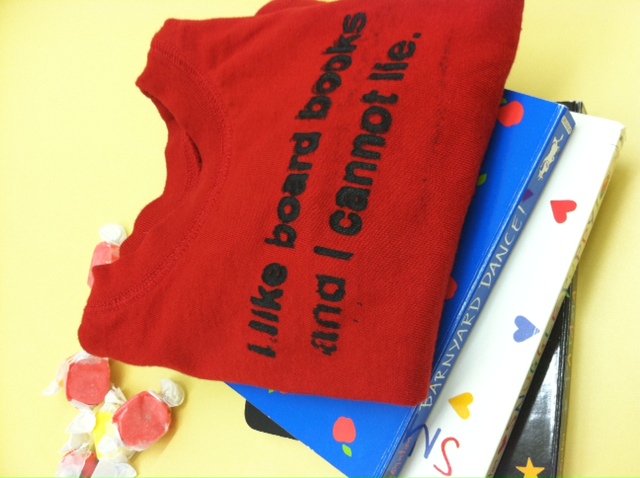
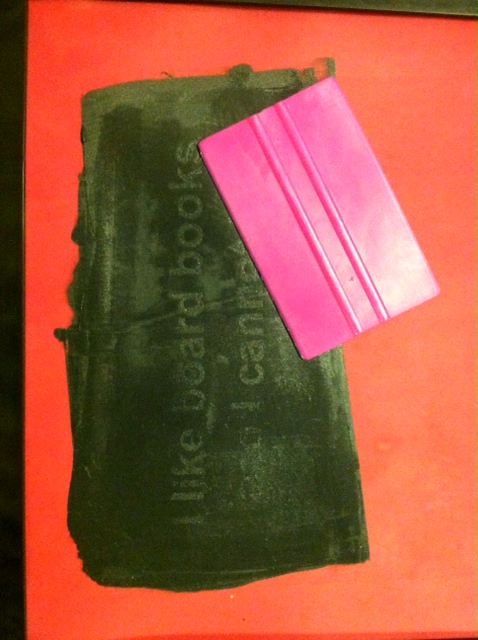
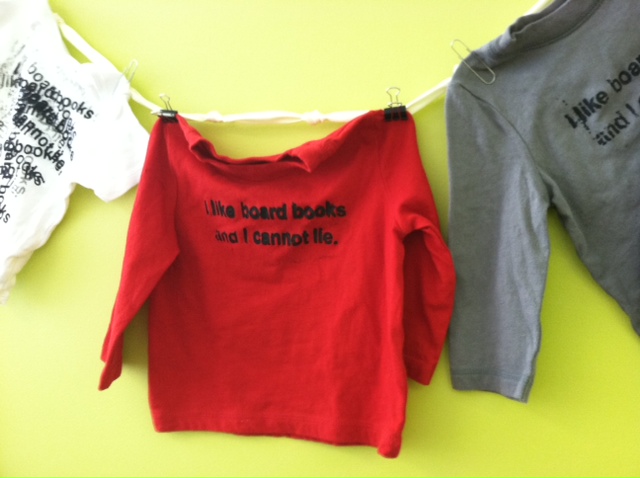
Whether your wee ones are heading back to daycare this fall or are college-bound (not so wee ones), it's always a treat to have fresh togs to celebrate the occasion -- learning! Yes! When I was brainstorming ideas for dressing my little one, I was inspired to try out my shiny new Tulip ScreenIt machine (unlike paper stencils that can wilt a bit after a few uses with soggy paint, you can print in bulk once you make a screen that you like! -- I'm stashing that thought away for future birthday party favors...) For this one, I riffed on a little ditty I penned last year to the beat of the esteemed Sir Mix-A-Lot with a nod, of course, to the toddler set and their literary repertoire.


Materials:
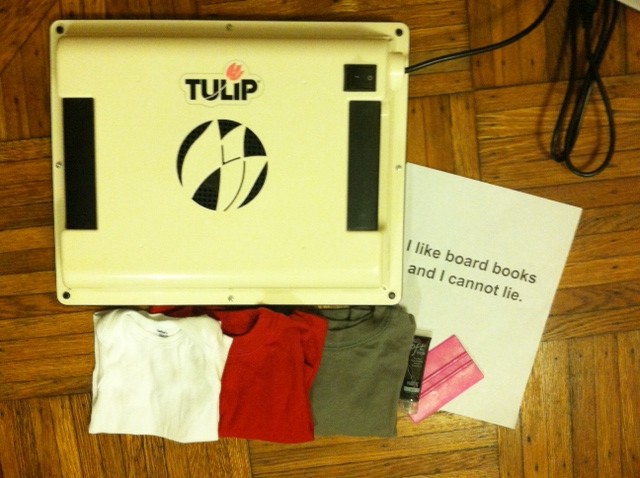
-Tulip ScreenIt kit (including fabric ink/paint, brayer, design screens, and a darkroom bulb to install in your workspace)
-8 1/2" x 11" sheet of printer paper with black design printed on it ("I like board books and I cannot lie." in Arial font, size 54)
-tub of water large enough to accommodate the screen
-non-abrasive sponge
-plastic covering for your work surface
-blank T-shirts in the appropriate size


Make it:
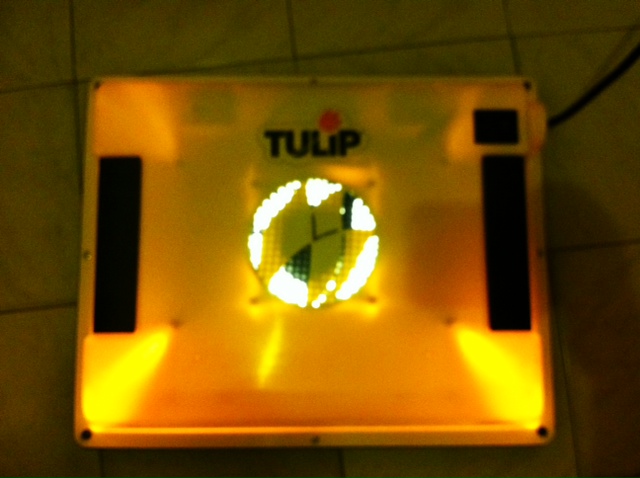
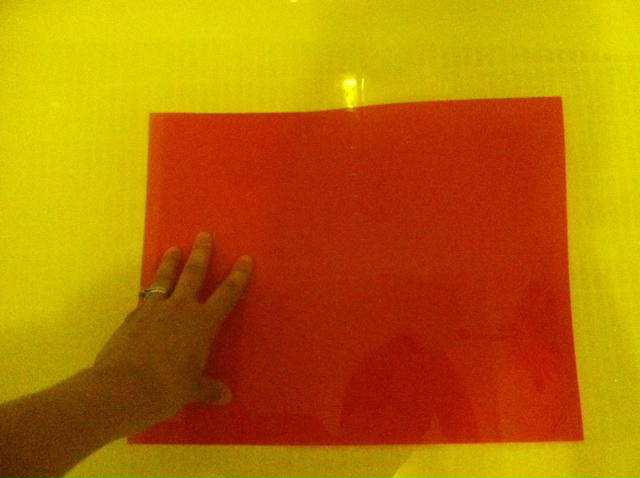
1. In a totally light tight room (my bathroom is the only room in my apartment that qualifies, so welcome to my bathroom, dear readers!), place one of the blank screens onto the foam bed, then layer your design face down on top of it.  Close the ScreenIt system, sandwiching your design and the screen between the foam bed and the light lid. Then flip the switch on the system to expose the screen to your design. (I set my smart phone timer to 14 minutes.)


2. When the timer goes off, briefly submerge the film completely in water (since we're getting so well acquainted, welcome to my bathtub!). I left the darkroom light on (that's the yellow tinge you see), but it's safe to turn on the regular overhead light at this stage.


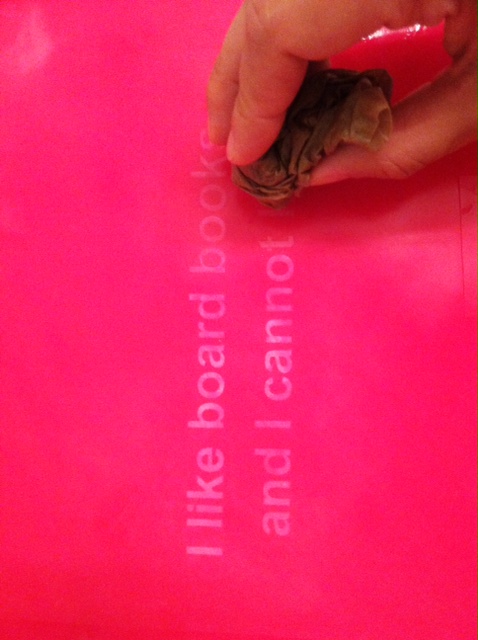
3. Place the screen on a flat, dry, plastic-covered surface for 30 seconds, then begin gently rubbing a wet sponge over the design to "bring out" the design and clarify it. (Note: I didn't have a sponge, so I used a wadded up wet paper towel, which isn't ideal, but can work in a pinch.) Let it dry completely (about 45 minutes to 1 hour).


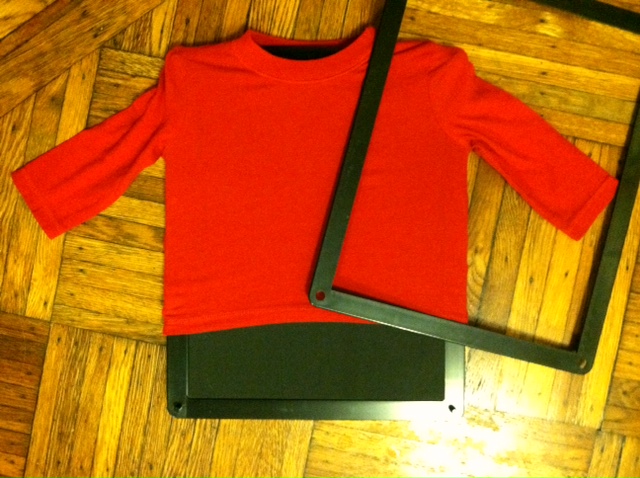
4. Slide the T-shirt over the foam bed of the machine, centering it as best you can.


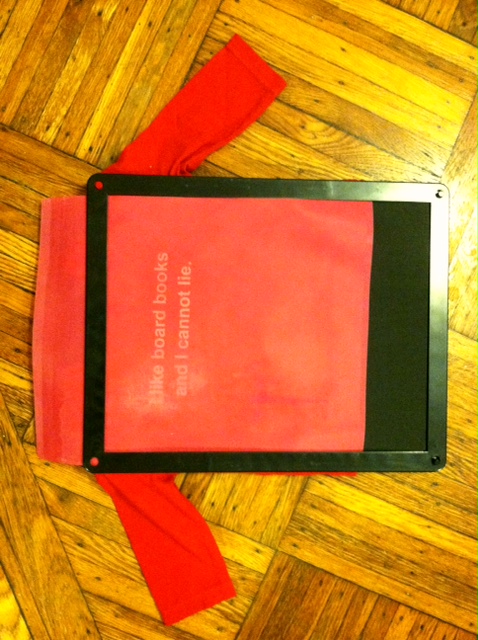
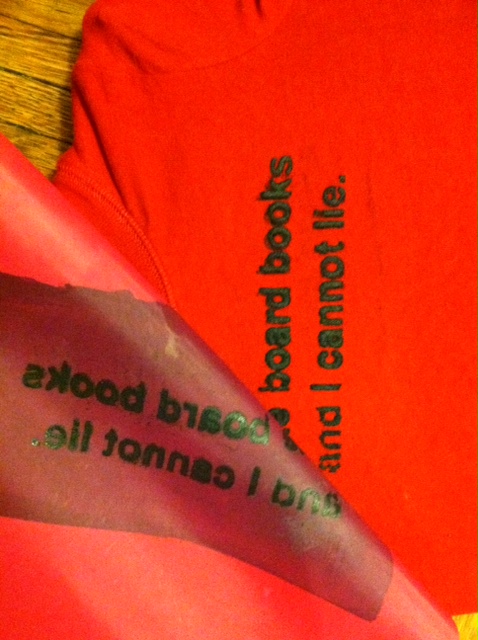
5. Place the design screen (right-reading, if you use text like I did) and then the black frame over the design, to keep the shirt and screen from shifting. (Note: Because of the size of the shirt I used -- very tiny! -- and the placement of the design on the screen, there was overlap, making the screen not entirely secure.)


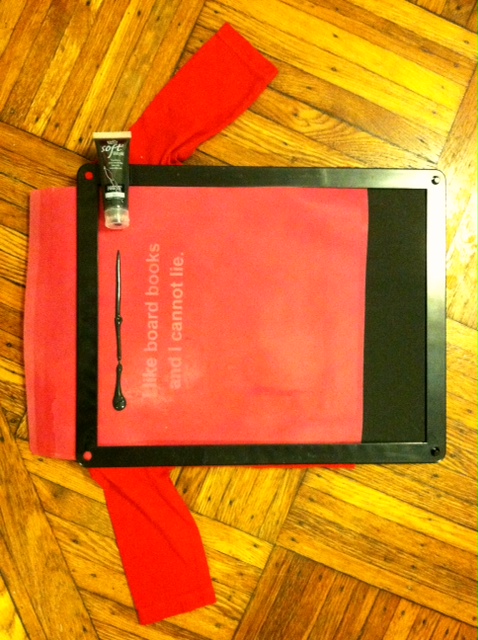
6. Apply a thin line of ink directly to the screen, along one side of the design.


7. Use the brayer to firmly spread the ink over the entire design, always swiping in the same direction.


8. Remove the black frame and peel back the design screen. Rinse the screen immediately, without scrubbing it, so that you can let it dry and use it again. (As you can see, mine smudged a bit because the screen shifted slightly because of the small tee, but I think it just looks a little raw and edgier!)


9. Let the shirt dry completely -- about 4 hours (no heat-setting required) -- and then dress your studious little guy or gal for success!


Variations:
-Since your screen can be used up to 75 times (I haven't tested this!) if you rinse it immediately after using it (don't scrub it!), try printing the same design on multiple different items. Print the design across the tush of a pair of pants for a crawler, or down the leg for a little one who's walking. Print on bandanas, skirts, jackets, shoes and socks, even!
-Use your screen as a pattern that can be layered and repeated (see the white T-shirt in the photo above) -- this is especially smart for when it smudges a little too much -- just go with the mistake and turn it right around into something great!

Thursday, March 29

DIY Screenprinting Video with the NEW Tulip ScreenIt!


Screenprinting is not hard, when you use the NEW Tulip ScreenIt from iLoveToCreate!

This quick screenprinting tutorial was so much fun to tape at the 2012 CHA Tradeshow in January.  It was shot by the folks at When Creativity Knocks, and is one of the 'manufacturer must haves' at the trade show. It's actually an introduction to this really amazing new machine that we are happy to announce.

I'm serious when I say that it's super easy to do screenprinting with this fabulous ScreenIt machine, and I will be using one of these at home and at iLoveToCreate for cool t-shirts, totes, home decor, and more!  You'll need to check back later for the date on when it will be available on our website, and some really fun projects, so be on the look out for it!

Visit us on Facebook!
Craft on!
Clicky Web Analytics
Pin It button on image hover

Subscribe to our newsletter

* indicates required
I am interested in products and inspiration for...
Close