Showing posts with label DIY screenprinting. Show all posts

Friday, March 1

DIY Custom Silkscreen Paper Bags


Aside from designing and blogging, I'm also a working artist. Nights and weekends are devoted to making merchandise to sell. Here in Arizona these days, the weather is gorgeous, so we are in peak art fair season! My husband and I set up an art booth at an event almost every weekend and I love to think of new ways to promote my brand at these types of shows. Many of our items are smaller and I love using classic brown bags as the shopping bags. I realized that I couldn't just send them out blank when I could imprint a cool, positive message on each one, right? We have a huge festival this weekend and I thought it would be perfect to try out this idea.

Hello, ScreenIt!

I'll show you how I burned four screens from one large screen!
SUPPLIES:
White printer paper.
Blue painter's tape.
Brown paper bags.

1. Design four images that are 4" x 4".  NOTE: I did 4.5" and they were a bit too big to all fit onthe screen, next time I'll make them 4x4! Print your designs to size and cut.

TIP: Use strong bold fonts and graphics. Because the end design is small, you'll have better results with thicker lines.
2. Prep and burn your screen! 
 Work in a dim area, use the yellow bulb in a small lamp to provide your light. You don't want to expose your screen to light yet! Place the ScreenIt on a tabletop and remove the light box and frame. Remove the screen from the black bag and place on the foam base, use blue painter's tape to secure the screen to the base. Arrange your designs the way you want them, then lightly spray each design (printed side) with a fine mist of Repositionable Spray and place face down on the screen. Use the side of your hand to rub the paper so it will bond tight with the screen. NOTE: This is a mistake I made - I place my designs too close together, you need to leave a wide enough edge so you can easily print. But I'll show you how I fixed my goof in the next step!

Replace the light box, burn for eight minutes, then turn off the switch, lift the light box and rotate it 180 degrees and set back on base. Burn for another 8 minutes. Remove screen, soak in water for 30 seconds, and use a sprayer or sponge to wipe off non-exposed areas (your design!). Set on a tabletop and rub with sponge for a minute or so until your design is clear, you may have to rinse under water as well. Rub any stubborn spots with your fingerpads until it is clear and you can see the screen. Set on the tabletop, blot with a paper towel and let dry.

3. Print! Cut your designs. Eeek, mine barely have a border. I used blue painter's tape around the edges to give me more work area. Place the first bag on the foam base. Make sure to tape the bag to the foam base so it won't move as you print. Add a line of Tulip Soft Paint along the top of the design and use the squeegee to sharply drag the paint in one direction. You can drag it a second time, but do not go in the opposite direction or your print will blur. Remove tape and screen, let bag dry. Rinse your screen.
 And that's it, keep making more bags! It's a cheap way to promote you business. I'm thrilled at the thought of my customers carrying around their goods in one of my bags, maybe it will bring more people my way!


Tuesday, August 28

Back to (Pre)School Screenprinted T-shirt

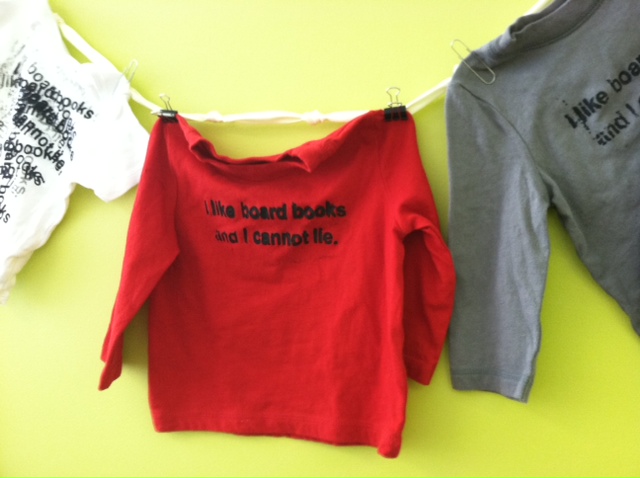
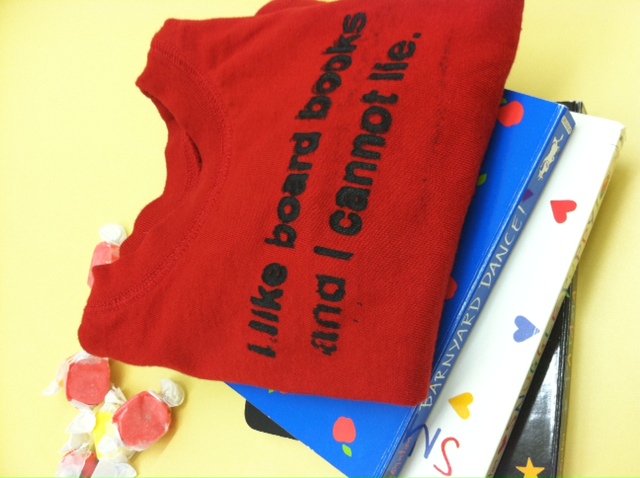
Whether your wee ones are heading back to daycare this fall or are college-bound (not so wee ones), it's always a treat to have fresh togs to celebrate the occasion -- learning! Yes! When I was brainstorming ideas for dressing my little one, I was inspired to try out my shiny new Tulip ScreenIt machine (unlike paper stencils that can wilt a bit after a few uses with soggy paint, you can print in bulk once you make a screen that you like! -- I'm stashing that thought away for future birthday party favors...) For this one, I riffed on a little ditty I penned last year to the beat of the esteemed Sir Mix-A-Lot with a nod, of course, to the toddler set and their literary repertoire.


Materials:
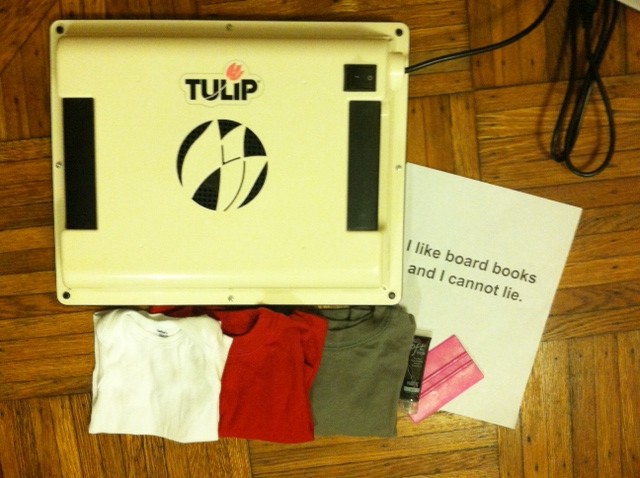
-Tulip ScreenIt kit (including fabric ink/paint, brayer, design screens, and a darkroom bulb to install in your workspace)
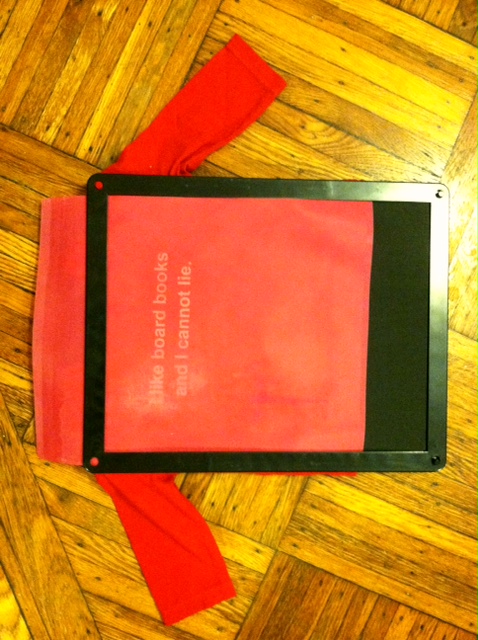
-8 1/2" x 11" sheet of printer paper with black design printed on it ("I like board books and I cannot lie." in Arial font, size 54)
-tub of water large enough to accommodate the screen
-non-abrasive sponge
-plastic covering for your work surface
-blank T-shirts in the appropriate size


Make it:
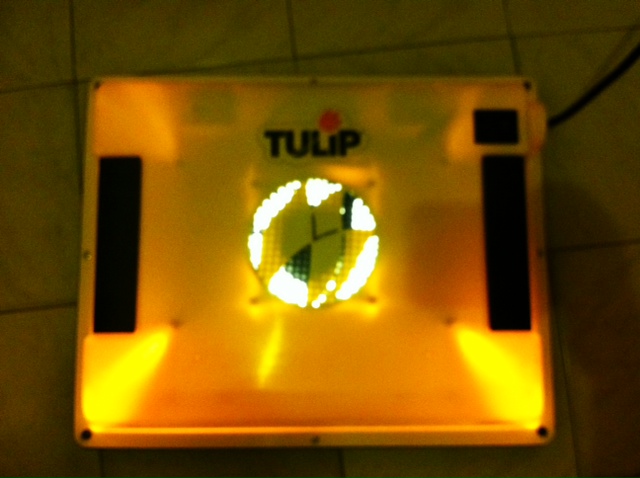
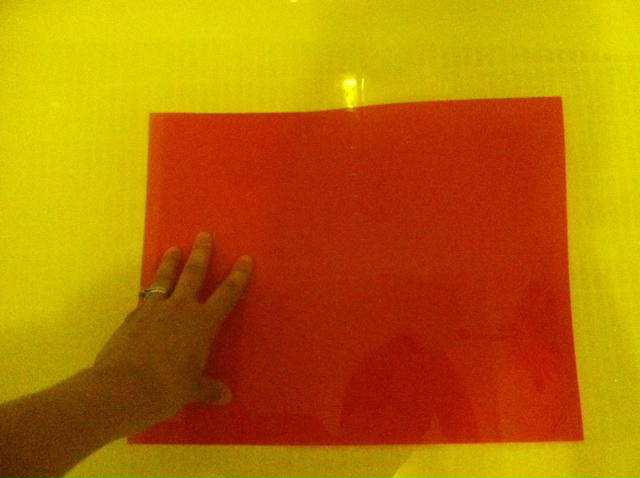
1. In a totally light tight room (my bathroom is the only room in my apartment that qualifies, so welcome to my bathroom, dear readers!), place one of the blank screens onto the foam bed, then layer your design face down on top of it.  Close the ScreenIt system, sandwiching your design and the screen between the foam bed and the light lid. Then flip the switch on the system to expose the screen to your design. (I set my smart phone timer to 14 minutes.)


2. When the timer goes off, briefly submerge the film completely in water (since we're getting so well acquainted, welcome to my bathtub!). I left the darkroom light on (that's the yellow tinge you see), but it's safe to turn on the regular overhead light at this stage.


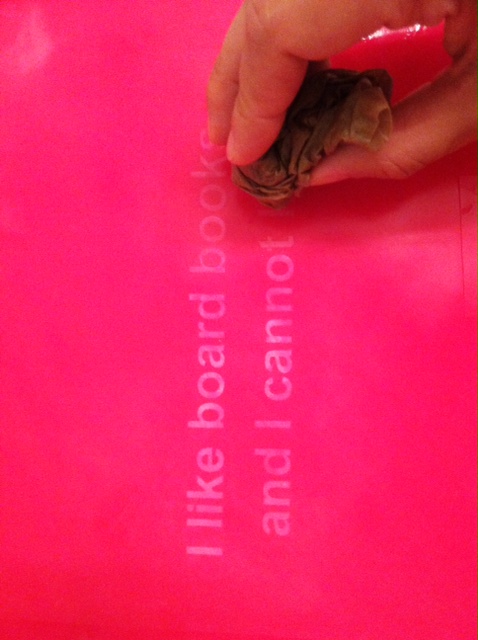
3. Place the screen on a flat, dry, plastic-covered surface for 30 seconds, then begin gently rubbing a wet sponge over the design to "bring out" the design and clarify it. (Note: I didn't have a sponge, so I used a wadded up wet paper towel, which isn't ideal, but can work in a pinch.) Let it dry completely (about 45 minutes to 1 hour).


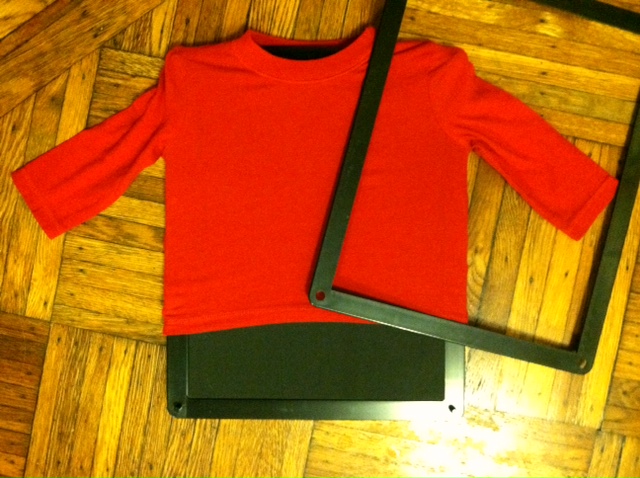
4. Slide the T-shirt over the foam bed of the machine, centering it as best you can.


5. Place the design screen (right-reading, if you use text like I did) and then the black frame over the design, to keep the shirt and screen from shifting. (Note: Because of the size of the shirt I used -- very tiny! -- and the placement of the design on the screen, there was overlap, making the screen not entirely secure.)


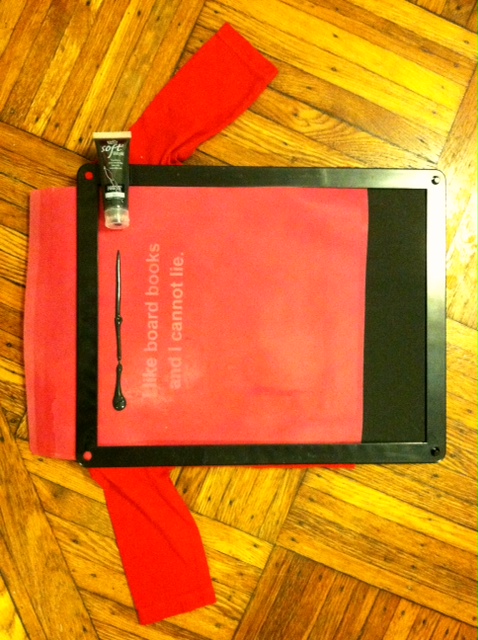
6. Apply a thin line of ink directly to the screen, along one side of the design.


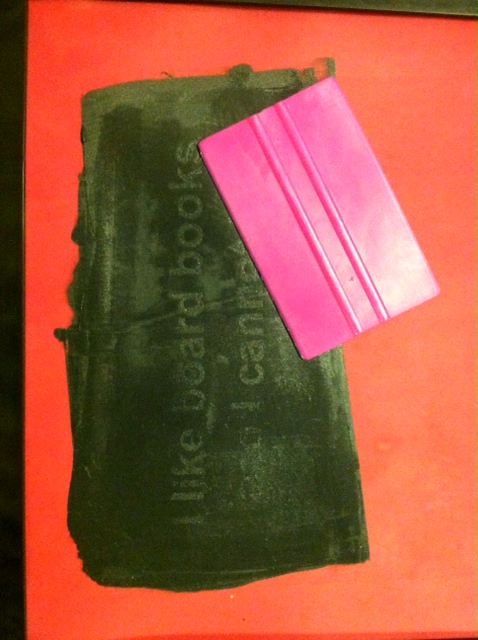
7. Use the brayer to firmly spread the ink over the entire design, always swiping in the same direction.


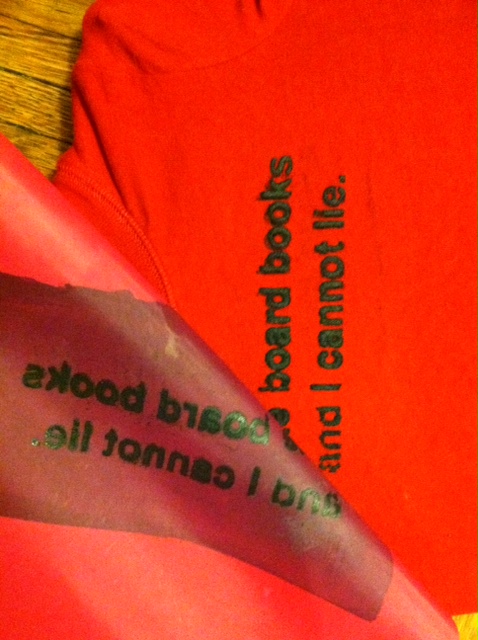
8. Remove the black frame and peel back the design screen. Rinse the screen immediately, without scrubbing it, so that you can let it dry and use it again. (As you can see, mine smudged a bit because the screen shifted slightly because of the small tee, but I think it just looks a little raw and edgier!)


9. Let the shirt dry completely -- about 4 hours (no heat-setting required) -- and then dress your studious little guy or gal for success!


Variations:
-Since your screen can be used up to 75 times (I haven't tested this!) if you rinse it immediately after using it (don't scrub it!), try printing the same design on multiple different items. Print the design across the tush of a pair of pants for a crawler, or down the leg for a little one who's walking. Print on bandanas, skirts, jackets, shoes and socks, even!
-Use your screen as a pattern that can be layered and repeated (see the white T-shirt in the photo above) -- this is especially smart for when it smudges a little too much -- just go with the mistake and turn it right around into something great!

Wednesday, July 11

Tulip ScreenIt: Everything you need to know!

Click here to see the exclusive Tulip ScreenIt site.
We are super excited over here at iLoveToCreate because we launched the new Tulip ScreenIt machine!


Just like a sewing machine and a glue gun, we feel this is a must-have tool for every crafter, artist, designer - not to mention moms, teachers, business owners, etc. Anyone who has ever wanted to easily silkscreen their original images far and wide - we thought of you while designing this system!


This machine is lighter than a sewing machine and is very portable. It comes with pre-emulsified screens, that you burn your design into with an image printed or drawn onto a sheet of lightweight copier paper. Once your screen is burned, you simply rinse it, let it dry and then use the machine's base to slide under your surface so you can add your favorite Tulip Soft Paint color.


Okay, that is the simplified version. But it really it is very easy to use!

We have an entire website dedicated to all things ScreenIt, so you can learn all you need to know!

- Where to buy it 
- How to use it
- Frequently Asked Questions and even our in-house designers' tips!
- Free designs for you to use

Are you excited? What would you like to make with a Tulip ScreenIt? Leave a comment below and let  us know!


Thursday, March 29

DIY Screenprinting Video with the NEW Tulip ScreenIt!


Screenprinting is not hard, when you use the NEW Tulip ScreenIt from iLoveToCreate!

This quick screenprinting tutorial was so much fun to tape at the 2012 CHA Tradeshow in January.  It was shot by the folks at When Creativity Knocks, and is one of the 'manufacturer must haves' at the trade show. It's actually an introduction to this really amazing new machine that we are happy to announce.

I'm serious when I say that it's super easy to do screenprinting with this fabulous ScreenIt machine, and I will be using one of these at home and at iLoveToCreate for cool t-shirts, totes, home decor, and more!  You'll need to check back later for the date on when it will be available on our website, and some really fun projects, so be on the look out for it!

Visit us on Facebook!
Craft on!
Clicky Web Analytics
Pin It button on image hover

Subscribe to our newsletter

* indicates required
I am interested in products and inspiration for...
Close