
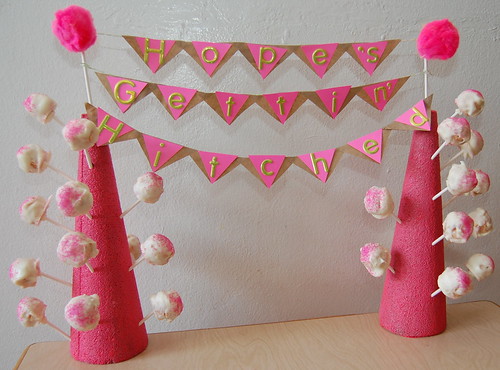

I am hosting a bachlorette party for my sister Hope this weekend, and of course there are some handmade hot pink touches. Nothing makes the party like a cake pop, but finding a clever way to display them is always a bit of challenge. Today for I Love to Create I came up with a bunting/display combo!

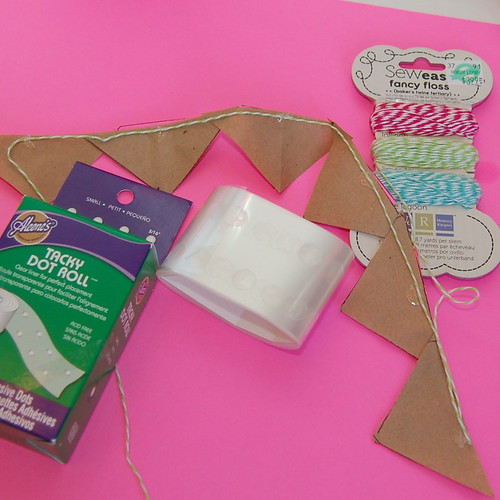
SUPPLIES
Paint Brush
2 Floral Foam Cones
Sticker Letters
2 Hot Pink Pom Poms
Tacky Dot Roll
Neon Pink Paint
Scissors
Pen
Neon Pink Paper
Brown Paper Bag
Triangle Shape to trace
Striped Twine
Cake Pops

The first thing I did was paint my cones fluorescent pink. This proved to be trickier than I had anticipated since foam does not take to being painted too kindly. It took a couple of coats.
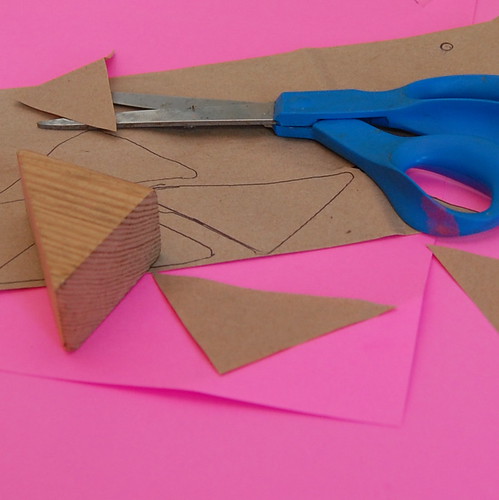
Remember how I was all-a-flutter for fluorescents mixed with brown? Well I decided to get crafty with the color combo. Using some triangle shaped blocks I borrowed from my toddler I cut out triangles of pink and brown. The brown triangles were slightly larger.
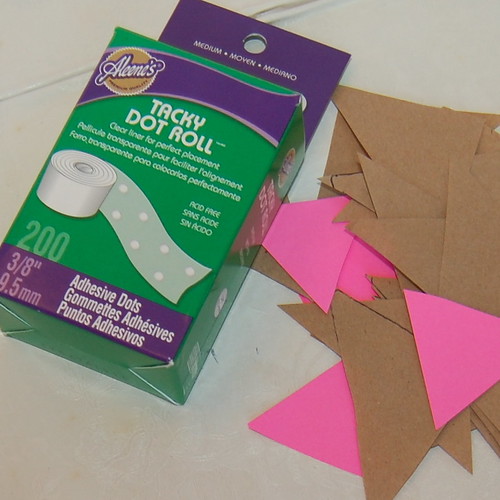
Cut out all your triangles. Using Tacky Dots attach your triangles to each other.
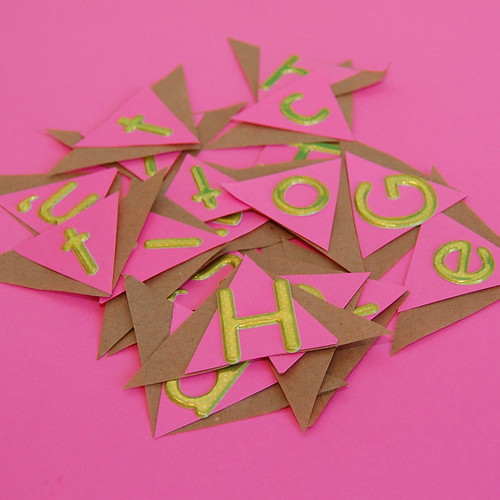
I could browse the letter stickers in the scrap book aisle all the day long. I was so excited to finally have an excuse to use some. I spelled out "Hope's Gettin' Hitched" on my triangles.

Using a smaller sized Tacky Dot I attached the corners of the triangles so that all the words came together.
On the back side of the connected words I attached striped twine using Tacky Dots.

I used a lollipop stick at the top of each cone to anchor my bunting. I tied the ends of the string to the stick and used a glue dot to hold it in place. On the top of each cone I used a glue dot to attach a pink pom pom.
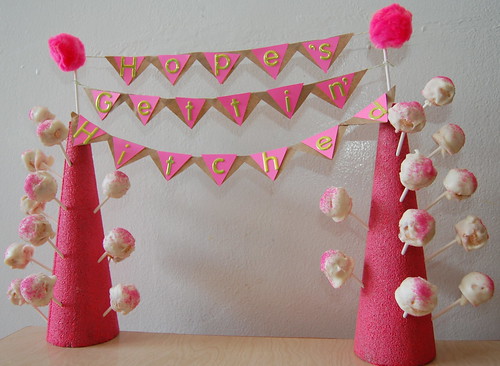
All that was left to do was insert my cake pops. You have to be sure to alternate putting one in each cone so that your display does not get too heavy on one side and topple over. Hopefully this weekend's festivities and cake pops are a big hit.
Visit us on Facebook!
Craft on! Click here for today's daily giveaway!

