It's
springtime, which means one thing to me: T-shirt weather! It's an
exciting time over in the
Land of Generation T, because as many of you
know, it only gets better: After spring comes summer, which means we all
get a little more scantily clad -- T-shirts turn into tank tops and
tube tops and ooh-la-la! So grab your scissors (to cut away some of that
extra fabric, of course), dial up the color (bring on those
fabric spray paints), and hop in your fabulous fashion time machine, because
fringe is enjoying a bit of a renaissance this season. Last weekend, I
dialed back the decades and dug into my craft stash to make some classic
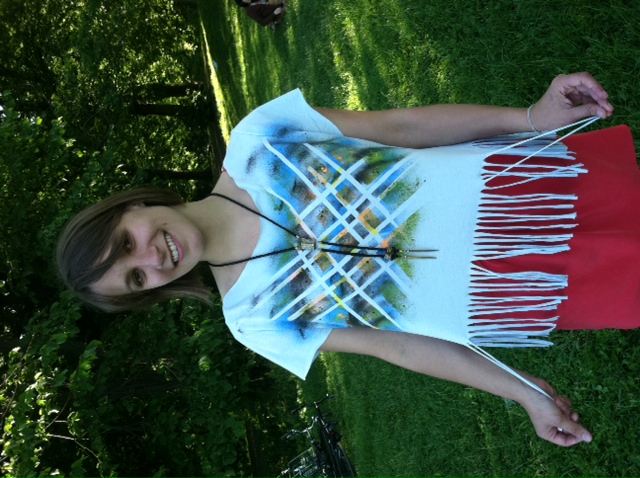
'80s-inspired geometric tees.
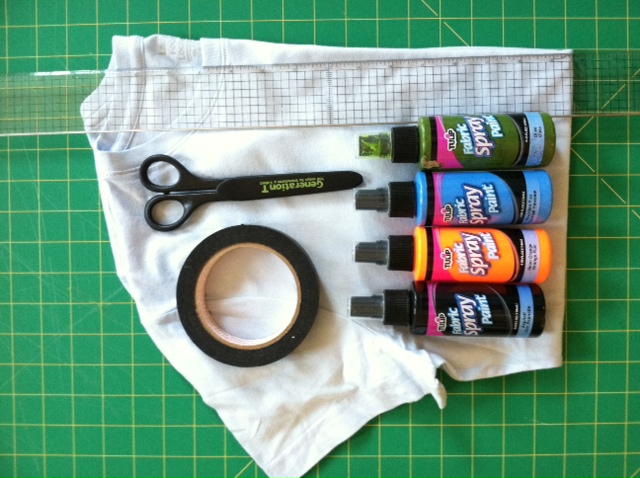
Materials:
-light-colored T-shirt (I used a light blue one)
-ruler
-masking tape
-fabric scissors
-fabric spray paint (variety of colors)
-scrap newsprint paper
 Make it:
1.
Make it:
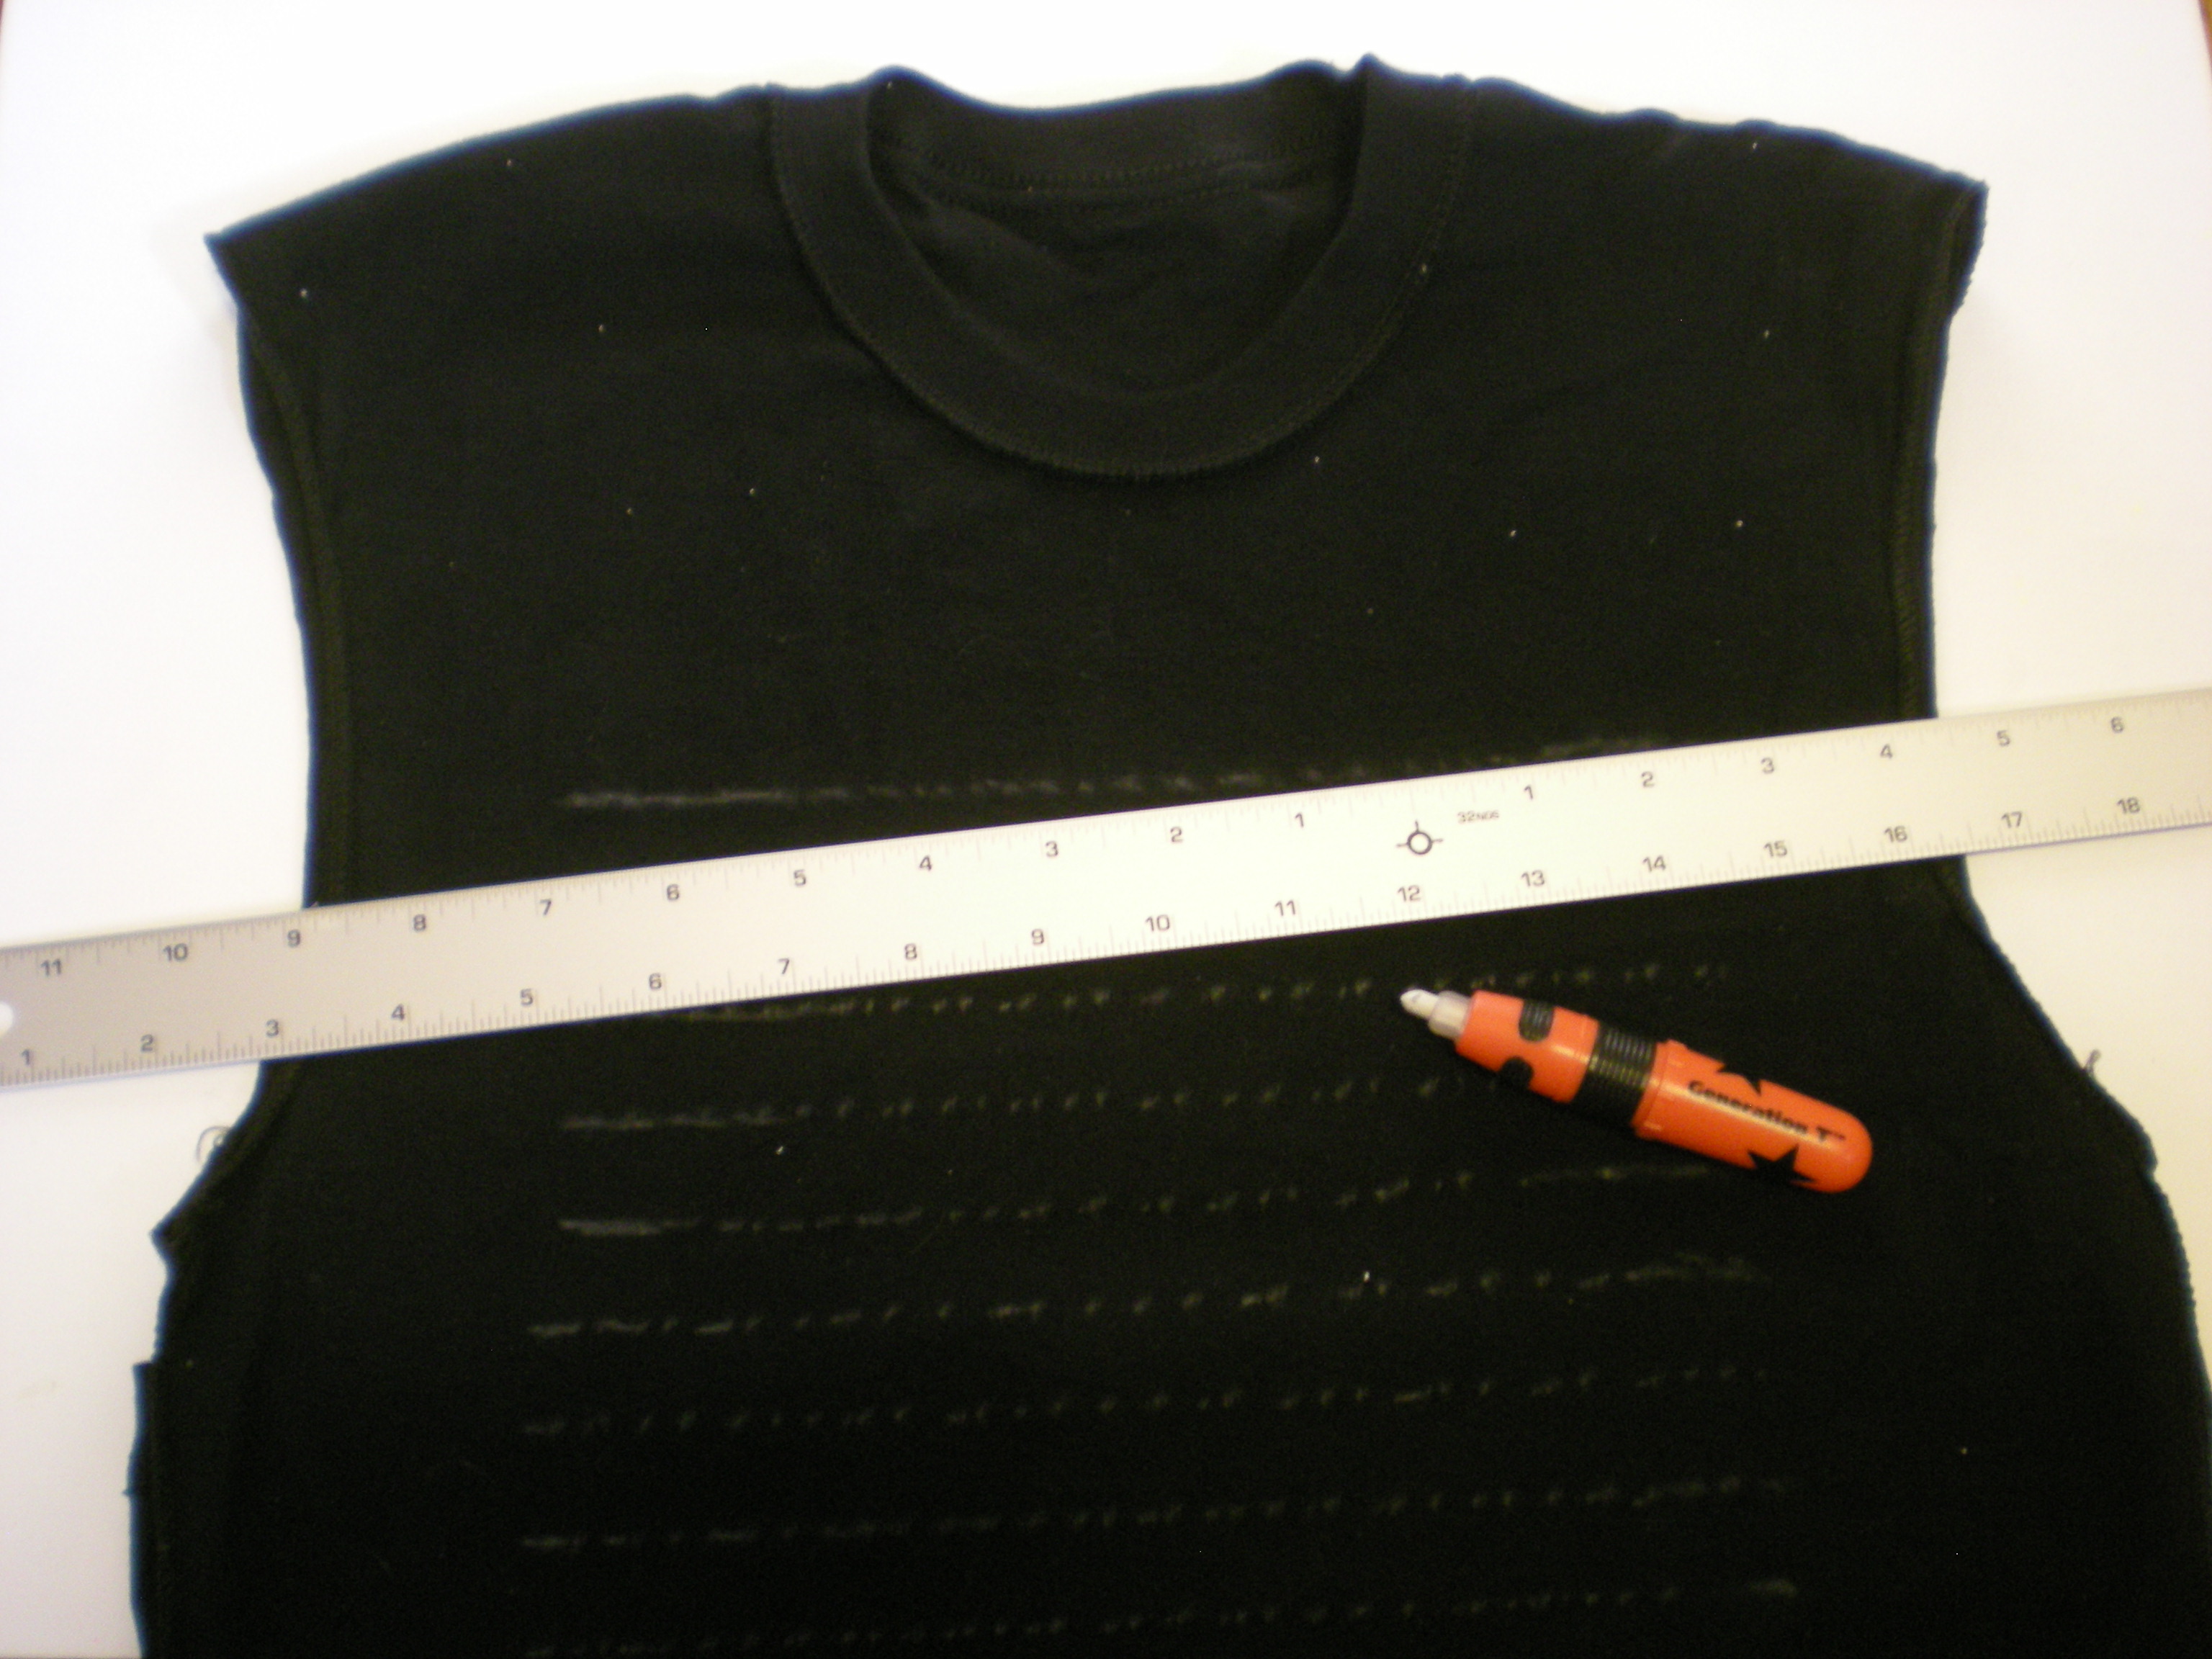
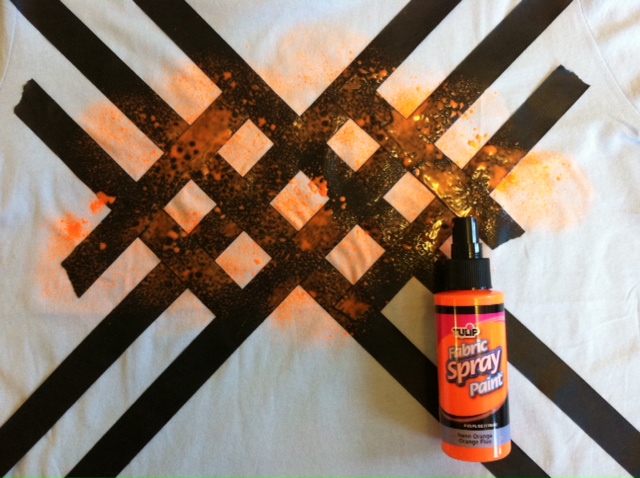
1. Lay the T-shirt flat. Use masking tape to mark a horizontal
line about 8" up from the bottom of the shirt. Find the vertical center
of the shirt and apply tape to the chest-region of the T-shirt to
create a crisscrossing geometric pattern.
 2.
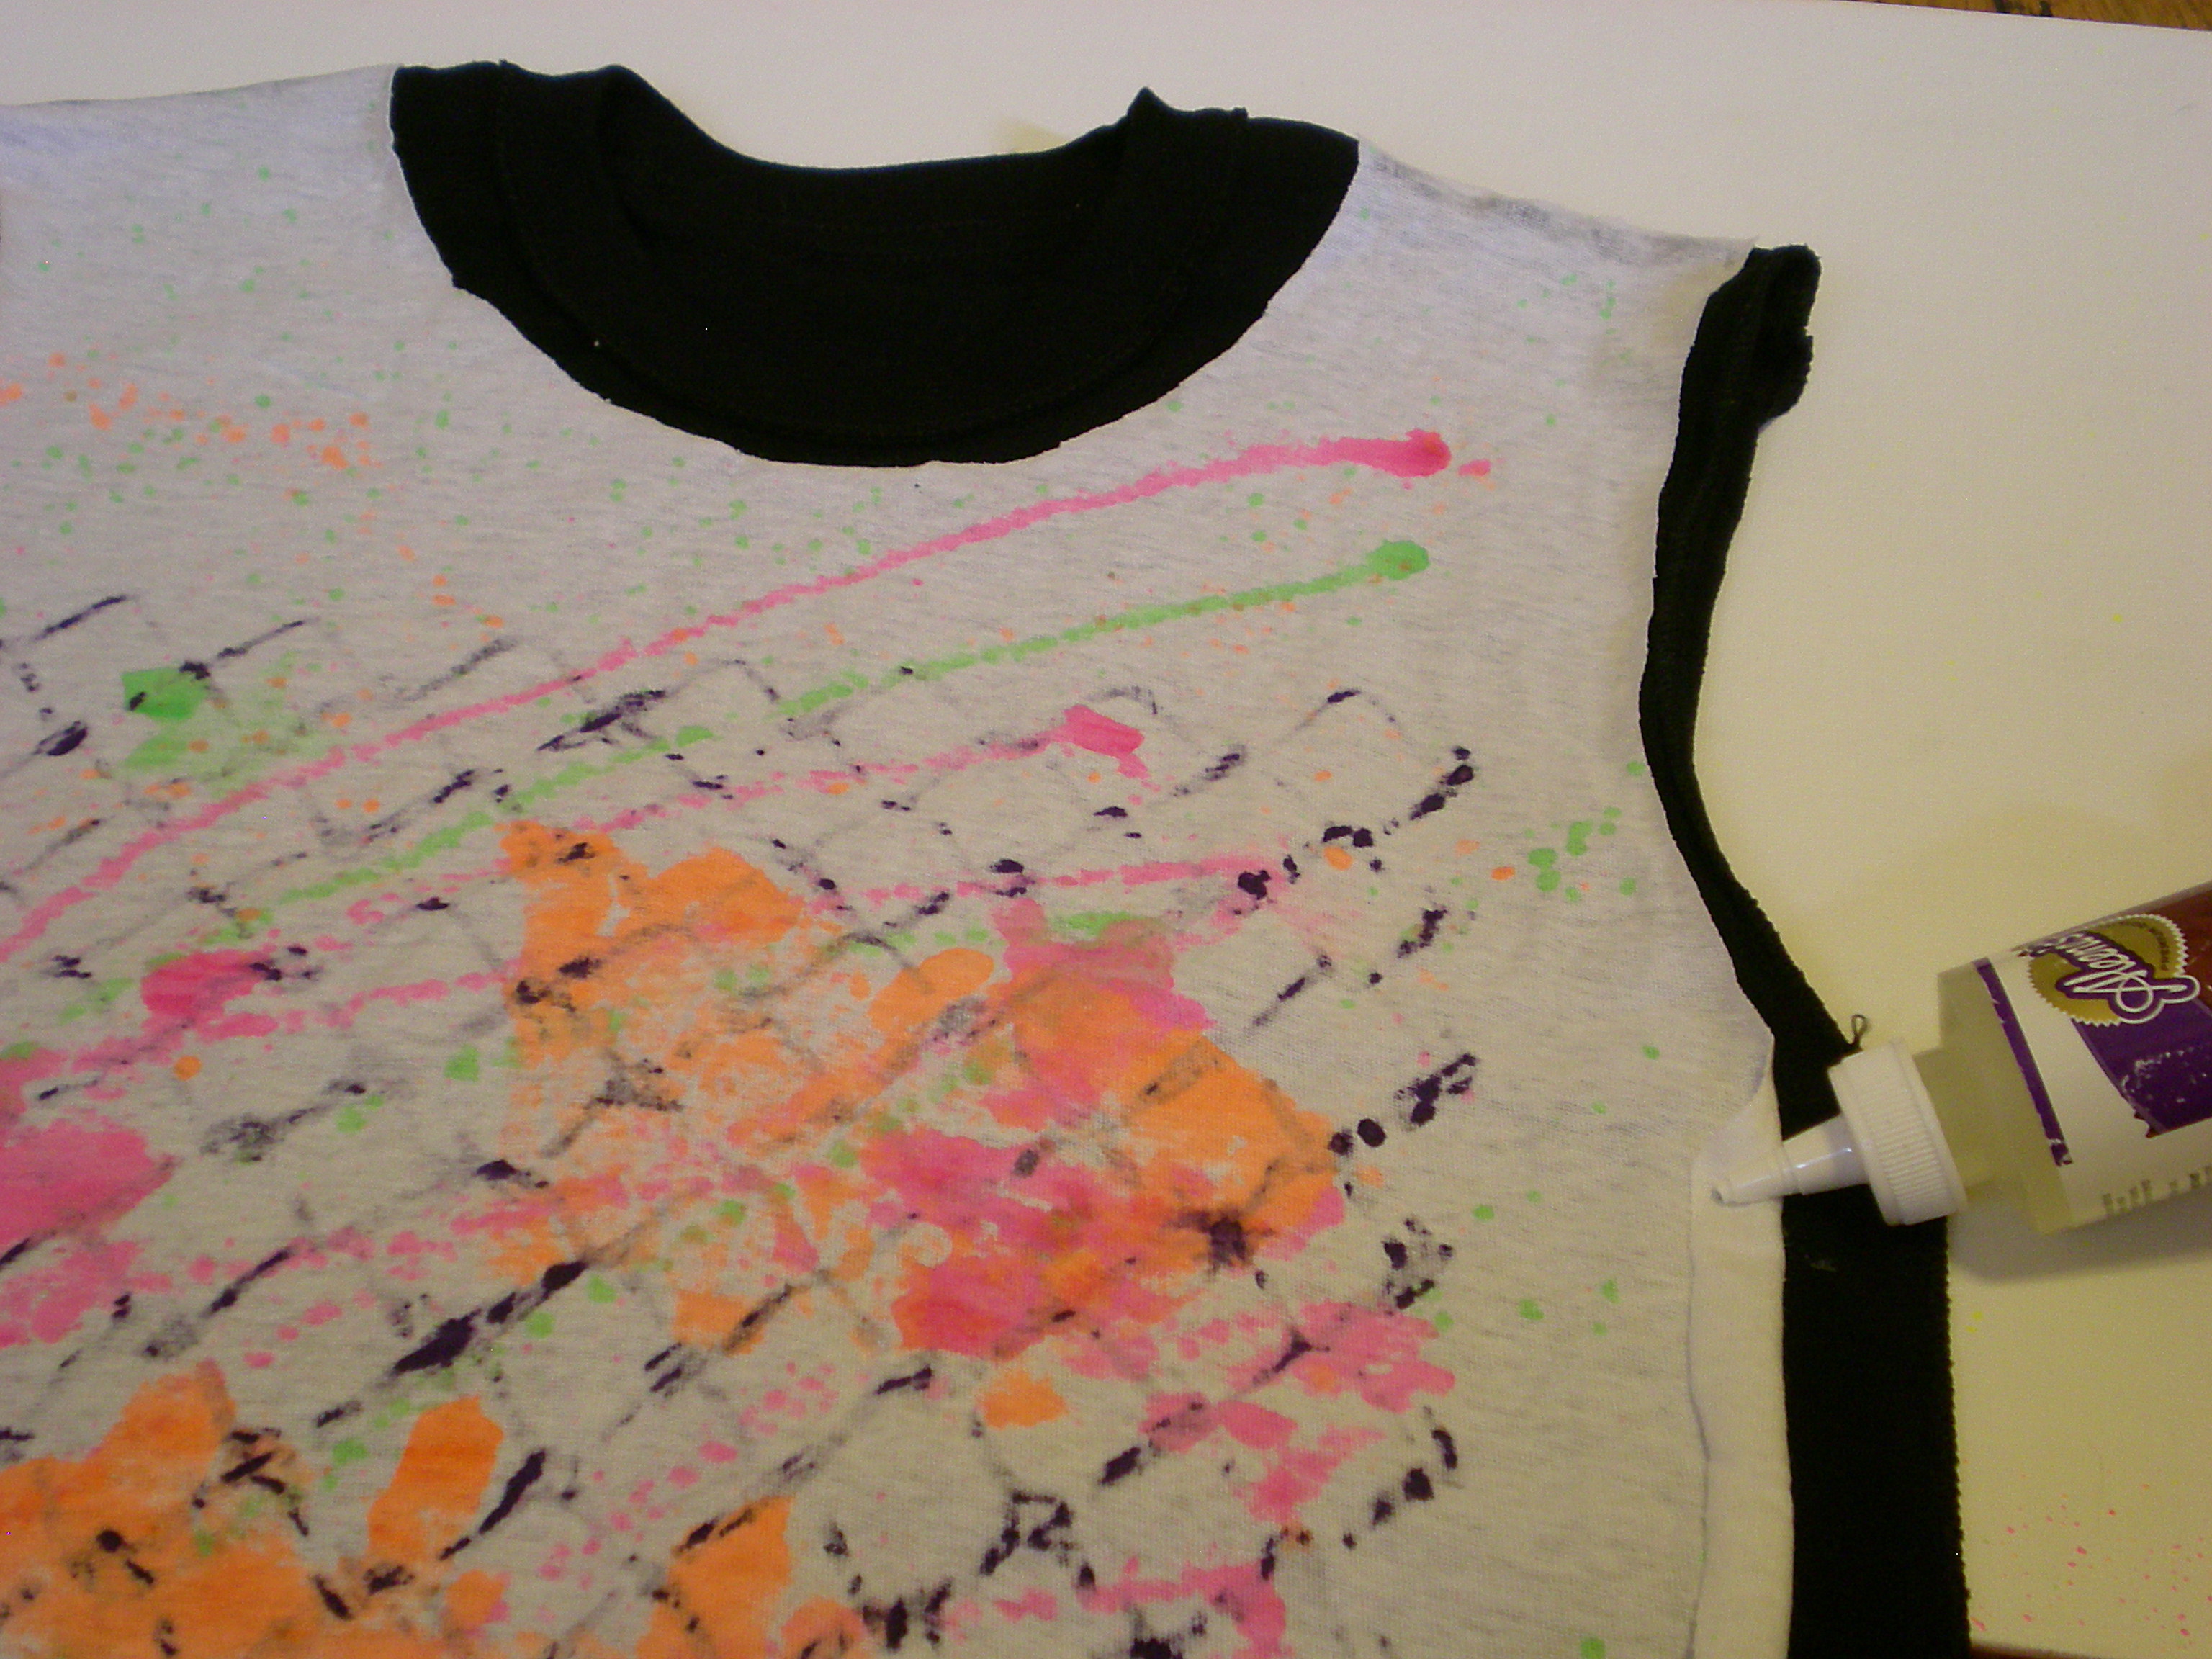
2. Insert the newsprint paper between the layers of the T-shirt to prevent the paint from bleeding through. Then apply
fabric spray paint over the taped area. Apply another color or two, then let dry.
 3.
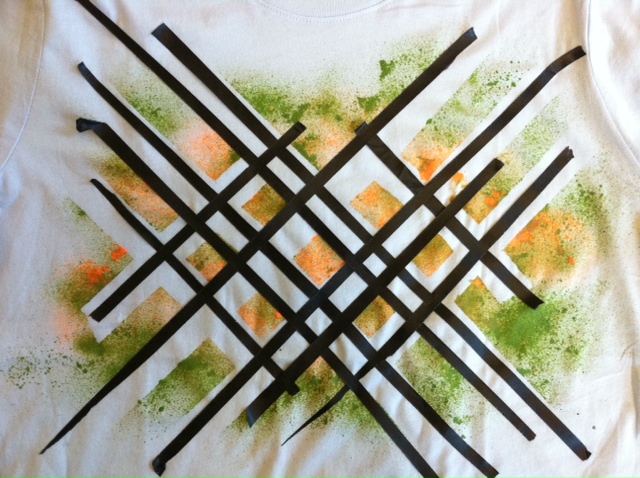
3. Peel back the tape, and then lay down more tape (I cut the
tape strips in half, thirds, and quarters to make thinner lines) across
your pattern to create a modified plaid pattern. Then
spray paint more color!
 4.
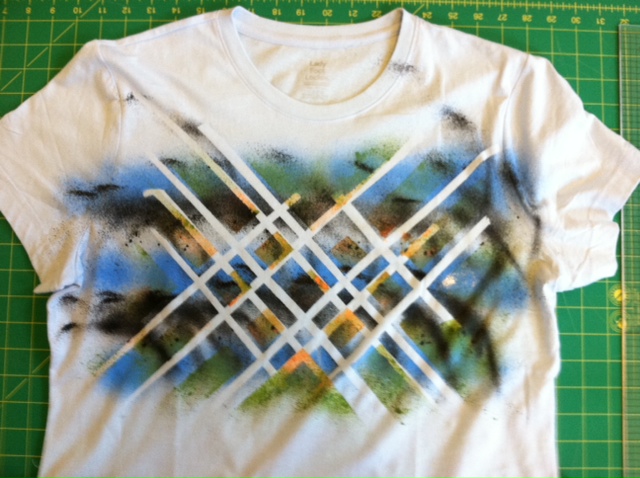
4. Let dry completely before peeling off the tape to reveal your design.
 5.
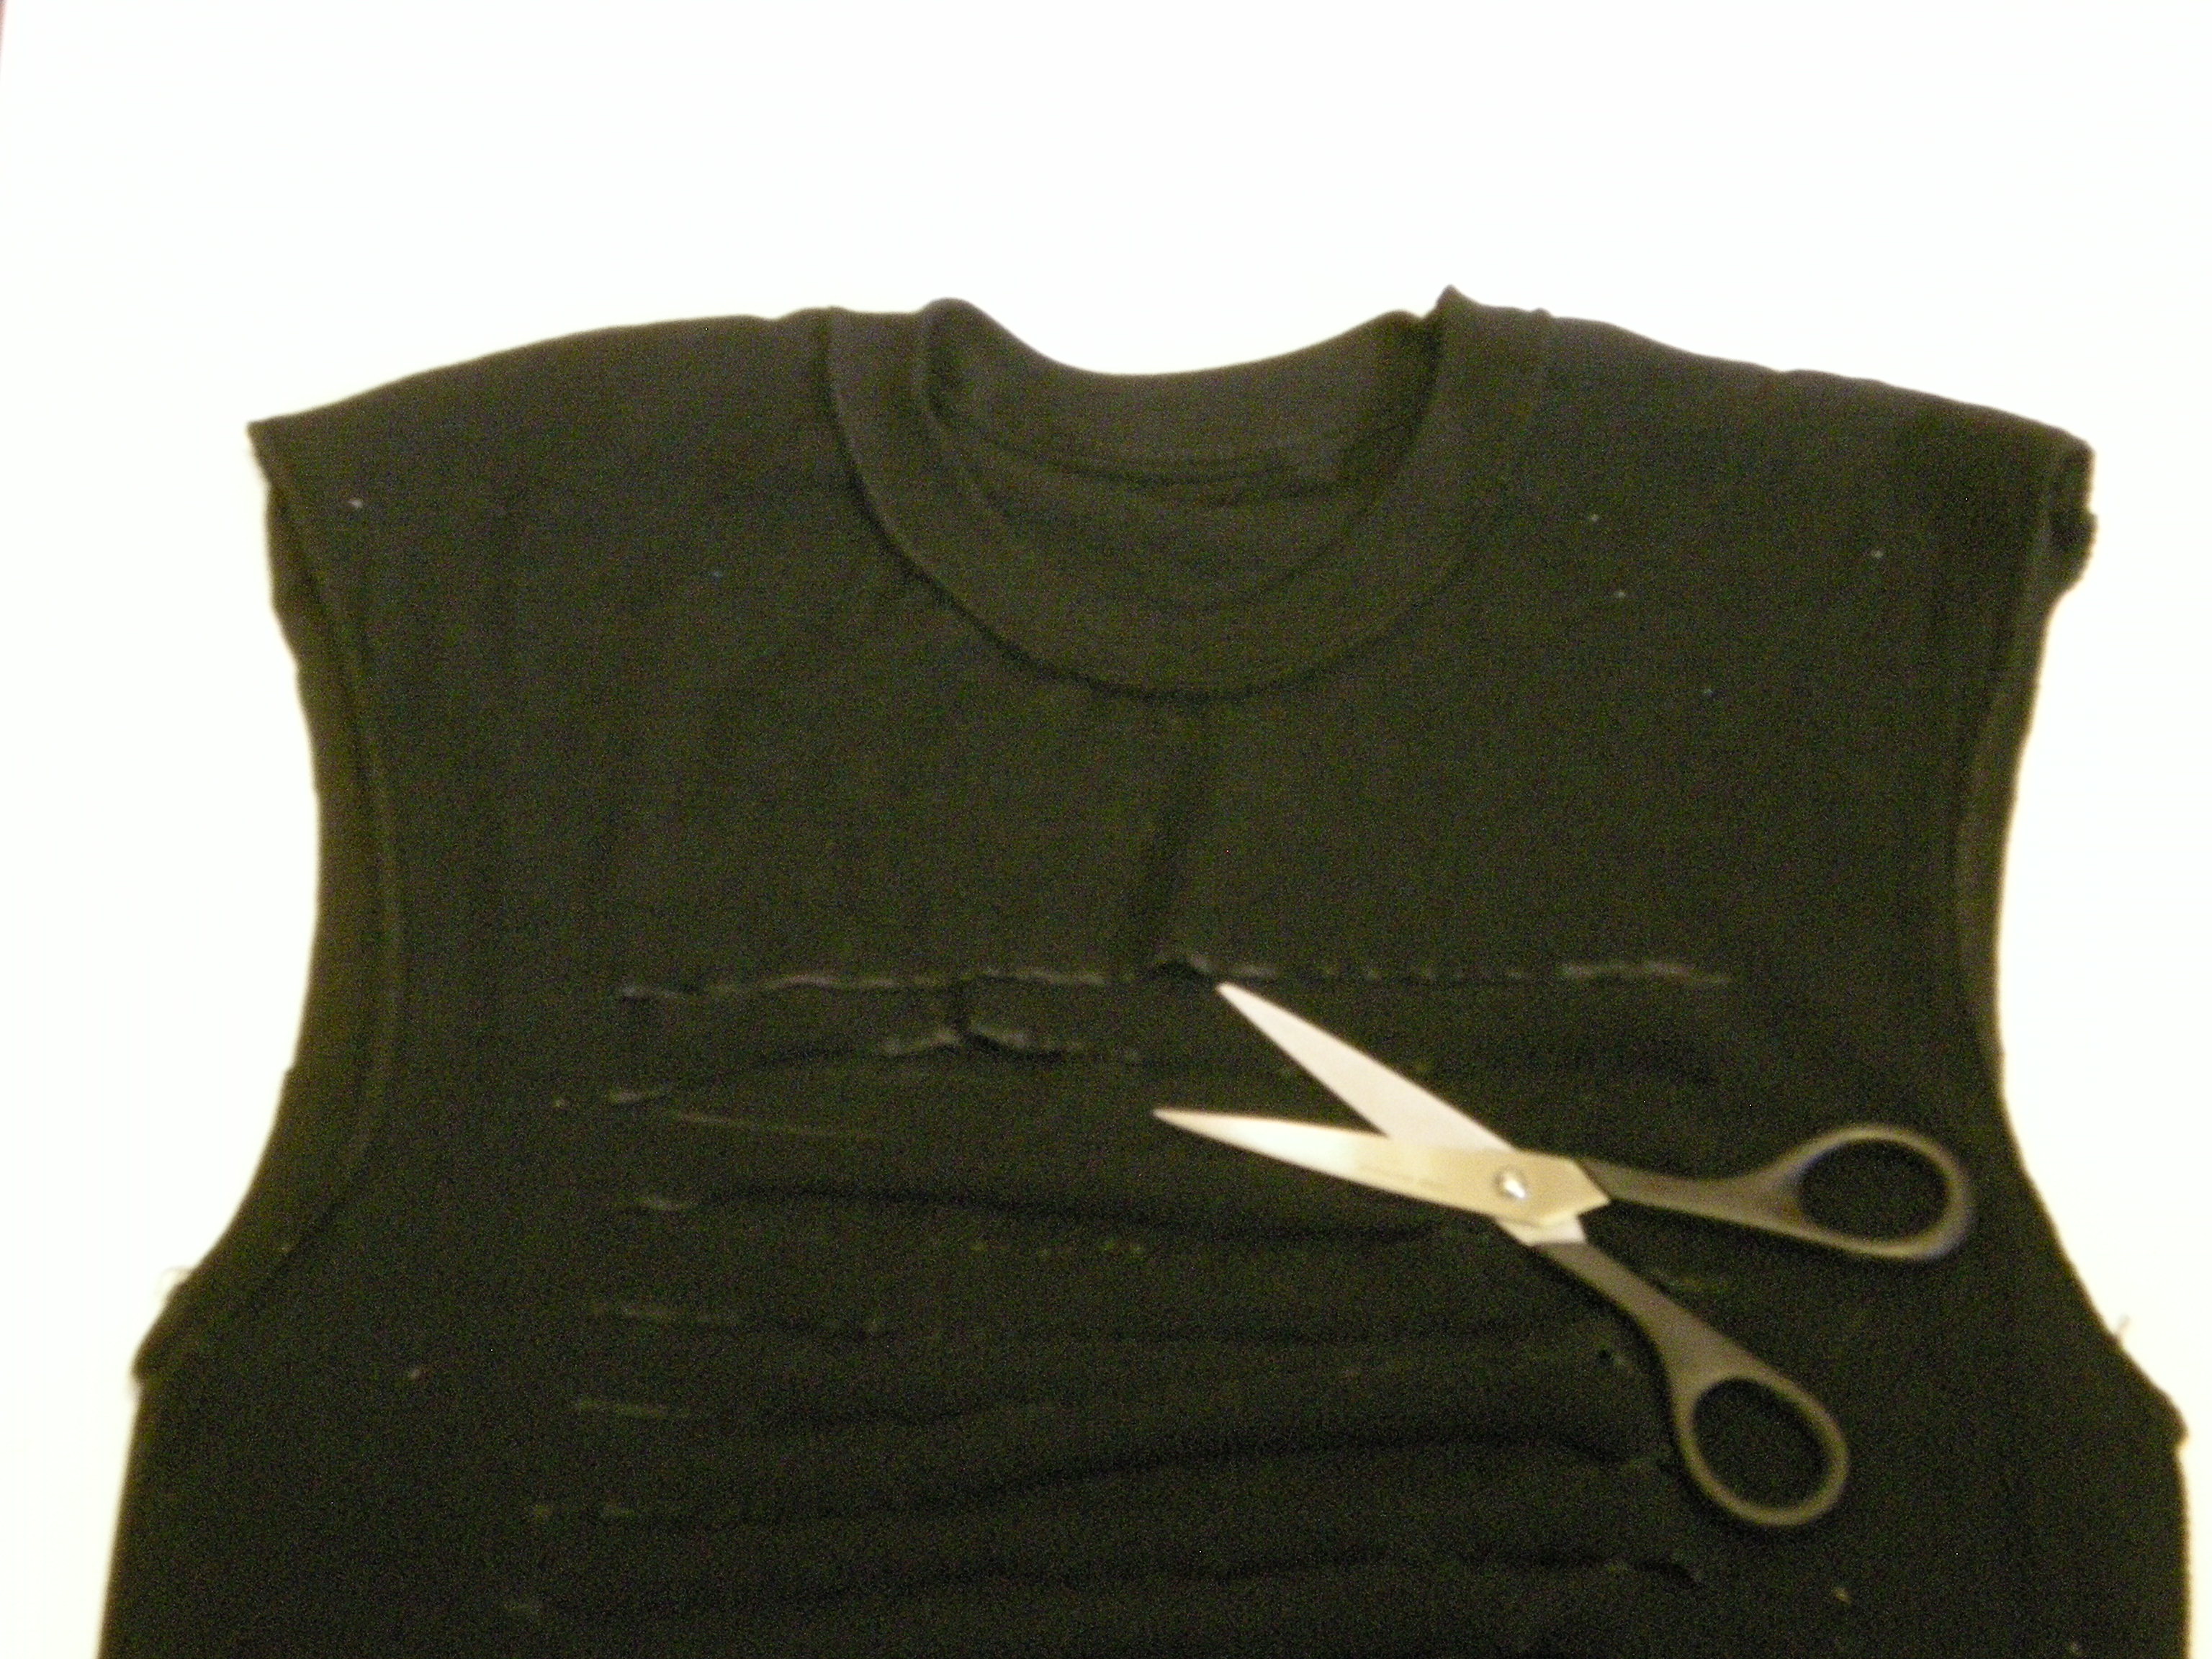
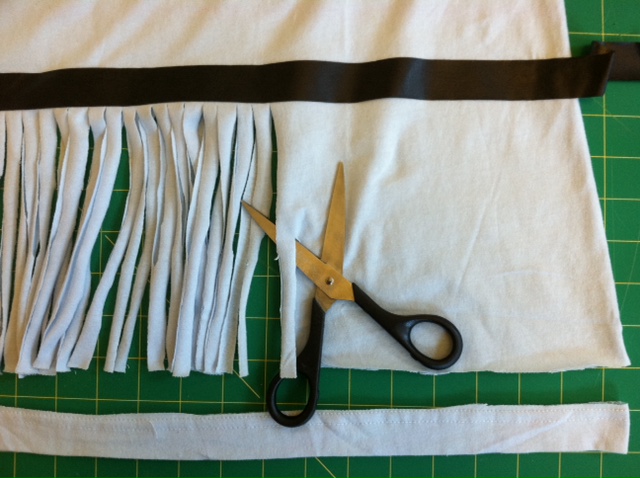
5. Cut off the bottom hem of the T-shirt, just above the
stitching. Then, using the tape marker you pressed down in step 1 as
your guide, cut 1/3"- to 1/2"-wide fringe from the bottom edge of the
shirt.
 6.
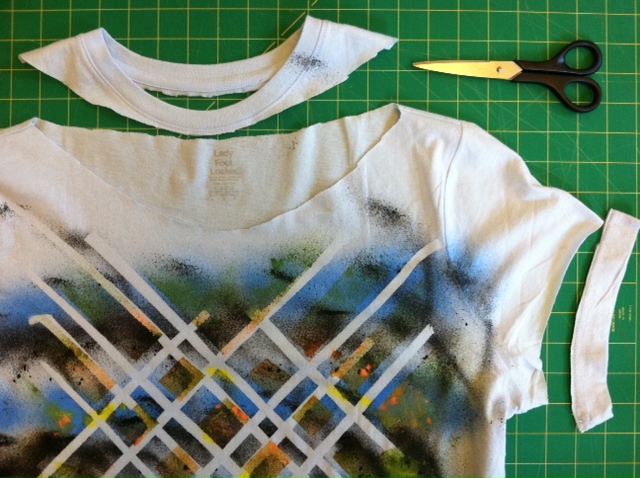
6. Cut off the sleeve hems, just above the stitching, and cut
out the neckband, just below the neckband edge in the front and the
back, and about 2" wider on the sides.
 7.
7. Gently tug on the fringe to stretch it out (the fabric edges will curl in). Try it on!
 8.
8. Grab up additional T-shirts and experiment with your paint
patterns and fringe -- cut it on a diagonal, in a chevron-inspired
V-shape, make it long or short!

Then pack a picnic, sling your boombox over your shoulder, and crank up any of
the decade's Billboard hits!
 Visit us on Facebook!
Craft on!






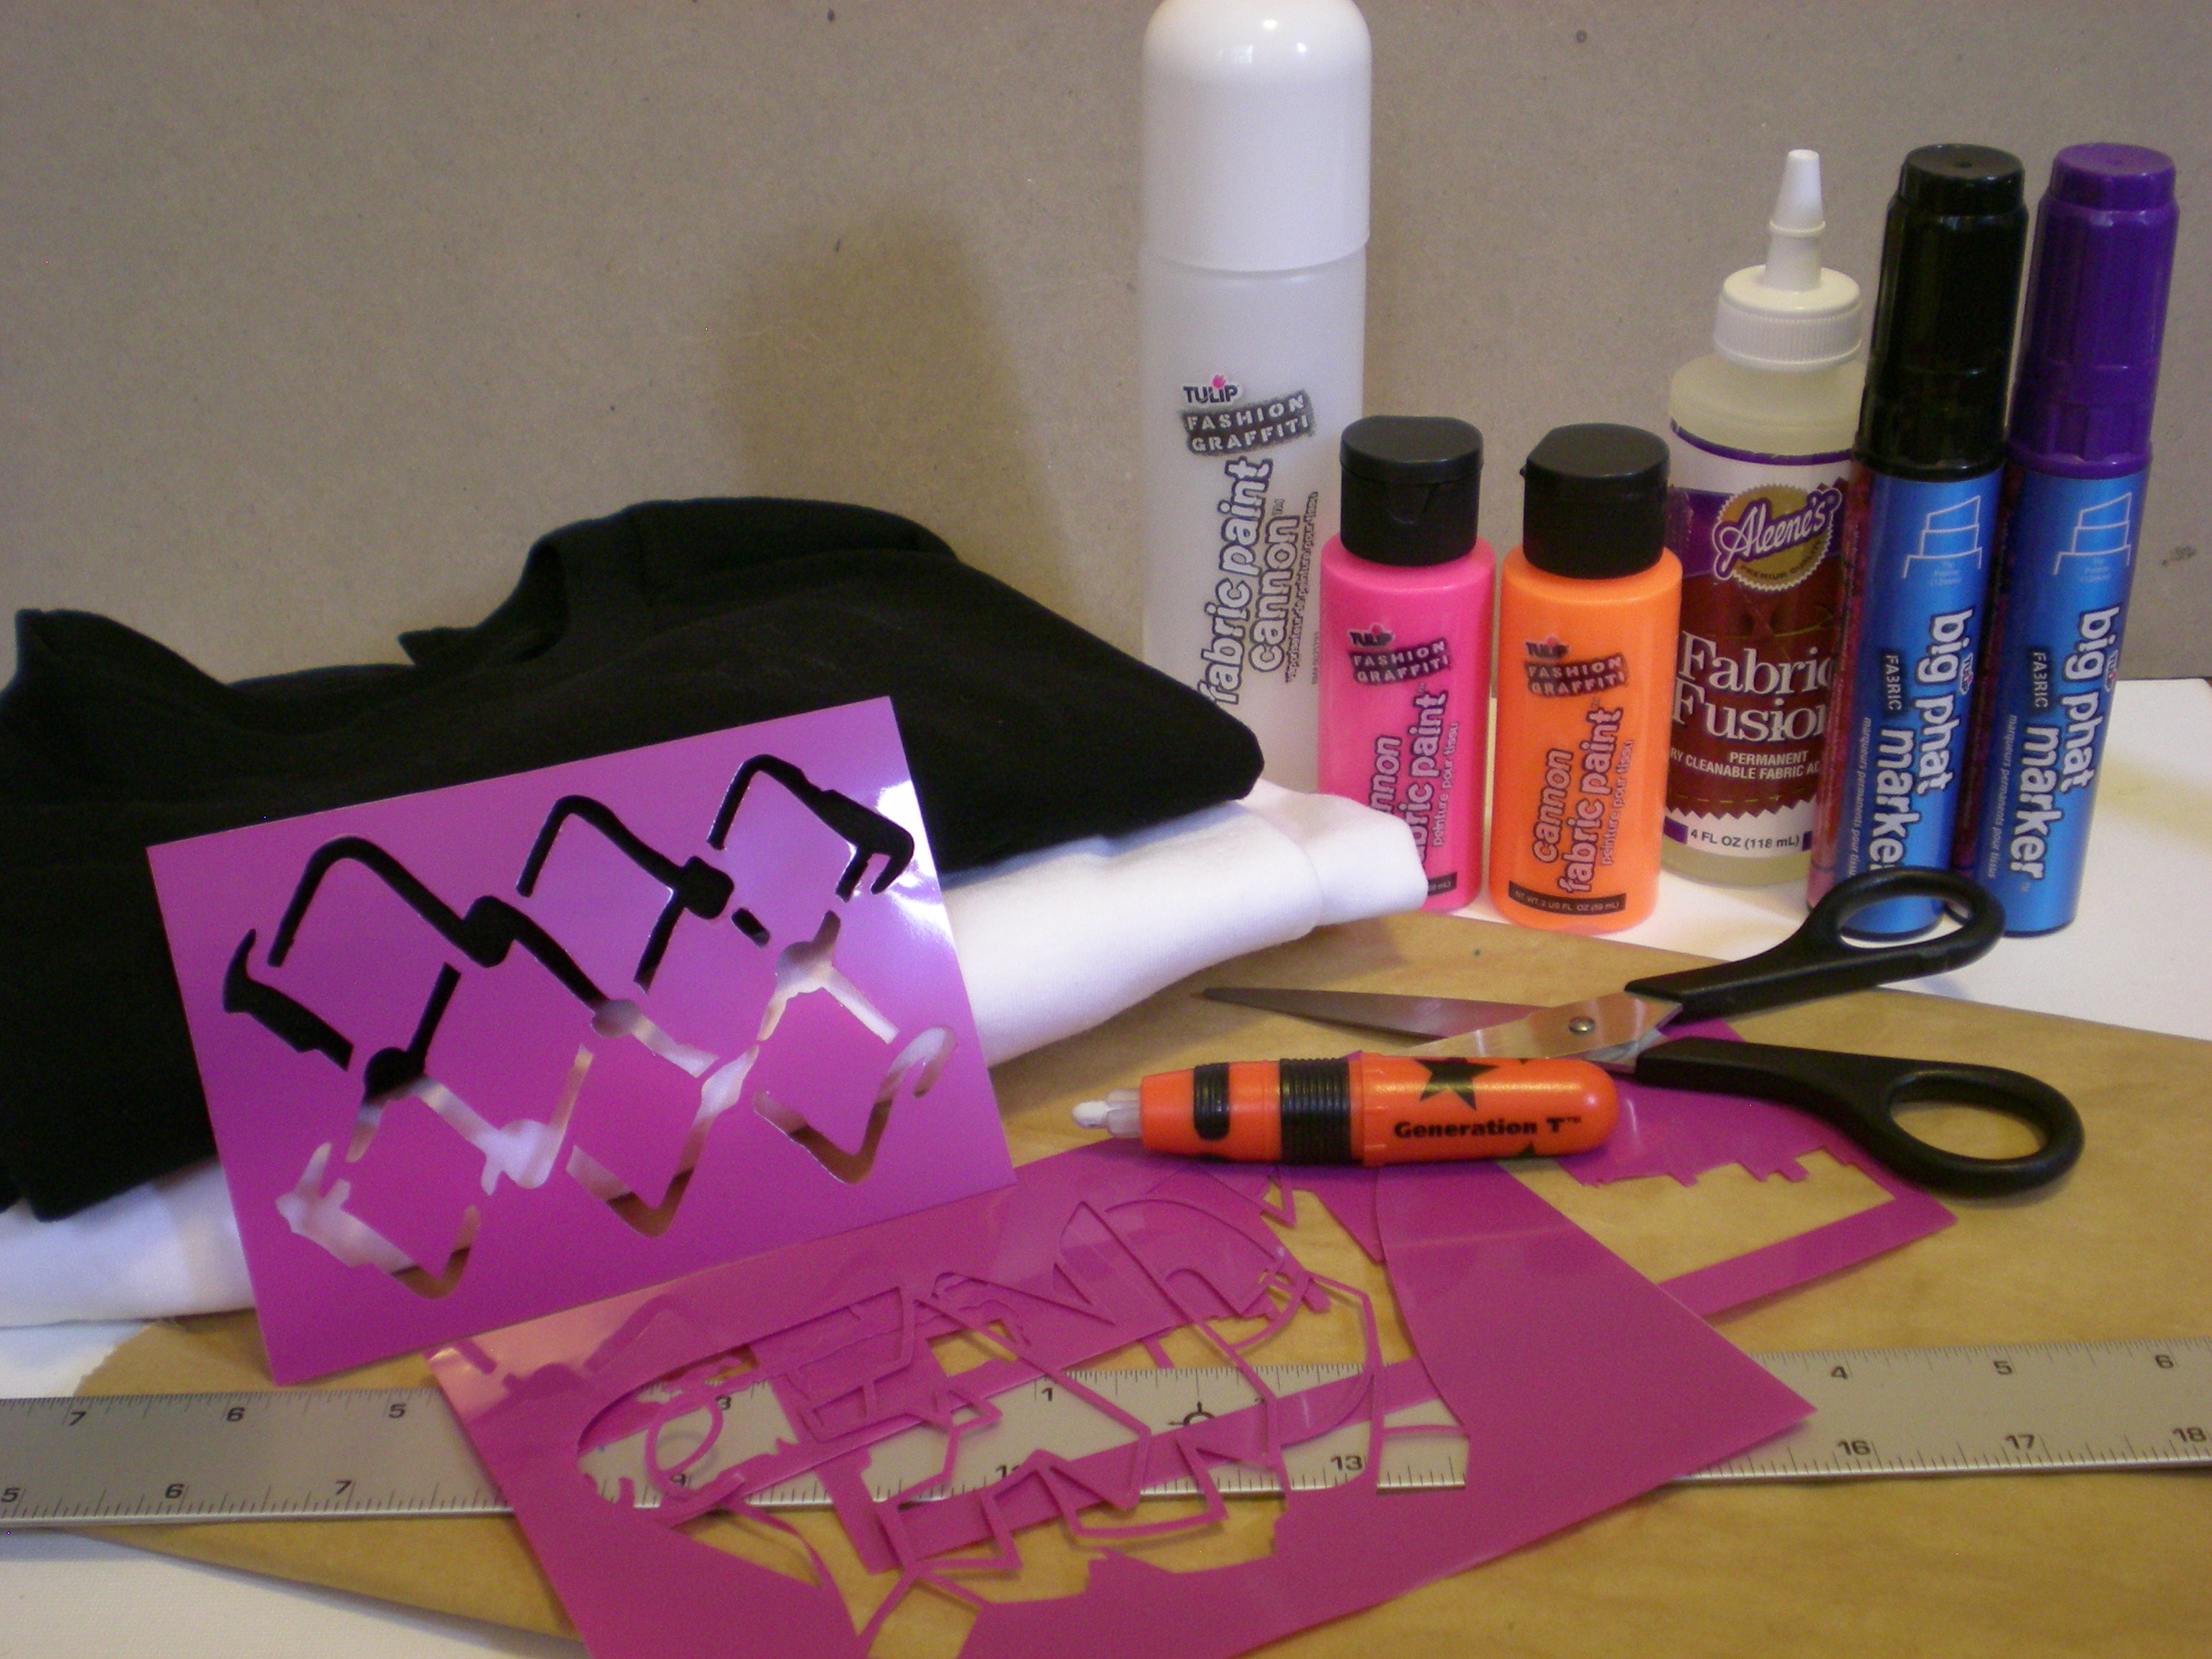
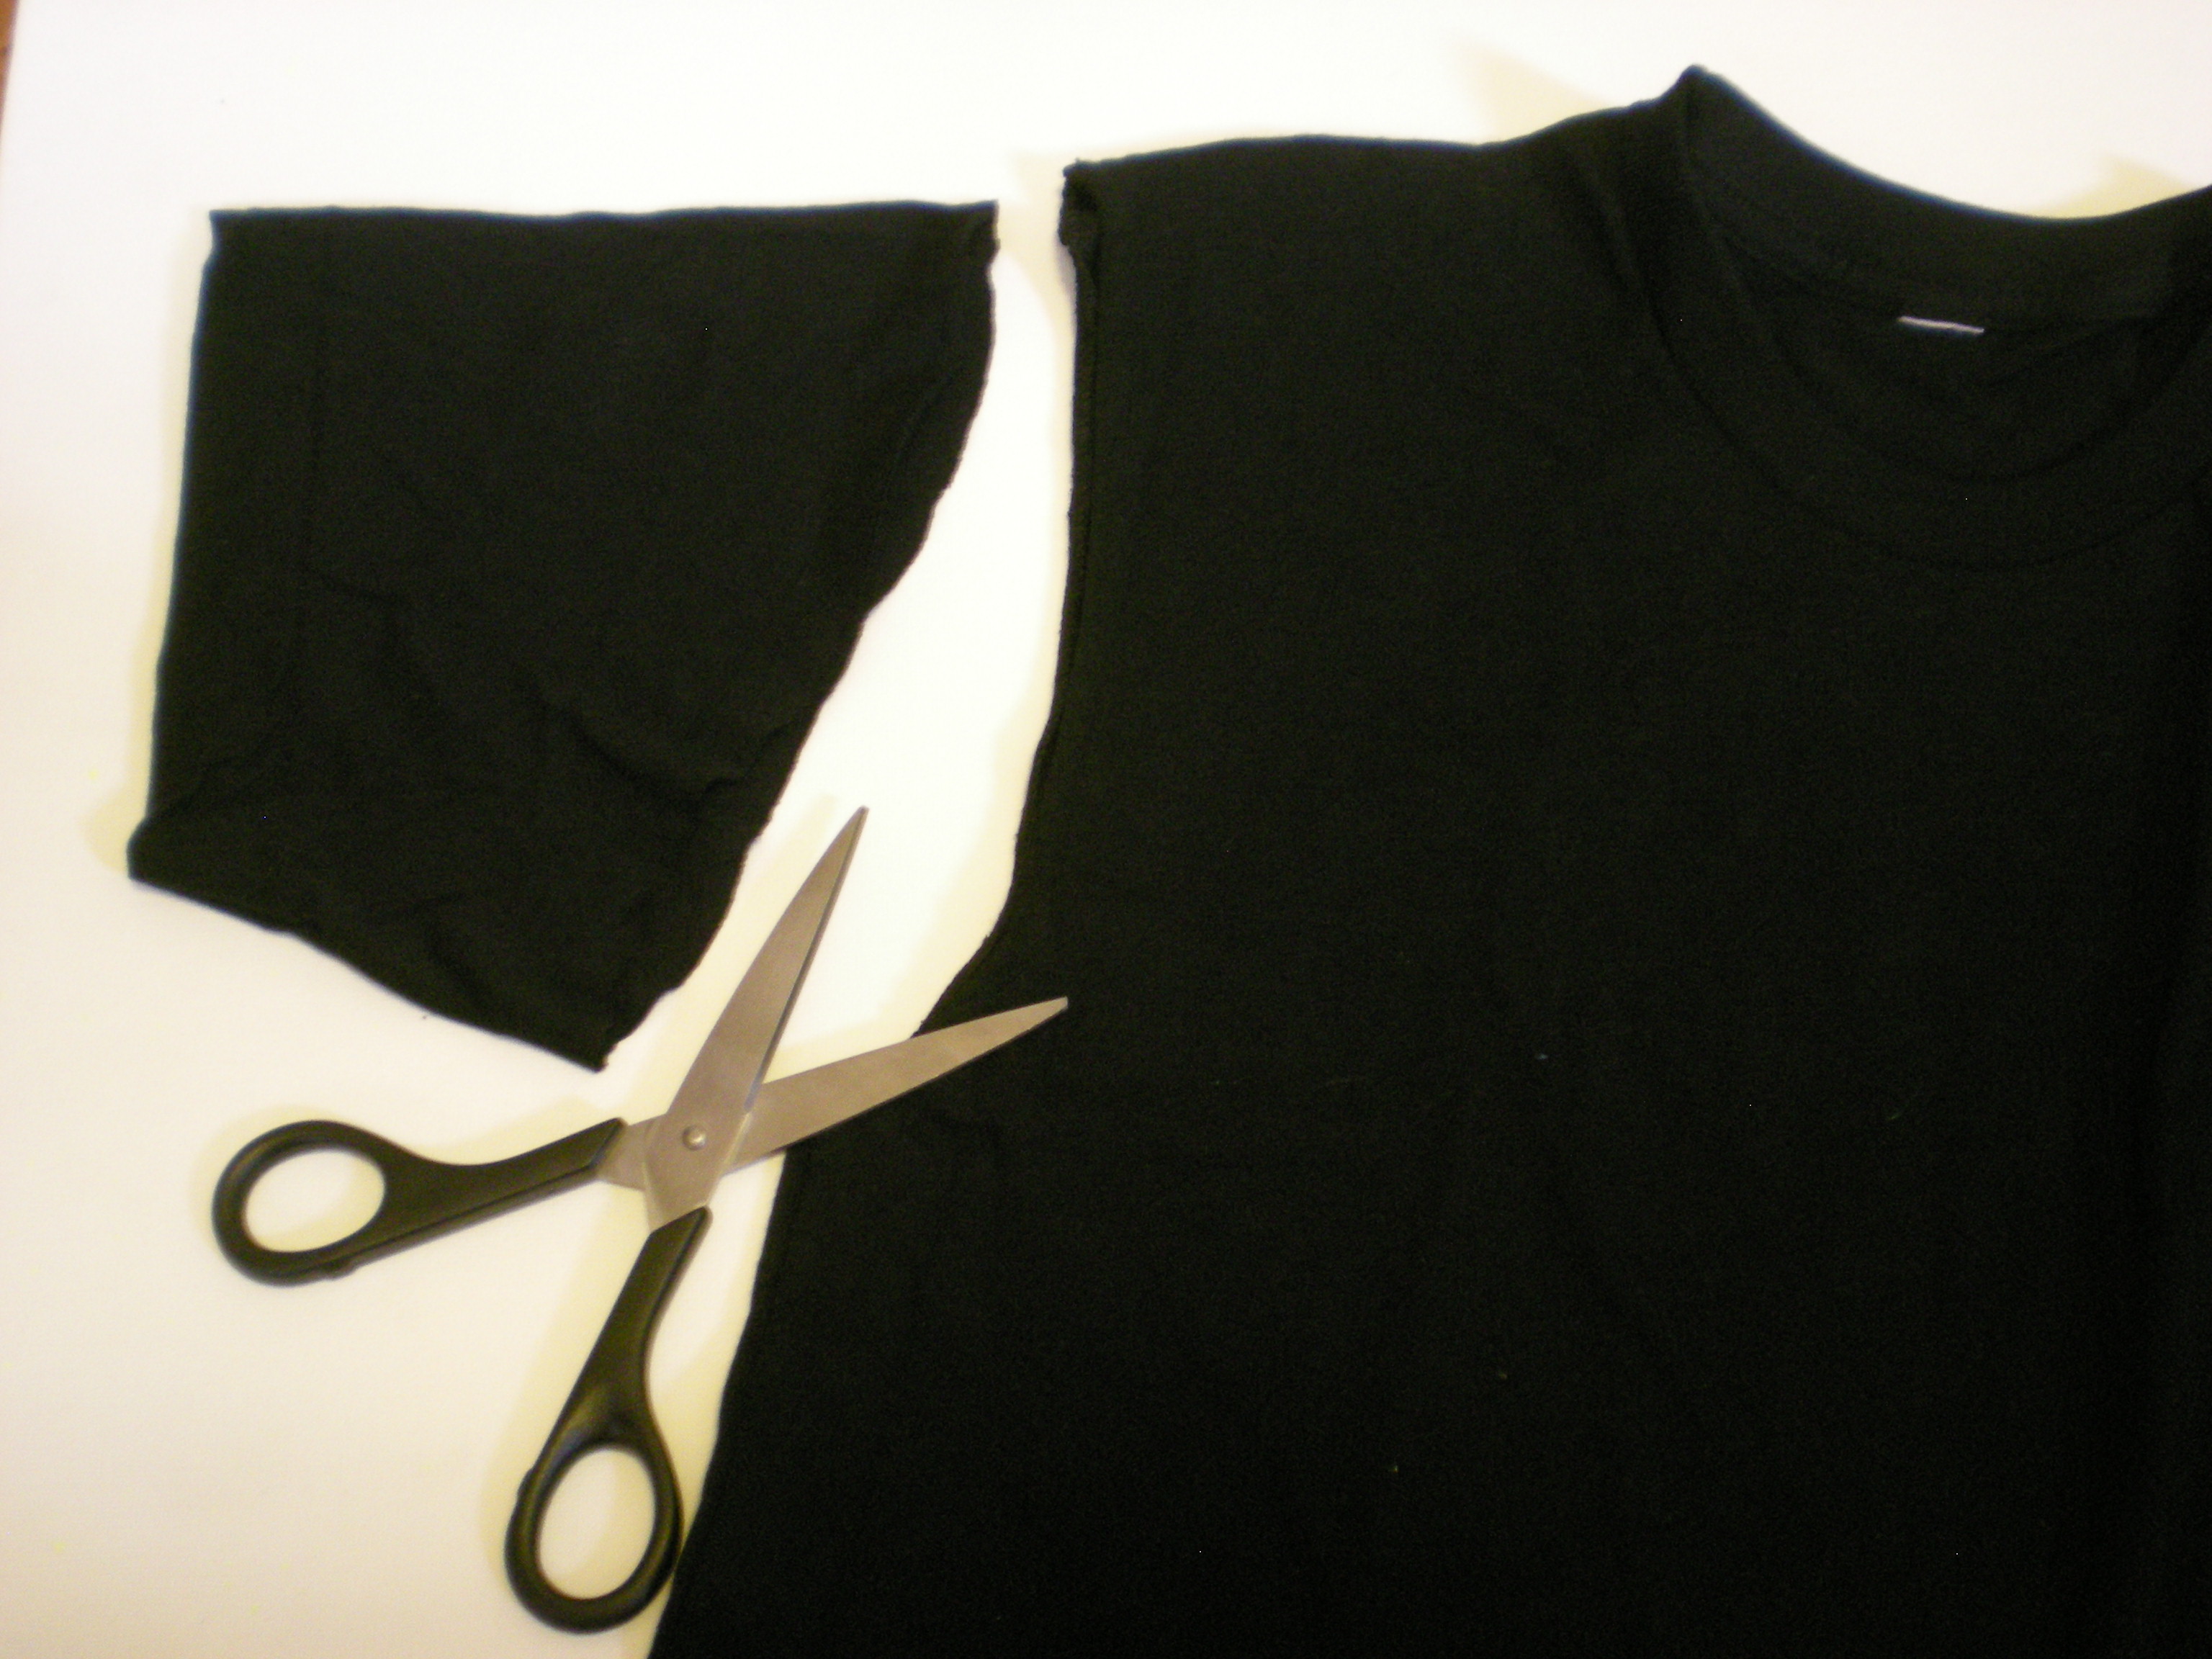
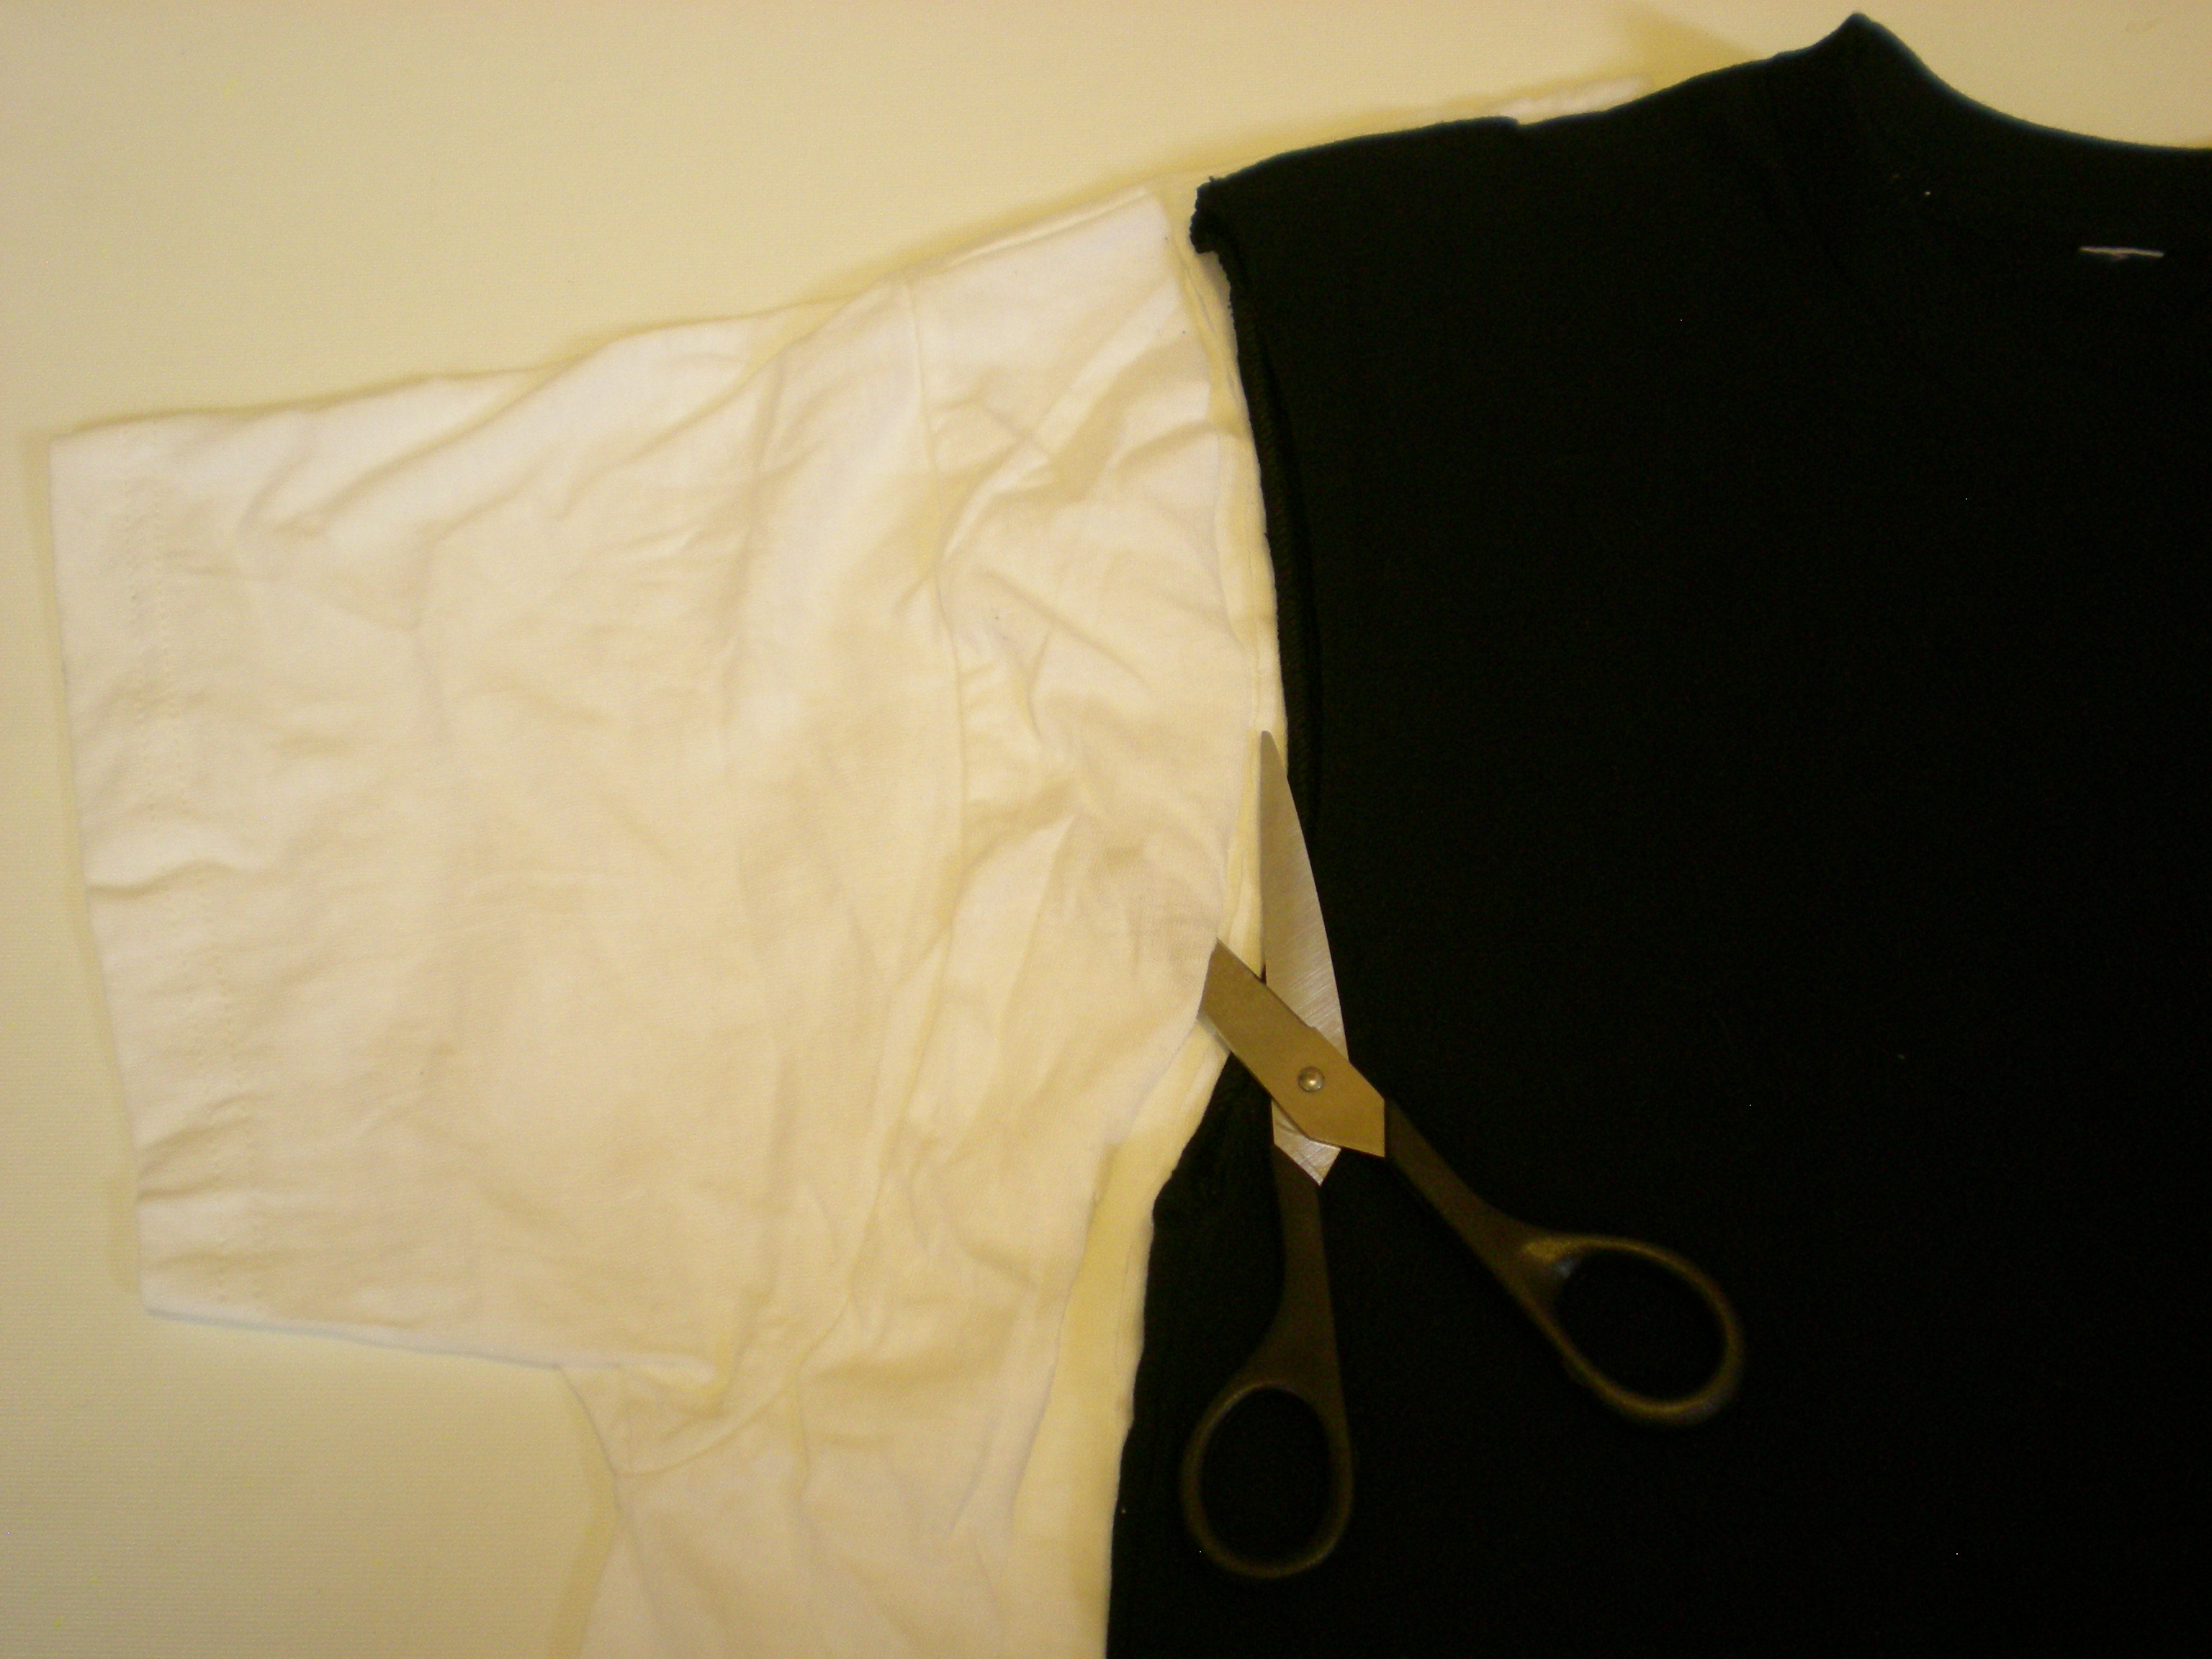
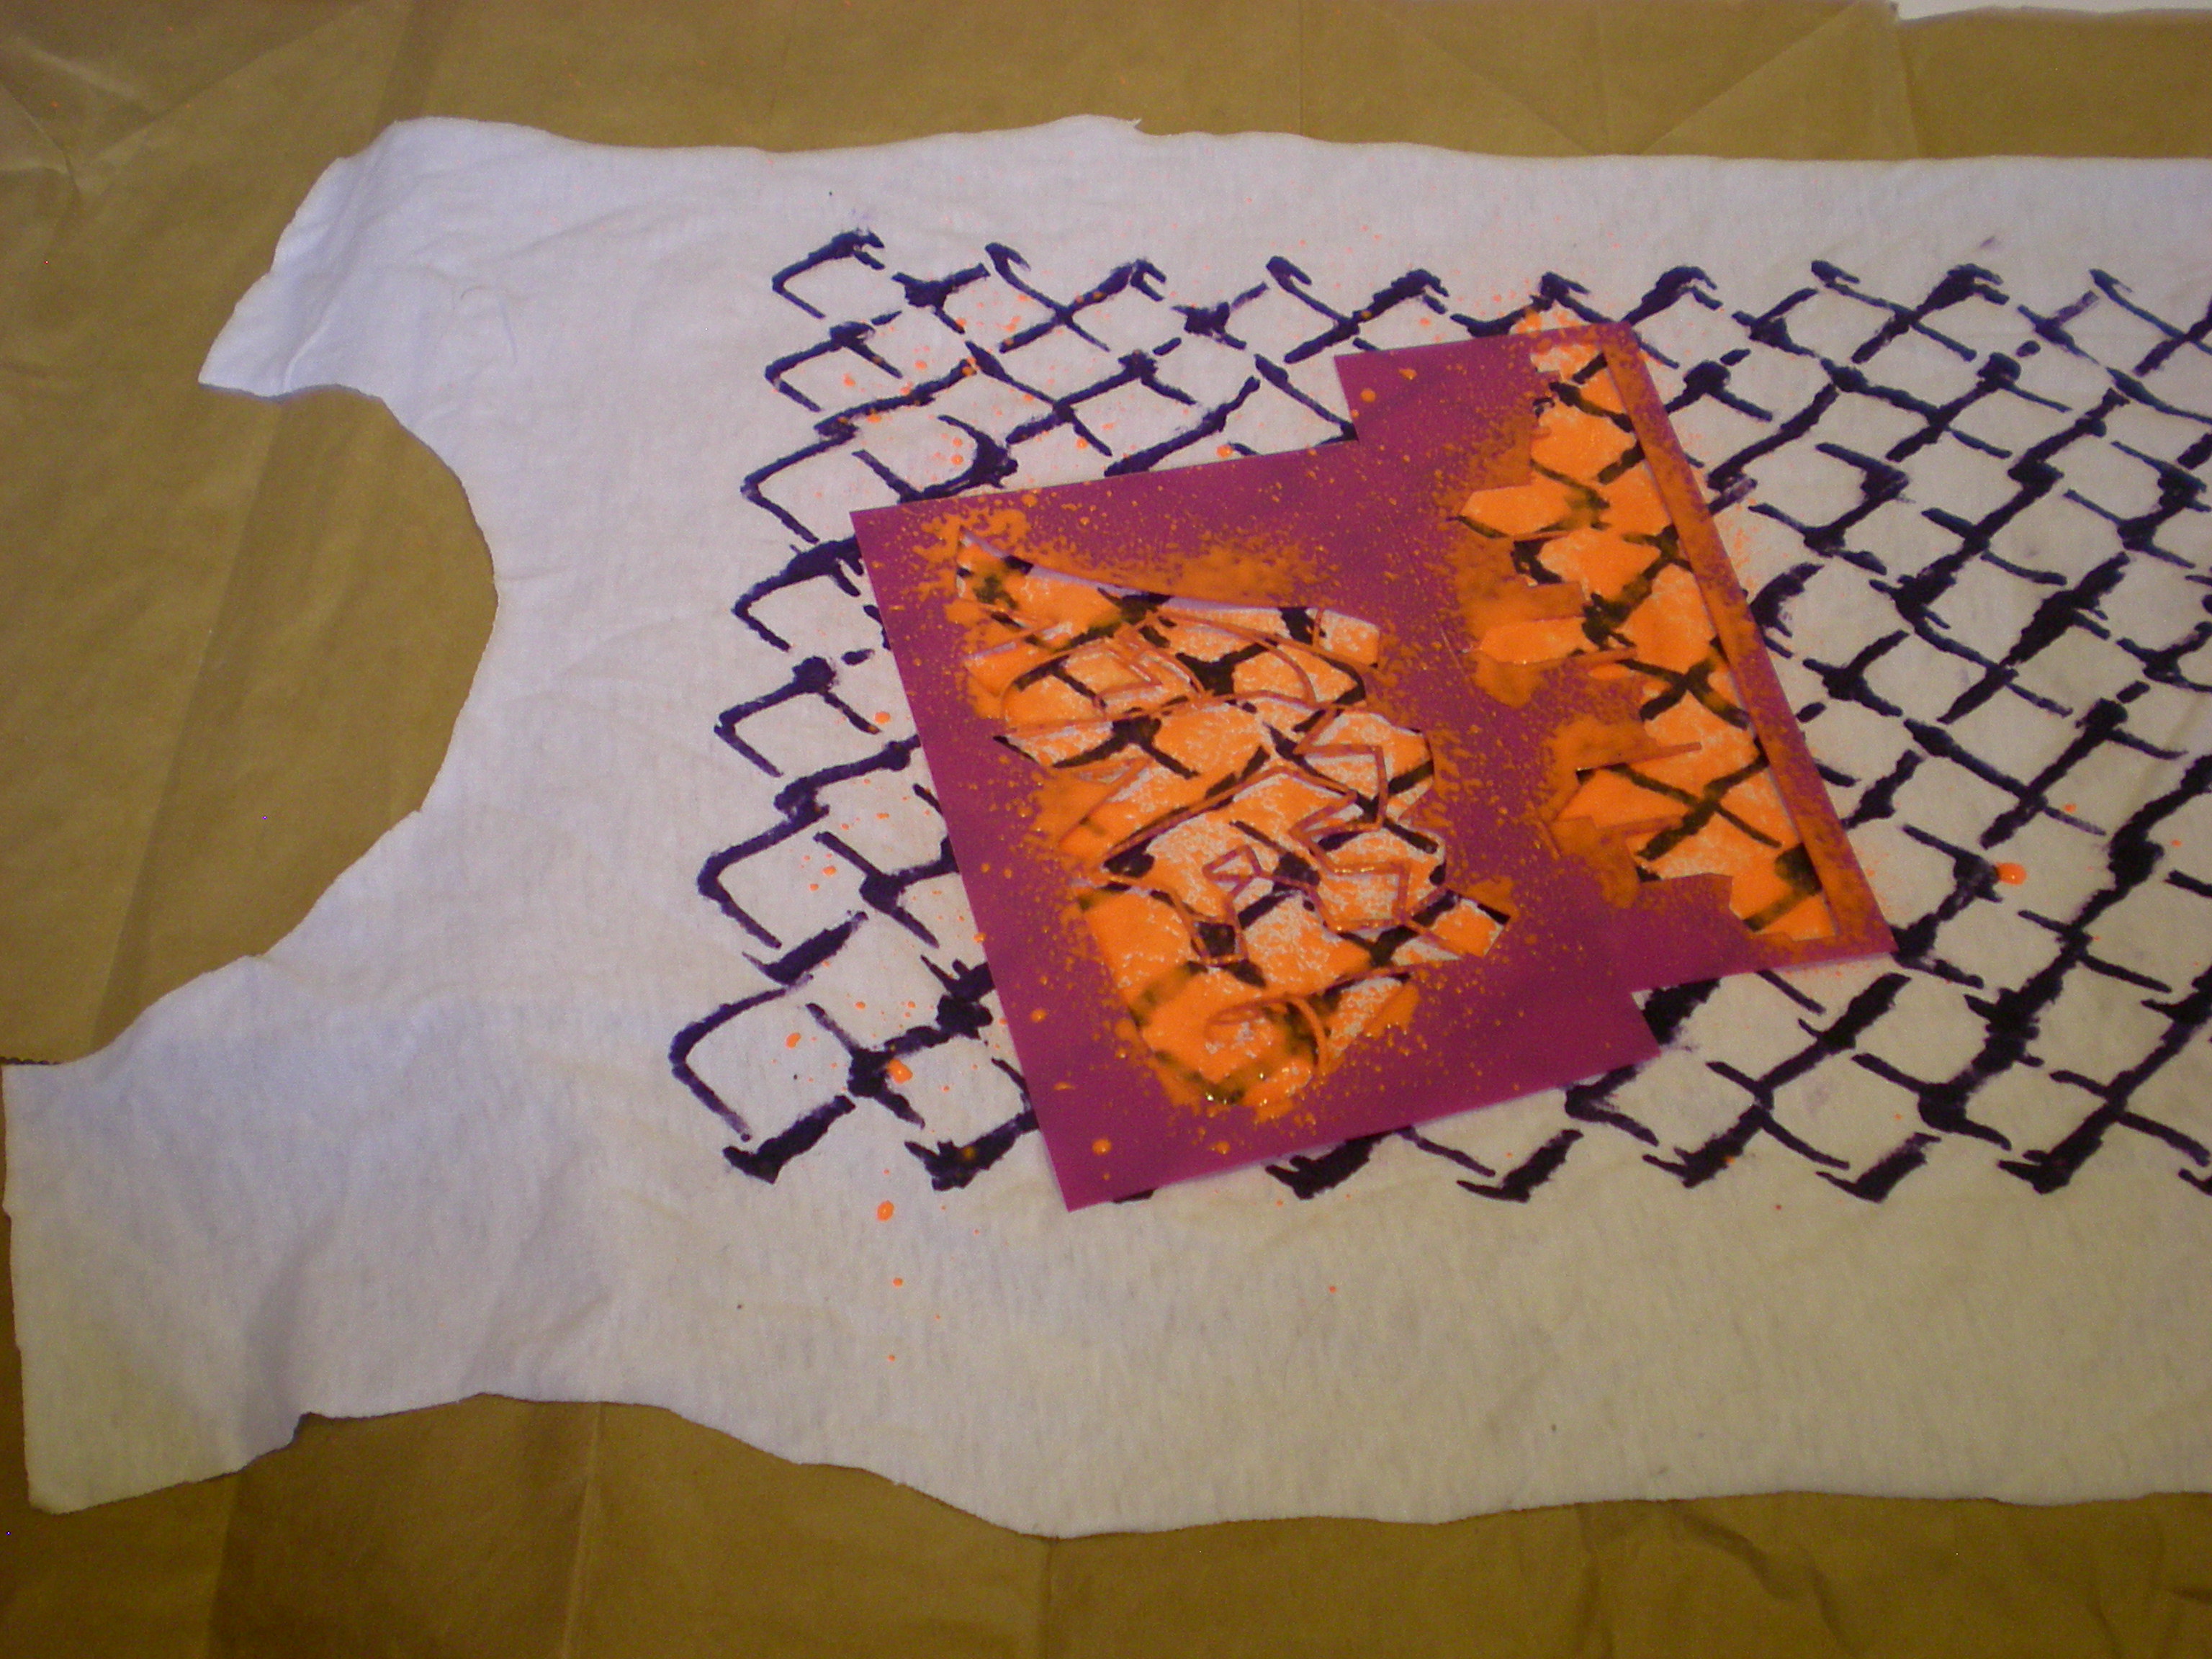
 Hi T-shirt fans! This is a project I've been meaning to make all summer. I saw something like it in a tween-ish retail store once (I know, I know, now that I'm a thirty-something perhaps I should start shopping in more adult places)--and thought, as I so often do, I could so make that... And so I did. And now you can make this 80s punk-meets-hip-hop tank top, too.