Showing posts with label felt. Show all posts

Monday, September 24

Cool2Craft: Fabulous Felt!


Hey Aleene's fans! It's super cool! Cool2Craft TV September 24, 2012: Fabulous Felt

The Cool2Craft design team is crafting with felt! Tiffany Windsor is assembling a felted floral headband with Aleene's Super Thick Tacky Glue, EcoHeidi Borchers is transforming felt into a pretty floral iPad cover, plus much more! It’s easy to watch Cool2Craft right from your computer. Learn new techniques, chat with us while watching the show and ask questions about all your favorite Aleene's products!

Airing Monday September 24, 2012 9am Pacific/11 am Central/Noon Eastern. Go to Cool2Craft.com and you'll see the Livestream player and chat box where you can join right in. See you Monday!

Can't make the live show? No problem, you can drop by this week 24/7 at Cool2Craft.com to watch the show!

Visit us on Facebook! Get creative! Get inspired! Be cool!

Thursday, January 19

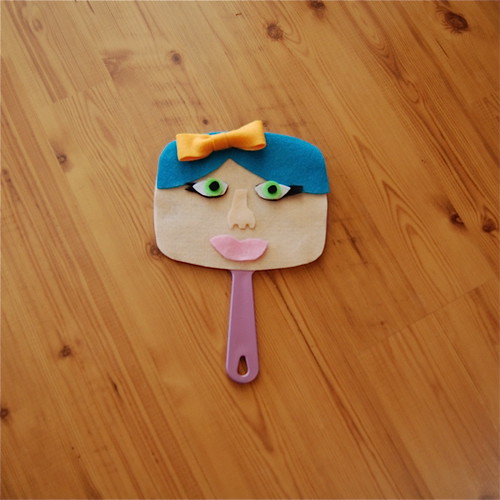
Mirror Mirror on the Wall Who is the Craftiest of Them All?


I have hand mirrors on the brain lately. Maybe it is all those Snow White and the Huntsman commercials. Maybe it was last week when I decided to hot roll my hair and realized I had no way to see the back of my head. Whatever the reason there was no way I was going to have a plain jane hand mirror on my vanity.


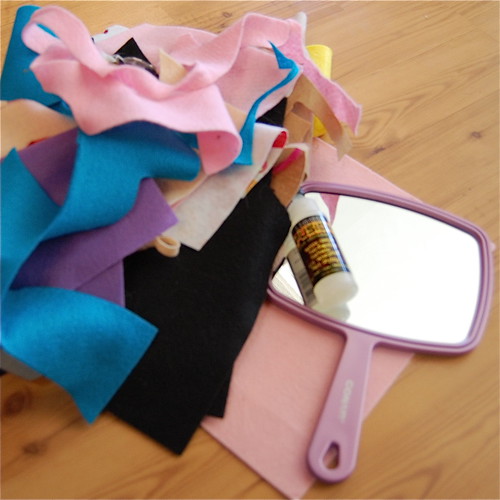
SUPPLIES
Felt
Scissors
Liquid Fusion Glue
Hand Mirror


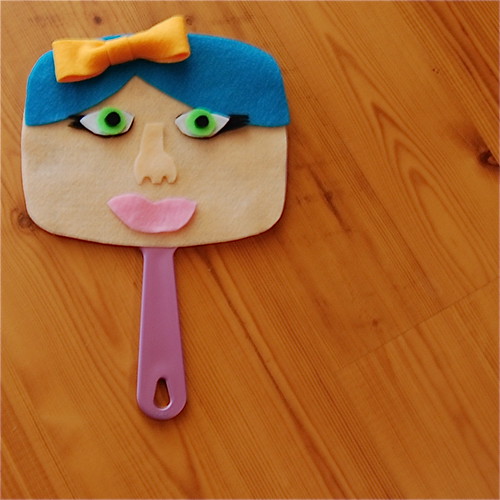
The first thing I did was decide on a design. Once I knew how I wanted my mirror to look I cut out pieces of felt.


I attached all the felt to the mirror using Liquid Fusion. Be careful not to use too much so that it does not darken your felt. I also added a hairbow from Jen at Hell Razor.

Now next time I need to see the back of my head I'm ready!

P.S. Don't forget that hand mirrors also make great picture frames.

P.P.S. Please excuse the slightly blurry pictures. I am taking photography classes and my teacher made me change all the nice settings my photag friend Erin had put my camera on.


Visit us on Facebook!
Craft on!

Tuesday, June 28

How to: Sparkle Kitty Ear Barrettes!

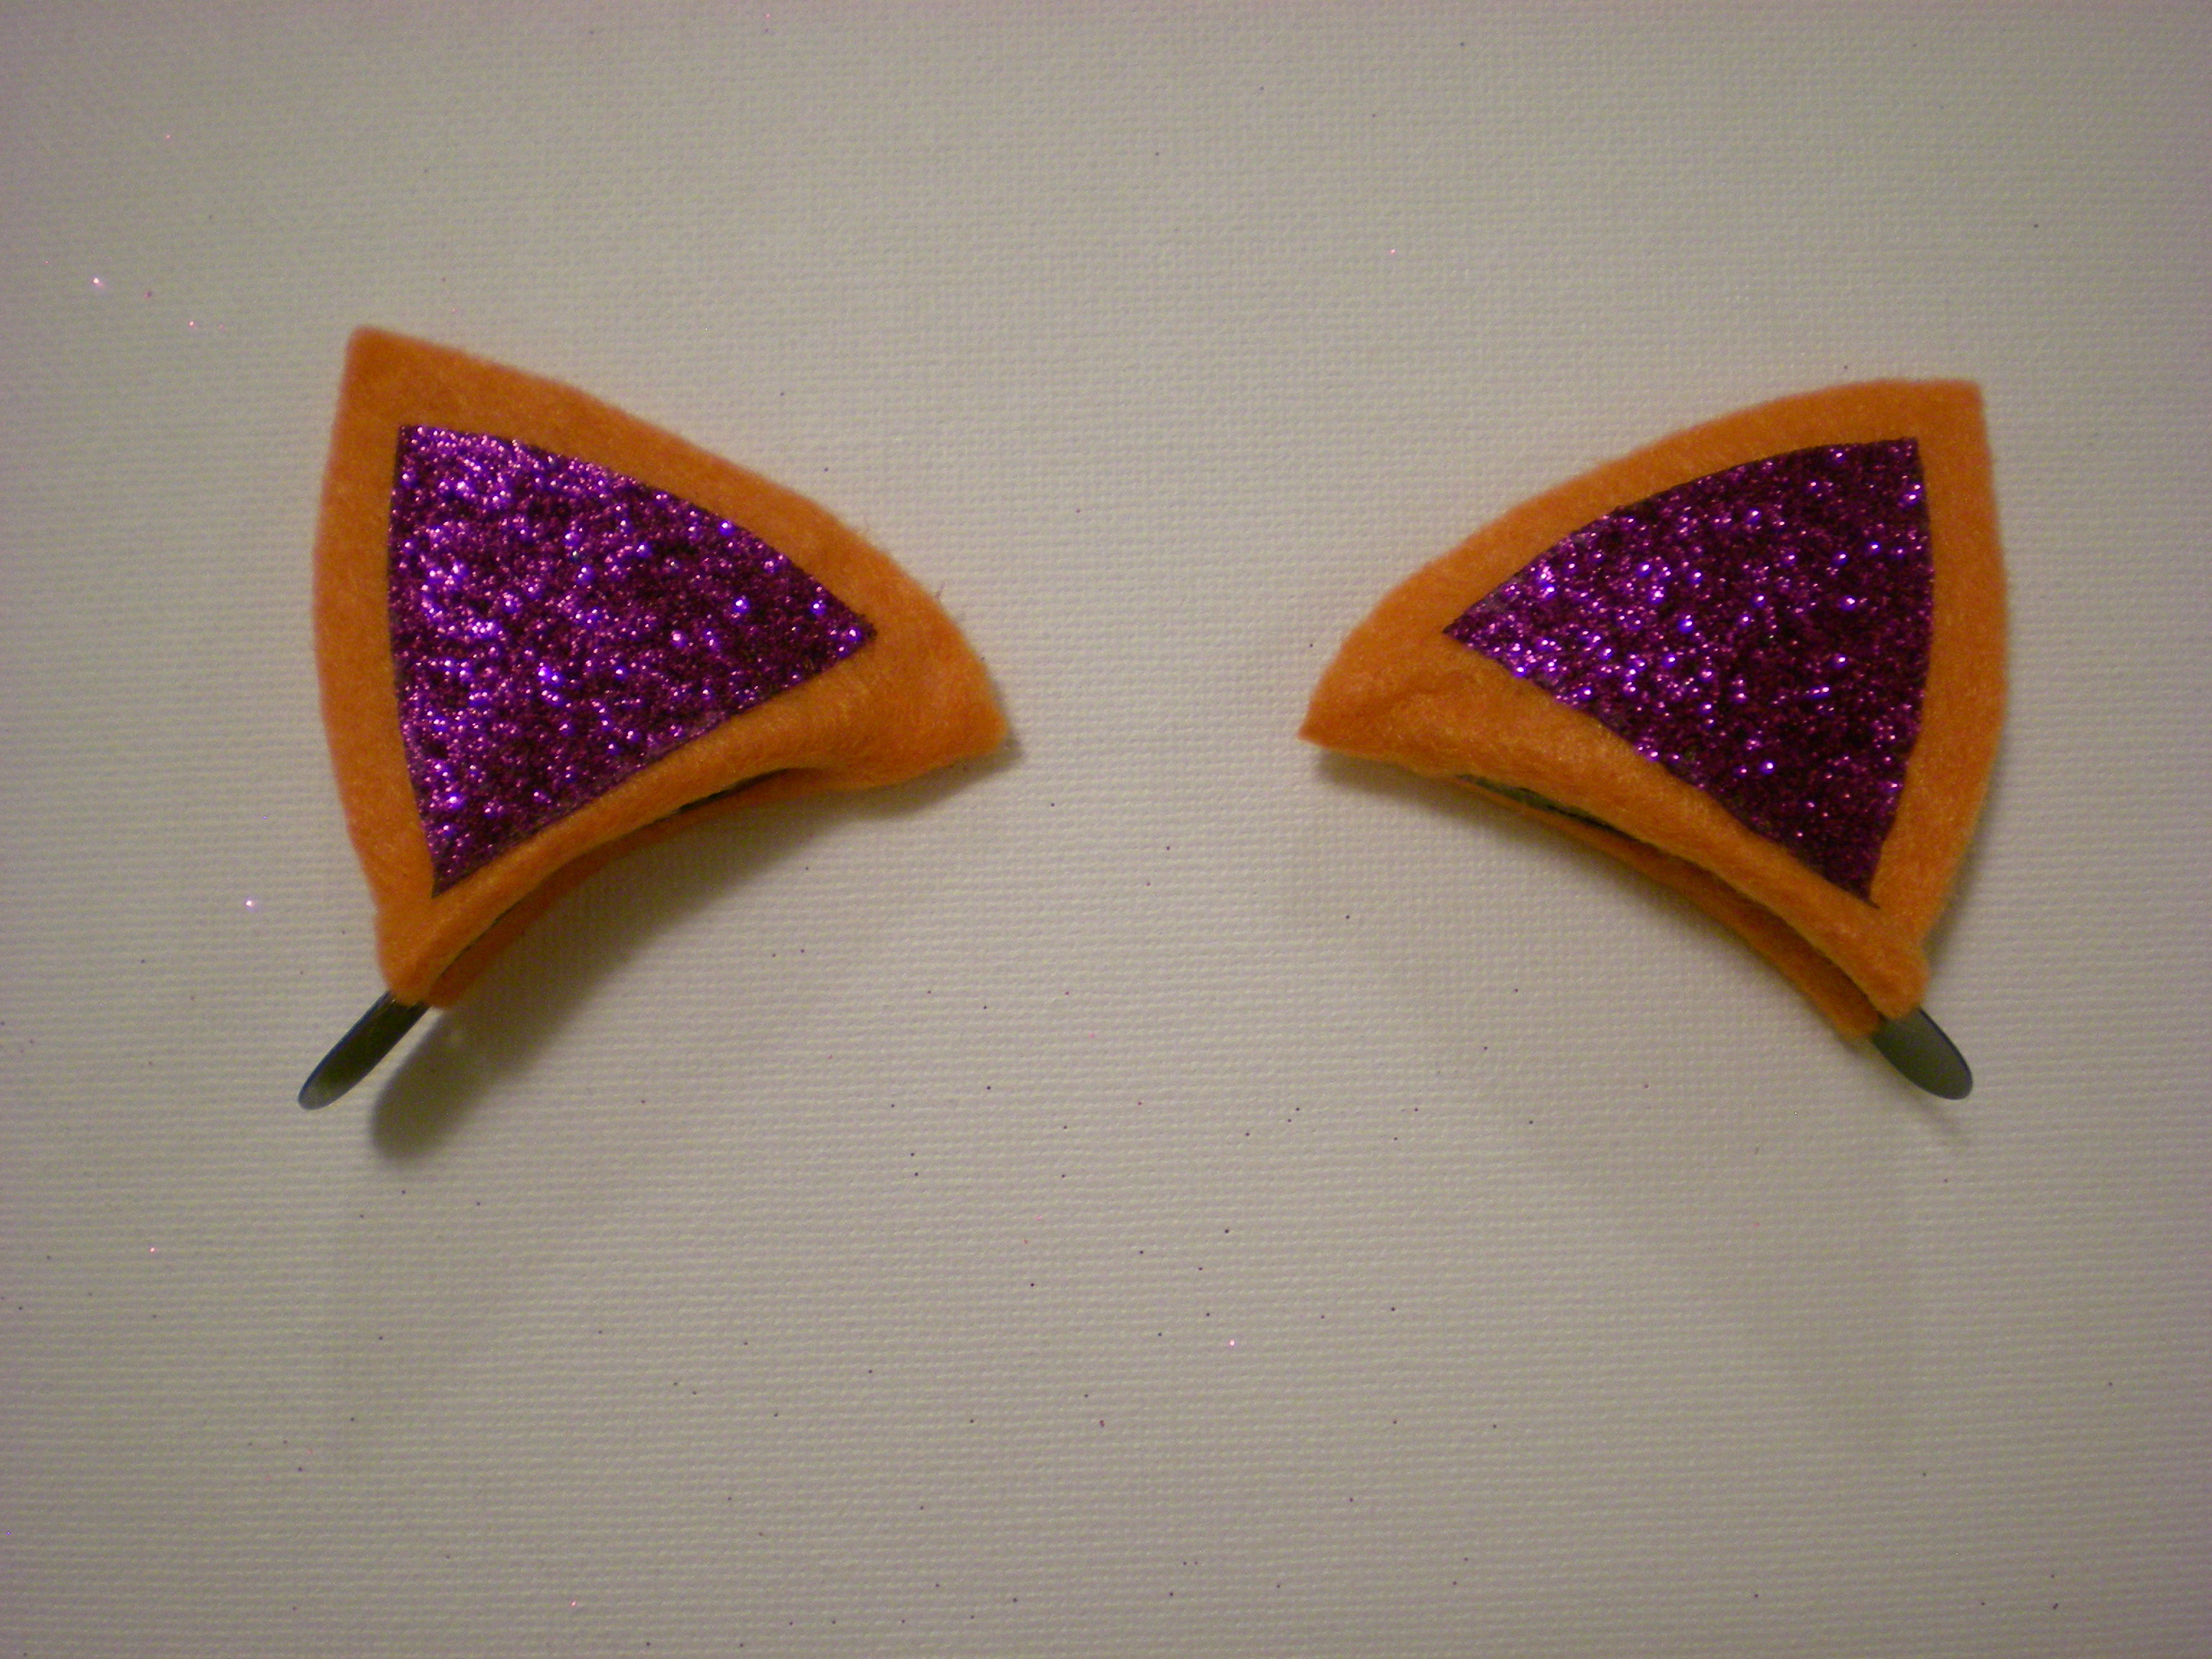
Today, it's clip-on cat ears for when you're feeling a little bit feline! The occasion? Well, to be perfectly honest, I set out making these for my niece's 5th birthday (she happens to love cats--her cat, Mo, in particular), but I didn't finish them in time (yes, despite the fact that they only take about 10-15 minutes to complete!). It turns out, though, that there was a higher power (called glitter) at work and the delay was well worth it: I recently got a delivery of Tulip's new iron-on glitter sheets and I realized that the delay was meant to be (because what would these ears be without the sparkle?--I know the Crafty Chica would be proud.)


Save these for Halloween if you want, but why wait? I wholly believe in wearing fun accessories whenever the mood strikes--because, hey, some days you just feel like a cat and here's the perfect accessory to let you indulge. And talk about fun in the sun--these ears sure do sparkle!

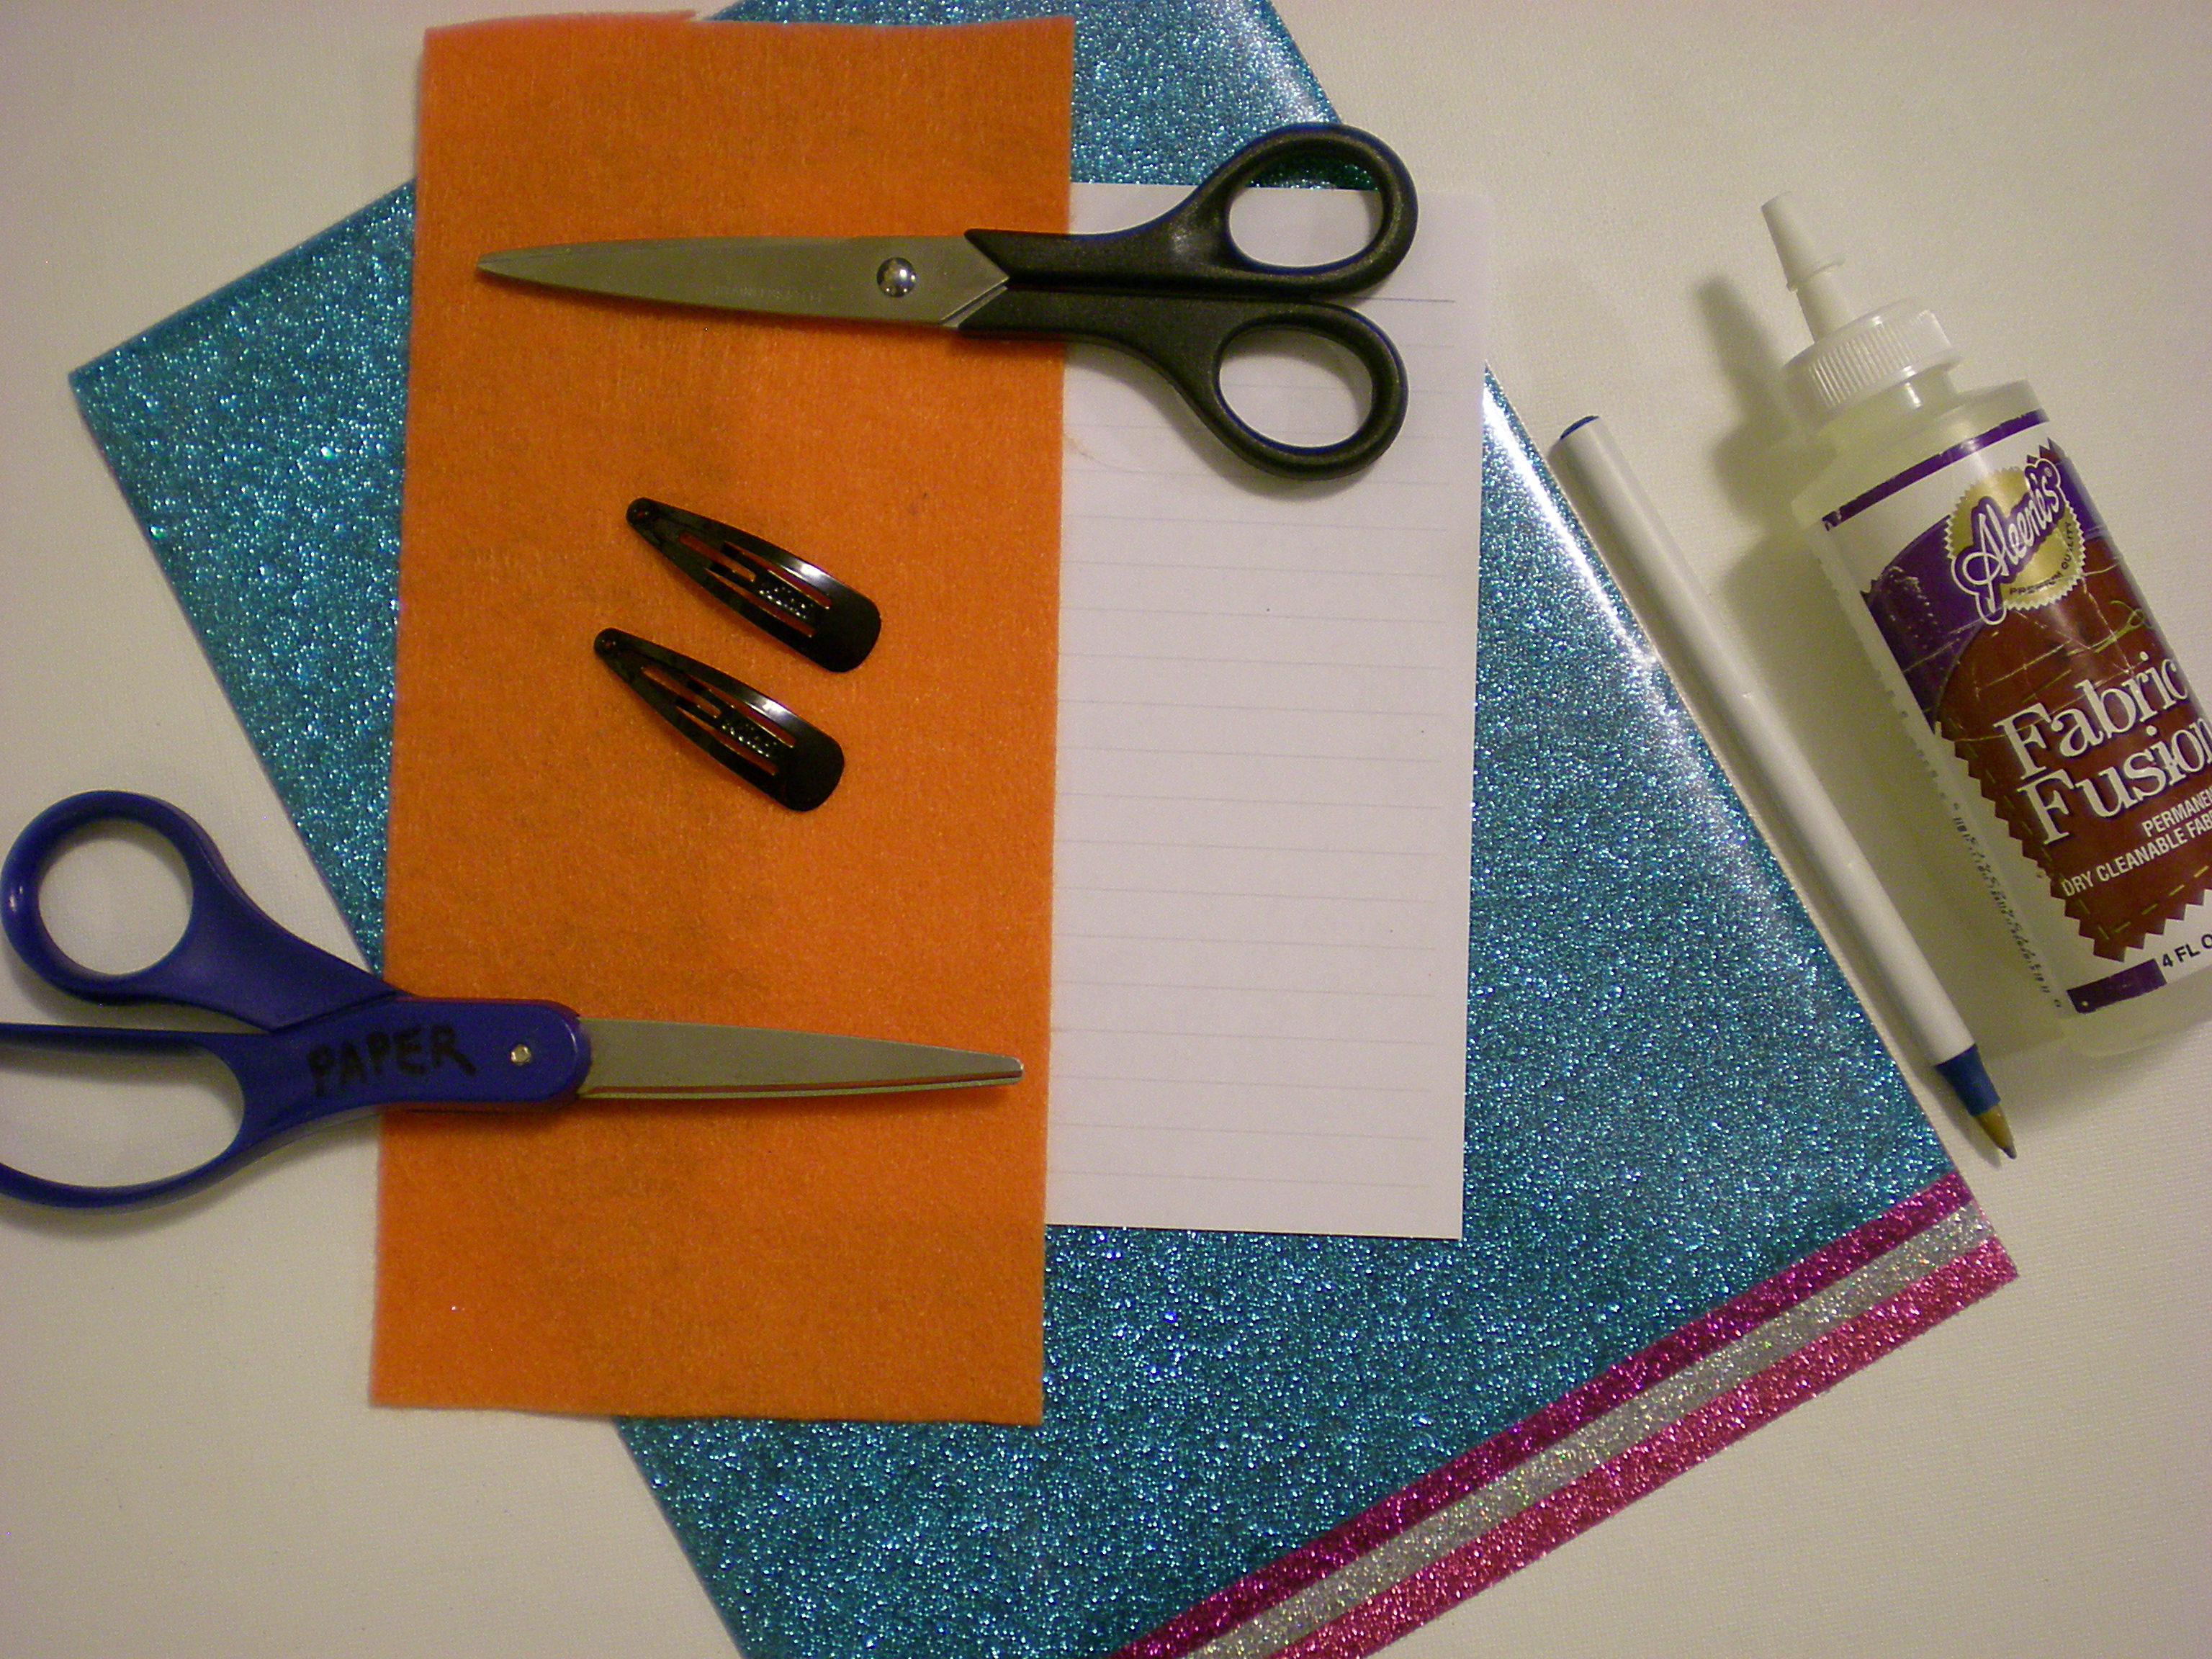
Materials:
-Pen or pencil
-Scrap of paper
-Colorful felt
-All-purpose scissors
-Fabric scissors
-Metal snap barrettes
-Aleene's Fabric Fusion fabric glue
-Tulip Fashion Glitter Shimmer Transfer Sheets
-Pressing cloth
-Iron


Make it:
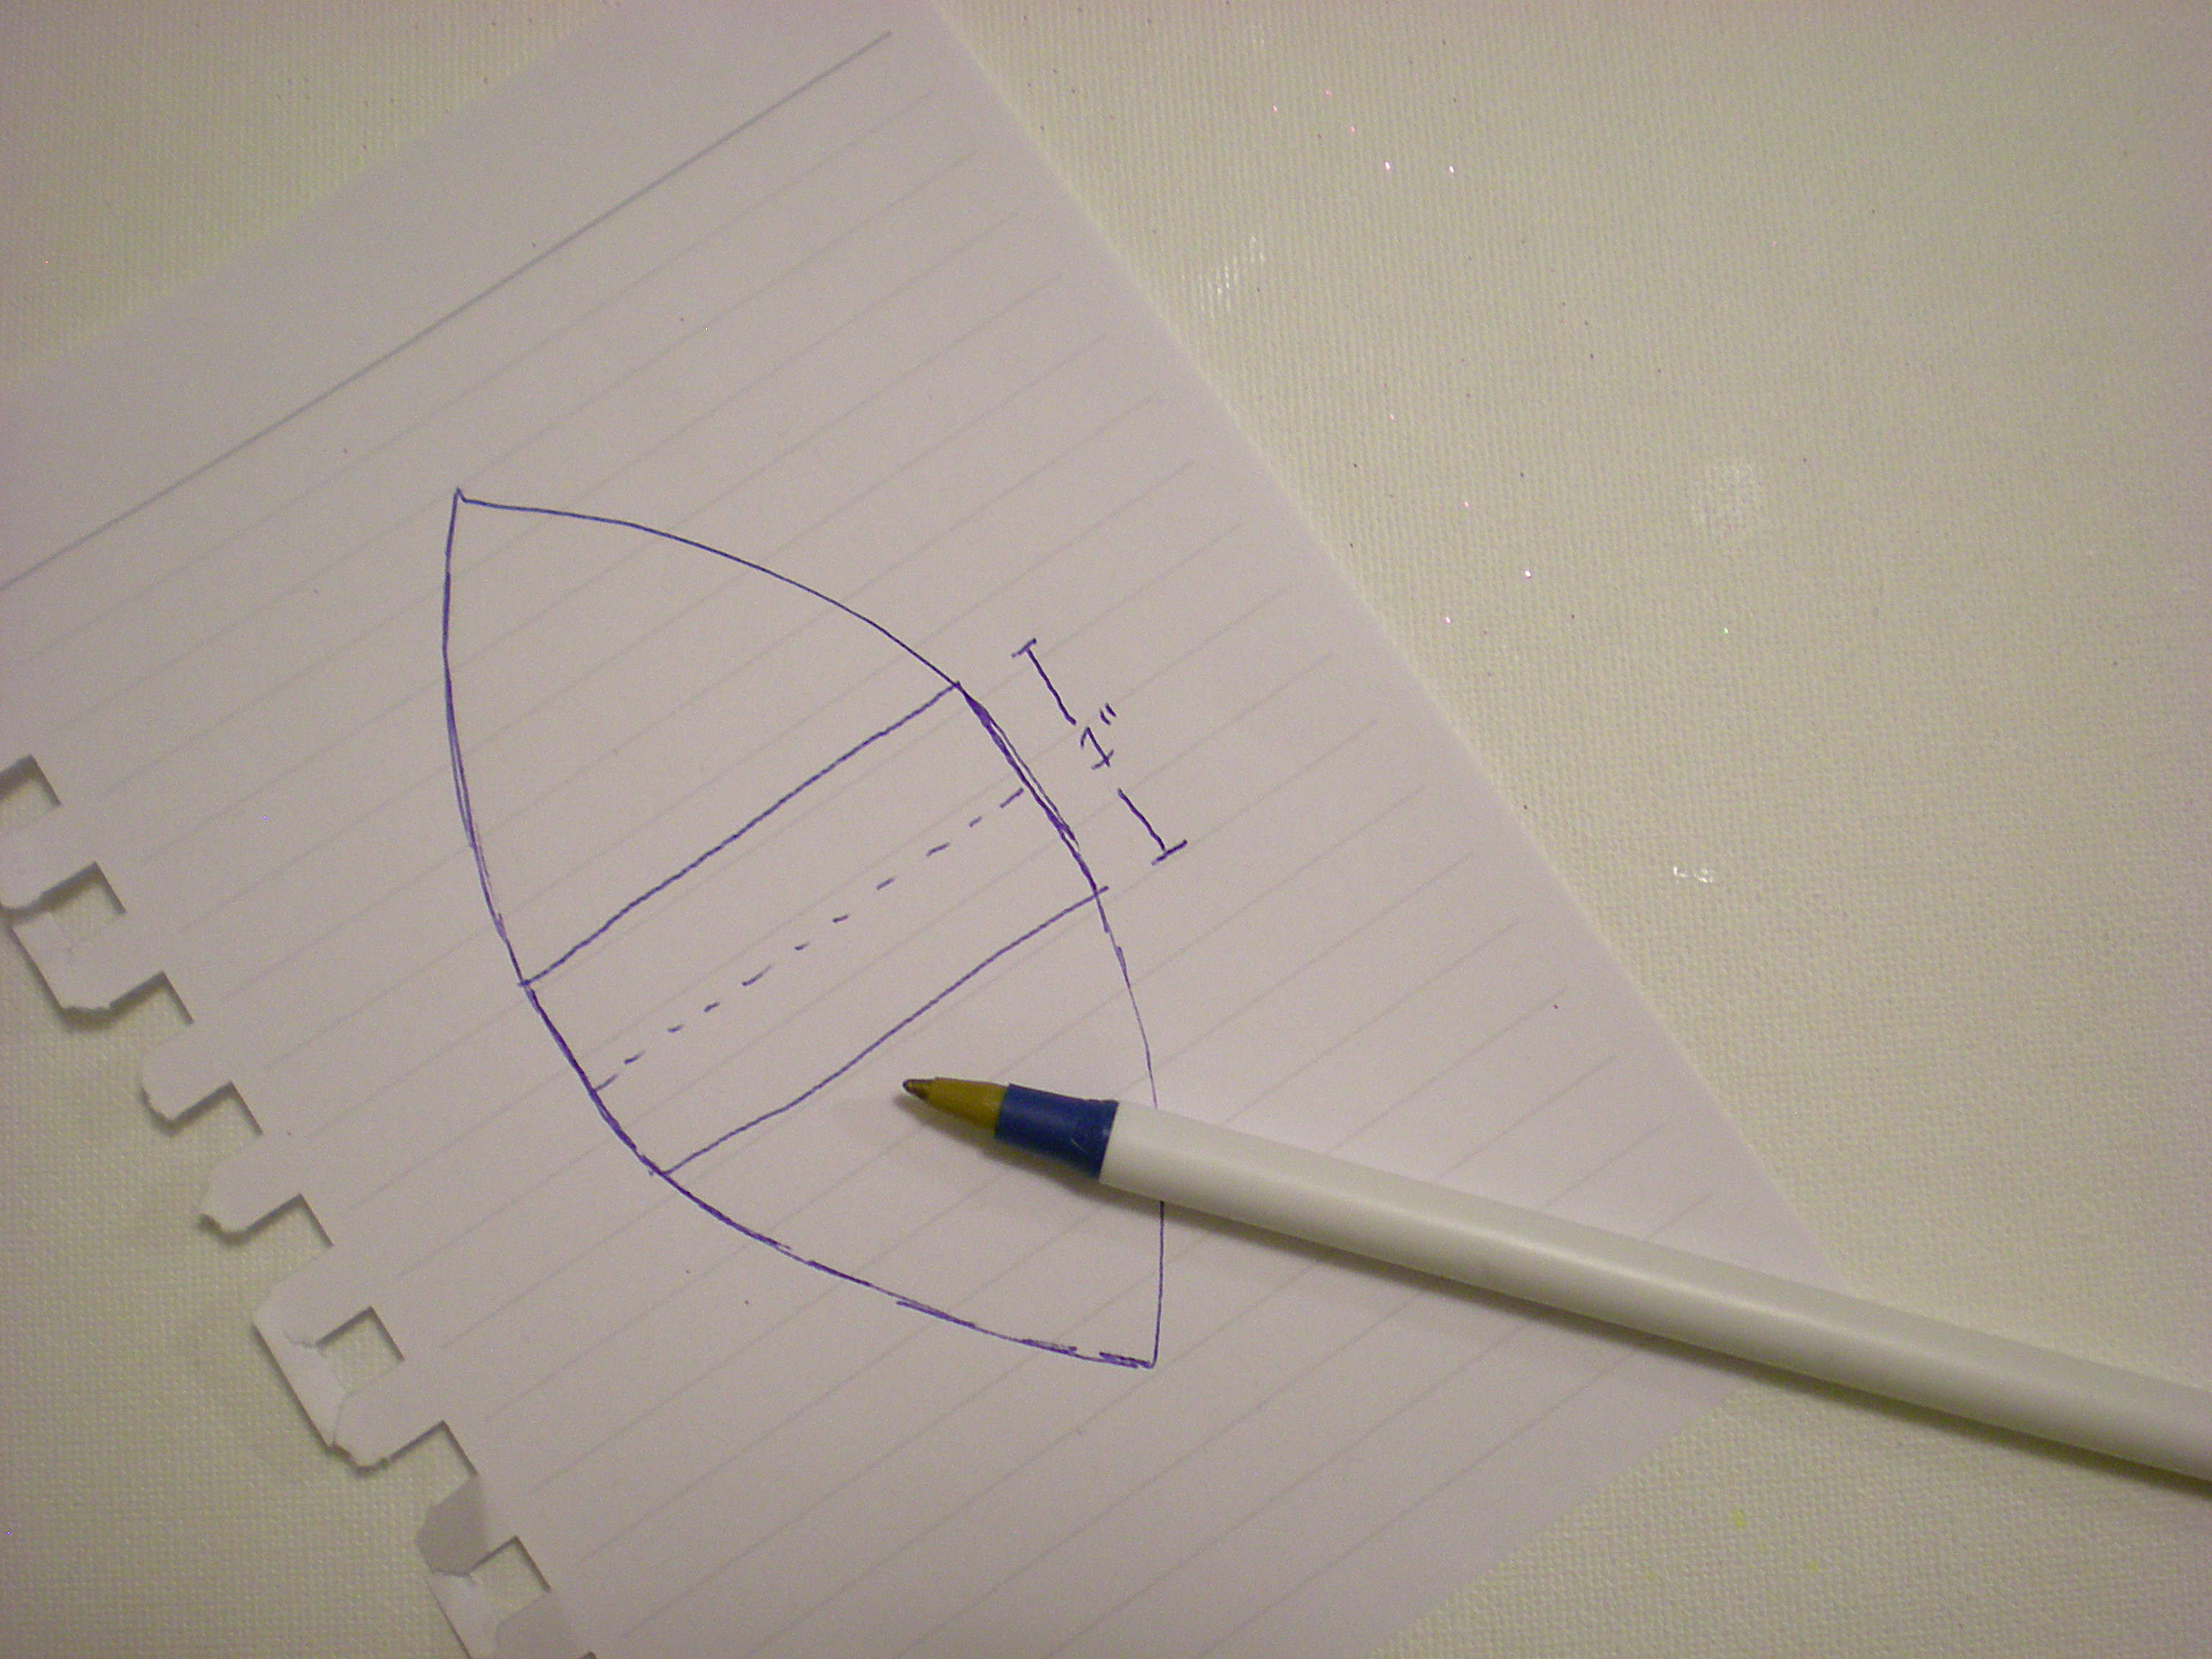
1. Use the pen and paper to sketch out a slightly rounded triangle, about 2" high. Add 1/2" at the base of the triangle and then mirror the shape below it to create the template. Cut it out with the all-purpose scissors. (You can also fold the paper at the base after you've drawn the top triangle and the extended base, and cut around the shape through both layers.)


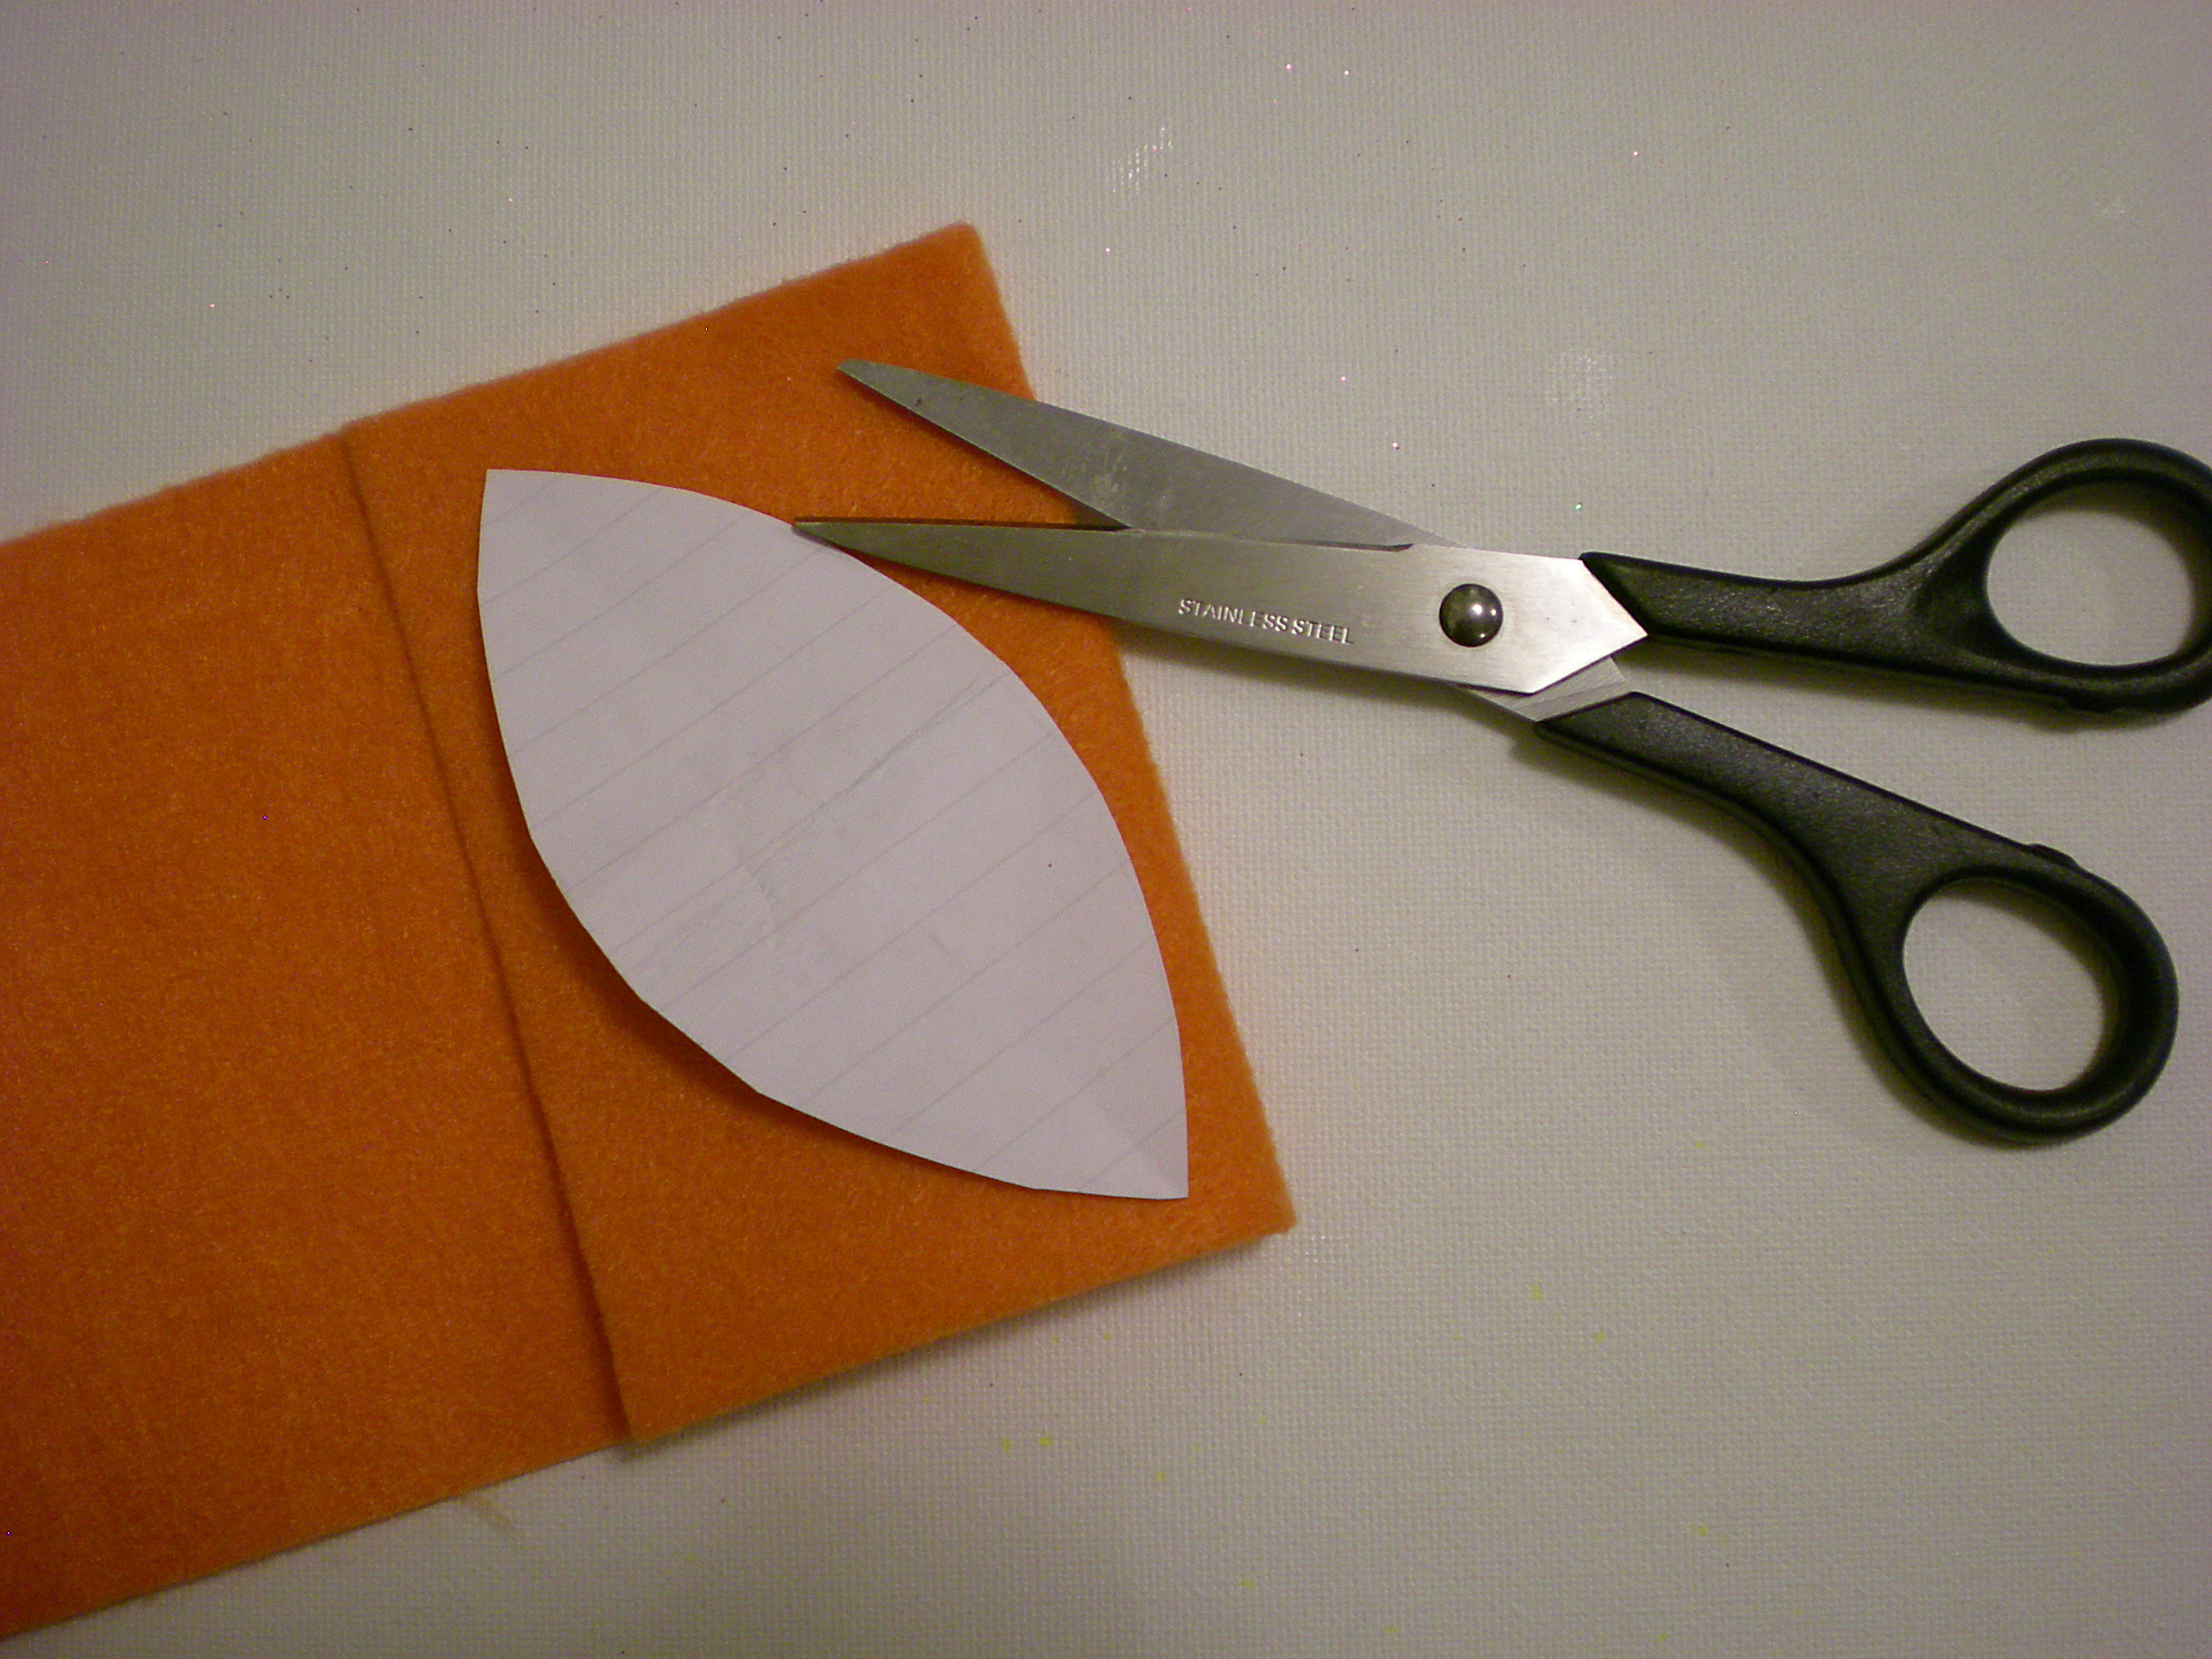
2. Fold over the felt and lay the template on top of the folded section. Use the fabric scissors to cut around the template, through both layers.


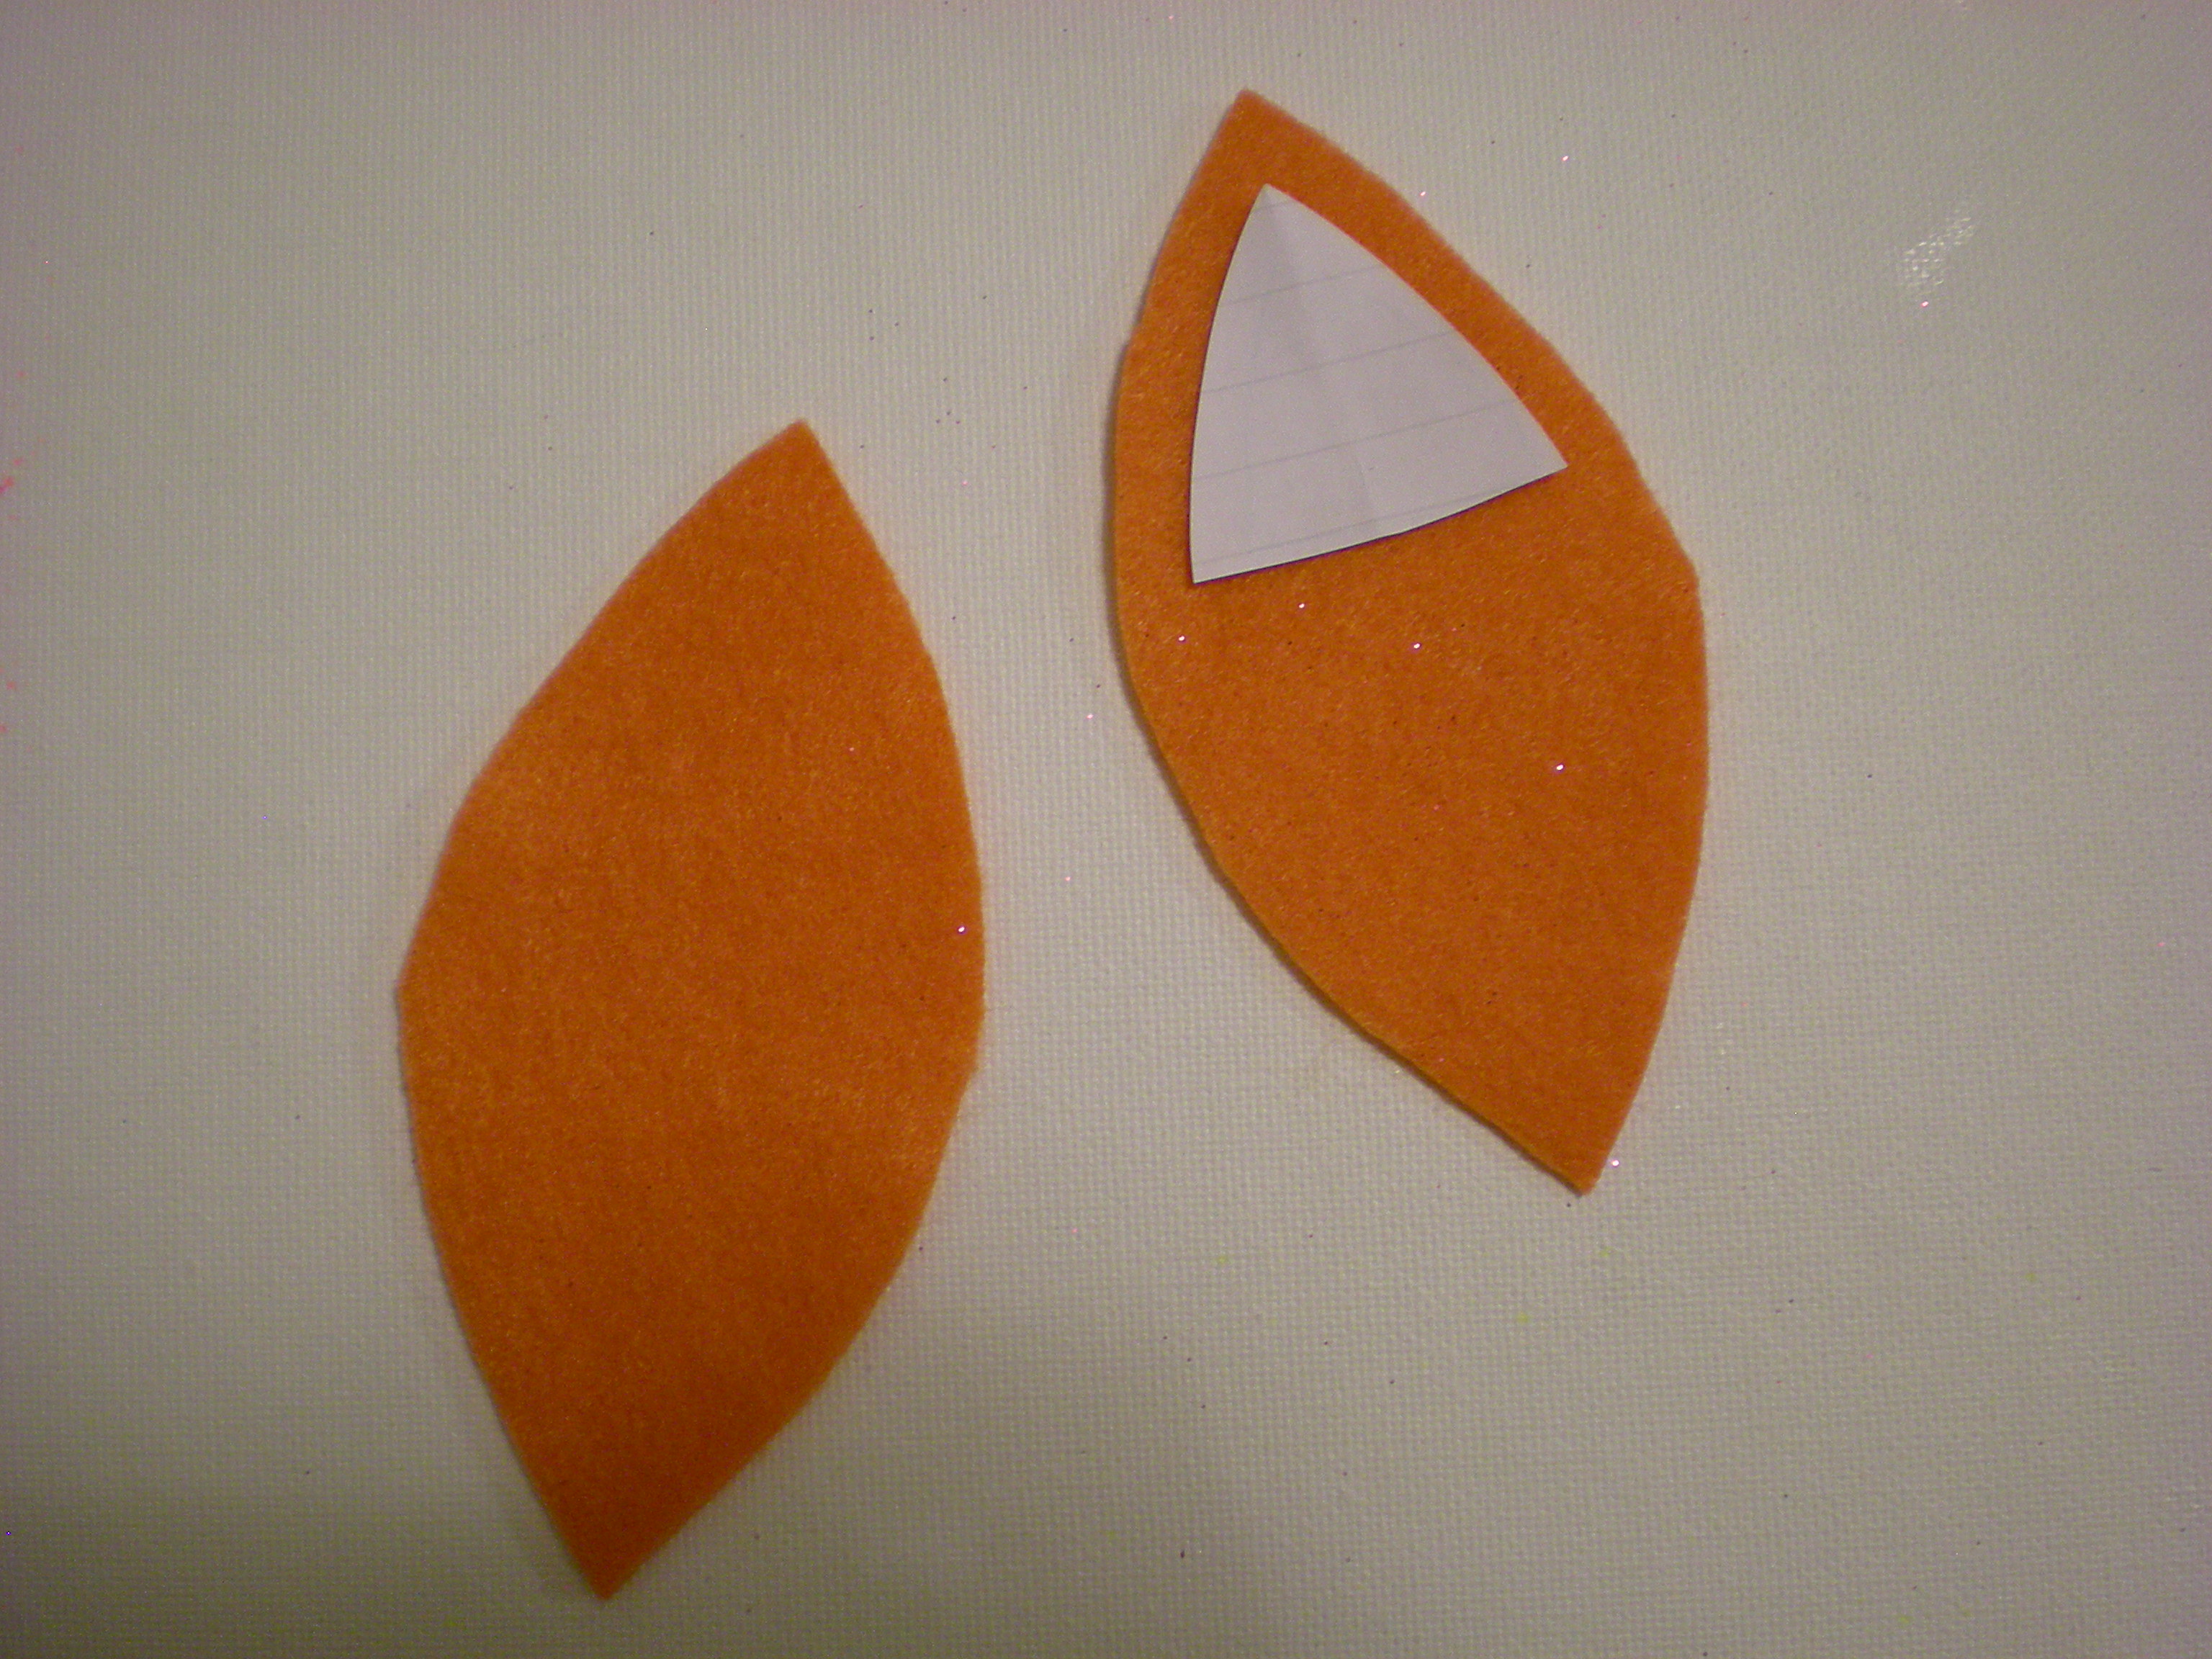
3. Mark and cut a second template, in the shape of a rounded triangle, about 1/4" smaller on all sides than the original triangle in Step 1.


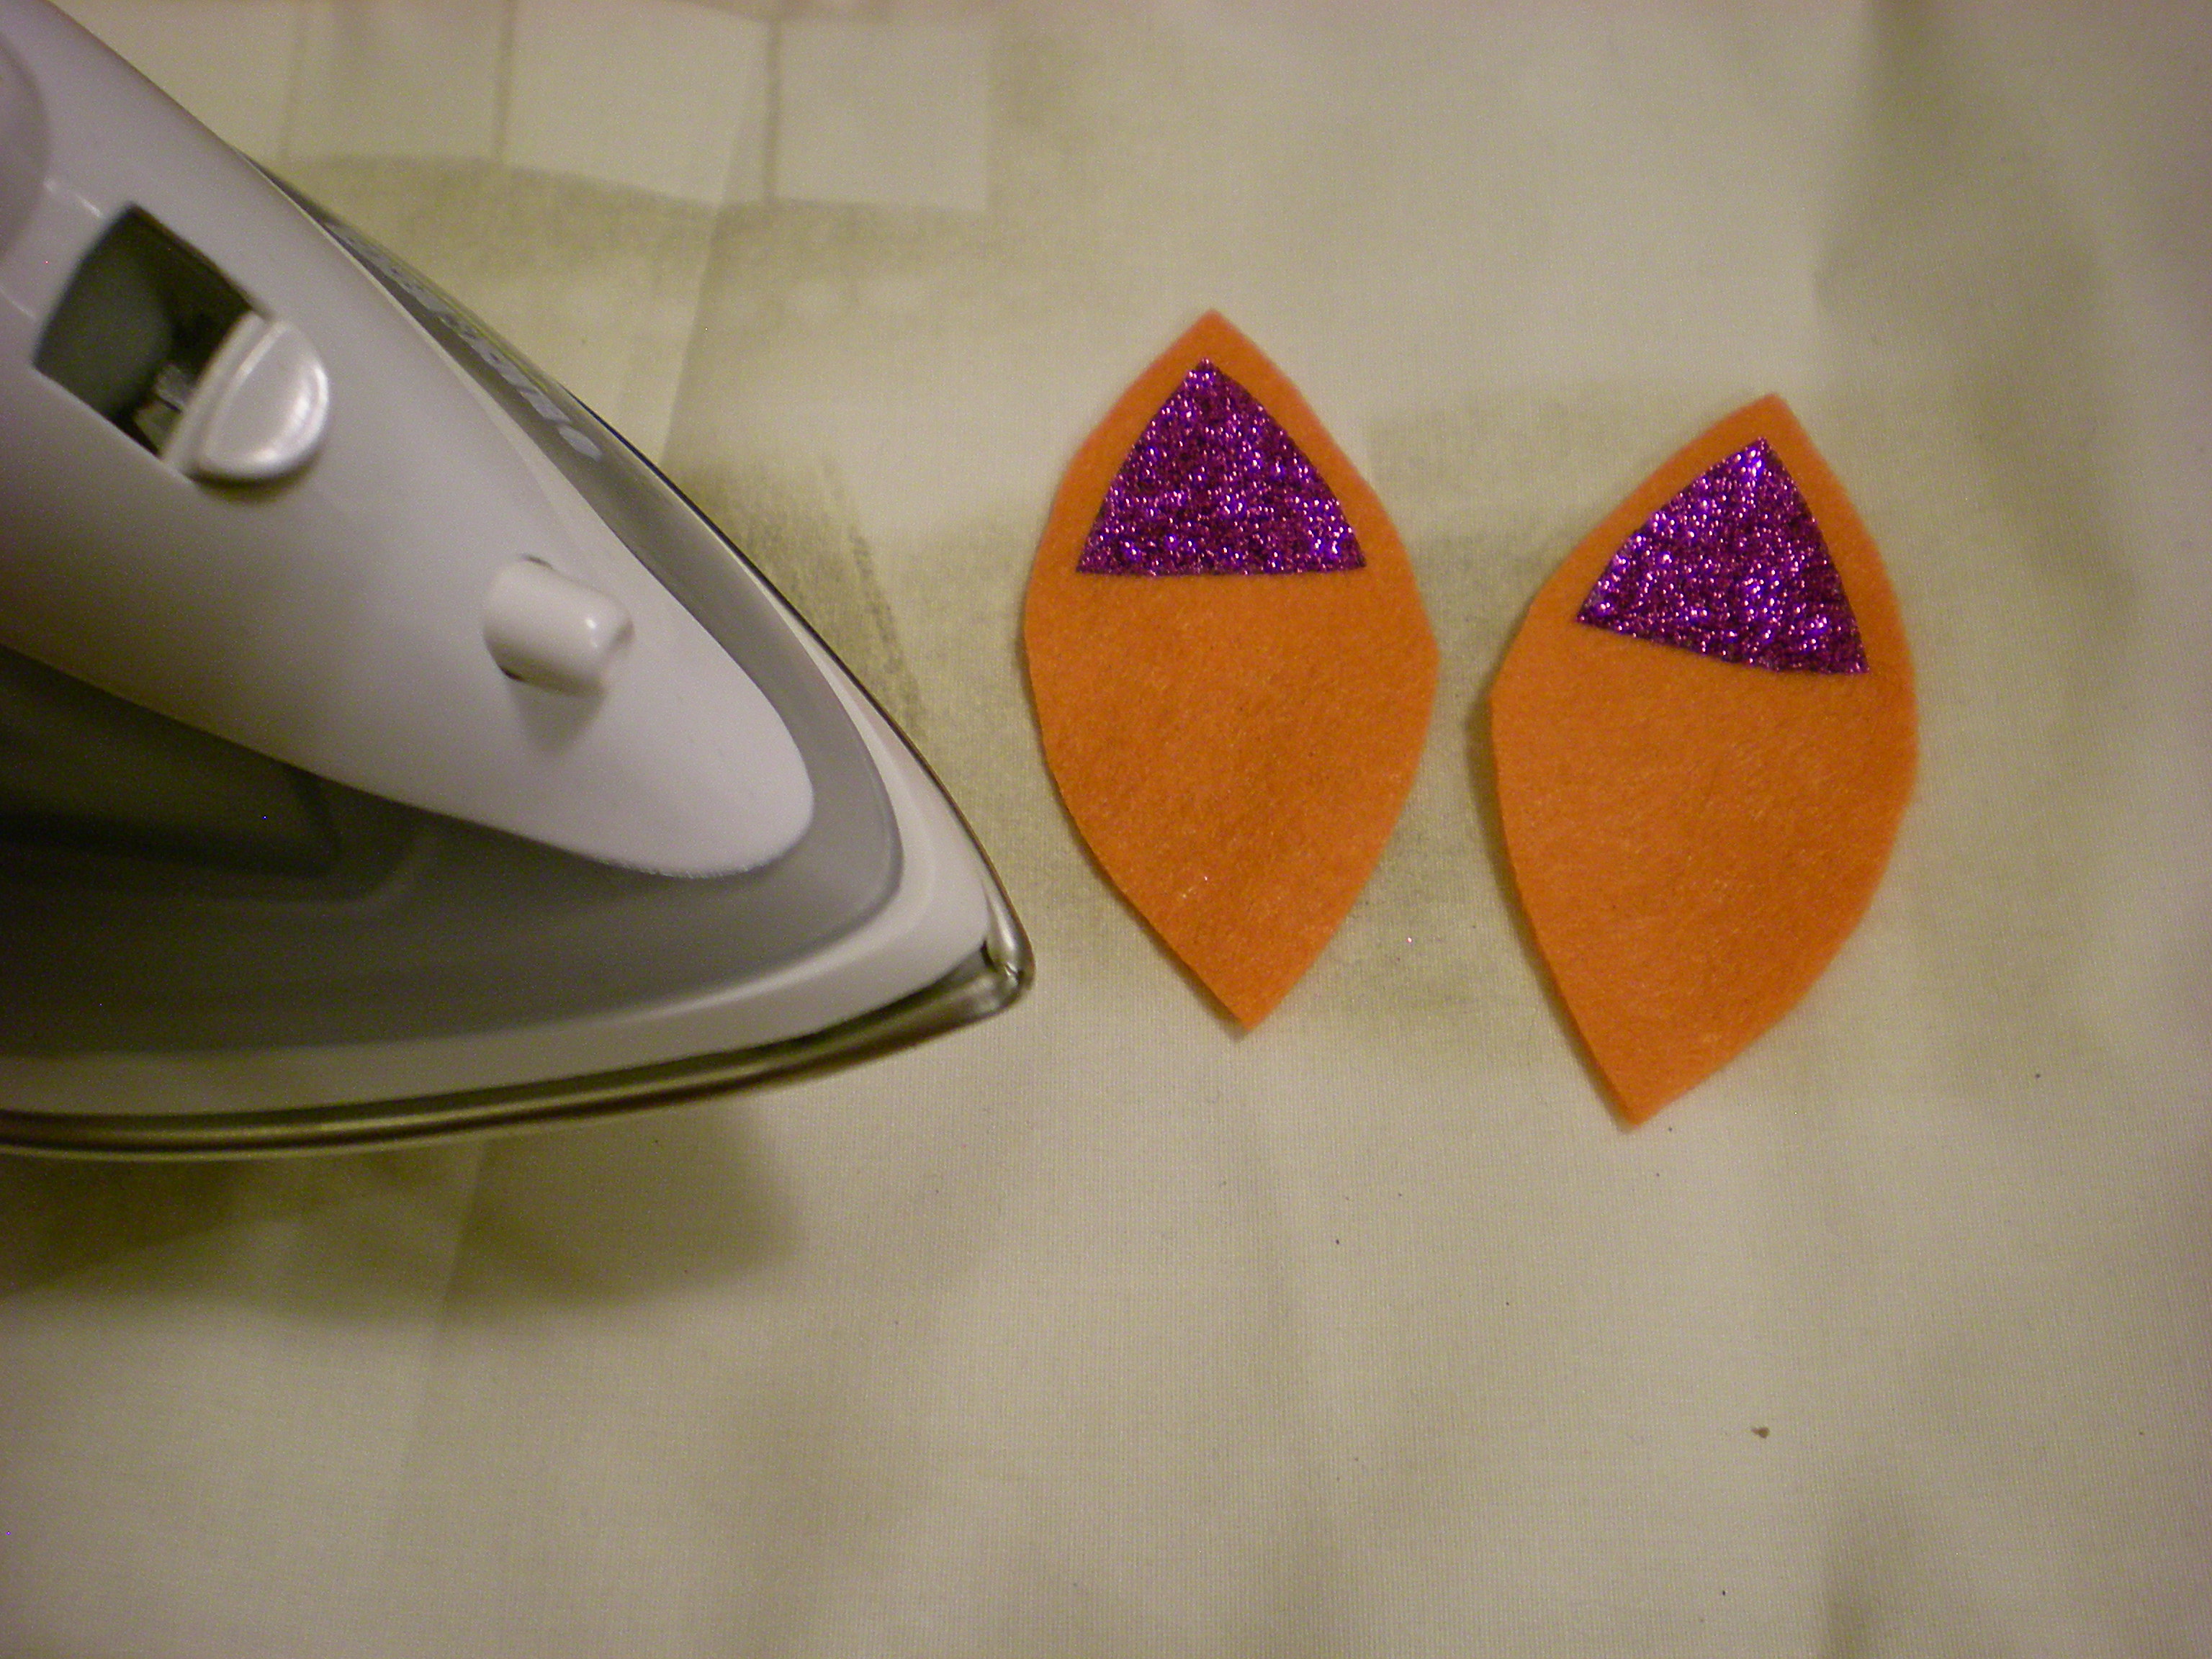
4. Select a color from the iron-on glitter sheets and trace the second template twice onto the shiny surface. Use the all-purpose scissors to cut them out. Peel away the shiny surface layer and arrange them on the felt ear pieces. Lay a pressing cloth over the ears, and press firmly with the iron for about 40 seconds. (Repeat if necessary to set the glitter transfer.)


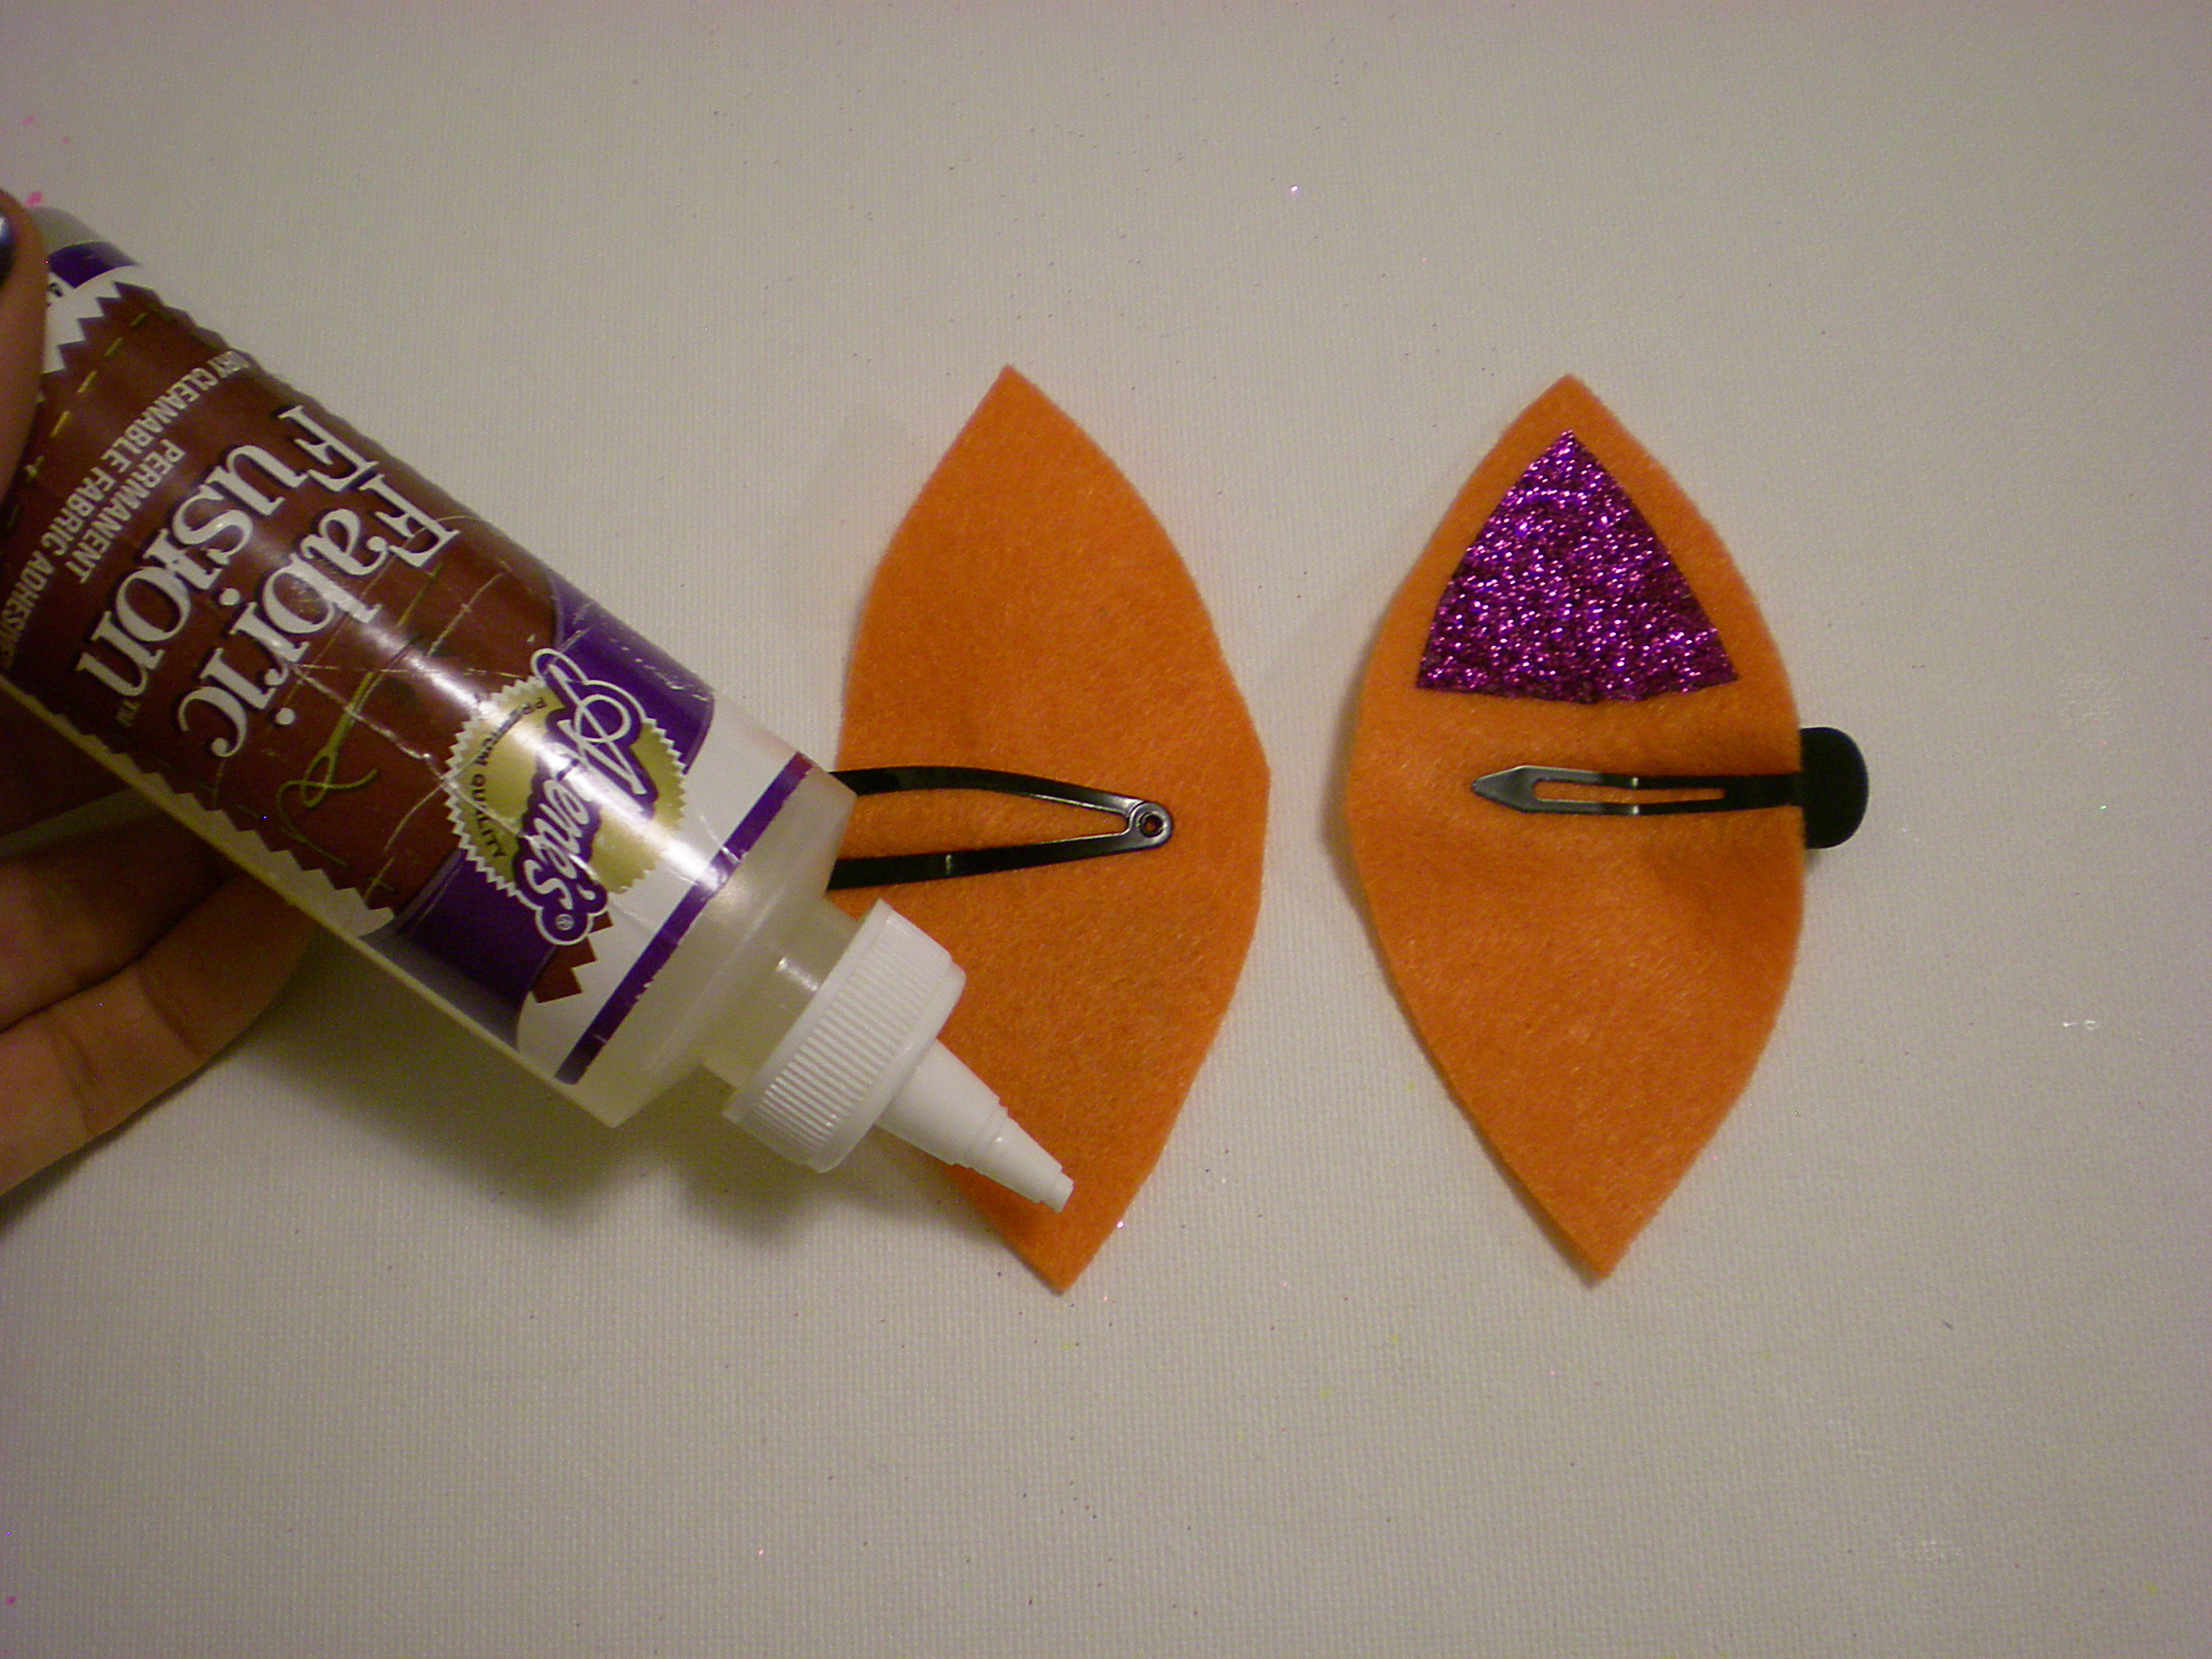
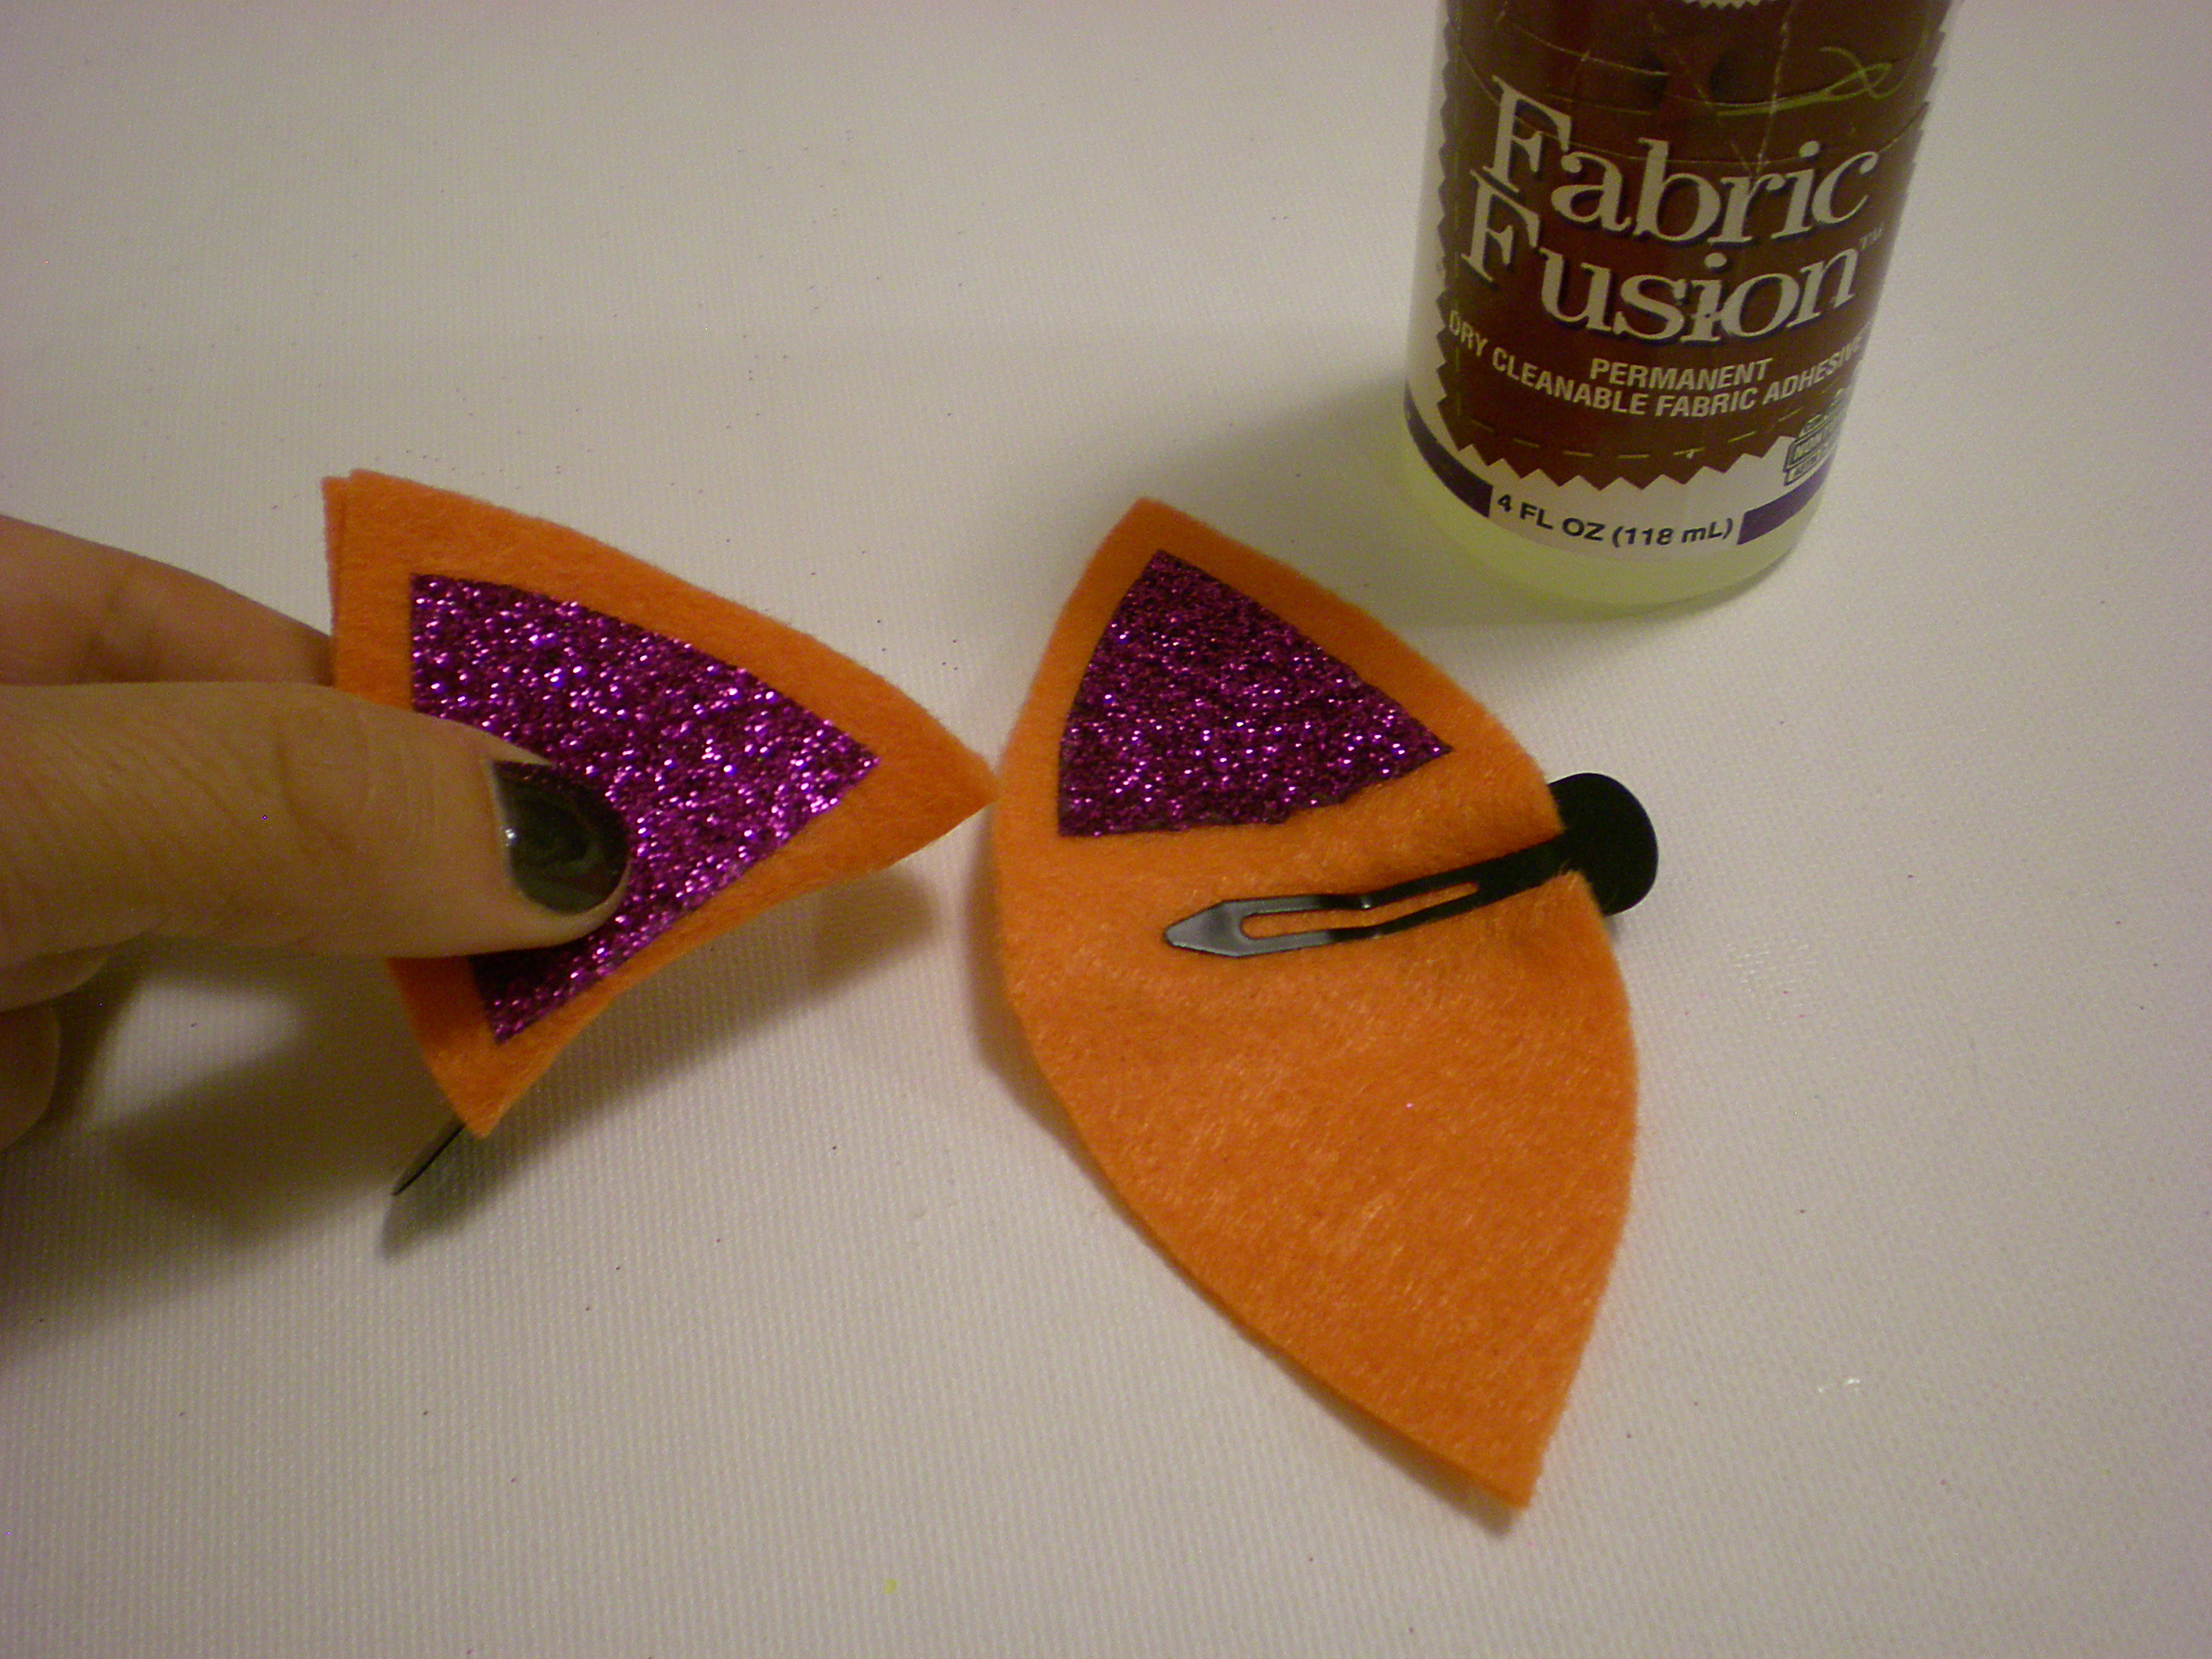
5. Clip the metal barrettes in the center, on each side of each felt ear piece, so that the top of the barrette corresponds to the wrong side of the ear piece and vice versa. Generously apply fabric glue around the edge of the wrong side of the ear piece. (Felt absorbs a lot of the glue, so don't hold back!)


6. Fold the ear piece around the top of the barrette to seal the glue, and repeat on the second barrette.


7. Let dry. Optional: Clip the layers together with extra barrette clips while the glue dries!


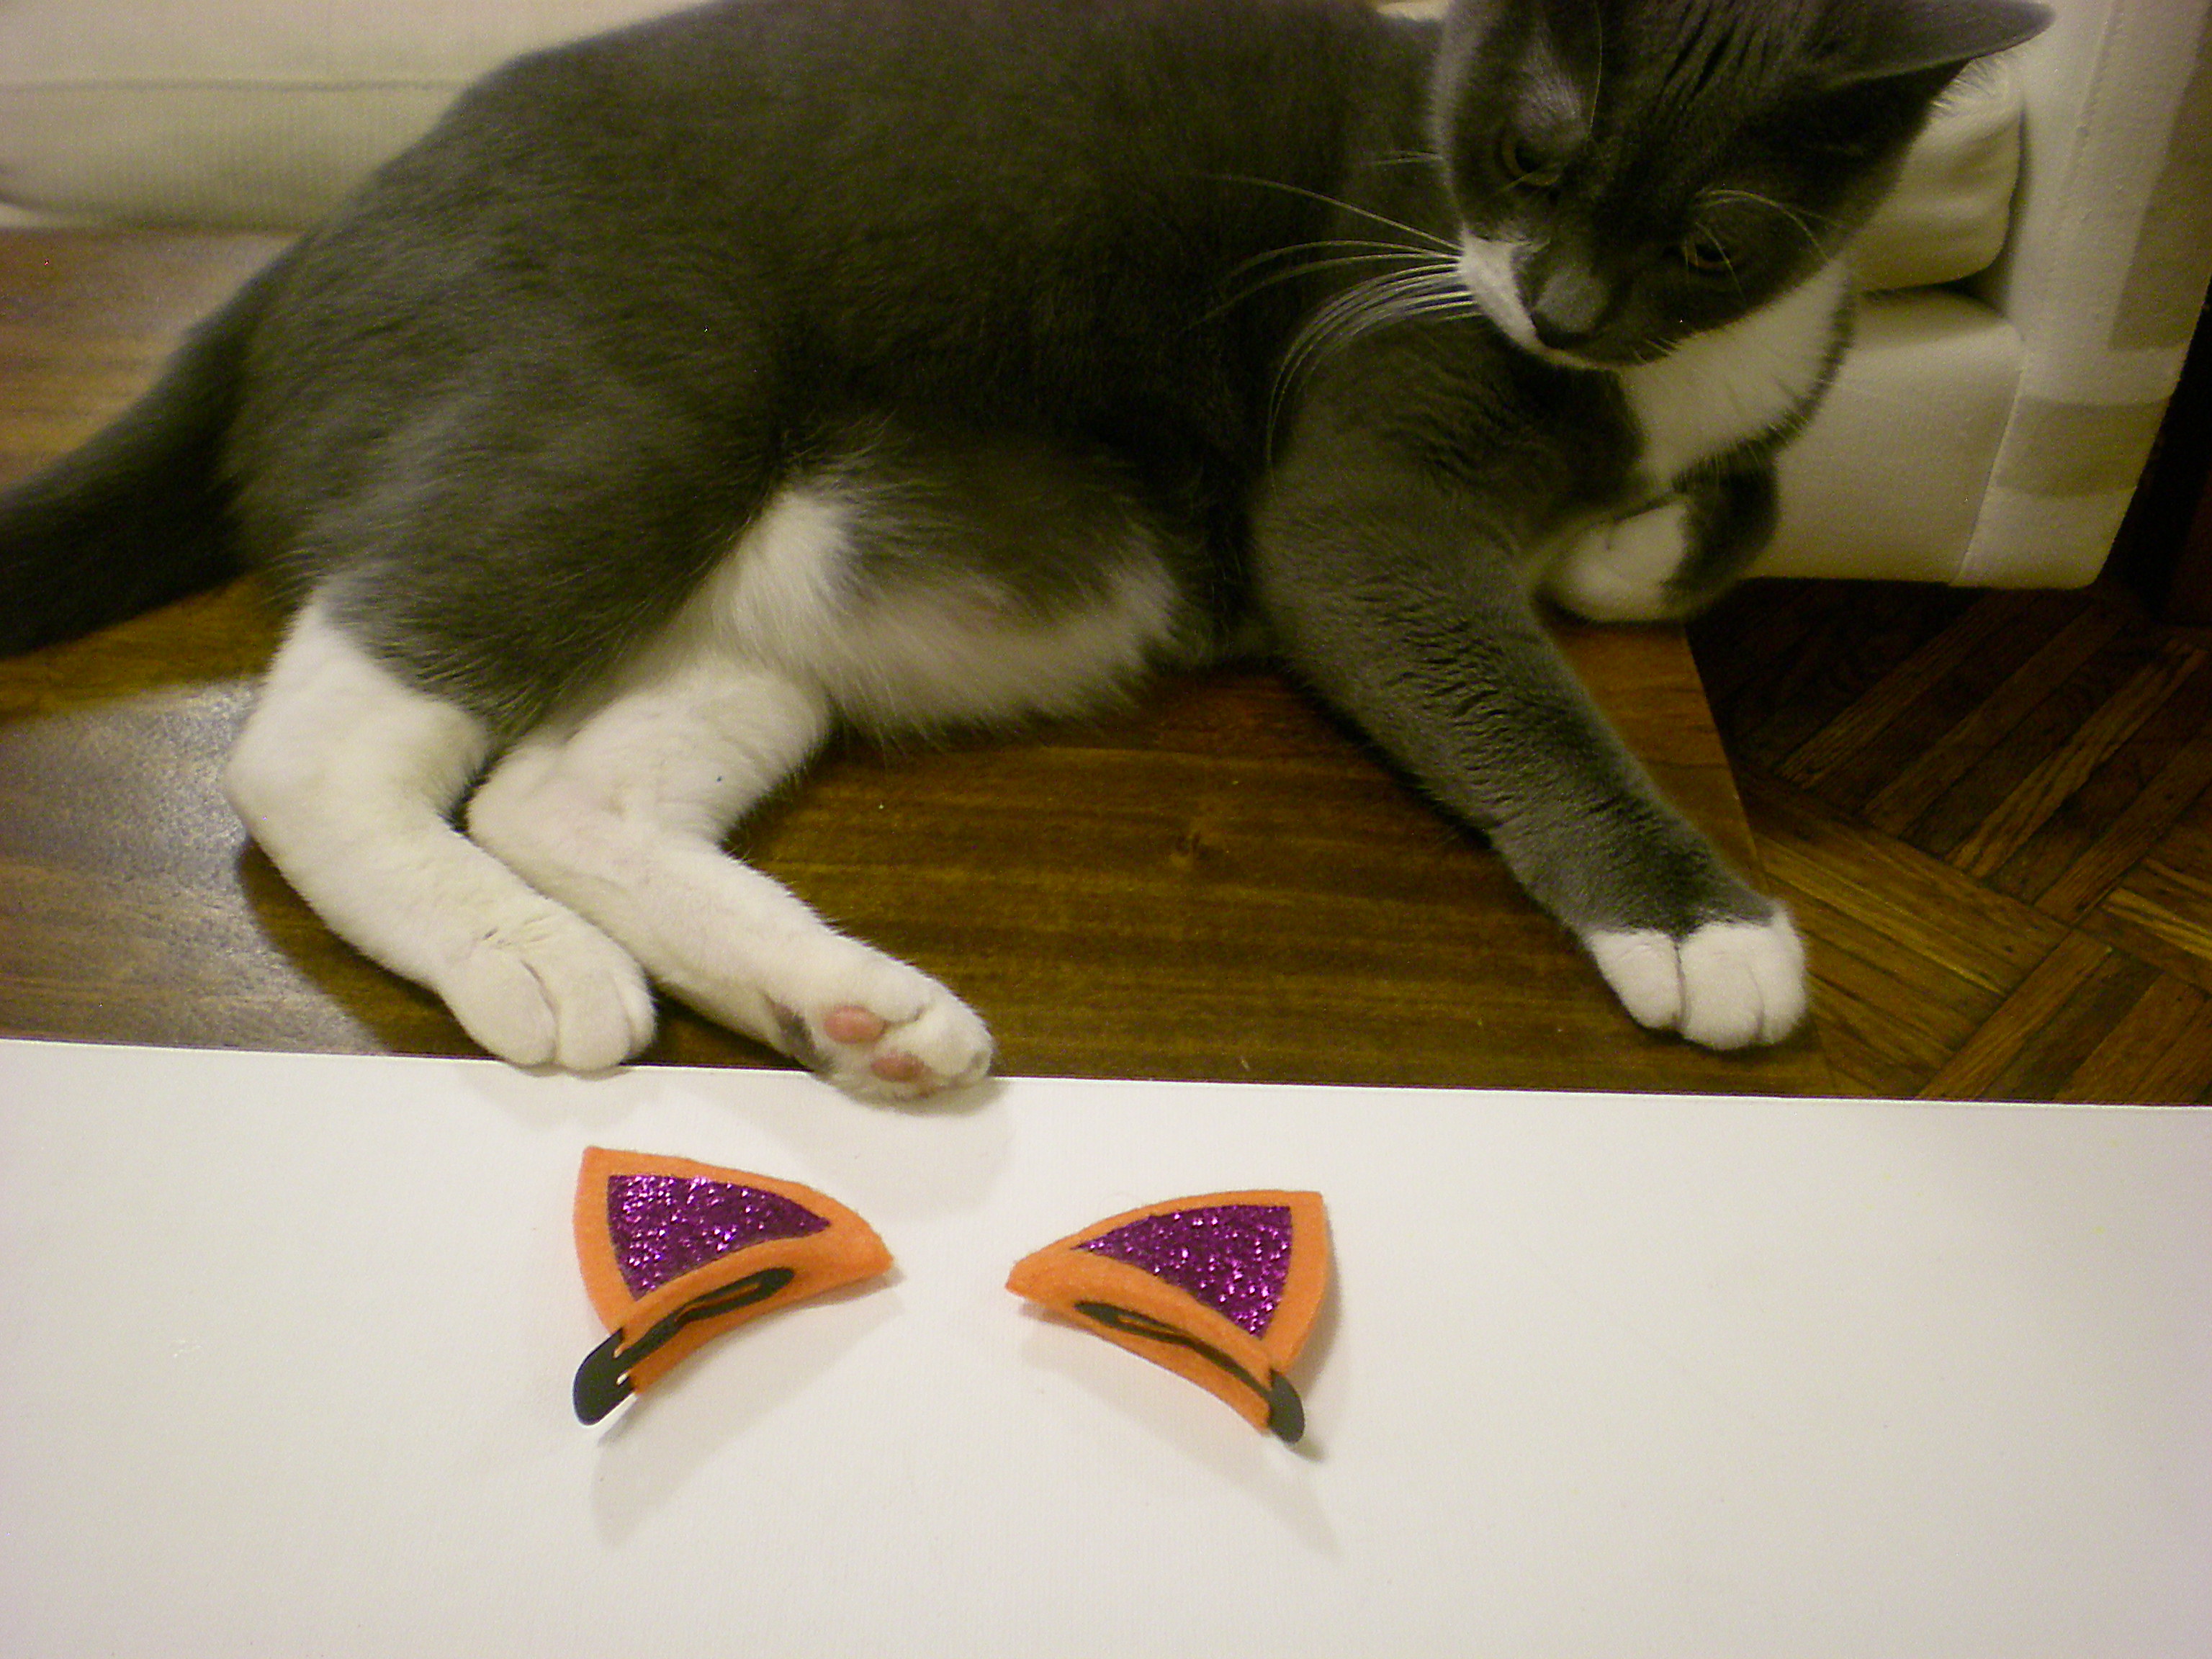
8. Quick! Try them on before the actual cat who's been helping you craft gets a little too interested and starts batting them off your workspace!

(Special thanks to Tulu the cat for "helping.")


Visit us on Facebook!
Craft on!Click here for today's daily giveaway!

Tuesday, December 28

No-tug DIY Headband!

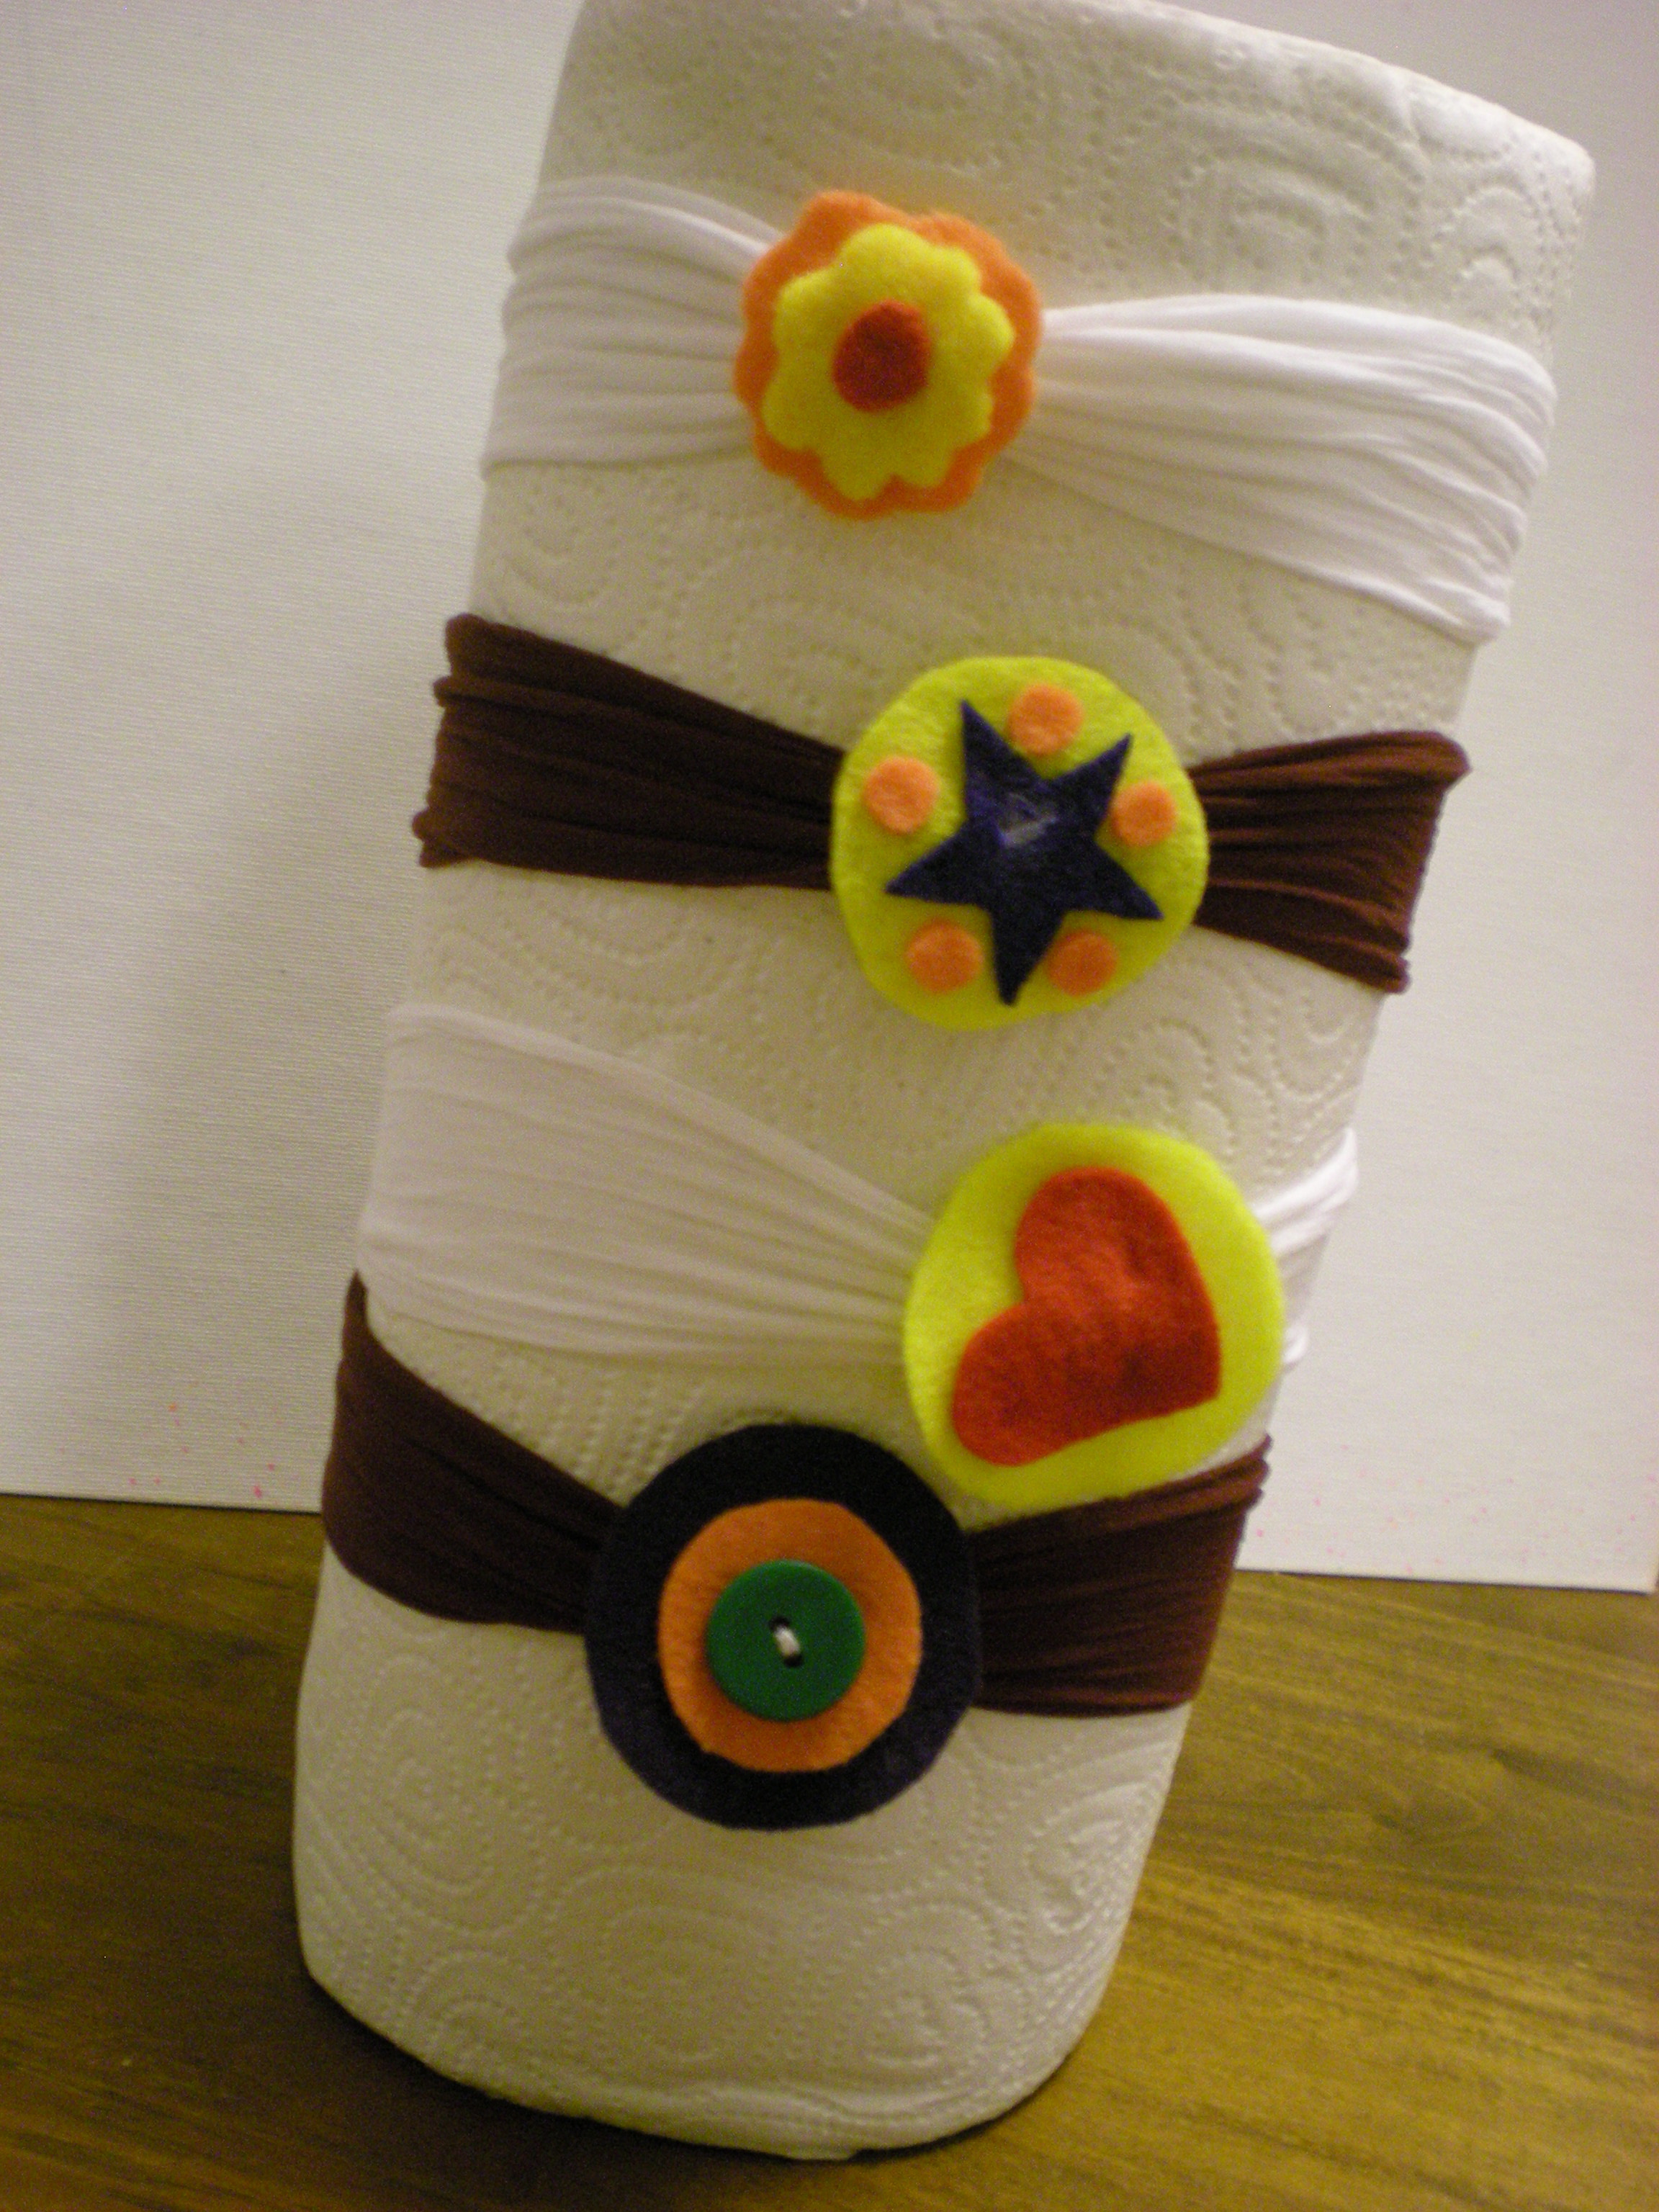
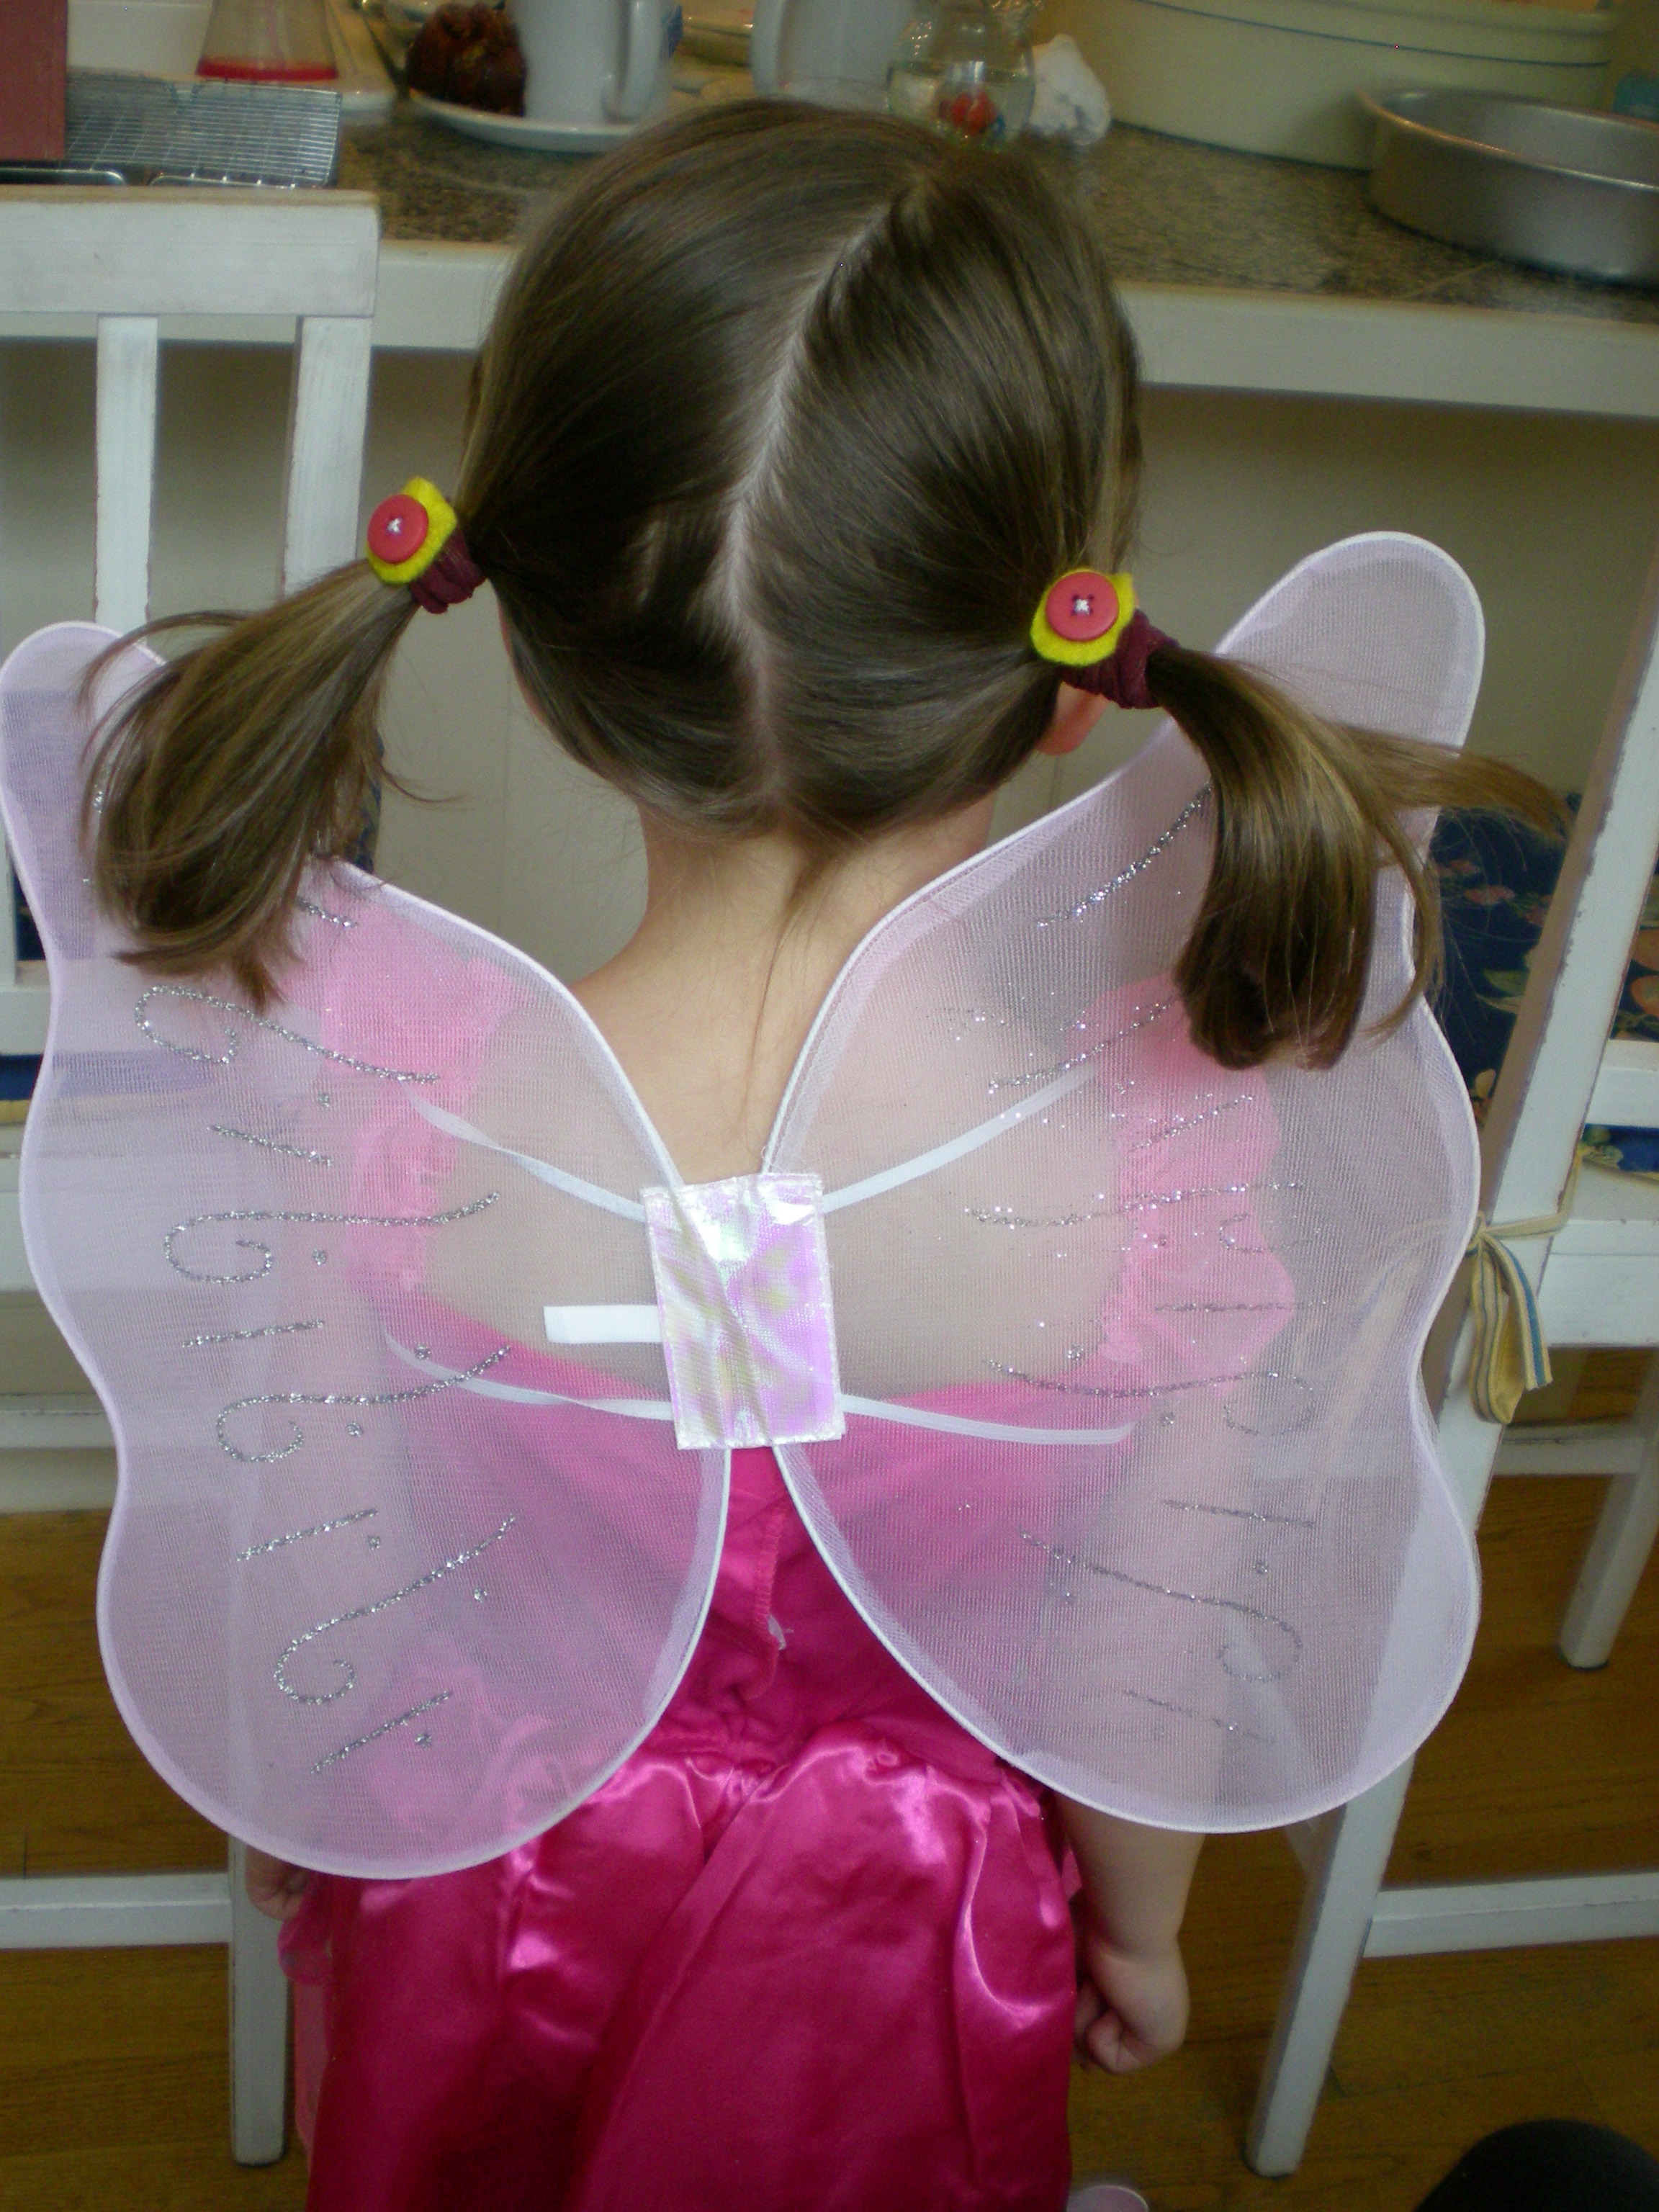
Last month, in preparation for the holiday party circuit, I shared the tutorial for the Softie Spiral Headband. This month, it's about headgear for the younger generation. I made these headbands, adapted from a project in one of my favorite books, Crafty Mama, for my four-year-old niece (though I'm not a Crafty Mama, the Crafty Auntie title is one I take very seriously). She's growing out her bangs and has a classic Goldilocks situation on her hands: The available solutions to bangs-in-the-face poke, prod, or pull, are too tight or too loose. But these stretchy soft headbands are just right.

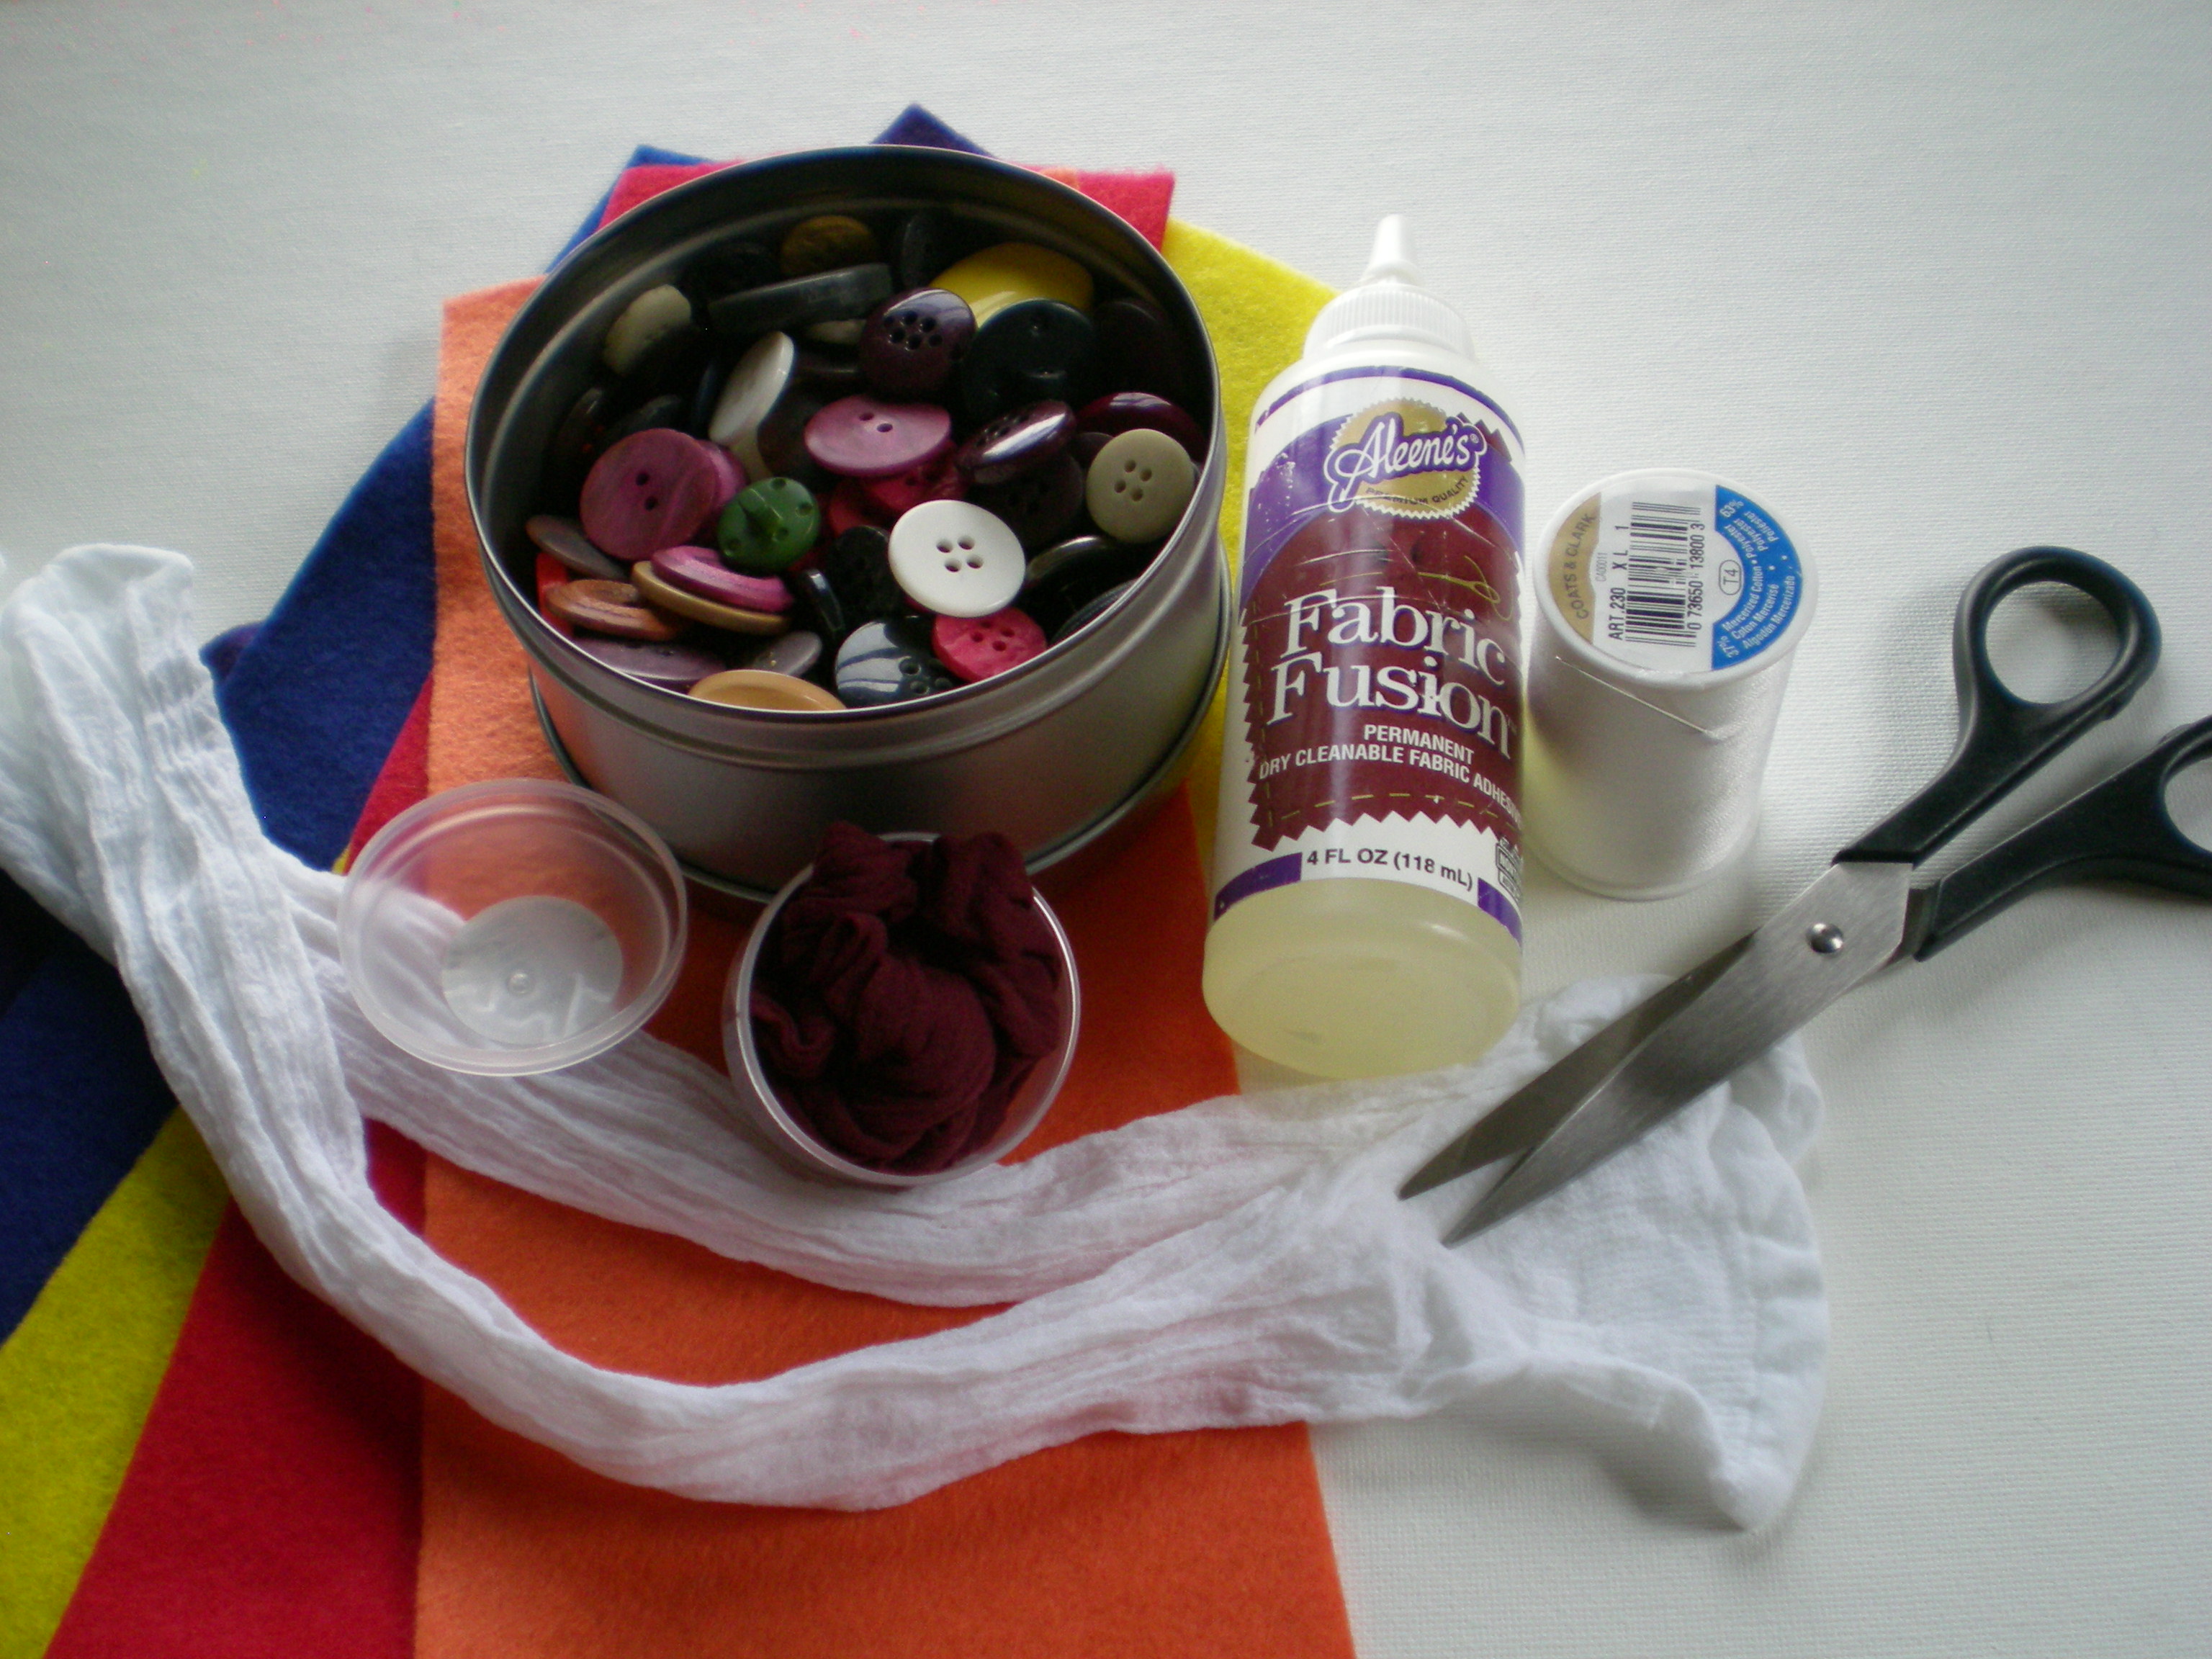
Materials:

-package knee-high stockings (1 stocking makes 1 headband)

-scissors

-needle and thread (color to match the stockings)

-Aleene’s Fabric Fusion Permanent Dry Cleanable Fabric Adhesive

-colorful felt pieces

-buttons (optional, for embellishment)

-clothespins (optional, for clipping in place while gluing/drying)

Make it:

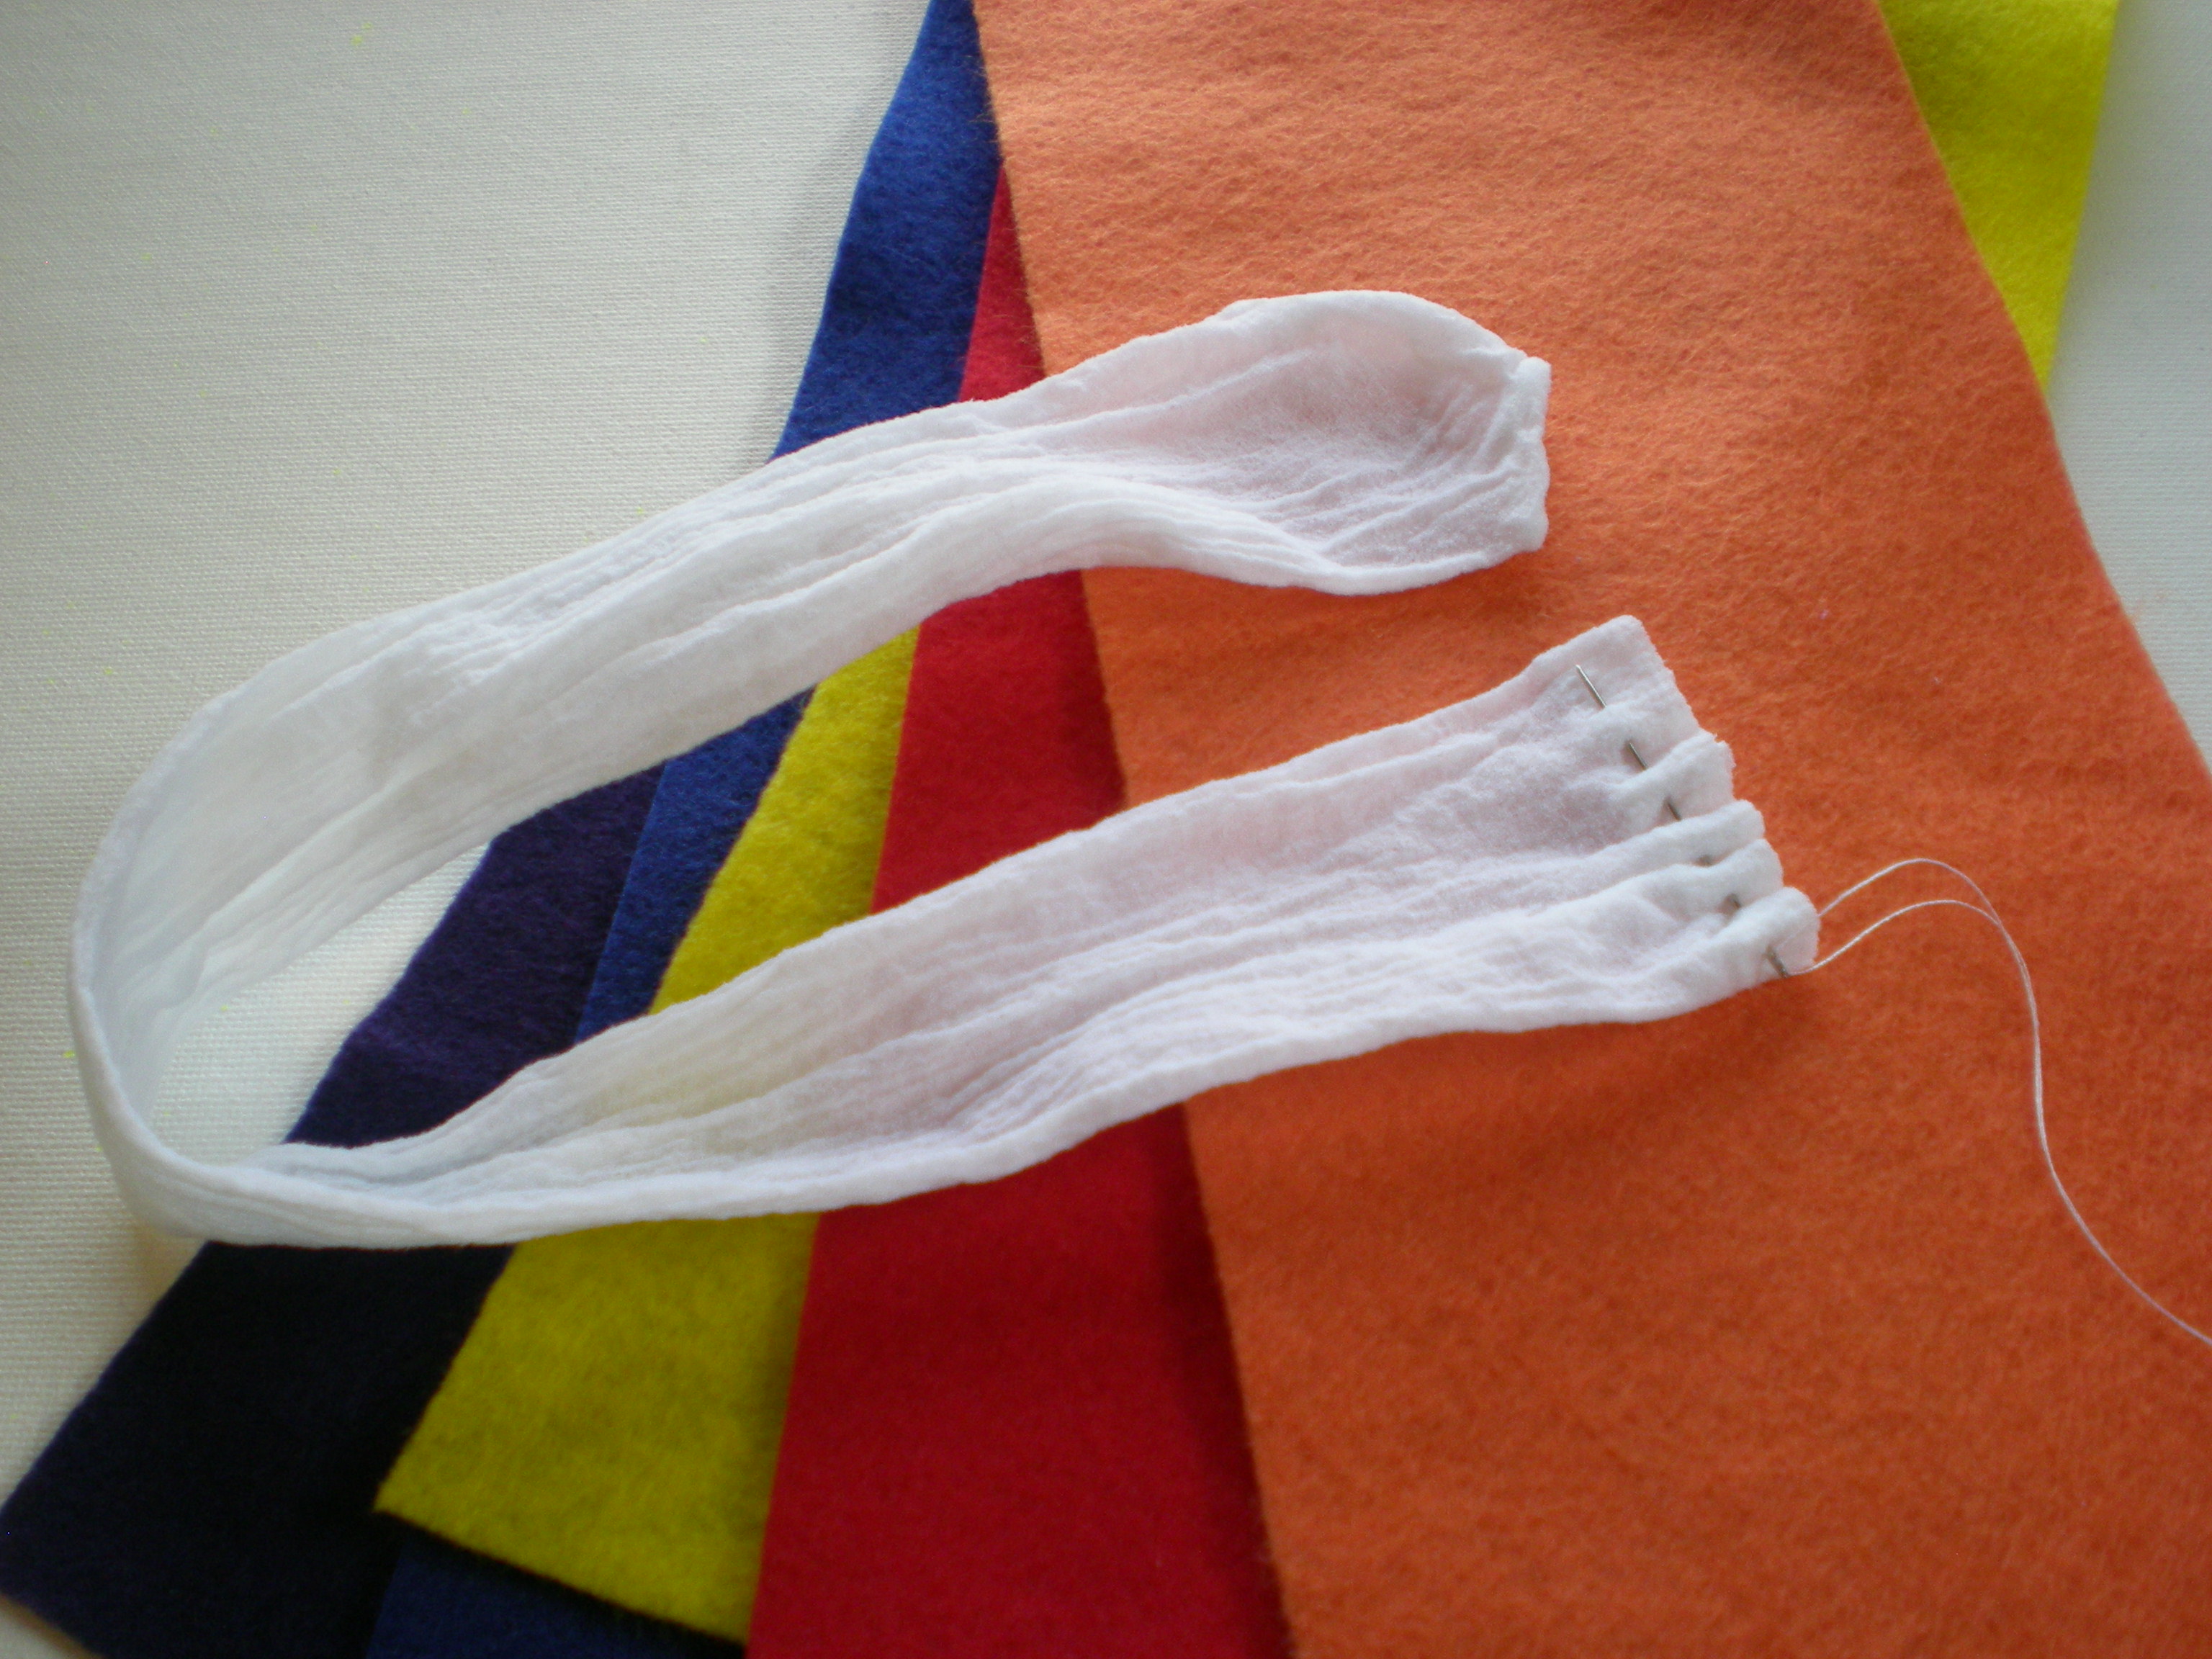
1. Remove the stockings from the packaging and stretch them out. Cut about 1" off the top of one stocking and set it aside. Thread the needle, knot the end, and make a running stitch about 1/4" from the cut end of the stocking.


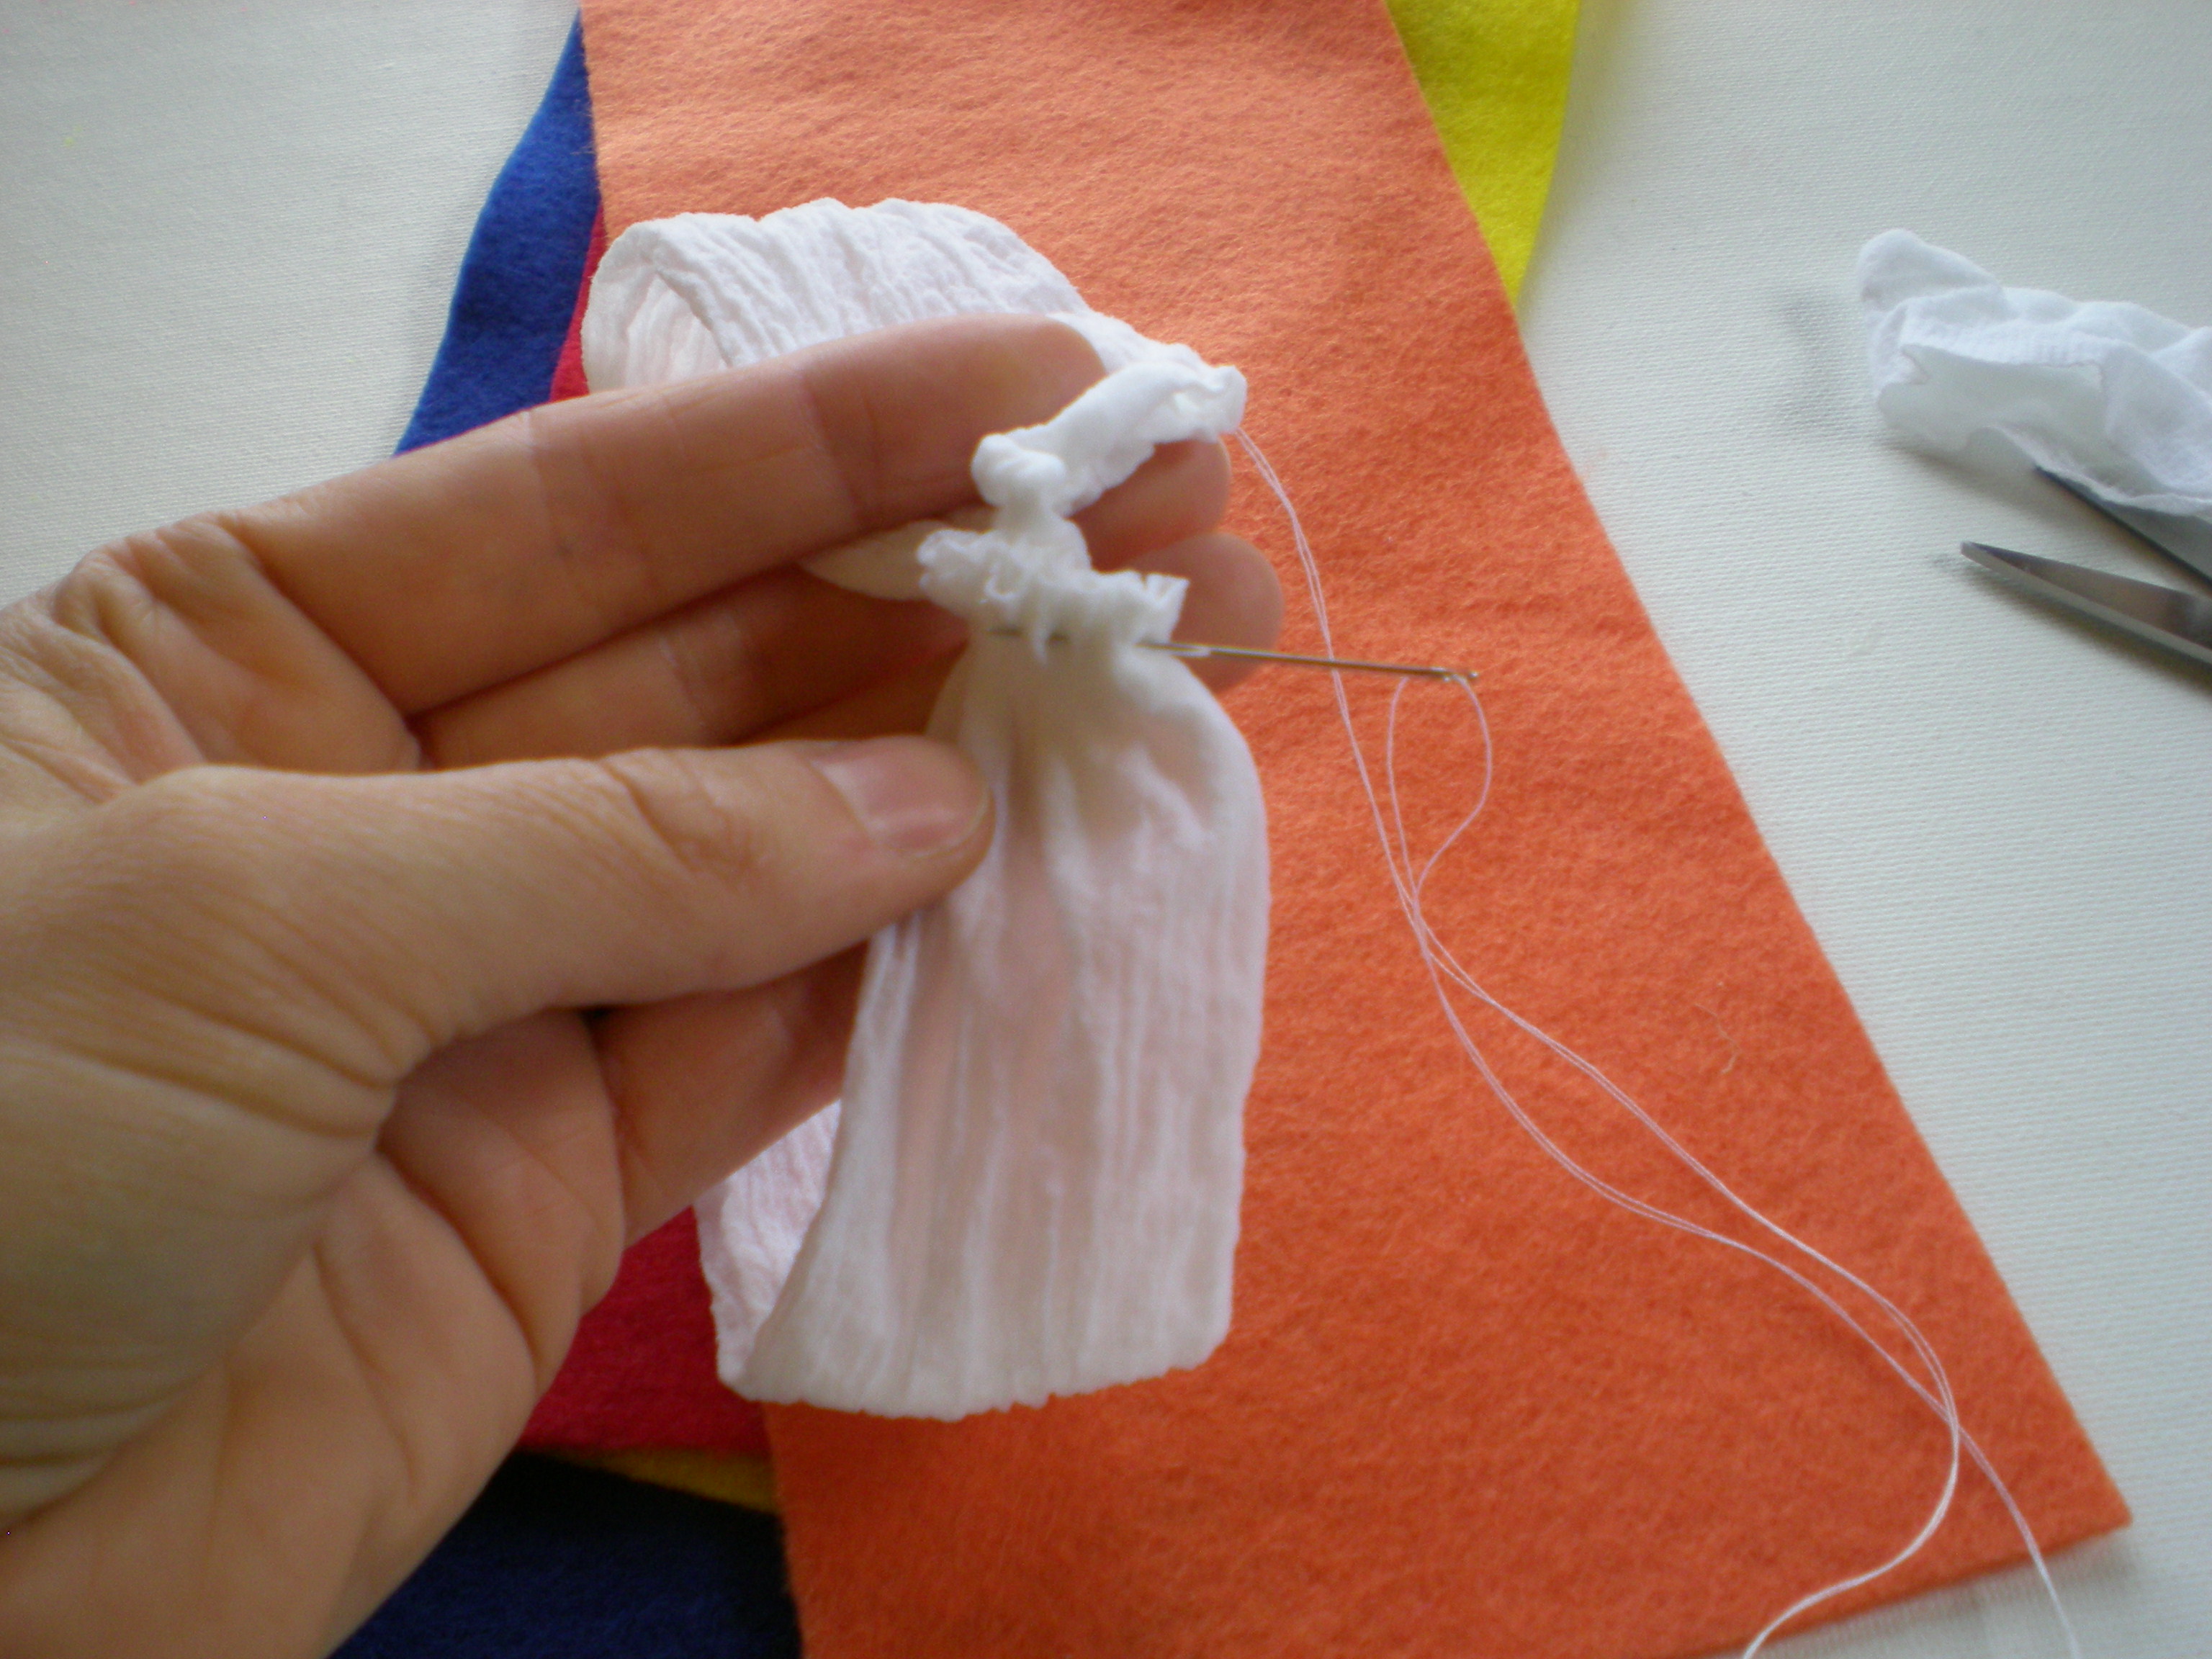
2. Sew a running stitch along the toe end of the stocking and gently pull the thread to gather the two ends of the stocking together, forming a loop. Make a few more stitches to secure the ends, and knot.


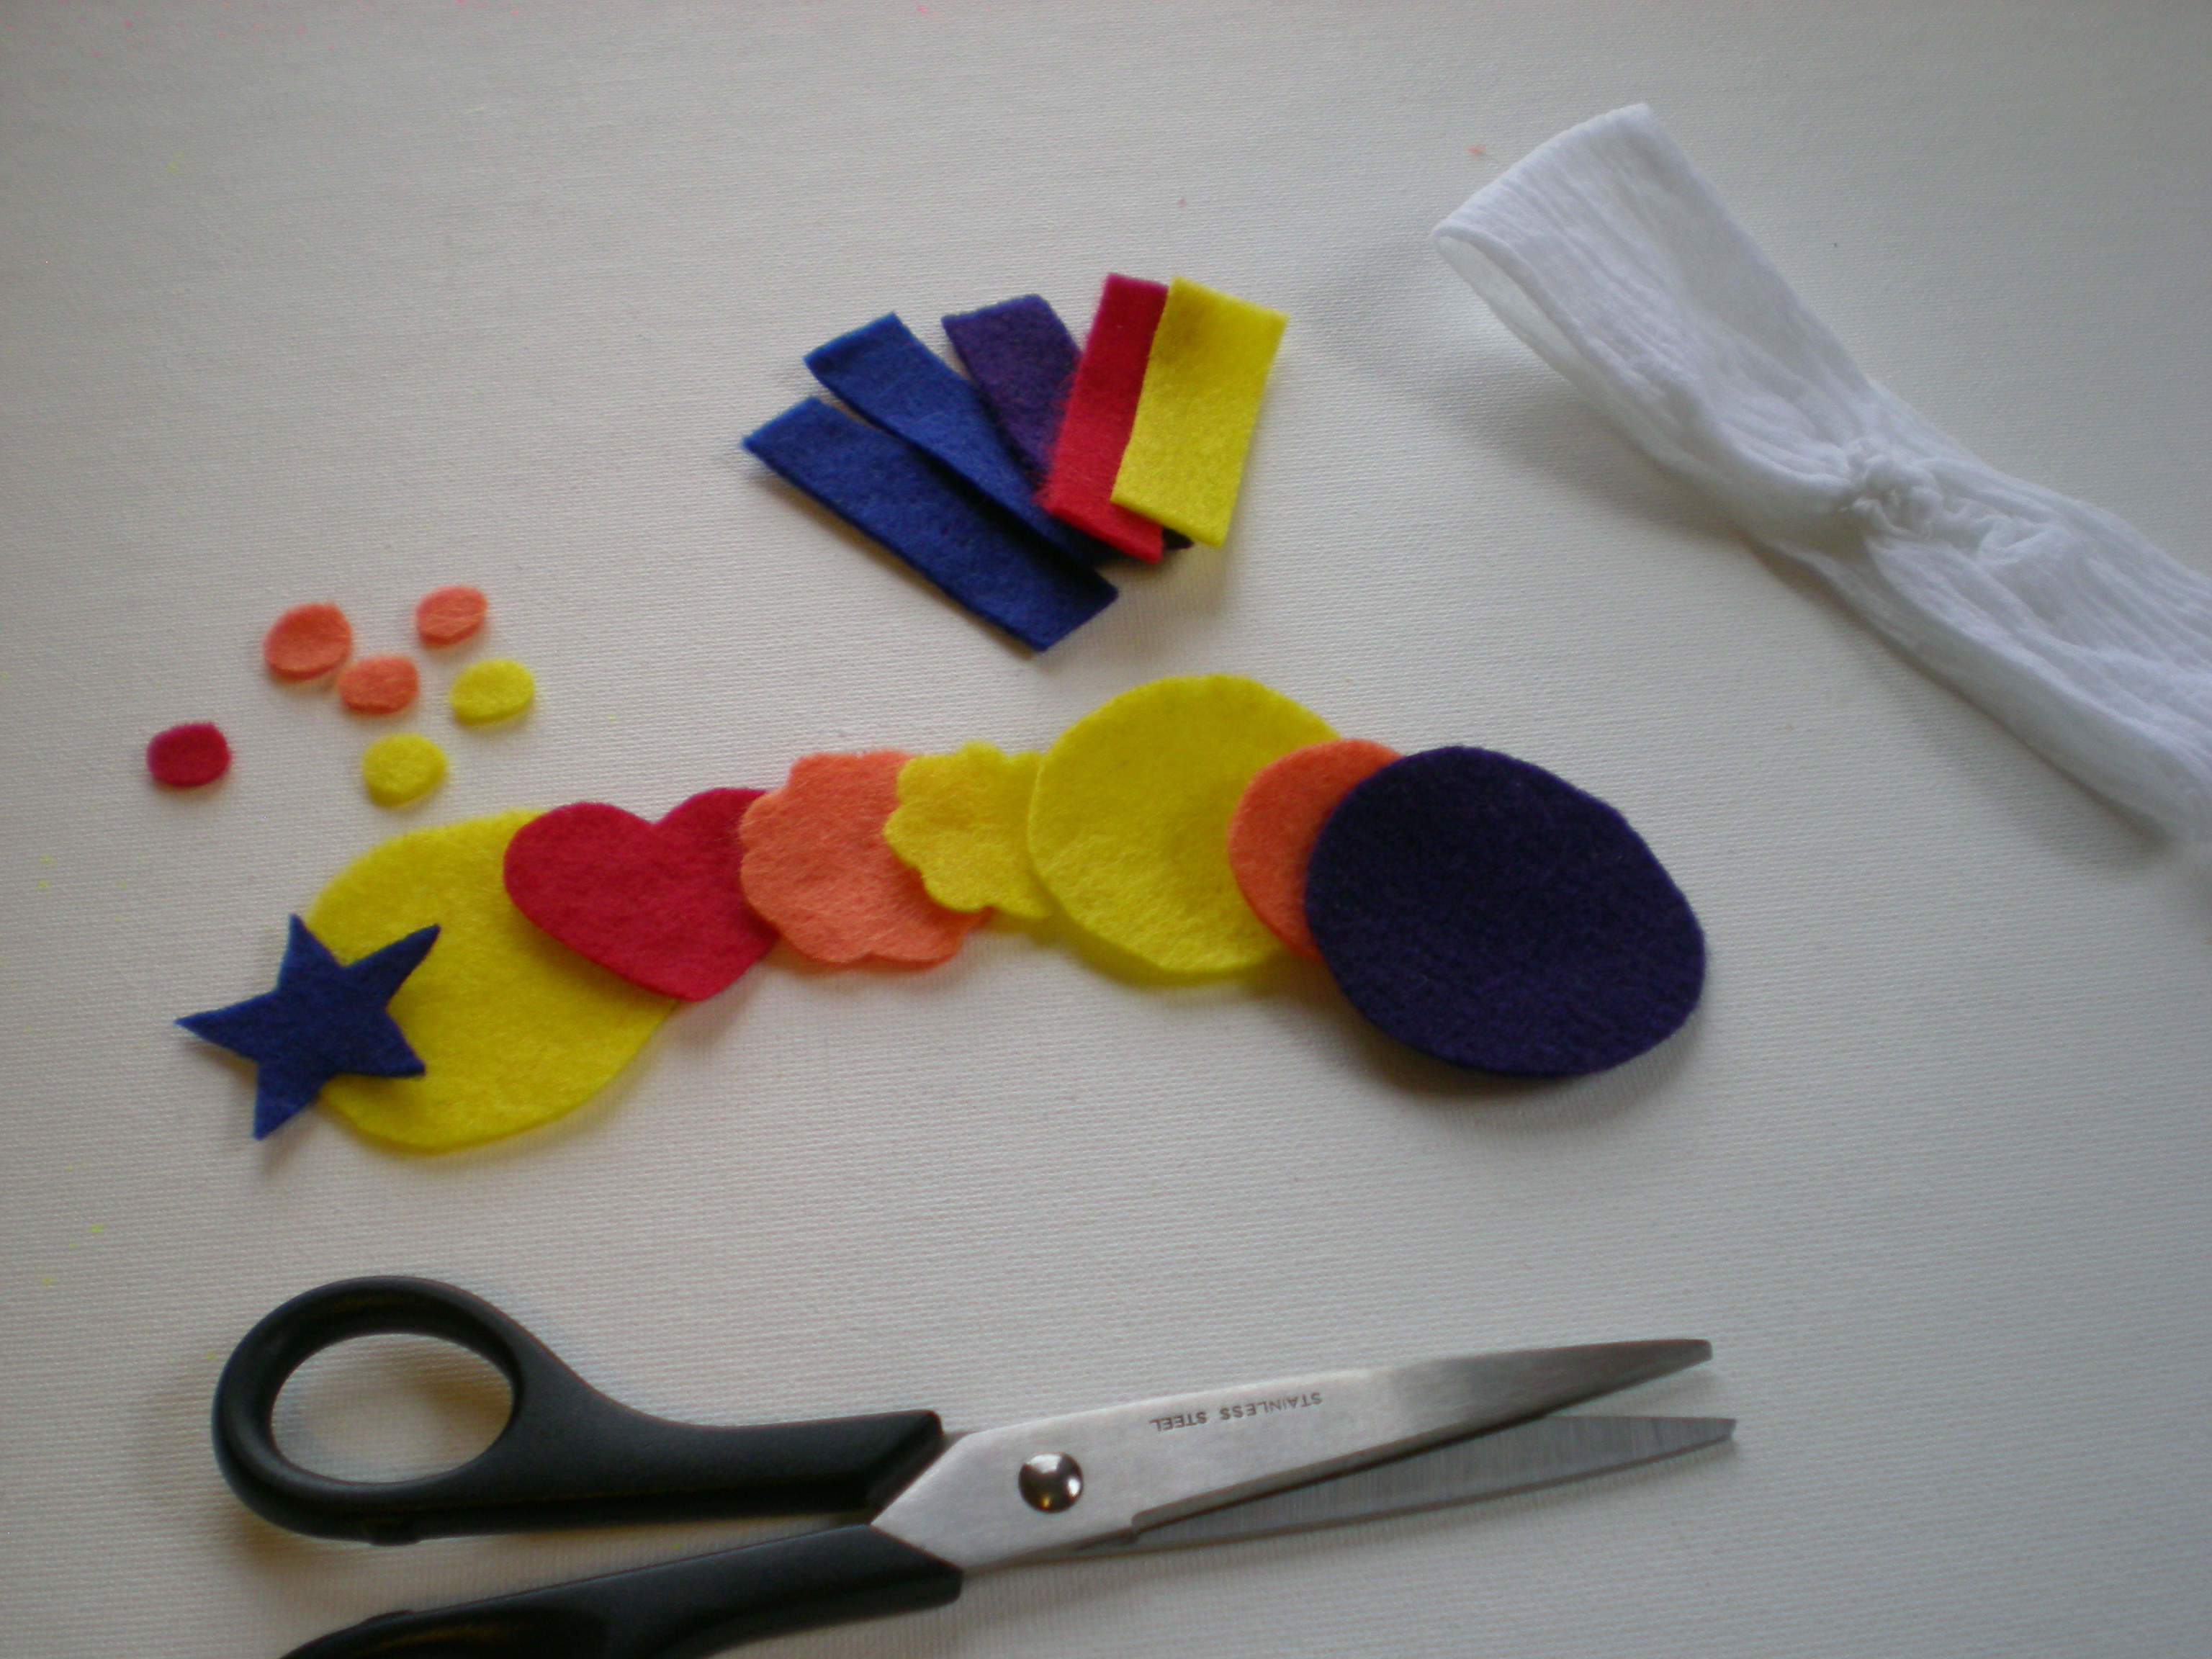
3. Set the loop (the headband) aside, and cut decorative shapes from the felt pieces. Cut several felt strips about 1/2" by 3".


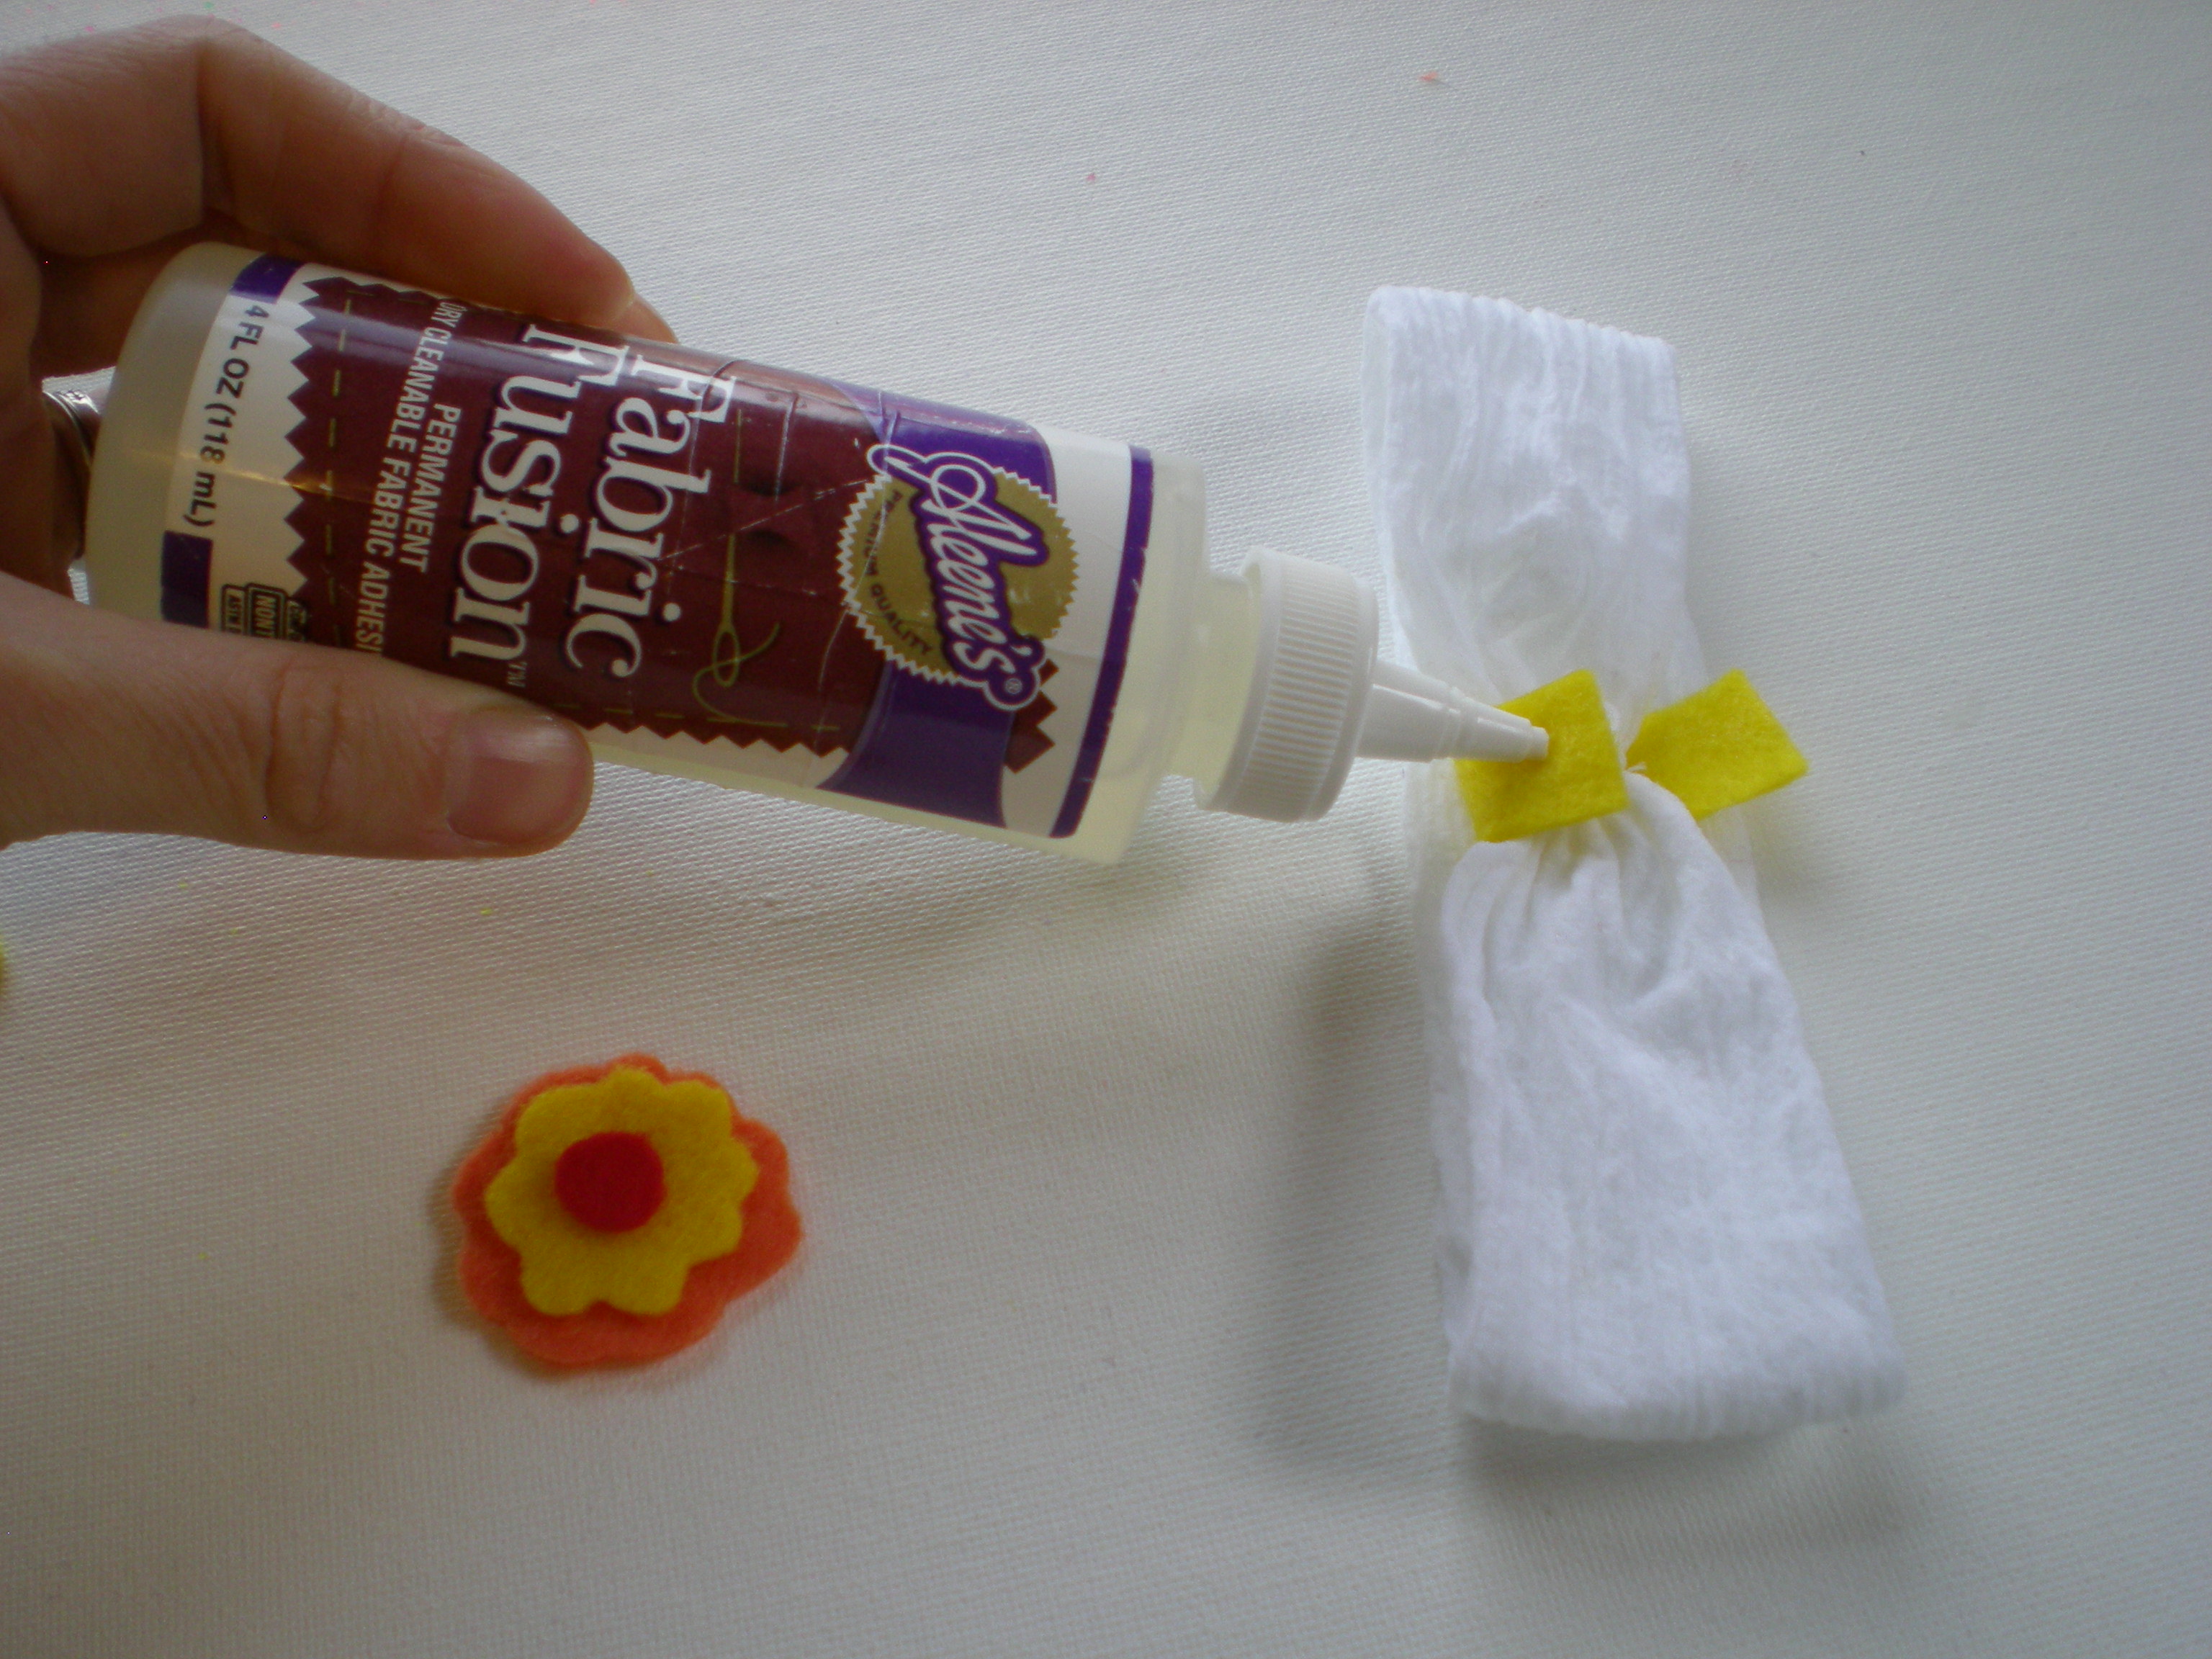
4. Wrap one felt strip around the gather on the headband (to hid the stitching and provide a base for the embellishment). Apply glue liberally to the ends of the strip and fold them over each other. Let dry, and reapply glue as needed. (Felt is very porous, so the glue gets absorbed easily.) While the glue dries on the headband, mix and match felt shapes and glue them together to make embellishments. Optional: Add buttons, glitter, ribbon, T-shirt flowers, even fabric scrapbook decals to personalize the headband.


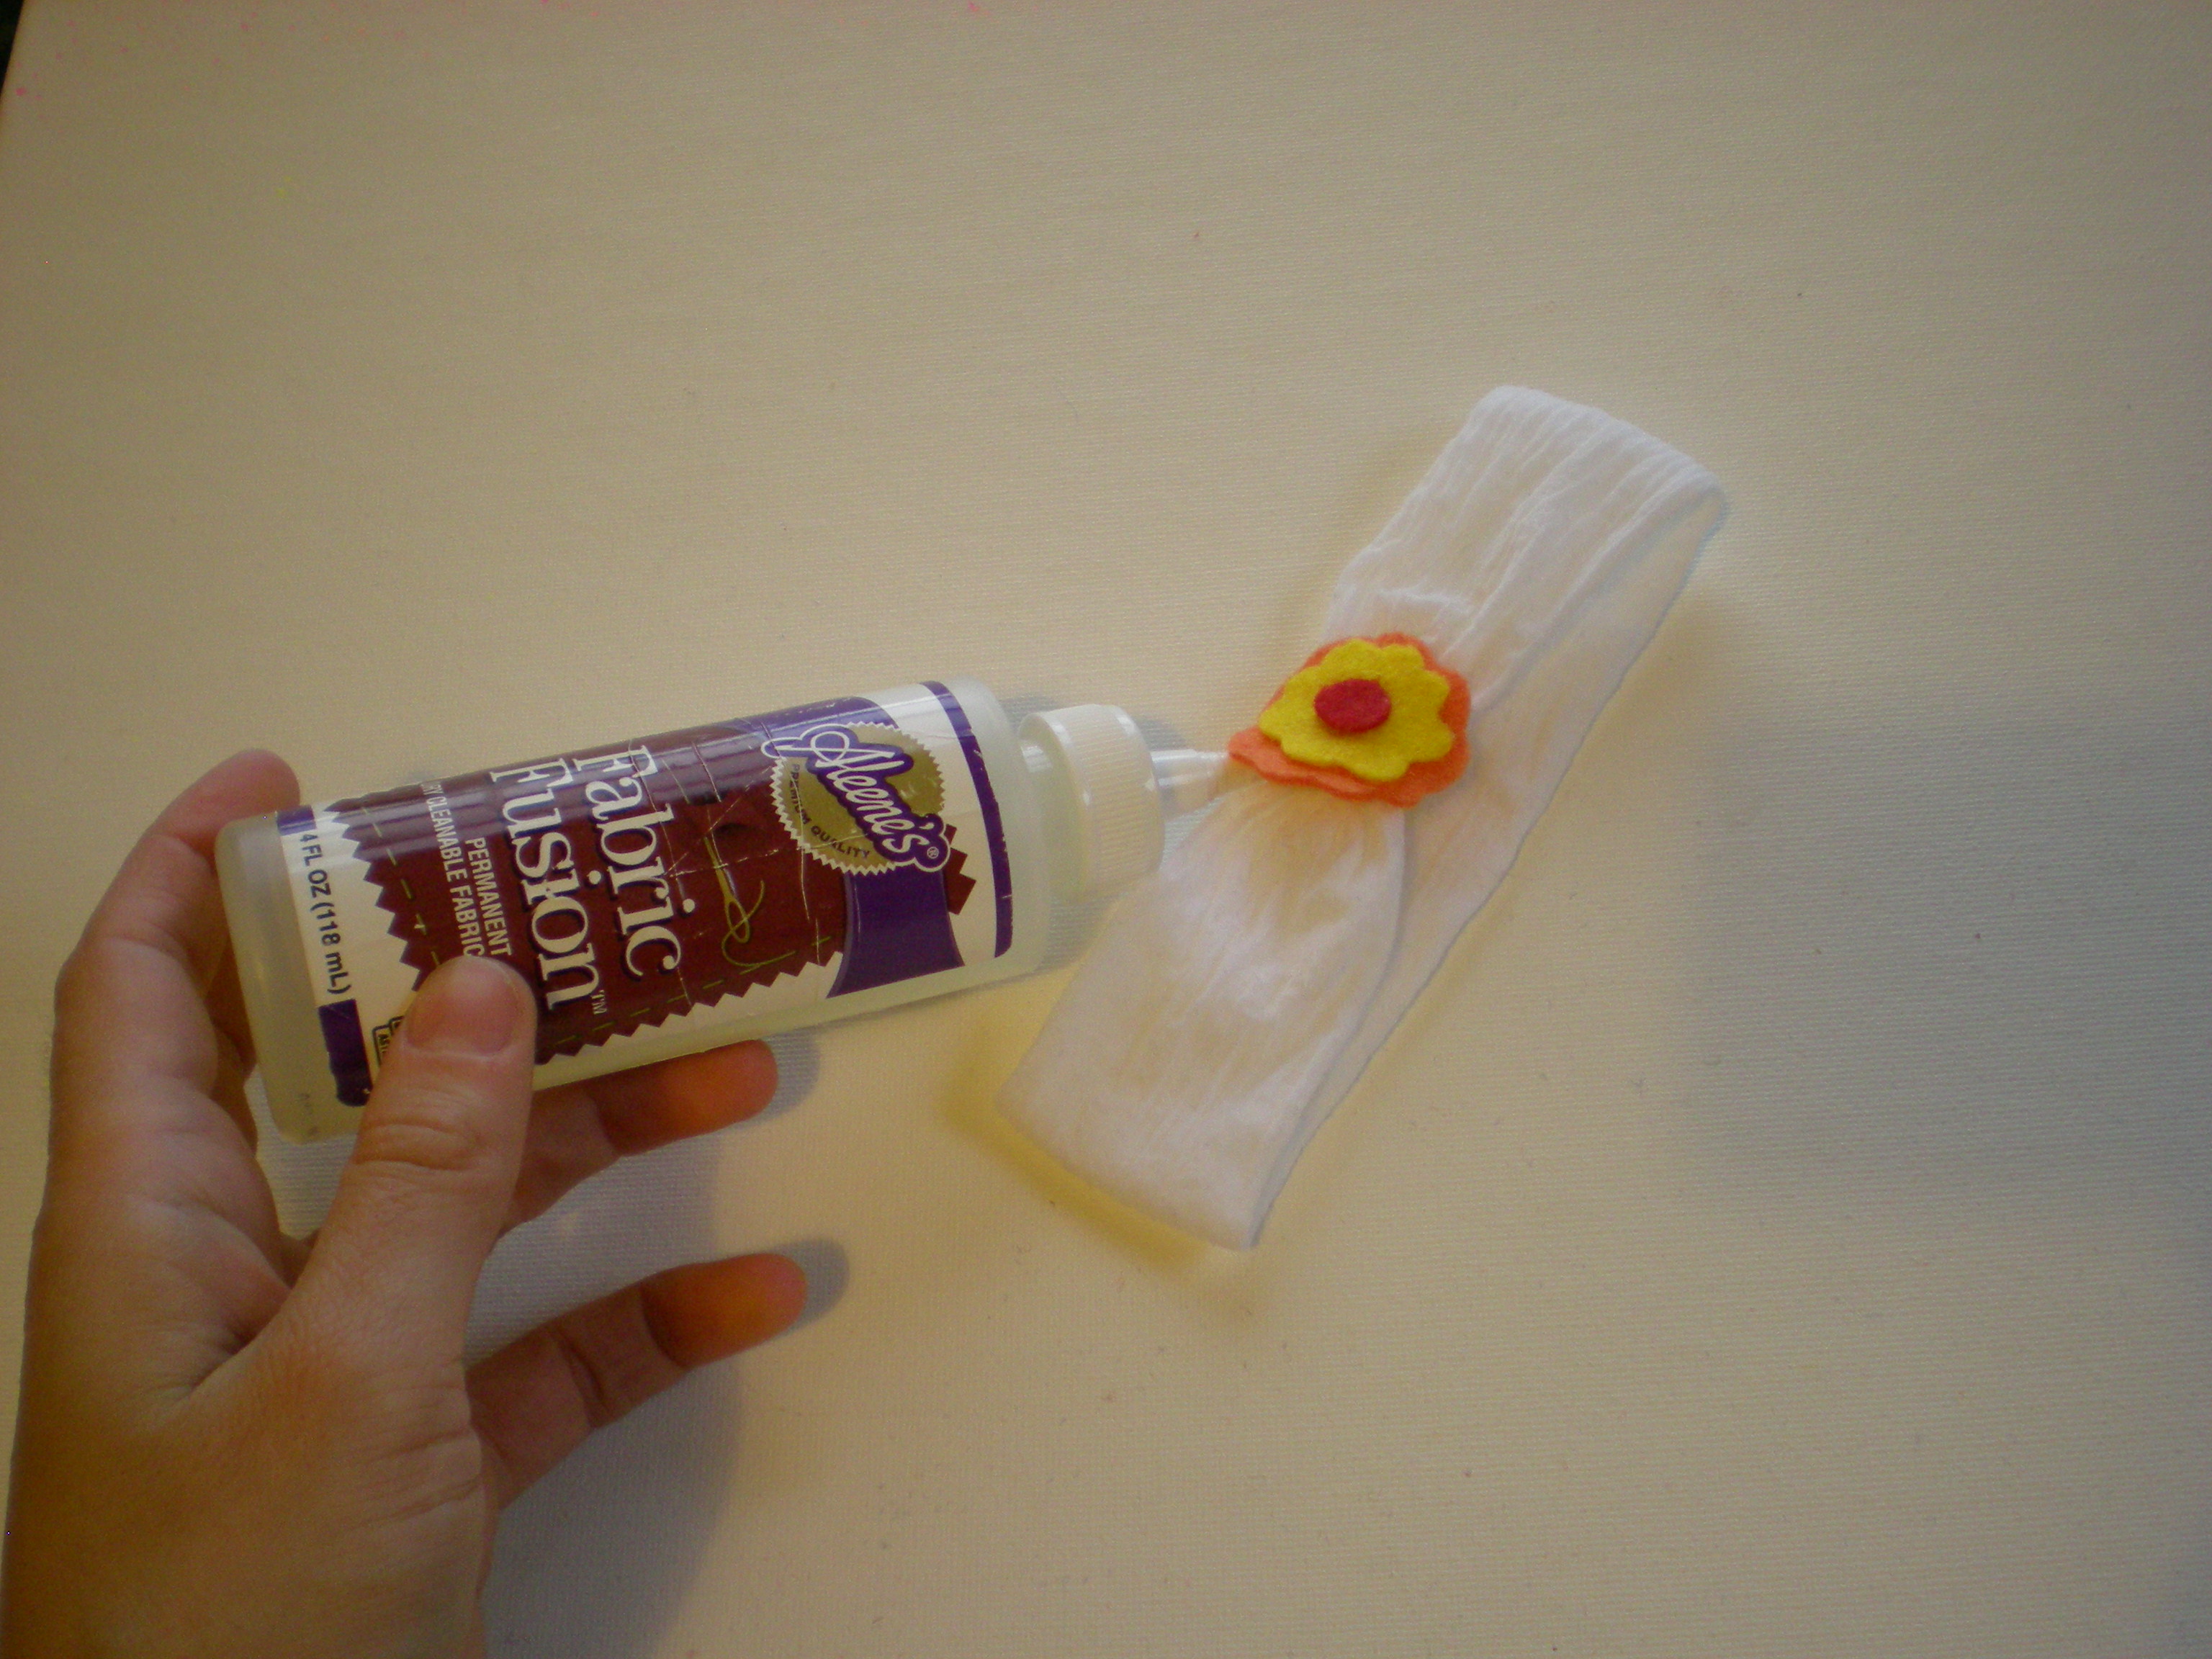
5. Glue the felt embellishment over the felt seam and let dry. (Again, apply that glue liberally!)


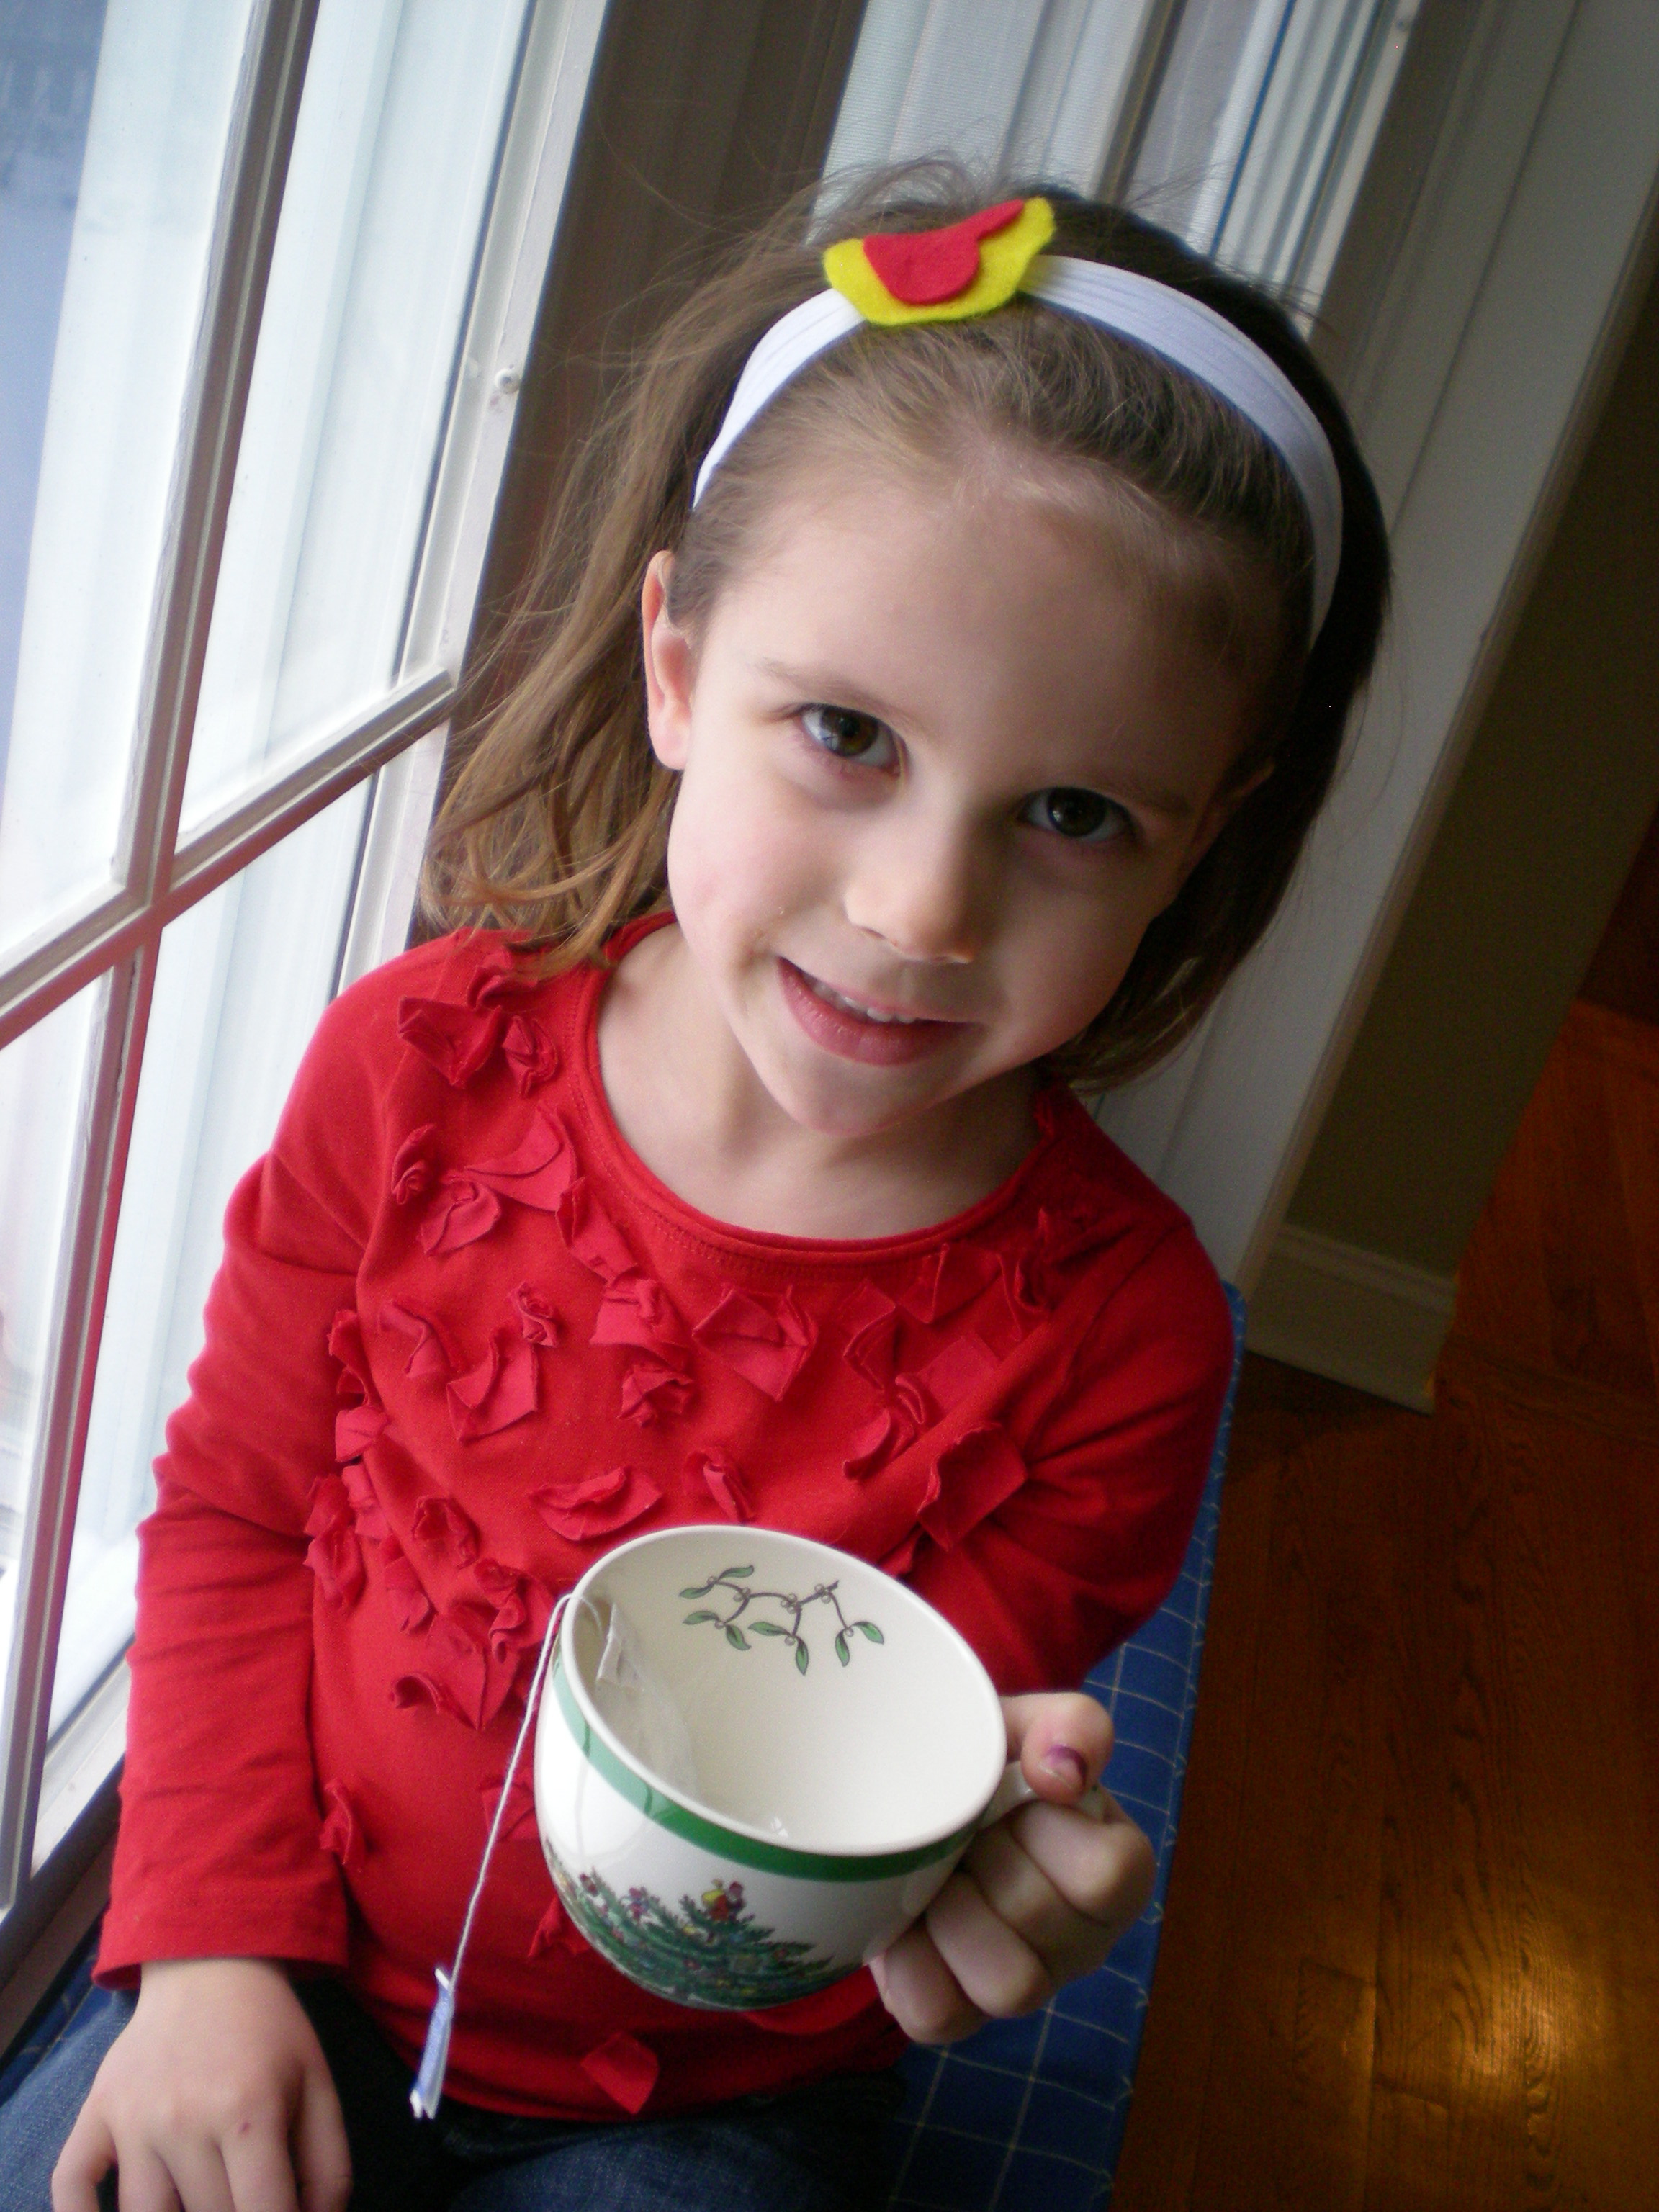
6. You're done! Now get to the wearing part -- with no complaints of pulled hair, and no shaggy bangs covering up her sweet little face! Tea party, anyone?

Bonus: If you buy your stockings at the pharmacy or the dollar store, they often come in little round plastic containers that can easily be converted into a simple cat toy -- drop a button inside, snap it tightly closed, and roll it across the floor.

Double bonus: Remember the 1" bit of fabric you cut off the top of the stocking in step 1? Follow steps 4 and 5 to make No-tug Hair Ties! Perfect for taming pigtails, ponies, and braids.


Check out my other fun projects for iLoveToCreate here!

Visit us on Facebook!
Craft on! Click here for today's daily giveaway!

Wednesday, November 24

Winter Wonder Gift Tote

By Cheryl Ball for ilovetoCreate

Wrap that special gift in packaging that’s just as fabulous! Stitch felt into a candy-colored tote then add wintery accents with Tulip® 3D Fashion Paint™ for a gift bag that looks so good, no one will care about what’s inside!

Materials List

  • Tulip® 3D Fashion Paint™

    65000 White
    65109 Pink
  • Miscellaneous

    •   Tracing paper
    •   (1) Button –1” white
    •   Permanent felt pen
    •   White chalk – sharpened to a point
    •   Foil
    •   Sewing machine with matching thread
    •   Embroidery floss – white
    •   Sewing pins
    •   Pencil
    •   Needle with large eye
    •   Scissors
    •   Self-adhesive shelf paper
    •   Paper towels
    •   Plastic knife
    •   Felt yardage – pink, red – ½ yard each
  • Patterns

    Instructions

    1. Enlarge bag pattern to 14” from handle to base and 12” at widest part, then draw in hole for handle. Cut an oval base for bag that’s 8 ½” x 4 ½”.
    2. Pin tote and base pattern onto double layer of red felt then cut out. Repeat on a double layer of pink felt.
    3. Layer and pin together pink and red felt pieces with red facing outward. Sew a ¼” seam along top edge and around inside handle on both sections. Trim seams if necessary to even out.
    4. Pin sides together then sew along edges.
    5. Thread a needle with three strands of white embroidery floss then tie a knot in ends, creating six strands. Whip stitch around sides, inside handle and along top edge.
    6. Use pencil to trace triangle pattern design onto tracing paper, then trace five more, equally spacing to create snowflake as shown.
    7. Place shelf paper shiny side up over pattern then use felt pen to trace design onto shelf paper. To create stencil, carefully cut out inside of each section, leaving outside edges intact.
    8. Position stencil on tote, press to secure then run a finger along inside cut edges to prevent paint seepage.
    9. Squeeze a puddle of Pink Slick 3D Fashion Paint onto foil. Use knife to spread paint into each section of design, leaving an even coat. Carefully remove stencil and let dry.
    10. Trace other design onto tracing paper. Flip pattern over then use chalk to trace over lines. Position design between each painted section on bag then run a finger along lines, transferring design in chalk onto bag. Repeat steps, retracing design with more chalk as needed.
    11. Start flow of White Slick on paper towel, using an even pressure on bottle for a smooth line. Trace over design lines with White Slick. Add pink dots with a white dot in center where shown. Squeeze a dot of Pink Slick at center of snowflake design then press button into paint. Refer to photo. Let dry.
    12. Pin bottom sections in place then whip stitch along edges.
Craft on! Click here for today's daily giveaway!

Thursday, September 17

Iron On Hair Clips and Jewelry


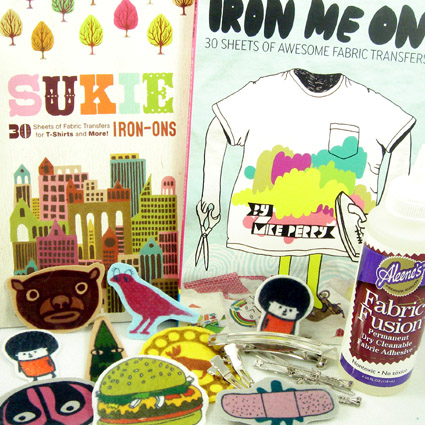
My inspiration for today’s I Love to Create column comes from two places. First there were the iron-on’s by Chronicle Books. Adorable illustrations by Mike Perry and Sukie of kittens on mopeds and football helmets with skulls. The books sat mockingly on my shelf never getting used except at the occasional onesie making baby shower. Recently while looking for the perfect hair clip I came across a barrette I bought at Maker Faire last year. I’m embarrassed to say I don’t know who made the cute little owl on felt, but I adore him nonetheless. The owl is a stamp on felt which got me to thinking: if you can stamp on felt, why couldn’t you iron on it? I plugged in my iron for the first time in God knows how long, drug out stacks of stiffened craft felt and got busy. The iron-on transfers actually were more vibrant on the felt than they ever were on clothing. I was on to something good.


SUPPLIES
Iron On Transfers
Fabric Fusion Glue
Craft Felt
Blank Hair Clips and Pins
Liquid Fusion Glue
Eyelets
Scissors
Pinking Shears
Chain
Pliers
Jump Rings
Crop-o-Dile


The first thing I did was to choose a few of my favorite motifs from the books. Luckily lots of the illustrations are small and some even come in pairs, just right for a set of hair clips.

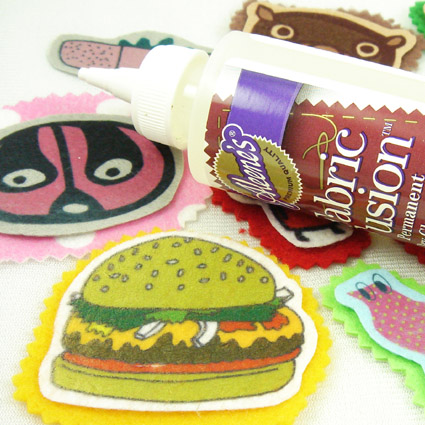
Following the instructions for the fabric transfers I ironed the images onto different color pieces of craft felt. I tried to use the pre-stiffened kind when I could.


I love layering color so I added a second piece of felt which I cut out with pinking shears for a decorative edge.

Using my Fabric Fusion glue I stuck the two coordinating pieces together and waited anxiously for them to dry.


Once the two pieces of felt were stuck together I had to decide which pieces were going to be barrettes, pins or necklaces. Rings and Things has an amazing selection of hairclips, pins and jewelry parts. For the pieces being made into pins and hair clips I attached the felt to a blank using Liquid Fusion Glue.


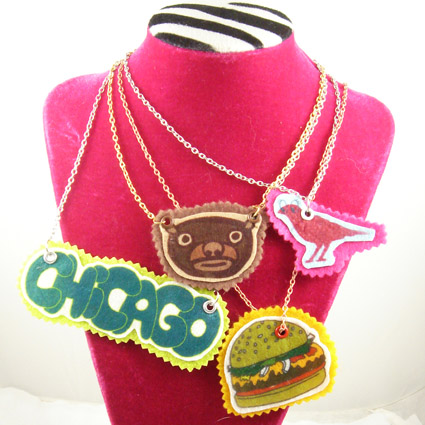
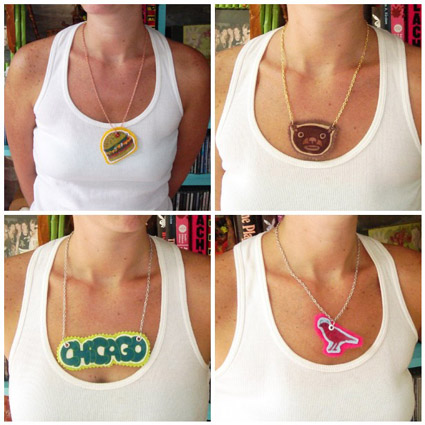
Once I got started, I found it hard to stop ironing. For the larger designs I ironed and layered just as I had with the hair clips. I used my Crop-o-Dile and some eyelets to make holes in the felt. I attached a chain using jump rings and my necklace was born. Since the craft felt was stiff the necklaces keep their shape.


If it will sit still long enough I will find a way to make it into jewelry!
Clicky Web Analytics
Pin It button on image hover

Subscribe to our newsletter

* indicates required
I am interested in products and inspiration for...
Close