Showing posts with label tulip shimmer transfer sheets. Show all posts

Friday, November 21

Kitschy Vintage Inspired Bead And Sequin Ornament DIY


I have a thing for kitschy Christmas ornaments, especially vintage ones. I'm constantly inspired by vintage crafts and when it comes to Christmas there are about a bazillion variations on the Christmas ornaments. I am particularly smitten with vintage beaded and sequin ornaments. You might recall my Hot Air Balloon Ornament from last year. This year I made a whole new batch to match my new vintage beaded ornament wreath.

Monday, November 3

Holographic Melted Snowman Shirt


I’ve always loved the concept of the melted snowman in crafting. There are lots of melted snowman ornaments out there and they’re all adorable! But when I saw the iron on holographic transfer sheets, a puddle of a snowman instantly popped into my head!


Tuesday, November 26

Fall Fashion: Decorating with Leaves, 3 Ways!

Leaf main generation-t.com
Before the snowflakes invade, I'm still celebrating the last of the fall foliage. The leaves are so beautiful this time of year in Brooklyn. I was up in New England for peak color, but even the last few weeks in Brooklyn have yielded a lovely array of color and variety. Of course, no matter how you try to keep them, the color fades, and they become dry and brittle. Here are three projects with a common autumnal theme that, like the snowflakes I made and painted last year, help make nature last a little longer.
megan-nicolay-blog-footer-1


Wednesday, July 3

How To Decorate A Summer Hat!


It's summertime! That means bring your summer fashion game. It also means protecting yourself from the harsh sun rays. That doesn't mean you can't do in style! 
Here's an easy diy on how to decorate your summer hat! With this project, you can make several decorated ribbon bands to go around your hat, giving it different looks whenever you want!
 

SUPPLIES:

 First, measure your hat, then cut your ribbon according to size. Make sure to cut your ends with pinking shears!

Shimmer sheet: Place it glue side up on the ironing board and set your ribbon on top. Use a pressing cloth to carefully iron it in place. Cut off the extra. Repeat for the rest of the length of the ribbon.

For the gems, put the Tacky Dots   on the back of the gems, then simply place them on the ribbon! After this, place a tacky dot on the back of your hat to connect the ribbon. I used one, but for security you can place them around the hat.

Other ideas - Use Puffy Paint, paint or stencils and glitter!
 
Go enjoy your summer! Mayainthemoment.com


Friday, June 14

Holographic Dyed Tank (Made from a White T-shirt!)

What happens when you need a black T-shirt, but can't find one? You dye a white shirt! That's what I did and then I added some shiny squares for the wow factor! Here's how you can you can make one too!
What you need:
– White cotton T-shirt.
– Scissors.
– Chalk

Here's a video tutorial I made!

Thursday, April 18

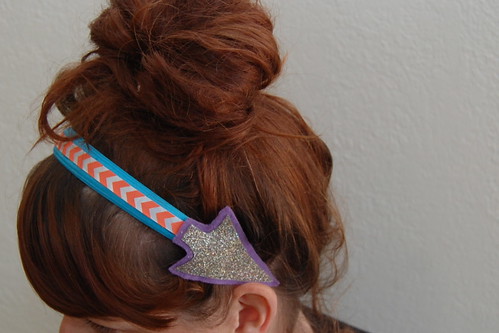
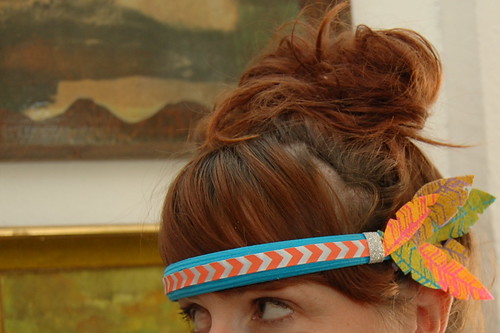
William Tell Inspired Felt Feather & Chevrons Arrow Headband How-To


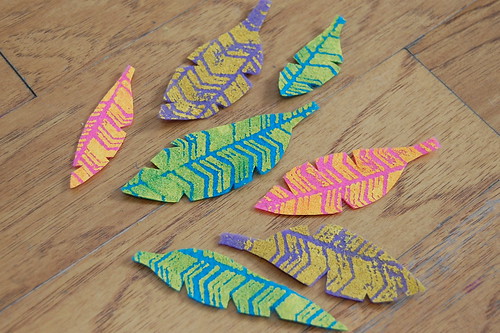
Chevrons, sparkle, arrows, felt, the color teal - what is not to love about this headband? Not to toot my own horn, but I'm pretty smitten on this doozie of an accessory. This is not the first time I have ventured into the world of feathered hair gear, you might recall a post I did for Craft Zine. Those feathers were made from digital scrapbooking elements. These feathers are made using a paper crafting mask for a spray as a stencil.

SUPPLIES

Tulip Soft Fabric Paint

Colored Felt

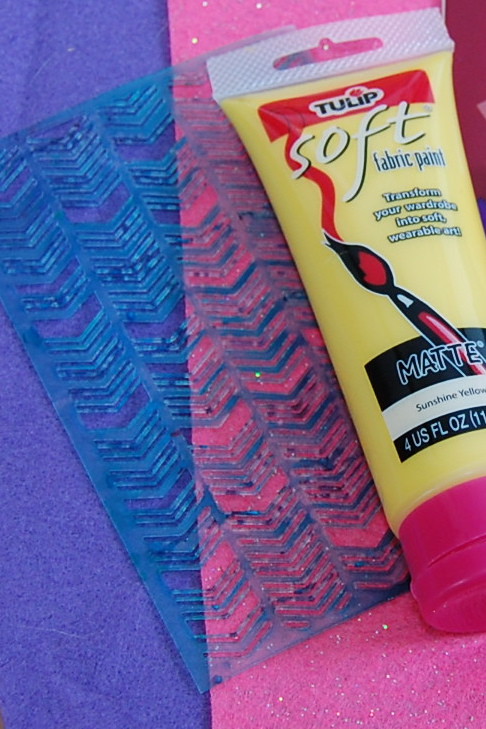
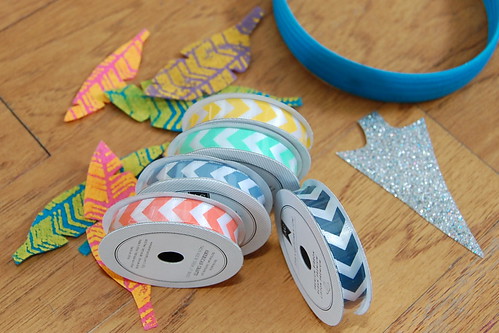
Mr. Huey Mask by Studio Calico in Chevron

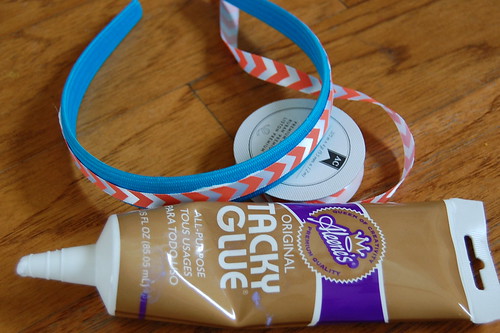
Aleene's Tacky Glue

Sponge Brush

Dear Lizzy Ribbon by American Crafts

Scissors

Tulip Fashion Glitter Shimmer Transfer Sheets

Headband

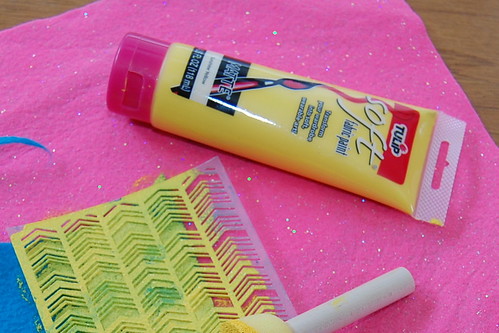
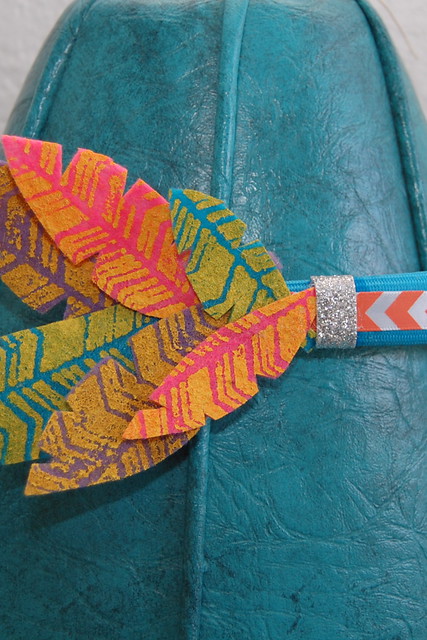
The first thing I did was stencil the chevron image onto my felt. I was inspired by a post on American Felt and Craft. Use a dry(ish) brush. A friend on Instagram commented that the pattern would work well for making felt feathers and the idea for a William Tell inspired headband was born.

After my paint was dry I cut out 'feathers'. I went back with sharp small scissors and added details.

So many pretty ribbons to choose from, so little time. I went with more chevrons, because really can you ever have too many? I also cut out an arrowhead from my Shimmer Transfer Sheets.

Using Aleene's Tacky Glue I attached a strip of ribbon to my headband.

I decided to add a piece of felt as backing for my arrowhead. I attached both pieces using Aleene's Tacky Glue.

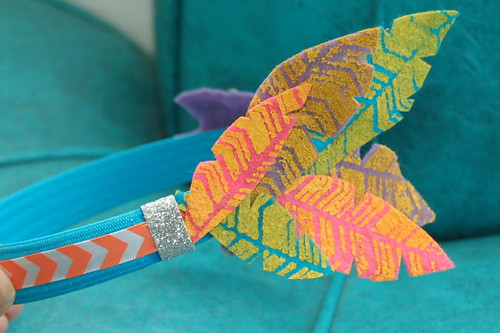
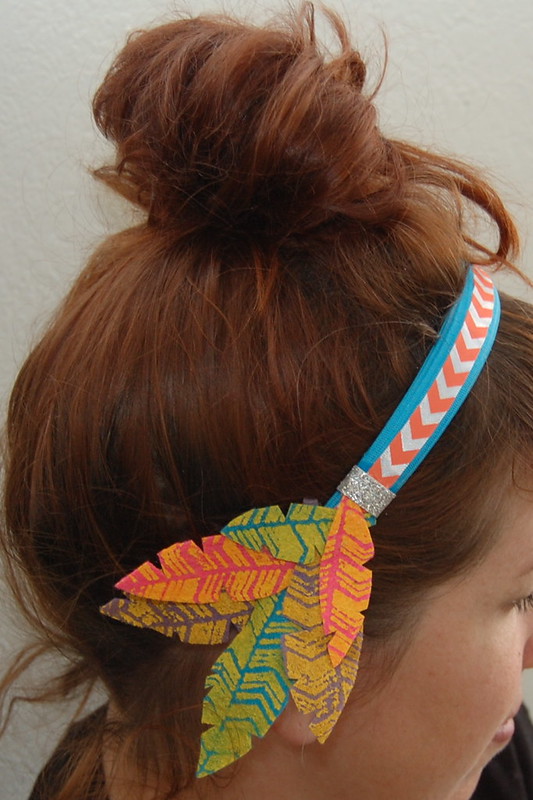
On the opposite side of the headband, again using Tacky Glue, I attached a cluster of felt feathers. I was thinking of William Tell. Ya know, the guy who shot an apple off someone's head with a bow and arrow.

I decided the feathers needed a little strip of silver sparkle.

You can wear your new arrow as a headband.

You can also go for the across your forehead look. Perhaps a good look for people a little younger than myself.

So whatcha think? I love using things like scrapbooking tools in new fun wearable ways.

Friday, February 1

CRAFTY CHICA: Glittered Kisses Shirt (Inspired by Carrie Diaries)

Are any of you watching THE CARRIE DIARIES on The CW?
The series stars teen actress AnnaSophia Robb as the teen version of the iconic Carrie Bradshaw from Sex and the City!
Photo from tv.yahoo.com
Not only am I fan of the original HBO series, I'm also in love with this version as well (yes, I was skeptical at first). The Carrie Diaries is all about high schoolers, I'm in my 40s. BUT - it takes place in NYC in 1984. Hello? some of the best times of my life were in the 80s, right?

Every week we're treated to crazy, juicy fashion, DIY ideas, pop songs and kooky-yet-self reflective Carrie-esque plot lines. The show is based on the novel by Candace Bushnell, so it has a lot of the same zingy spirit that made SATC so fun to watch.

In the first episode, Carrie's beloved purse was ruined by her sister and a rogue bottle of nail polish. But in true Carrie Bradshaw style, our girl transforms it into a splattered, personalized bag that serves as a central plot line in the story - it catches the eye of an editor from Interview Magazine and Carrie is drawn into the world of writing and fashion.

Here is the scene, and if you look on YouTube, you'll see all kinds of videos from the show's fans who have made their own bag.

Not only that, but scores of other DIY projects are popping up from other crafty fashionistas. Let's circle this back around to my project this week. On Monday's episode, Carrie wore an adorable lip-smacked sweater.
I found a cute t-shirt at Target that had the word LOVE already across the front, so I added to it by using Tulip Shimmer Sheets kisses, inspired by Carrie's sweater.

If you want the look of the sweater, you can use a fabric stamp or cut a stencil. I wanted something fun for Valentine's Day for Maya, so here is what I came up with!


Supplies:
Cotton shirt
Tulip® Fashion Glitter™ Shimmer Transfer Sheets: Hot pink, light pink and purple.
Scissors
Iron
Parchment paper
Peel off the front protective covering. Cut the sheet into squares about 2x3" in size.
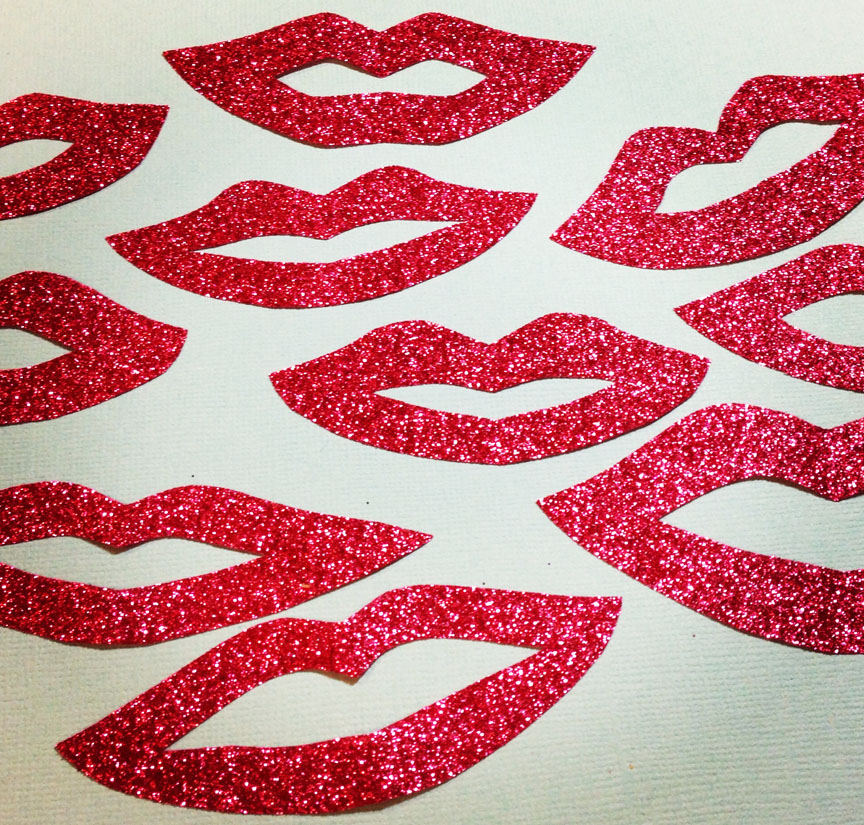
Fold in half and cut lips.

Cut a lot of them in the different colors, I'd say about 15 of each in different sizes.


Sort them into piles. Set the shirt on an ironing board, heat your iron to high. Arrange the lips randomly and balanced. Set apiece of parchment paper on top and iron in place for about 30 seconds until the kisses are bonded to the fabric.

When it comes to washing, turn your shirt inside out and wash in gentle cycle, hang dry.

Thursday, December 6

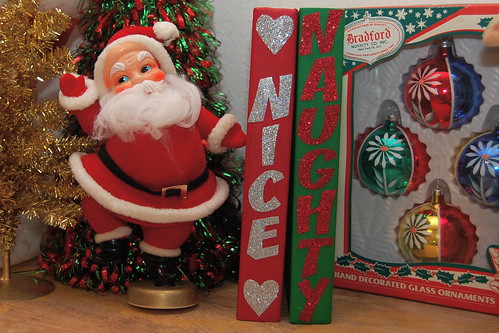
Naughty and Nice List - A Recycled Christmas Book DIY

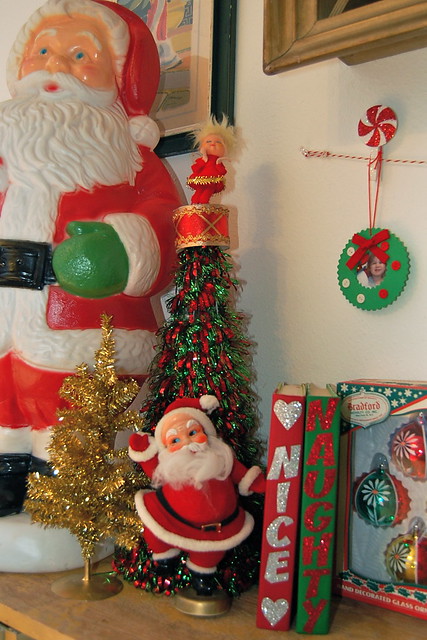
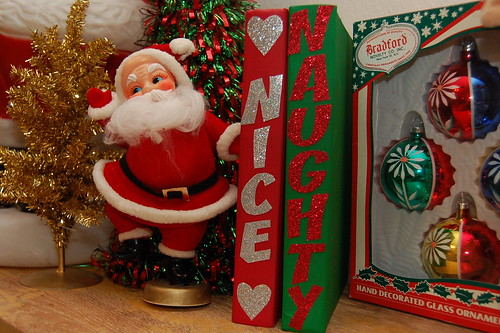
So do you think you are going to make the 'Naughty' or 'Nice' list this year? Why not make both. Today for I Love to Create we are crafting a list and checking it twice.

SUPPLIES

Tulip Fashion Glitter Shimmer Transfer Shapes

Aleene's Tacky Glue Stick

Crafty Chica Paint - red and green

Old Books

First paint your books, one red and one green. You will need two or three coats of paint. Don't worry no books were harmed in the making of this project, you could still read them if you wanted.

Spell out the words 'naughty' and 'nice' in Fashion Glitter Shimmer Transfer Shapes. They are intended to be ironed on clothing, but they also glue to other surfaces like books perfectly.

When your books are finished set them out on the shelves to display.

I love the way the books turned out, I might go back and add some cute graphics to the front. I'll keep you posted!

Clicky Web Analytics
Pin It button on image hover

Subscribe to our newsletter

* indicates required
I am interested in products and inspiration for...
Close