DIY Retrofabulous Halloween Masks
“These are your grandmother’s crafts, ya gotta
problem with that?”
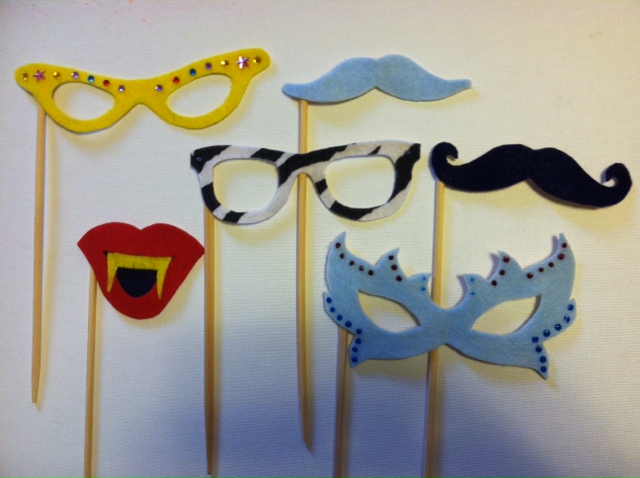
I found these vintage inspired paper mache masks at Target and my only regret
is that I didn’t buy every last mask.
Alas, they’re sold out locally and I’m kicking myself for not getting
more.
If your local Target is sold out don't fret, you can find similar masks
made of fabric and paper at craft chains and costume supply stores.
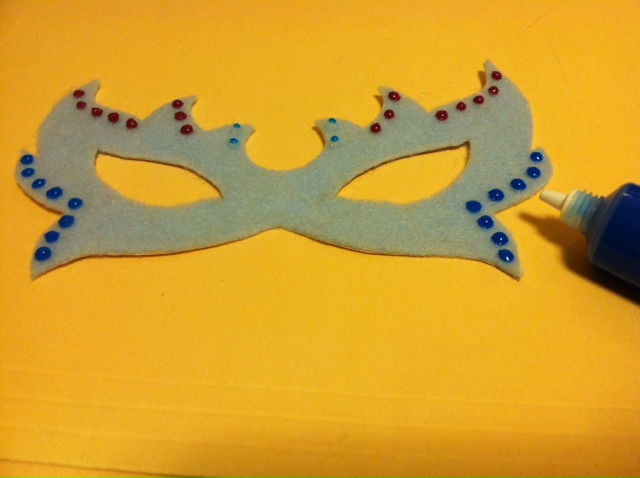
It’s so easy to dress them up with
inexpensive glitter, gems, feathers and decoupage using Aleene’s Tacky Glue, Fabric Fusion tape and
decoupage medium.
These also look
fabulous painted or covered with sequins or ribbon, so make them your own.
I love them for Halloween, but they’re so fun
you could use them for Home Décor year round!
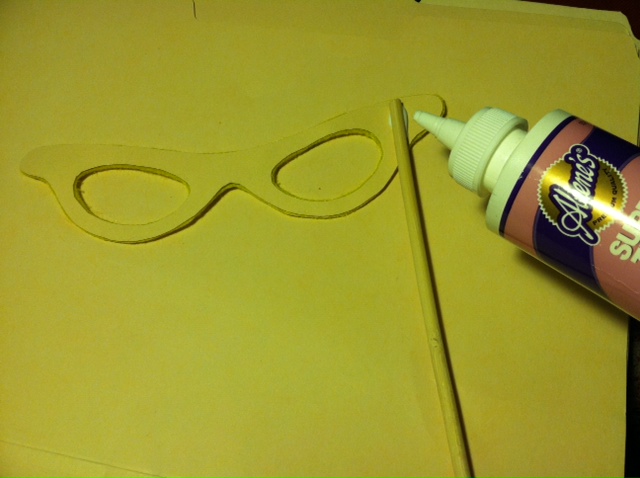
You can give these masks even more vintage appeal if you remove the
stretchy straps and attach a painted dowel and satin or lace ribbons.
Watch the video on Knoxville's WBIR Channel 10 Live at Five at Four here!
Materials
3 paper mache masks (I got mine at Target)
Hot pink feathers
Various sizes faux rhinestones
Vintage sheet music (we have lovely packs of
old book pages at our website)
Wired silver tinsel
Chunky silver glitter
Tools
Round nose pliers
Awl or drill with 1/16” bit
Sparkle Kitty Mask
Cover mask with a thick layer of Tacky Glue using a sponge
pouncer. Working over a paper plate or
cardboard folder, douse mask with chunky glitter. Tap off excess. Dump unused glitter back into jar. Allow to dry.
When mask is dry, use an awl or a drill to create three holes on both
sides of nose. Cut each wire tinsel stem
in half, turn a small loop in the end and thread into hole, dabbing back of
hole with Tacky Glue to secure whiskers.
Allow to dry. Purrrfection!
Circus Showgirl Mask
Cover mask with a thick layer of Tacky Glue using a sponge
pouncer. Working over a paper plate or
cardboard folder, douse mask with fine fabric glitter. Tap off excess. Dump unused glitter back into jar. Allow to dry. When mask is dry add faux
rhinestones. Squeeze out a small amount
of glue on a paper plate. Dip each
crystal in glue and add varied sizes around eyes and top of mask. Glue three features to back top of mask. Allow to dry.
Now you’re ready for the center ring!
Divine Music Mask
Working in small sections, tear pieces of sheet music and
adhere them on to surface of mask using decoupage medium Brush medium on mask, add paper, add more
medium. Old paper tears easily and works very well for this technique. (Old book pages or sheet music will work, if
you’re thinking of using new paper try printed tissue or stamping text on plain
tissue.) Allow decoupage medium to dry
completely. Squeeze a bead of glue
around edges of mask and eye holes. Work
in sections. Sprinkle chunky silver
glitter over glue and tap off excess working over a paper plate or cardboard
folder. When all glue is covered, dump
unused glitter back into jar. Allow to
dry. Attach a Fabric Fusion tape strip
across the top at the back of your mask, peel off top of strip to expose
adhesive. Working from your crepe paper
spool, adhere paper making small folds as you move across tape. See photo for details. When you reach the end of the mask, cut off
excess paper on both sides. I feel a
song coming on!