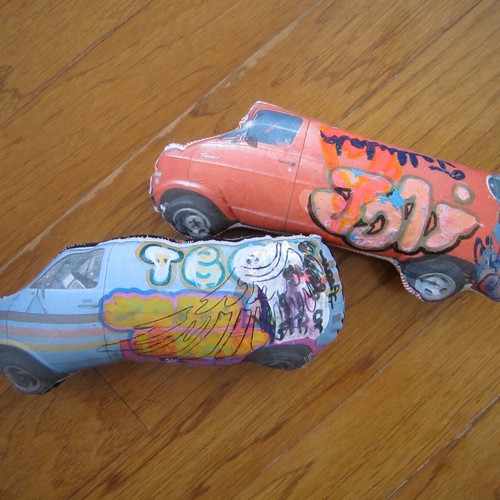
Monster plushies have already been done and throw pillows seem a little old fashioned. What is a girl to do? I know make a van pillow.
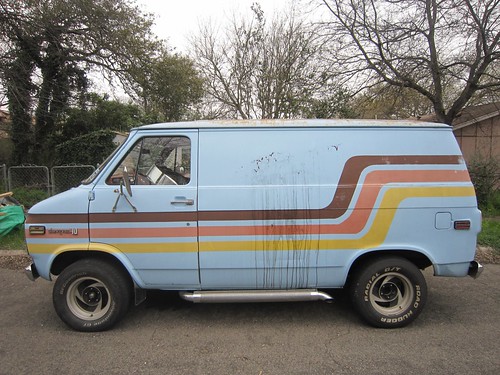

I have never been so happy to have not one, but two abandoned 70's vans in my neighborhood. It all started when I read about artist Kevin Cyr on My Love for You is a Stampede of Horses. Once I laid eyes on his amazing graffiti covered vans every large vehicle started to look like a canvas to me. Lucky for me not only did I have those vans in my neighborhood, I also happen to have a whole slew of Fashion Graffiti products from I Love to Create. It was as if fate was trying to tell me something.
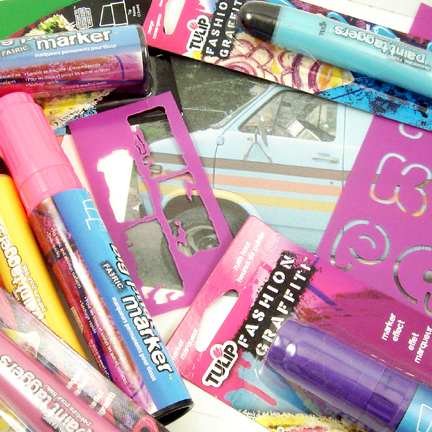
SUPPLIES
Sewing Machine
Tulip Fashion Graffiti Big Phat Fabric Markers
Pillow Stuffing
Needle Thread
Tulip Fashion Graffiti Dimensional Fabric Paint Taggers
Paint Brush
June Tailor Printer Fabric
Scissors
Digital Camera
Tulip Fashion Graffiti Stencils
Computer
Printer
Iron
Fusible Web
TAKE A PICTURE IT LASTS LONGER
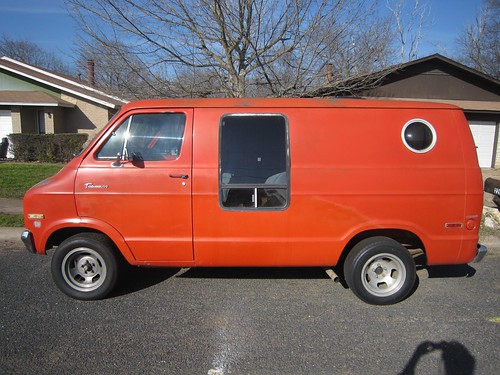
The first thing I did is take a little stroll through my neighborhood and snap a few pictures of vans. Once I got the pictures on my computer I doctored them a little bit in photoshop. For instance I took out the big window on this orange van so that I would have more space to cover with graffiti.
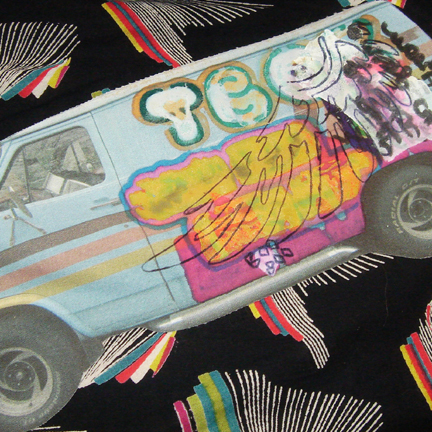
Once I had the photographs the way I wanted to them I enlarged them and printed the pictures on fabric that will go through your ink jet printer.
GRAFFITI VANDALISM
The key to getting a good graffiti look is layers. I played around with all my Tulip Fashion Graffiti goodies using the stencils, phat markers and taggers. I even busted out a ball point pen.
WHAT TO DO WITH YOUR FABRIC VAN?
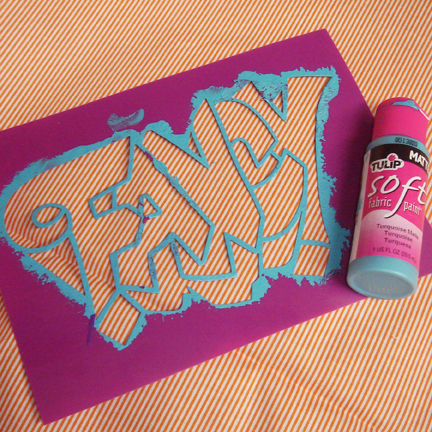
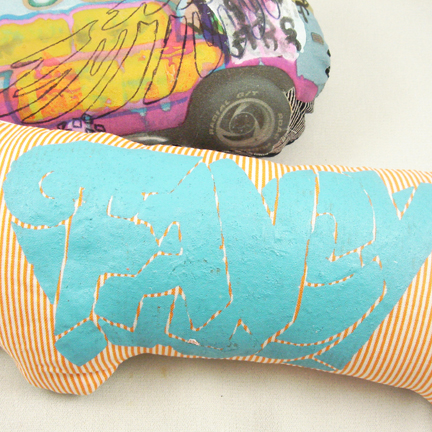
At this point what you do with your fabric van is up to you. I ironed fusible web to the back of the blue van and attached it to what was once a skirt that I cut up and sewed into a pillow. For the orange van I used a Tulip Fashion Graffiti stencil that said 'Fancy' on a piece of fabric which was to be the backing of my plushie. Feel free to use your van as an applique on a T-shirt or as an extra large extra plush necklace pendant.
MAKING A VAN TO REST YOUR WEARY HEAD ON
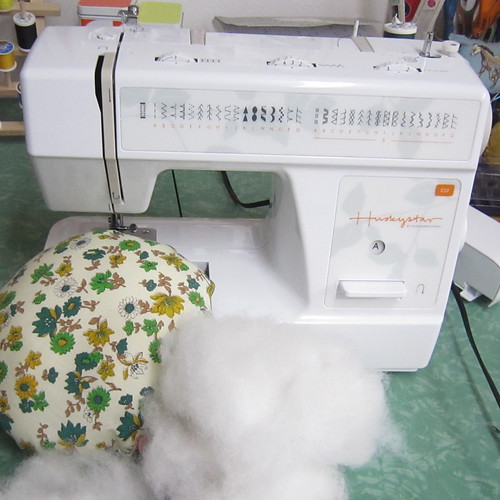
If you are going the pillow route. Pin like sides of fabric together. Using your sewing machine stitch all the way around leaving a small opening. Go around the edges with your scissors and make small cuts taking care not to cut your stitches. Turn your pillow right side out through the hole. You might need a chopstick or a knitting needle to help. Stuff your plushie and hand sew the hole closed.

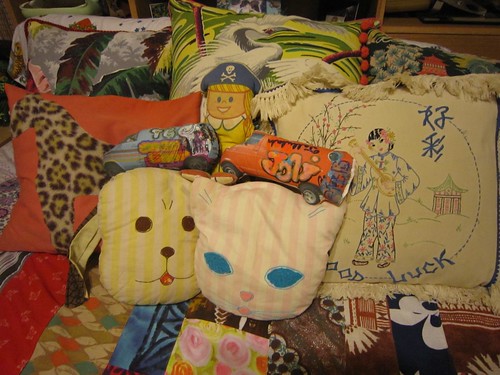
Toddler toy or throw pillow, you decide! The best part is this graffiti is totally legal.