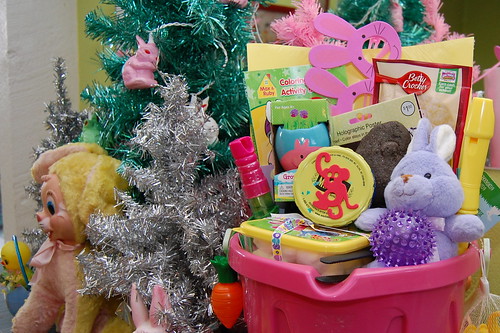

Easter is a mere 2 Sundays away, do you have your kid's Easter basket filled? Sure I've hit the dollar spot at Target to load up like all the other mother's, but I also made a slew of activities to include in the basket. My goal for this year's Easter basket was to not load up on cheap toys and junk that I would throw away in a week, but to look for items that would get used, played with and educate. I was inspired by a Creative Play Easter Basket I saw on Modern Parents Messy Kids and ran with the theme. Today for I Love to Create I am going to show you my own version of a toddler Easter basket. Next Thursday I will have the baby version.
First up I used a sand pail instead of a basket. I have a friend who every Easter gives her kids a sand pail filled with a new swimsuit, beach towel, float toy - you get the drift. I thought I would steal the bucket part. I must confess I also broke down and got a smaller basket from Target for Tallulah to use at the 3 egg hunts we have coming up in the next week. I should also mention no cheap Easter grass around these parts.
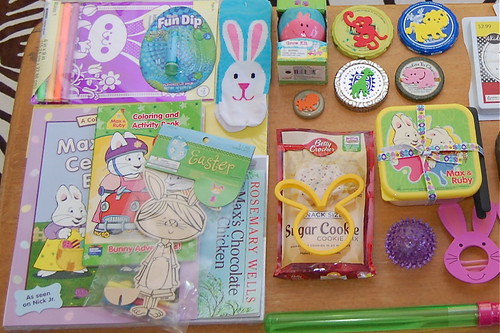
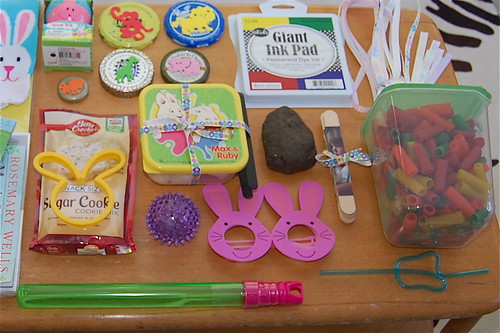
Not everything in my toddler Easter basket is homemade. Here is a quick list of the readymade items...
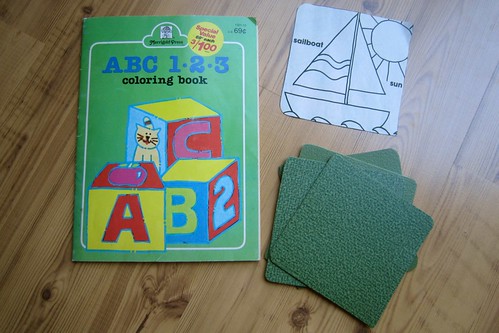
Coloring Book (Max and Ruby themed, they are bunnies after all)
Construction Paper (crafts, crafts and more crafts)
Glue (toddlers love glue)
Max and Ruby Book (her fave show)
Bubbles (big bubbles in wand form)
Grow Kit (mini garden in an egg shaped planter)
Lip Gloss (every toddler needs lipgloss)
Train Tracks (Thomas needs to feel the wind in his hair)
Curly Straw (kick milk up a notch)
Easter Socks (I can never find a pair so I keep buying more)
Recorder (more instruments for her pretend rock band)
Ball (it lights up!)
Stuffed Bunny (she loves a snuggly stuffed animal)
Cookie Cutters (for playdoh)
Cookie Mix (she loves to bake)
Various Craft Kits (at $.99 a pop, who can say no)
Bunny Glasses (futures so bright, I gotta wear bunny shades)
Ok, onto the stuff I did make!
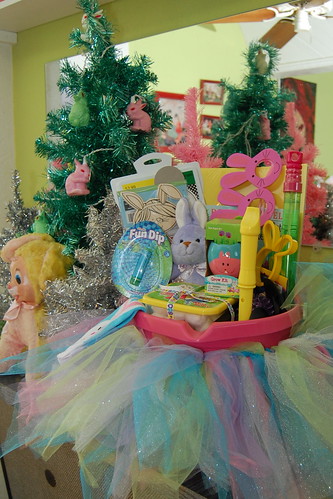
First up, the obvious is the Easter colors tutu. Tallulah is going through a ballet phase and often wants to listen to classical music and dance. I love to encourage a little dramatic play. I made a Halloween no sew tutu a few years ago with a full blogged tutorial.

To go along with the dance theme I also made some ribbon rings. I have seen these all over Pinterest and thought they would be fun for Tallulah.
SUPPLIES
Wooden Rings
Ribbon
Crafty Chica White Paint
Paint Brush
Liquid Fusion Glue

These were super easy. First I removed the small screws that came in my wooden rings. You could also use the metal rings from Mason Jars or shower rings. Next I painted my rings white. After the paint dried I attached some festive Easter ribbons. I used a little Liquid Fusion Glue to hold my ribbon in place. Let the maypole dancing begin.
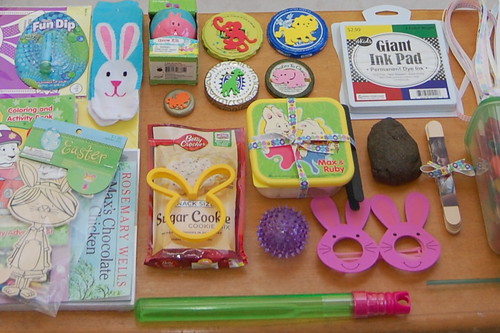
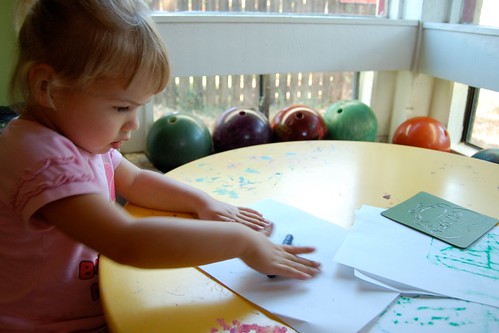
I finally found a way to recycle all those old lids I had been saving. Using foam stickers I made them into stamps. I also bought an extra large stamp pad to put in the basket.
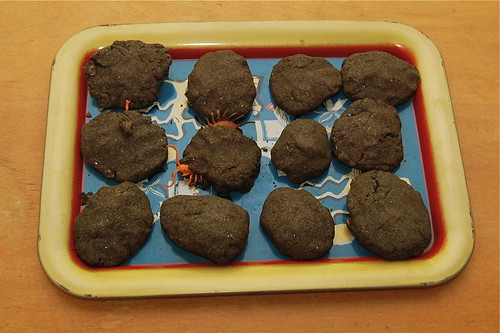
Tallulah loves dirt and dinosaurs so a batch of dinosaur eggs were in order. I used a recipe from Projects for Preschoolers.

I have long dreamed of making a popsicle stick puzzle since I first started seeing them floating around on Pinterest. I probably originally saw the idea in Halloween theme from Saltwater Kids. I used a photograph from Easter last year to make my puzzle.
SUPPLIES
Craft Sticks
Aleene's Tacky Double-Stick Sheets
Craft Knife
Masking Tape
Photograph
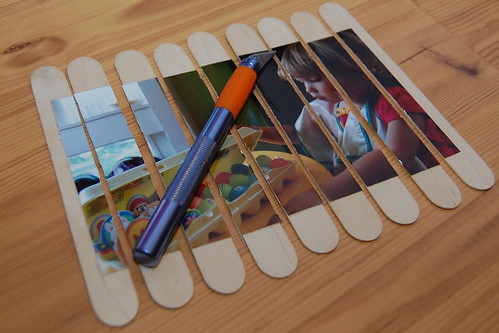
The first thing you need to do is line up enough craft sticks so that you can fit your photograph on top of them. Line your sticks up super straight and add a little tape to keep them together. Flip the sticks over. Add a sheet of Aleene's Tacky Sticker Sheets to the back of your photo. I had to use 1.5 sheets for mine. Center your photo over the sticks and press. Flip your sticks back over tape side up and using a craft knife cut the sticks apart. Remove the excess tape off the back, tie in a bow and stick in your Easter Basket.
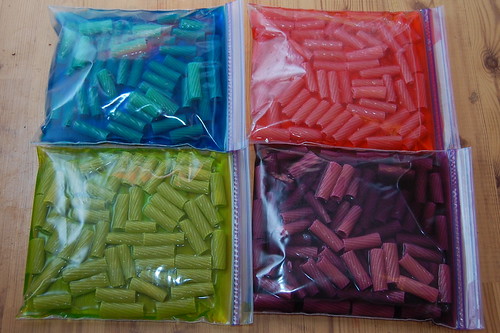
Yet another project I found on Pinterest is dyed pasta. Most folks seem to fill sensory bins with it, but Tallulah like her mother, loves to make jewelry. We have been on a kick of making straw necklaces around here and I thought we would upgrade from white straws to colorful rigatoni. All you have to do is place uncooked noodles, food coloring and rubbing alcohol in a baggie for a few hours. I put them in a tupperware container with some yarn for threading.

I went a little crazy at Target when they had Max and Ruby stuff in the dollar aisle. It is Tallulah's favorite show therefor making it also Baxter's favorite show since he has no choice. Anyway I was glad I loaded up on the little pieces of tupperware. This cute little container is filled with cotton balls and wrapped up with a set of small tongs. I'm going to tell her it is a game called 'bunny tails' where she picks up the bunny tails with the tongs and moves them to another container. Fun and practices motor skills and hand eye coordination.
So there you have it. My husband will say I went overkill as he always does (and most times he is right). However, I think this is a wonderfully entertaining candy-less basket to behold. What are some things you are putting in your toddlers Easter basket? I still have another week and a little bit of room left.
Remember to stop back by next week when I show you the baby Easter basket I am making for Baxter!
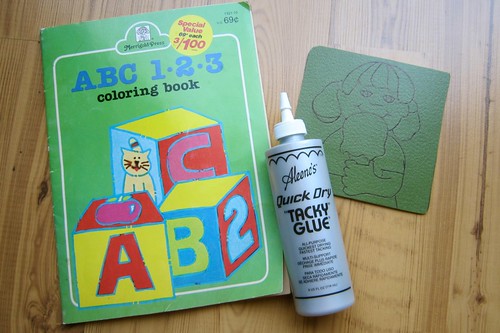
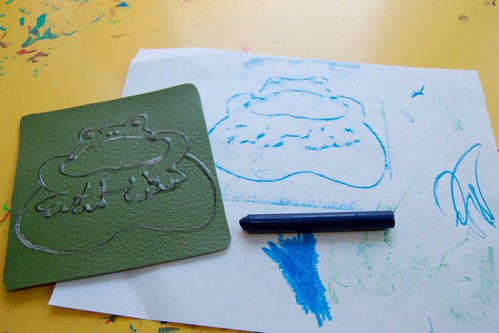
Looking for other suggestions of handmade toddler gifts that would go great in an Easter basket? How about playdoh, lacing cards, bubbles, soap, wash rag puppet, crayon cupcakes, rubbing plates - check out the kids section for more suggestions.
***This is a sponsored post by I Love to Create - I was compensated & given free supplies. Mama has gotta pay the bills somehow and really who in their right mind would say no to free craft supplies***
Visit us on Facebook!
Craft on!