Showing posts with label Alisa Burke. Show all posts

Tuesday, March 20

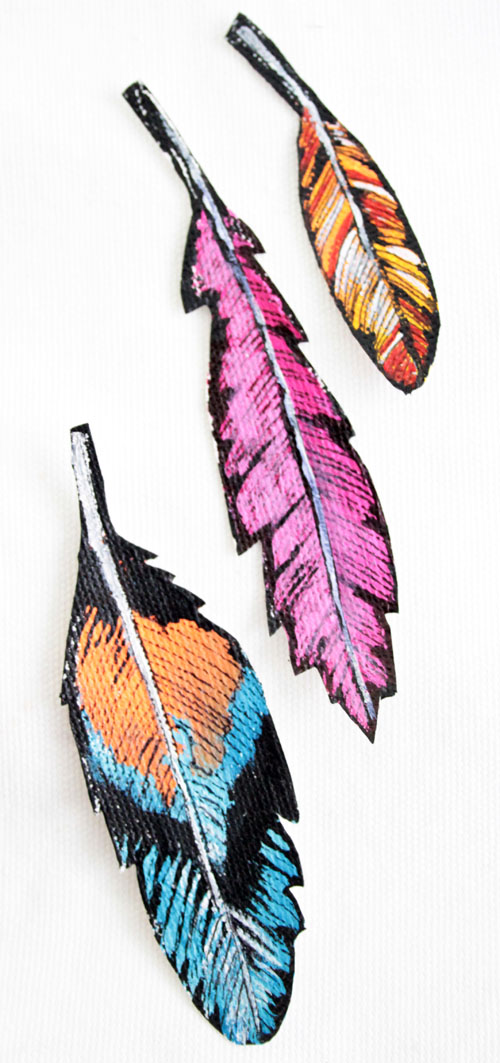
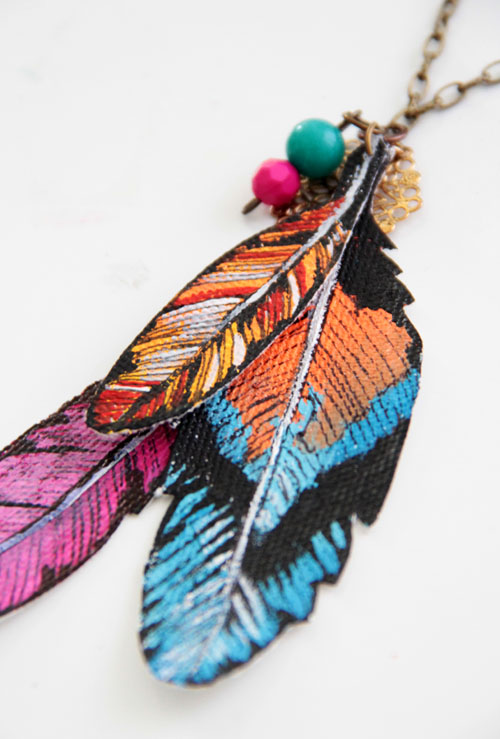
faux feathers necklace


I can't seem to get enough of feathers lately- they are the perfect subject matter for all kinds of creative projects and they happen to be all the rage in fashion. So I decided to put my twist on a feather necklace, creating my own unique feathers.

Untitled-1
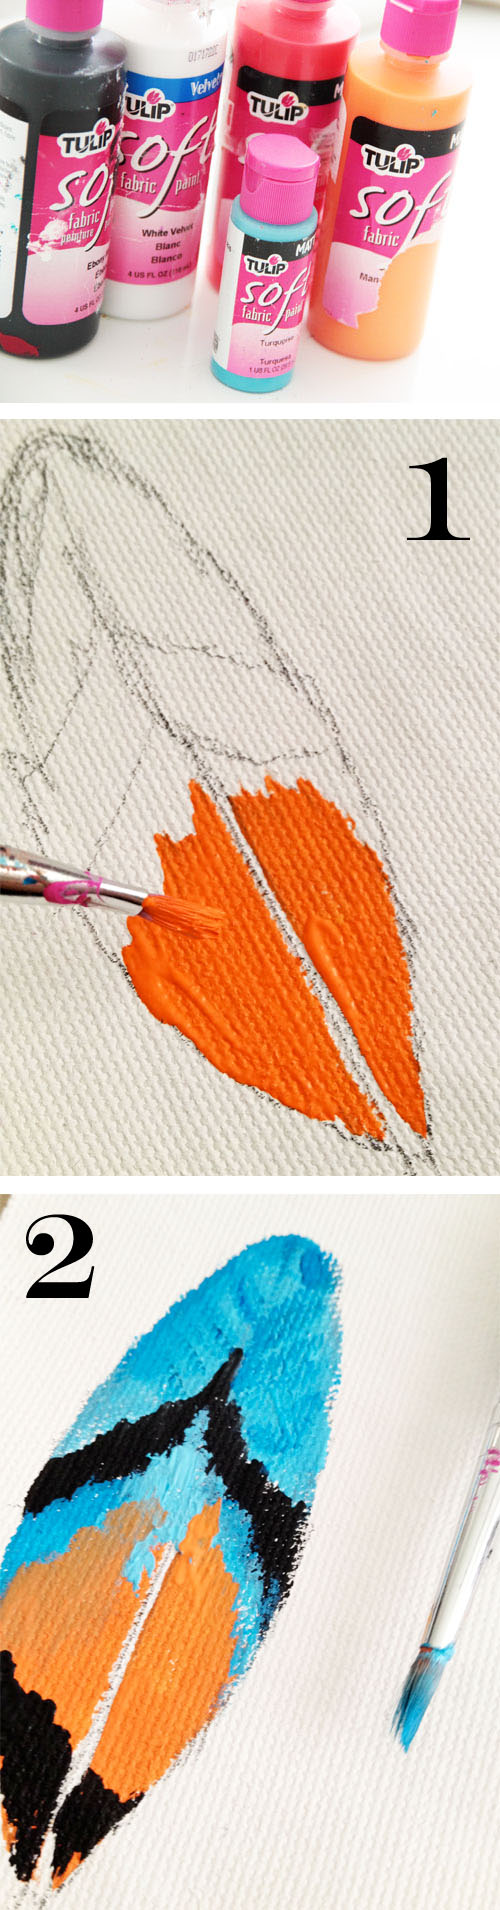
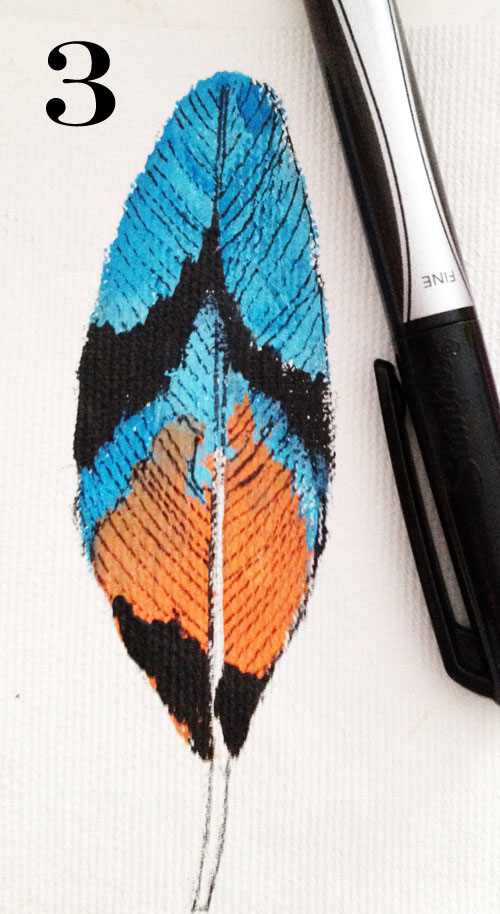
1. I started with a simple sketch of a feather drawn onto fabric. I filled in the feather with Tulip Soft Fabric Paints- they are very versatile and great to use on a variety of fabric surfaces 2. I continued to fill in the feather with colorful details.
IMG_3814
IMG_3598
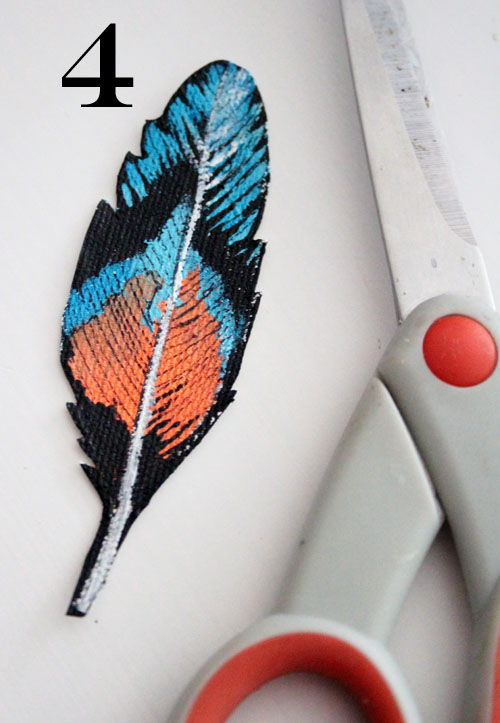
3. When the paint was dry, I used a permanent marker to add additional details. 4. When I was satisfied with the feather I cut it out.
IMG_3601
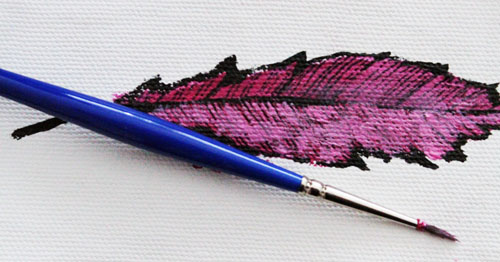
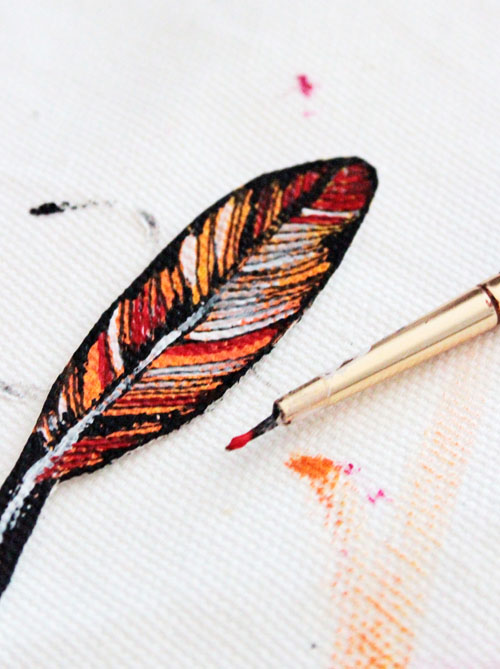
Next, I created two more feathers in different colors and sizes.
IMG_3605
IMG_3610
IMG_3607
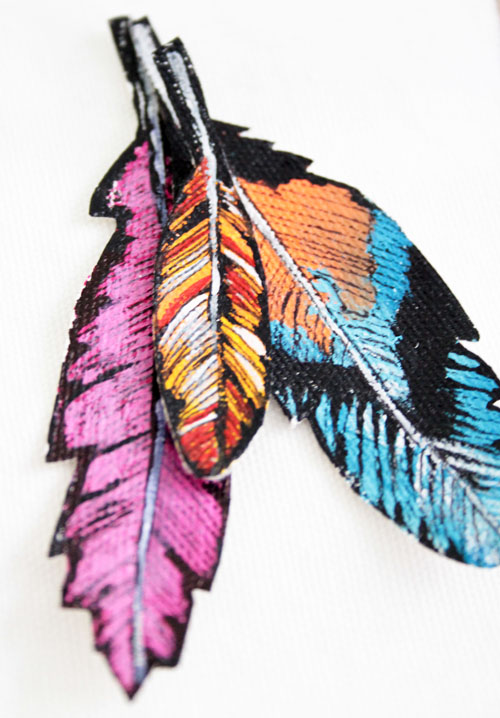
I stacked the feathers on top of each other

IMG_3613
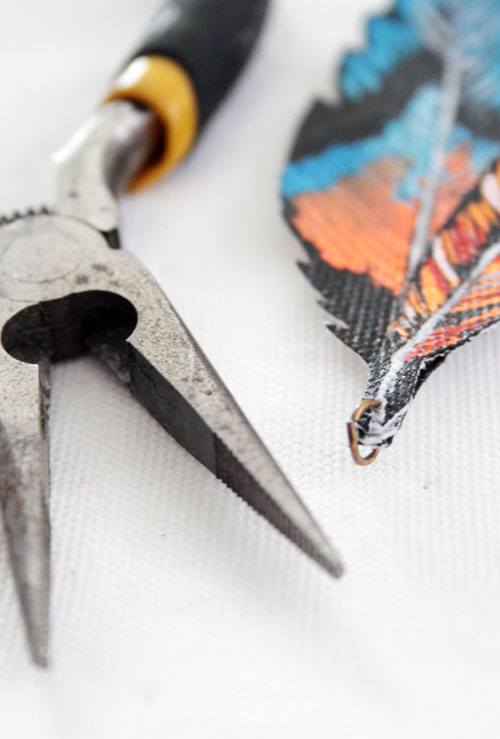
and I used an awl to poke tiny holes in all three of the feathers and inserted a jump ring.

IMG_3633
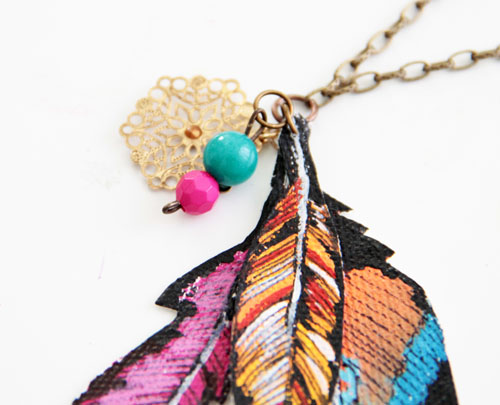
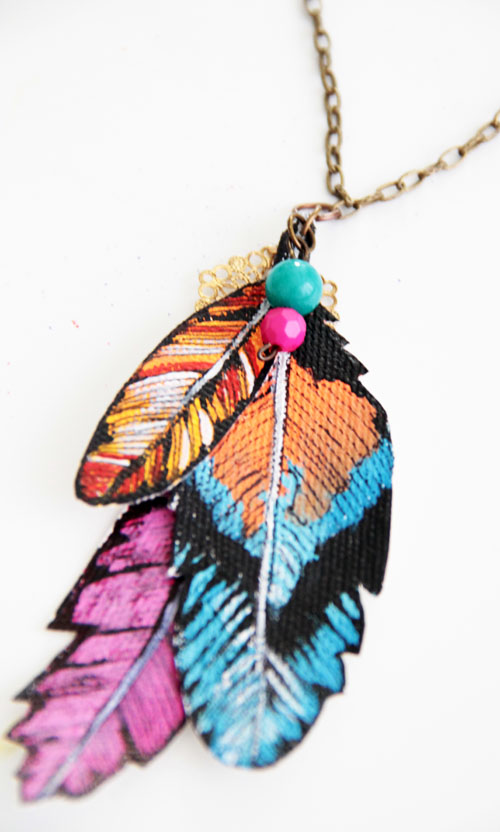
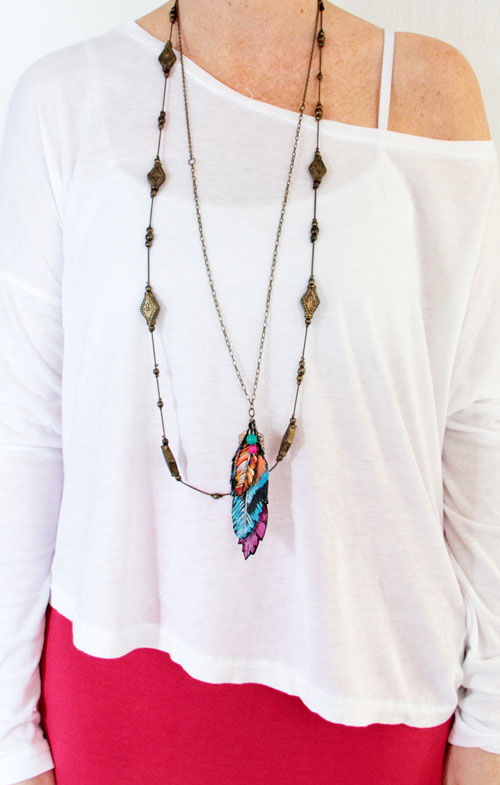
Just for a little variation I added some beads and a little charm to the feather and the last step was to put everything on a chain.
IMG_3639
IMG_3618
IMG_3632
5279578786_fd00da7ede_o


Visit us on Facebook!
Craft on!
Monday, February 6

Video Action from our booth at the 2012 Craft and Hobby Show


Some super fun videos were created in our tradeshow booth this year!  Check out the fun, zany, and personal videos that were captured. We were super excited to have Corinne Leigh of Threadbanger film the cutest CHA video ever above. You have to check it out!


Visit us on Facebook!
Craft on!
Tuesday, March 22

embellished shoulders tutorial

IMG_5734
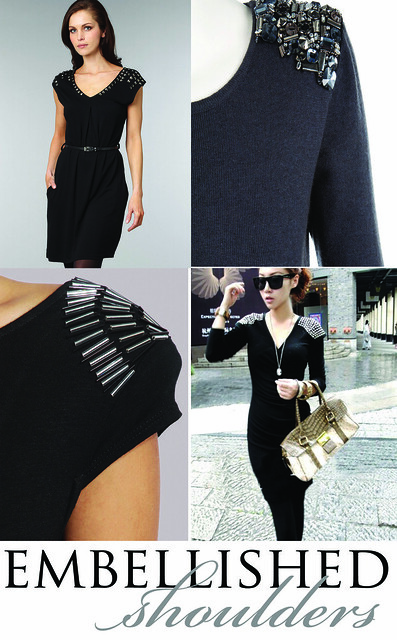
I am loving the current fashion of trend of embellished shoulders. I am seeing it everywhere and I think it is a fun way to wear a little bling. And of course I had to come up with an easy way to create my own!

embellish
IMG_8746
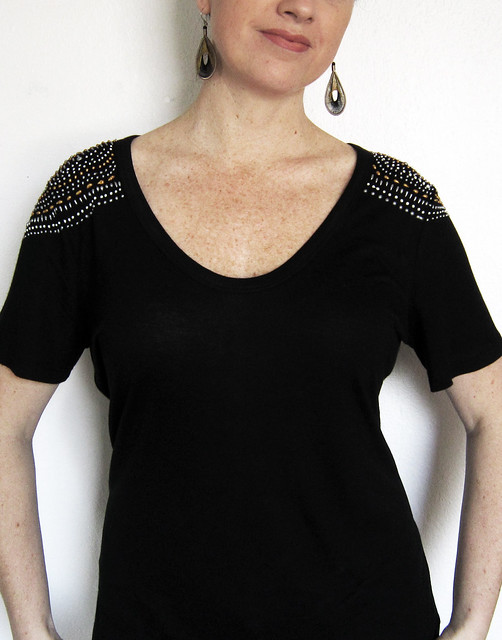
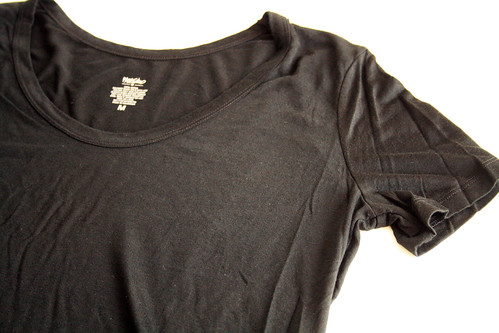
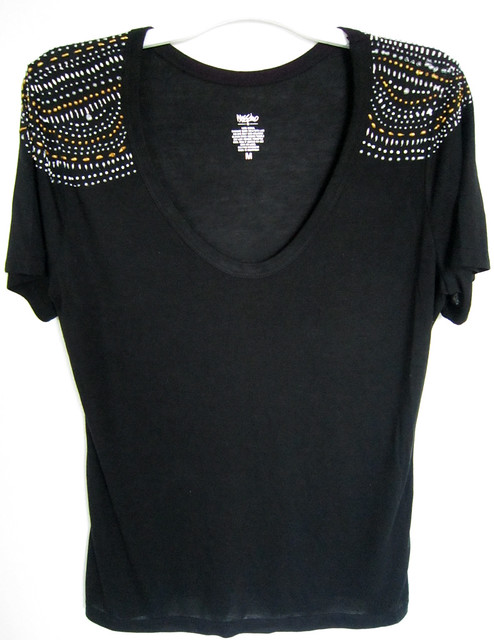
I started with a black jersey tunic

IMG_8747
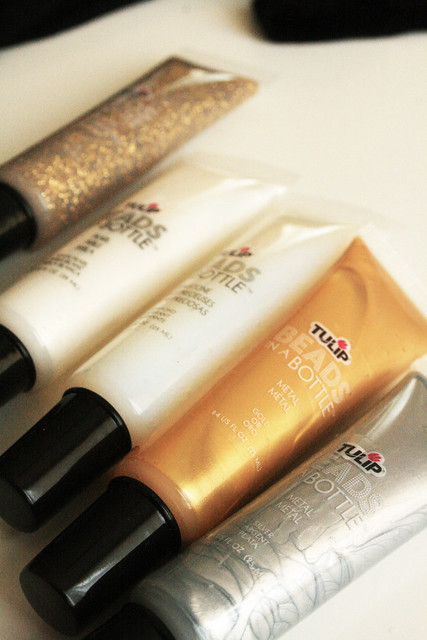
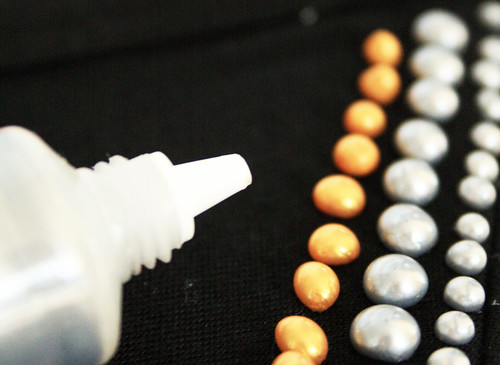
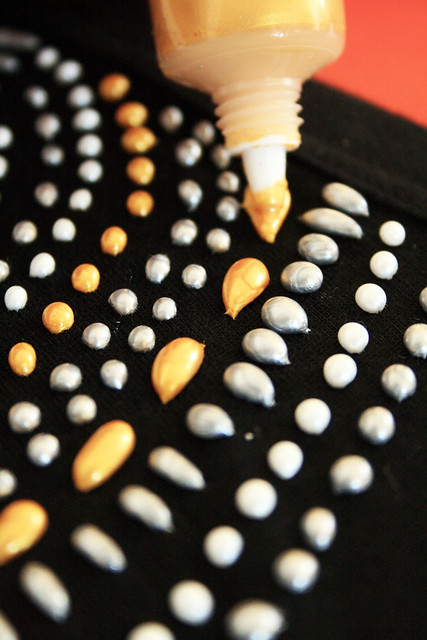
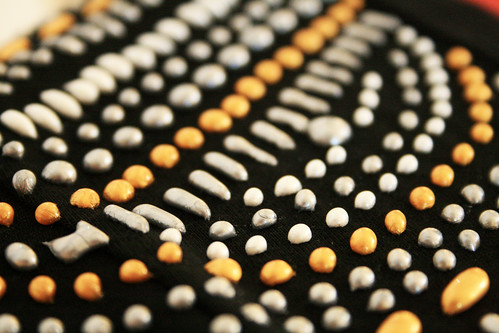
and used my new favorite Tulip product- Beads in a Bottle. A little like puff paint but once the paint dries is hardens up and feels and looks like beads on the surface. It is machine washable and permanent.
Beads in a Bottle is brand new and will hit stores next month!

IMG_8751
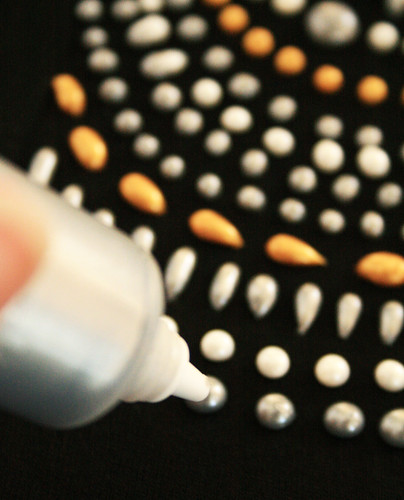
I used lots of dots and shapes to embellish the surface of the shoulders.

IMG_8754

IMG_8755

IMG_8757

IMG_5693
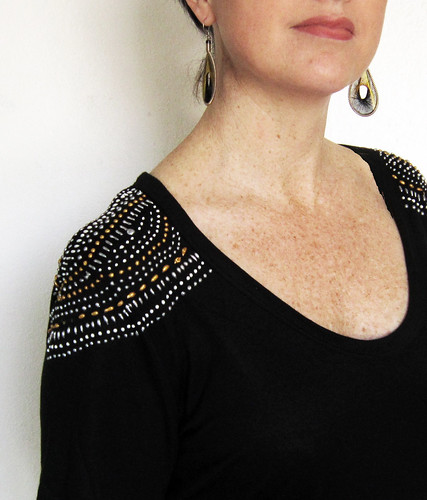
I let it dry over night and just like that I have a new fun embellished tee!

IMG_5743 copy
alisa-burke
Visit us on Facebook!
Craft on!Click here for today's daily giveaway!

Saturday, February 5

More video fun from the #CHAShow!

While we are at the 2011 Craft and Hobby Winter Tradeshow, we took lots of videos around our booth showcasing our designer's creativity and our great, great products. Here's a couple to inspire you featuring Pattiewack and Alisa Burke. Those gals are just too creative (never a bad thing)! And there are more on the way! Stay tuned!


Visit us on Facebook!
Craft on! Click here for today's daily giveaway!
Tuesday, September 21

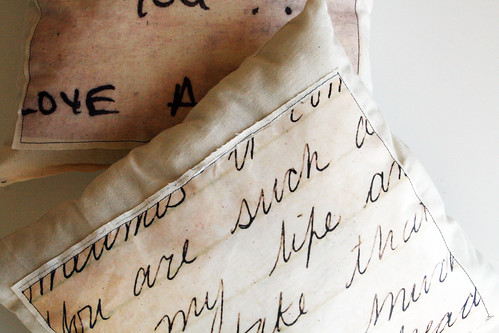
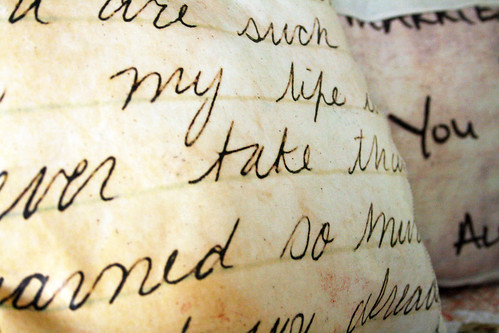
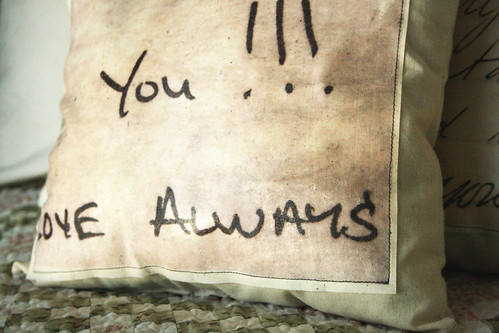
Love Note Pillows

IMG_3004

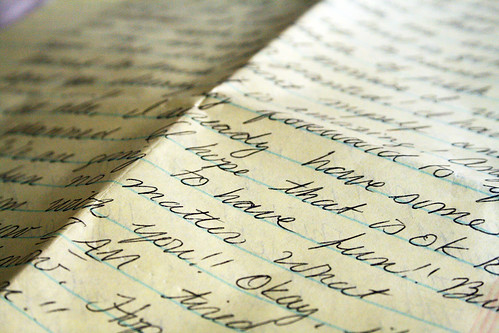
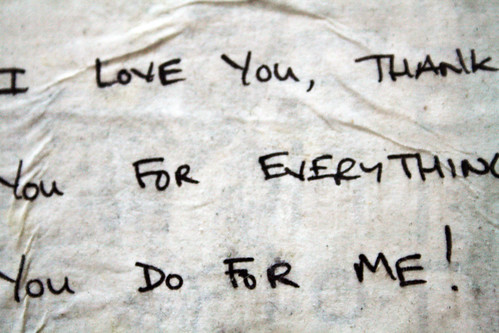
Before I moved from Oregon to San Diego to be near my boyfriend (my now husband) we maintained a long distance relationship. A big part of that relationship was writing letters, email and LOTS of little love notes sent back and forth. We both saved all those letters and notes and once in while we will pull them out, spend time shaking our head and laughing while reading them- so naive and silly we were! These days (insert 10 years) we still write each other notes and letters. There is just something so wonderful about a hand written note.

For a while I've wanted to do something creative with some of those notes and came up with the most simple idea to make little love note pillows.

FYI- I am OBSESSED with pillows and believe that you can never have too many around the house (they are EVERYWHERE) so adding a few more to the collection is always a good thing.


IMG_2968

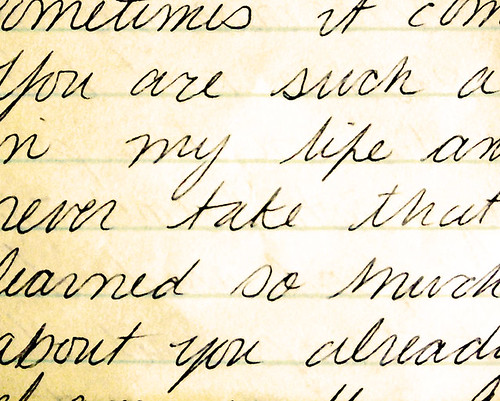
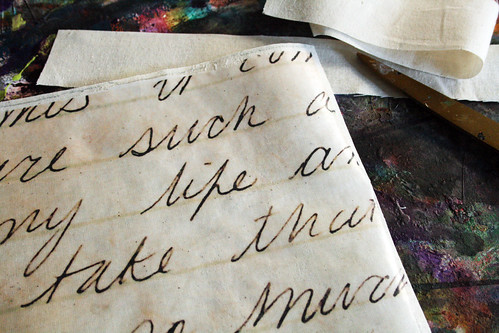
I started by selecting a couple of notes and letters that I scanned.
Or they could be photographed

IMG_2977


Screen shot 2010-09-20 at 3.05.52 PM


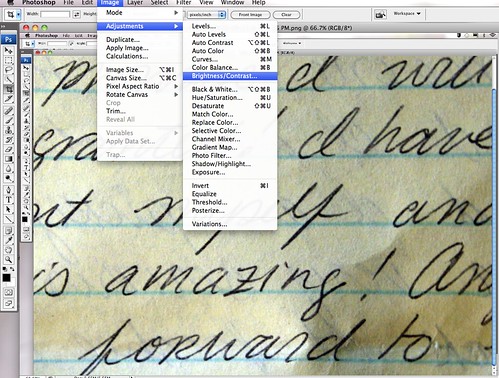
I pulled the documents over to Photoshop and adjusted the brightness and contrast- this could really be done in any photo editing program.


Screen shot 2010-09-13 at 4.06.17 PM

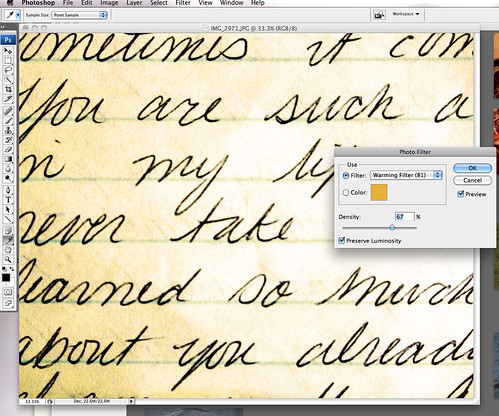
I added a warming filter for a subtle sepia look.


IMG_29712

I enlarged the document so that I obscured entire sentences- for a little mystery :)


Screen shot 2010-09-13 at 4.31.06 PM

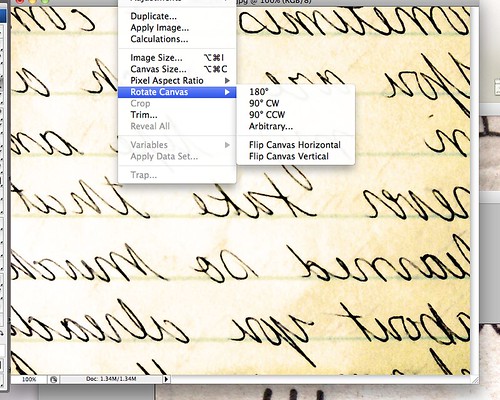
I then flipped it horizontal to prepare to print.


vb

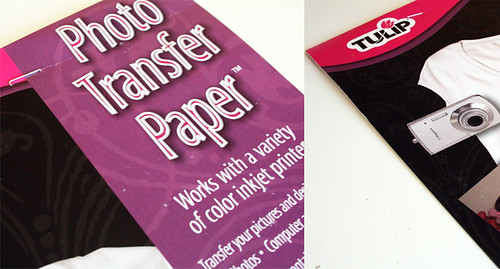
I used Tulip's photo transfer paper and loaded it into my ink jet printer.


IMG_2978

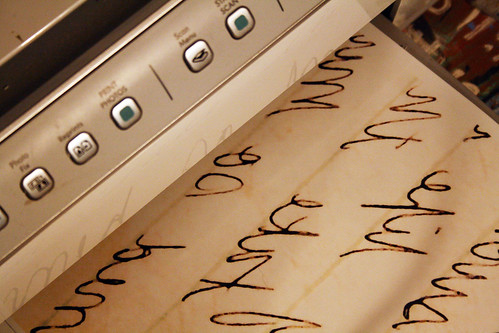
I printed it out.


IMG_2980

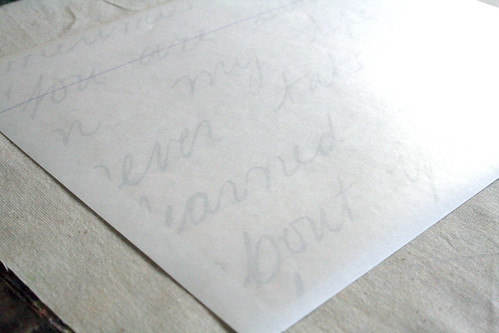
I then placed the transfer face down on unbleached muslin.


IMG_2982

I covered it with a piece of scrap fabric and following the directions, ironed it down.


IMG_2983

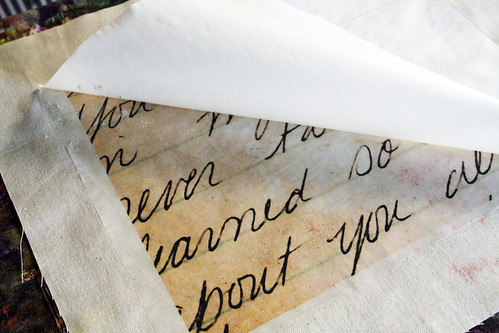
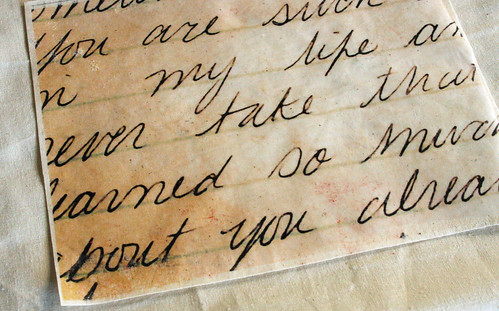
I let the transfer cool and I peeled off the top sheet to reveal my love note.


IMG_2984

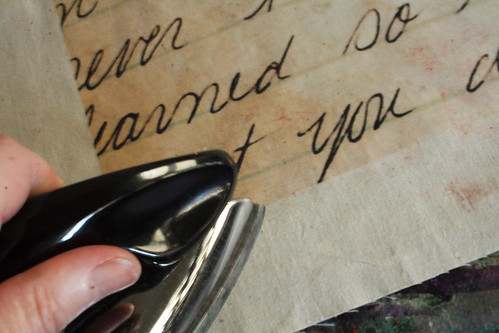
I used my craft iron to melt away any obvious edges that were showing.


IMG_2986

Next I cut it out

IMG_2987


IMG_2988

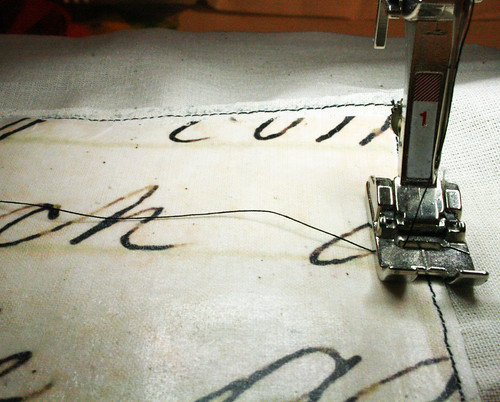
and sewed it onto the surface of another piece of muslin that I had pre cut for my pillow.


IMG_2992

I sewed the all of the sides together (with wrong sides facing).


IMG_2994

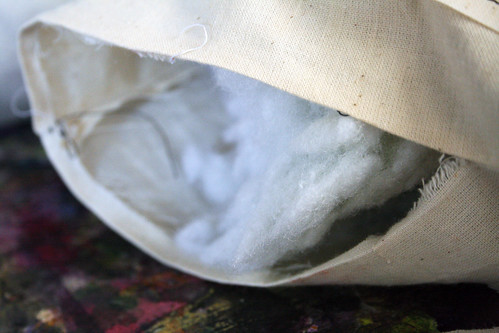
and left a hole open to so I could stuff the pillow and then sew the hole up.


IMG_3016


IMG_3002


IMG_2997


IMG_3011

ilovetocreate-blog-header-alisa
Clicky Web Analytics
Pin It button on image hover

Subscribe to our newsletter

* indicates required
I am interested in products and inspiration for...
Close