

A few years ago I was on the hunt for the perfect mid-century modern clock. I wanted something atomic, colorful and unique. Actual vintage clocks can be pricey and often times don't work so I thought about how to make my own. On a trip to the Round Top flea market I saw a dealer selling oodles of colorful knitting needles and it all became clear to me.

SUPPLIES
Knitting Needles
Wooden Disc
Clock Face
Saw
Pen
Yarn
Clock Mechanism
Wooden Balls
Dremel Tool

You might recognize this clock face as it has made a crafty appearance on the blog before as a picture frame. I decided it was better suited for it's original purpose in life, a clock.
My mom helped out quite a bit with this project since she lives for any excuse to use her power tools. The clock needed a backing so we used a piece of board I had in my studio. We traced the clock twice and using a small saw cut out the wooden circles.

Once we were sure the circles would fit up inside the clock face (look at the thrift store to find one) we also needed to cut out squares in the center to fit the clock mechanism inside.
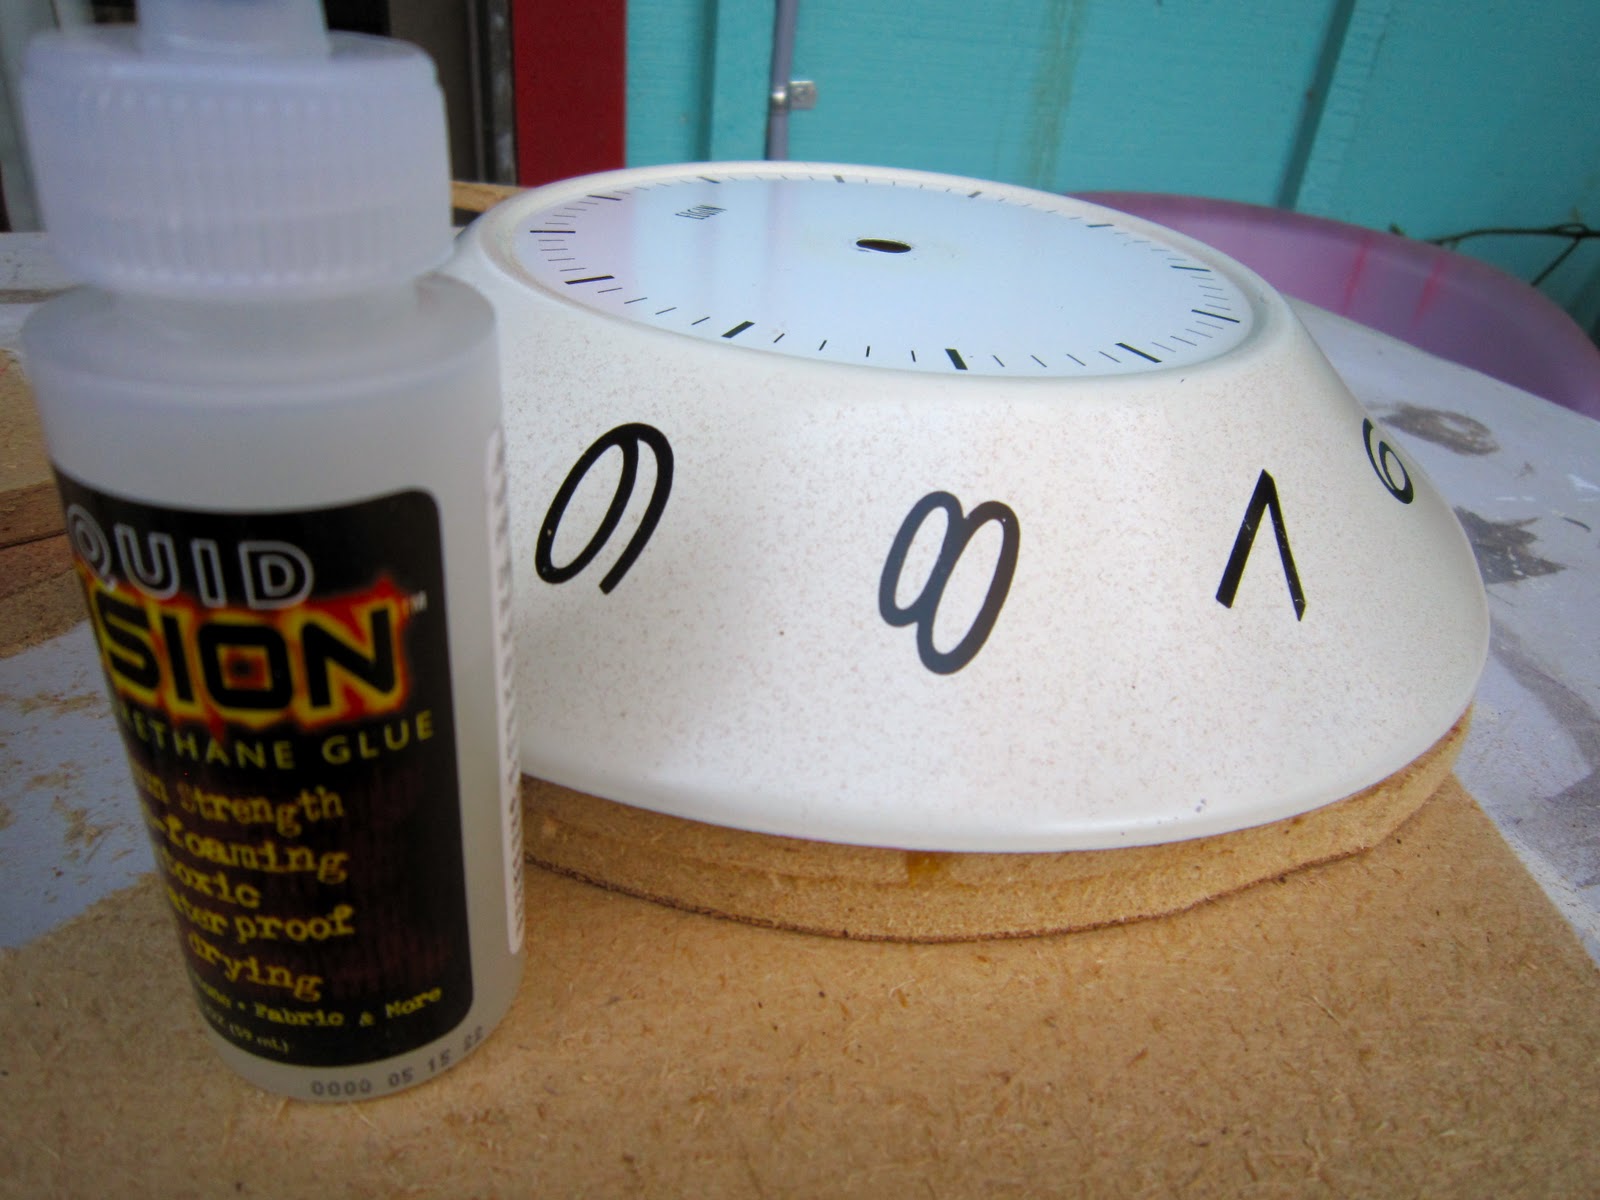
We attached the two circles together using Liquid Fusion Glue and also glued them inside the vintage metal clock face.

Using the cutting tool on a Dremel we removed the metal tips of 4 of the knitting needles.

Where the metal tips once lived we glued on wooden balls. Some of the holes were not the right size for the knitting needle and so using a drill we bore out the holes to make them larger. Once the beads fit on the knitting needles we attached them with Liquid Fusion Glue.

Lucky me my friend Vickie Howell has the mother load of Caron yarn and was nice enough to give me a few skeins to do fun things like crochet and make clocks with.

The 4 wooden ball tips were wrapped in yarn and held in place with a dab of Liquid Fusion Glue.

Using a Dremel we drilled holes the size of our knitting needles all the way around the edge of our clock into the wooden discs. We placed the 4 knitting needles with yarn wrapped balls at strategic points.

Using Liquid Fusion Glue we inserted the rest of the needles all the way around the clock, trying to keep them spaced out evenly.

Once the glue had dried I set the time on my clock and hung it on the wall in my dining room. Now I have my very own customized mid-century modern clock.

Wanna see some more I Love to Create Projects? How about another clock project involving vinyl records and silk screening?
Visit us on Facebook!
Craft on! Click here for today's daily giveaway!


 There's something magical about being able to dye your own yarn to any shade you wish, especially when that yarn is intended for a simple project that's perfect for showing that color off. Today on


