Showing posts with label custom dye color kit. Show all posts

Thursday, August 30

Dying and Burning Wooden Beads

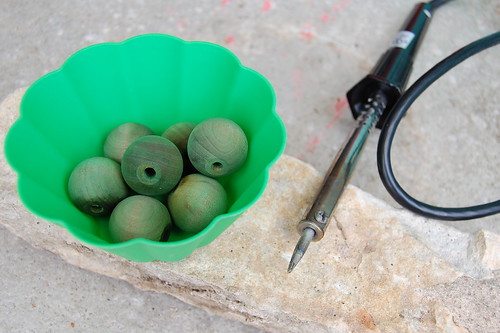
A few weeks ago I was cruising the web and came across a great post on Natalme about wood burning. I have a soldering iron and wooden beads so I thought I'd give it a whirl. I busted out some fabric dye for a pop of color.

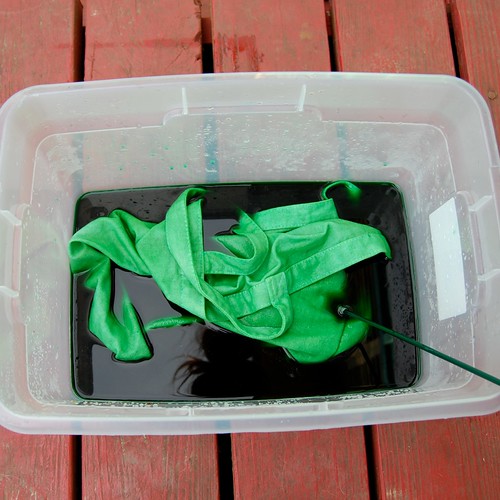
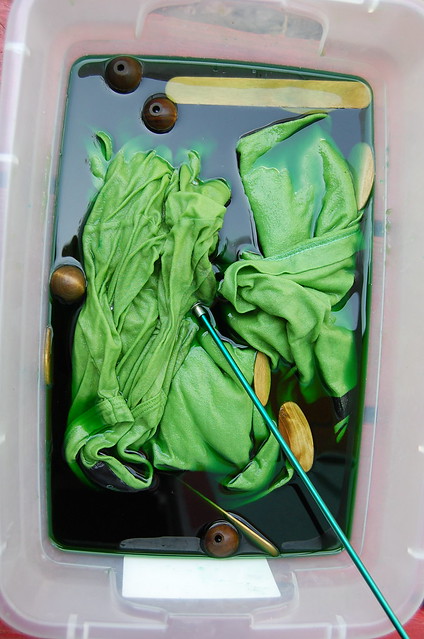
I whipped up a batch of Tulip Custom Color Dye in Wicked and popped in my wooden bits plus a few stained T-shirts and waited. I love all the color options you have with this dye kit.

I gotta tell you at first I was pretty sure the beads did not dye. They just looked dark in the water.

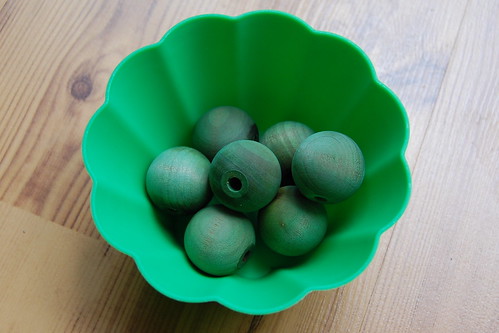
However, when the beads dried in the sun the green color started showing through.

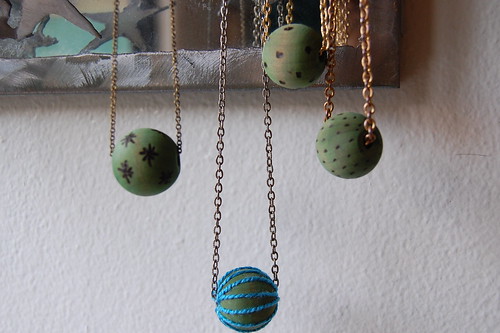
Next, time to bust out the soldering iron. I tried polka dots, stars, mini dots and more.

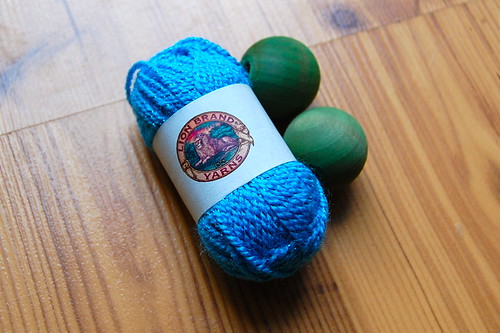
I tried a few beads wrapped with Bon Bon yarn too!

I want to dye some other colors and make a big chunky Wilma Flinestone necklace. Whatcha think? Not too bad for a project I thought was going to be a total craft fail. Now I'm thinking of all the wood things I can dye and burn!

Thursday, June 2

Slice of Citrus Tote


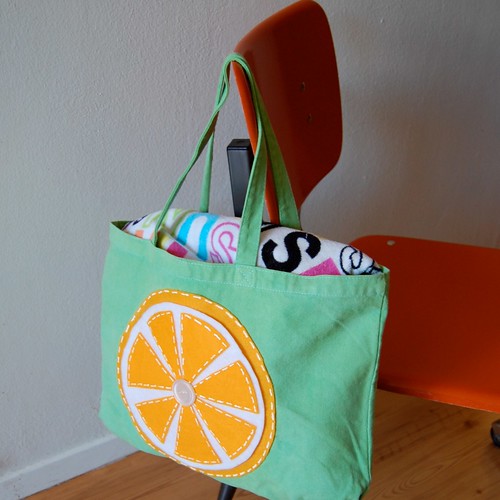
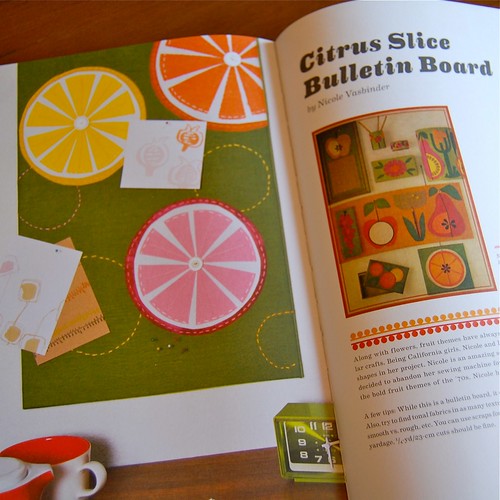
Recently when I interviewed Cathy Callahan about her book Vintage Craft Workshop: Fresh Takes on Twenty-Four Classic Projects from the '60s and '70s I was inspired by the Citrus Slice Bulletin Board made by Nicole Vasbinder. Summer is here and I was in need of a new bag to take to the pool and those big orange slices came to mind.
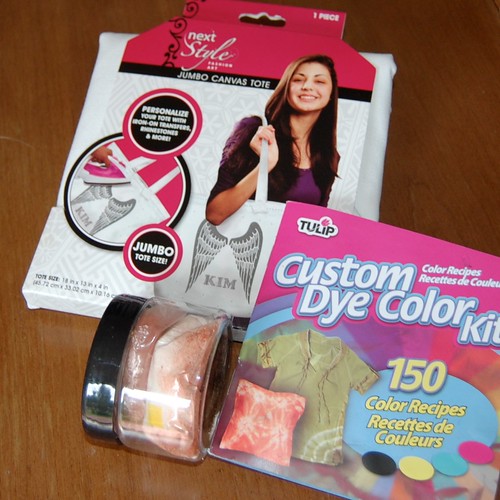

SUPPLIES
2 White Buttons
Tulip Custom Dye Color Kit
Orange Felt
Salt
Tulip Tote
White Felt
Tub for Dying
Aleene's Fabric Fusion Glue
Scissors
Tulip 3D Fabric Paint
Cardboard


The first thing I did was wash my tote bag. Any time you are going to dye anything if it is brand new be sure to wash it first. Once the tote was washed I put it in a tub with salt and water. I love being able to pick from about a bazillion shades of green when I use the Custom Dye Kit. Follow the dying directions then wash and dry your new green tote bag.
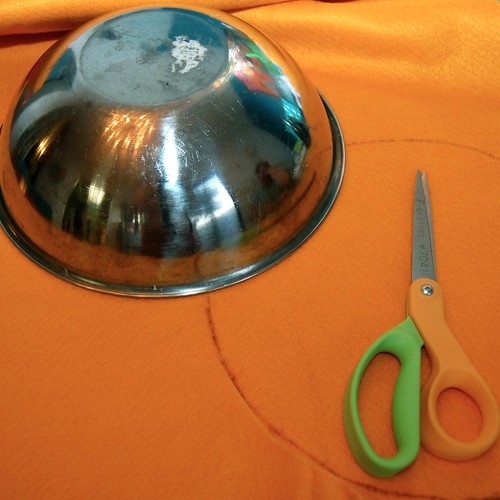

While the tote was dying I cut out my felt using various bowls and cups as my guide. You will need...
1 large orange felt circle
7 large pie shaped pieces of orange felt
1 large (but not as big as the orange one) white felt circle
2 small orange circles
1 small (smaller than the orange circle) piece of white felt
1 small rectangular piece of orange felt
8 small pie shaped pieces of orange felt
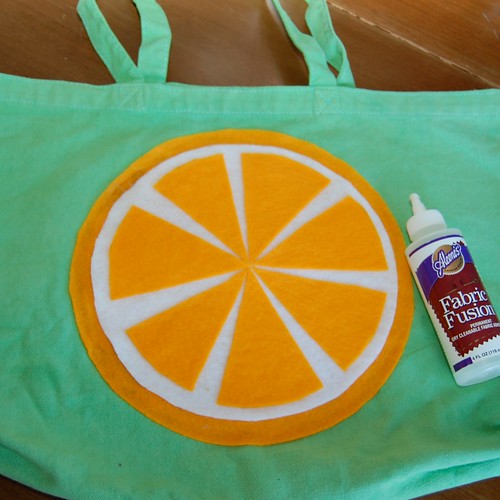

Once all my pieces were cut out I put together the large orange slice that was going on my tote bag using Fabric Fusion Glue. Next I glued the orange slice to my tote bag.
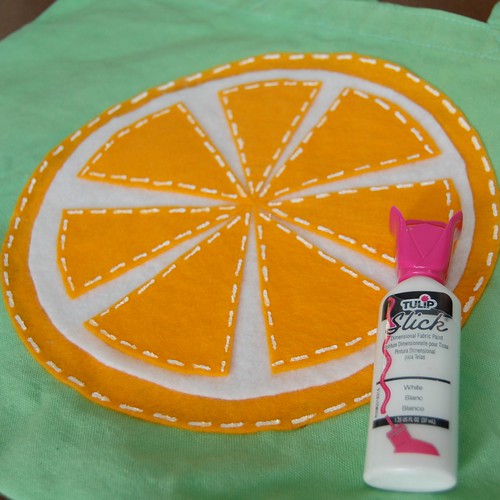

Sure I could have actually gone around the edges of my orange and embroidered, but why when you can get the same look in a lot less time with fabric paint. Just paint little dashes and presto looks like you spent hours stitching.
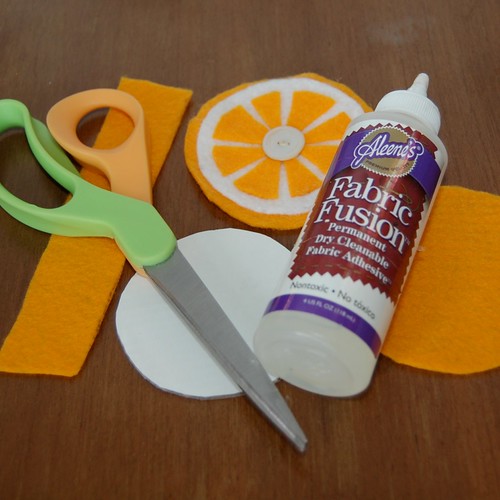

Using the smaller pieces of felt I cut out I made a key chain. I made the small orange slice the exact same way as before. You want a piece of cardboard slightly smaller than your orange. Sandwich the cardboard between the two small orange circles. Fold your orange felt rectangle in half and stick the loose ends in your cardboard felt sandwich. Use Fabric Fusion Glue around the edges and pinch to seal.


All that was left to was glue a small white button in the center of each citrus slice. I already have my bag packed with towels and sunblock, can't wait to hit the pool with my new bag!


Check out more I Love to Create projects by Jennifer Perkins right here.


Visit us on Facebook!
Craft on! Click here for today's daily giveaway!

Thursday, October 22

Hand-Dyed & Knitted CowlKerchief


There's something magical about being able to dye your own yarn to any shade you wish, especially when that yarn is intended for a simple project that's perfect for showing that color off. Today on I Love to Create, I show how easy it can be to be the designer of your own palette, with the help of a craft store dye kit. Bonus, once you've customized your yarn, you can knit it up into a modern "CowlKerchief"! Here's how.

Undyed Wool & Customized Dye Kit Supplies

Materials
Chunky, Undyed Wool (approx 100 yds/110m)
Rubber Gloves
Salt
Mild Shampoo or Yarn Wash
Junky Towel
Hanger
Size US 11 (8mm), Circular Needle
Tapestry Needle
Large Button
Needle & Thread

How-To Custom Dye
  • Flip through the Custom Dye Kit "Color Recipes" booklet. Choose your color from the palette--I went with a purple-grey called, "Horizon".
  • Following the recipe for your chosen color, mix dye with 1 gallon of hot water & 3 Tbs of salt in the sink or a large pot.
  • Immerse yarn in dye bath. Gently stir, continuously (taking care not to agitate so much, that the yarn felts) for 15 minutes, then occasionally every 5-10 minutes for the next 45 minutes.
  • Remove yarn from dye bath and rinse with cool water & gentle soap. Make sure not agitate while washing!
  • Roll yarn in towel, removing excess water. Place on hanger; let dry.
  • Wind into ball.

"Horizon", Hand-dyed Wool

CowlKerchief Directions
Cast-on 3 sts. Knit all sts.
Next Row (RS): Kf&B (knit in the front and back of stitch), knit to last st, Kf&b. (5 sts)
Next Row: Knit all sts.
Repeat last 2 rows, increasing at each end on every RS row, until you have 67 sts.
BO. Weave in ends.

Sew button onto one tip of triangle. On the opposite side, pickup a stitch and crochet a chain that's long enough to go around button. Attach chain to tip to form loop.


Happy dyeing; happy knitting!

Craft.Rock.Love,

Tuesday, September 1

Winner of Custom Dye Color Kit Announced!


Congratulations are in order to blogger Arlene of Altered By Me. She won the Custom Dye Color Kit contest here on our blog!

Here's what Arlene had to say about what she loved to create:

"I love to create mixed media + altered art using paper and fabrics. The ILoveToCreate product I love the most is the tie dye kits. My daughter got one for Christmas and we had a blast with it."

Thanks Arlene for participating and thanks to all who left us a comment and shared in the iLoveToCreate love! If you are dyeing (yes, we meant the pun) to get your hands on one of these kits, you can purchase one straight through our web site. Click here for more info!

We are always having fun contests in the works! So check back shortly and we'll be offering up some more fun stuff to win!

Wednesday, August 26

Top 10 Must Recycle (and Repurpose) Items for Crafters!


Top 10 Must Recycle (and Repurpose) Items for Crafters
Us crafters love to make somethin' out of nuthin' but even during these eco-conscious times, there's a fine line between waste not and pack rat. Here's my list of favorite household items to reuse and repurpose using a few staple craft supplies and a bit of creativity!

1. Shipping Boxes: Cut-up boxes are great for use inside of t-shirts when decorating with fabric paints or markers. They also make great canvases for kids' artwork!

2. Consumable Containers: Glue vintage wallpaper over food and body product containers to create decorative holders for your craft bits. Knitters, try drilling a hole in the lid, feed yarn through and close to keep a yarn ball from tangling!

3. Magazines: Cut out your favorite images for endless decoupage, inspiration board and greeting card projects.

4. Ribbons: Save those gift ribbons to tie around plushie creature's necks, glue onto decorative vases or bind dried flowers with.

5. Curtains: Recycled curtains are a great resource for plentiful yardage of neutral or patterned fabrics. Turn that fabric into journal covers, table runners or little girls' dresses.

6. Window Screen: Staple onto over-sized frames to make an earring display, cut-up and adhere to a collage to add texture, or paint over to add a pattern to fabric or paper.

7. Broken Dishes: File edges of a pretty piece of glass or ceramic and drill a hole for a unique pendant, glue pieces onto a plain frame for decoration, or use multiple broken dishes to create a mosaic design for a tea-table top.

8. Wrappers & Packages: Colorful food wrappers make great base materials! Fold and weave them into a wallet, stick onto contact paper and sew into a tote bag, or glue onto cardstock for unique gift cards.

9. Plastic Grocery Bags: Make "plarn" and knit or crochet a recycled tote, fold and sew into "quilted" place mats, or tie onto a wire circle to create an eco-smart wreath.

10. Old Wool Sweaters: Unravel sweaters and custom dye yarn; repurpose yarn into new, knitted or crocheted treats; or felt, cut and sew sweaters into throw pillows, pet beds and more!

Craft.Rock.Love,
Vickie

Vickie Howell is a mother, designer, author and crafty spokesperson.  For more info on projects and how-to goodness, go to: www.vickiehowell.com.
Clicky Web Analytics
Pin It button on image hover

Subscribe to our newsletter

* indicates required
I am interested in products and inspiration for...
Close