
Friday, October 25
Thursday, April 18
William Tell Inspired Felt Feather & Chevrons Arrow Headband How-To
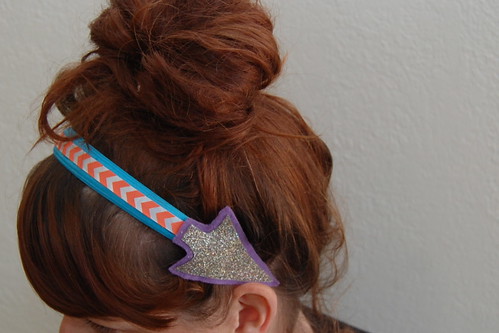
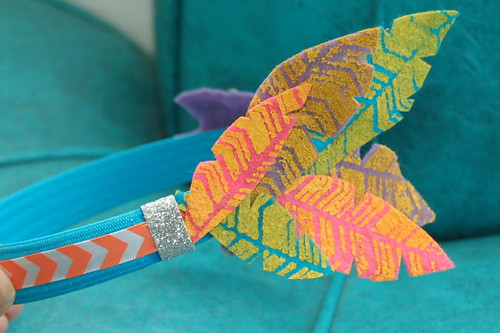
Chevrons, sparkle, arrows, felt, the color teal - what is not to love about this headband? Not to toot my own horn, but I'm pretty smitten on this doozie of an accessory. This is not the first time I have ventured into the world of feathered hair gear, you might recall a post I did for Craft Zine. Those feathers were made from digital scrapbooking elements. These feathers are made using a paper crafting mask for a spray as a stencil.
SUPPLIES
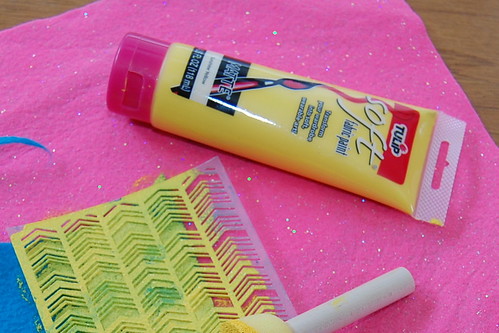
Tulip Soft Fabric Paint
Colored Felt
Mr. Huey Mask by Studio Calico in Chevron
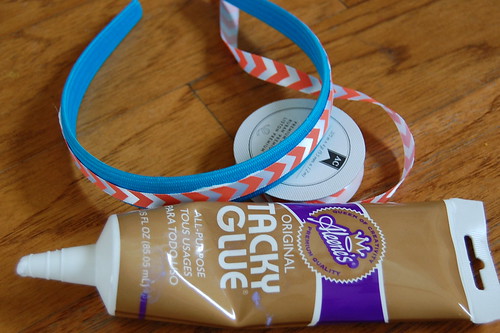
Aleene's Tacky Glue
Sponge Brush
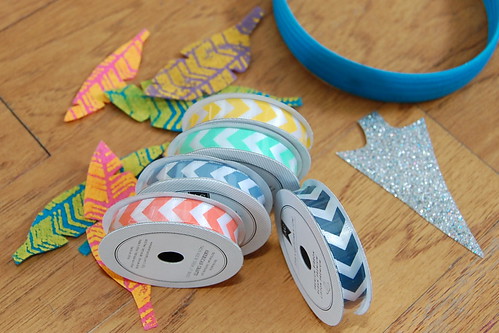
Dear Lizzy Ribbon by American Crafts
Scissors
Tulip Fashion Glitter Shimmer Transfer Sheets
Headband
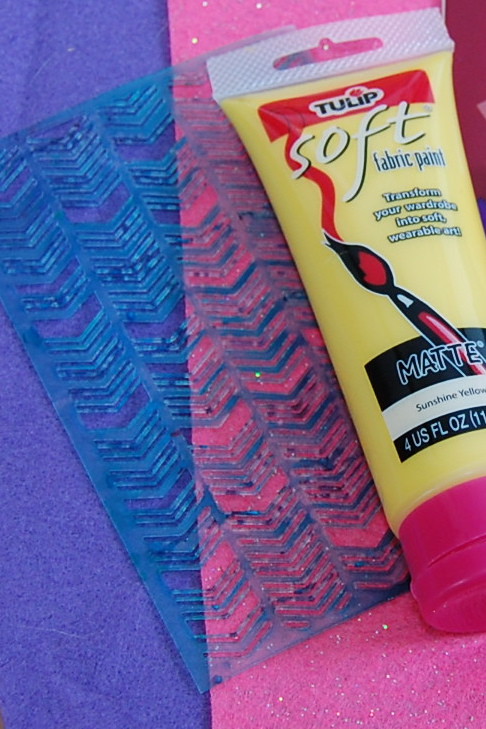
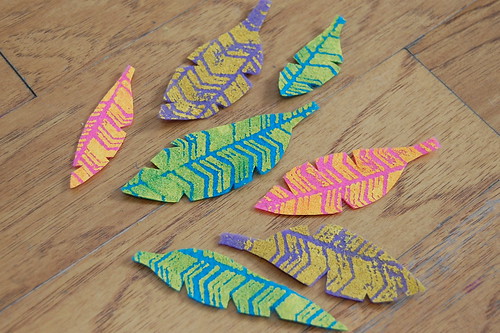
The first thing I did was stencil the chevron image onto my felt. I was inspired by a post on American Felt and Craft. Use a dry(ish) brush. A friend on Instagram commented that the pattern would work well for making felt feathers and the idea for a William Tell inspired headband was born.
After my paint was dry I cut out 'feathers'. I went back with sharp small scissors and added details.
So many pretty ribbons to choose from, so little time. I went with more chevrons, because really can you ever have too many? I also cut out an arrowhead from my Shimmer Transfer Sheets.
Using Aleene's Tacky Glue I attached a strip of ribbon to my headband.
I decided to add a piece of felt as backing for my arrowhead. I attached both pieces using Aleene's Tacky Glue.
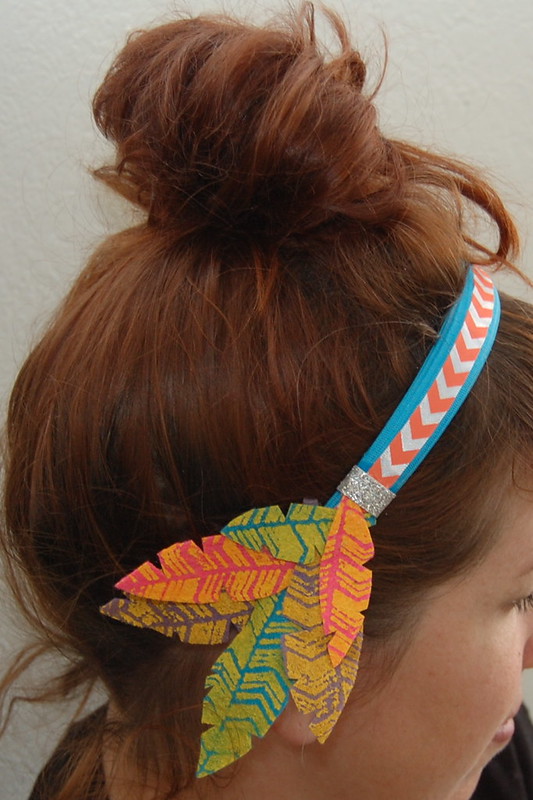
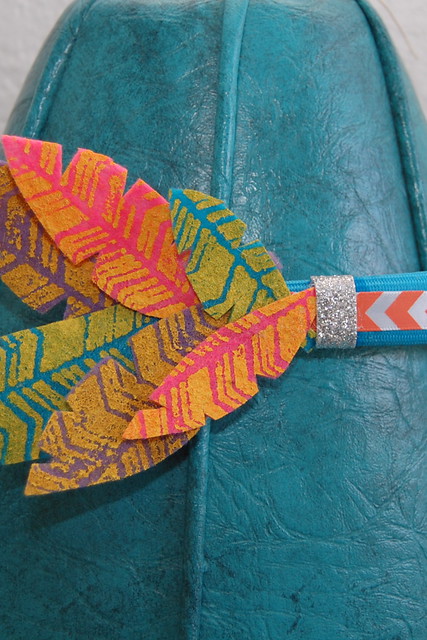
On the opposite side of the headband, again using Tacky Glue, I attached a cluster of felt feathers. I was thinking of William Tell. Ya know, the guy who shot an apple off someone's head with a bow and arrow.
I decided the feathers needed a little strip of silver sparkle.
You can wear your new arrow as a headband.
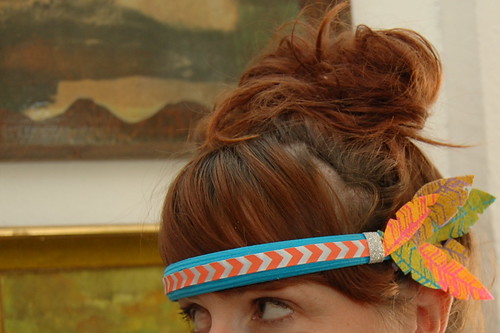
You can also go for the across your forehead look. Perhaps a good look for people a little younger than myself.
So whatcha think? I love using things like scrapbooking tools in new fun wearable ways.
Friday, March 29
Making Project Life and Smashbooking Your Own
I promise I'll quit obsessing with scrapbooking, smashbooking, art journaling and now Project Life soon. In the meantime I wanted to share my latest creation - a custom book. With an arsenal of Aleene's products, a spiral bound book and a hole punch all things are possible.
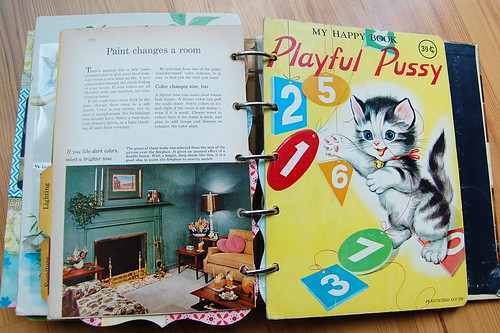
I can't hardly resist vintage books with cute graphics, big surprise I know. Through my years of hoarding, I mean collecting, I have amassed a few that are binder style with rings that open and close. I see some version of these books almost every time I am the thrift store so they should not be hard to find.
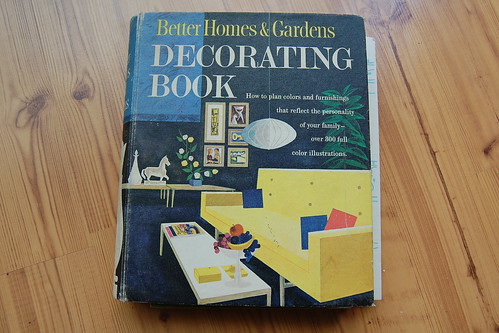
I opted for a 50's Better Homes and Gardens decorating book for my first attempt at journal making. I loved the graphics inside and out. You could always start with a plain ring binder and use Collage Pauge to adhere your own cover graphic.
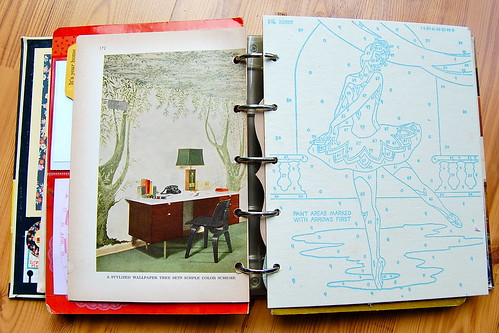
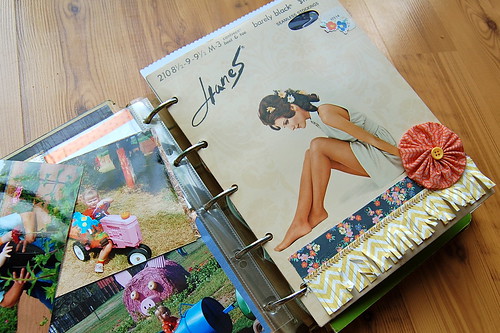
The first thing I did was remove all the pages and make and add my own. Things like vintage paint by number canvases, pages from board books and even packages of panty hose work great. If you have trouble using a hole punch try a crop-a-dile. I also kept several of the original pages from the book.
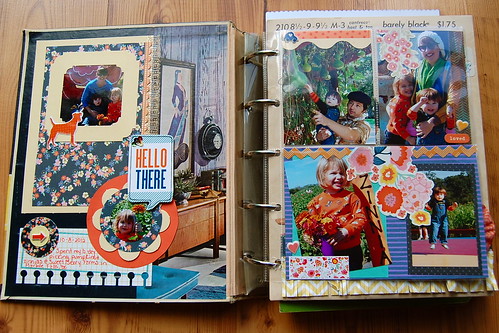
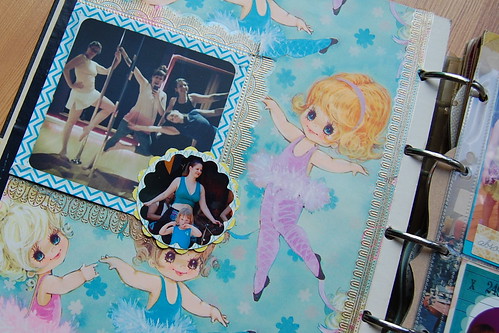
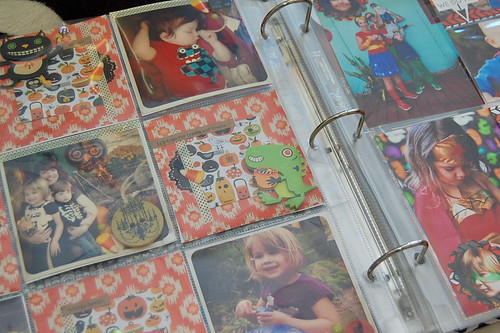
Just like a Smashbook I love working with the original graphics in my book. I let the images and colors be my guide for the theme. You can see here where I started dabbling in Project Life. I used some pockets from Sn@pshots and used my hole punch to make them fit in my binder.
The thing I love about this form of scrapbooking is you are encouraged to not make your layouts flat. I have started to dip into my vintage buttons, cabochons and findings. Using a stronger glue like Aleene's Fast Grab is better than your typical glue stick.
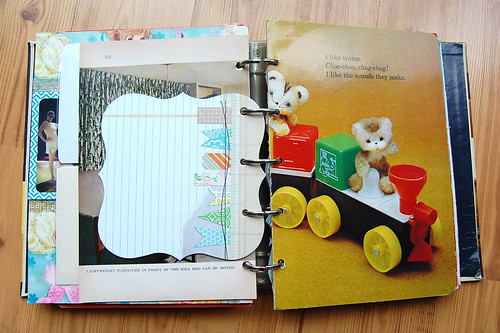
My whole journal is pretty free-form. There is no reason why all your pages need to be the same shape or size.
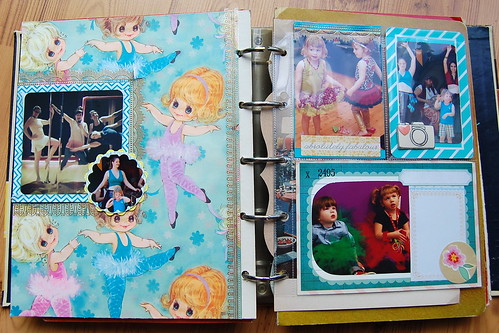
Add wrapping paper, wall paper, scrapbook paper and more to pages using Collage Pauge.
What do you use to keep your pictures in? Scrap book, Smashbook, photo album, phone or computer? Might I suggest making your own. They are a lot more fun to sit through than a slide show of your last vacation.
Be sure to check out more of my posts for I Love to Create here. Also, stop by my blog Naughty Secretary Club and say hello sometime.
Thursday, March 21
Art Journaling With I Love to Create
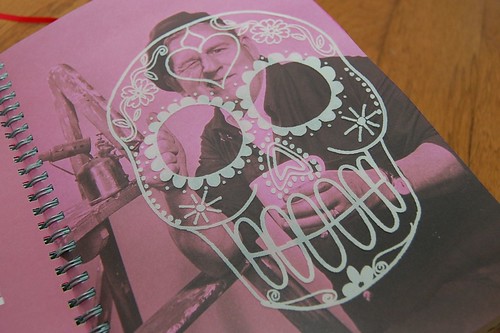
I recently read that Smashbooks are like the anti-scrapbook. I kinda agree and I kinda think that is why I love them. Traditional scrpabooking, though lovely, seems very rigid at times. I like the idea of a book that is part art journal part scrapbook and a pinch of Project Life. If I want to iron on a flocked Crafty Chica sugar skull applique to the pages I can and it fits right in.
When I was done with the iron-on there was still residual flocking that I painted hot pink and used as a stamp. I eventually mounted the sheet and added it to my Smashbook too. I never realized how many items from my I Love to Create arsenal could applied to my journaling.
Speaking of Crafty Chica, Kathy's paint makes appearances in my journal. I did an ombre effect using purple and white on some foam letter stickers. A technique I leaned from Dear Lizzy. I used the background to frame out a mural my sister and I painted for I Love to Create.
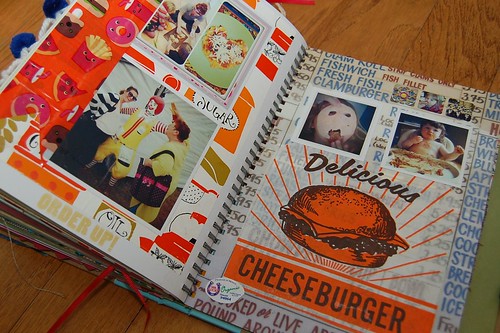
An acid free glue stick like Aleene's is this crafty ladies best friend. I use it to stick pictures, postcards even hamburger bags to my journal.
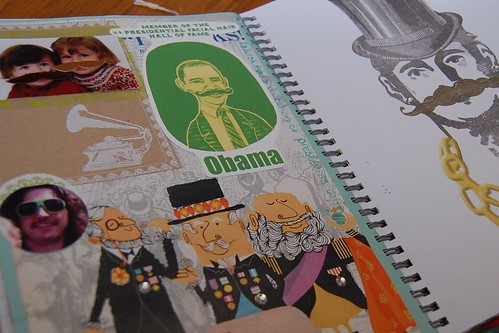
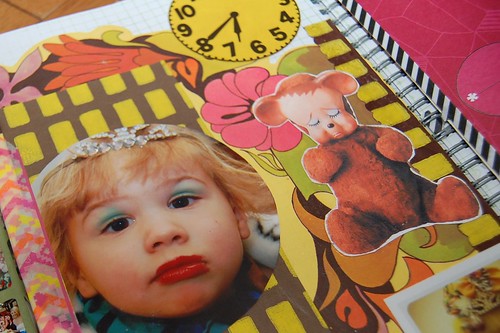
Tulip Glam It Up Crystals are found all over my Smashbook. I use them as earrings, badges and tiara accents on photos. Anything that comes already sticky is a friend of mine.
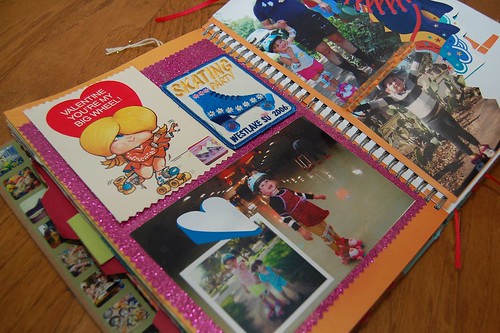
I've used Tulip Fashion Glitter Shimmer Transfer Sheets on robot onesies & Christmas decorations, but I think I may love using them as sparkly background paper in my journal most of all.
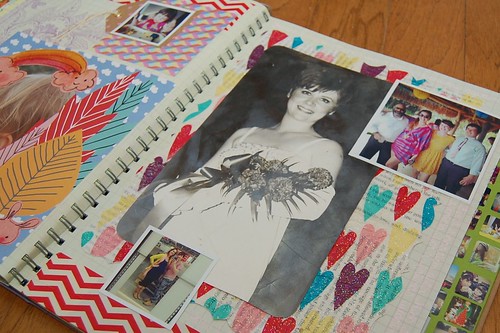
Why would anyone use plain decoupage medium with something as fun as Sparkle Collage Pauge exists. Glitter makes everything better including leftover Valentine's Day napkins from Target. A coat of Collage Pauge sticking them to sheet music and my own funky paper was born.
All the Aleene's Dry Adhesives are perfect for Smashbooking. I have been running through Tacky Dots, Tacky Sheets and Tacky Line Runners like they are water. That reminds me I need to get some more! They are great for doing things like turning pieces of fabric into quick appliques.
So there you have it. A sneak peak into my latest crafty obsession. How do you use I Love to Create projects in your paper crafts? Wanna see more of my Smashbooks? Check out my week long series of sneak peaks into typography, paper making and using fabric.
Friday, November 25
Christmas Cutie Pattern Stand Up Doll


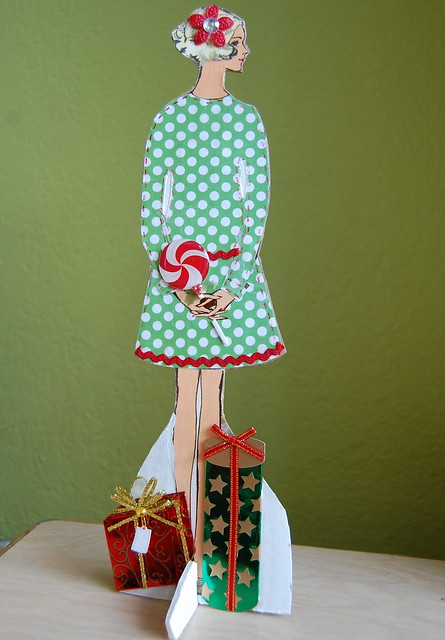
Ya, ya, ya I know I did a project using my vintage pattern girls just a few weeks ago. So sue me. She was fall themed, had a fabric dress and was in a frame. This new and improved Christmas cutie has a fresh spin on the same illustrations and it is the perfect project to kick off all the Christmas crafting you have planned.

SUPPLIES
Vintage Sewing Pattern Image
Scissors
Aleene's Quick Dry Glue
Rick Rack
Scrapbooking Paper
Foam Board
Chip Board
Collage Pauge
Tracing Paper
Pencil
Red Pen
Jolee's Scrapbooking Elements
Crafty Chica Paint White
Craft Knife
Paint Brush
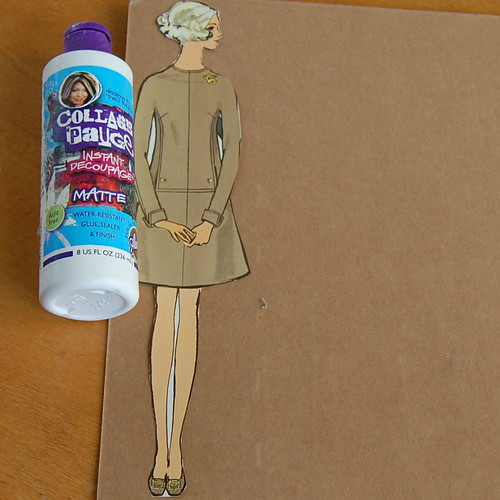
Let me start by saying just because you don't have a vintage pattern book does not mean you can not play along. Pick up a vintage sewing pattern at the thrift store to use for the graphic. Choose a full length picture of a model from a magazine. Better yet have a friend take a picture of you to print out and use!
Once you have your desired image to make into a wee little stand up cut her out. Place your image on a piece of foam board, cardboard or chipboard and decoupage. I used a combination.

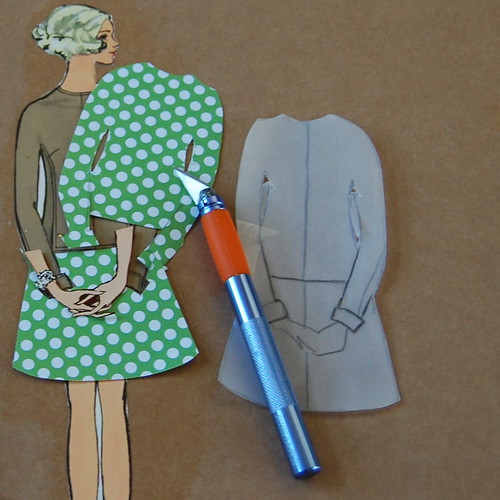
At some point either before or after you cut out your image trace the dress. This will give you a pattern to work with. I suggest using a fairly simple design. Also, a lesson I learned the hard way is you should cut out the hands to glue on separate. I'll explain in a minute.

After you have your pattern made from tracing paper you can place it on scrapbook paper or thin fabric to make a new and improved dress. Use a craft knife to cut out the detailed spots like between the arms and body. This is where I should have cut out her hands completely before I decoupaged her to chipboard. No worries, I just stole hands from another image. This way you don't have to do all the tedious knife work around the hands you can just stick them on top of the new outfit.

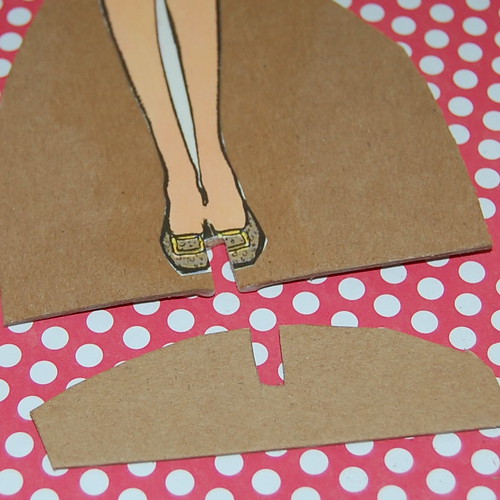
The next step after getting your dress decoupaged in place is cutting out your stand up. Leave a wide base at the bottom. This picture lies a little bit. I did cut a slit in the center, but I used a small piece of foam board instead of chipboard as the second part of the base. The foam board is thicker and helps her stand better.


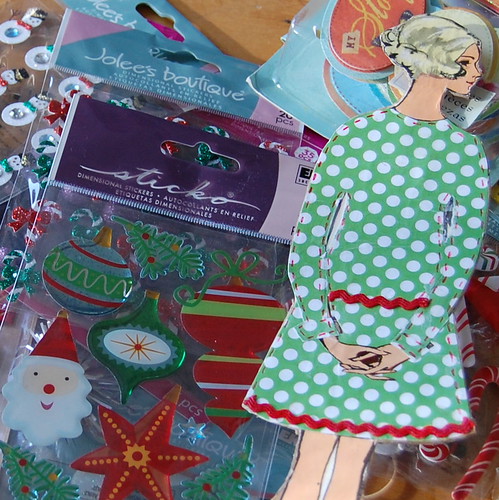
Now for the fun part! Using various vintage bits and pieces, scrapbooking elements, pens and sewing notions you can gussy up your stand up. I used Aleene's Fast Dry Tacky Glue to hold everything in place.

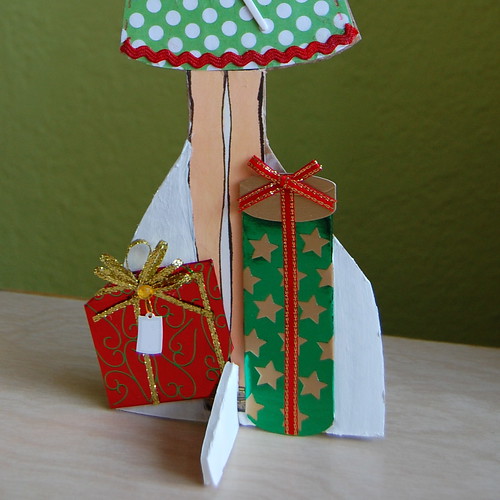
I finished things up by painting the backside and base white with Crafty Chica paint. I used a few wrapped gifts around the base to make things extra festive.

Set your Christmas Cutie anywhere to add an extra touch of kitschy cheer. I can't wait to make a whole slew of these lovely ladies. I also see a shelf sitter version in my future! Love to know if you make your own version.
Visit us on Facebook!
Craft on!