Visit us on Facebook!
Craft on!
iLoveToCreate Teen Crafts: iLoveMom Glass Vial Necklace
Margot Potter for Avalon Potter
“Mom crafted, teen approved.”
I’ve used these glass vials in a variety of jewelry making projects over the years. They’re like miniature works of art. You can put all sorts of things inside of these, beads, glitter, printed messages...whatever makes you smile. This is the perfect way to tell Mom how much you love her with a one-of-a-kind, handcrafted wearable work of art! It’s so easy to make these with Tulip Fashion Glitter and Aleene’s glue; you’ll find yourself looking for reasons to make more! I made some matching earrings using some smaller glass vials using the same techniques for a fun, fast and fabulous jewelry set just for mom.
Materials
Miniature glass jar with cork top
Thin ribbon for accent
One large puffy and four small flat felt hearts in pink and white
Tulip Fashion Glitter in
multi medium crystal
Screw eye
Ball chain necklace
2 ear wires
2 jump rings
Aleene’s
Quick Dry Tacky Glue
Aleene’s
Stop Fraying
Aleene's
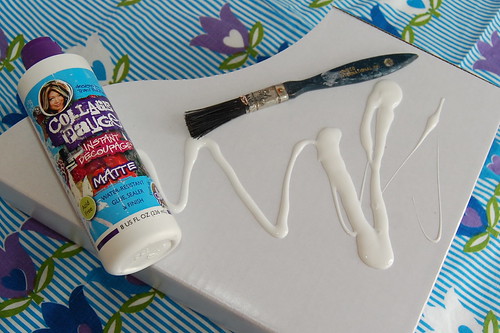
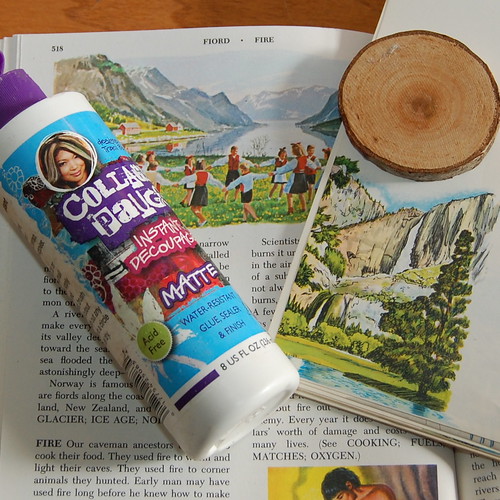
Collage Pauge Matte
Tools
2 small paintbrushes
Chain nose pliers
Scissors
Computer and printer
Pour a small amount of glitter into vial. Add felt hearts, use end of paintbrush to position them in vial. Add a small amount of glue around edge of cork stopper, insert into vial top. Use paintbrush to remove any excess glue.
Add a small amount of glue to screw eye, use chain nose pliers to screw into center top of cork stopper. Allow all glue to dry.
Take a small ribbon and tie in a bow around rim of jar. Use Aleene’s Stop Fraying on ends of ribbon. Allow to dry.
Use a typewriter font to print xoxo, x and o in 10pt. Cut out using scissors and decoupage to front of jars with Collage Pauge and a small paintbrush. Thread screw eye with ball chain necklace. Use smaller jars with glitter and ribbon to make matching earrings. Attach a jump ring and ear wire to top of stopper, repeat for second earring.
(Blogger was compensated for this post.)


