I swear one day I will make a craft that is not related to children, really I will. If you look at my kid crafts most times they can easily be transitioned into an adult craft. For instance take the reward wheel I made today for I Love to Create. Mine is intended to reward my daughter for good behavior (saying please, picking up toys, not strangling her brother - even when he is being annoying). However, I got the idea from Martha Stewart and she intended hers to hold Christmas cards. I'm seeing one with heart covered fabric in place of floral and holding Valentine cards for next month.

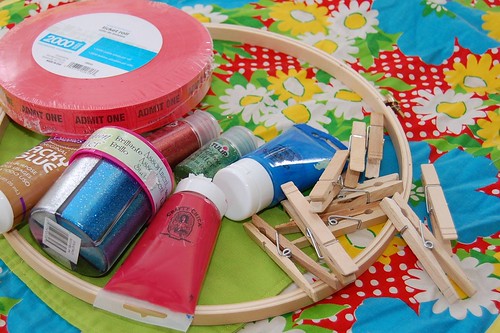
SUPPLIES
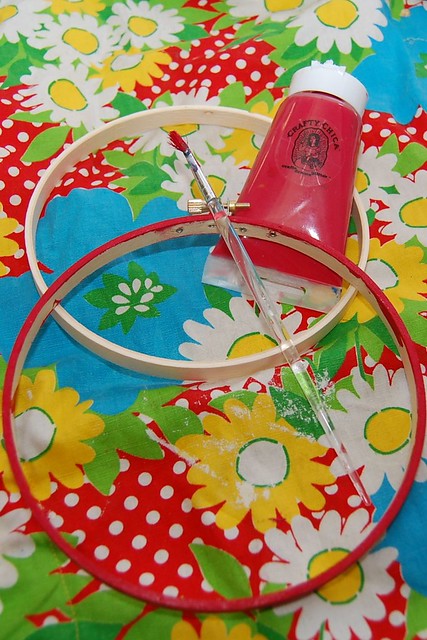
Embroidery Hoop
Crafty Chica Paint red
Scissors
Tulip Fashion Glitter
Scrap Fabric
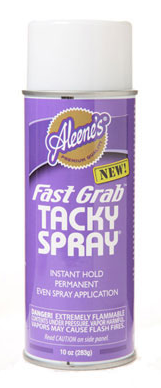
Aleene's Tacky Glue
Paint brush
Clothes pins
Carnival tickets
Glue gun

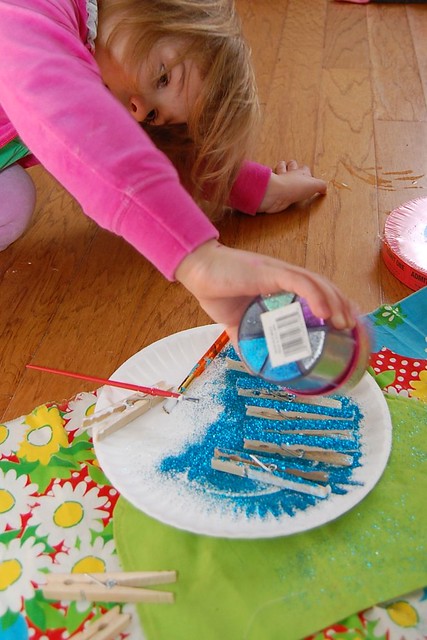
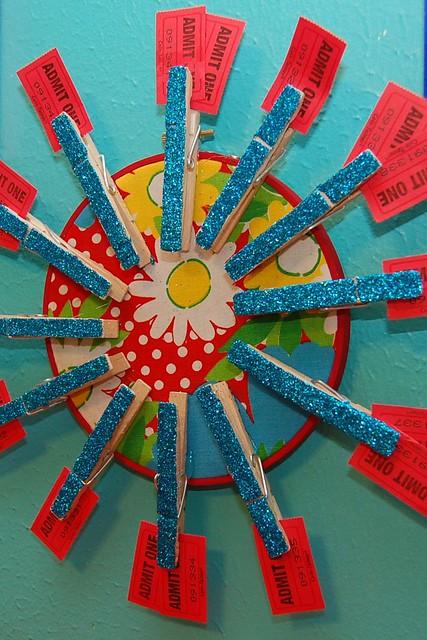
Using a paint brush apply Tacky Glue to one side of your clothes pins.

While the glue is still wet shake glitter on top. After you have a few covered with glitter shake the excess off onto a second batch of clothespins. I used 12 clothespins, but feel free to add as many as you like.


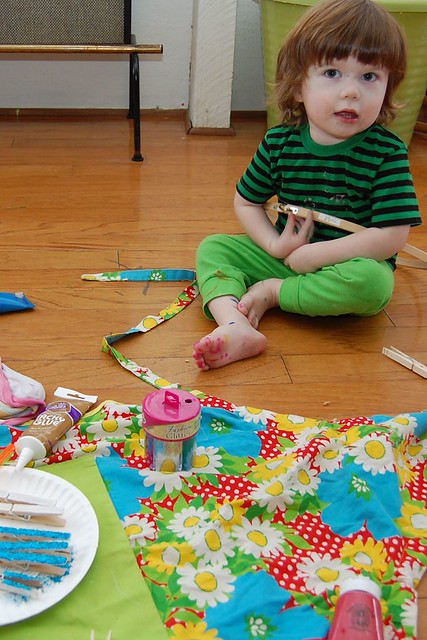
Once I convinced Baxter that the embroidery hoop was in fact not a hula hoop I painted it red. Actually, that is a lie. I used a smaller hoop in the end for the actual project but Baxter was such a cute helper I had to include this picture, never you mind the marker all over his feet.

Martha did not have fabric in her card holding hoop which in my opinion was a gross oversight. I had the perfect vintage apron to use. Once the fabric was in the hoop I glued the raw edges around the back.

Using a hot glue gun I attached my clothespins to the hoop when everything was nice and dry.

I used little carnival tickets for my reward wheel because they were cute, cheap and Tallulah is obsessed with amusement parks.

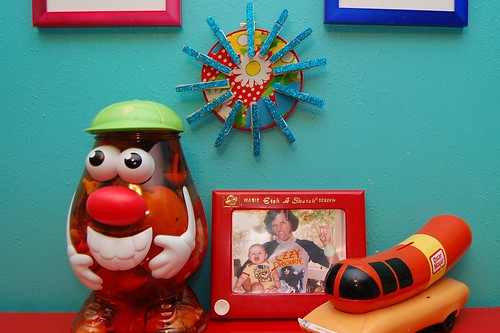
There are about a million variations on chore charts floating around on the internet. I didn't want to make mine so specific to things like making a bed or taking dishes to the sink. Instead I have decided to apply one of the few things I took away with my degree in psychology - the power of intermittent reinforcement. Meaning that when I notice Tallulah being nice to her brother, helps me feed the pets, puts her 7,000 Legos away before dumping out another bin with 6,000 bristle blocks I reward her. My tentative plan is that when each clothespin has 2 tickets we will go out for ice cream, get a gum ball sized prize, have spaghetti for breakfast. Some treat she gets to pick. Tallulah is almost 4 it is plenty early for her to start having a few jobby jobs around the house. Fingers crossed my reward wheel works.
P.S. I kinda have a thing for using embroidery hoops for things other than embroidery. In fact I wrote a whole blog post about it once. There was also that time I did a project flyer for JoAnn's.