Showing posts with label Aleene's Original Tacky Glue. Show all posts

Friday, January 3

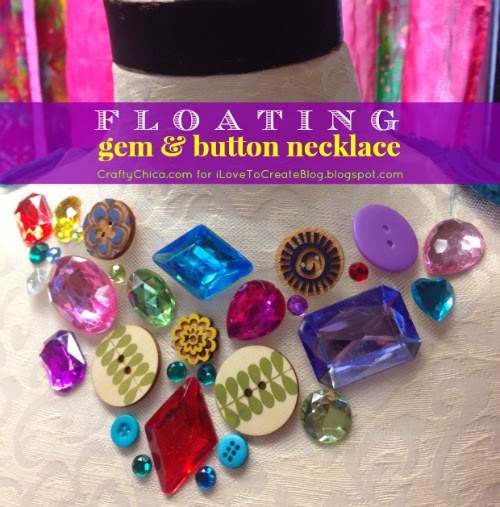
Floating Gem Necklace (with buttons!)


I'm starting the new year by completing a project I've been thinking about all of 2013 - the floating gem necklace! I've seen versions online and wanted to do my own thing. I love all things bright, chunky and sparkly and this project fits that bill. To add a different spin, I incorporated buttons as well.

Friday, November 15

Faux Pallet Sign: Thanksgiving

I've been wanting to make Thanksgiving decorations for when people enter our house. Something to show happiness and love - but sans any turkeys or cornucopias. This was the perfect mix! It says "Con amor" which translates in Spanish as "with love." Here is how I made it - it looks really heavy, but it is so light because it was made with FloraCraft Foam, Aleene's Snow and scrapbook stickers!

Tuesday, August 27

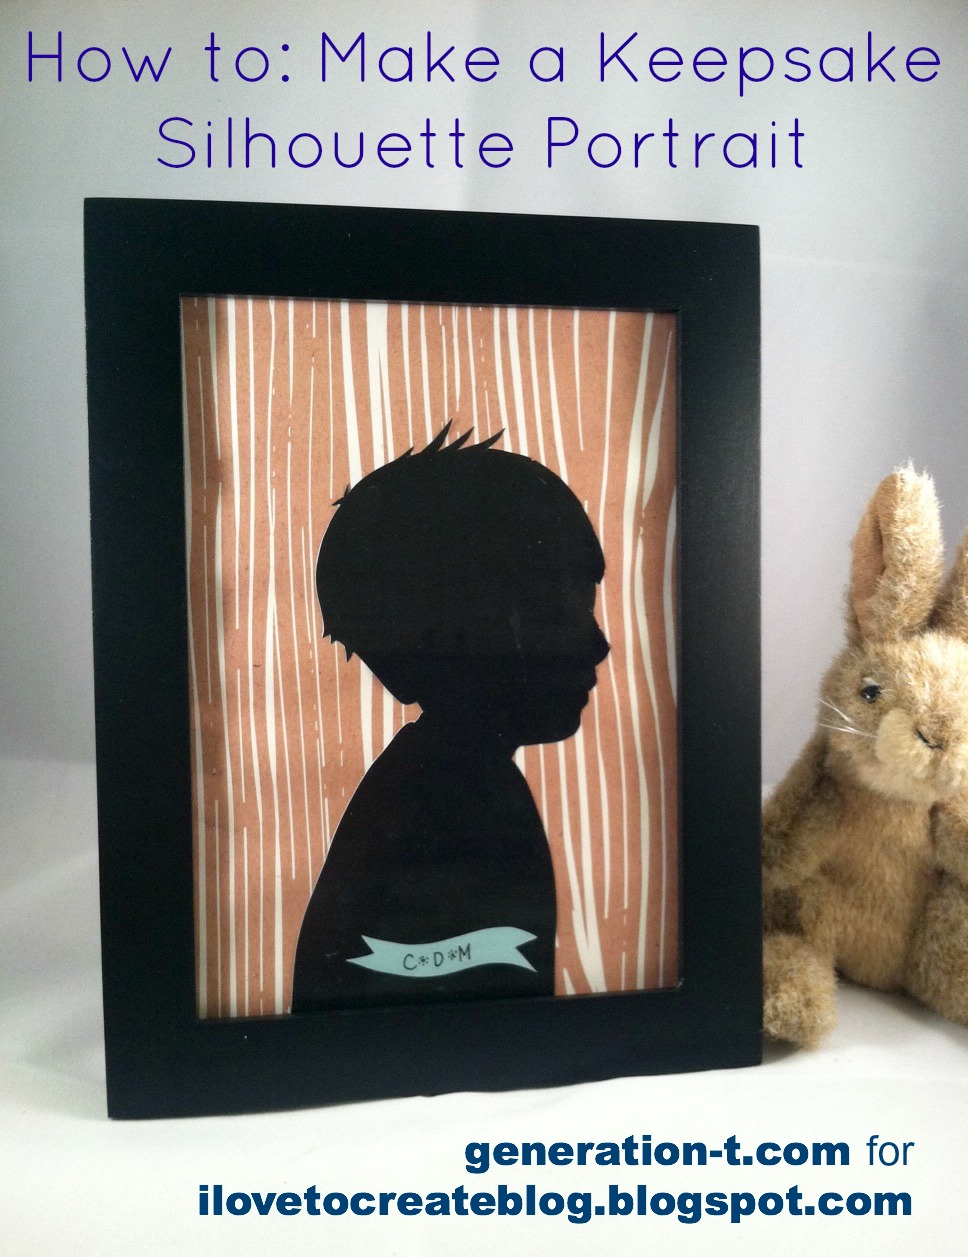
How to: Make a Keepsake Silhouette Portrait

Here's a handmade and personalized gift for Grandparent's Day (the first Sunday after Labor Day -- for 2013, it's on September 8!), or you can save it for Mother's or Father's Day. Just snap a photo of your subject in profile, gather up the rest of the materials, and you can make and assemble this in minutes. Start a series by making a new image each year so you can see the growth of your child!

Thursday, April 18

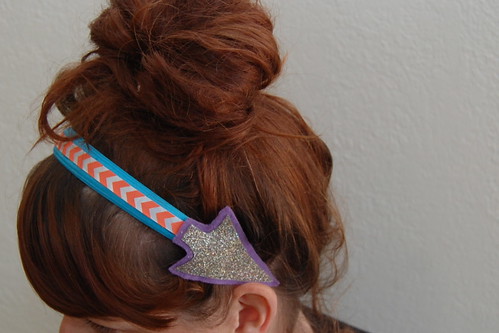
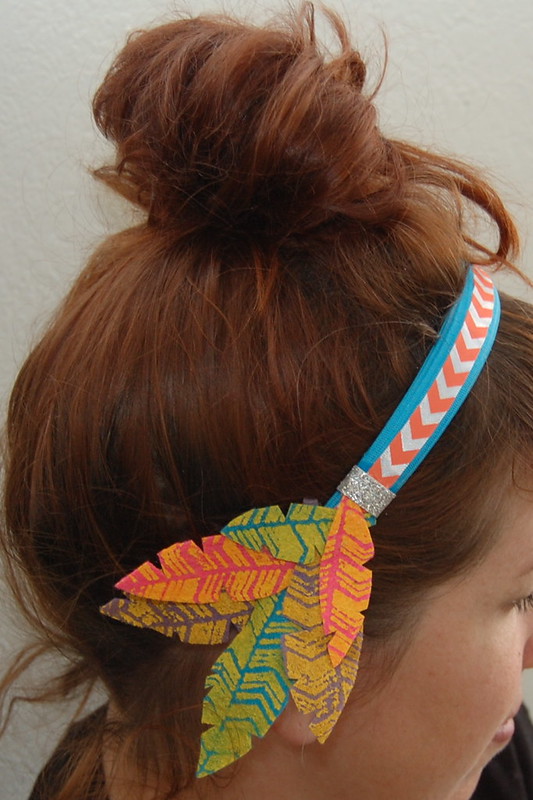
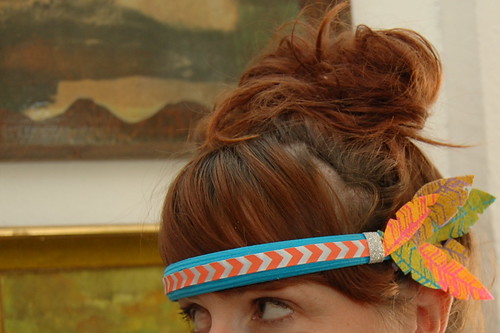
William Tell Inspired Felt Feather & Chevrons Arrow Headband How-To


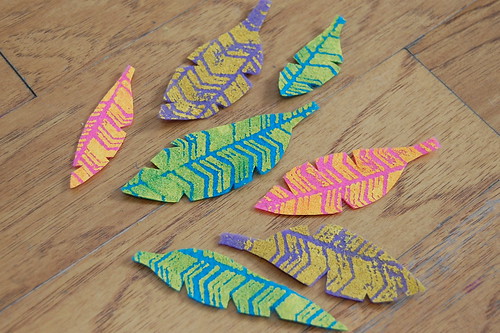
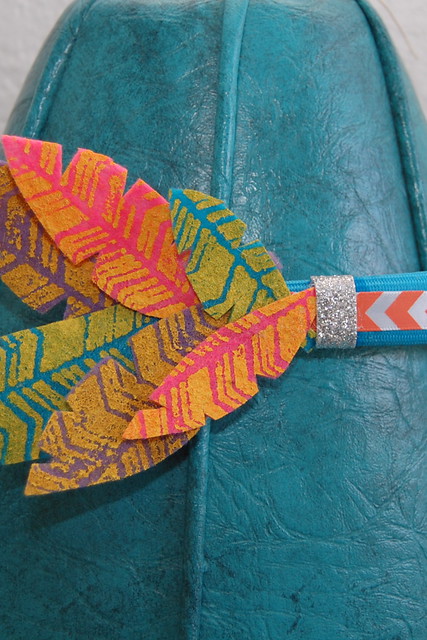
Chevrons, sparkle, arrows, felt, the color teal - what is not to love about this headband? Not to toot my own horn, but I'm pretty smitten on this doozie of an accessory. This is not the first time I have ventured into the world of feathered hair gear, you might recall a post I did for Craft Zine. Those feathers were made from digital scrapbooking elements. These feathers are made using a paper crafting mask for a spray as a stencil.

SUPPLIES

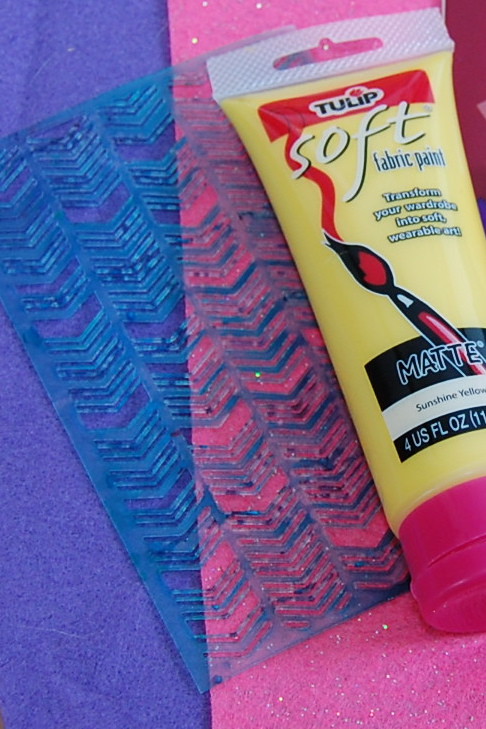
Tulip Soft Fabric Paint

Colored Felt

Mr. Huey Mask by Studio Calico in Chevron

Aleene's Tacky Glue

Sponge Brush

Dear Lizzy Ribbon by American Crafts

Scissors

Tulip Fashion Glitter Shimmer Transfer Sheets

Headband

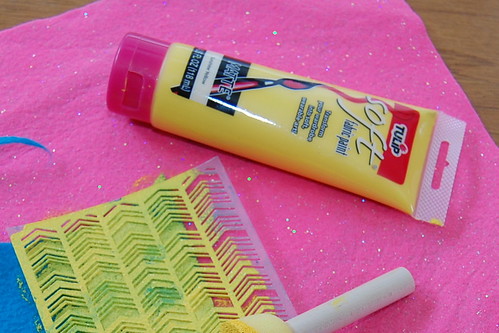
The first thing I did was stencil the chevron image onto my felt. I was inspired by a post on American Felt and Craft. Use a dry(ish) brush. A friend on Instagram commented that the pattern would work well for making felt feathers and the idea for a William Tell inspired headband was born.

After my paint was dry I cut out 'feathers'. I went back with sharp small scissors and added details.

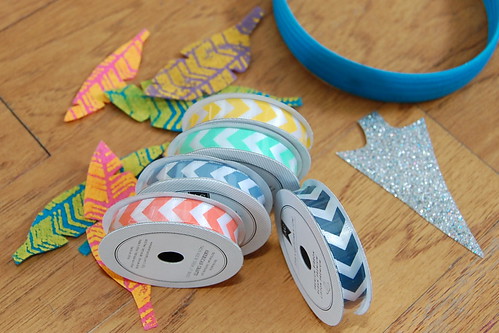
So many pretty ribbons to choose from, so little time. I went with more chevrons, because really can you ever have too many? I also cut out an arrowhead from my Shimmer Transfer Sheets.

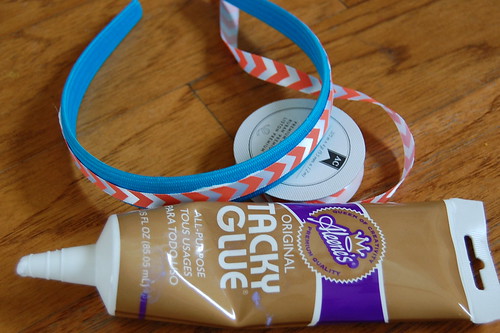
Using Aleene's Tacky Glue I attached a strip of ribbon to my headband.

I decided to add a piece of felt as backing for my arrowhead. I attached both pieces using Aleene's Tacky Glue.

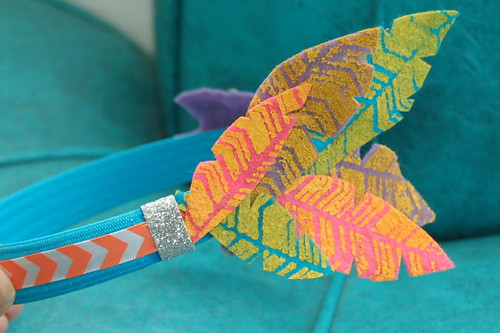
On the opposite side of the headband, again using Tacky Glue, I attached a cluster of felt feathers. I was thinking of William Tell. Ya know, the guy who shot an apple off someone's head with a bow and arrow.

I decided the feathers needed a little strip of silver sparkle.

You can wear your new arrow as a headband.

You can also go for the across your forehead look. Perhaps a good look for people a little younger than myself.

So whatcha think? I love using things like scrapbooking tools in new fun wearable ways.

Tuesday, March 26

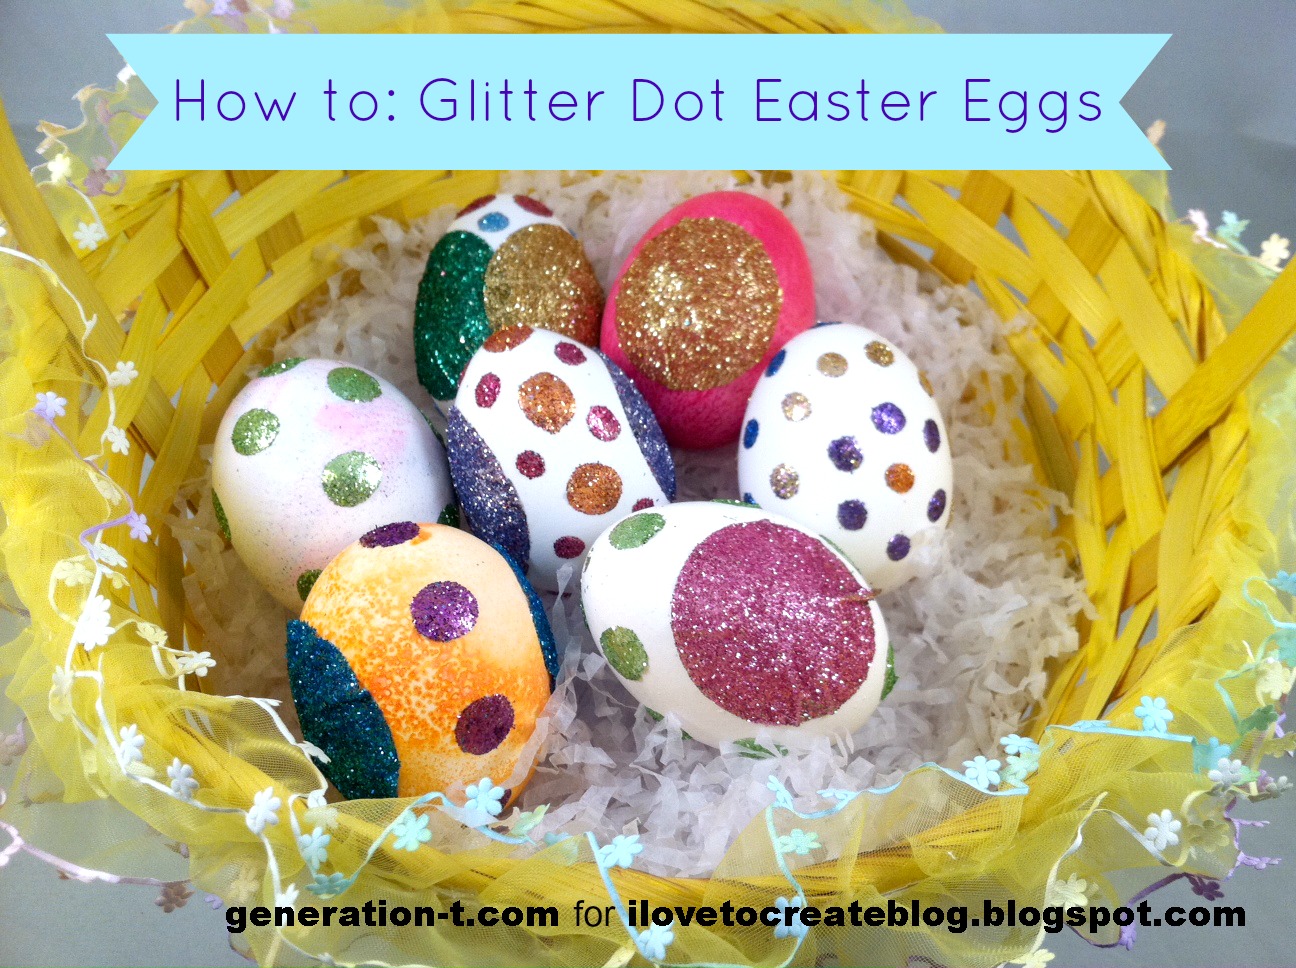
Easy Glitter Dot Easter Eggs


I'm pretty traditional when it comes to decorating eggs at Easter time (dollar store egg dying kit, anyone?), but to be honest, it was getting kind of dull year after year. My solution: Bring on the polka dots! Bring on the disco sparkle! The best part? No waiting around for dye to set or glue to dry. This is egg decorating with immediate (and rather shimmery) results.


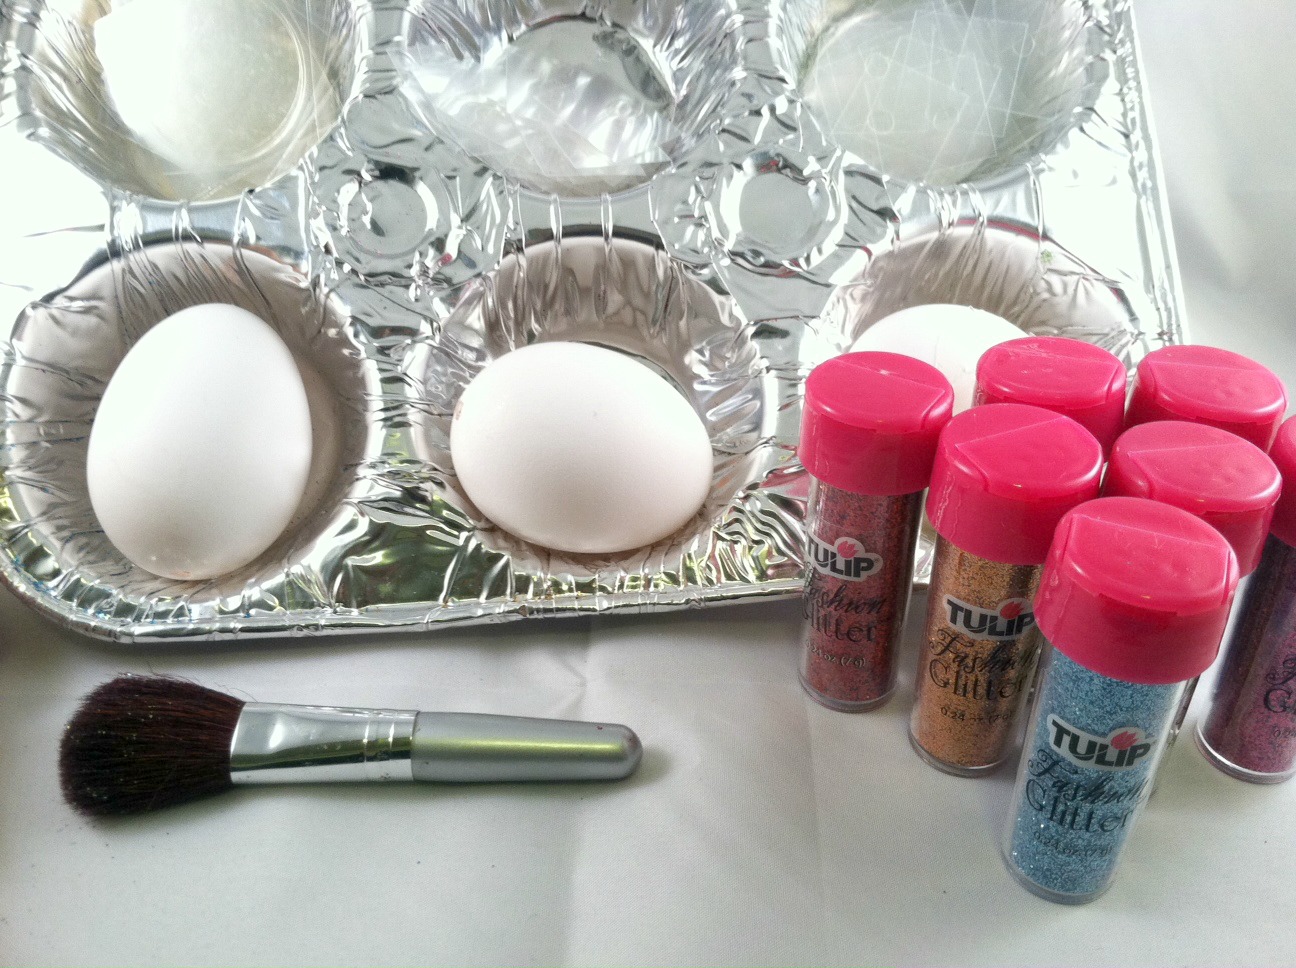
What you need:
-clean, dry blown eggs (hard-boiled will work fine, too; I personally just don't like to mix food and glitter!)
-Aleene's Tacky Dots
-Aleene's Tacky Dots Singles (small and medium)
-Aleene's Fashion Glitter
-aluminum muffin tin or tray
-makeup brush

Click through to watch the video tutorial I did for About.com, or follow the instructions below!
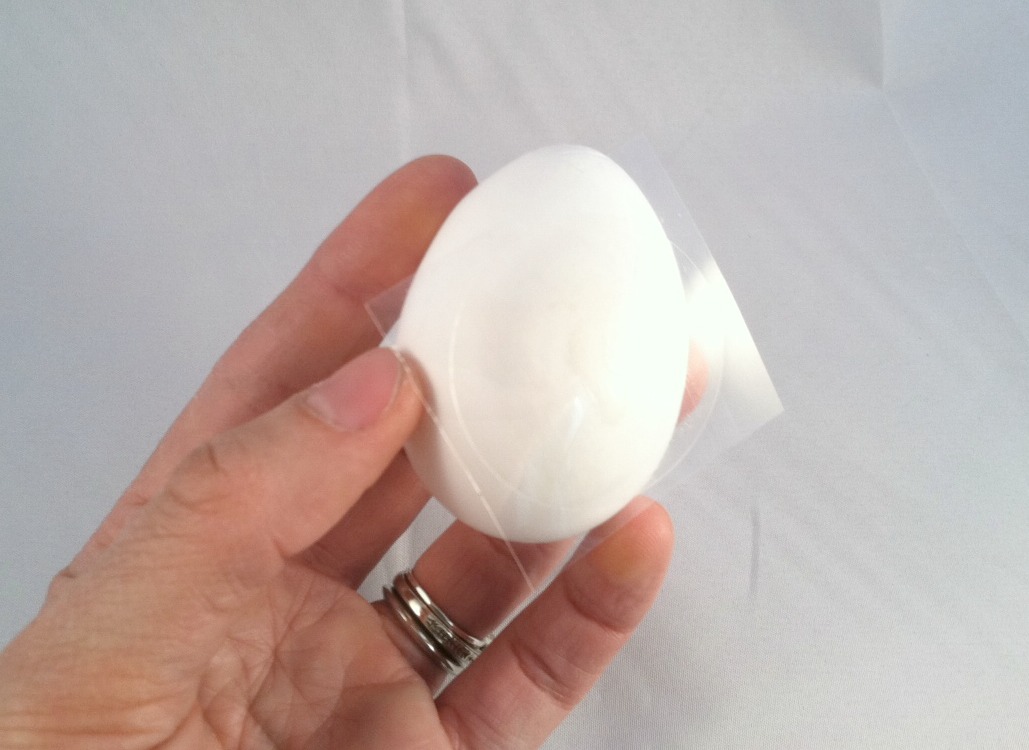
Center one of the Tacky Dots on the side of the egg, and gently press it down.
Peel off the backing and gently press down any wrinkles. Then repeat on the other side with another Tacky Dot.
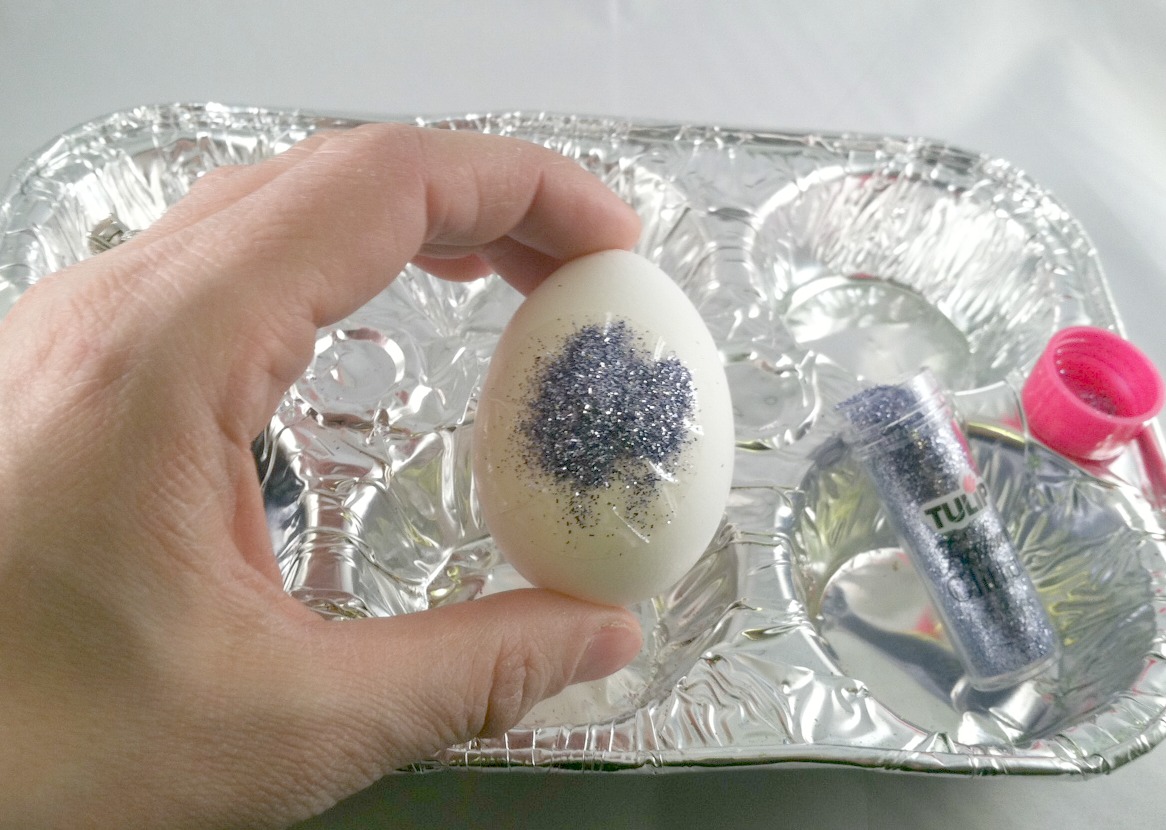
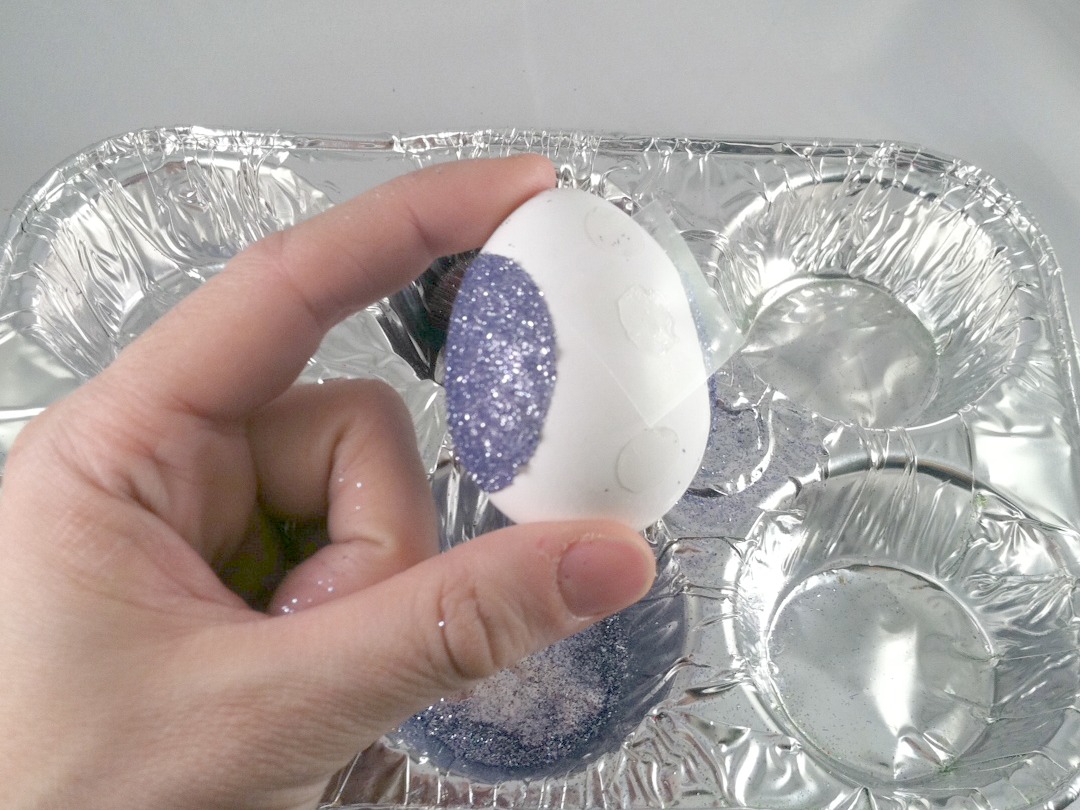
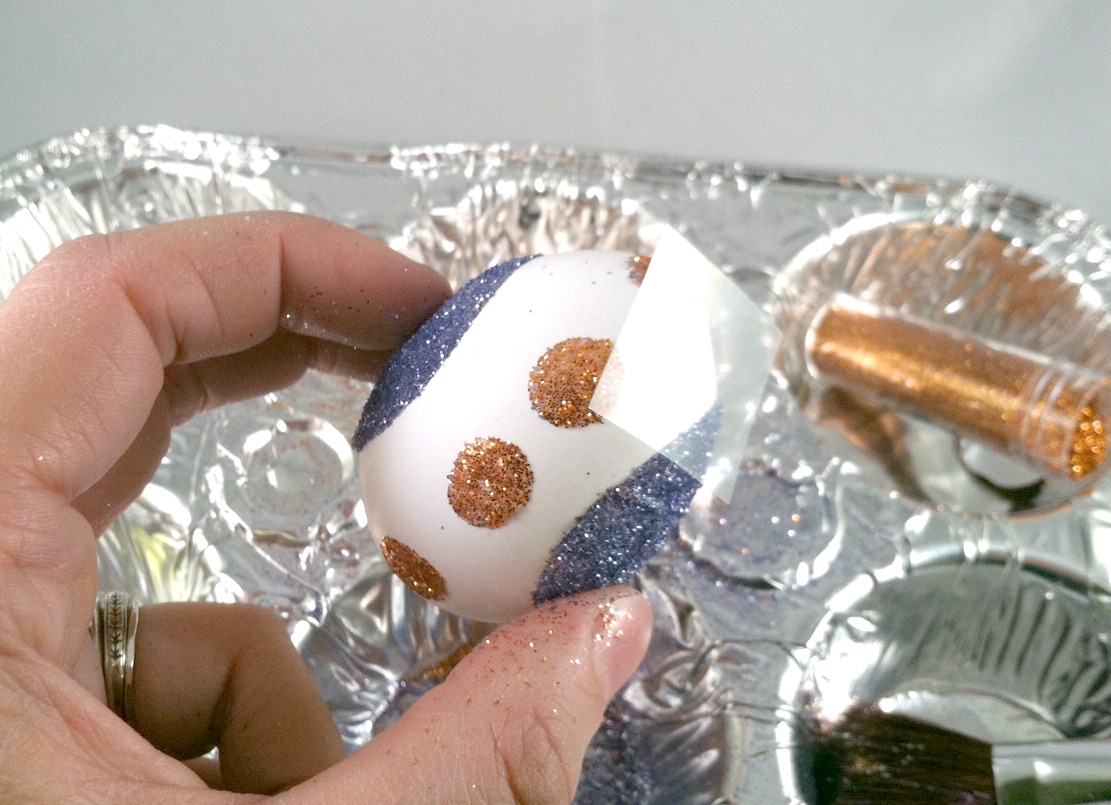
Hold the egg gently over the muffin tray and liberally sprinkle glitter over the tacky dot. Brush off the excess with the makeup brush and rotate the egg to repeat on the other side.
Try adding medium Tacky Dot Singles around the egg, between the large dots, and repeat the process: Shake on the glitter (new color!); brush off the excess.
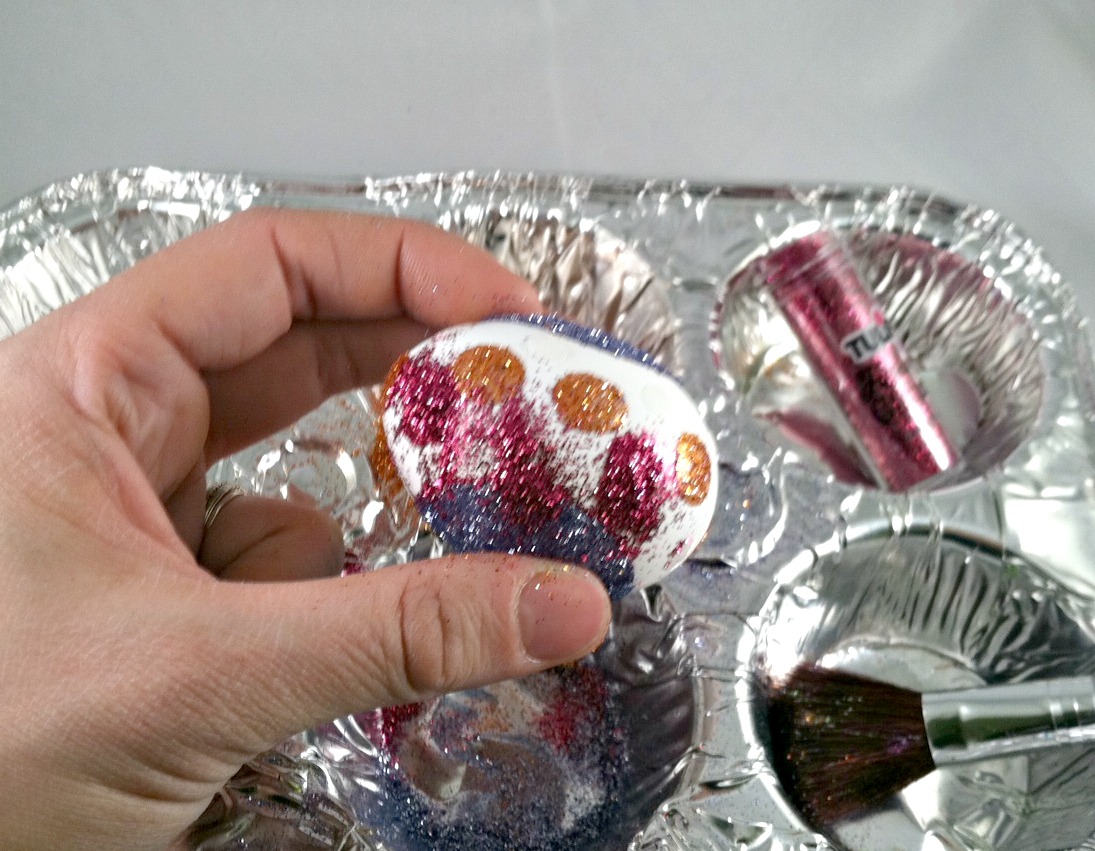
Next, I try sticking the small Tacky Dot Singles in the white area around the large dots and repeat the process a third time (again, with a new color).
Shake the glitter on, then dust off the excess.
 
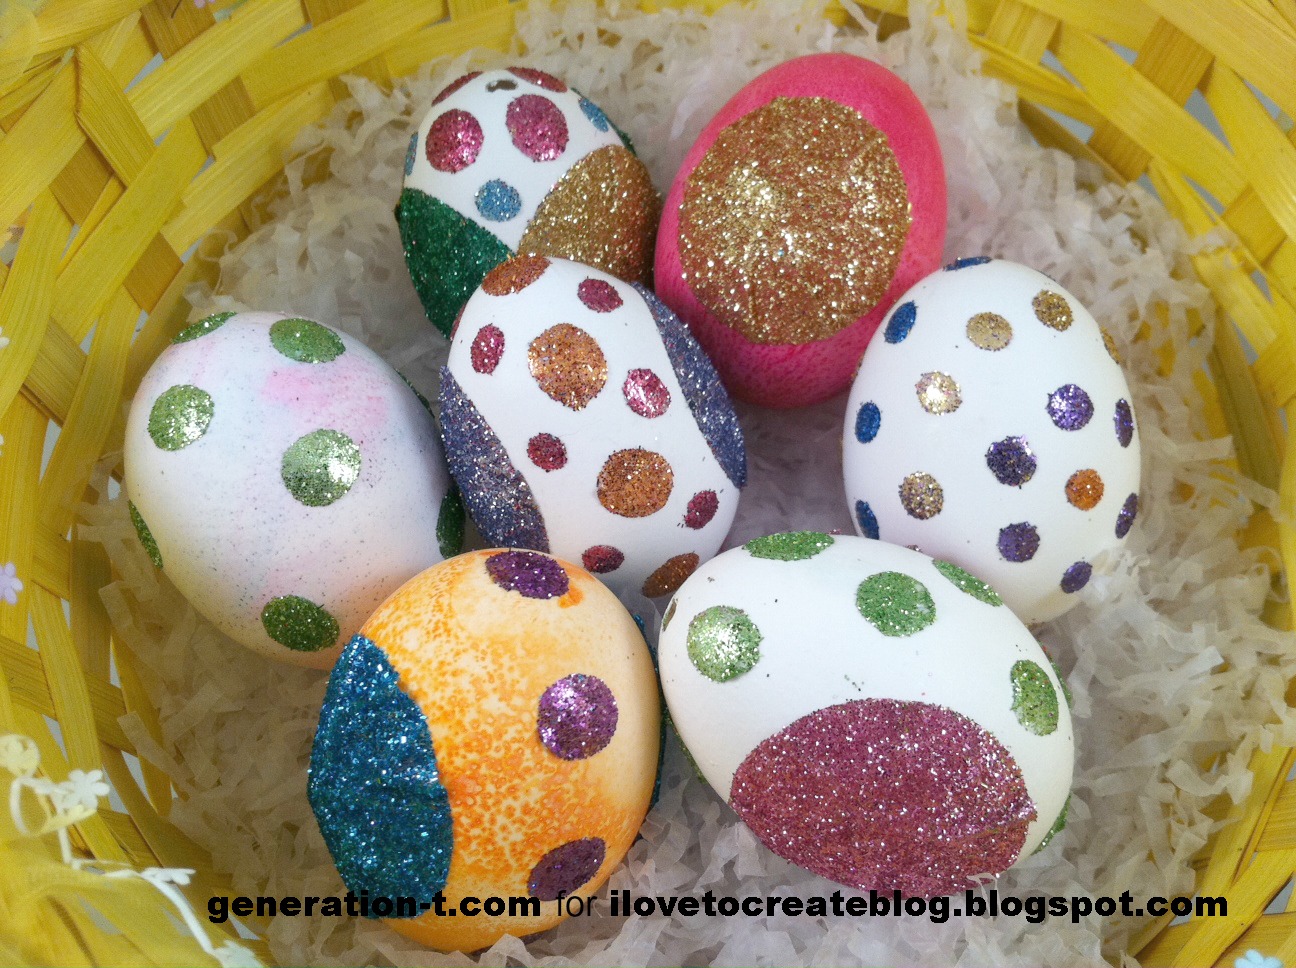
Finished!
Try different combinations of glitter color and dot sizes to repeat and fill your basket.
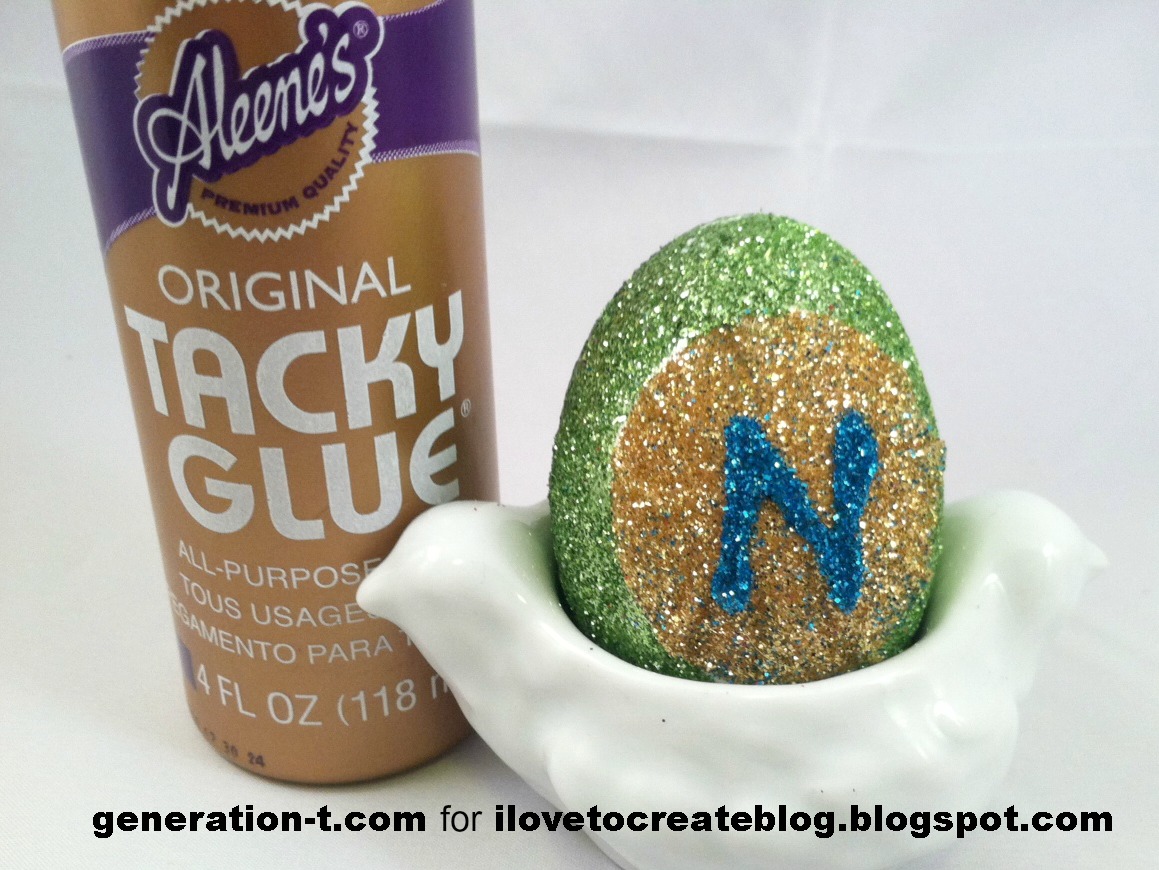
Variation: To personalize your egg, use Tacky Glue to write an initial over the glitter layer on the large Tacky Dot, then sprinkle it with contrasting color glitter. Let it dry completely before brushing off any excess sparkle.

Monday, February 11

Cupcake Wrapper Flowers

Making these pretty flowers for gift wrap and décor can be done in no time at all!  And they are created using your stash of pretty cupcake wrappers. I don't know about you, but I have tons that I snatch up throughout the year.  I show you how to make these pretty gift toppers in the video below! 
What you need:
– cupcake liners
– clothespins
– scissors

Also shown in the video are how to make these fun flowers that can adorn simple spray-painted sticks from your yard.  These are perfect for accessorizing a space in your home or for displaying in a big glass vase for your next party, shower, or function.  

It's always nice to have a simple craft like this on hand when you want to do something special for a gift or a quick decoration.  Hope you like trying it!

Thursday, January 3

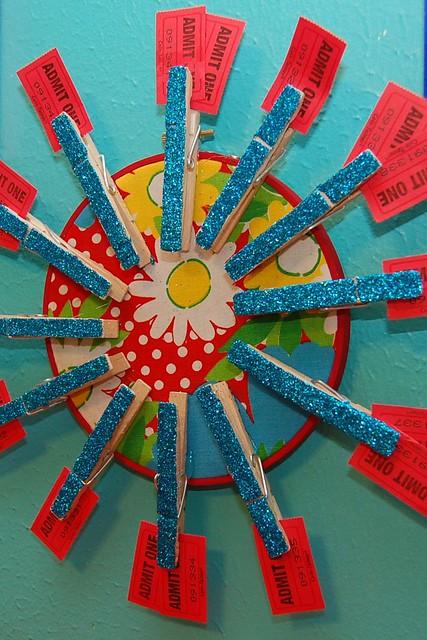
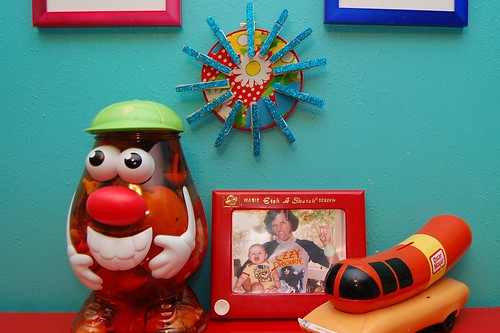
Reward Wheel or How I Converted an Embroidery Hoop Into a Chore Chart

I swear one day I will make a craft that is not related to children, really I will. If you look at my kid crafts most times they can easily be transitioned into an adult craft. For instance take the reward wheel I made today for I Love to Create. Mine is intended to reward my daughter for good behavior (saying please, picking up toys, not strangling her brother - even when he is being annoying). However, I got the idea from Martha Stewart and she intended hers to hold Christmas cards. I'm seeing one with heart covered fabric in place of floral and holding Valentine cards for next month.

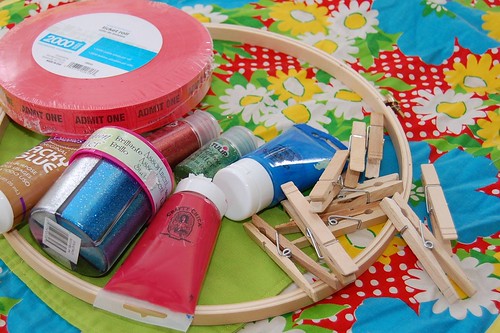
SUPPLIES

Embroidery Hoop

Crafty Chica Paint red

Scissors

Tulip Fashion Glitter

Scrap Fabric

Aleene's Tacky Glue

Paint brush

Clothes pins

Carnival tickets

Glue gun

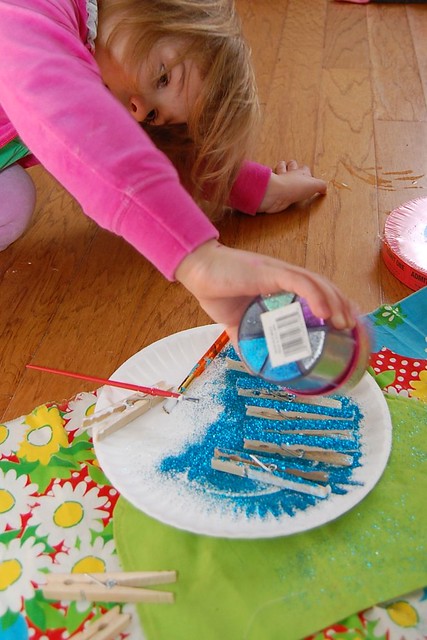
Using a paint brush apply Tacky Glue to one side of your clothes pins.

While the glue is still wet shake glitter on top. After you have a few covered with glitter shake the excess off onto a second batch of clothespins. I used 12 clothespins, but feel free to add as many as you like.

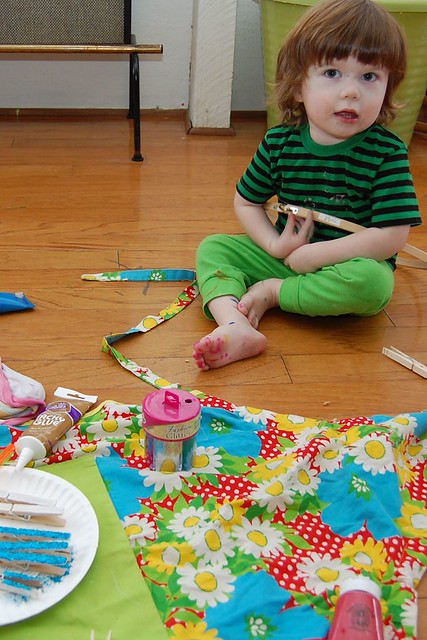
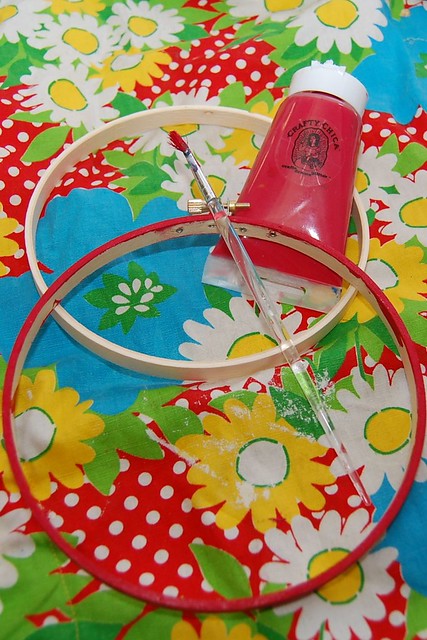
Once I convinced Baxter that the embroidery hoop was in fact not a hula hoop I painted it red. Actually, that is a lie. I used a smaller hoop in the end for the actual project but Baxter was such a cute helper I had to include this picture, never you mind the marker all over his feet.

Martha did not have fabric in her card holding hoop which in my opinion was a gross oversight. I had the perfect vintage apron to use. Once the fabric was in the hoop I glued the raw edges around the back.

Using a hot glue gun I attached my clothespins to the hoop when everything was nice and dry.

I used little carnival tickets for my reward wheel because they were cute, cheap and Tallulah is obsessed with amusement parks.

There are about a million variations on chore charts floating around on the internet. I didn't want to make mine so specific to things like making a bed or taking dishes to the sink. Instead I have decided to apply one of the few things I took away with my degree in psychology - the power of intermittent reinforcement. Meaning that when I notice Tallulah being nice to her brother, helps me feed the pets, puts her 7,000 Legos away before dumping out another bin with 6,000 bristle blocks I reward her. My tentative plan is that when each clothespin has 2 tickets we will go out for ice cream, get a gum ball sized prize, have spaghetti for breakfast. Some treat she gets to pick. Tallulah is almost 4 it is plenty early for her to start having a few jobby jobs around the house. Fingers crossed my reward wheel works.

P.S. I kinda have a thing for using embroidery hoops for things other than embroidery. In fact I wrote a whole blog post about it once. There was also that time I did a project flyer for JoAnn's.

Sunday, October 21

Cool2Craft TV: Restyled Jewelry Ideas


Hey Aleene's fans! Watch Monday's Cool2Craft TV with us! Cool2Craft TV October 22, 2012: Restyled Jewelry

The Cool2Craft girls are digging into their jewelry boxes this week to create restyled jewelry projects. Tiffany Windsor is restyling costume jewelry into blinged ornaments featuring Aleene's Super Thick Tacky Glue and EcoHeidi is upcycling water bottles into funky and fun pendants using Aleene's Original Tacky Glue, plus more!

Learn new techniques, chat with us while watching the show and ask questions about all your favorite Aleene's products! Drop by our chat room during Monday's show and mention that you saw this post on the iLovetoCreate blog for your chance to win Aleene's Tacky Glue!

Airing Monday October 22, 2012 9am Pacific/11 am Central/Noon Eastern. Go to Cool2Craft.com and you'll see the Livestream player and chat box where you can join right in. See you Monday!


Visit us on Facebook! Get creative! Get inspired! Be cool!
Clicky Web Analytics
Pin It button on image hover

Subscribe to our newsletter

* indicates required
I am interested in products and inspiration for...
Close