

I know, I know two weeks in a row of kid's clothing - but can you really have enough? I have spent the week with my mother who has recently visited The Houston International Quilt Show, so she was busting with ideas. One of those fabulous ideas I decided to share with you today for I Love to Create.
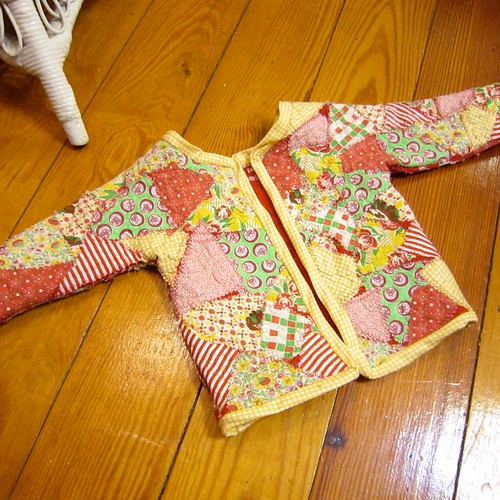
I love the look of patchwork crazy quilts so when my mom told me about this adorable jacket she had seen made at the quilt show I was totally on board. Grab some fabric scraps and let's get busy.

SUPPLIES
Fabric Scraps
Pinking Shears
Sewing Machine
Sweat Shirt
Scissors
Aleene's No-Sew Fabric Glue
Iron
Pins
Thread
Velcro
TAKE ME DOWN TO THE TRIANGLE CITY
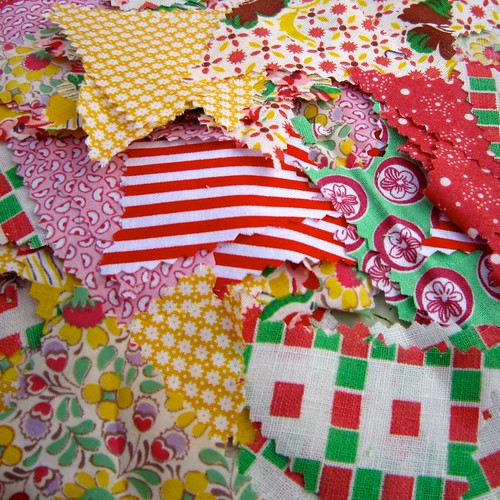
Scalene, isosceles, right - whatever kind of triangle floats your boat. I used my pinking shears and vintage feed sack fabric to cut a pile of different triangles. If you don't have feed sack light-weight quilting fabric works like a charm.
SWEATSHIRT DECONSTRUCTION
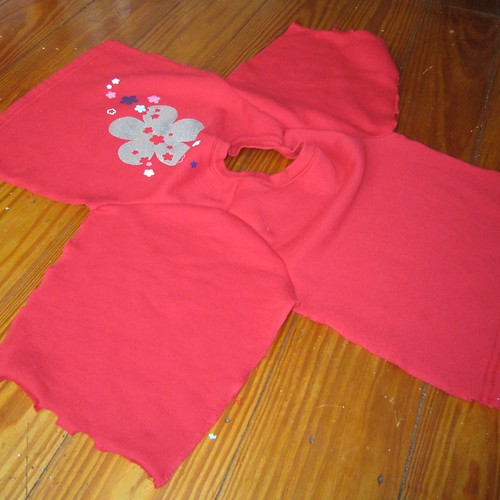
Next you are going to cut your sweat shirt up. Cut up the side seams and continue up the sleeves. Cut the cuffs and if there is a ribbed bottom cut that off as well.

PATCHWORK PARTY
Using your Aleene's No-Sew Fabric Glue place your triangles in a random pattern all over the sweatshirt. It's ok if there is a little sweatshirt peeking between the triangles. The glue will wash out, but hold your triangles in place long enough to stitch them on.
ZIG-A-ZAG-DO-DA-ZIG-A-DEE-A
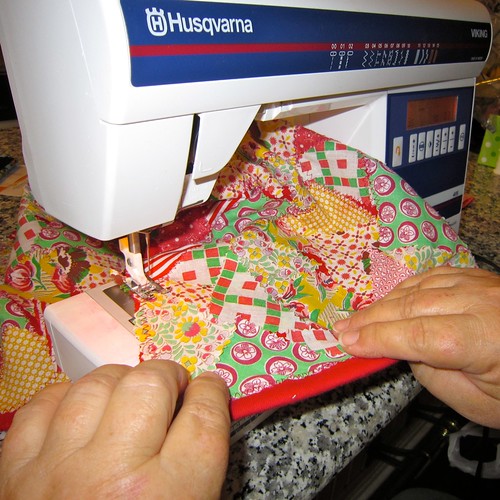
Using a zig zag stitch on your sewing machine and a contrasting thread sew all the edges of all your triangles down. Also stitch around all the edges.

LOOK MA, I'M QUILTING
Place your jacket on the sewing machine. Drop your feed dogs and using a straight stitch on your machine free quilt all over you jacket. The more random the better.

GRAB YOUR SCISSORS
Cut the ribbed neck out of your sweatshirt and cut your sweatshirt up the front.

PUT THE SWEATSHIRT BACK TOGETHER AGAIN
Pin your sweatshirt back together and using a straight stitch put it back together again. Using bias tape (we made our own) trim the edges of your jacket.
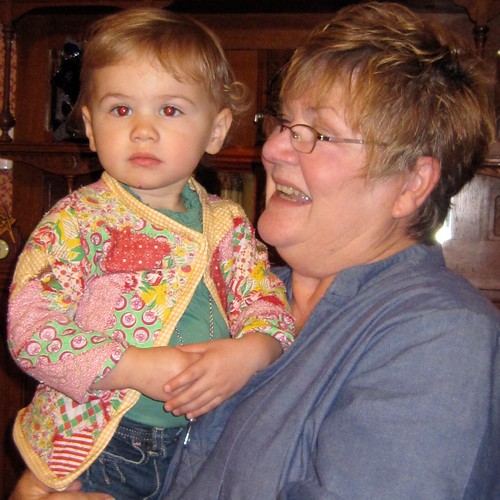
I have to give my mom the infamous Fredda Perkins most of the credit for this adorable jacket. Grandma comes to the crafty rescue yet again! I kinda want an adult size version of this jacket for me.
Craft on!Click here for today's daily giveaway!
11 comments:
love love love this idea! thanks for sharing!
This could totally be done to one of my sweatshirts that is super comfy, but not looking so hot anymore.
i love this idea. i bought a cheap kinda corny looking blanket recently and i was thinking of adding a new top cover to it, this is the perfect solution!!
This is fantastic!! What a brilliant idea! It looks like something out of a vintage boutique!! Stinking gorgeous!!! I'm making one for me and my daughter!!! LOVE it!!! :)
thanks everyone, I think I will make my mom go to the quilt show every year.
if I make myself one I am going to make it even more random. I buy scraps of quilting fabric at the thrift store and flea markets so I have tons to choose from.
This is such a wonderful idea that even non-quilters like me can do. And love the model.
This could totally be done to one of my sweatshirts that is super comfy, but not looking so hot anymore.
Awesome Tees
okay precious and the sweatshirt isn't bad either. I am into crazy quilt right now. It's my newest craft. I am going to make an adult version! Thanks for the idea. Cheers, Pattie Hartmann
Thank you very much. what a lovely idea
this is really good news and good new jacket for the grand kid
You are a Genius! Your tutorial makes it look so easy. I'm going to give this a try.
Sewed well
Post a Comment