Showing posts with label sewing. Show all posts

Tuesday, April 1

The Cat and the Canary No Sew Applique Pillow Tutorial


My sister and I are both undergoing some big changes in our home decor. We have enlisted the help of our father who is going to be building headboards and installing cabinets and a whole shebang of big time DIY. And since I can't just sit on the sidelines holding the tool bucket, I'm making pillows!

In this tutorial I'm going to show you how to make the no sew appliques that can be applied to pre-made pillow covers. If you're of the frame of mind to bust out the sewing machine, though, I can show you how to make your own for tiny bucks. Either way you slice it, you'll have some super cute and one of a kind pillows.

Thursday, November 25

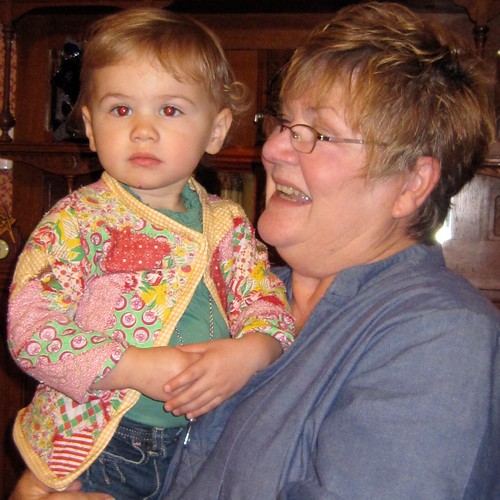
Cute Quilted Kiddo Coat


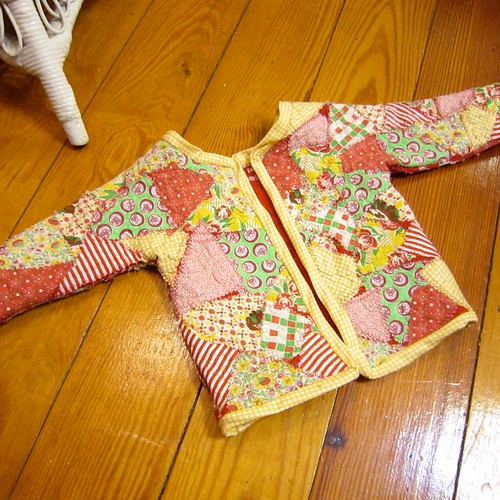
I know, I know two weeks in a row of kid's clothing - but can you really have enough? I have spent the week with my mother who has recently visited The Houston International Quilt Show, so she was busting with ideas. One of those fabulous ideas I decided to share with you today for I Love to Create.


I love the look of patchwork crazy quilts so when my mom told me about this adorable jacket she had seen made at the quilt show I was totally on board. Grab some fabric scraps and let's get busy.


SUPPLIES
Fabric Scraps
Pinking Shears
Sewing Machine
Sweat Shirt
Scissors
Aleene's No-Sew Fabric Glue
Iron
Pins
Thread
Velcro


TAKE ME DOWN TO THE TRIANGLE CITY
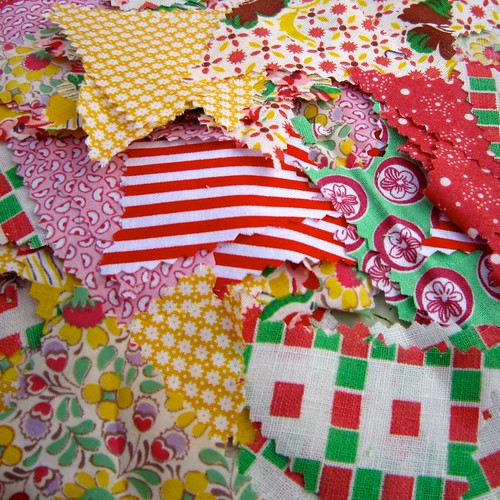
Scalene, isosceles, right - whatever kind of triangle floats your boat. I used my pinking shears and vintage feed sack fabric to cut a pile of different triangles. If you don't have feed sack light-weight quilting fabric works like a charm.


SWEATSHIRT DECONSTRUCTION
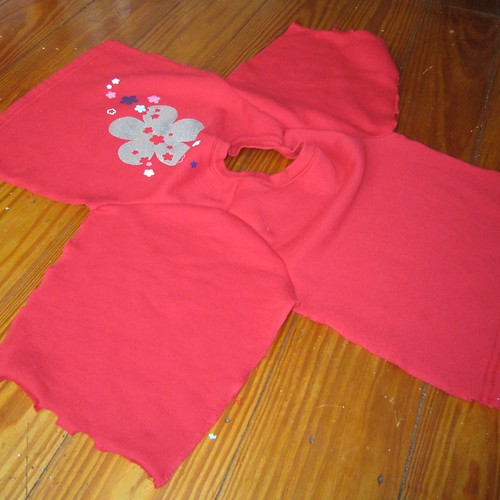
Next you are going to cut your sweat shirt up. Cut up the side seams and continue up the sleeves. Cut the cuffs and if there is a ribbed bottom cut that off as well.


PATCHWORK PARTY
Using your Aleene's No-Sew Fabric Glue place your triangles in a random pattern all over the sweatshirt. It's ok if there is a little sweatshirt peeking between the triangles. The glue will wash out, but hold your triangles in place long enough to stitch them on.


ZIG-A-ZAG-DO-DA-ZIG-A-DEE-A
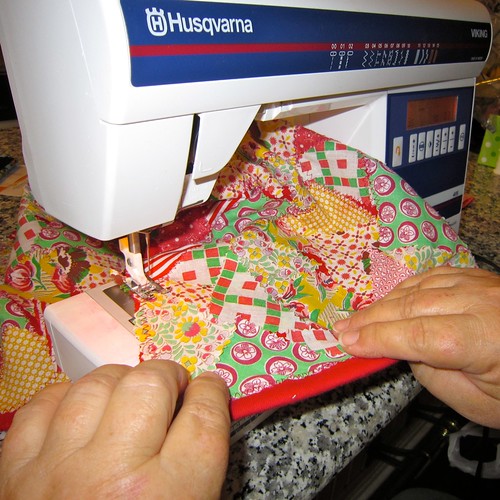
Using a zig zag stitch on your sewing machine and a contrasting thread sew all the edges of all your triangles down. Also stitch around all the edges.


LOOK MA, I'M QUILTING
Place your jacket on the sewing machine. Drop your feed dogs and using a straight stitch on your machine free quilt all over you jacket. The more random the better.


GRAB YOUR SCISSORS
Cut the ribbed neck out of your sweatshirt and cut your sweatshirt up the front.


PUT THE SWEATSHIRT BACK TOGETHER AGAIN
Pin your sweatshirt back together and using a straight stitch put it back together again. Using bias tape (we made our own) trim the edges of your jacket.


I have to give my mom the infamous Fredda Perkins most of the credit for this adorable jacket. Grandma comes to the crafty rescue yet again! I kinda want an adult size version of this jacket for me.

Craft on!Click here for today's daily giveaway!

Thursday, November 5

DIY Fabric Design


Recently I took a 3 part sewing class at Stitch Lab. For the first class we made a little drawstring bag. I brought in some fabulous vintage Barkcloth to make a pillow in class number 2. For the 3rd class we were making a skirt and I could not decide on the right fabric. Sure the stores were full of choices, but I thought it would be more fun to make my own. No, I didn’t go out and grow my own cotton and start from absolute scratch I should say I thought it would be more fun to embellish some fabric for my skirt. Today for I Love to Create I’ll show you what I came up with.

SUPPLIES
Black and White Cotton Fabric
Sponge Roll Brush
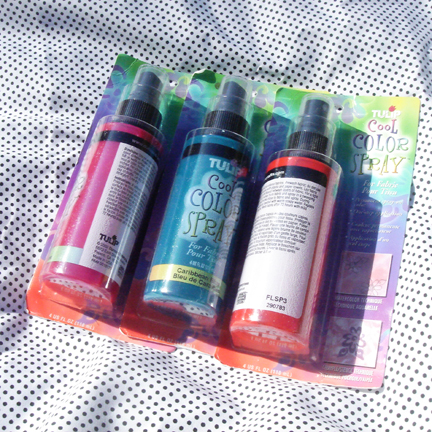
Tulip Fabric Spray Paint
Stencil 101 Décor
Tulip Slick Fabric Paint


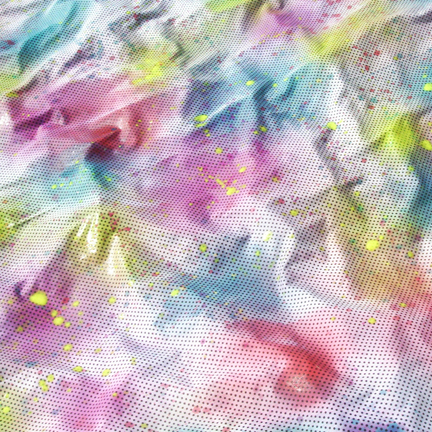
The first thing I did was snag a few yards of black and white polka dot fabric. I thought it would be a nice back drop. Next I spread my fabric out in the yard and emptied a few bottles of Tulip Cool Color Spray onto the fabric in a random pattern. My pumping finger was sore for days, but the effect was worth it.
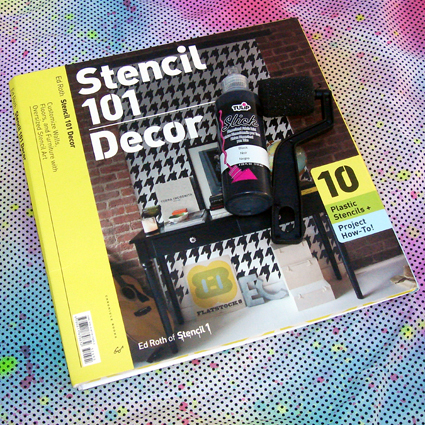

Chronicle Books had recently sent over a copy of Stencil 101 Décor: Customize Walls, Floors, and Furniture with Oversized Stencil Art for me to review. You might recall from my Raised in Craftivity and I Love to Create: Stencil 101 that I am a bit of an Ed Roth fan. I am still trying to find just the right piece of home décor to embellish with the stencils, but in the meantime I thought I would use one on my skirt. The book is full of several cool choices like birds, butterflies, circles, hounds tooth and more. I also love that new patterns are plastic which makes for super easy clean up. I always wondered how people who stenciled walls got the patterns to line up so perfectly and after reading Stencil 101 Décor I now know all about handy dandy registration marks.
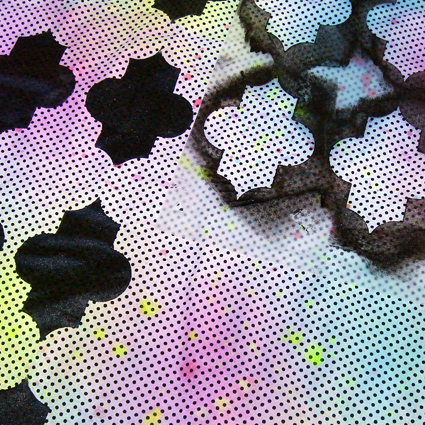

Armed with my stencil, pencil, foam roll brush and some Tulip Slick Fabric Paint I spread the dyed fabric out on a flat surface and got busy. The stencils are large squares so it went quickly. I allowed the print to dry completely.


After that my fabric was ready for sewing class. The material worked perfect for my drawstring A-line skirt and I was pleased as punch with the results!


I just so happen to have enough fabric and enough time in class left to whip up Tallulah a matching version!
Clicky Web Analytics
Pin It button on image hover

Subscribe to our newsletter

* indicates required
I am interested in products and inspiration for...
Close