Showing posts with label tulip fabric paint. Show all posts

Monday, September 29

Go Pink! Breast Cancer Awareness Shirt


Each year our high school dedicates one varsity football game during the season to those battling cancer. It's called the Go Pink game and encourages everyone to wear pink to show their support, and also sells gear (shirts, hoodies, bracelets, etc) with proceeds going to one recipient. This year the Hand Family was our recipient as their 10-year old daughter Hailey is fighting Acute Lymphoblastic Leukemia.

Tuesday, June 10

Strapless Chevron Dress DIY

Do you ever just need that quick dress that will go anywhere
 from the beach to a night out. 
Well I did  and I needed it in a hurry, so I made one out of two T-shirts. 
Then I dressed it up with a little Tulip Fabric Paint.

Tuesday, April 15

Sweet Chambray Sneakers Tutorial


I love sneakers and the cheaper the better, I say. Since I go through shoes hard and fast there is no reason to spend 50 bucks on a pair of name brand sneaks that are going to be hitting pavement so hard that they are worn out in a month or so. And when I saw these cheapies over at Wal-Mart for less than $6, I knew just what to do!


Tuesday, March 25

How to Stamp a Circle Shirt using Fabric Paint

Hey everyone, Tanner Bell here! I'm so excited to be joining the iLovetoCreate blog team. It's going to be so much fun. Today I am sharing with you a video tutorial of how to recycle items around your home to make a fun DIY Circle Pattern Shirt. Start gathering pencils and toilet paper rolls now, because you'll be using them as stamps in this project! 

Monday, December 23

DIY Printed Holiday Wrapping Paper


With just one day left until Christmas it’s time to make some Printed Wrapping Paper and get those gifts under the tree! Using the cute letter stencils, paints and glitter from Tulip you can add fun holiday messages and personalize any gift. Add some ribbons and bows and you’re all set!

TOOLS & MATERIALS:
Kraft paper 
Scissors

step 1
Layout your kraft paper on a flat surface and measure the package that you want to wrap, make sure that  you leave some extra room just in case.

Mark off the space that you will be painting.

step 2
Lay your stencils on your kraft paper.

Using your pouncer, paint inside your stencil.

step 3
Before your paint is dry, sprinkle your glitter on top of the letters you want to add glitter to.

Let dry and shake off any extra glitter.

Now, it’s time to wrap your packages! 

Have fun and customize your packages with your letters. Add fun and festive messages. 

Happy wrapping and Merry Christmas!

There's still time to make some quick gifts, to see some fun fashion DIY’s check out my blog at Trinkets in Bloom.

xoxo
Cathy

Wednesday, December 18

UP Inspired Decor


I am constantly getting inspired by the things around me. Whether it's something from the present or 8 years ago. The great thing about being a craft blogger is when you get struck with inspiration a craft tutorial magically appears.  Well, not magically but the process sure feels like magic I tell ya. I am super excited about today's post and I am sure you will be too. I will share with you 3 different ways to use this UP inspired decor.
Let's get started!

Tuesday, December 17

Santa Sacks

 I thought it would be fun this year to have a special way to wrap the presents that are from Santa, so I made these "Santa sacks" to put under the tree for my boys.  You can make these even if you don't sew.  How?  It's a pillowcase.  Easy peasy.

Tuesday, September 24

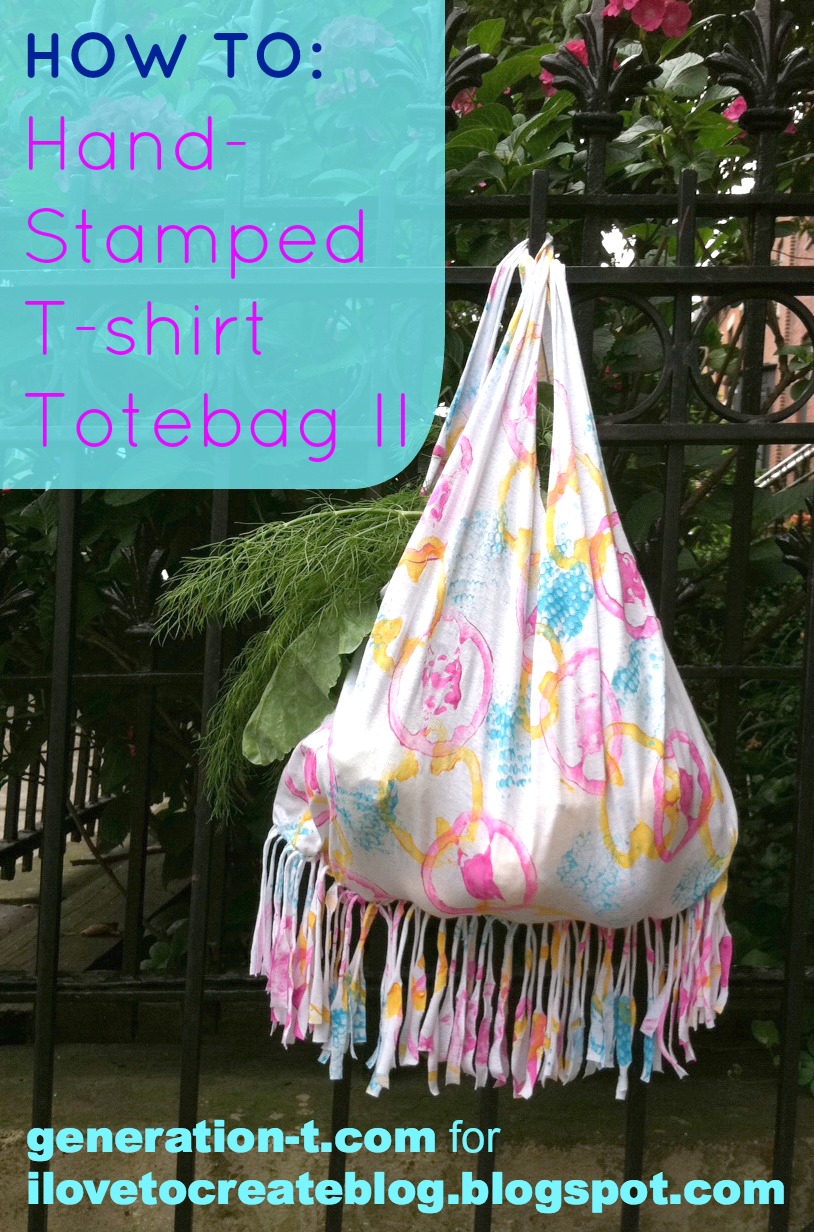
Hand-Stamped T-shirt Totebag II (The Sequel: with Veggies!)

When you're talking fruit and vegetable stamping, a change of seasonal harvest can herald a whole new palette of patterns and textures to print with. And with them, a whole new no-sew T-shirt totebag tutorial -- this time, with fringe! Before the summer fruits and veggies officially relinquish their harvest reign to the autumn root vegetables (reminder: potato printing=boring!), see what you can scavenge from the last of the September haul to make some colorful T-shirt prints -- and a sturdy T-shirt tote to bring to next weekend's farmers market! Behold, this fall's hottest accessory (see this summer's no-sew tote here)....

Wednesday, August 21

Chevron Ombre Pillow Case

I've never been happier about gas than I am right now. I don't usually get excited when I hear the work chevron because all I seem to think about is the big bold red and blue shape that takes all of my moolah.  However there is one thing I get really excited about and that is fabric paint. You can do so many great things with tulip fabric paint! Shapes, patterns and designs that are in your head can finally come to life. No special orders, no waiting for someone to make it, just you and the paint. That is all you need to create fun awesome things! Today we are making a chevron ombre pillow case that you can throw on a bed, couch or outdoors like I did.
1,2,3 LET GO!

Tuesday, July 16

DIY Jeans with Printed Cuffs


Sometimes a simple solution can be the best, I love the subtle color and pattern on these DIY Jeans with Printed Cuffs. For those who don’t want to wear an allover printed pair of jeans this is a perfect solution. A subtle pop of color at the ankles adds an unexpected touch and just the right amount of color. Combine them with this seasons brightly colored jeans, you'll have a fun and on trend pair of DIY Jeans with Printed Cuffs.

Tuesday, July 9

Logo Bag to Fun Tote

Bags and totes are a lot like shoes; you can never have too many of them.  While I enjoy a free bag, I don't necessarily like bags with big logos or advertising on them.  So, here's a simple solution to make a logo bag into a fun, useable tote.

Wednesday, May 8

How to Make DIY Mondrian Fabric

Have you ever made your own custom fabric that's totally all your own?  In our studios, we make our own custom fabrics all the time!  One design we love is the Mondrian-inspired fabric that designer Lauri Eaton creates using Tulip Soft Paint and masking tape.  It turns out so cool and uber modern.  You might just want to make your own for custom upholstery jobs like the chair above or to cover pillows or lampshades. Here's how you do it!
What you need: 4 oz Tulip Soft Paints in colors of your choice
– 1 to 2 yards of white fabric (we used white canvas for ours)
– 1 inch and 1/4" rolls of masking tape
– Large paintbrush
– foam or paper plates for paint palettes
– Large table or space to lay out your fabric
Before you begin: Pour your paints onto your plates so you have a handy palette for each color.  Also iron your fabric and lay it flat onto your surface. Secure it in place with your masking tape.
Now you will want to start taping! Unroll your tape and arrange in random diagonal shapes. Get artful with the placement of you wide and thin strips of tape.
Start to fill in each taped area with paint.  Lauri chose to alternate colors as she went, so that colors were evenly distributed all over the fabric.  Make sure to be careful and stay within the tape lines for the most precise look!
This is what the fabric looks like right before it was finished. As you can see, Lauri used the colors sparingly, while black was the main color distributed all over the fabric. This makes the color pops even more dramatic!  Once you are finished painting and before it is completely dry, you will want to start removing the tape.  If you let the paint dry totally, sometimes parts of the tape will want to stick to the fabric when you peel it away.
Now the fun part!  The reveal!  Lauri pulls the tape off of the fabric. Just be careful not to get paint from your fingers or excess tape onto the white parts of the fabric. Keep a trash can handy to immediately throw the tape away! Let the fabric dry completely 4-6 before you wash.

Here's the final product in use on this awesome chair Lauri made. For the full Mondrian-Inspired Chair here.

What project would you like to try using this awesome fabric painting technique?

Tuesday, April 23

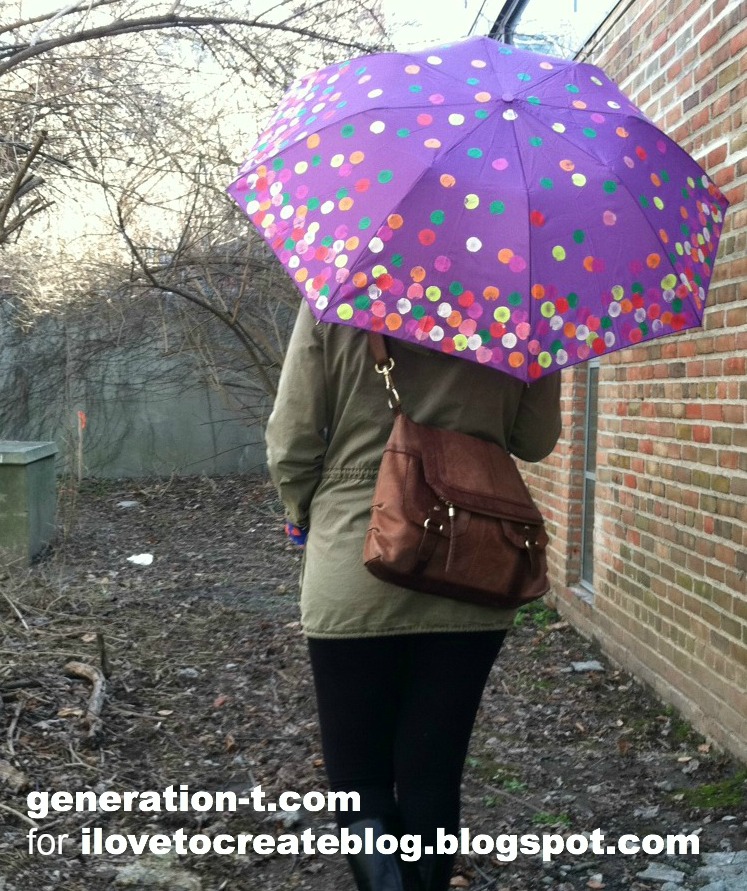
Decorate an Umbrella with Fabric Paint!


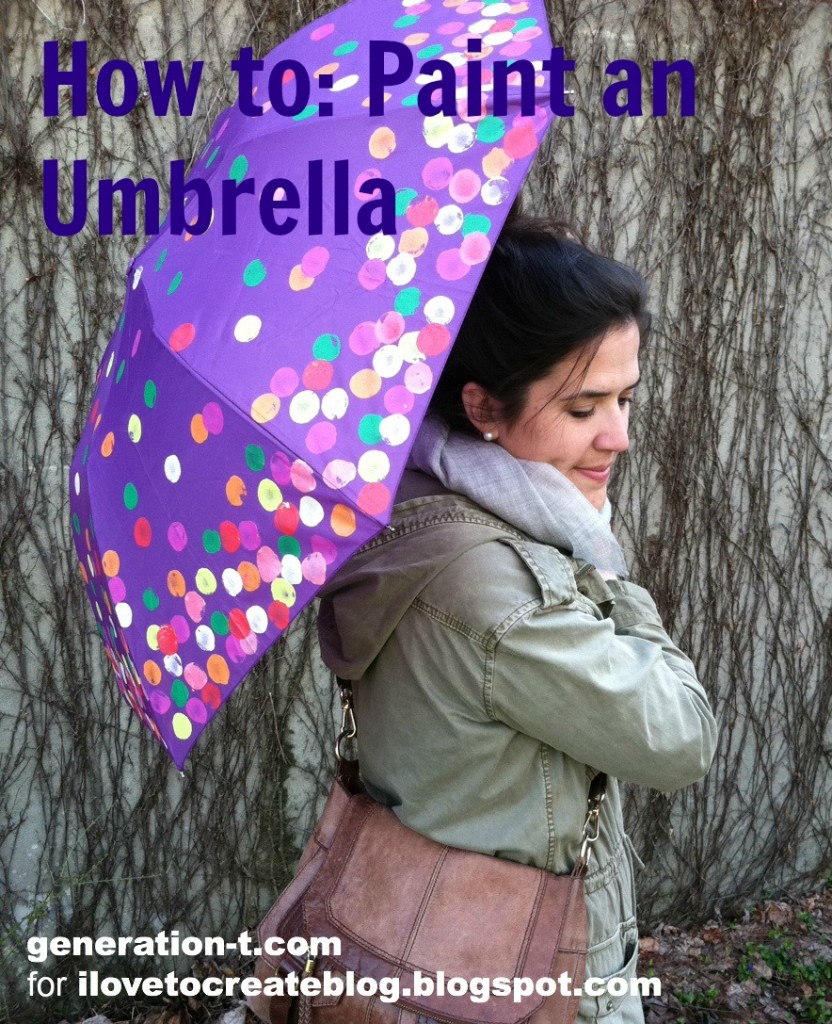
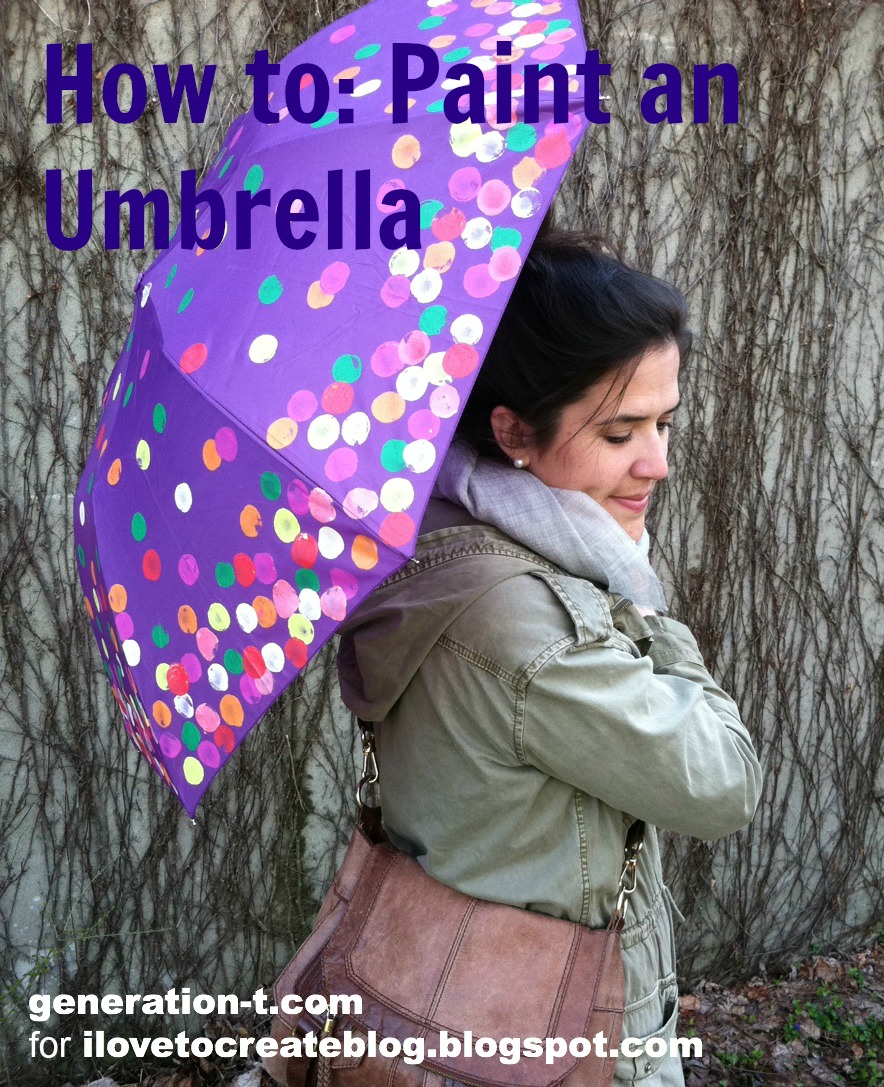
They say that April showers bring May flowers. And in some parts of the country this year there've even been April flurries to herald in the blooms! While Mother Nature keeps us on our toes, here's a colorful springtime project that really brings the flowers when it rains. It's just one of a slew of ways to decorate an umbrella with paint (because let's face it, sometimes a purple umbrella isn't quite bright enough). It's part pop art (a gumball machine!), part impressionism (Monet's gardens at Giverny) -- and a whole lot of color to brighten any dreary day! We often think of fabric paints in the context of T-shirts and other wearables, but it's fun to experiment with paint on other fabric-based surfaces: embellished pillows, couches, canvas director chairs, curtains, and...umbrellas!
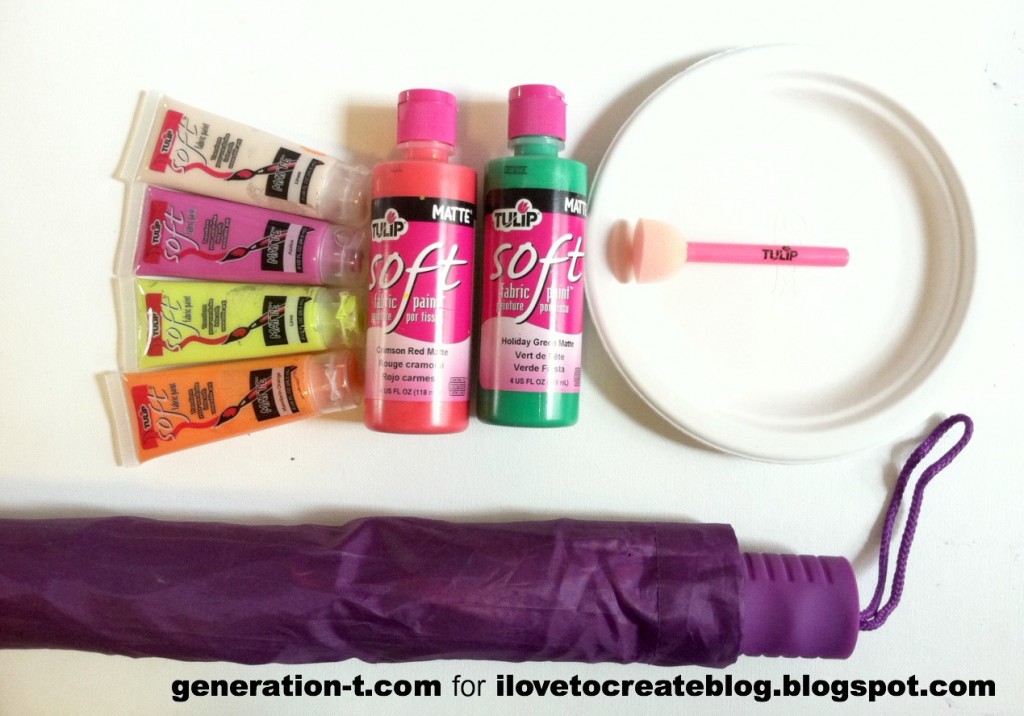
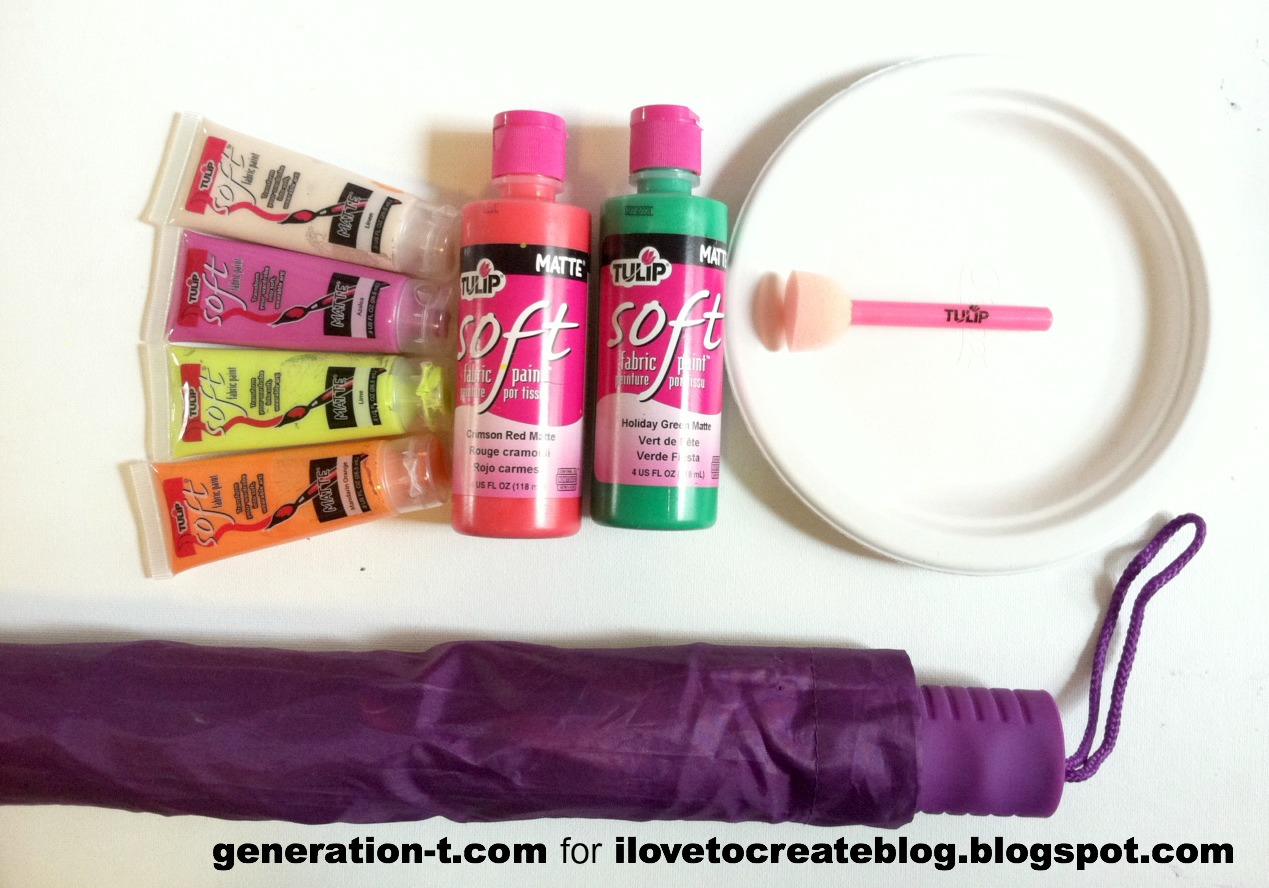
What you need:
-a plain umbrella
-Tulip Soft Fabric Paint in a variety of colors 
(I used Azalea, Lime, Mandarin Orange, Linen, Crimson Red Matte, and Holiday Green Matte)
-Tulip Sponge Pouncers (foam paintbrushes)
-paper plate (to use as a paint palette)

Check out the how-to video I did for About.com, or scroll down to follow the step-by-step photos.

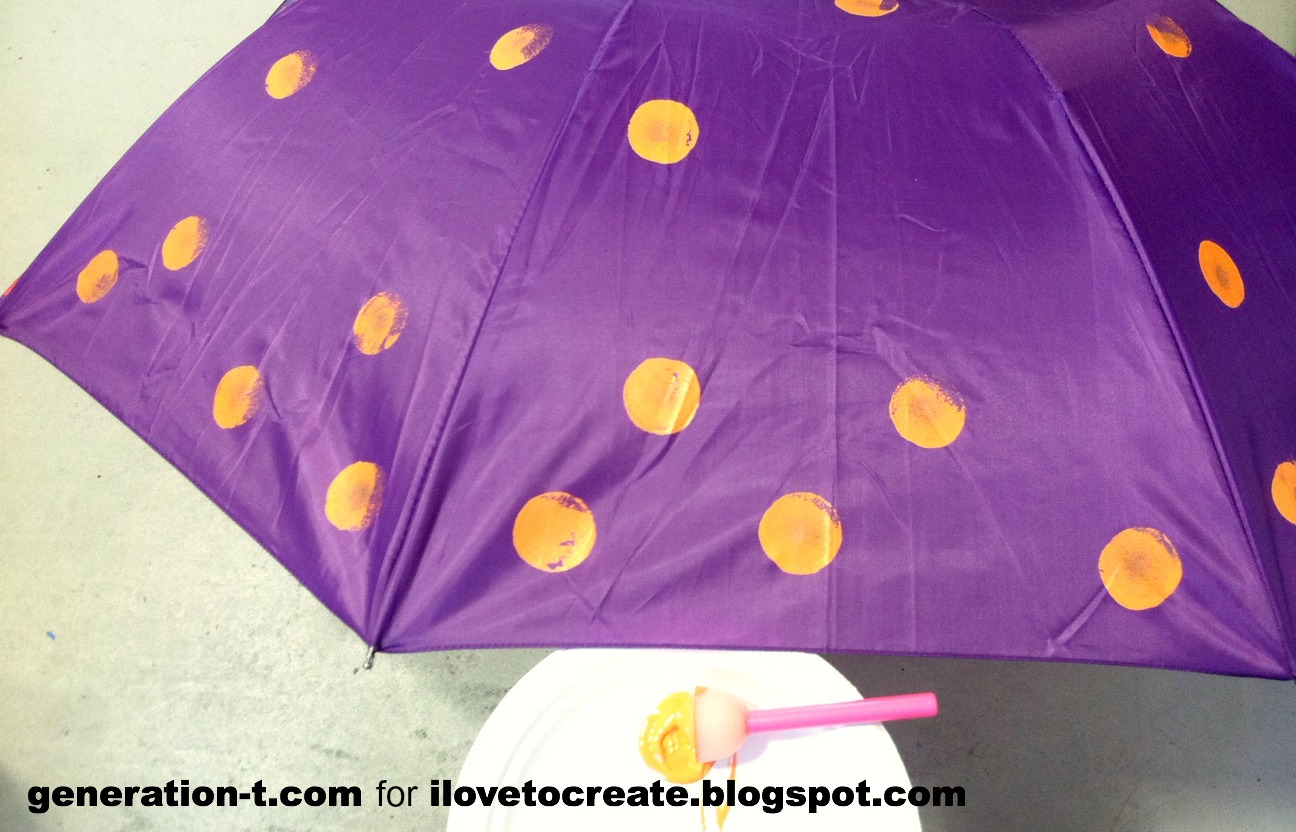
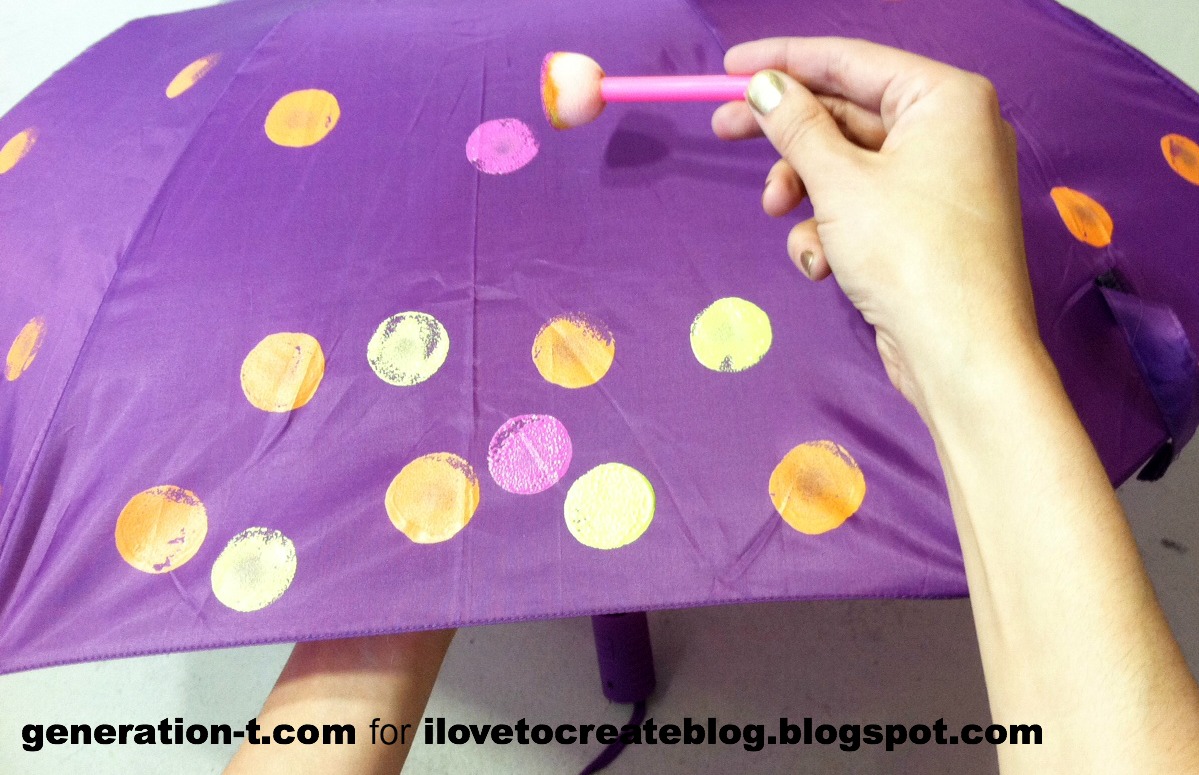
Open the umbrella (I know it's considered bad luck, but you'll have to get over it -- or take the project outside if the weather's nice!). Squeeze one paint color onto your palette and use the pouncer to start making dots around the perimeter of the umbrella. Make them close together at the bottom of the umbrella and space them farther apart toward the top.
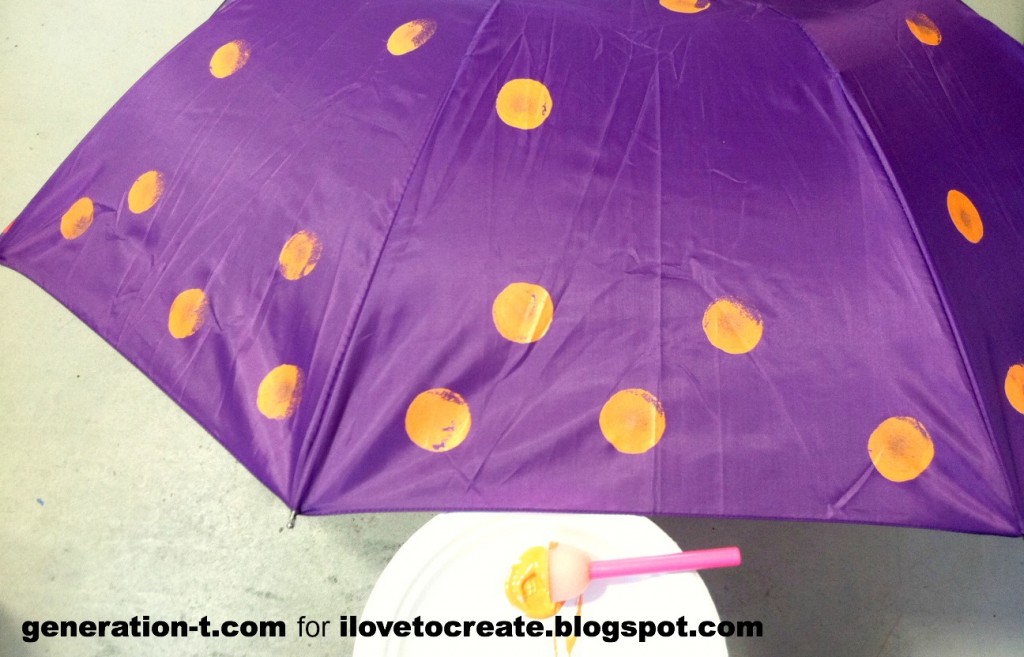
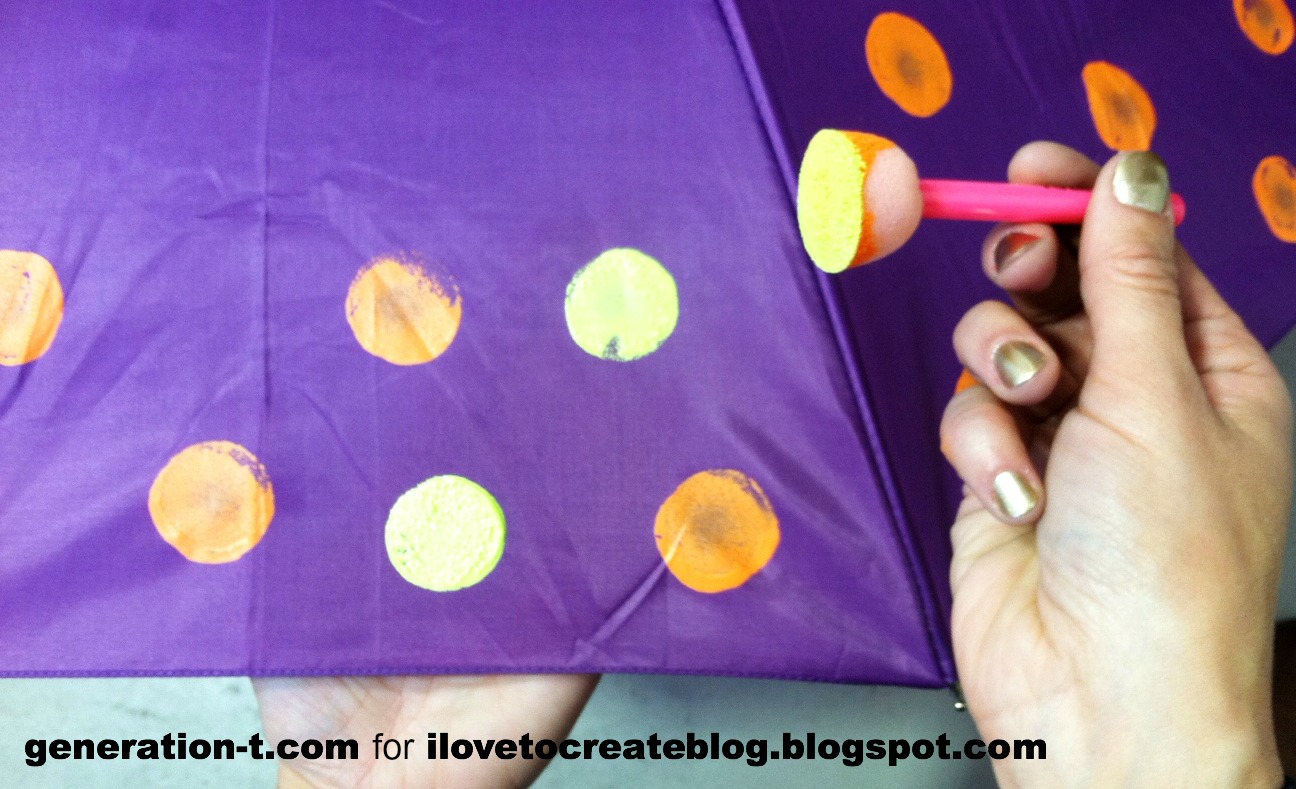
Wash and dry the pouncer before changing colors, or start with a fresh brush. Squeeze out a new dollop of paint and press dots around the base of the umbrella, interspersed with the first color. Reinforce the fabric surface on the inside of the umbrella with your other hand (just slide it under, palm up).
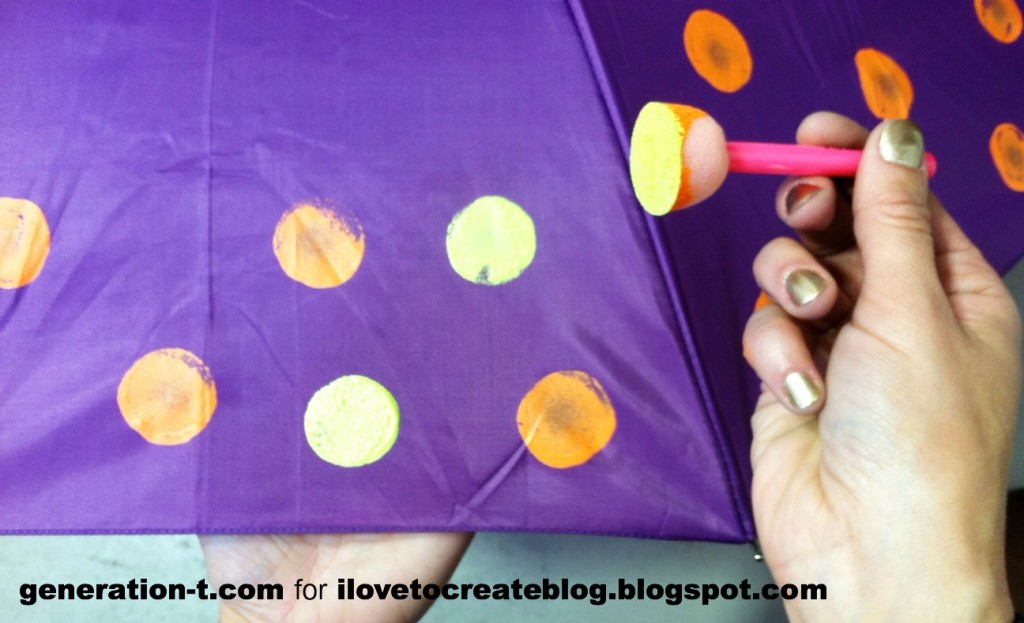
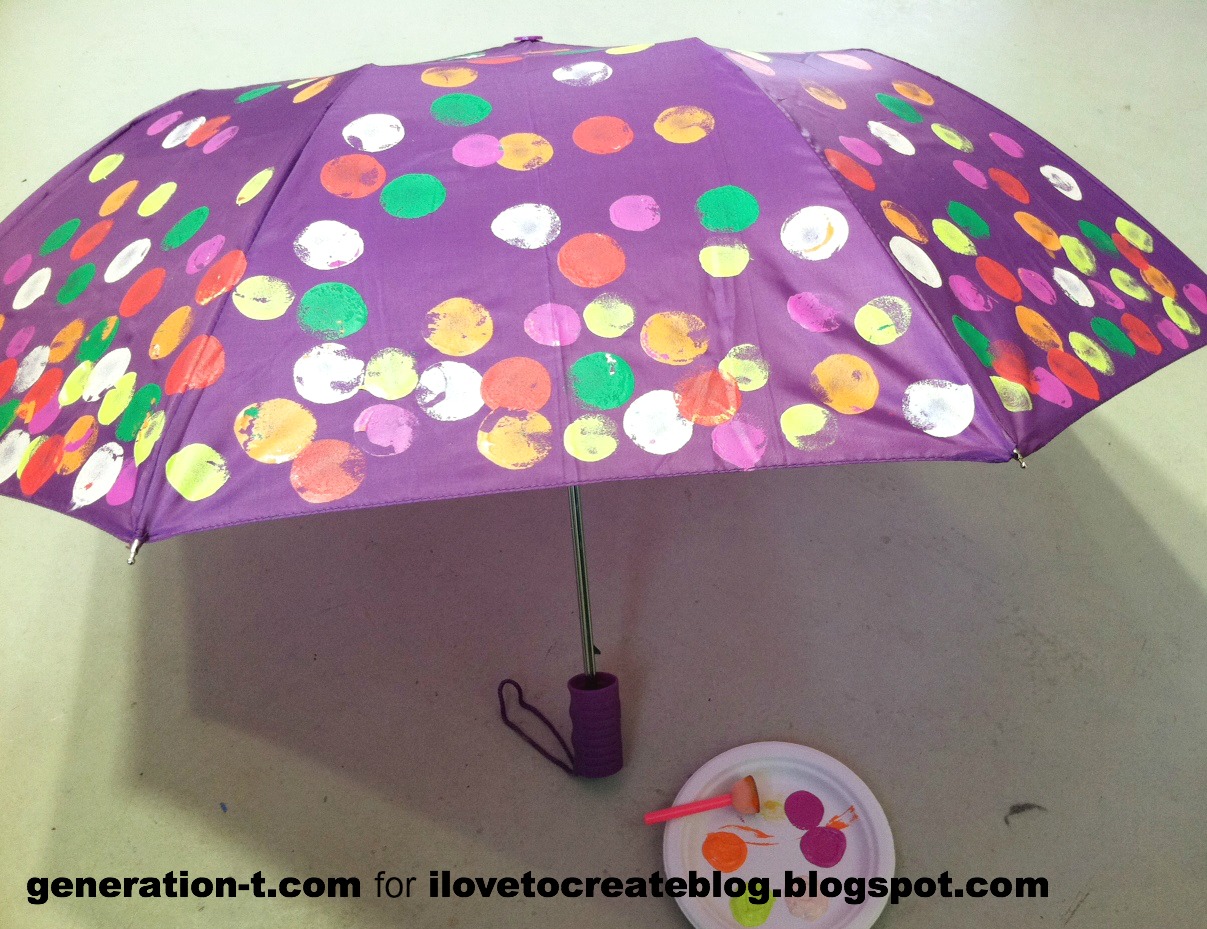
Continue to add colors the same way, and your "garden" will grow more and more lush. It's repetitive, but incredibly meditative, too!
When you've added all of your colors, let the umbrella fabric dry completely. Now that you've completed this "rainy day activity," you can take part in a new one: go outside with your umbrella and jump in the puddles!
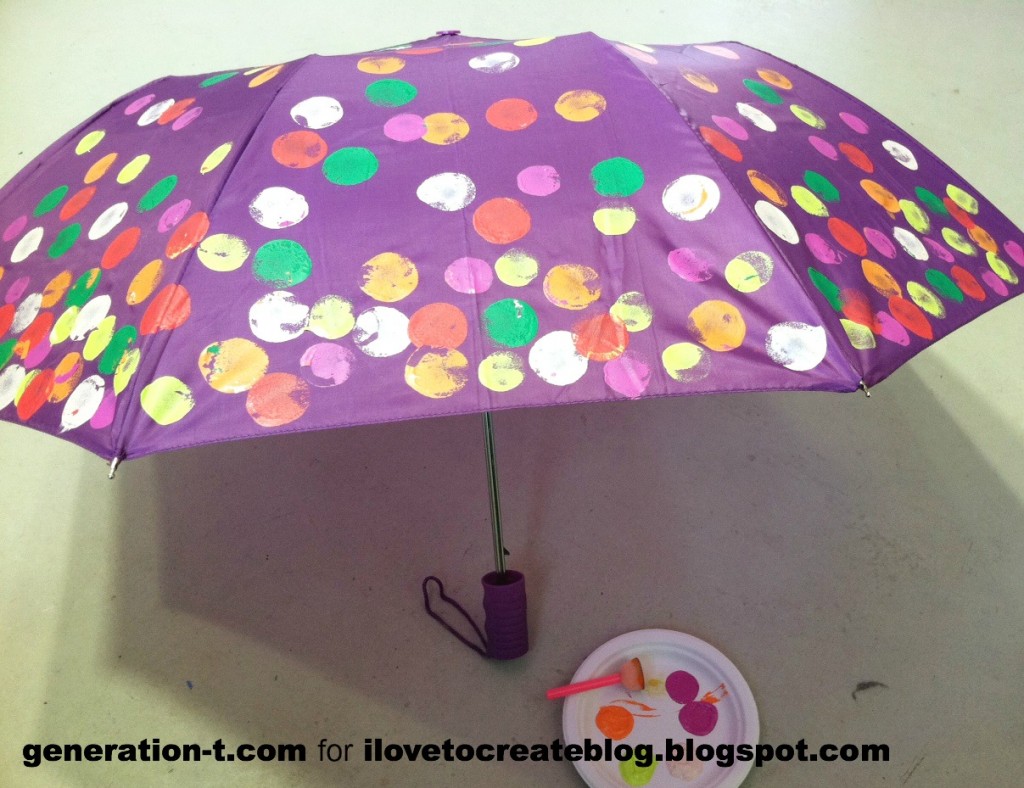
It's a nice vibrant splash of color while we wait for the flowers to poke through.


Tuesday, April 9

R2D2 Toms Tutorial


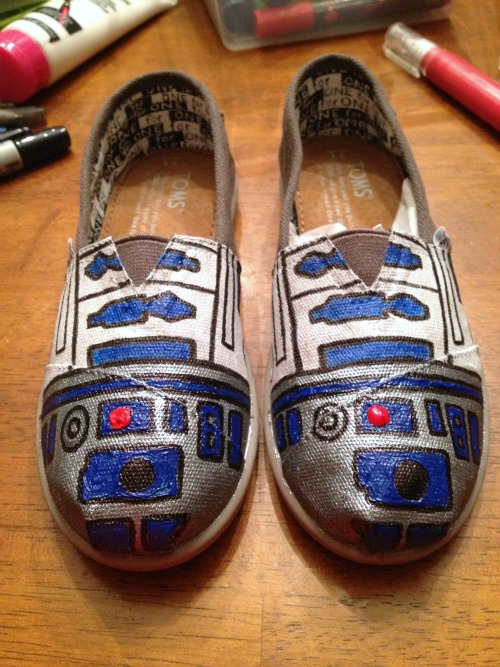
While I was perusing pinterest the other day I came upon some hand-painted R2D2 Toms.  I knew my boys would flip over them and I already had some gray plain Toms for one of them.  They were destined to become R2D2 Toms and I set out to make some myself.
I pulled out the Toms and some pictures of R2D2 to look at while painting.


I taped off the front half of the shoe and used my Tulip soft fabric paint in metallic silver to paint the toes.


Then I painted the upper half white.


I used my Tulip fabric markers to draw in the shapes.


 I used the blue marker to color in the shapes.


The blue worked really well on the white, but it didn't show quite as well over the silver, so I got out my 3-D paint pens for the rest.


After the paint dried I went back and outlined all the black one more time and called them done.


Now I just have to wait for my son to wake up and see them all done in the morning.  I can't wait!
Clicky Web Analytics
Pin It button on image hover

Subscribe to our newsletter

* indicates required
I am interested in products and inspiration for...
Close