Showing posts with label Tulip Fabric Paint Brushes. Show all posts

Wednesday, September 17

Halloween Burlap Pillows

With Halloween right around the corner I think it's time for us to start decorating our home! I am madly in love with burlap so when I love to Create came out with these burlap pillows my heart dropped to the bottom of the earth. Literally. OK, fine not literally but you get it right! There is something about a prickly pillow that makes me feel all warm and cozy. Maybe it's the fact that burlap kinda smells like a barn or feed store. I may be crazy but what can I say burlap is the bomb. Today we are making some fun and quick Halloween pillows so let's get started. 

Tuesday, July 23

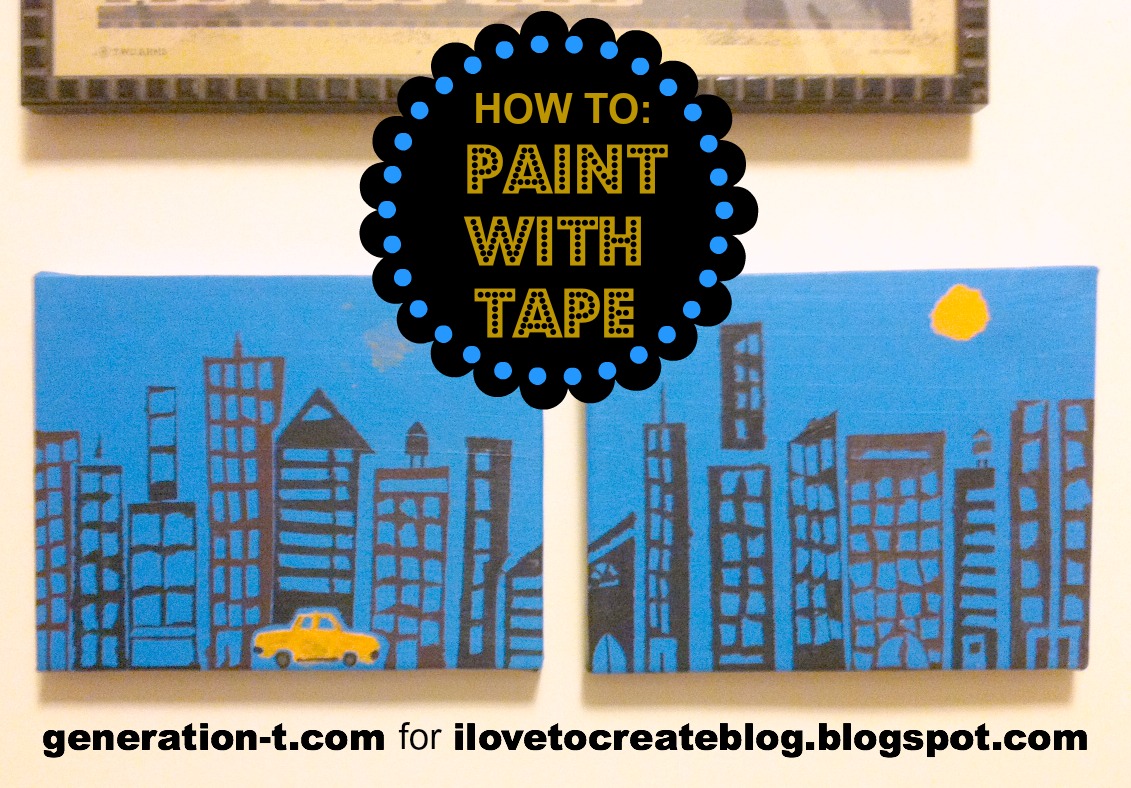
How to: Paint a Cityscape with Tape

Though my motivation was nursery decor (inspired particularly by my son's love for taxis and trucks -- hey, we live in Brooklyn!), this technique could easily be applied to any shapes that benefit from a grid-like treatment -- like robots, or alphabet tiles, or basic shapes. I was inspired by the geometry of the landscape where we live, but your cityscape could be urban or rural (or suburban, for that matter!). The tape technique works like any resist--I love the batik-like result, and the effect, as I mentioned, could be applied to any subject matter, to suit any room in the house!

Tuesday, May 24

DIY Necktie for Dad!

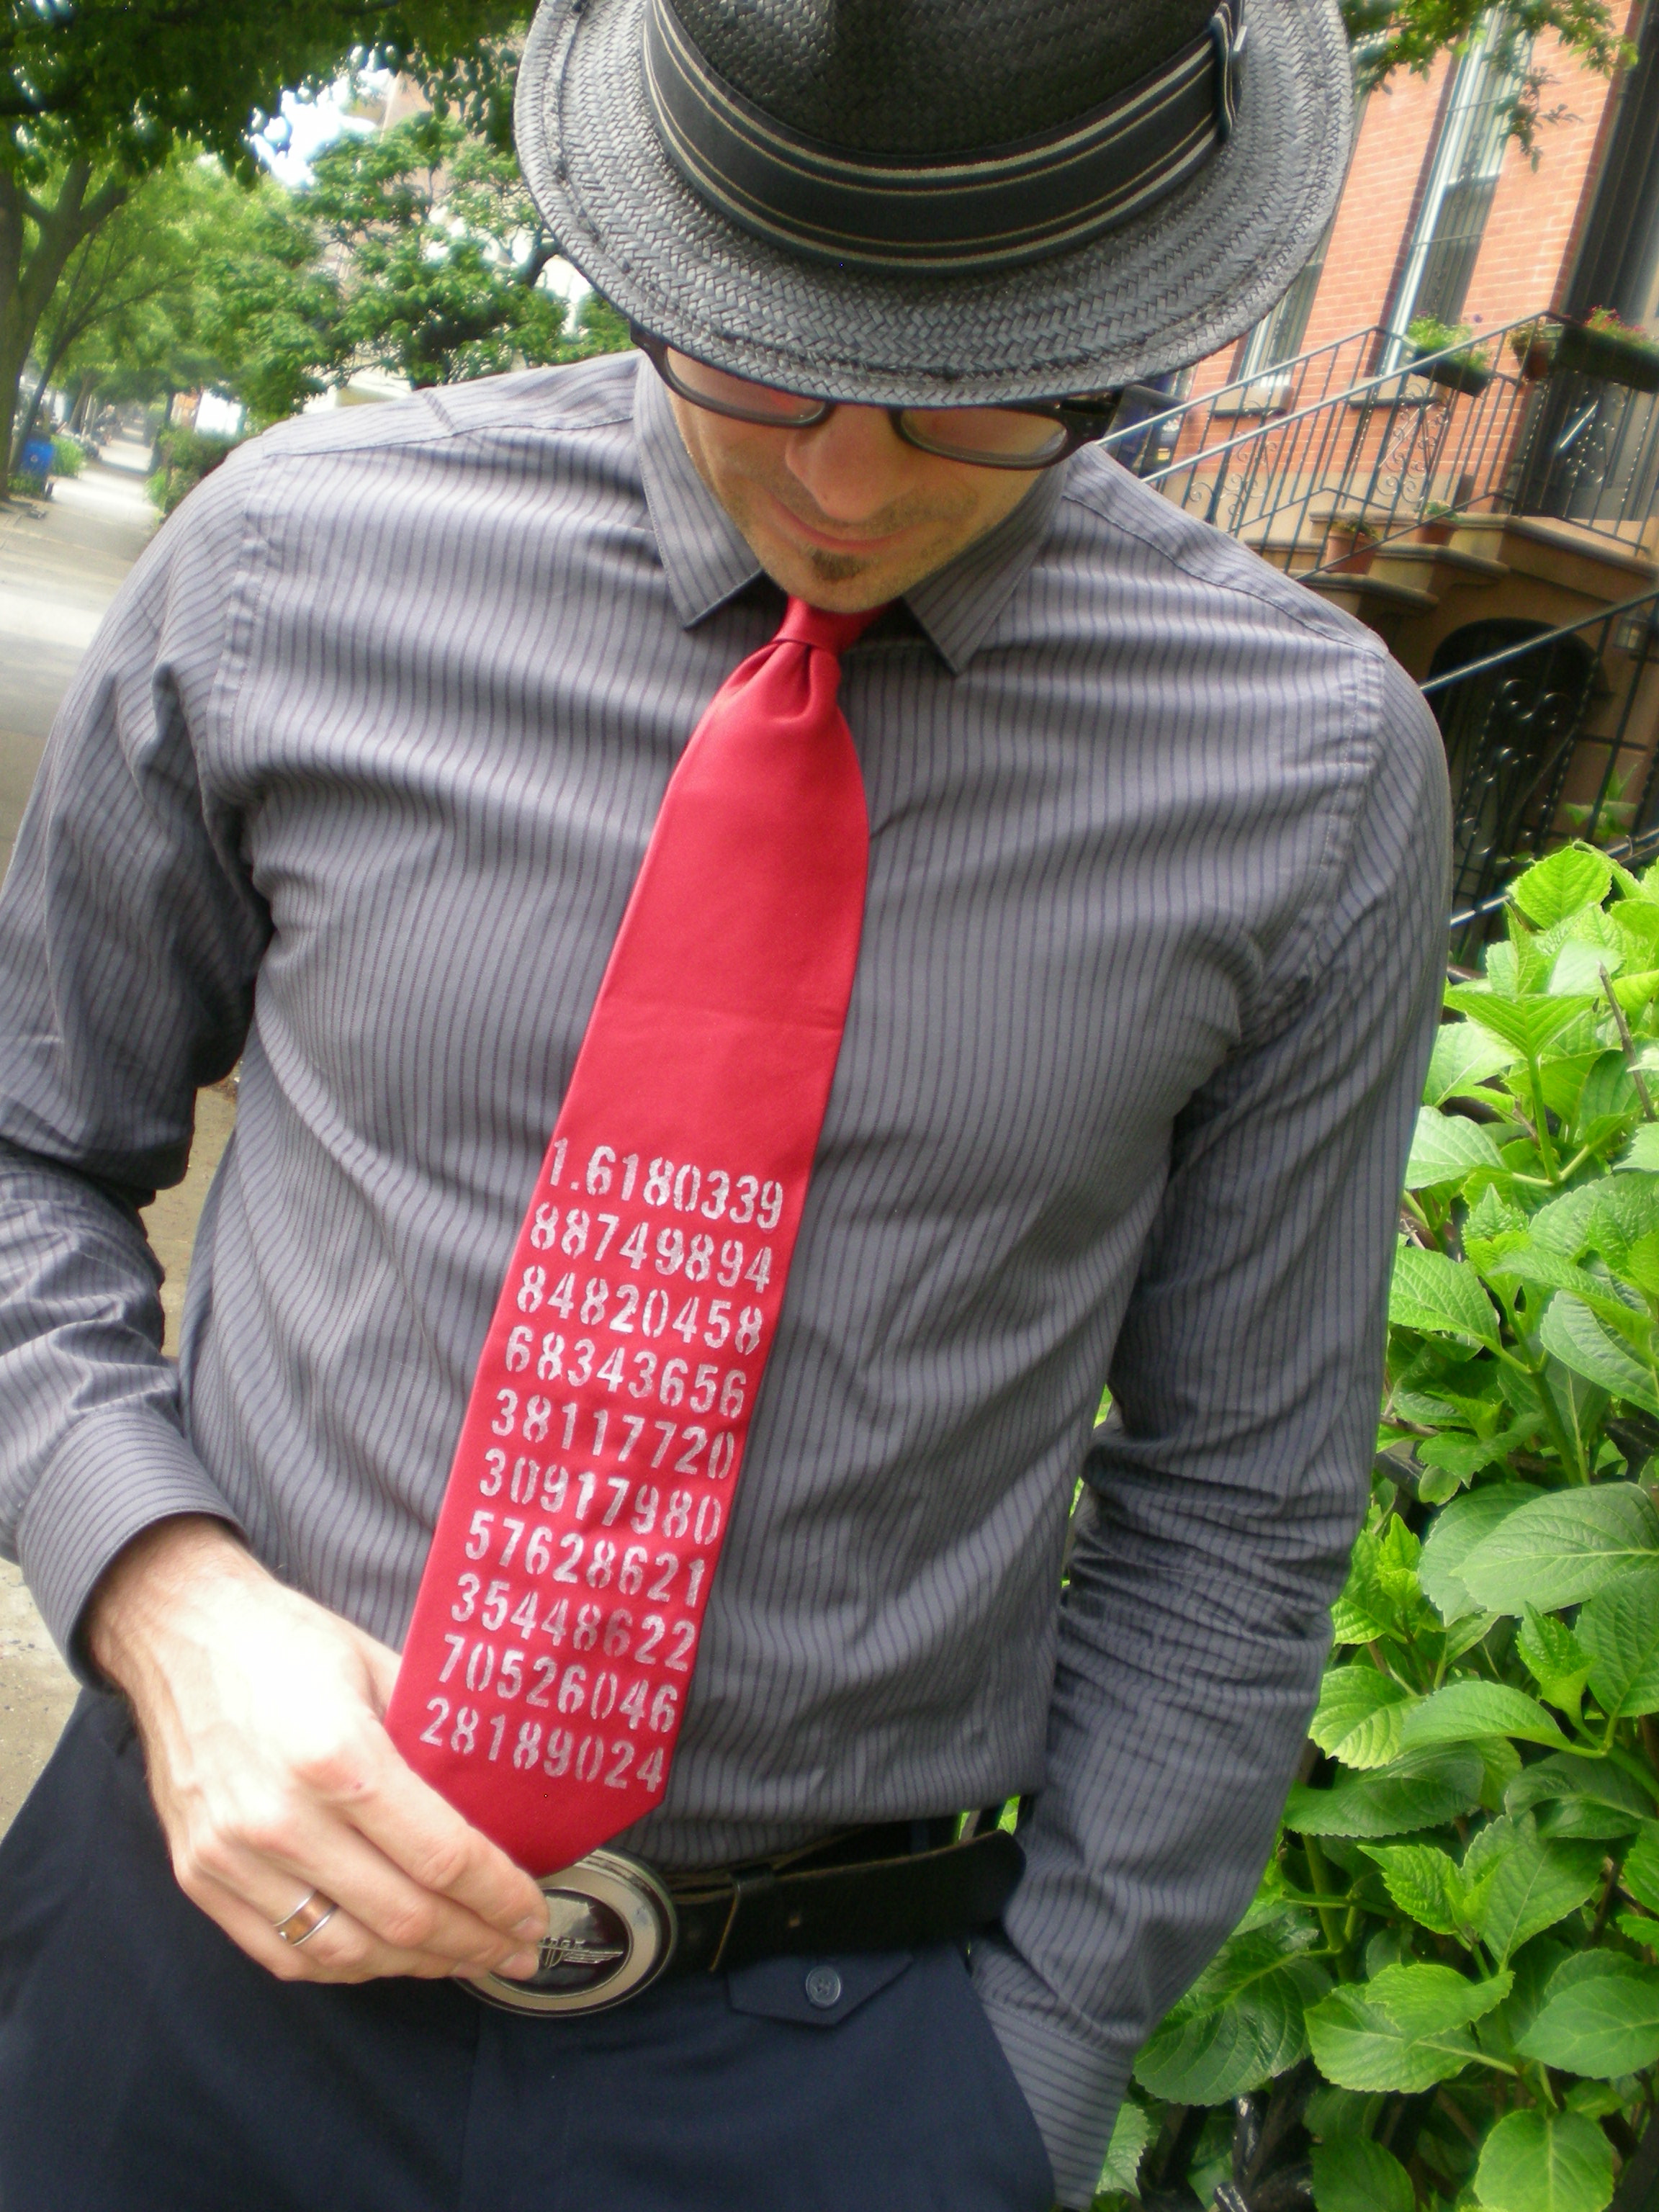
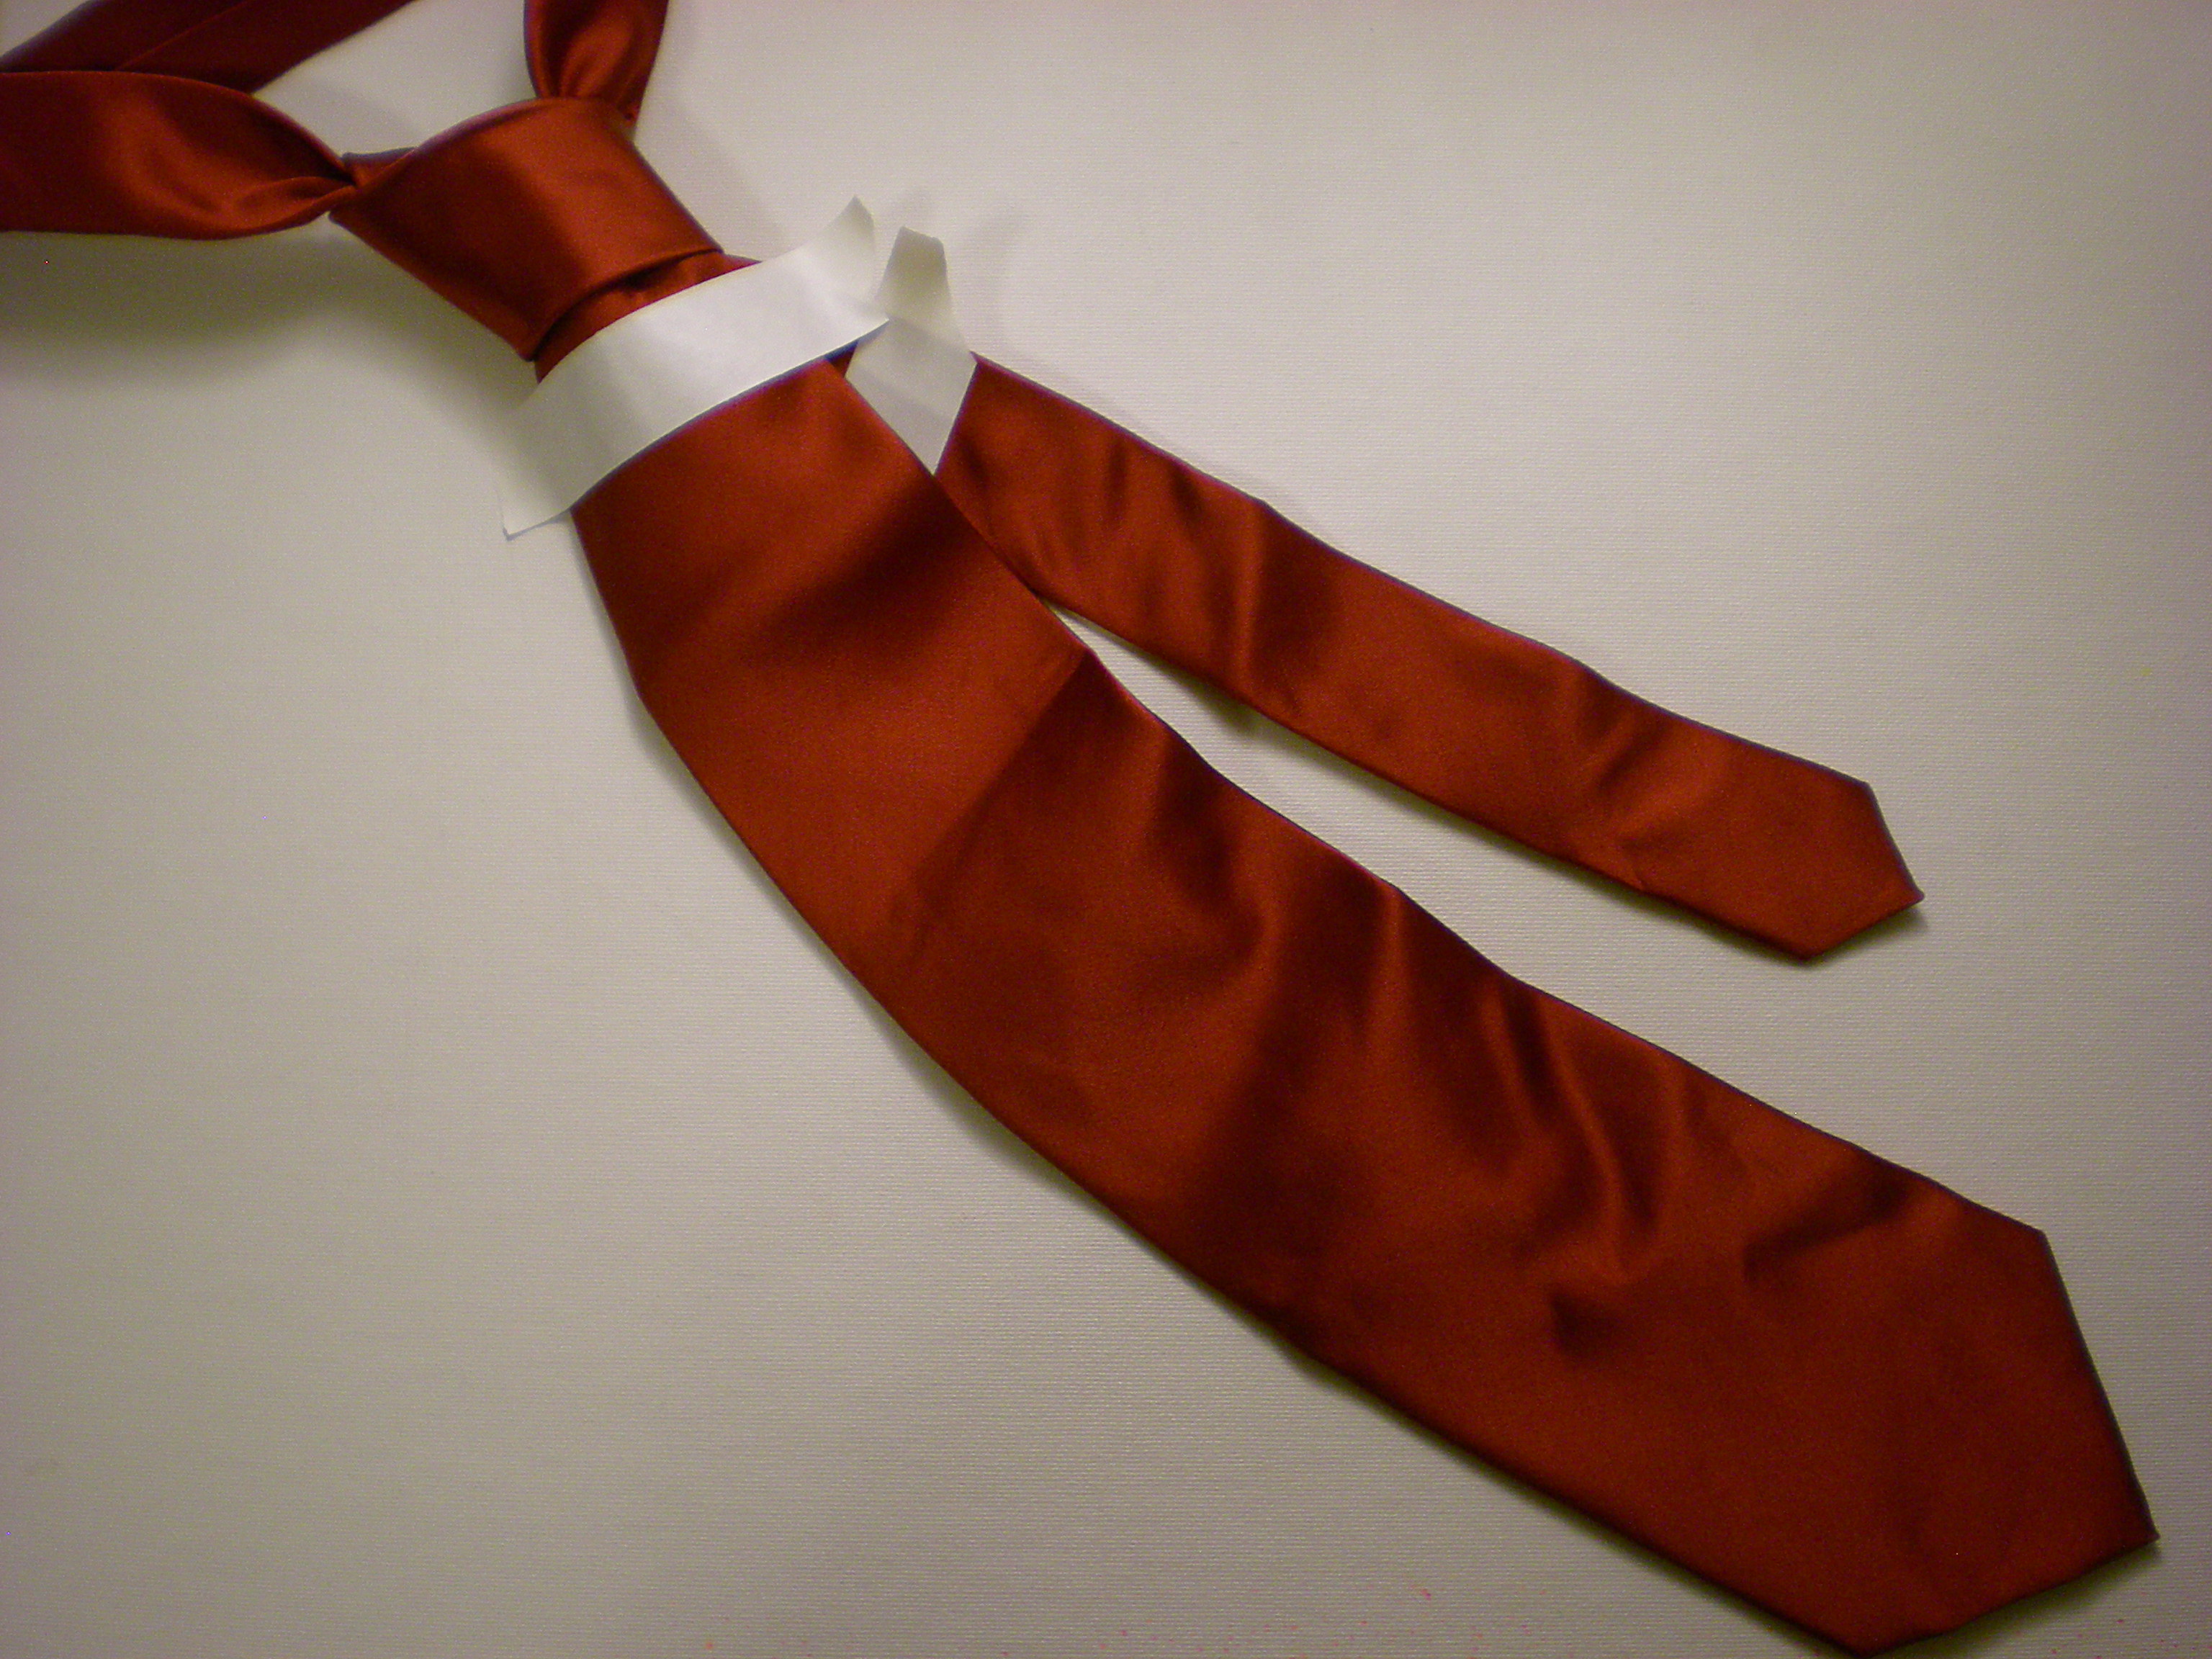
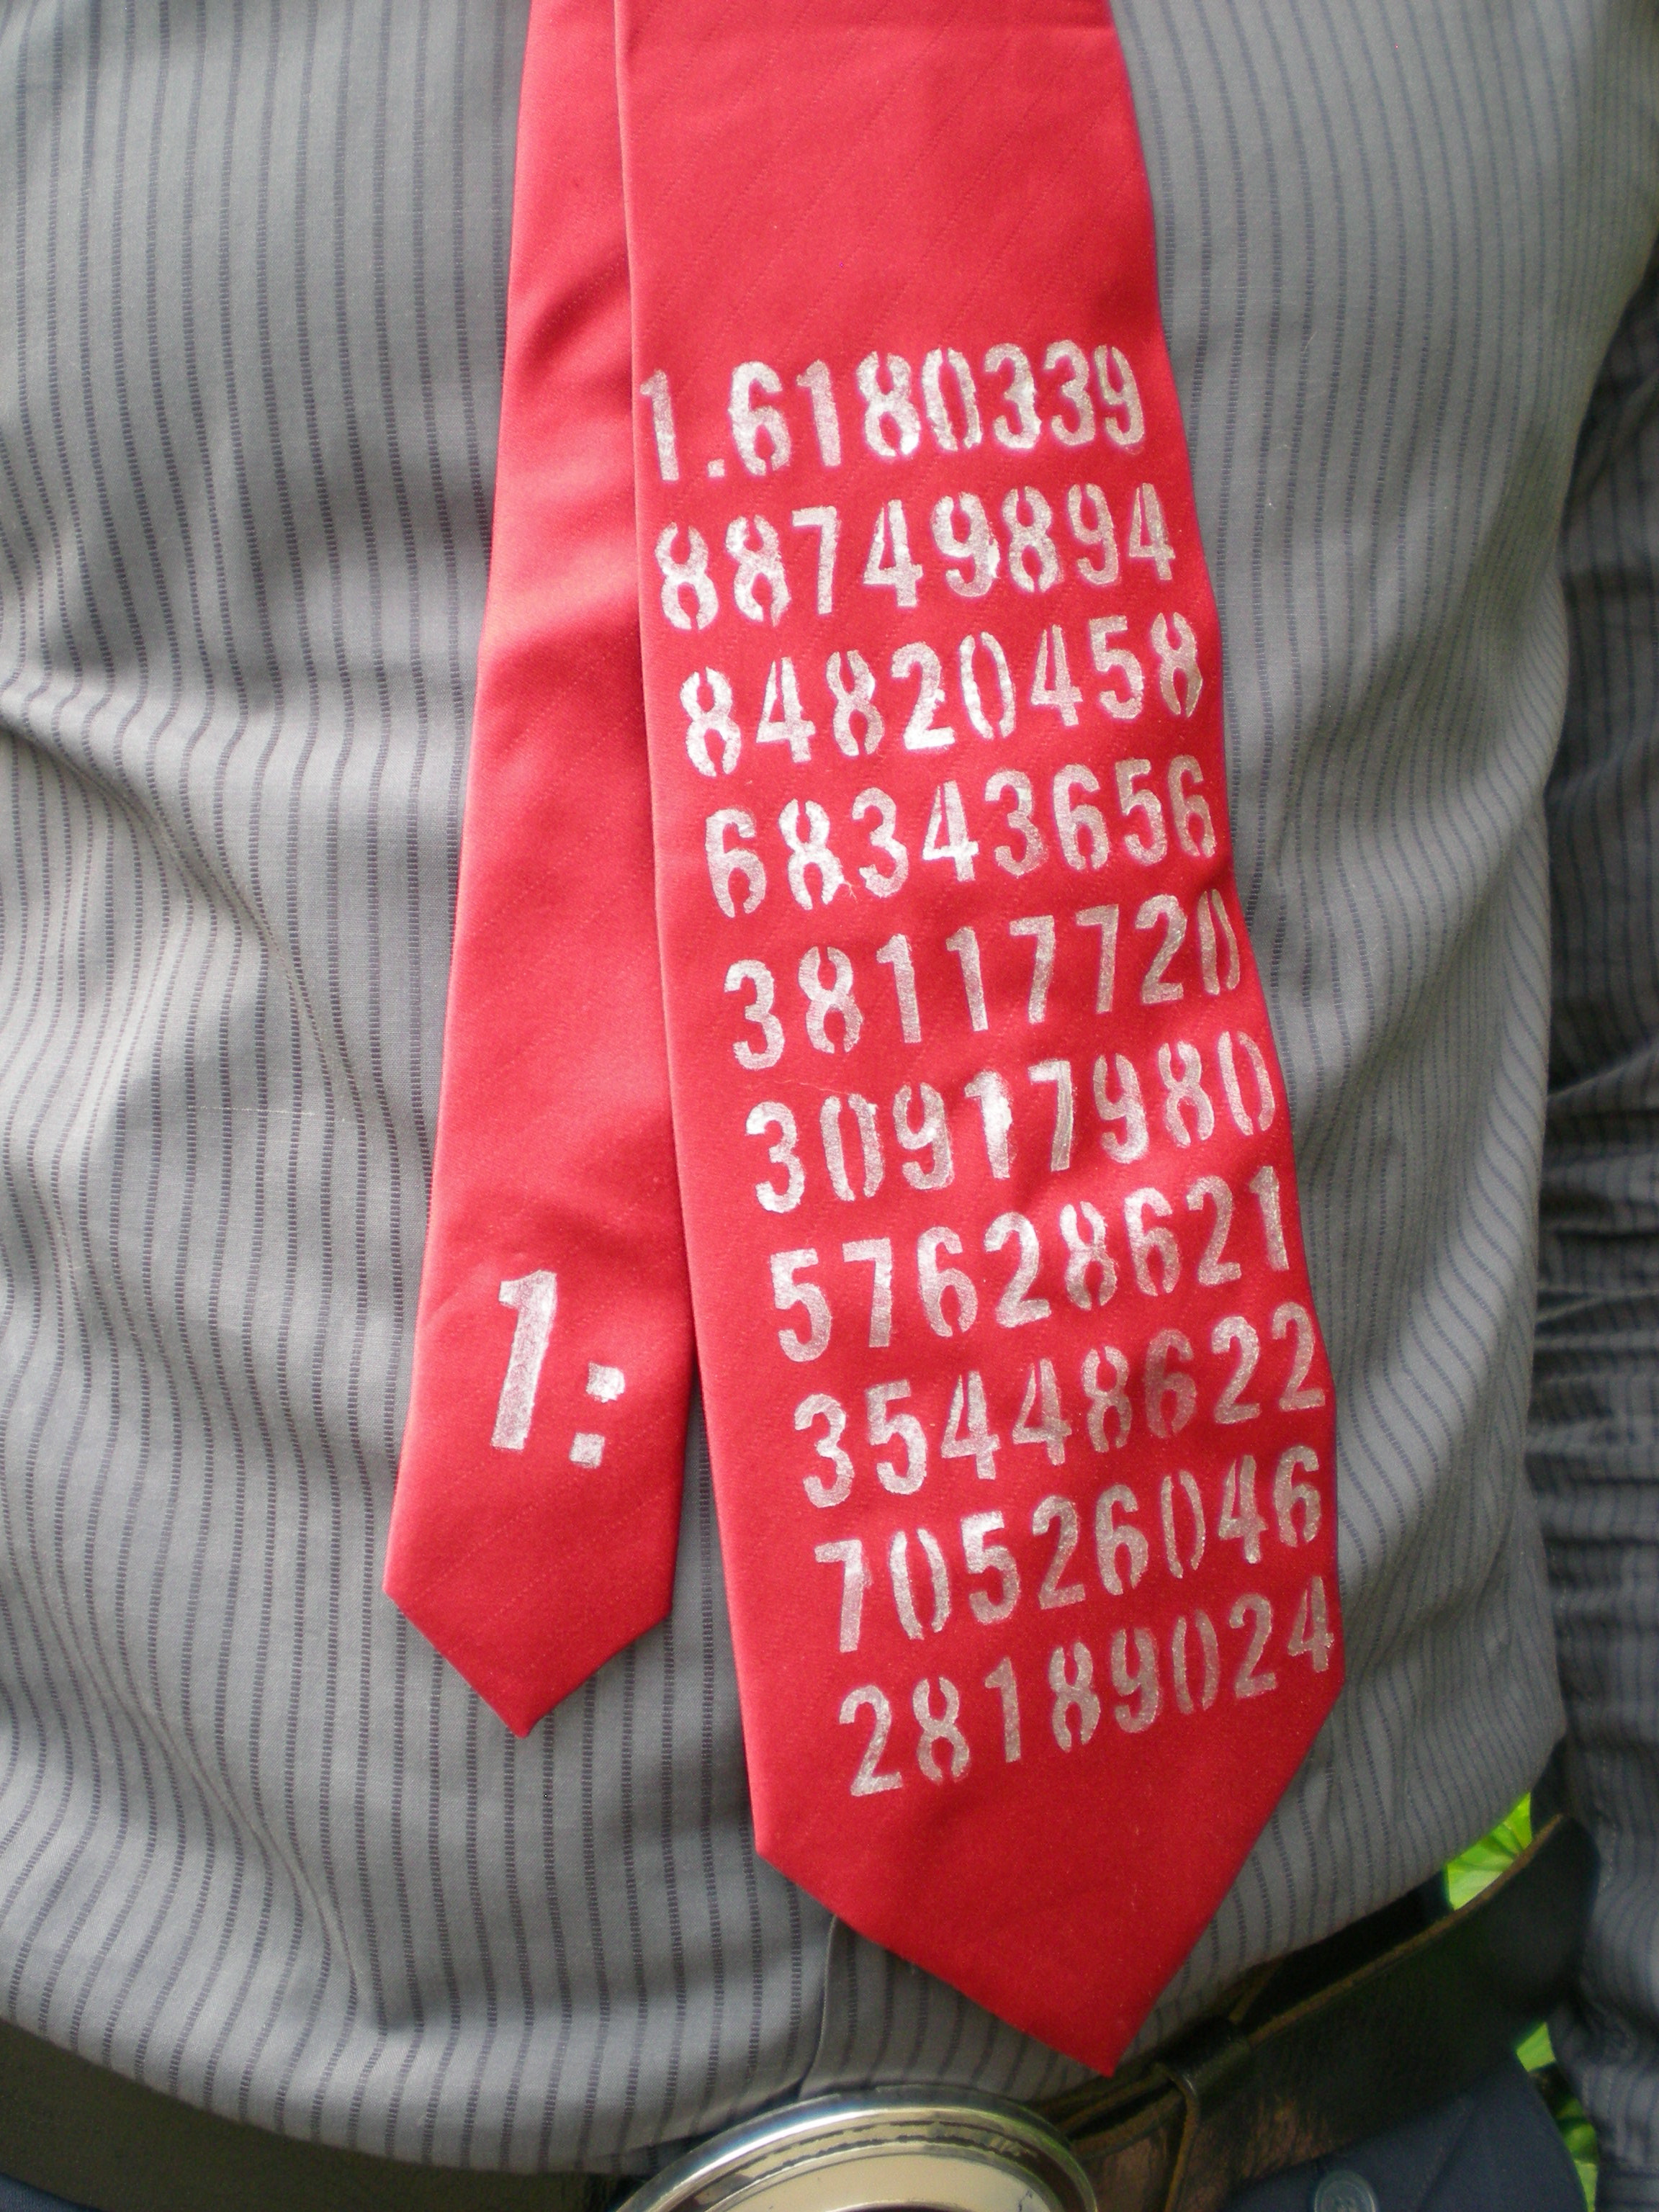
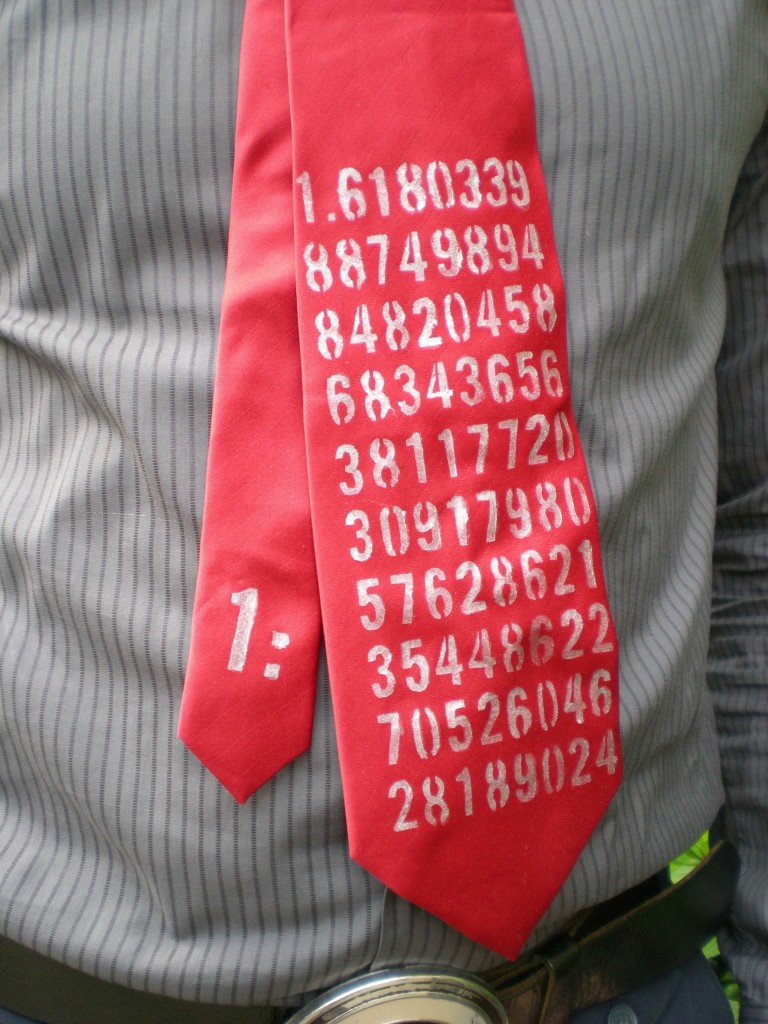
I know, I know -- a tie can be the ultimate in clichéd gifts for dad. But hear me out: The problem isn't with ties themselves, it's boring ties. Below is a technique for making a one-of-a-kind tie for that one-of-a-kind guy. Note: Lest there be any confusion, the photo below is not my dear ol' dad, but my charming husband, who's always a good sport when it comes to modeling my projects!
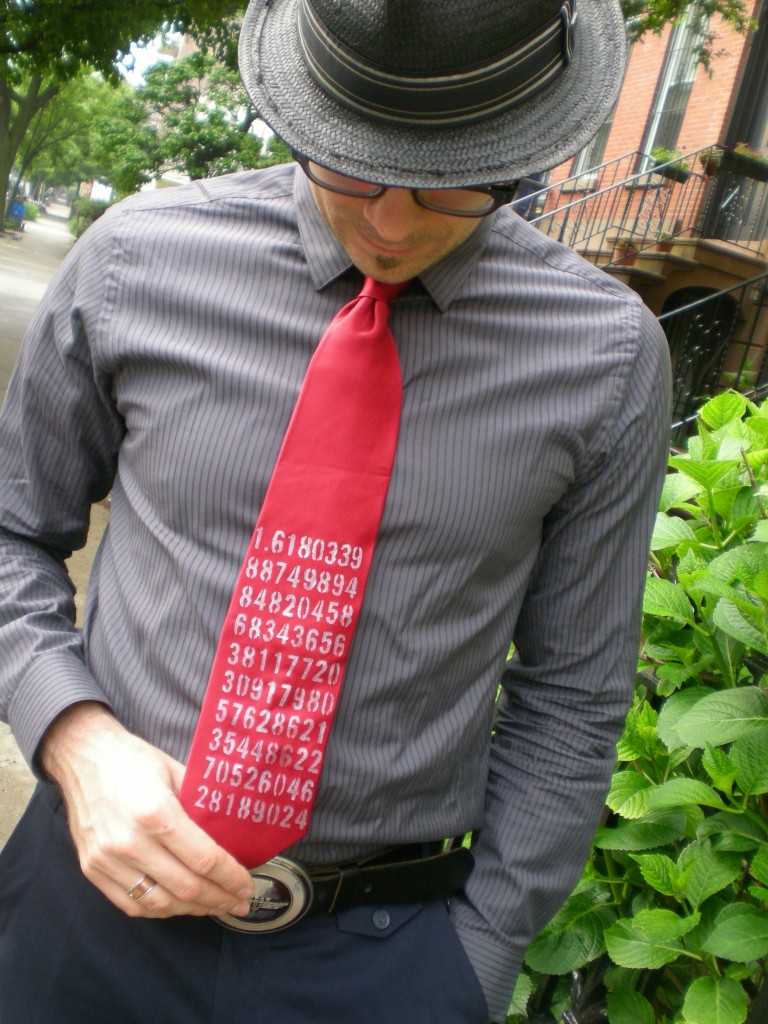

I have a history of making ties for my dad -- not because he's necessarily a tie-wearing kind of guy, but the school where he teaches has a dress code. And it states that all the guys have to wear a tie. It seems a little silly, given that he's an art teacher and a tie dangling in a tray of photo developer or getting splattered with clay in the ceramics room is far from ideal, but he's always embraced the tie with a great bit of humor and creativity.
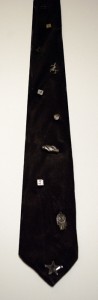
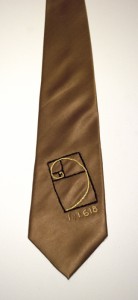
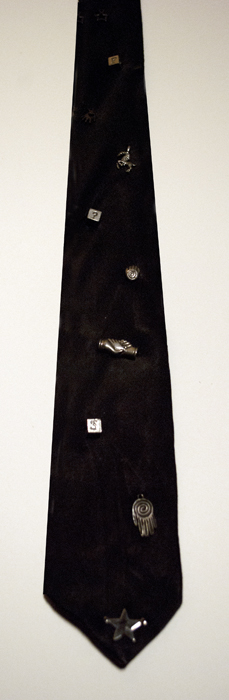
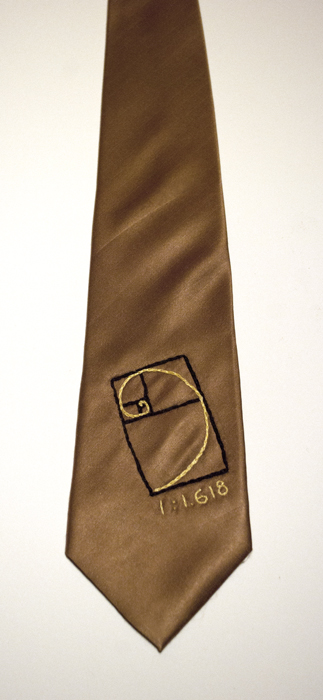
Though we couldn't dredge up the handmade tie I gifted him when I was 7 (suffice it to say, I must have cut out the tie myself, too, because it was about 6" wide and at least 6" too short), I decorated it with felt pieces arranged into the shape of a smiley face. In high school, I was obsessed with trips to the bead store, so I stitched some metal charms onto a black silk tie (above left). More recently, I embroidered the golden spiral inside a golden rectangle on the end of a tie (above right). But for my dad's next tie, I'm using fabric paint. Here's a project that a kid of any age can get into, and any dad will appreciate.

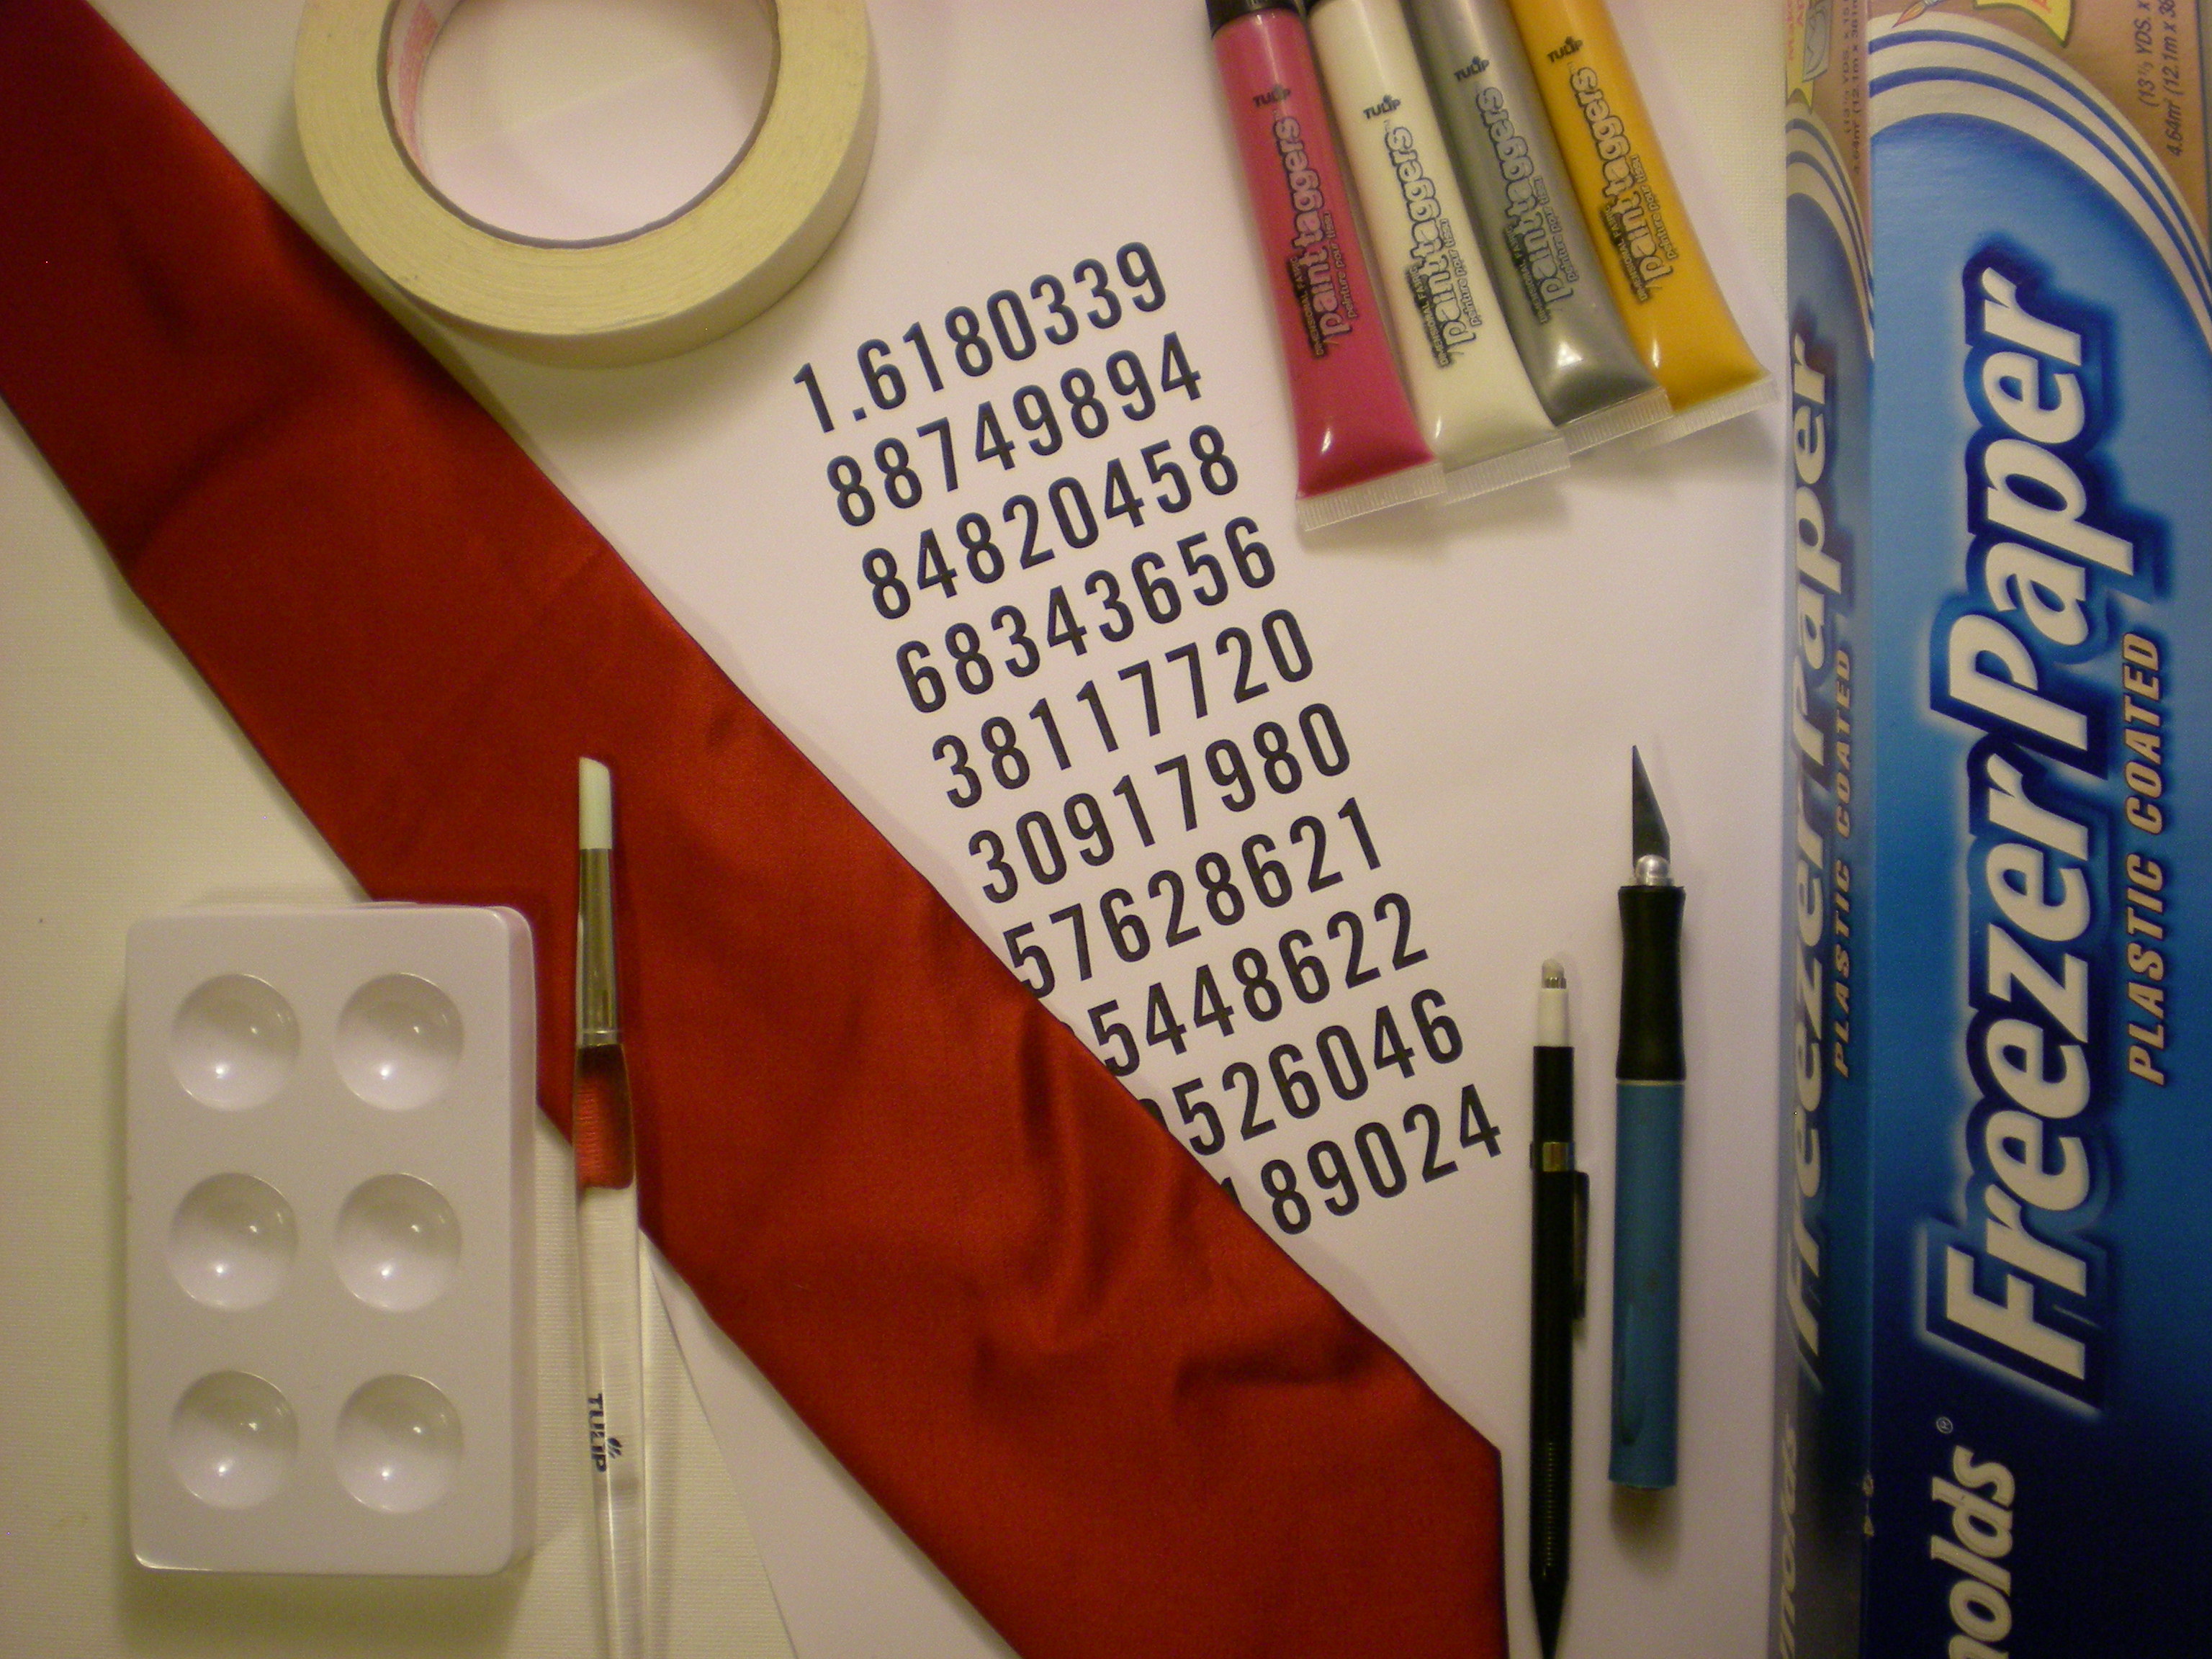
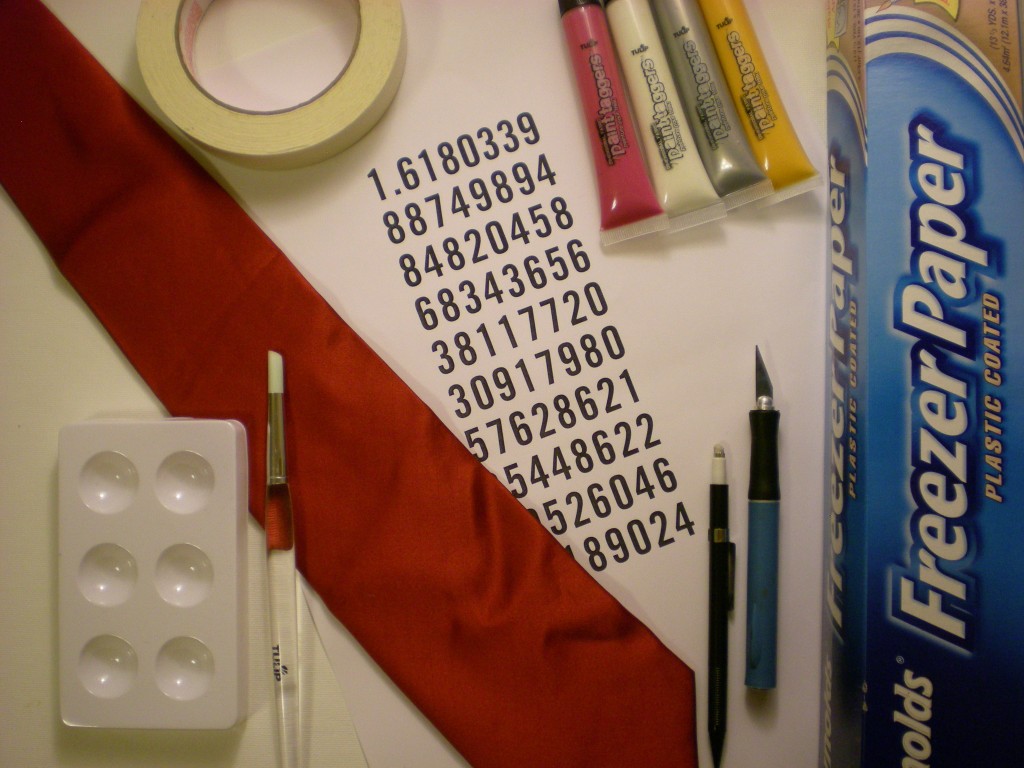
Materials:

-Plain necktie

-Image or pattern to turn into a stencil

-Freezer paper

-Pen or pencil

-Craft knife and cutting mat

-Artist's tape

-Tulip Fashion Graffiti Paint Taggers fabric paint

-Round paintbrush (for stenciling)

-Paint tray
Make it:

1. If you have the option, first tie the tie properly and mark the areas of fabric that will be most visible (it would be a shame to spend time on some delicate design only to have it hidden in the middle of the knot or under the collar). Otherwise, it's wise to keep the design down on the widest part of the tie. (I marked my tie, but then decided to keep the design near the ends.)
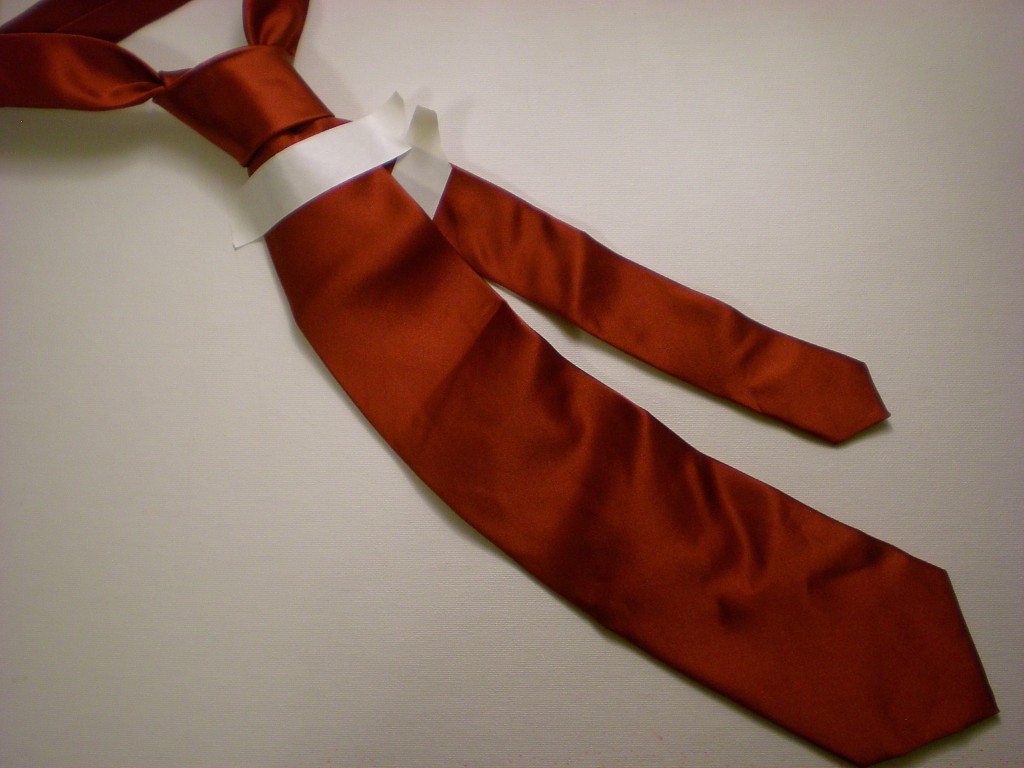

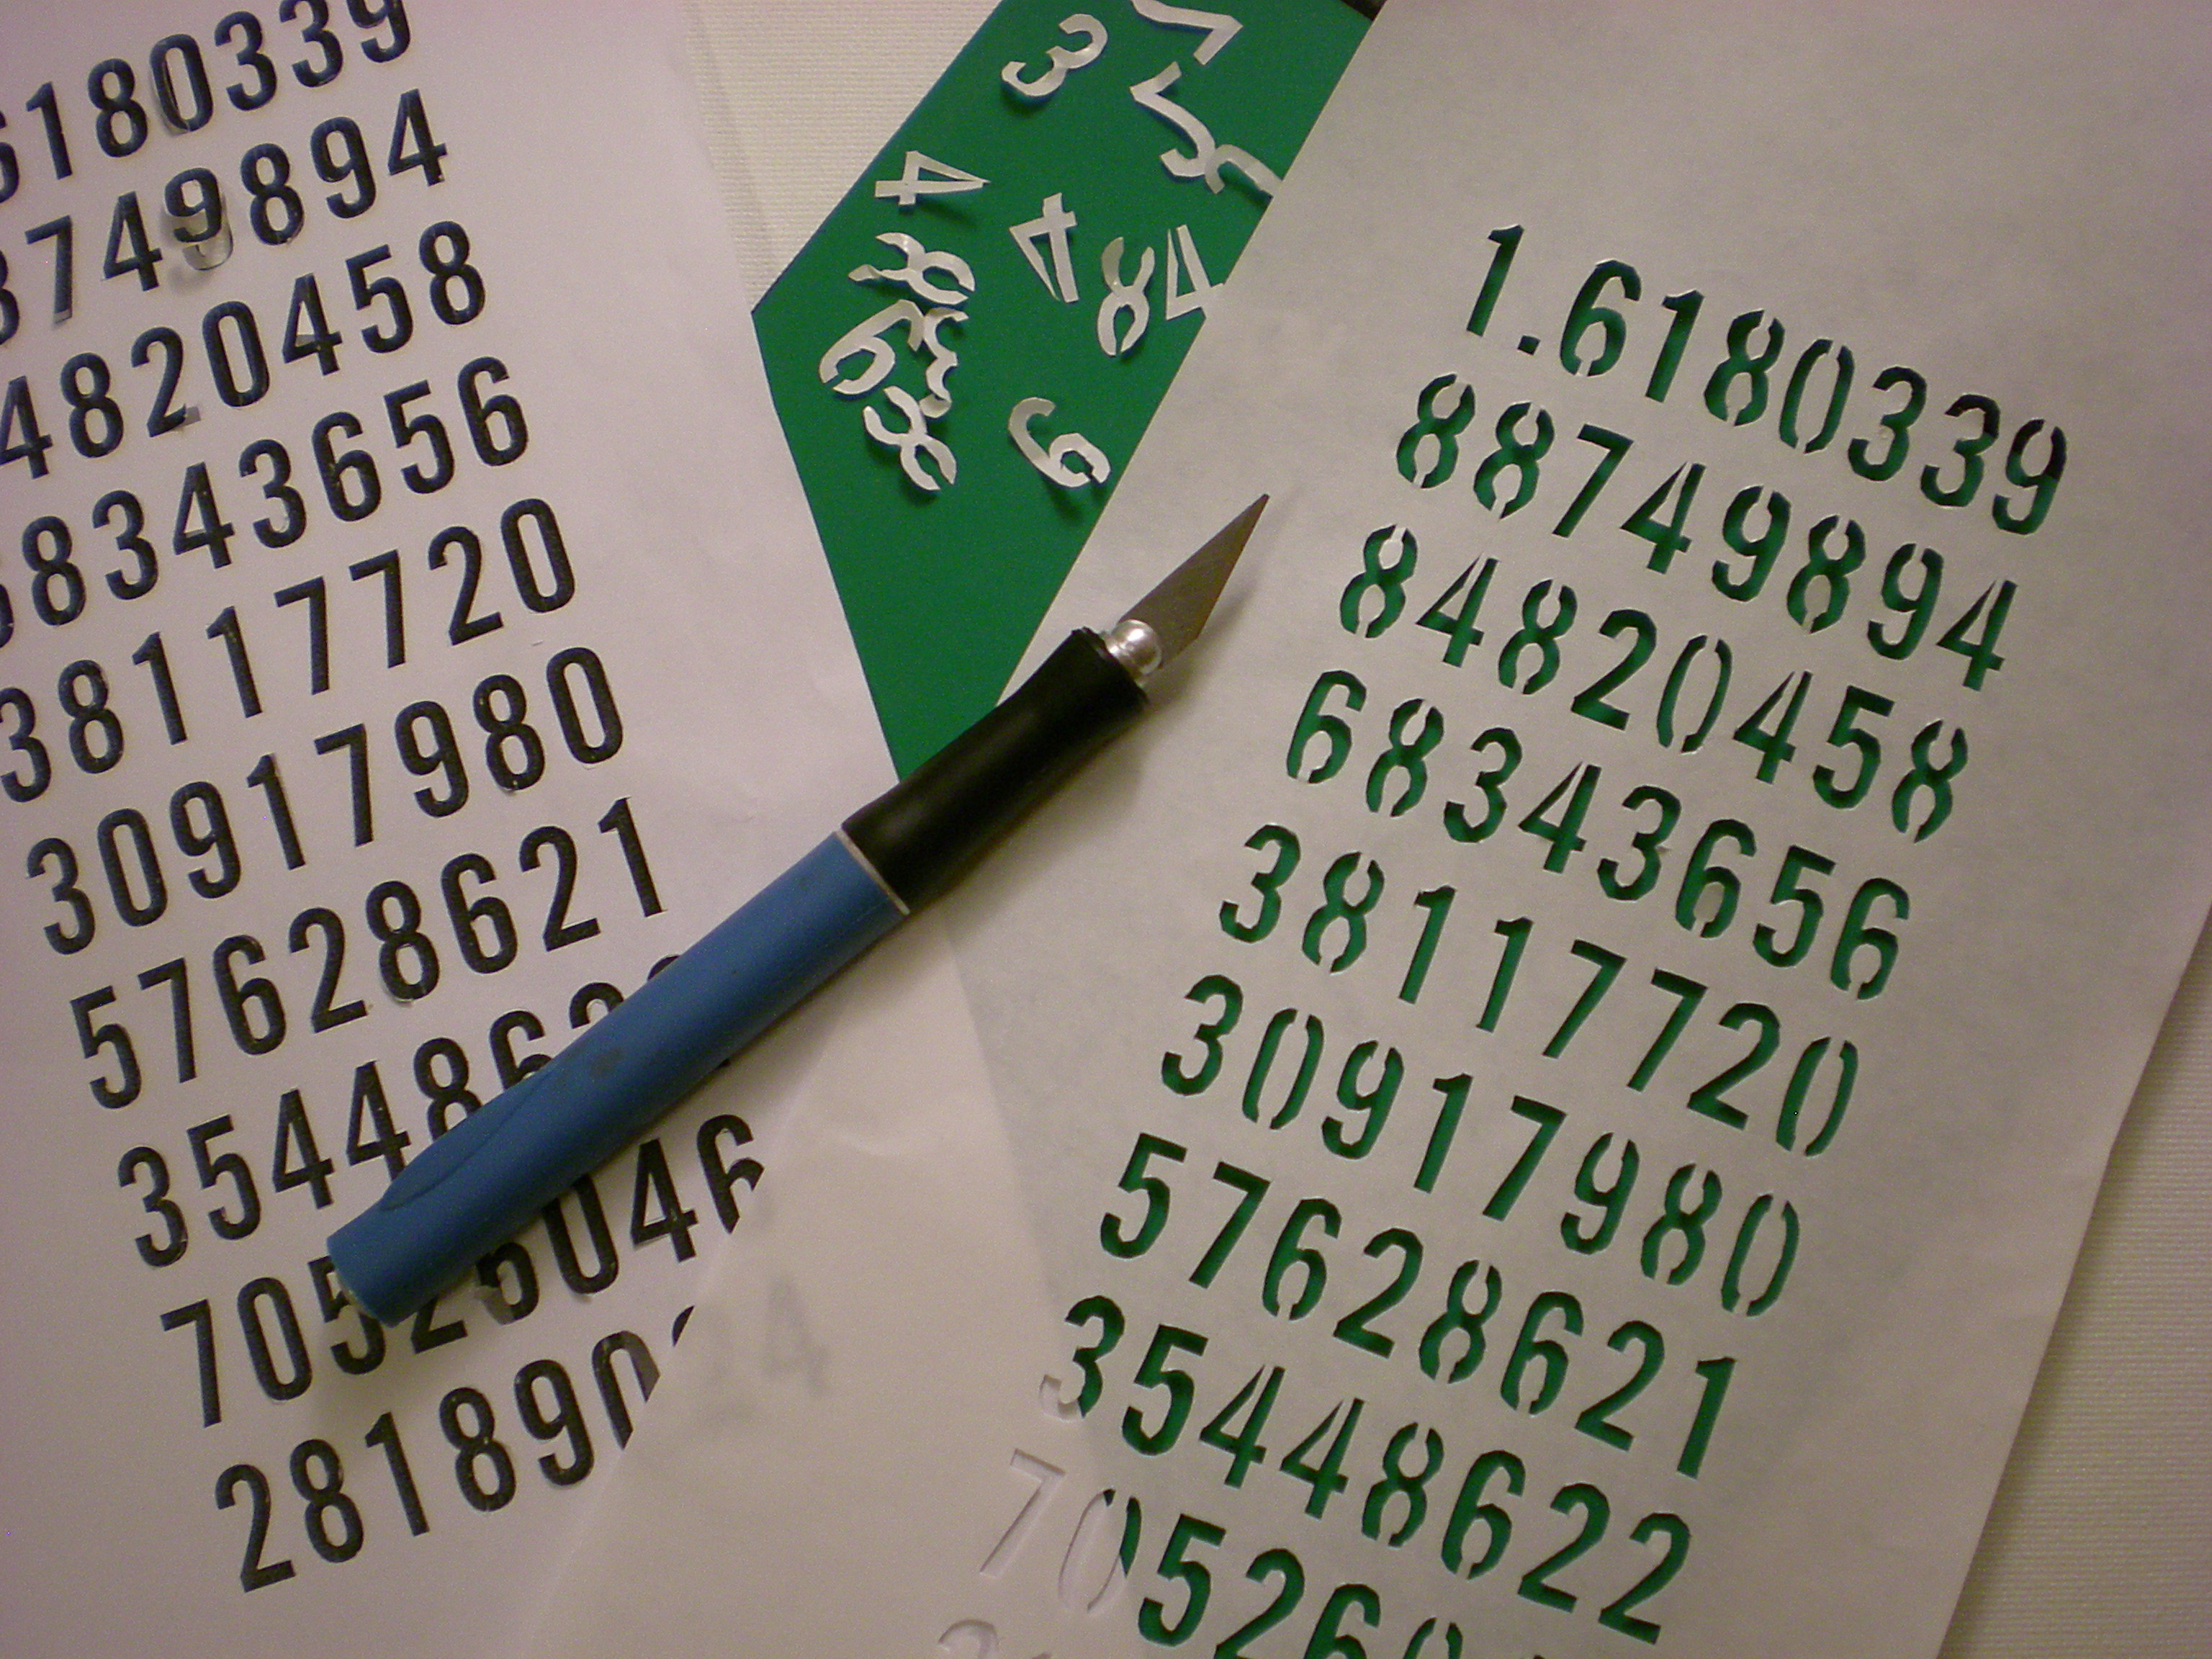
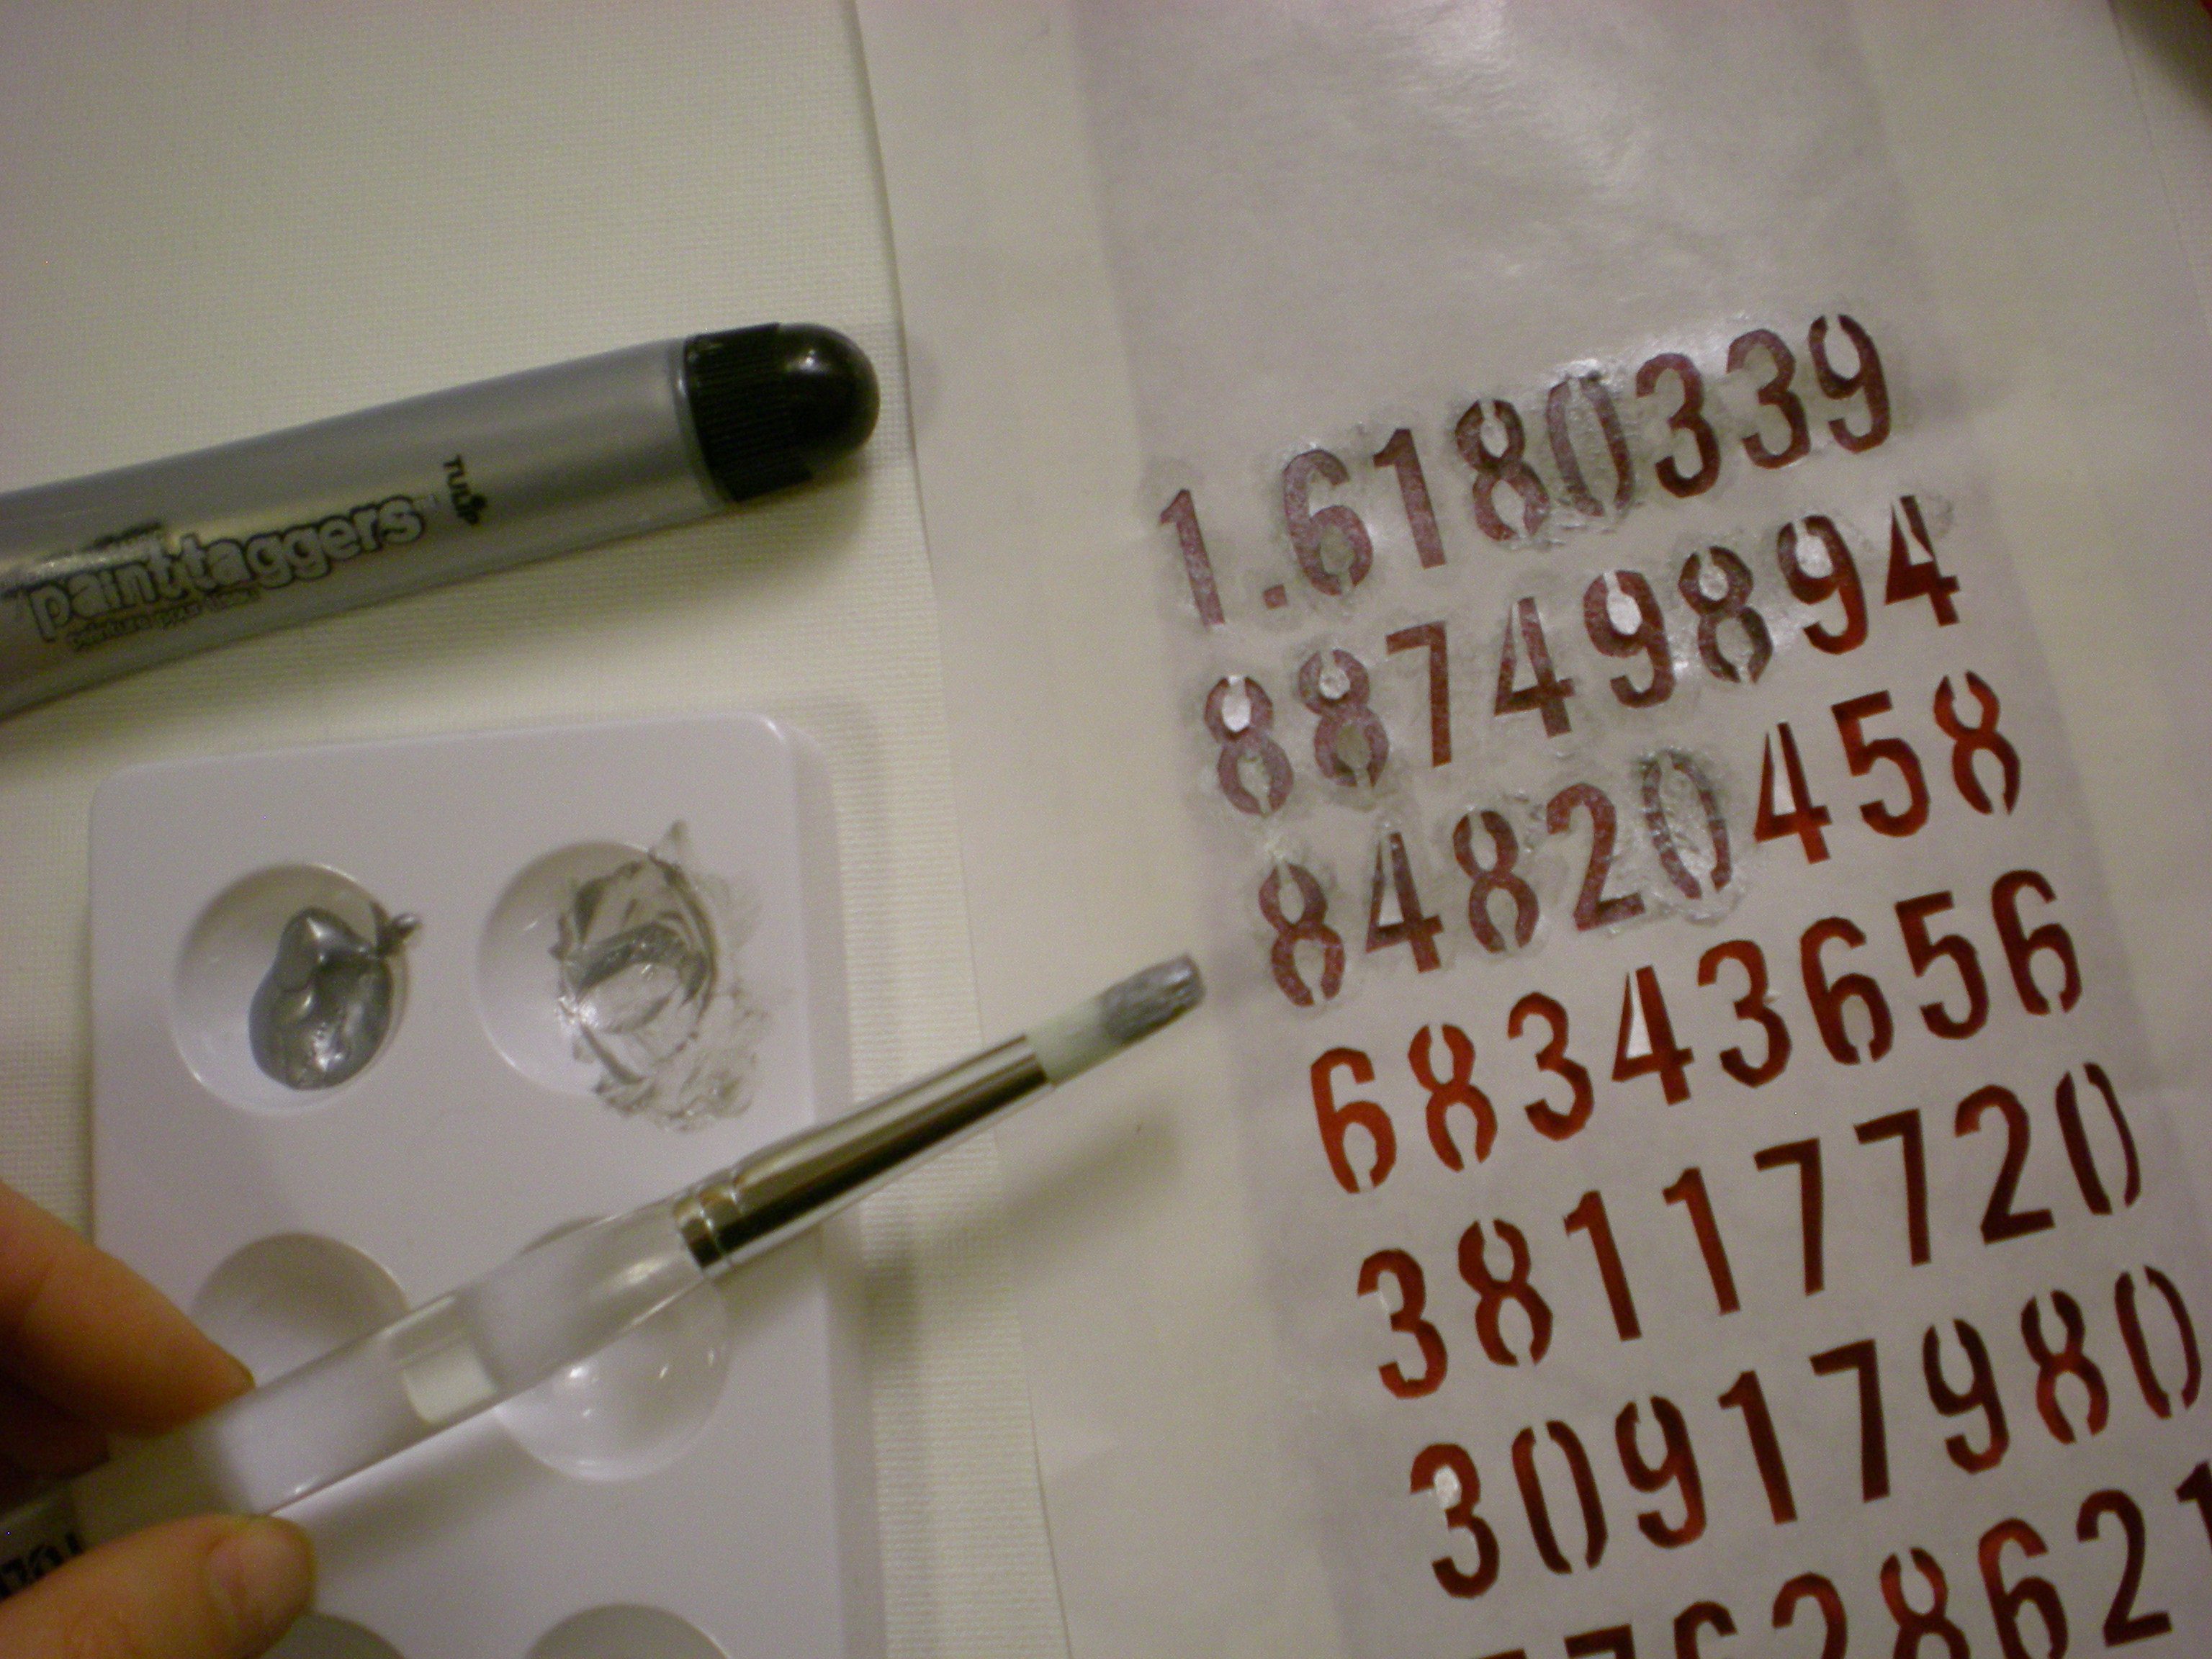
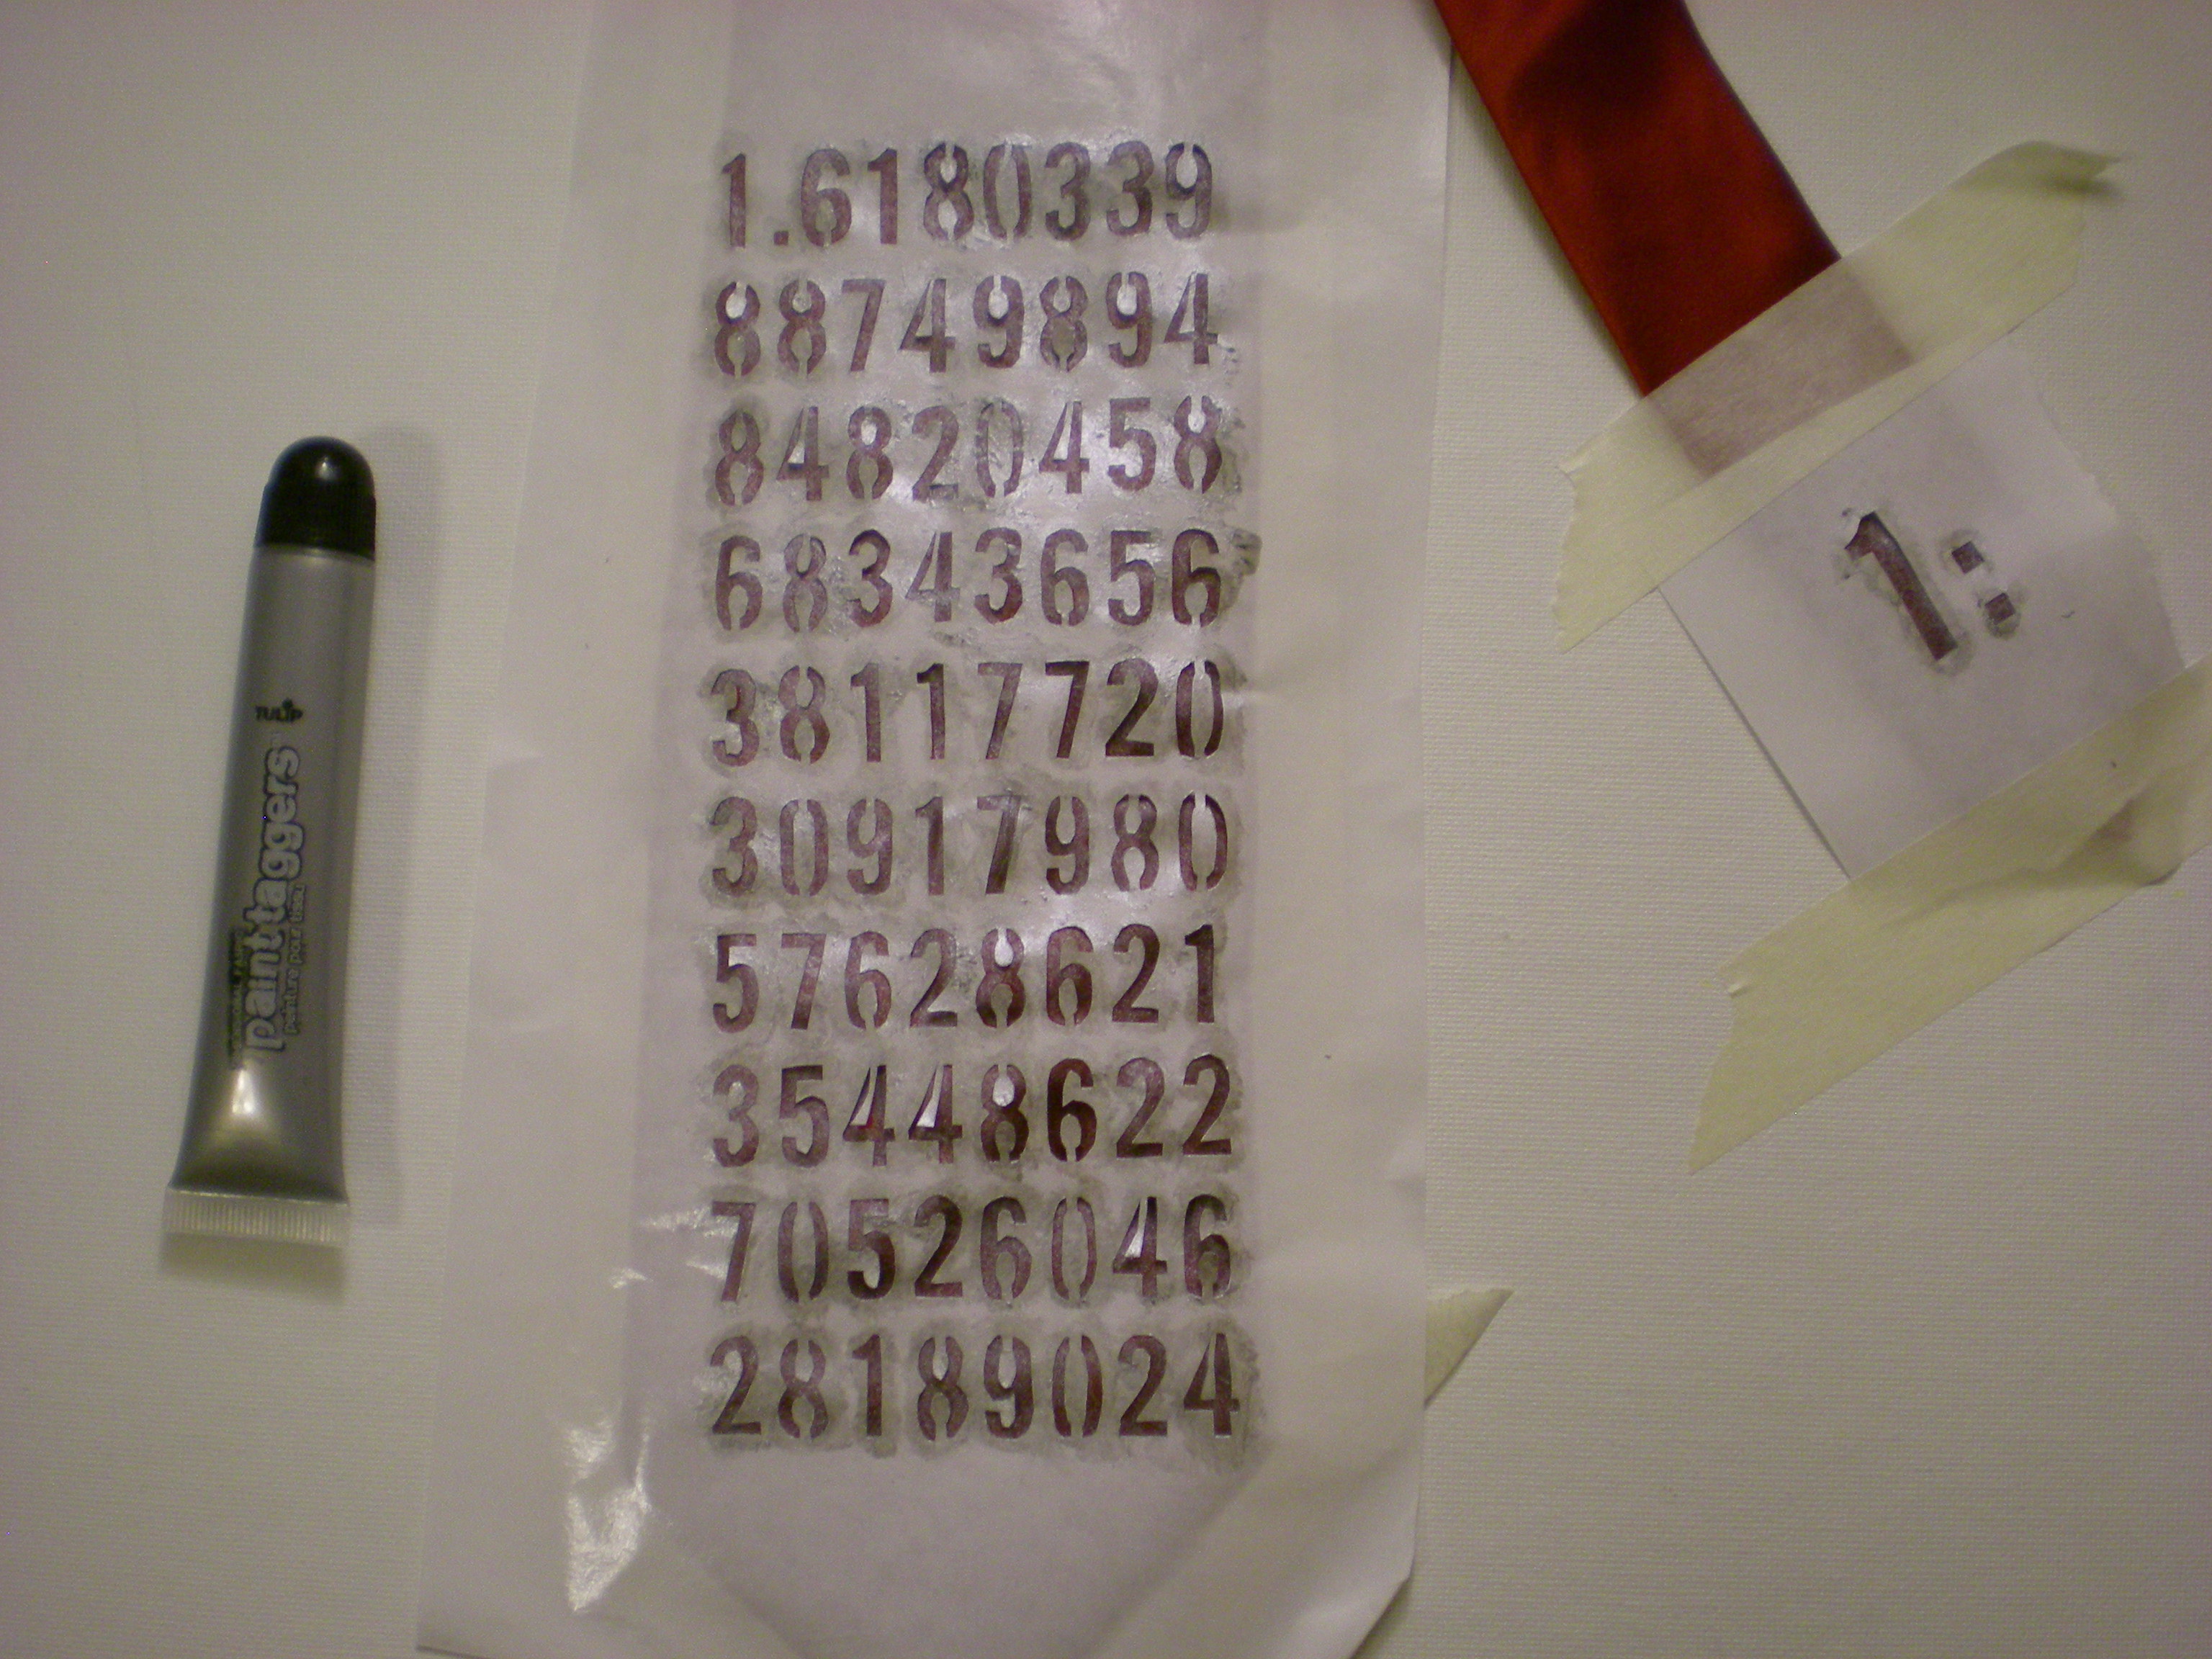
2. Choose your design and print it out. My dad has always been fascinated by the golden mean, a naturally existing ratio of approximately 1 to 1. 618 (see the embroidered tie above) that is used to describe the relationship of many living things found on earth (it's in the pattern of the seeds in a sunflower, the architecture of the spiral chambers in a shell, the growth of leaves on a plant stem, the ratio of hand to elbow and head to torso, and so on...). My dad even designed the house I grew up in using this ratio as the model. Then layer a piece of freezer paper over the printout and trace it. If you use letters or numbers (like I did), make sure you add the appropriate vertical lines to the type treatment so that when it comes to cutting and painting, you don't end up with an "O" or a zero that's missing its center. Use the craft knife to carefully cut out the stencil. Note: At this point, yes, I fully recognize that "#1 Dad" would have been far easier, but hey, it's all about personalization, and he happens to be my "#1 to 1.618033988749894848204586343656 Dad."
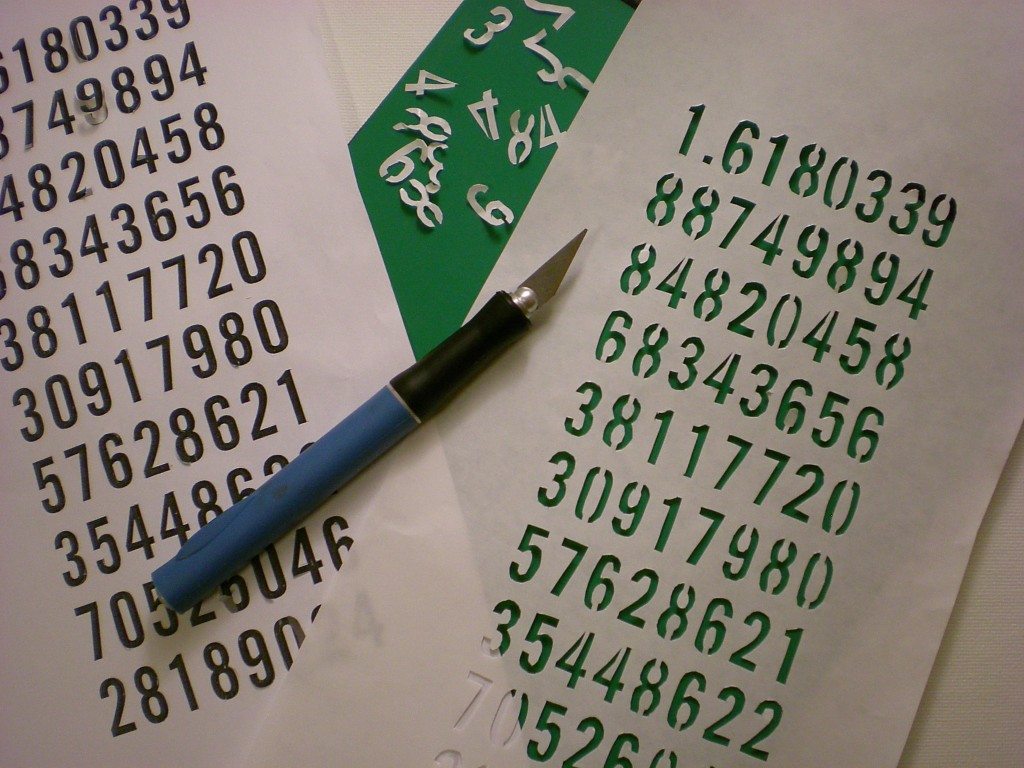

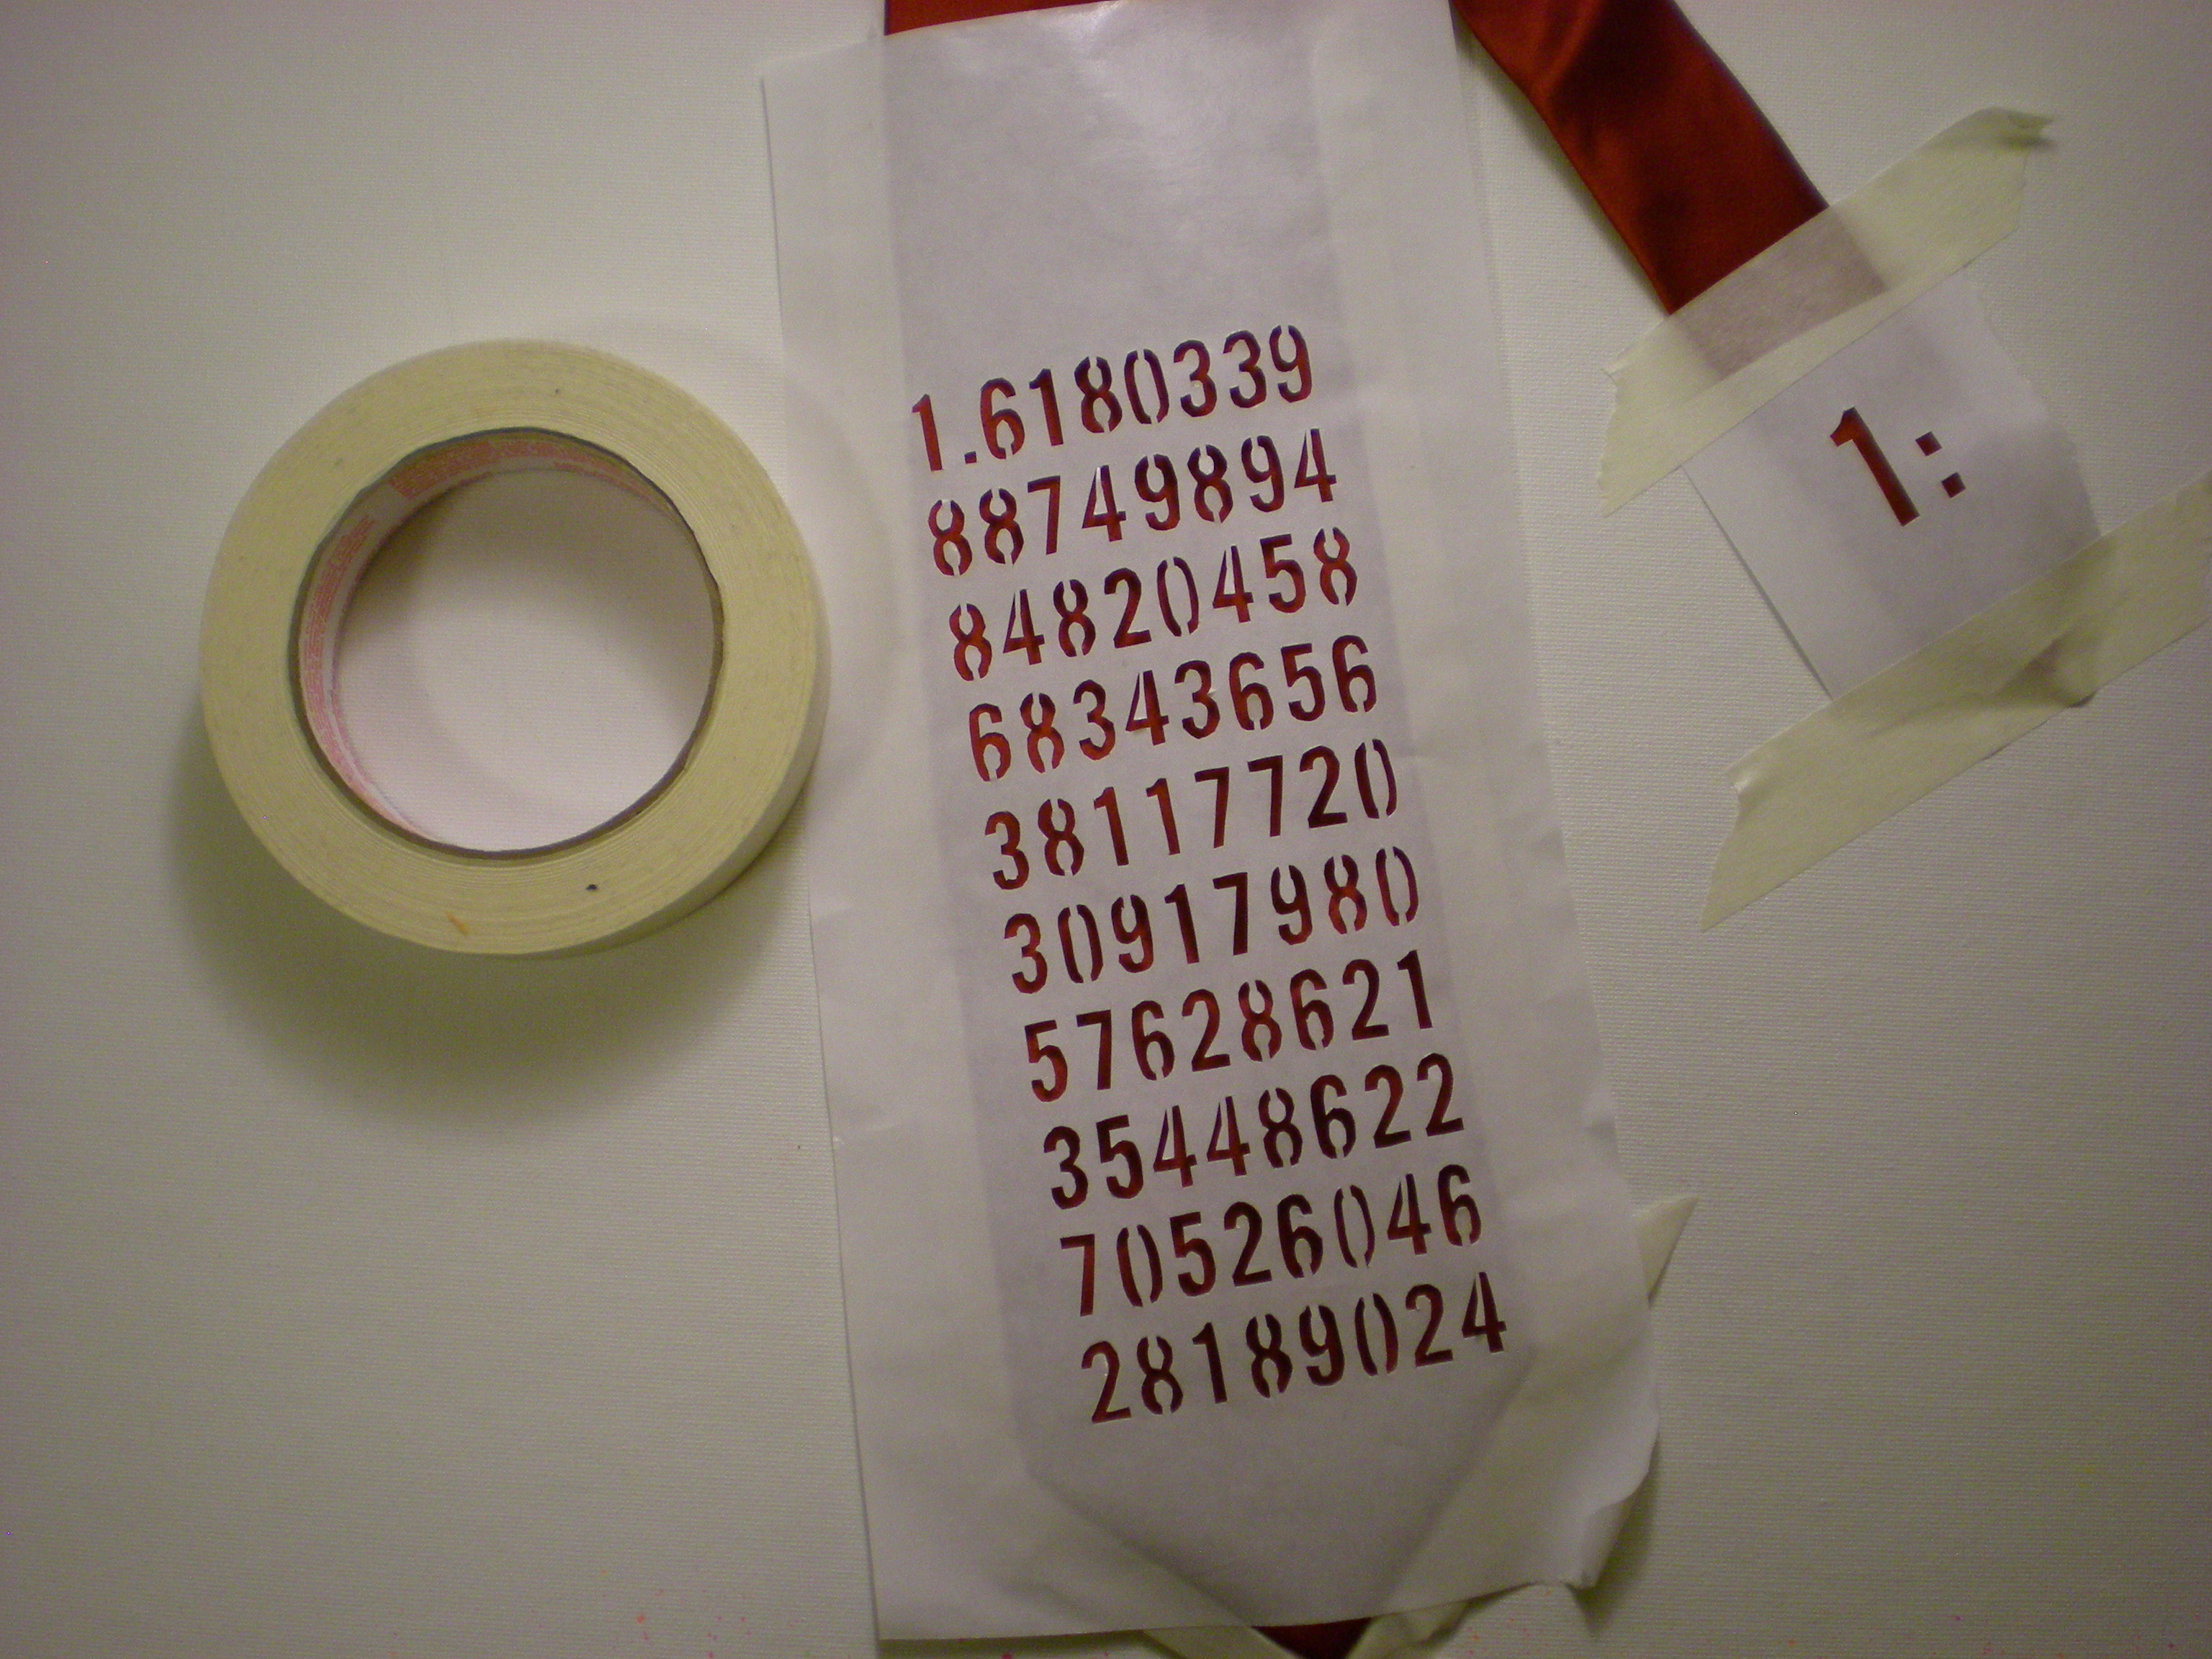
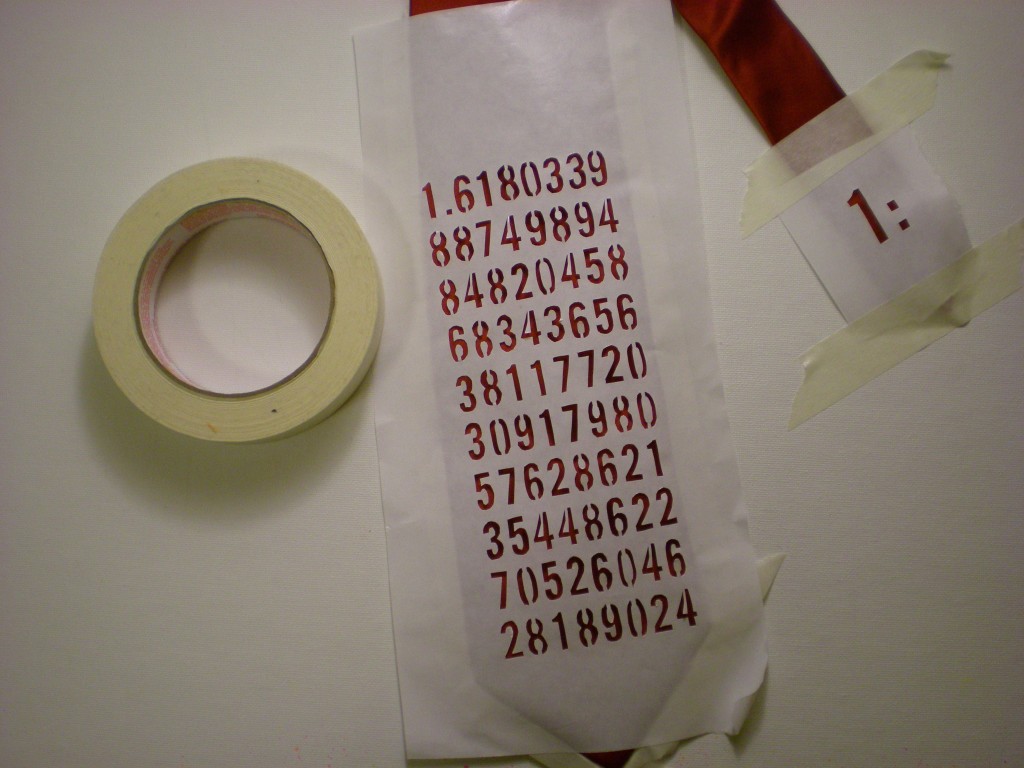
4. Arrange the stencil over the tie and tape it in place to prevent shifting. (I taped the front and back to make sure it was secure.) Note: Artist's tape should peel off well, but test a piece on the back of the tie to make sure it won't damage the fabric.

5. Adding very little paint at a time, dab the brush over the stencil. I picked a metallic silver paint, because I like the sheen and my dad can handle a little flair. To keep the paint from spreading underneath the edges of the stencil, hold the brush vertically so the bristles are perpendicular to the paint surface, and use a blotting motion.
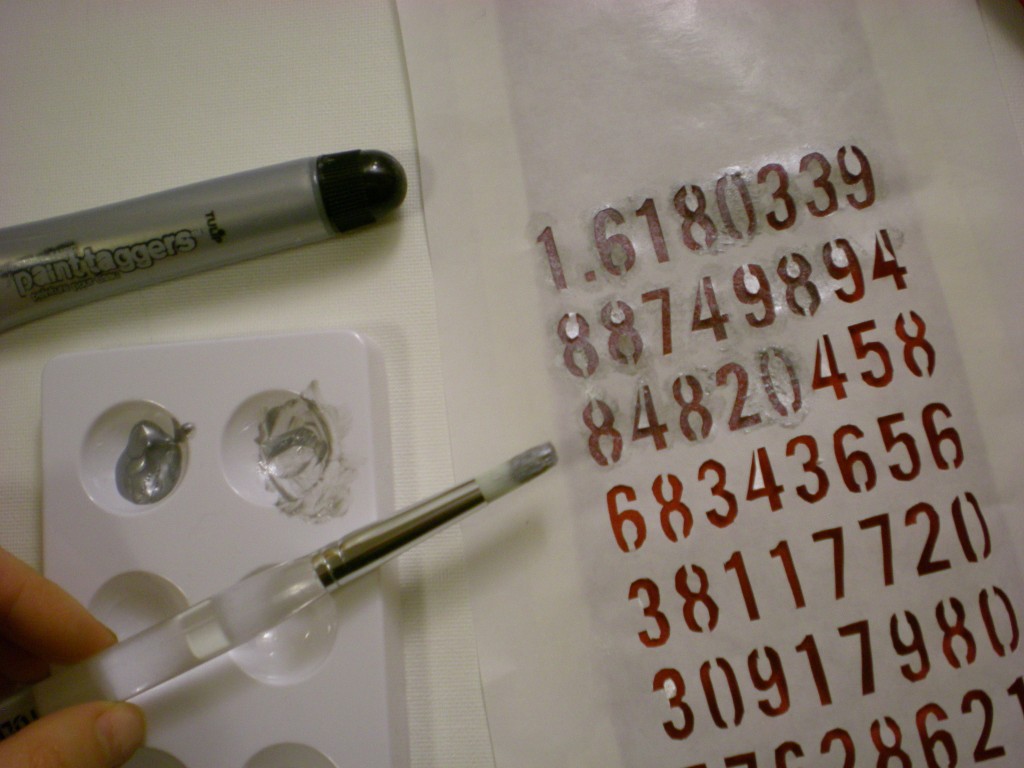

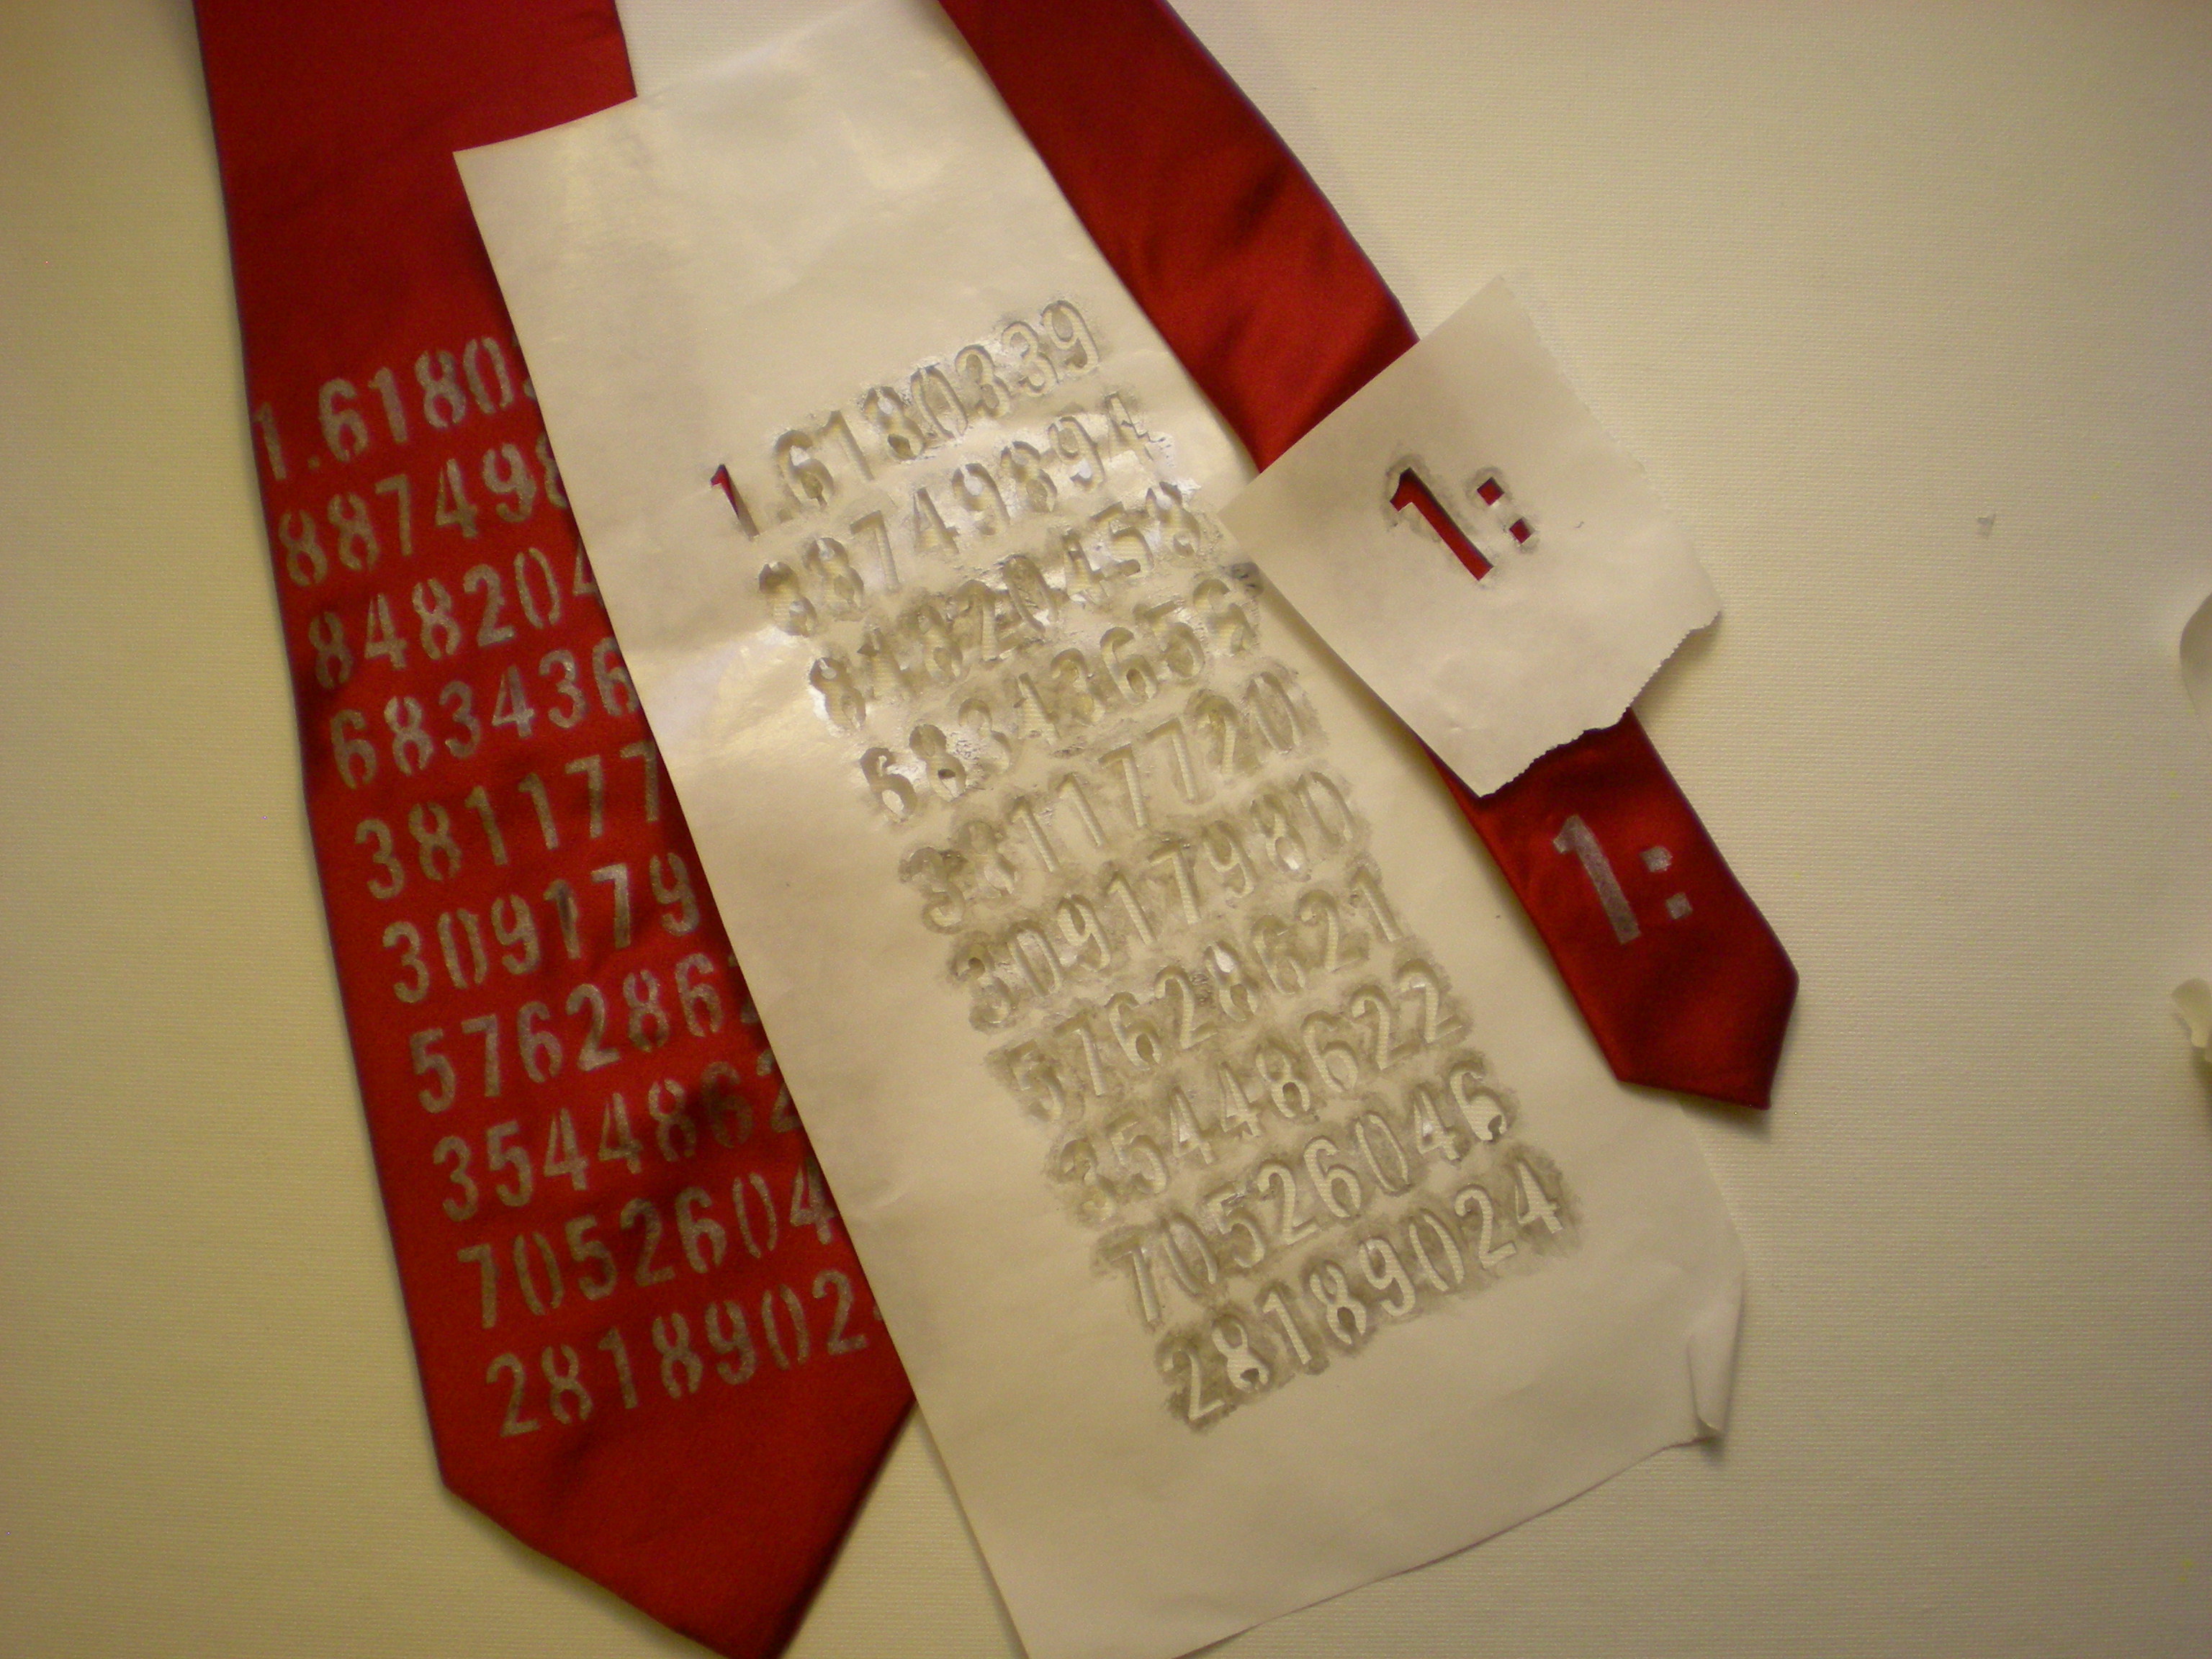
6. When you finish painting (don't forget the short end of the tie -- I decided to incorporate the first part of the golden ratio there, but you could also hide any semi-secret message there), let it dry.
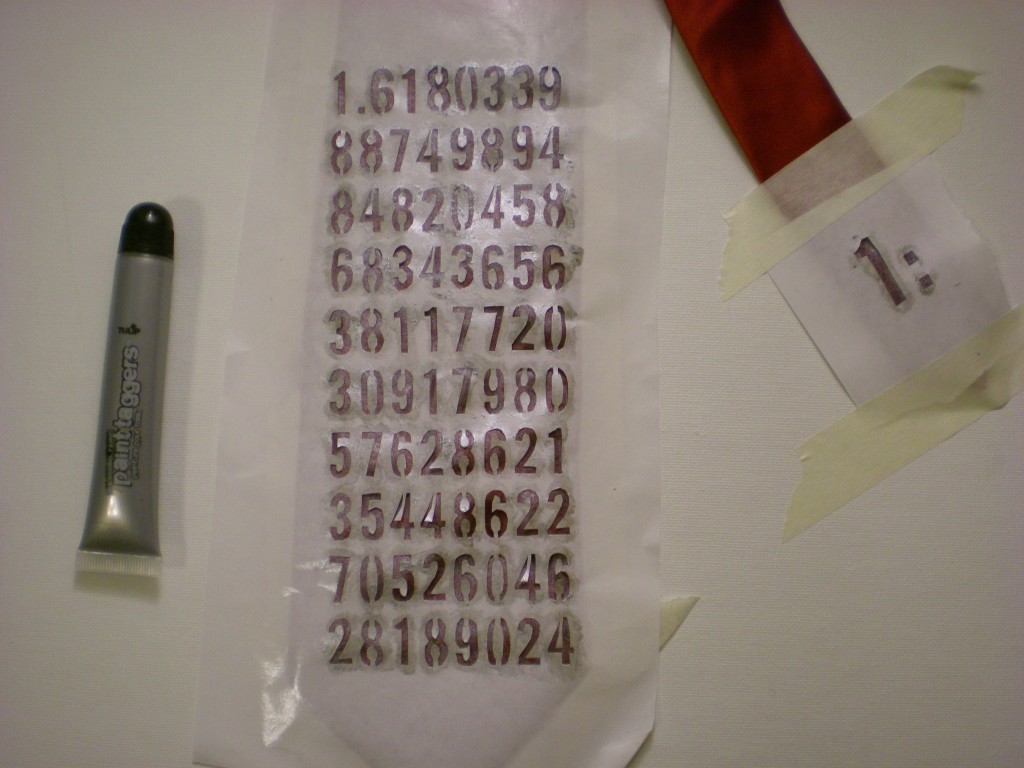

7. When the paint has dried completely, carefully remove the tape and peel the stencil off the tie.
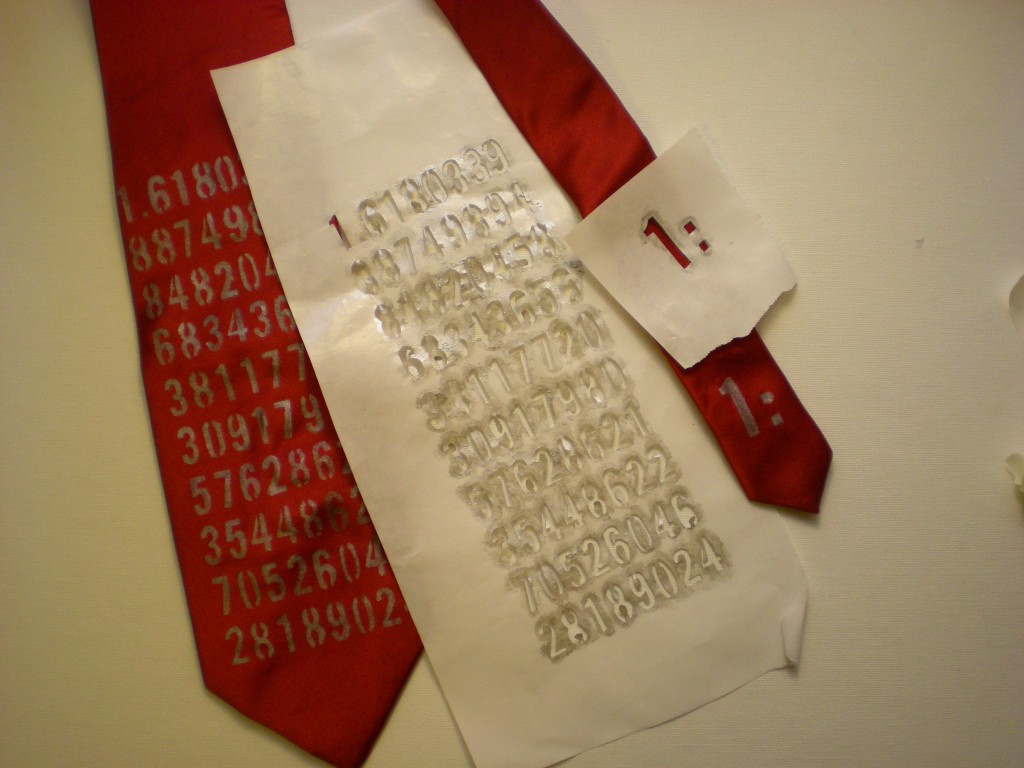

7. Now it's time to gift it. (Or convince your husband that he has to try it on this morning before he goes to work so you can photograph it before you pack it up and ship it off in time for Father's Day on June 19!)

Variations:

-For different pattern ideas, try any of the paint or sticker techniques in my 4 Ways to Spray post.

-Forget the stencils altogether and freehand a design with fabric paint.

-Forget the paints altogether and glue on felt appliqués!

-Bonus points if you make the tie out of T-shirts!


Visit us on Facebook!
Craft on!Click here for today's daily giveaway!

Thursday, March 31

Brooch Bouquet Topiary


I have a large collection of pins that don't do much of anything except collect dust.  Recently I was inspired by some adorable bridal bouquets I saw on the Amy Atlas blog and thought there has to be a more creative way to display my collection.  Out of the jewelry box and onto the dining room table is what today's I Love to Create post is about.


SUPPLIES
Craft Moss
Terra Cotta Pot
Collection of Pins
Foam Topiary
Floral Pins


Foam topiary bases come in various sizes and shapes.  I chose a double stacked model since I have a lot of pins.  I found mine in the floral department of my local craft store.  As you might guess they come pretty plain looking, so I needed to fix that.  I used Crafty Chica paint in green to cover the wooden poll in-between the foam balls.


Once my green poll was dry I started inserting my collection of vintage pins into the foam.  Occasionally I used floral pins to help really anchor things down.  I could have used glue, but there is that off chance that I might want to wear one of these pins again some day.


I'm a big fan of using oddball objects as planters, but the base of this topiary was made to fit inside a terra cotta pot.  A plain brown pot was not a fitting home for my colorful collection of pins so I busted out the Crafty Chica Paint.


I needed to hide that icky green foam so a little Liquid Fusion Glue and some moss fixed that right up.


Once my pot was dry I placed my topiary inside.  Now I have a colorful floral display that shows off my collection way better than any jewelry box and the best part is it never needs watering.  Do you have a slew of pins?  Got any other fun suggestions about how to display them?


Looking for some other fun ways to display your collections?  What about wearing them?


Visit us on Facebook!
Craft on! Click here for today's daily giveaway!

Tuesday, March 1

Petal Tee for Spring

Hi everyone!  It's Cheri from I Am Momma Hear Me Roar.  I think I am more anxious for spring to come than I have ever been.  I even decided it was time to work on some spring clothing.  Today I'm going to show you this top I just made for spring.  I call it the "petal tee."  It was fun and easy to create.


I bought a plain t-shirt and then got out my Tulip fabric paints.  I didn't have purple, so I used red, blue, and white to get the colors I wanted.  I used my Tulip fabric paint brushes.  I also used some lavender-colored organza, but we'll get to that later.  I put freezer paper between the front and back of the shirt so the paint wouldn't bleed through.


I started by mixing my paints to get lavender.  Then I brushed it onto the shirt in a random pattern.  I made the shapes like petals, but I didn't worry about them lookig a certain way.  They are all different shapes and sizes.


Then I kept mixing paint, creating different shades and adding more petals to the shirt.


Lastly, I took my darkest shade of purple and added some water to it.  I painted more petals and these petals looked more like watercolor.


See?  They are much more faint, but they give the shirt some dimension.


Once everything was dry and I had heat set the paint with an iron I cut out little petal shapes from my organza fabric.  These petals must be sealed so they don't fray.  All you have to do is hold them close to a flame and they will melt a bit.  Rotate the petals until the entire circumference has been melted.  (You could also use a knit fabric, which doesn't fray so you wouldn't have to worry about it.  I wanted something more light and airy so I chose the organza.)

Then  I sewed them onto the shirt, layering them over the painted petals.  (If you don't have a sewing machine you could sew them on by hand.  There weren't that many to sew - probably 10-15 petals.)


Now all I need is some spring weather......well, that and a tan :)


Thanks for reading!


Tuesday, December 7

Monogrammed Luggage Tags

Hey everybody!  This is Cheri from I Am Momma - Hear Me Roar.  I have a fun, inexpensive gift idea for you today.

 I love how monograms have been so big this year and I also love giving gifts that are personalized and usable.  So, today I'm sharing these monogrammed luggage tags.


You'll need:
Tulip soft paints
Tulip Fabric Paint Brushes
a little fabric (scraps work perfectly for this)
a little bit of heavy fusible interfacing (like pellon)
ribbon
clear plastic vinyl

I began by cutting my heavy fusible interfacing into a tag shape.  Just cut a rectangle and then snip off the corners at the top.  You'll cut two of these.


Next, iron them both on to your fabric and then trim your fabric to match the shape.  You'll have this.


Next you'll cut a small rectangle of the clear plastic vinyl and sew it onto the right side of one tag, leaving one side open to insert an address card.


Now, take a loop of ribbon and sandwich the ends of it into the tags so that the fabric is on the outside.  There's no fancy inverting here.  Just sew around the edges of the full tag.  (The fusible interfacing will keep the edges from fraying.)  If the edges don't line up perfectly when you're done don't fret.  Just trim the edges until it looks perfect.


Lastly, I used the Tulip soft fabric paint to add the monogram.  Tulip has these fabric paint brushes that are especially for painting fabric.  They are a little more stiff and work really well.  The angled brush felt like I was using a calligraphy pen.  I mixed the brown and black to get a deep brown color I was looking for.  (The Rollos are optional, but I think they help.)


And here's what you get.


I think everyone can appreciate being able to recognize his or her luggage.  (You know, people start to stare at you when they see you running laps around and around the baggage conveyor in a full sweat, trying to see which gray suitcase is yours :)


It's an easy, fun, inexpensive gift idea for friends or neighbors.


FREE SHIPPING through December 13, 2010. Craft on! Click here for today's daily giveaway!
Clicky Web Analytics
Pin It button on image hover

Subscribe to our newsletter

* indicates required
I am interested in products and inspiration for...
Close