This week I have been chatting about creating the perfect Halloween themed table. Whether you are having a Halloween party or maybe just a few people over for dinner there is no reason not to set the mood with a festive centerpiece - and the mood is easier to create than you might think.
SUPPLIESVessel (I used a witches boot)
Florist Foam
Crafty Chica Paint PackScraggly Branch
Small Embroidery Hoop
Decorative Paper
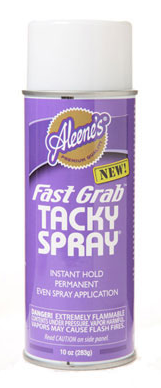
Aleene's Tacky GlueJune Tailor Printer Fabric
Embroidery Floss
Decorative Ribbon
Embroidery Needle
Scissors
Small Christmas Ornaments
Paint Brush

First things first you are going to need the perfect creepy branch. This was a harder task than I had envisioned. It was even brush pick up week in the neighborhood so everyone had their trees trimmed, but none of the branches I spied on my walks were quiet right. Luckily the fam and I took a stroll to a local park where I found the perfect dead branch.
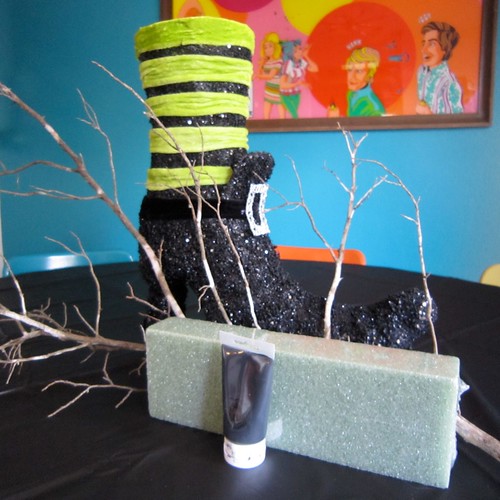
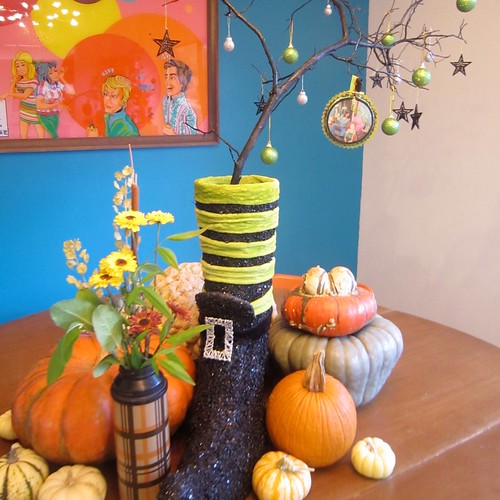
Your other quest for this project is finding the right vessel. I discovered my giant witch's boot at TJ Maxx. You are going to need florist foam to stuff inside your vessel and hold your branch in place. You are also going to need to paint your branch black with Crafty Chica paint for the full creepy effect.

I was pleased as punch with the centerpiece at my party! I found some small Christmas ornaments in black, silver and lime green at Hobby Lobby and decked the halls. This week however I had an epiphany. People make keepsake Christmas ornaments, why not make one for Halloween?
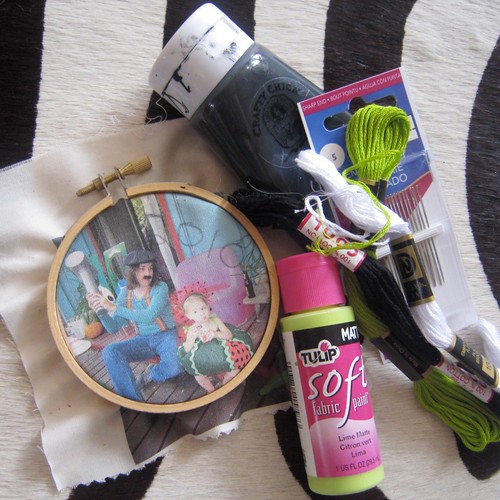
This year for Halloween Chris and Tallulah had a group costume. Chris was Gallagher, complete with Sledge-o-Matic and Tallulah was a squashed watermelon. I printed a picture of them up on fabric that goes through your printer. I wrote 2010 in pen on the fabric so I could embroider the year.
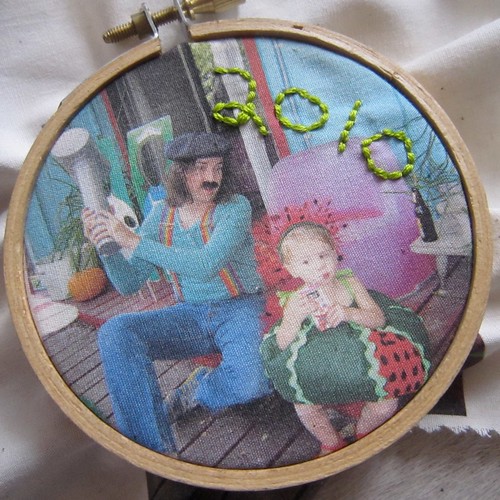
Using the wee-est of all wee embroidery hoops I could find I stretched my fabric and embroidered my 2010 using a simple back stitch.

After I was done embroidering I removed my photograph and set it to the side. Using Crafty Chica Paint in black I painted my wooden embroidery hoop. After the paint dried I trimmed the edge of the hoop with decorative ribbon using Aleene's Tacky Glue.
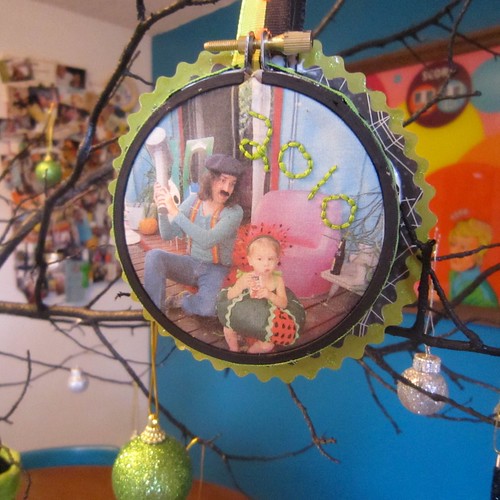
I made a back for my ornament using decorative paper and black craft felt. I attached a loop of ribbon so that I could hang my ornament from the tree.
Now all I need to do is make an ornament with a picture from Halloween 2009 and the tradition has begun!
Craft on!
Click here for today's daily giveaway!