Showing posts with label fabric stencil. Show all posts

Tuesday, June 30

ColorShot Love Tote DIY


Looking for a cute and fun tote for the summer? Create your own designs using stencils and Tulip’s ColorShot for a fun, easy and super fast design with this DIY Love Tote tutorial. I’m always so impressed with how well ColorShot’s color goes on, I was able to get smooth, solid color with just a couple of sprays. Read more to see how you can make your own tote!

Thursday, May 14

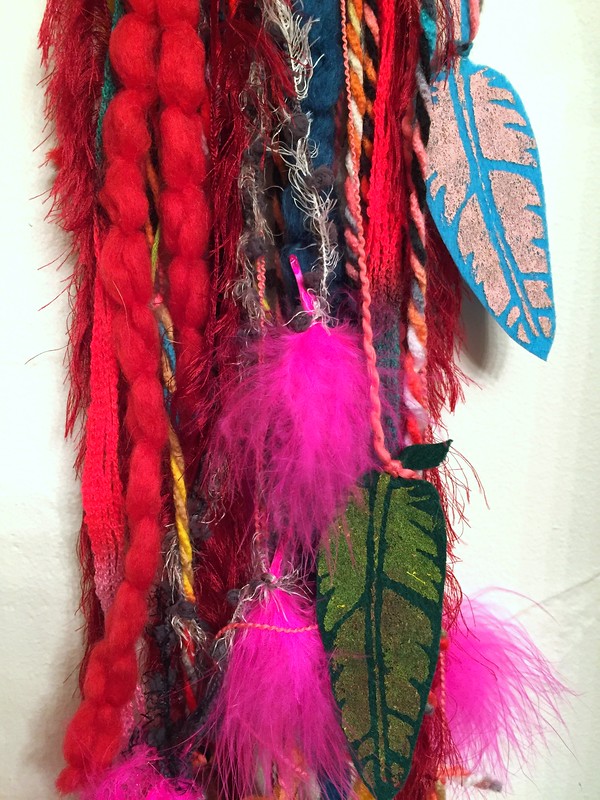
Dreamcatcher DIY with Stenciled Felt Feathers


Dreamcatchers are fun, easy and kind of addicting to make. I'm such a sucker for anything mixed media and no two dreamcatchers are ever alike. You can customize them in so many different ways and hand make almost any type of embellishment. Hand stenciled felt feathers might be one of my favorites.

Tuesday, October 28

7 Ways To Decorate A Light Switch

I originally set out to decorate 5 light switch plates, but ended up getting to 7 -- I just couldn't stop! For most of them, I used the new "Always Ready" Aleene's Tacky glues (they arrive in the checkout aisle -- no the glue section -- of JoAnn stores starting in November!). It's smart new inverted packaging that has the glue all ready to go -- in other words, no need to shake the bottle anymore to get the gluey stuff into the tip. They are great -- my only challenge was to remember to store them back in their base, tip down!
A light switch plate is a pretty sweet blank canvas -- small in dimension and fairly low-stakes (in case the creative process doesn't go as planned). But when it does work, what fun! Which switch plate theme or technique would you take and run with?

Thursday, June 14

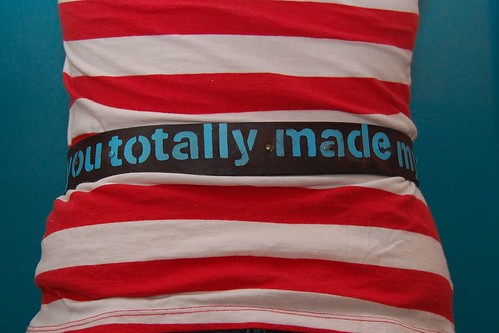
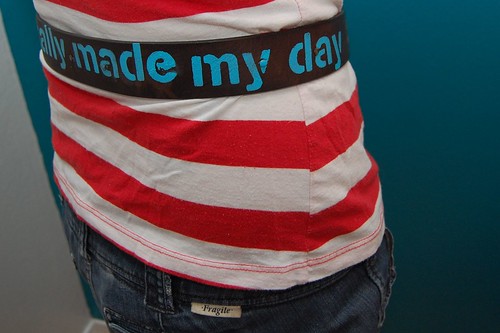
Stenciled Leather Belt

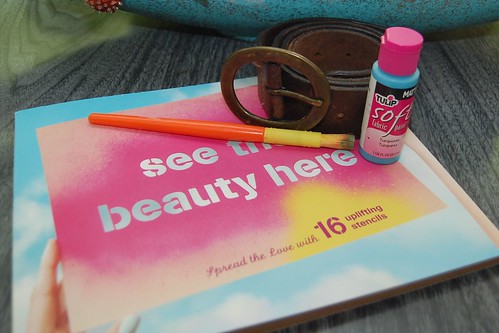
Recently Chronicle sent me a book called See The Beauty Here: Spread the Love With 16 Uplifting Stencils. I have been waiting for just the right project to bust out one of the stencils on and then today I ran across an old leather belt. With a bottle of Tulip Fabric Paint my belt is still old, but has a brand new look.

SUPPLIES

Belt

Tulip Fabric Paint

Stencil Brush

Stencil

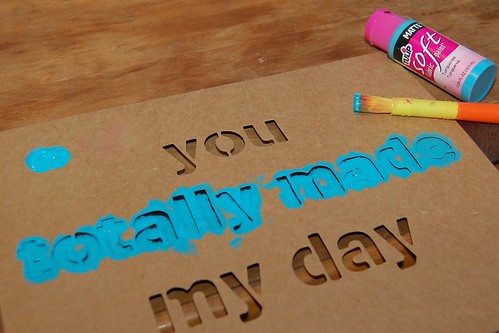
Line your stencil up on the belt and using a brush and as little fabric paint as possible get your design on. Tulip Soft Fabric Paint not only works great on fabric it goes on leather flawlessly.

All that is left to do is let the paint dry and try on your new spiffy belt!

***This is a sponsored post by I Love to Create - I was compensated & given free supplies. Mama has gotta pay the bills somehow and really who in their right mind would say no to free craft supplies***

Visit us on Facebook!
Craft on!

Tuesday, February 28

I'm Totally Crushing on Ryan Gosling's Scorpion Jacket from the Movie Drive


Hey Girl.

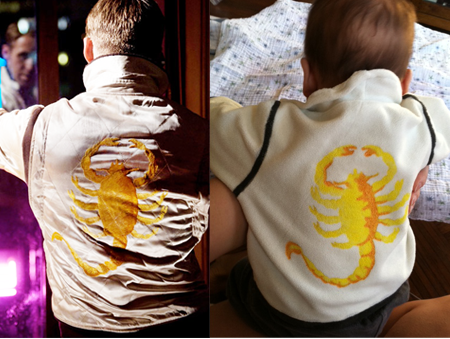
As one popular Tumblr ode to Ryan Gosling says, he's "your favorite sensitive movie dude-turned-meme." Another Tumblr puts it more bluntly. And a recent video by Gosling doppelganger Joey shares "How to Look Like Ryan Gosling." Which got me thinking about snagging Ryan Gosling's style. Forget the hoodie and well-groomed 5 o'clock scruff. I mean, did you see that embroidered scorpion jacket he wore in Drive? (Ahem, in case you can't tell them apart, that's Ryan on the left.)


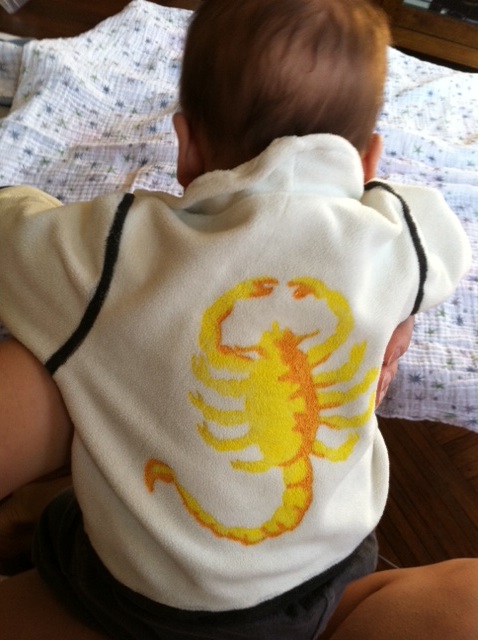
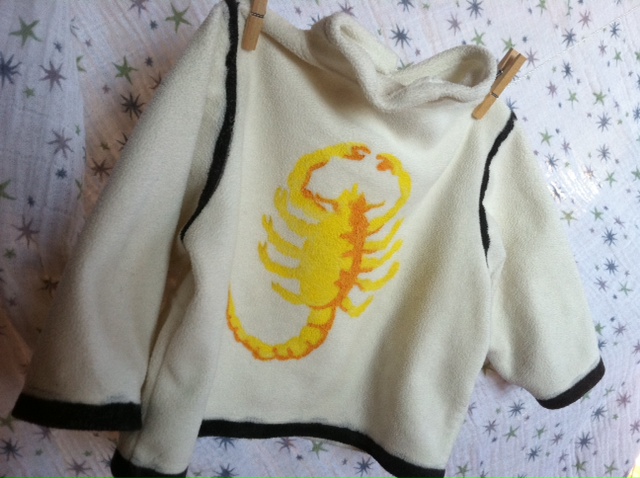
You can actually buy it -- oh, but making it would be so much more fun. And so I set out to make some sweet scorpion threads inspired by that original jacket -- no satin quilting, no embroidery, just a white jacket from a thrift store and some fabric paint. And since my favorite new sensitive dude happens to be pint-sized, I've decided to make it in miniature for my little gosling. (Note: These instructions can produce a version for a full-sized goose as long as you start with a full-sized jacket!)


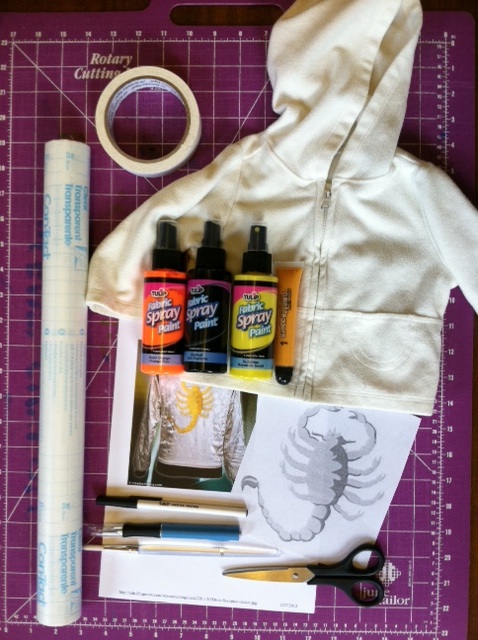
Materials:
-White
zip-front jacket or sweatshirt
-Pen
-Contact paper
-Craft knife and cutting mat
-Masking tape
-Yellow fabric paint, brush or spray on (for scorpion)
-Orange fabric paint, brush or spray on (for highlights)

-Black fabric paint, brush or spray on (for trim)
-Paint brushes (optional)
-Sewing machine threaded with white thread (optional)
-Scissors (optional)


Make it:
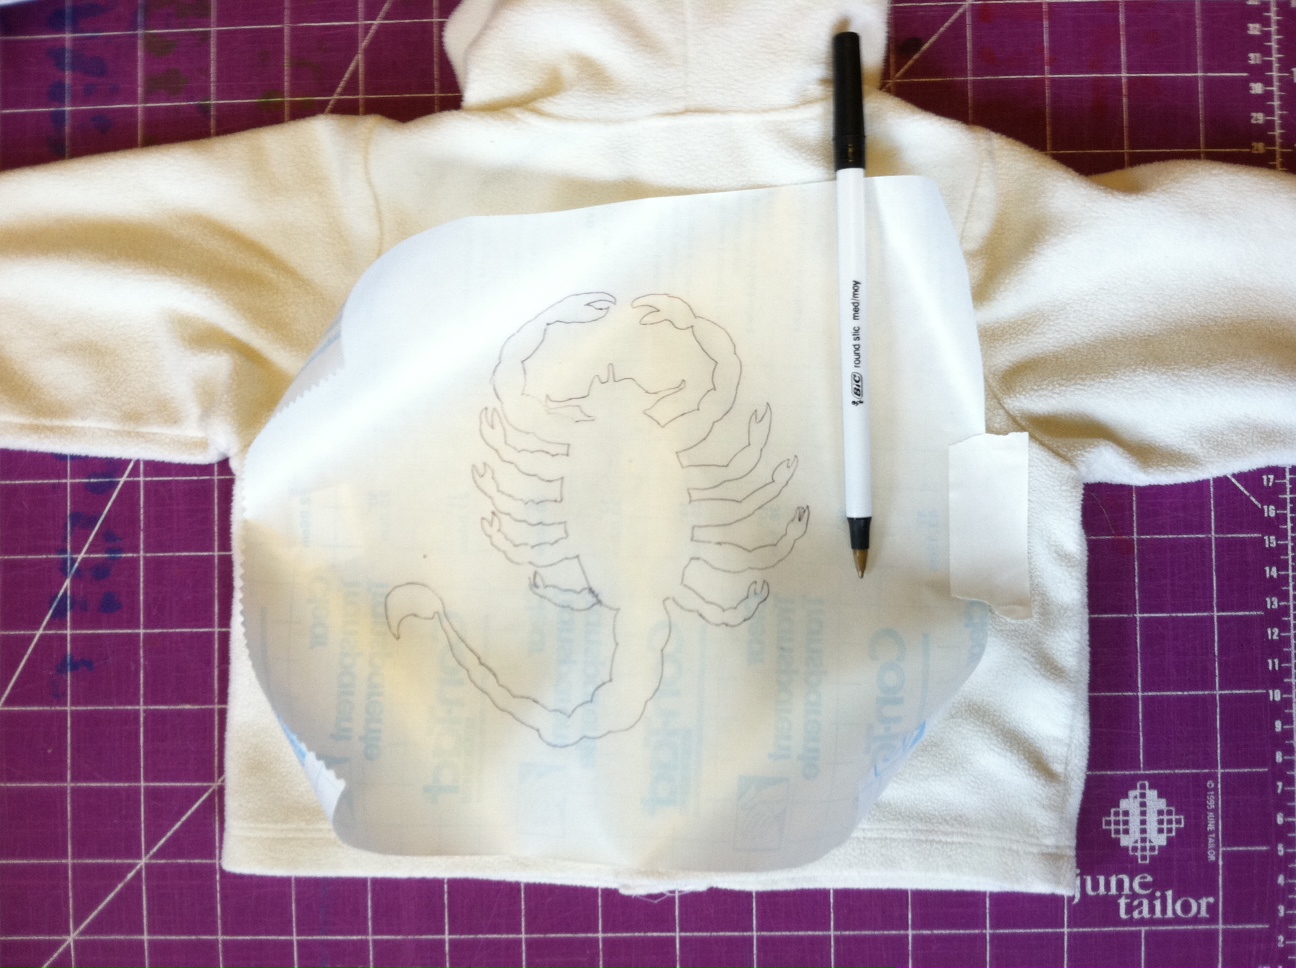
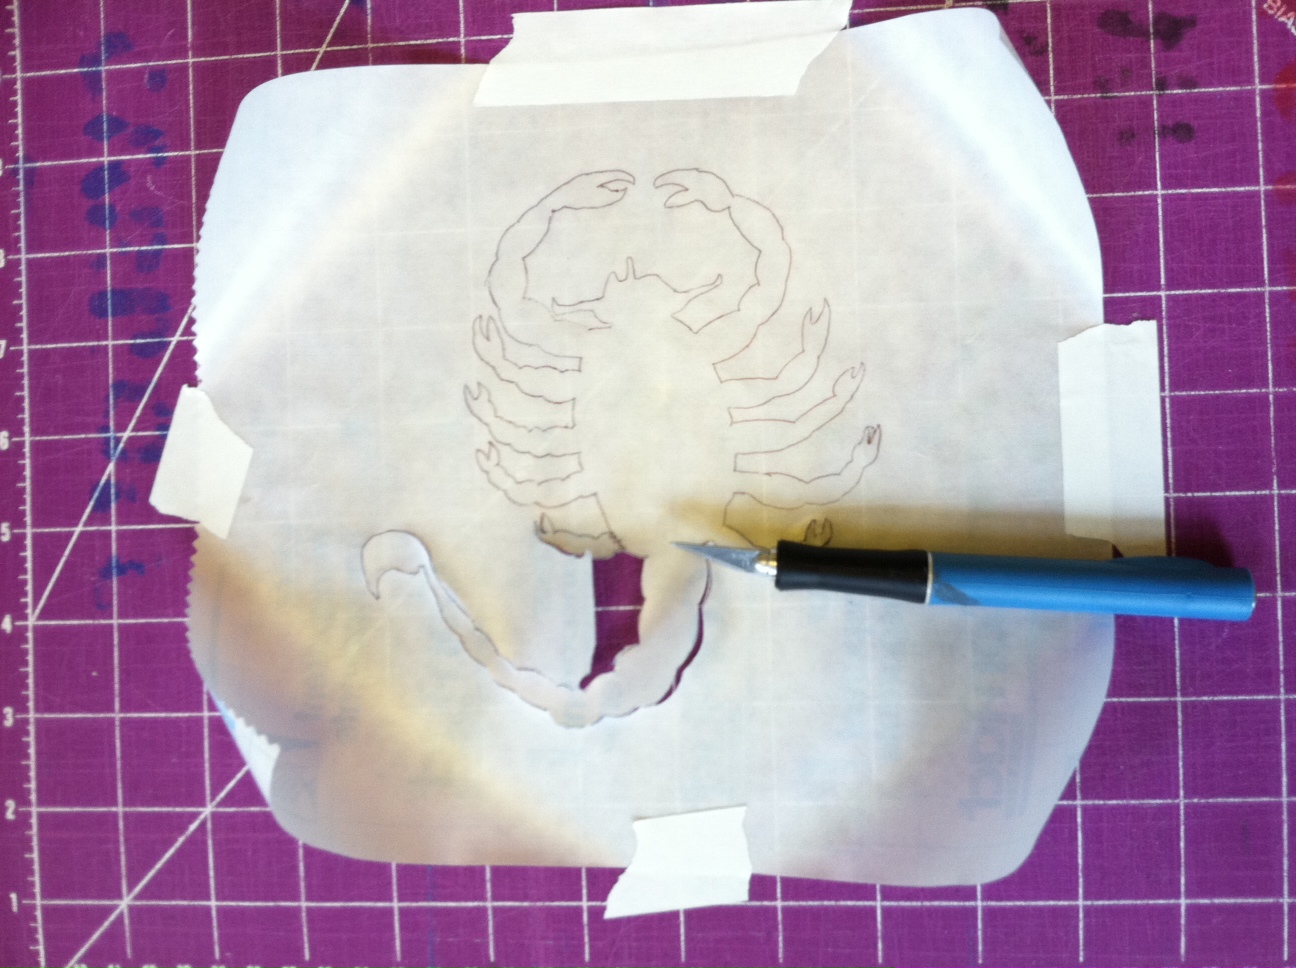
1. Lay the jacket flat and measure the approximate dimensions of the back panel. Cut a piece of contact paper to those dimensions. Draw or trace the outline of a scorpion onto the paper.

2. Use the craft knife and cutting mat to cut out the contact paper stencil.

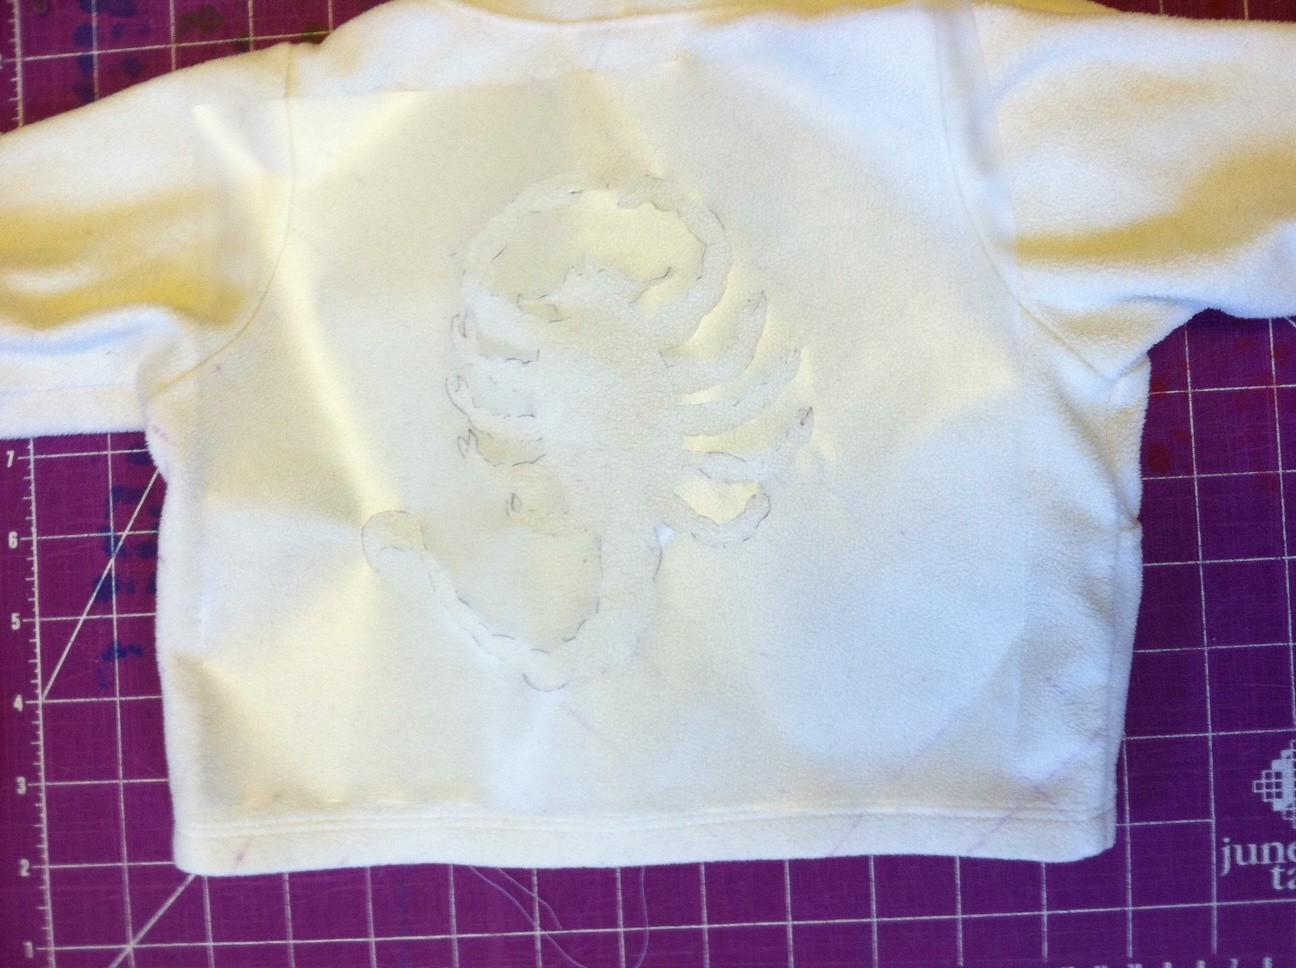
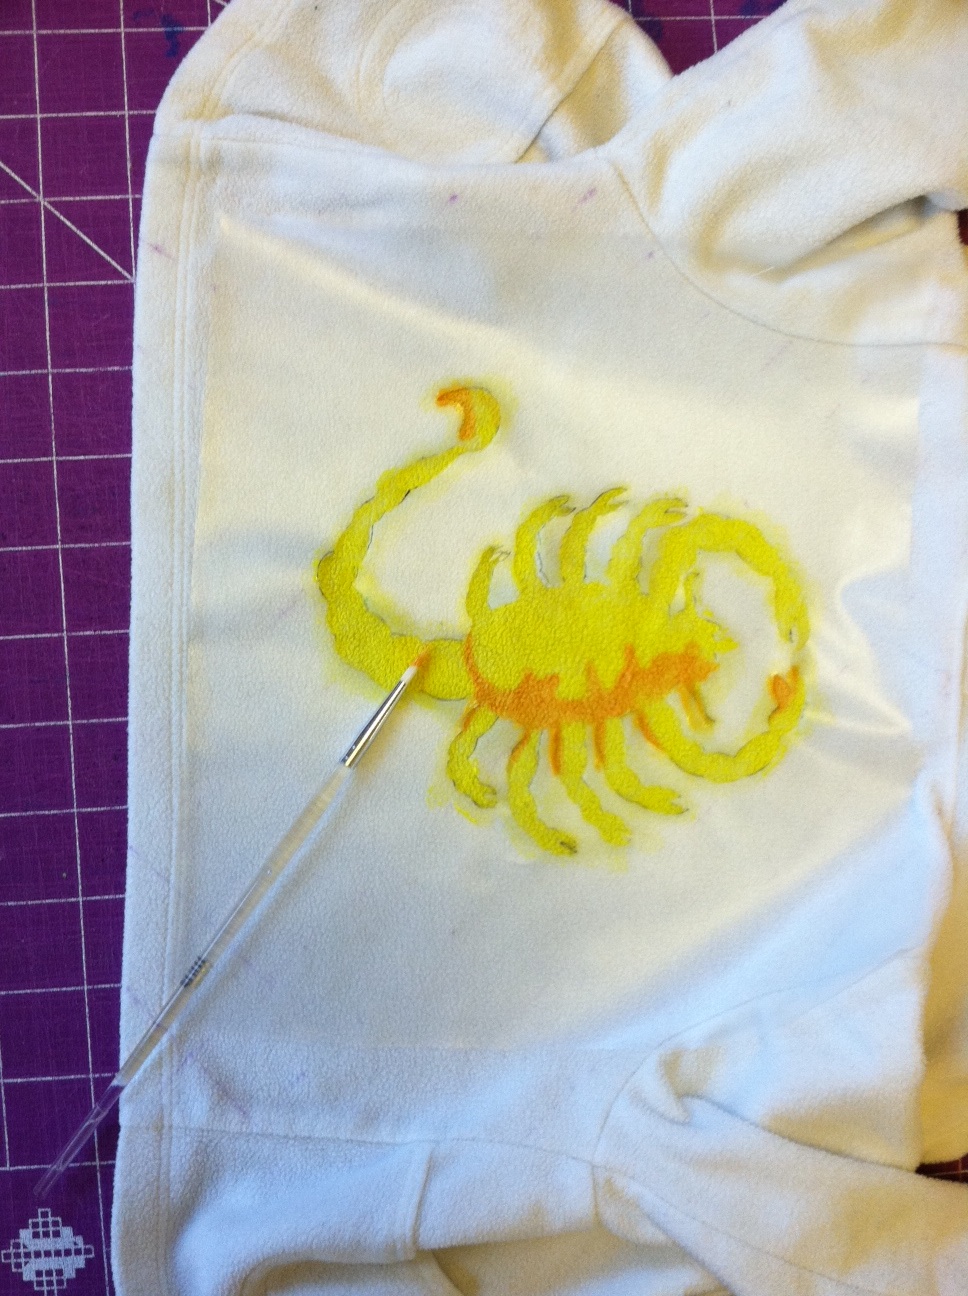
3. Peel off the paper backing of the contact paper and press the stencil onto the back of the jacket.

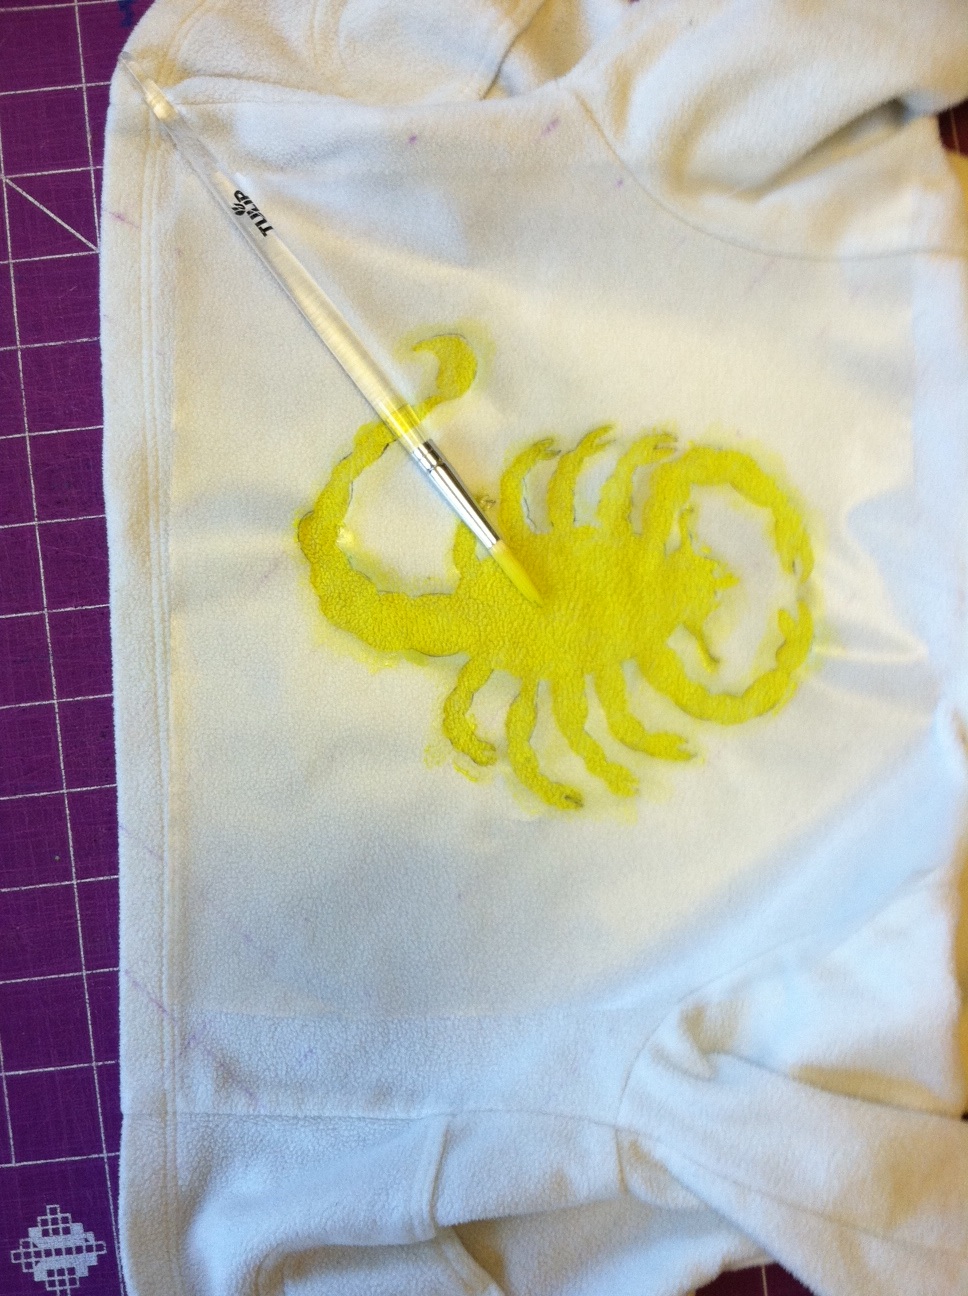
4. Paint the entire scorpion shape with yellow paint. (Use fabric spray paint or paint it on with a brush for more precision.)

5. Paint some highlights on the scorpion with orange paint to show the shadows.

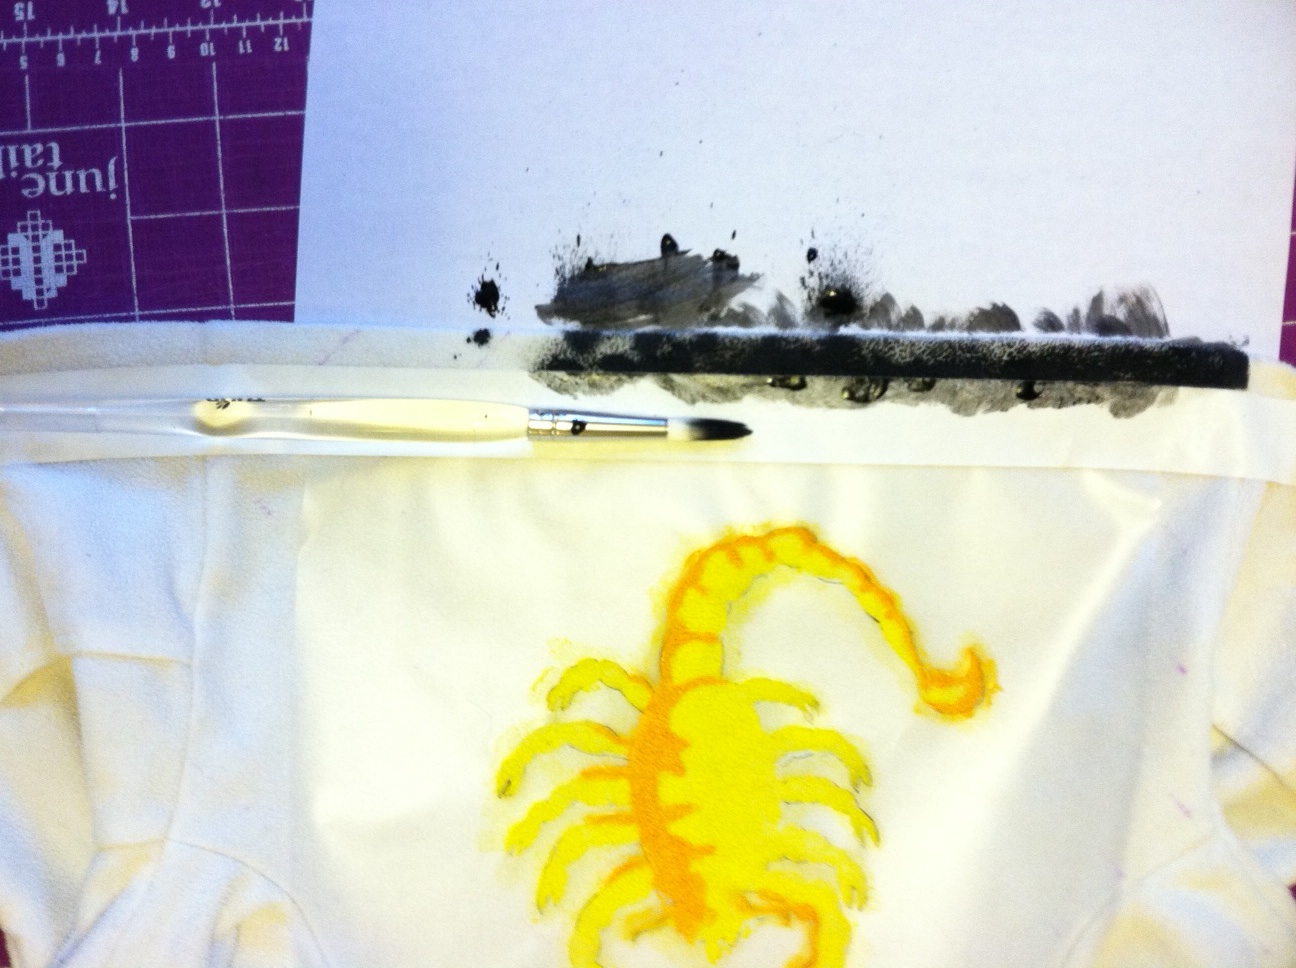
6. Line the bottom edge of the jacket, the sleeve ends, and the shoulder seams with masking tape and paint them black.

7. Let the paint dry completely and carefully pull off the tape and stencil. Optional: If the jacket has a hood, cut and hem it to create a collar. (Hey, we're going for authenticity here!)

8. Try the jacket on your littler driver. Okay, so he can't even hold his head up yet, but he sure knows how to grip the wheel! Next up: Get him a driver's license...in 16 years.


Photo of Ryan Gosling via FirstShowing.

Visit us on Facebook!
Craft on!

Thursday, December 15

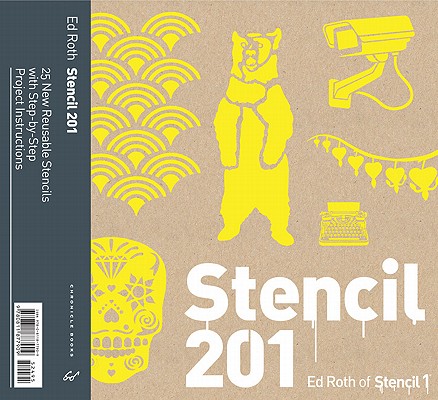
Stencil 201 - An Interview with Ed Roth and Handmade Stenciled Stocking Stuffers


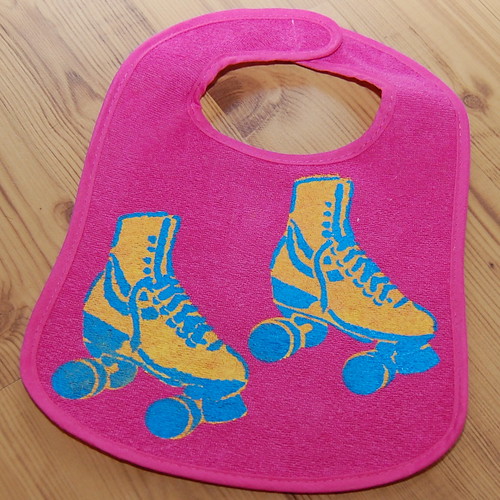
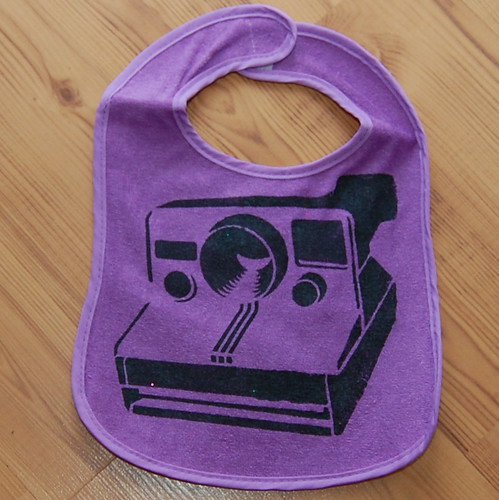
I was giddy with excitement when Ed Roth's latest book Stencil 201 showed up in my PO Box. Stencil 101 was a huge hit at my baby shower. I made matching skirts for me and Tallulah using a stencil from Stencil 101 Decor. I have done glass etching with some of his stencils. I even busted out a blouse or two. What was I going to make with all the awesome-o patterns in Stencil 201? Since I am on a handmade stocking stuffer kick hip bibs seemed perfect!

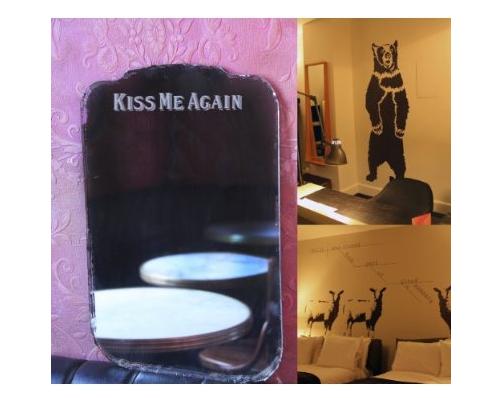
With each book Ed Roth and his stencils get better and better. The stencils in 201 are plastic so you can wash and reuse them over and over again. The patterns do not disappointment with sugar skulls, bears and patterns. I used mine on bibs with some Tulip Fabric Paint, but think of all the holiday possibilities. You could stencil stockings, tree skirts or even make felt ornaments.

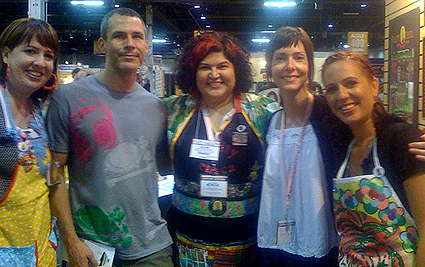
I was lucky enough to get a chance to chat with the stud of stencils himself Mr. Ed Roth.


What is the most creative way you have seen someone use your stencils?

Well, if you asked me that last year it would have been when Bust Magazine featured a pic of their toilet tank painted with my baby deer stencil but now, in Stencil 201, my barber buddy Eliath Pineda uses one of my stencils to cut a pattern into the side of a clients hair. I'd say that get's the most original award!

I adore all your books, each one gets better and better and the first one was so dang good I didn’t think it was possible. How did you get hooked up with Chronicle books?

It's funny. years ago I set out to make a stencil book. Publishers scratched their heads when they saw my prototype book I made of 50 stencils. Having a background in web design, i built my own site and sold the stencils individually instead. Years later, I sat down at a dinner party with a friend of a friend who works at Chronicle. When asked what i do, i told him and he said "oh we should make a book!". And there it went!


When you first got started did you ever envision your stencils being used the way they are now to create fabric, wallpaper, jewelry and more?

Not really. I just loved painting t-shirts and walls and I sort of designed in that theme. I think I am lucky to always learn from my customers and people like you in the field that take the stencil use further. Look at guest artists Jenny Hart and Vickie Howell with embroidery and felting, these techniques combined with a nice stencil image create a new product I would not think to initially make. Love those gals!

I’m curious, I’ve navigated my way through the craft world for years. From vending at small punk rock craft shows to make and take booths for corporations at CHA. I know you are on the same trajectory. How has the craft industry been for a man? Do you think you get treated any different since it is such a female dominated industry?

I didn't notice. I don't think about that, I just do my thing. I love all the ladies I meet, the business gals, the crafting dames, everyone's been cool. I've worked with you, Jenny Hart, Vickie Howell, Erica Domesek, Kathy Cano-Murillo, and what's her name, oh yea Martha Stewart(bow). I think I've been welcomed!


Your new book Stencil 201 has a few “guest stars” how did you pick your contributors and did you let them choose how they would use your stencils or did you come to them with a pitch?

The choice of artists was so random. Christian Sumner, A Baker in Brooklyn, is a friend of mine and he is driven and just so talented I had to feature him in the cookie stencil how-to. Susan Rivas, I met when she offered me a slice of pizza and we got to chatting. She does amazing "collagistrations" so I had to see what she would do with the stencils. I was a guest in Vickie's book Craft Corps and we chatted creative stuff since so I wanted her in my book. Jenny is the queen of embroidery in my book and a Chronicle author so that was a no-brainer. Erica Domesek asked me some time ago to provide stencils for her Sharpie booth at NY Fashion Week and we became buddies, she's unstoppable. I featured Swoon since I adore her street art and met her at her opening, she is involved in so many good causes I had to get her in there. Elaine Elwick Barr is a craft genius and great friend of mine who has been one of those creatives who has taken my stencils to another level, shrinky dink jewelry, come on! Just love all these people!

What is the best selling stencil on your website? Are deers all the rage or do boom boxes dominate?

Hmm, ya know, birds rule. Nature in general has done well. But of course my graffiti inspired imagery does well too. But birds. yea. birds.


How do you trend forecast what stencils to make? Like I am just discovering foxes have been the new owl for awhile.

I guess like you, something out there resonates. I look at everything around me in NY, I live in a trendy area. Sometimes these trends are on high fashion clothing, sometimes they are used in decor. I think I watch trends and feel waves passing and think what's next after all this? It's a feeling. But also, in business, I have to see what does well and sometimes play off of that. Skulls> Birds> Octopus> Mustaches > who knows haha

I love the fun chocolate collaboration set you did with Alison Nelson. Are there any more little hidden Ed Roth gems out there we should be looking for? Any big collaborations coming down the turnpike?

I have decided it is my year to do many collaborations. I am very interested in co-branded products, developing some cool licensing deals where you see my artwork on home products. I have shown people for years how to stencil on a bunch of surfaces, now i will offer those things made as well. Also, I am also hoping to offer more Stencil1 art product with the right manufacturer so my users have more tools to create more. I am not so interested in sitting in a licensing booth, I am trying to break that formula. I am a small business and things like that can be costly so I try to take unique approaches to business. What i am saying is I am cheap, haha. Better word, resourceful.


Geez your stencils are popping up all over the places, movies, TV, magazines even Martha is on team Stencil1. What has been your biggest piece of press to date? The one that effected sales and clicks on the website the most? Like was there a huge demand for the twig stencil after the Country Living feature?

Aw thanks, Well, Being on Martha was a good boost. BEing in ReadyMade years ago was a big boost too(RIP Readymade!). It's so funny, whatever stencil gets featured in press,well, that's the one stencil that you will see ordered! I offer over 100 designs on stencil1.com but people only bought the skull stencil after the queen of craft MArtha made a shirt with my skull stencil!

What does the future have planned for Mr. Ed Roth?

Oh boy. Lots to do here. Licensing my art, developing new art supplies and home goods, I am very interested in doing more video and have written a few tv treatments, more installation work for hotel rooms, I want to have an art exhibit, and I really enjoyed the book tour for Stencil 201 and that inspired me to do more events where people simply get to make art!


Visit us on Facebook!
Craft on!

Tuesday, April 26

4 Ways to Spray!


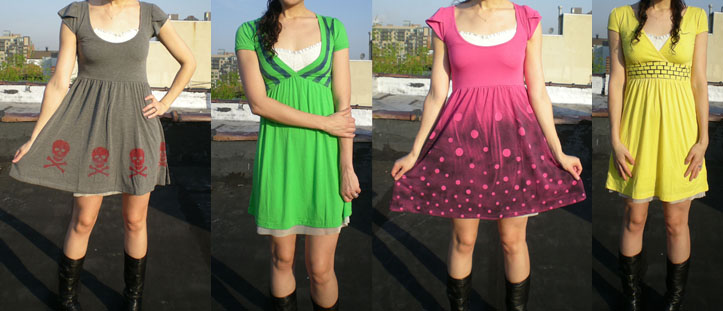
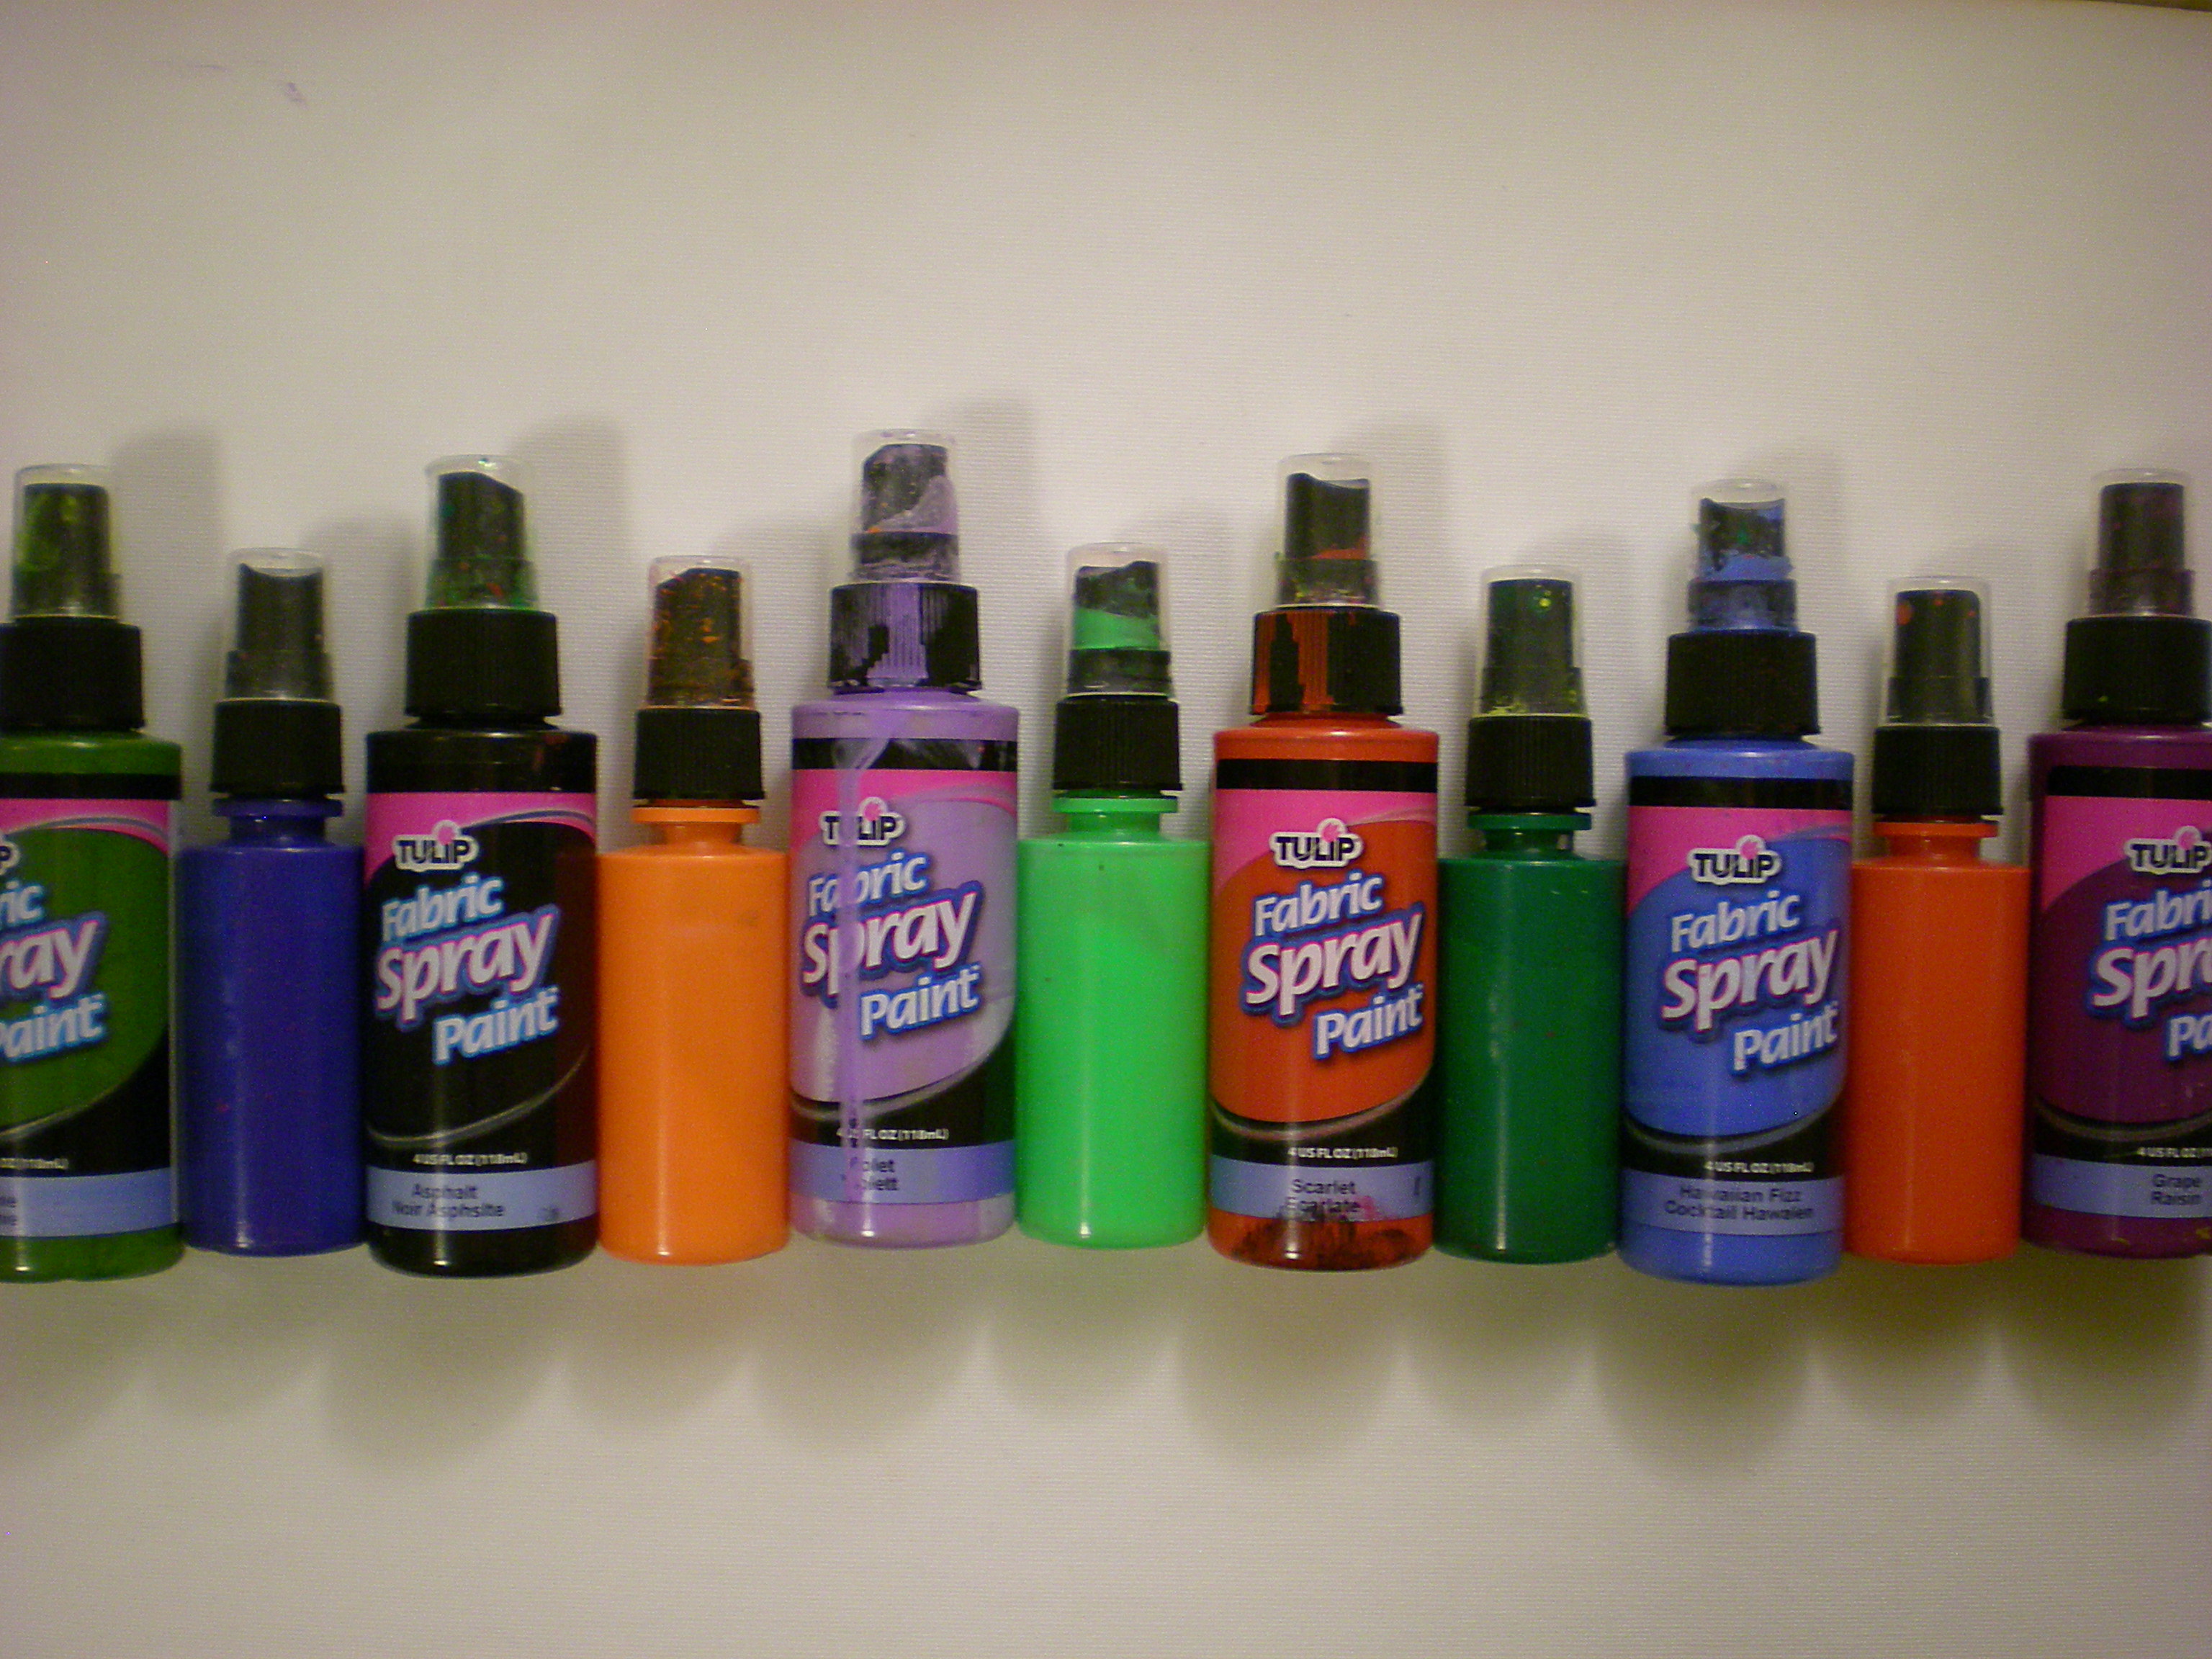
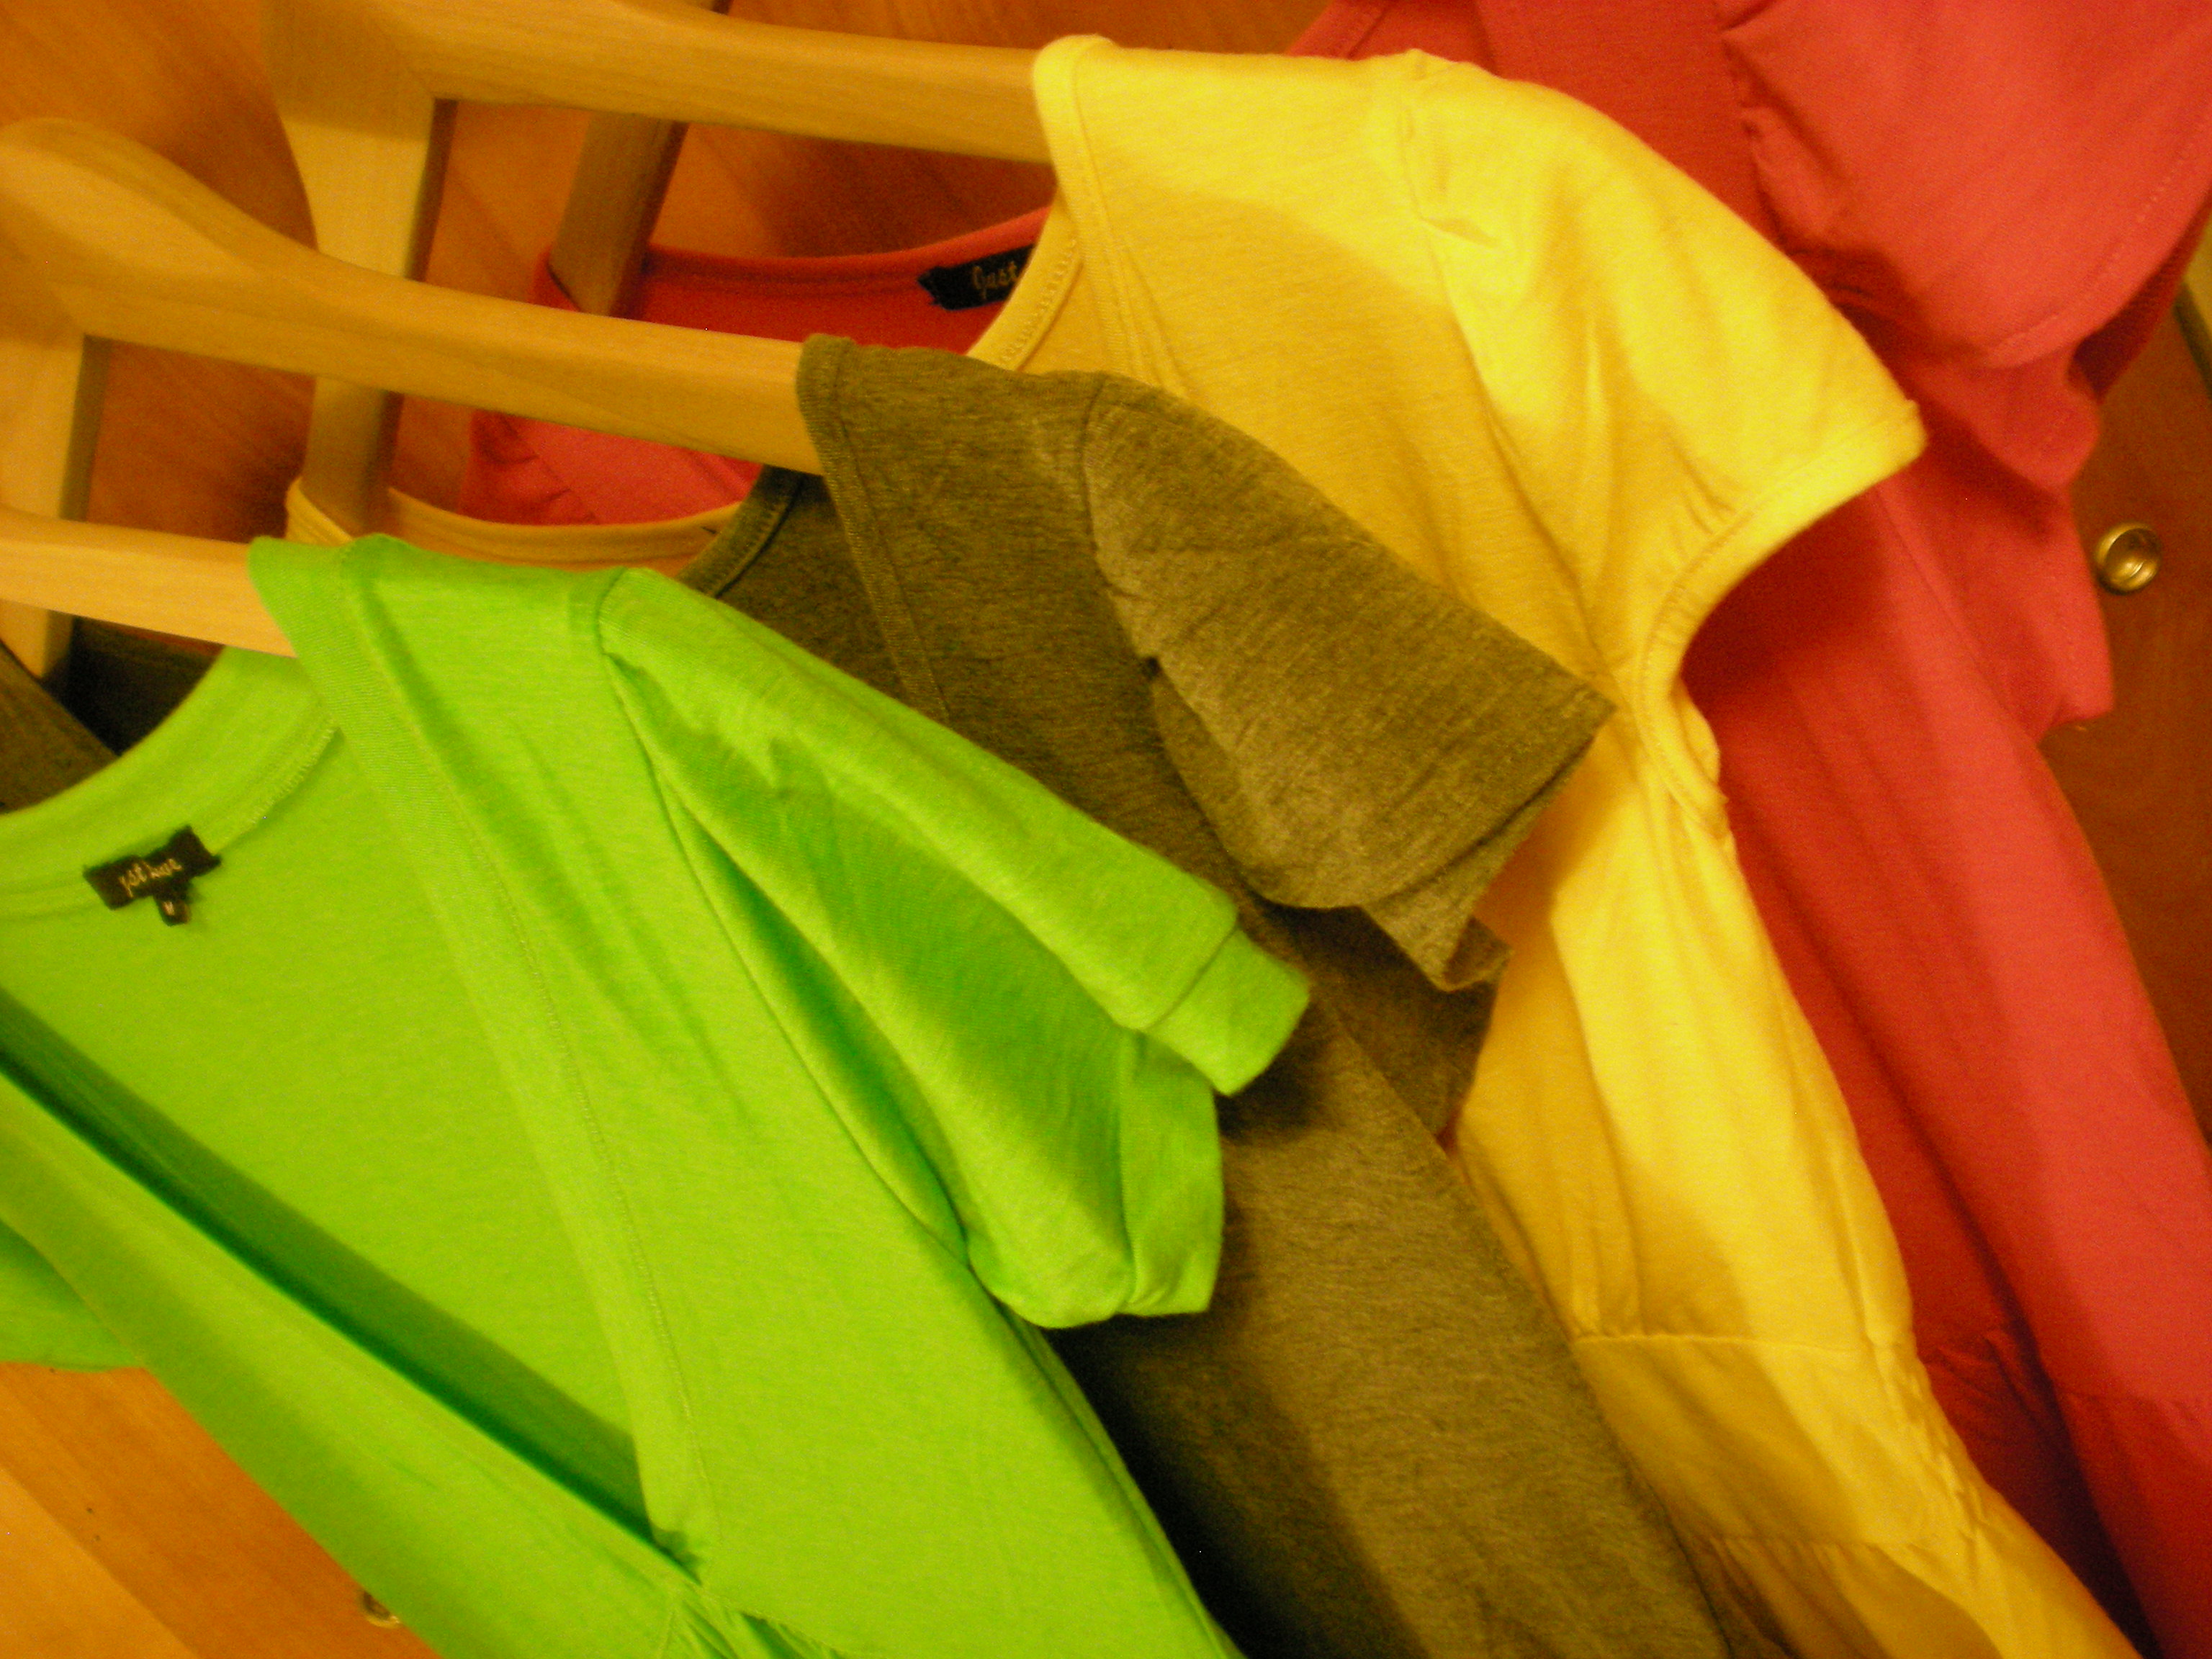
As some of you know, I've been just a little bit obsessed with my spray paints lately. And it's because they're the perfect quickie spiff-up and surface embellish for T-shirts, pillows, dresses--or any other fabric item you want to spray! Since it's spring, though, I grabbed up some plain cotton dresses to spray. Here are four different ways to pair those fabric spray paints with templates made from materials around the house including masking tape, stationery stickers, and freezer paper. Pull your spray paints from your holsters!


Once your paints are assembled, select your surfaces (in all different colors--though light colors will take the paint best).


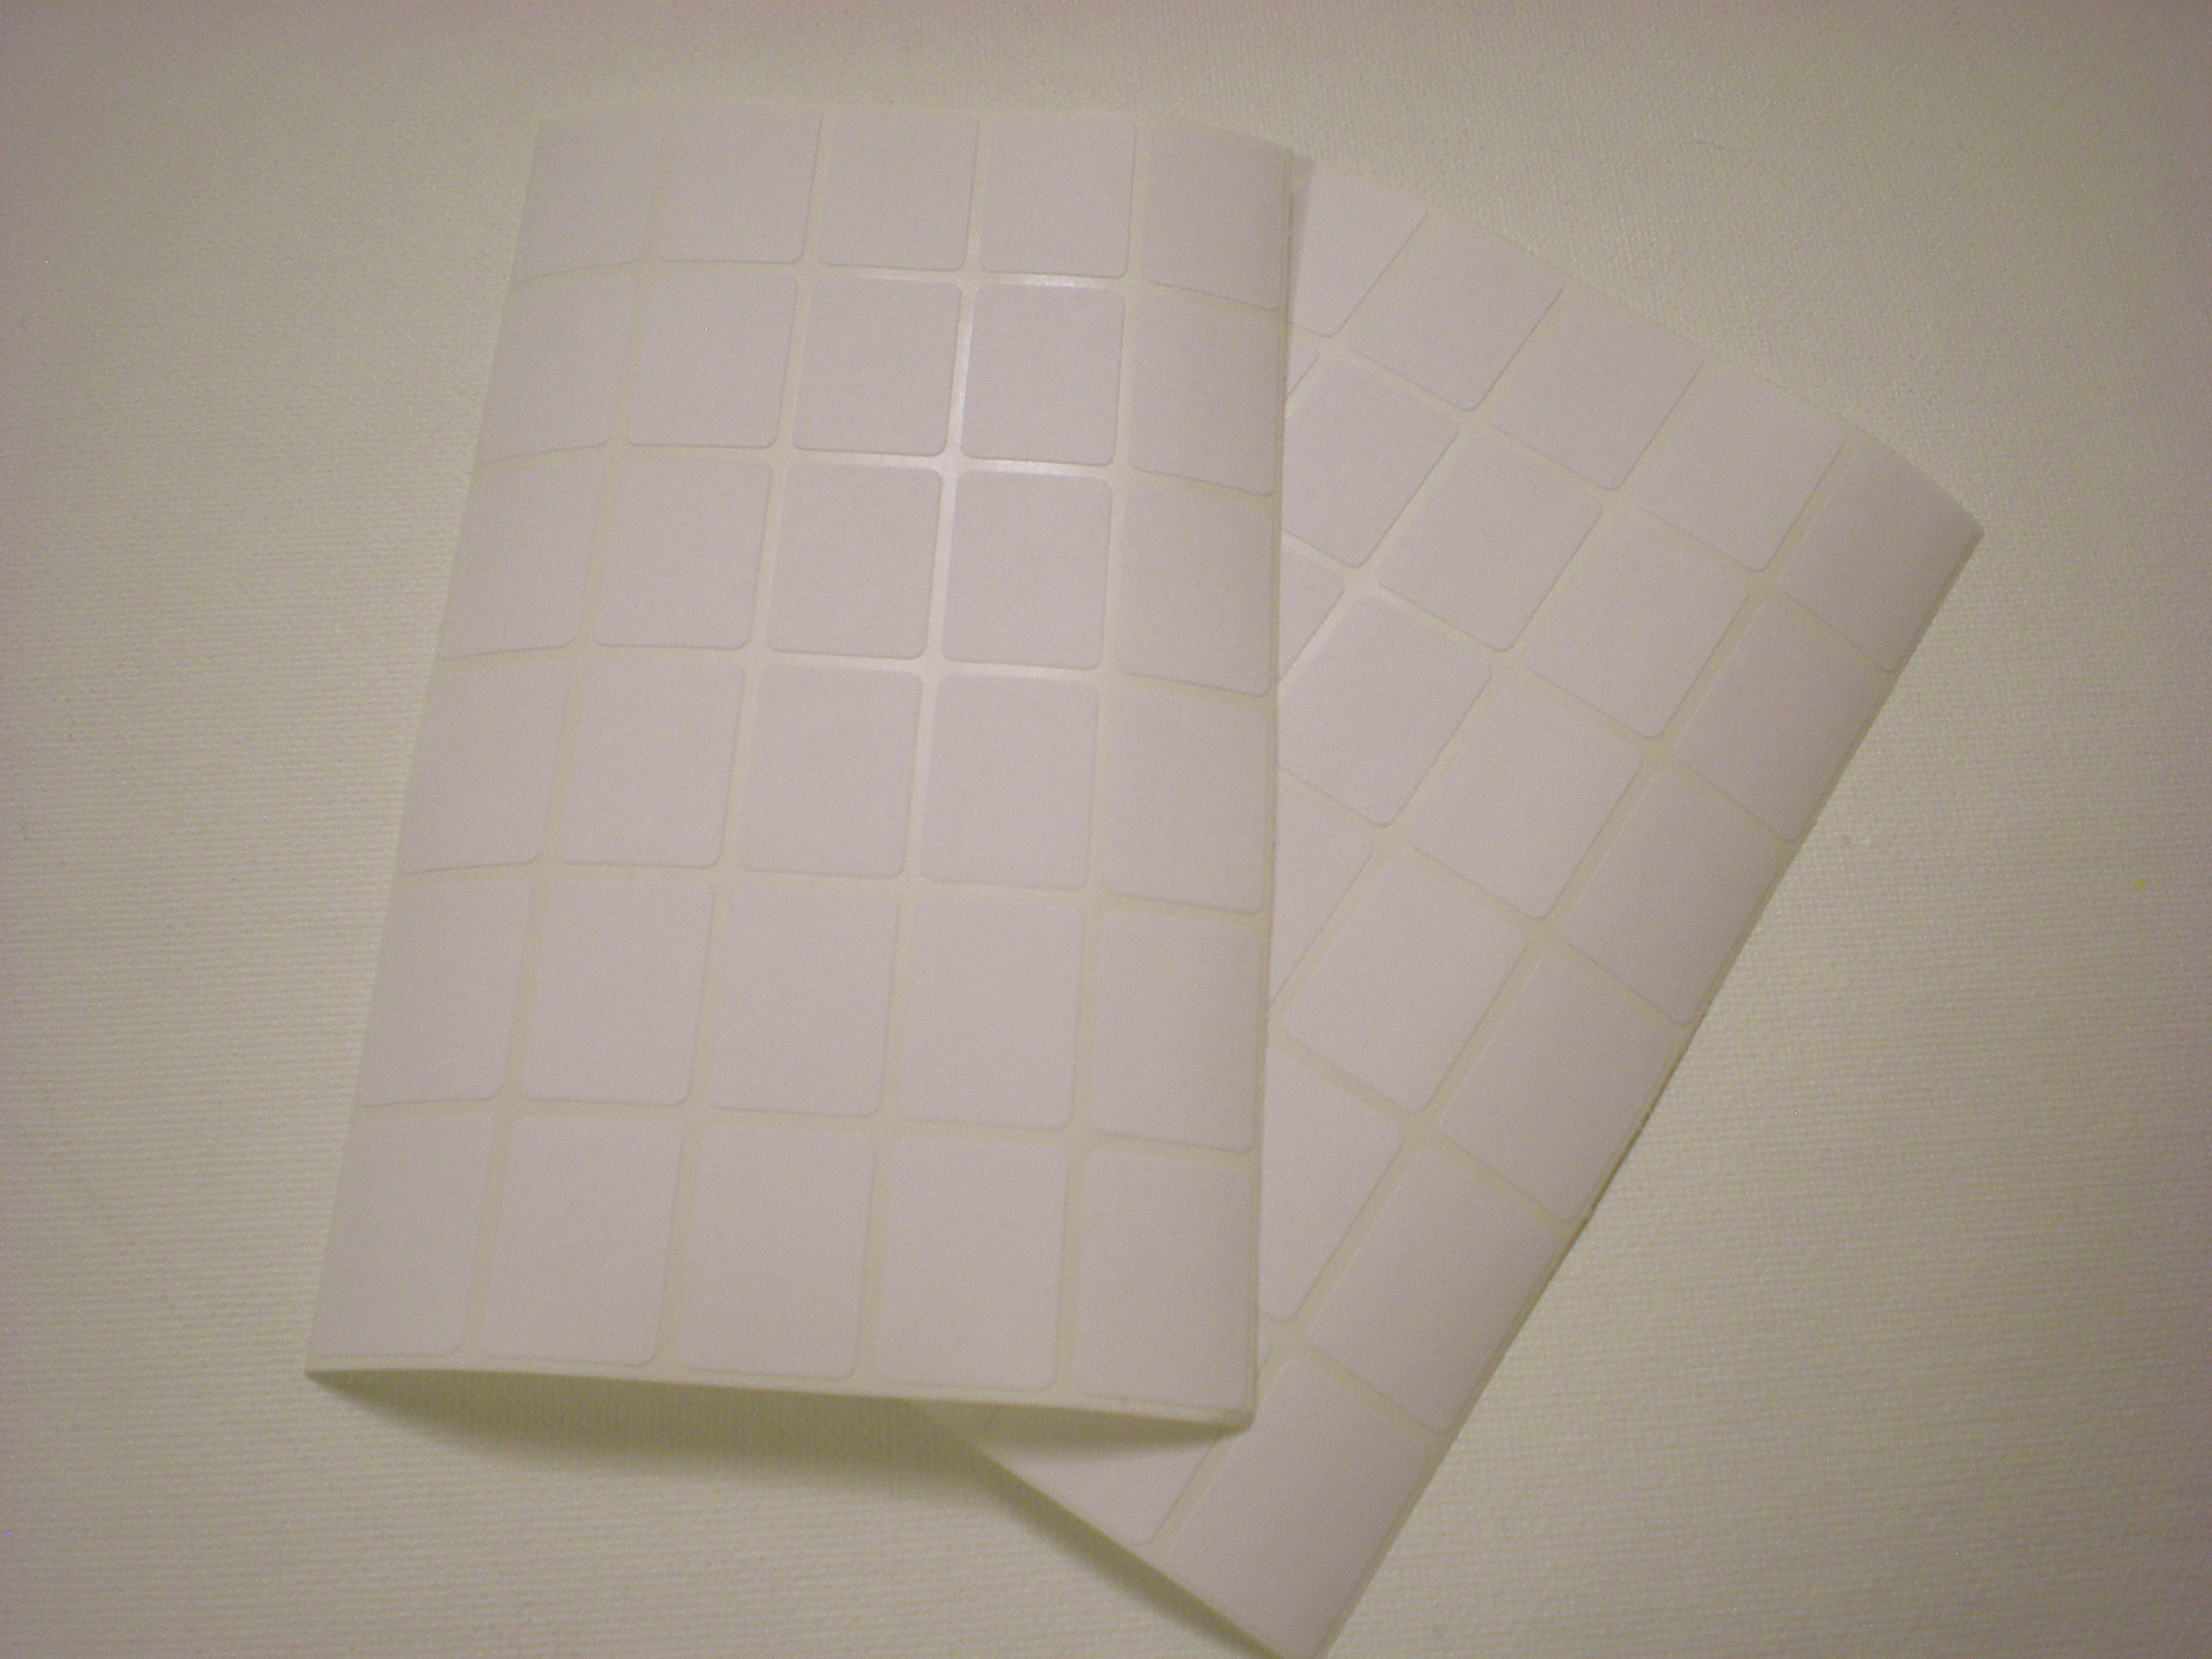
Then introduce any number of "secret weapons from around the house" (i.e. items that can be used as templates or stencils to mask parts of the fabric (i.e. freezer paper, permanent marker, a craft knife; map dot stickers; rectangle sticker labels; masking tape) in each of the individual projects below!

1. Yellow Brick Road

Secret weapon from around the house: Rectangle sticker labels

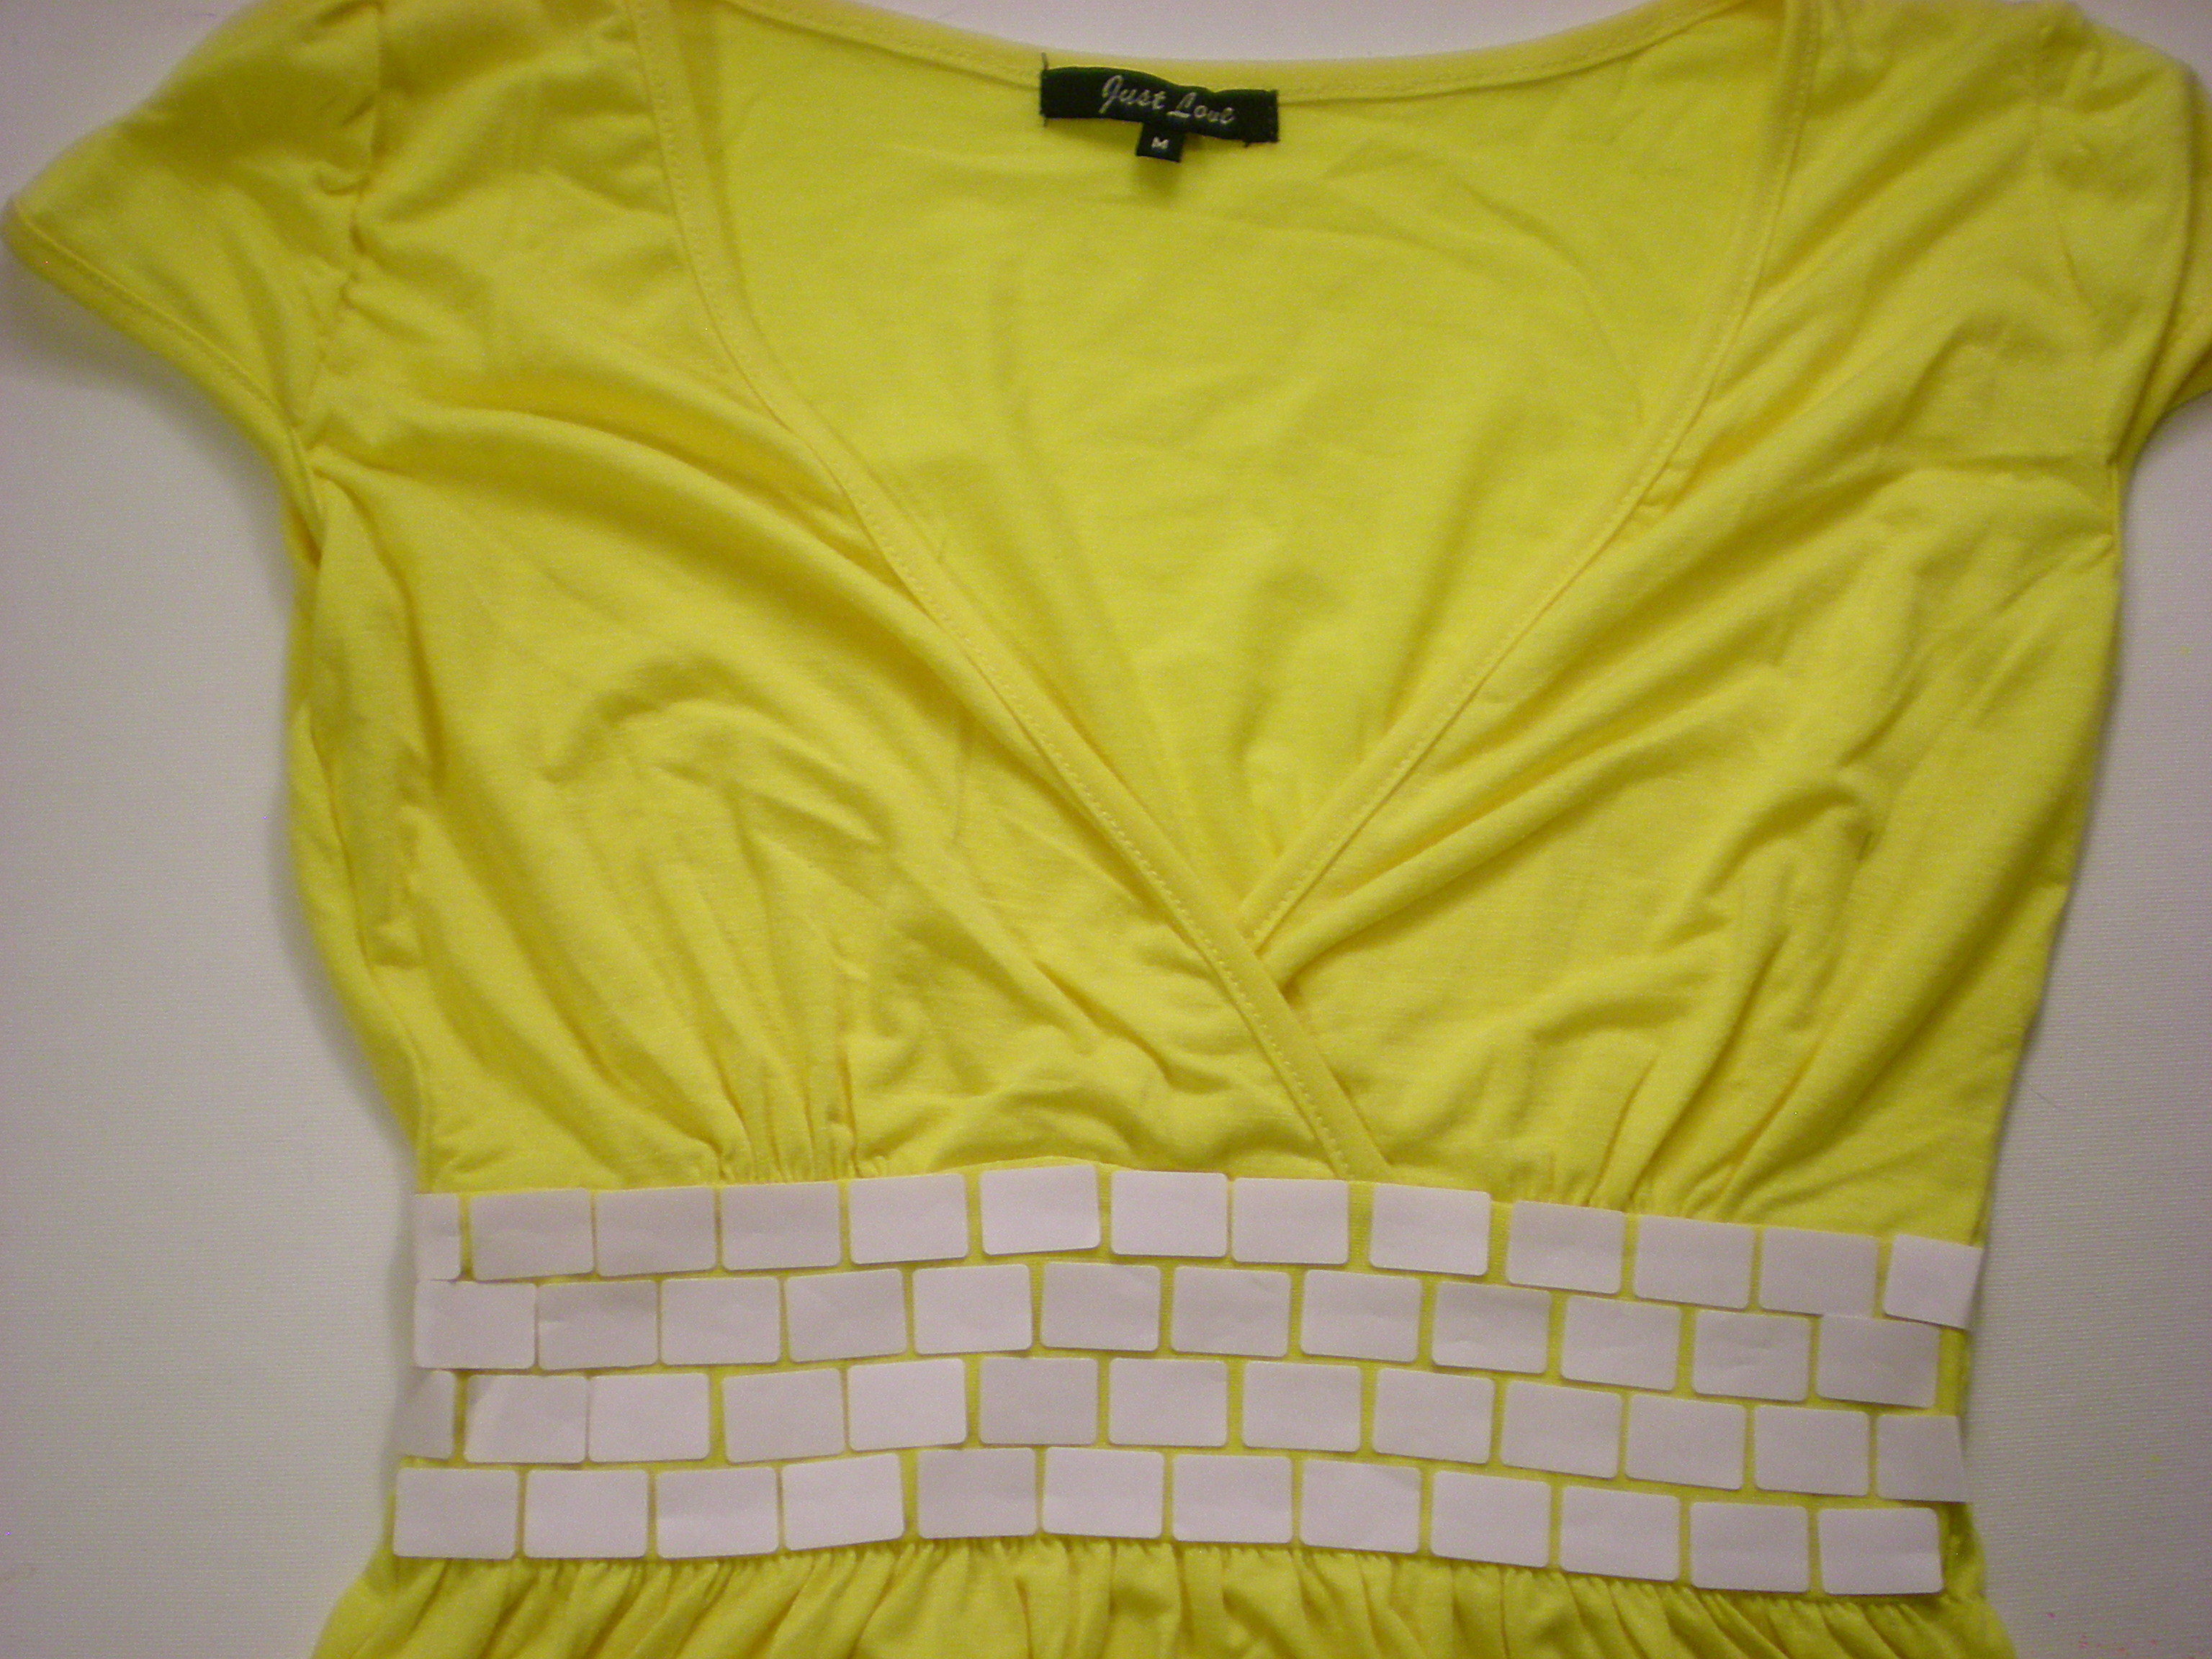
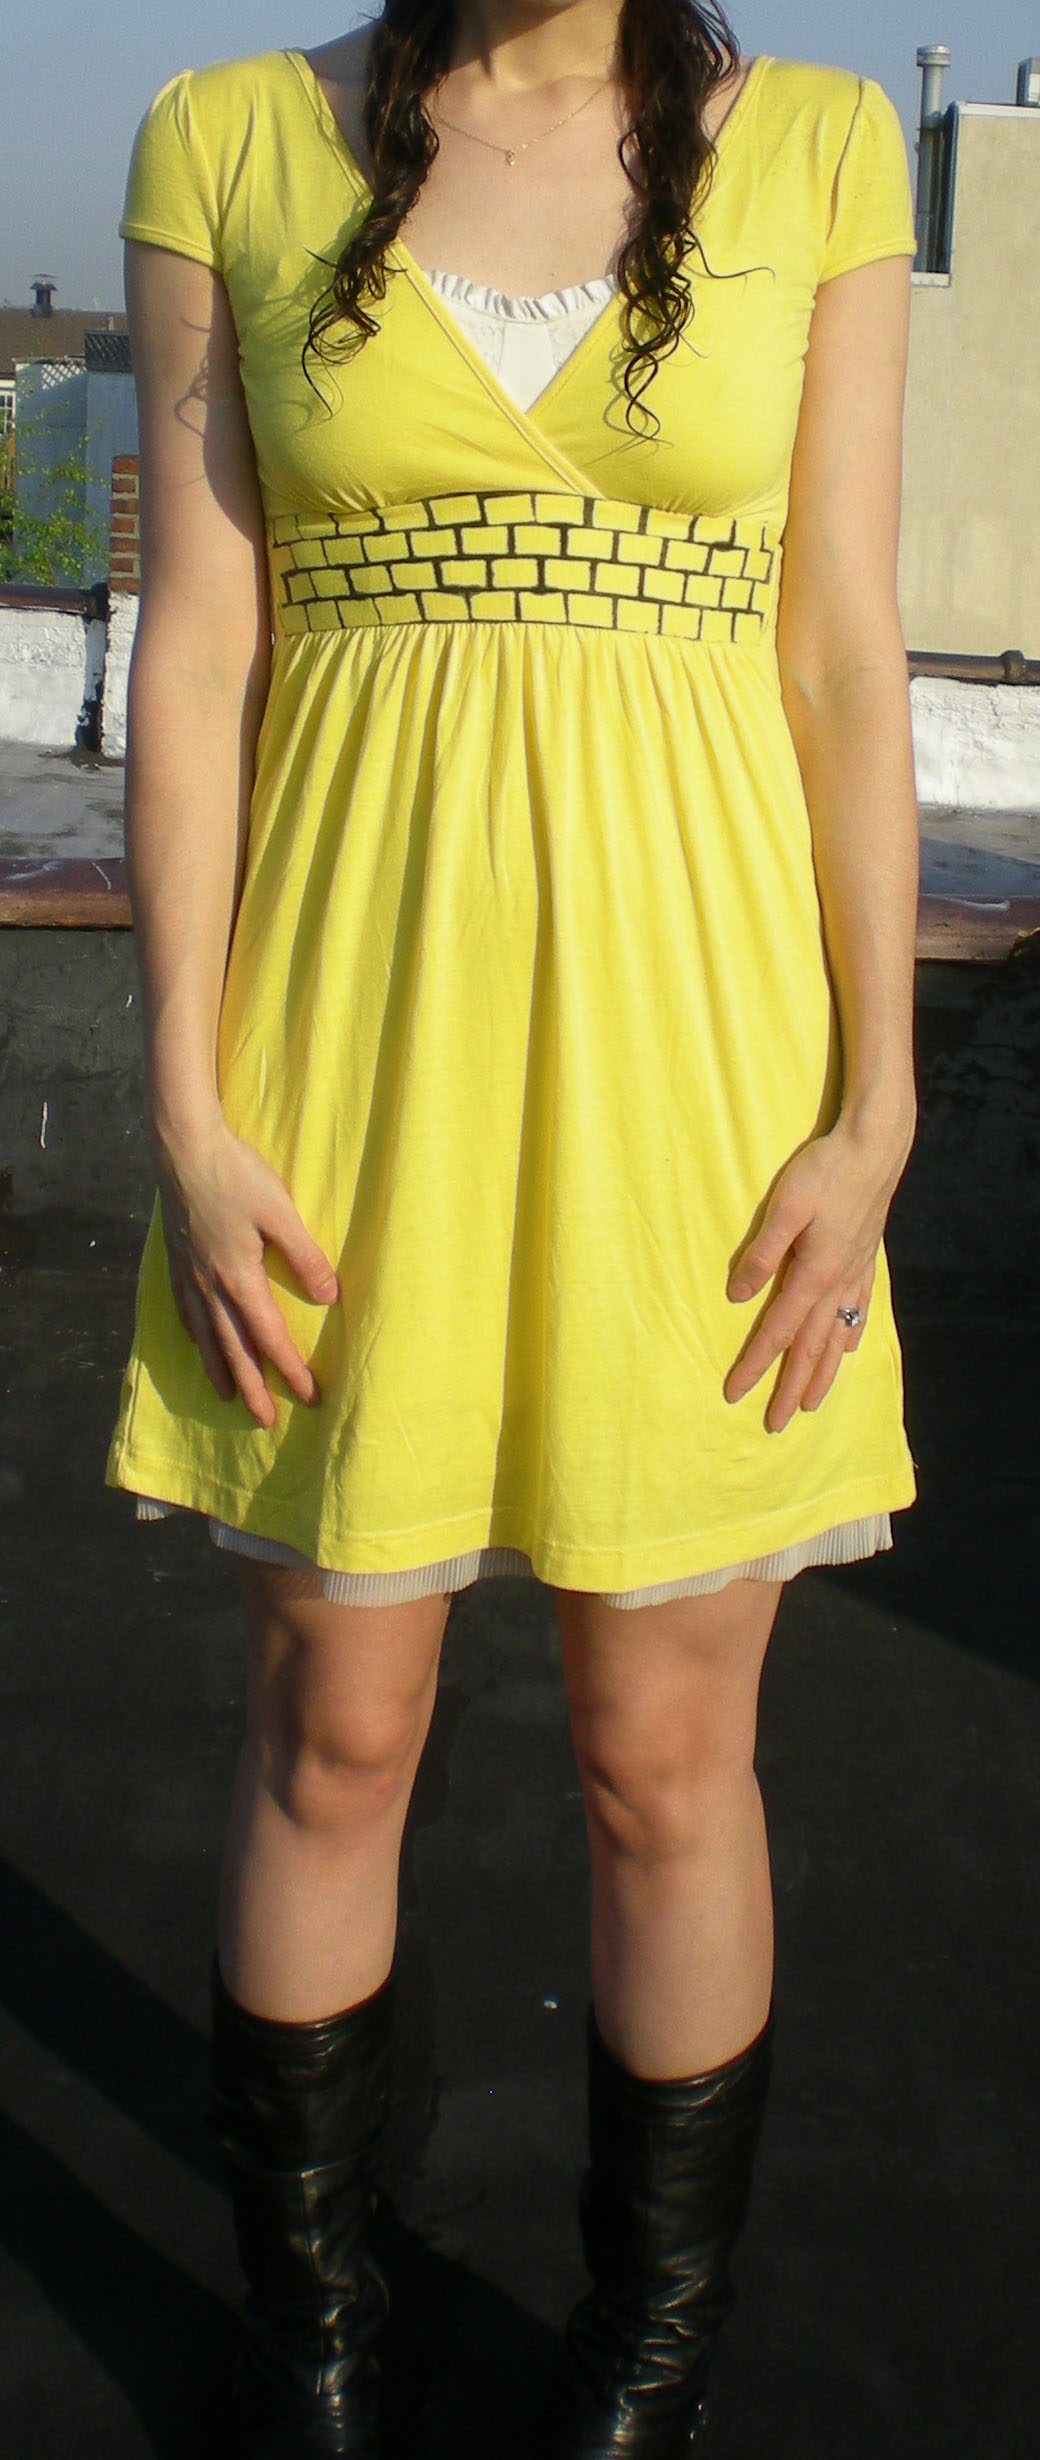
Originally, my plan was to stick on these labels in a checkerboard pattern to give the dress the feel of a racing flag. But the stickers so easily lent themselves to being bricks, that I immediately thought of the yellow brick road in the Land of Oz.


I chose to follow the yellow brick road along the waistband, but you could lay your bricks around the hem of the dress, up and over the shoulder, or a circle them all over the dress. I laid one row of bricks and then stuck down a second row, offsetting the first brick in the second row so that the rest of the stickers in that row would be slightly staggered to create the brick pattern.


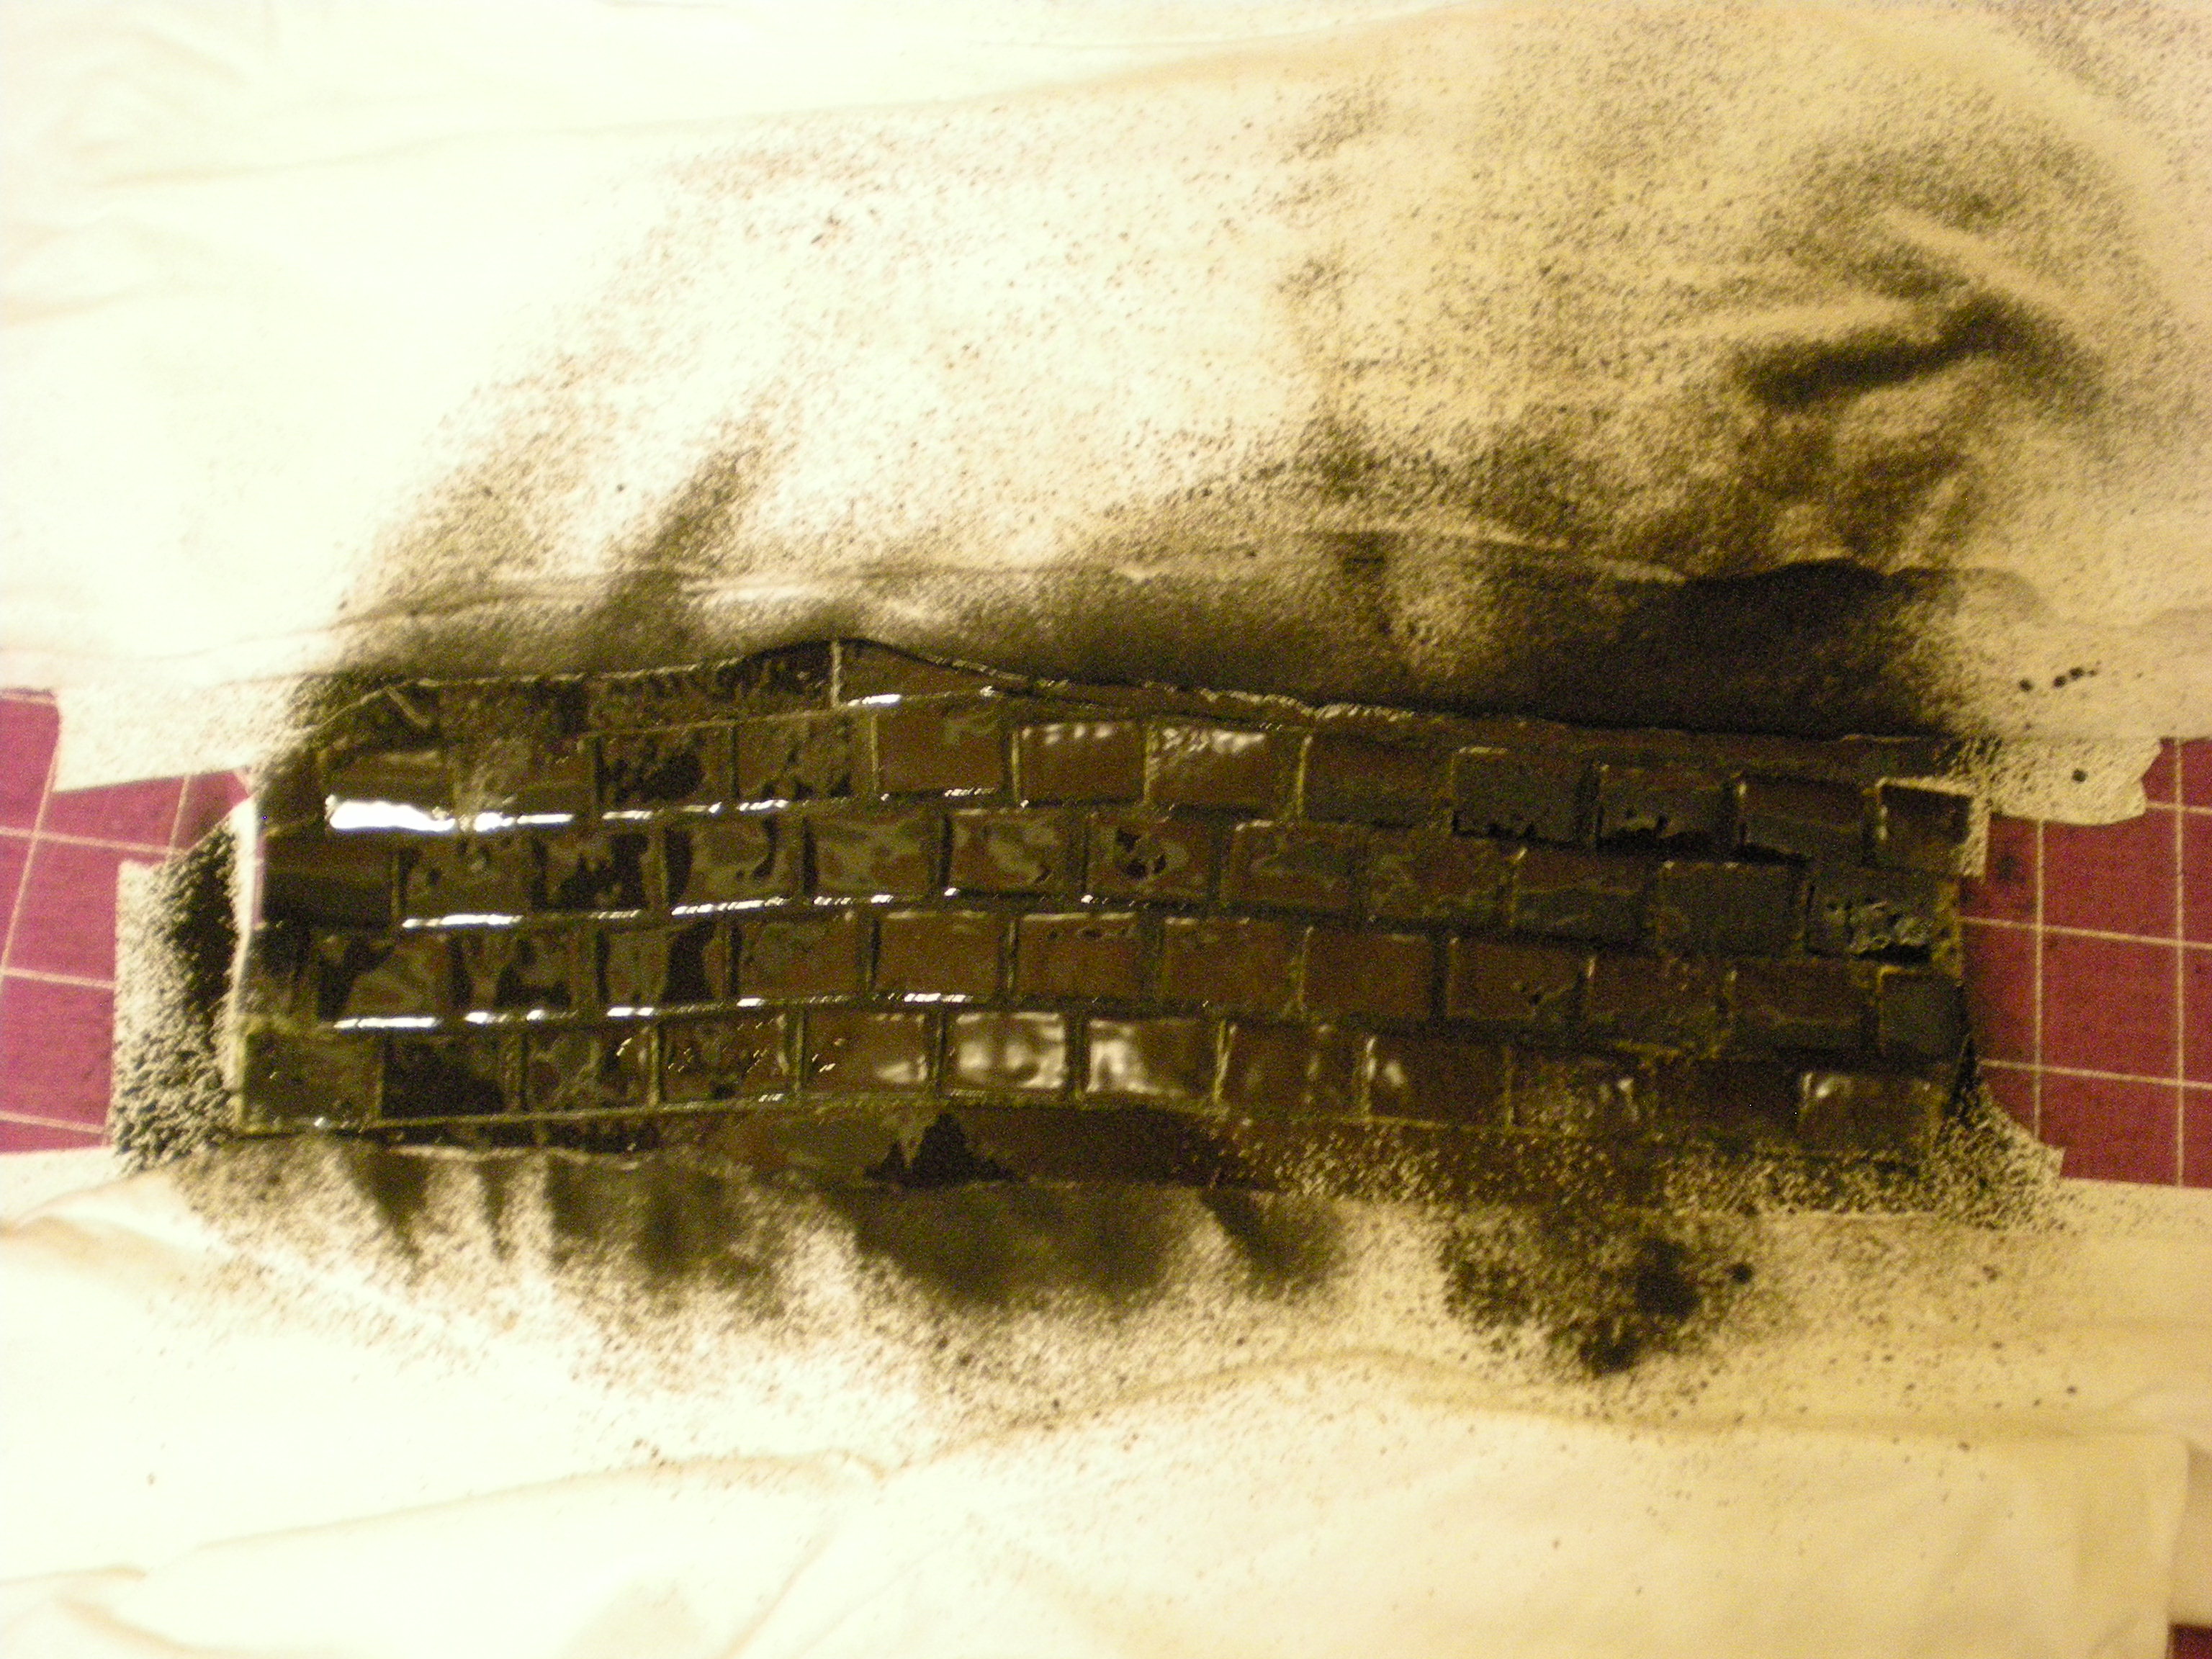
Mask the rest of the garment before spraying (I used T-shirt scraps and paper from my recycling bin) so that you can contain the paint to only the area you want to color. I used black spray paint to make the yellow bricks really pop!


Let the paint dry completely before you peel off the brick stickers and try it on!


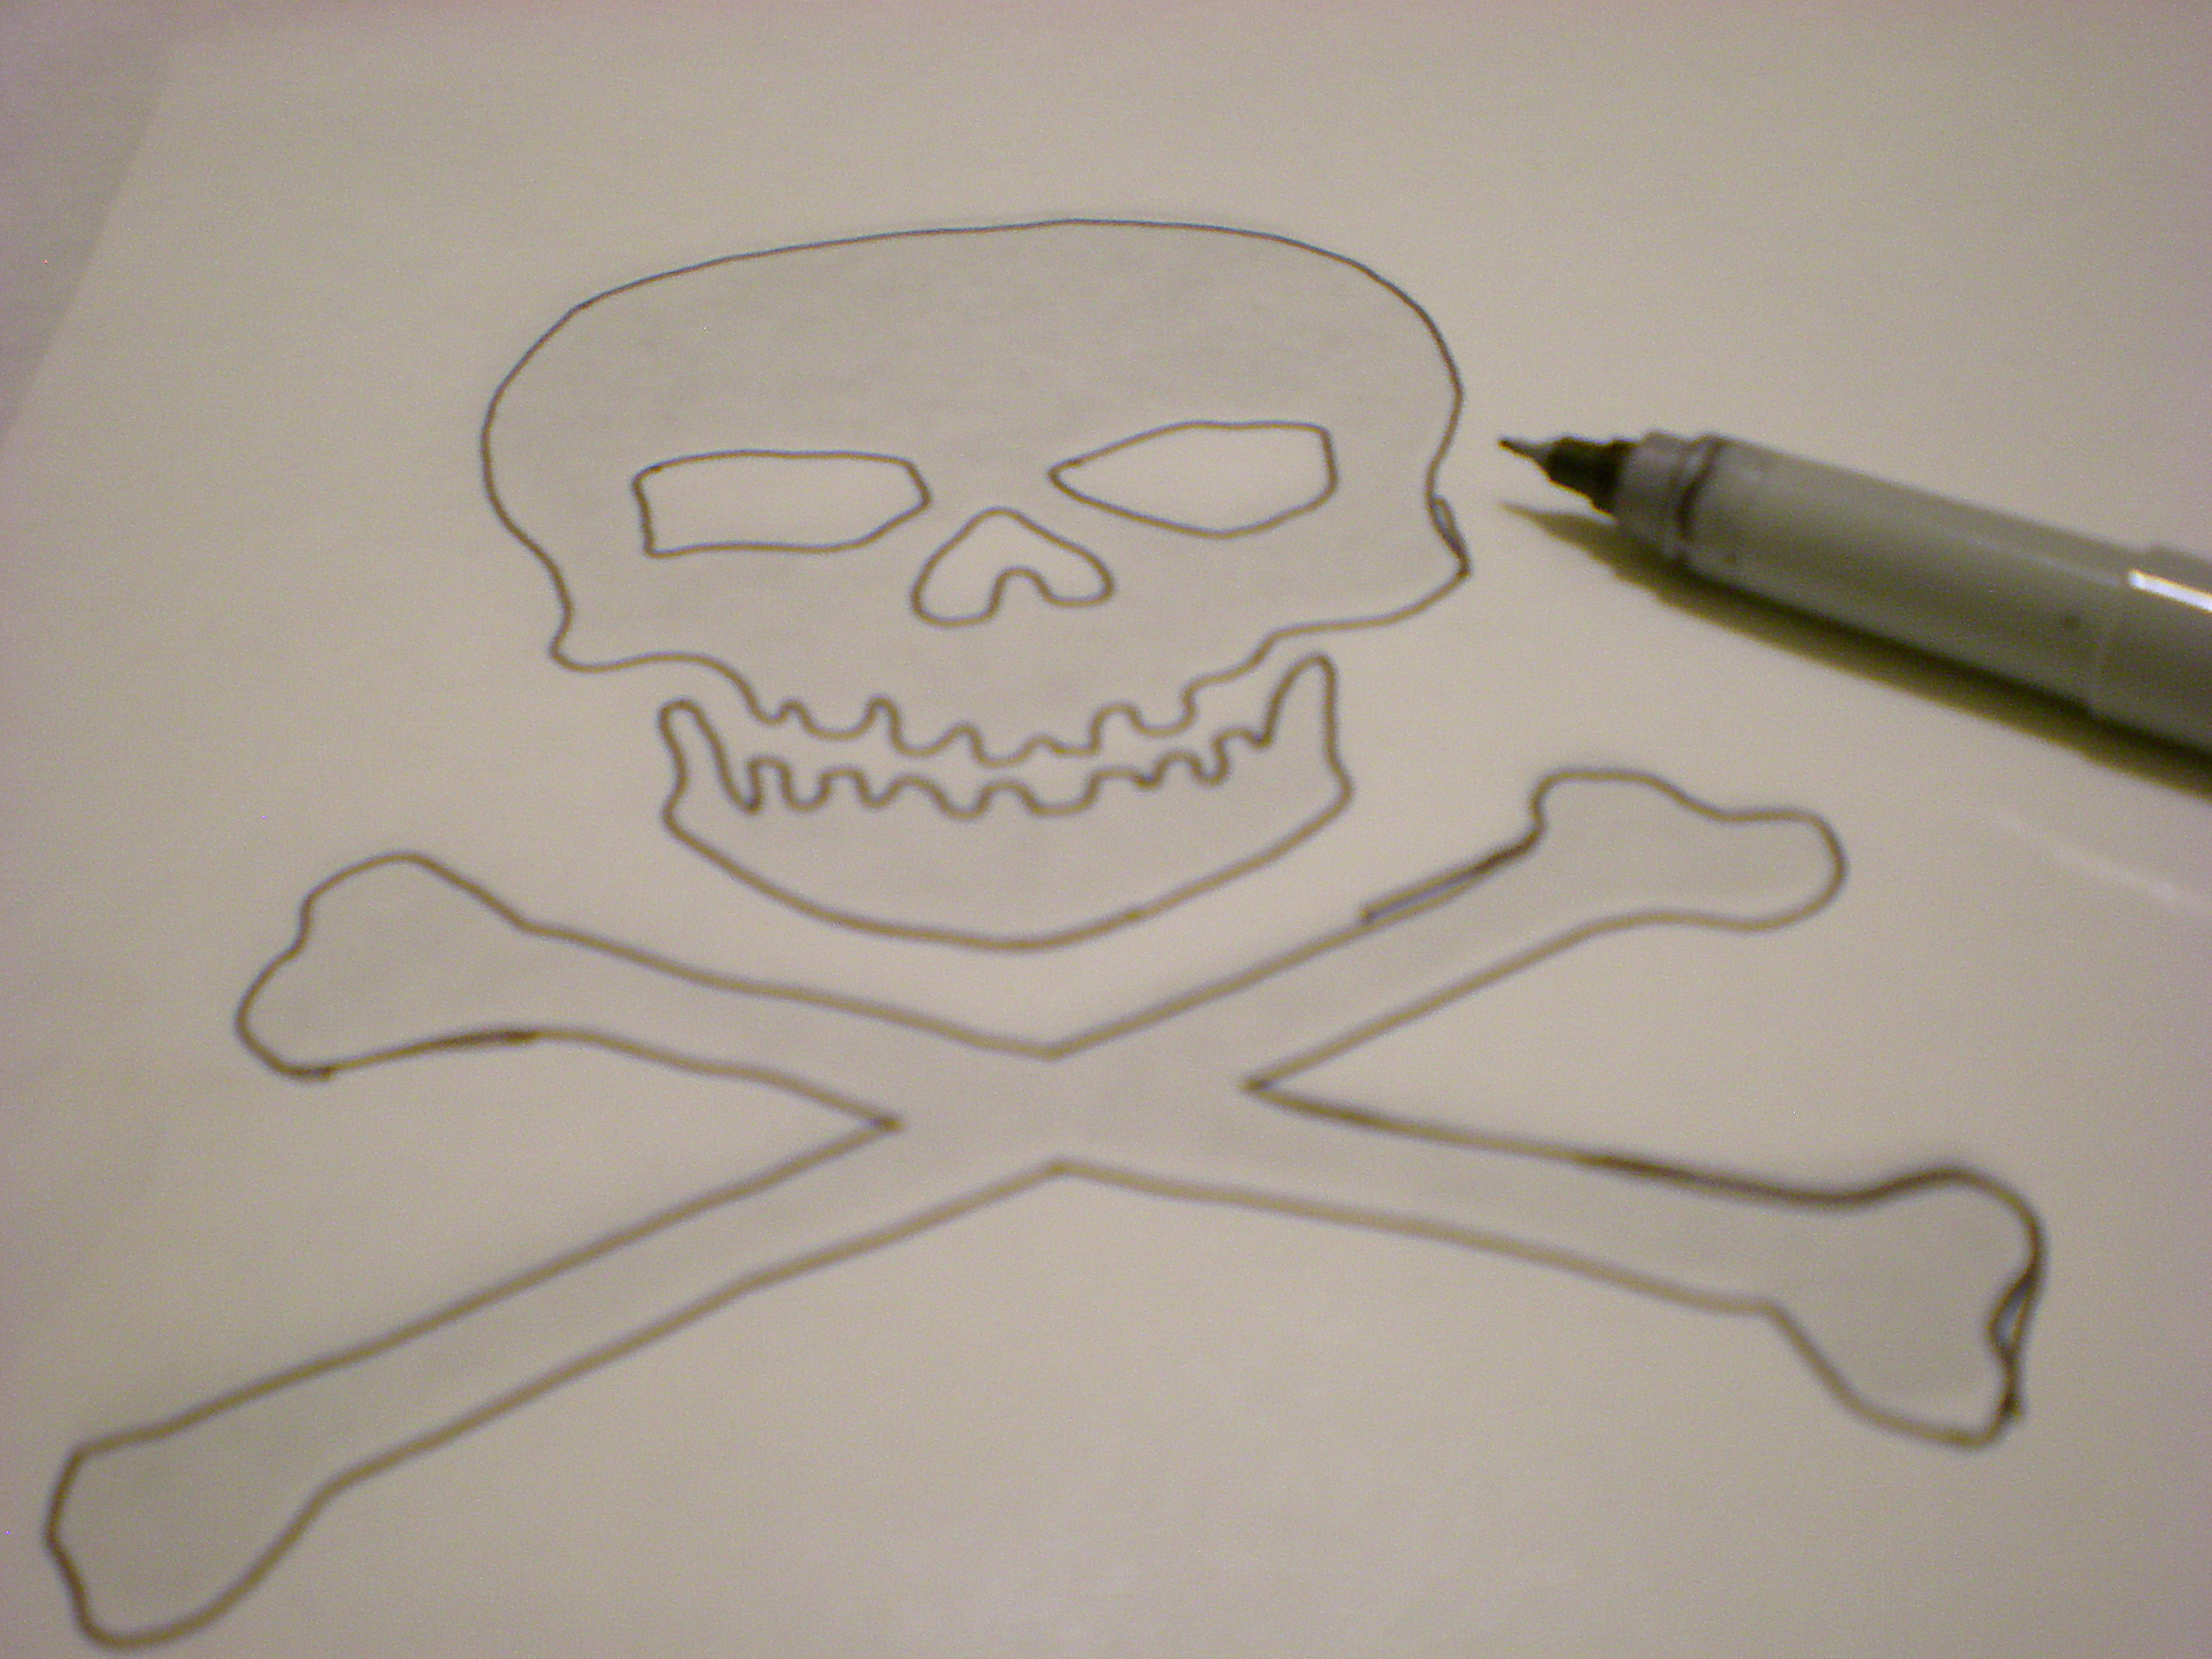
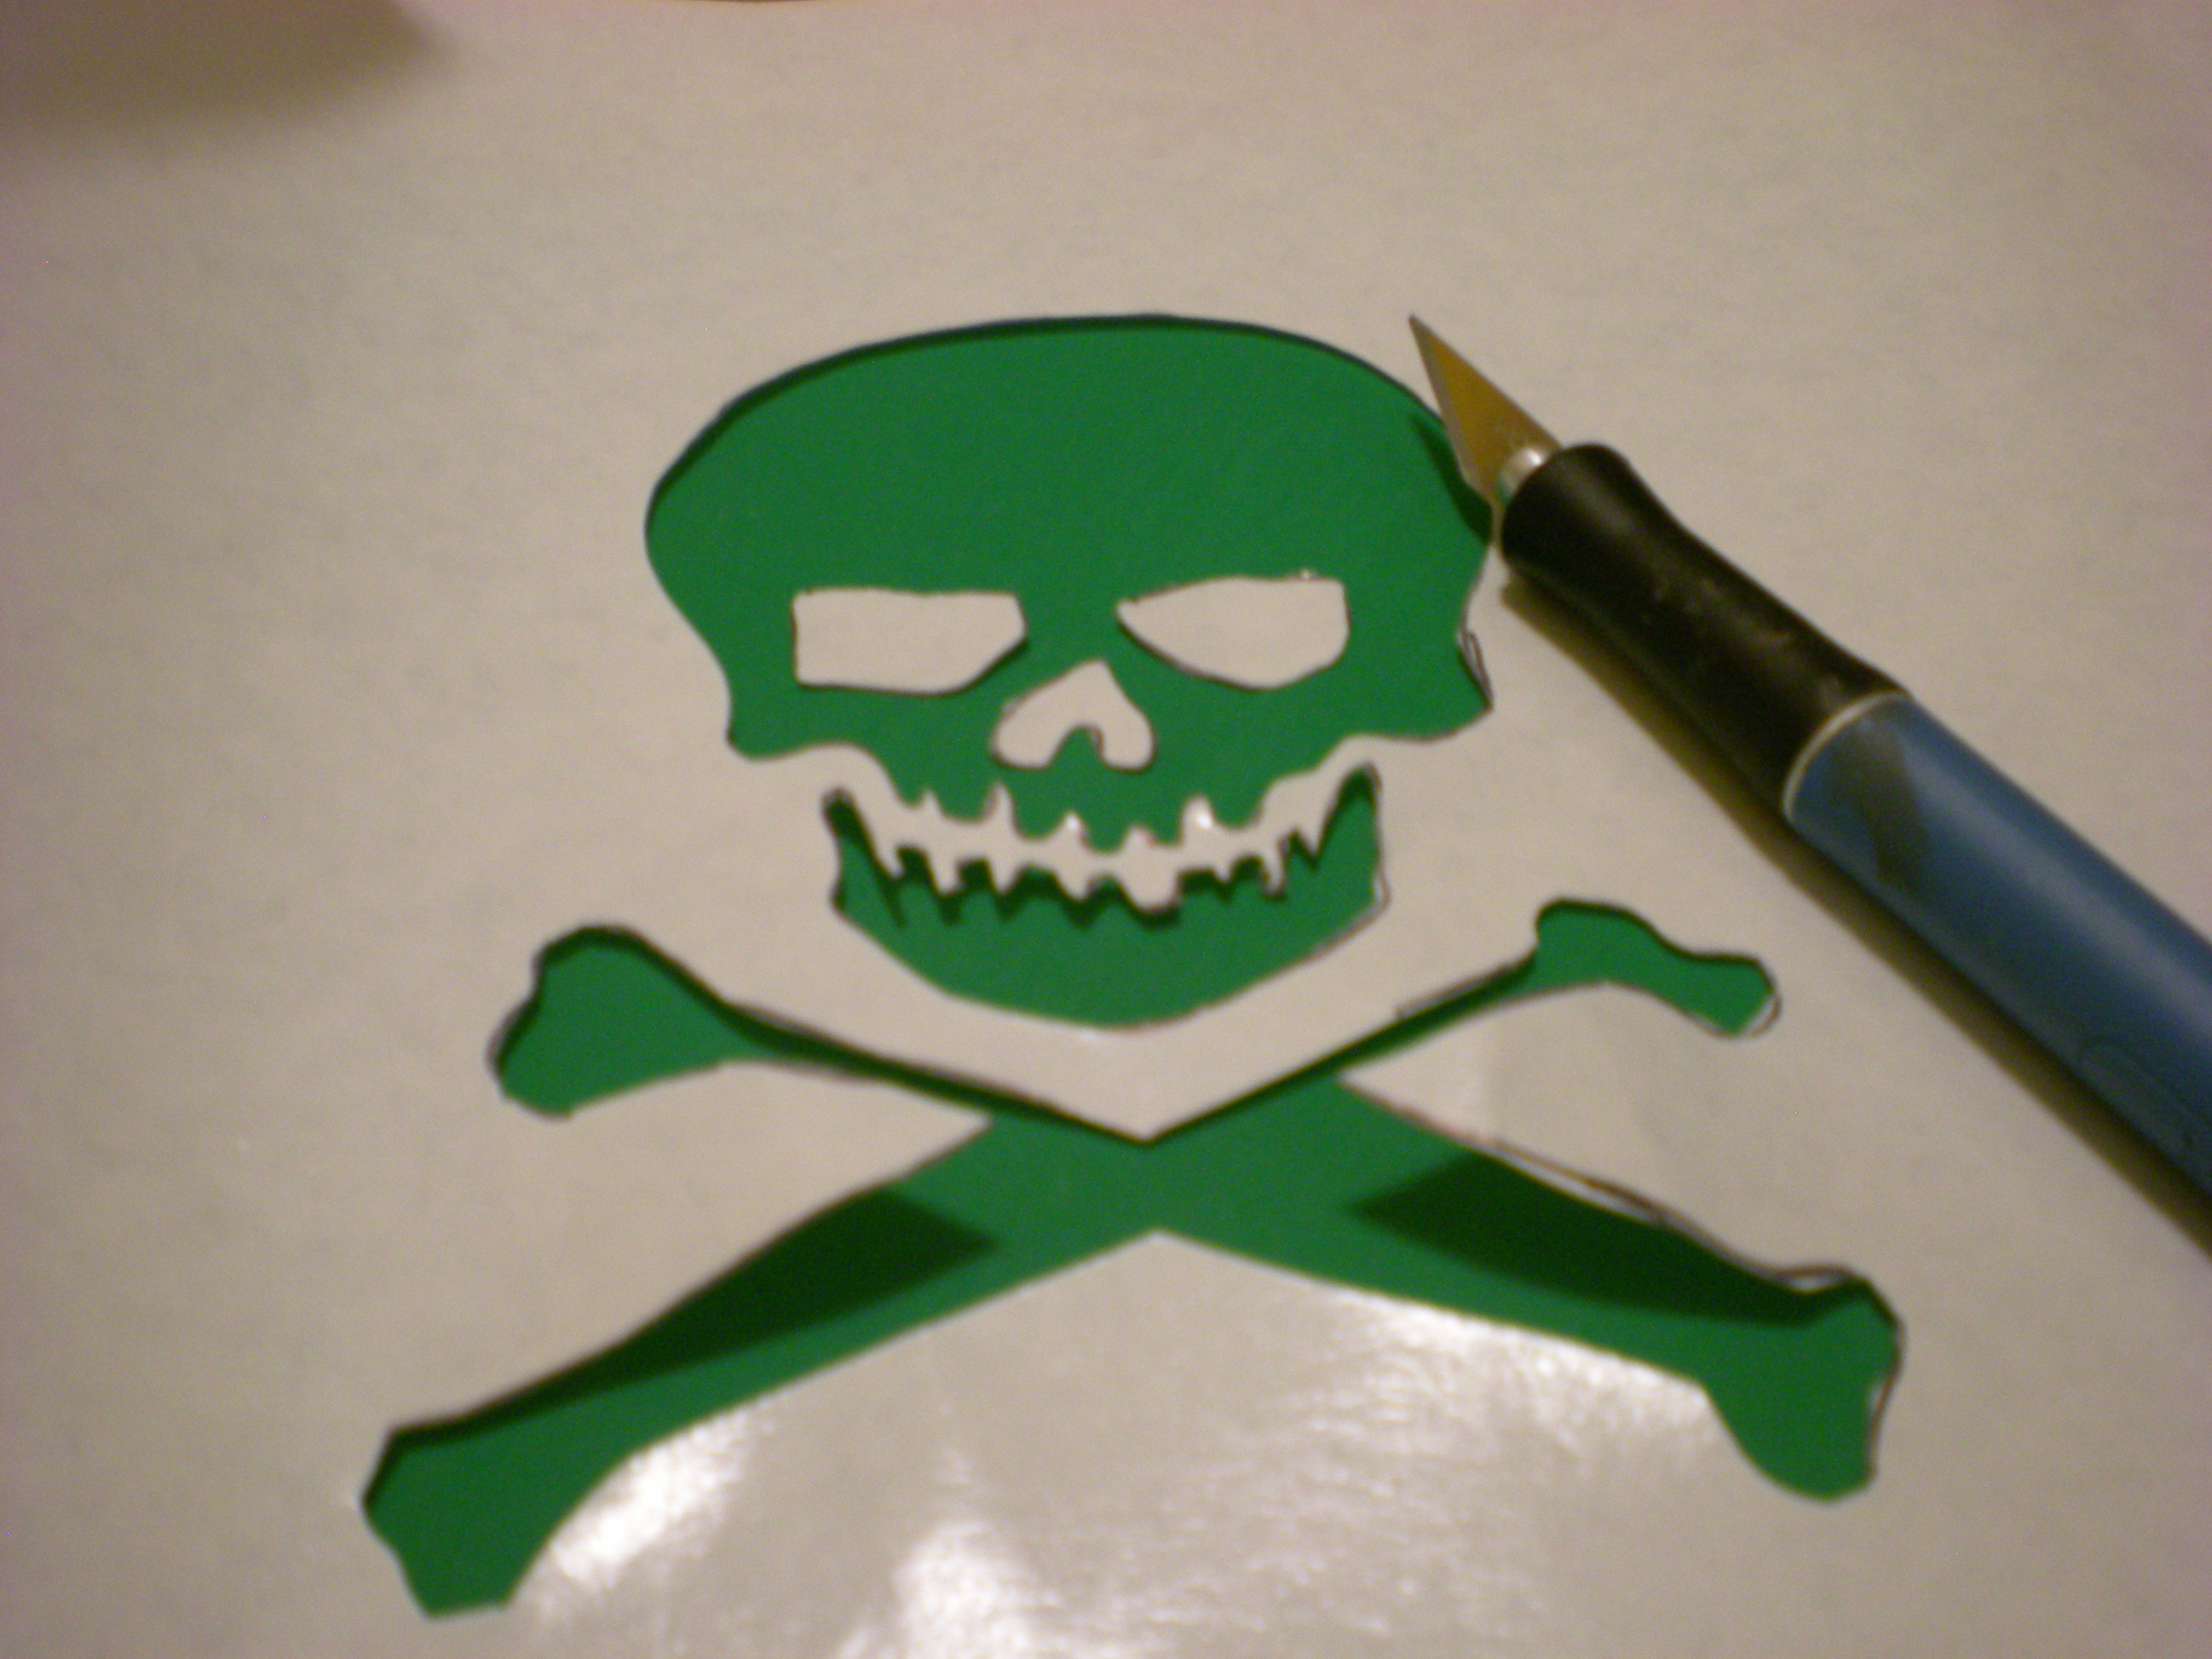
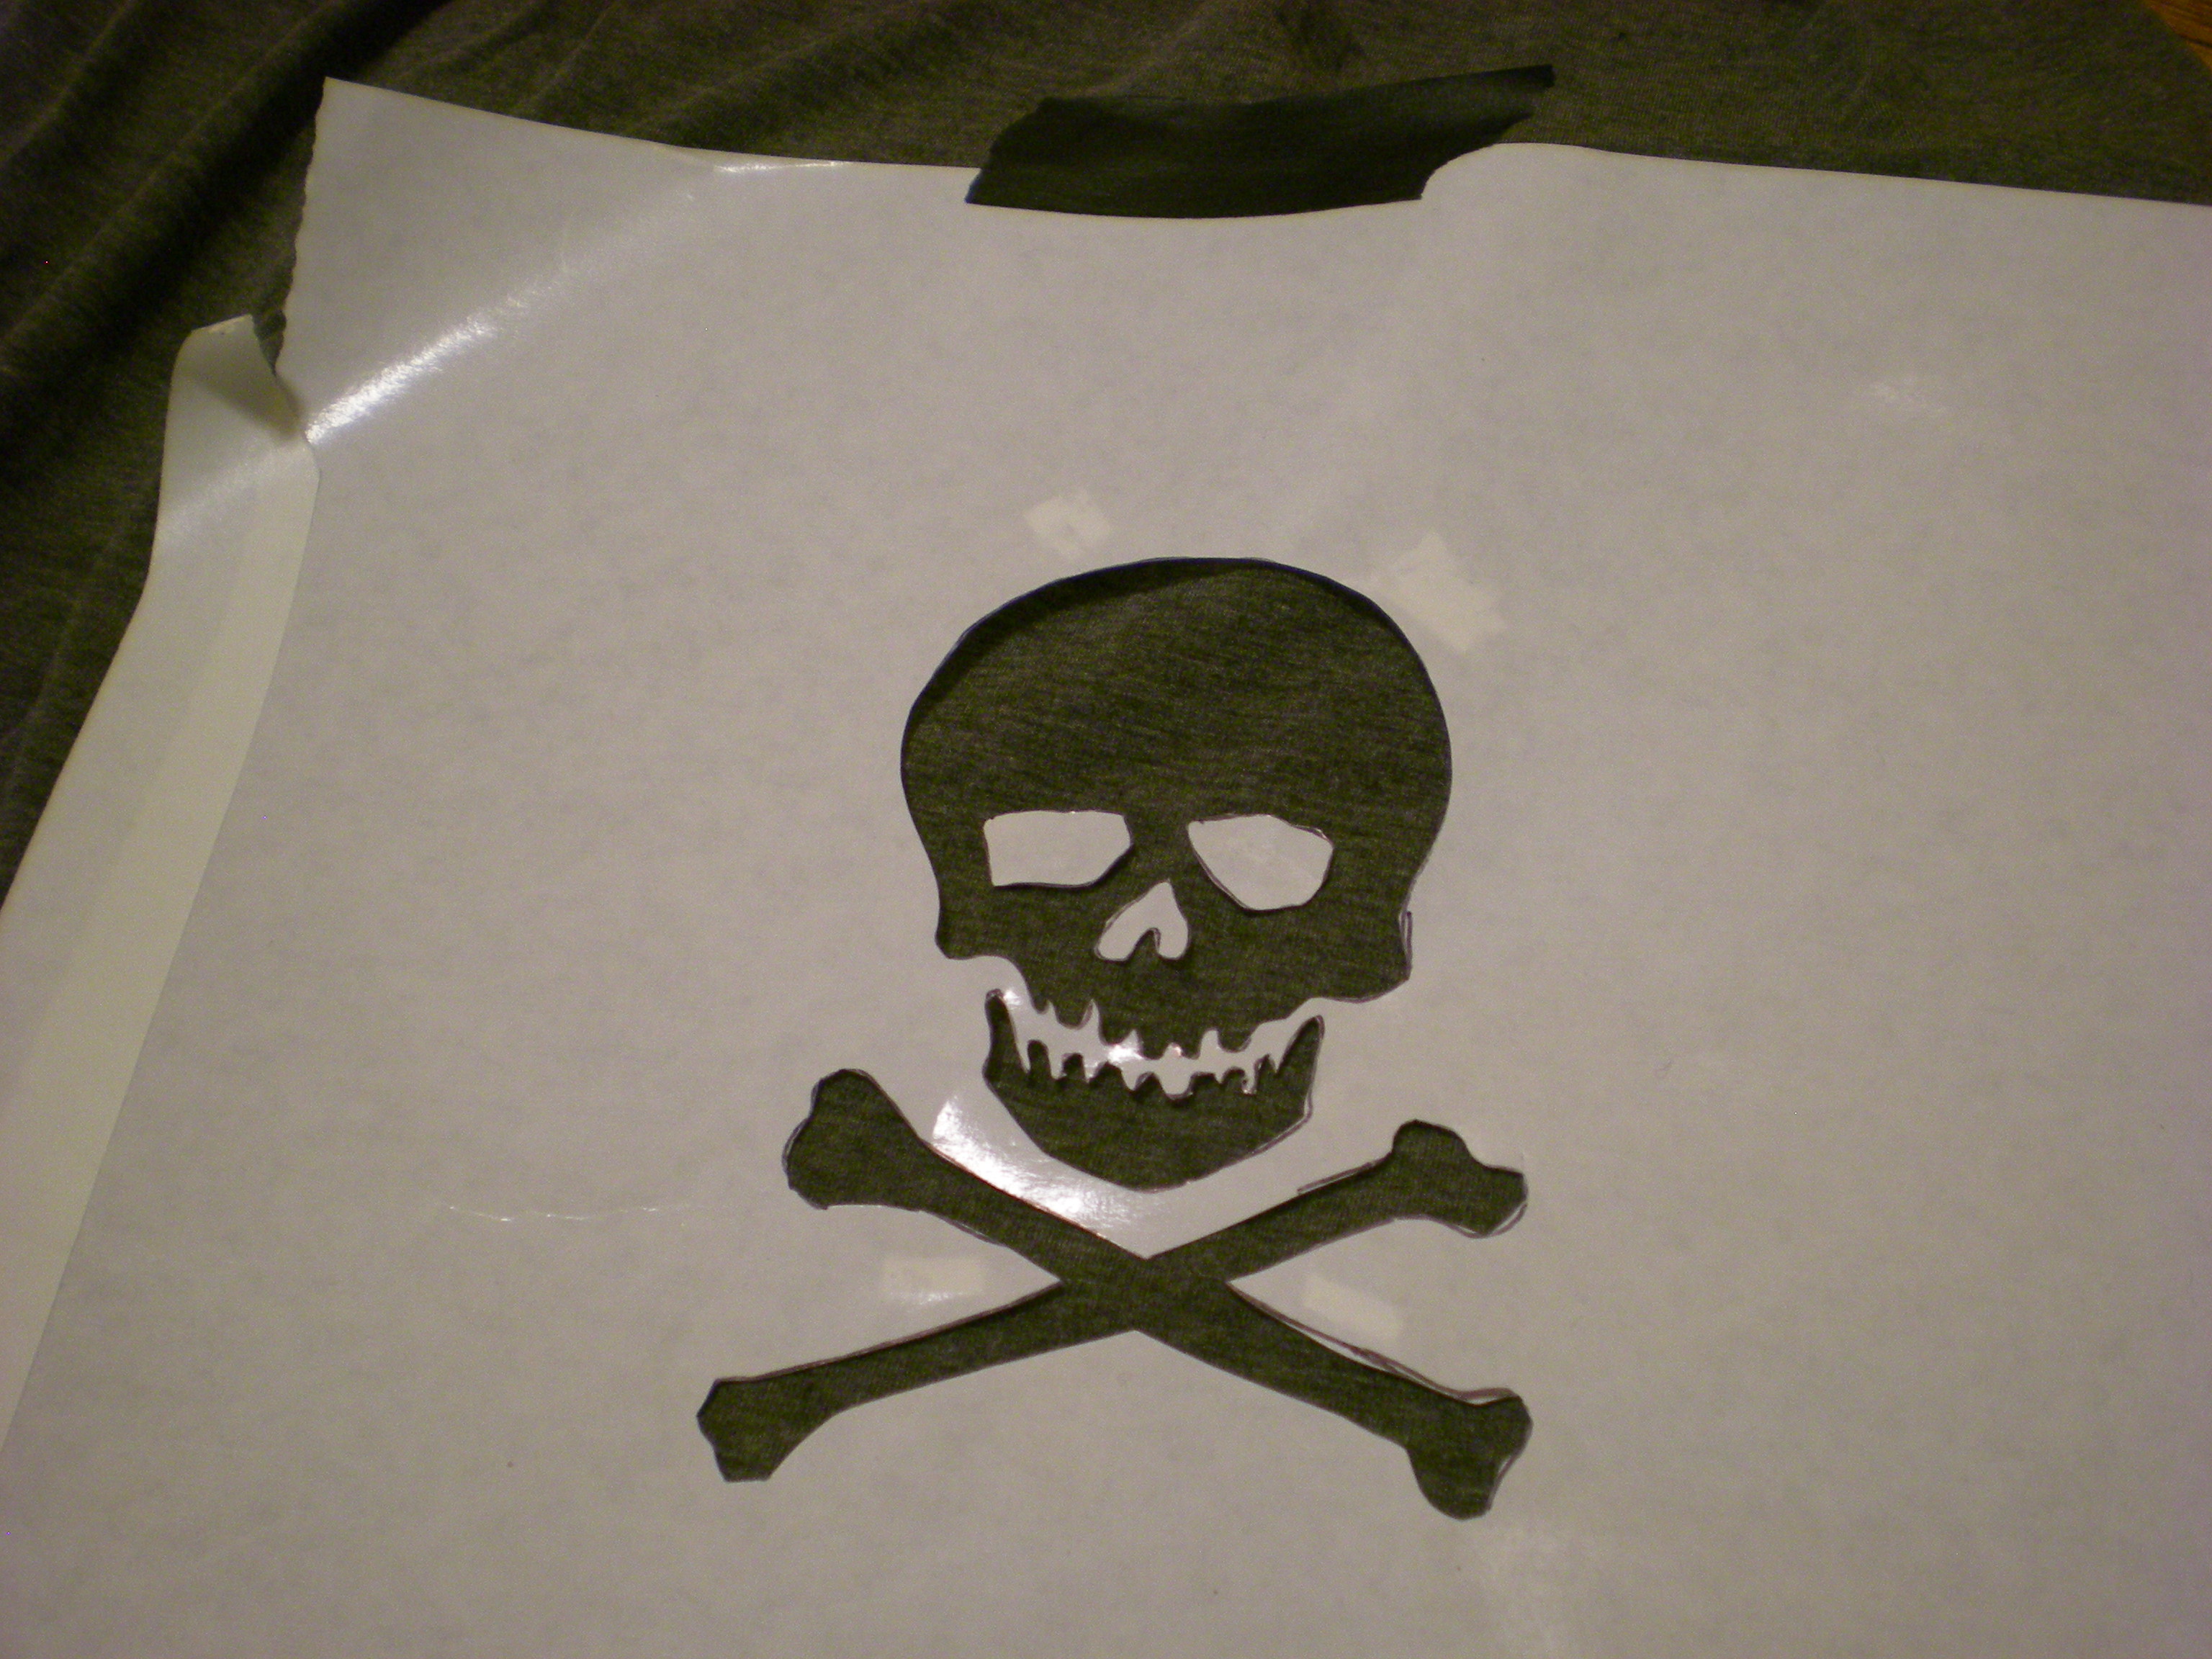
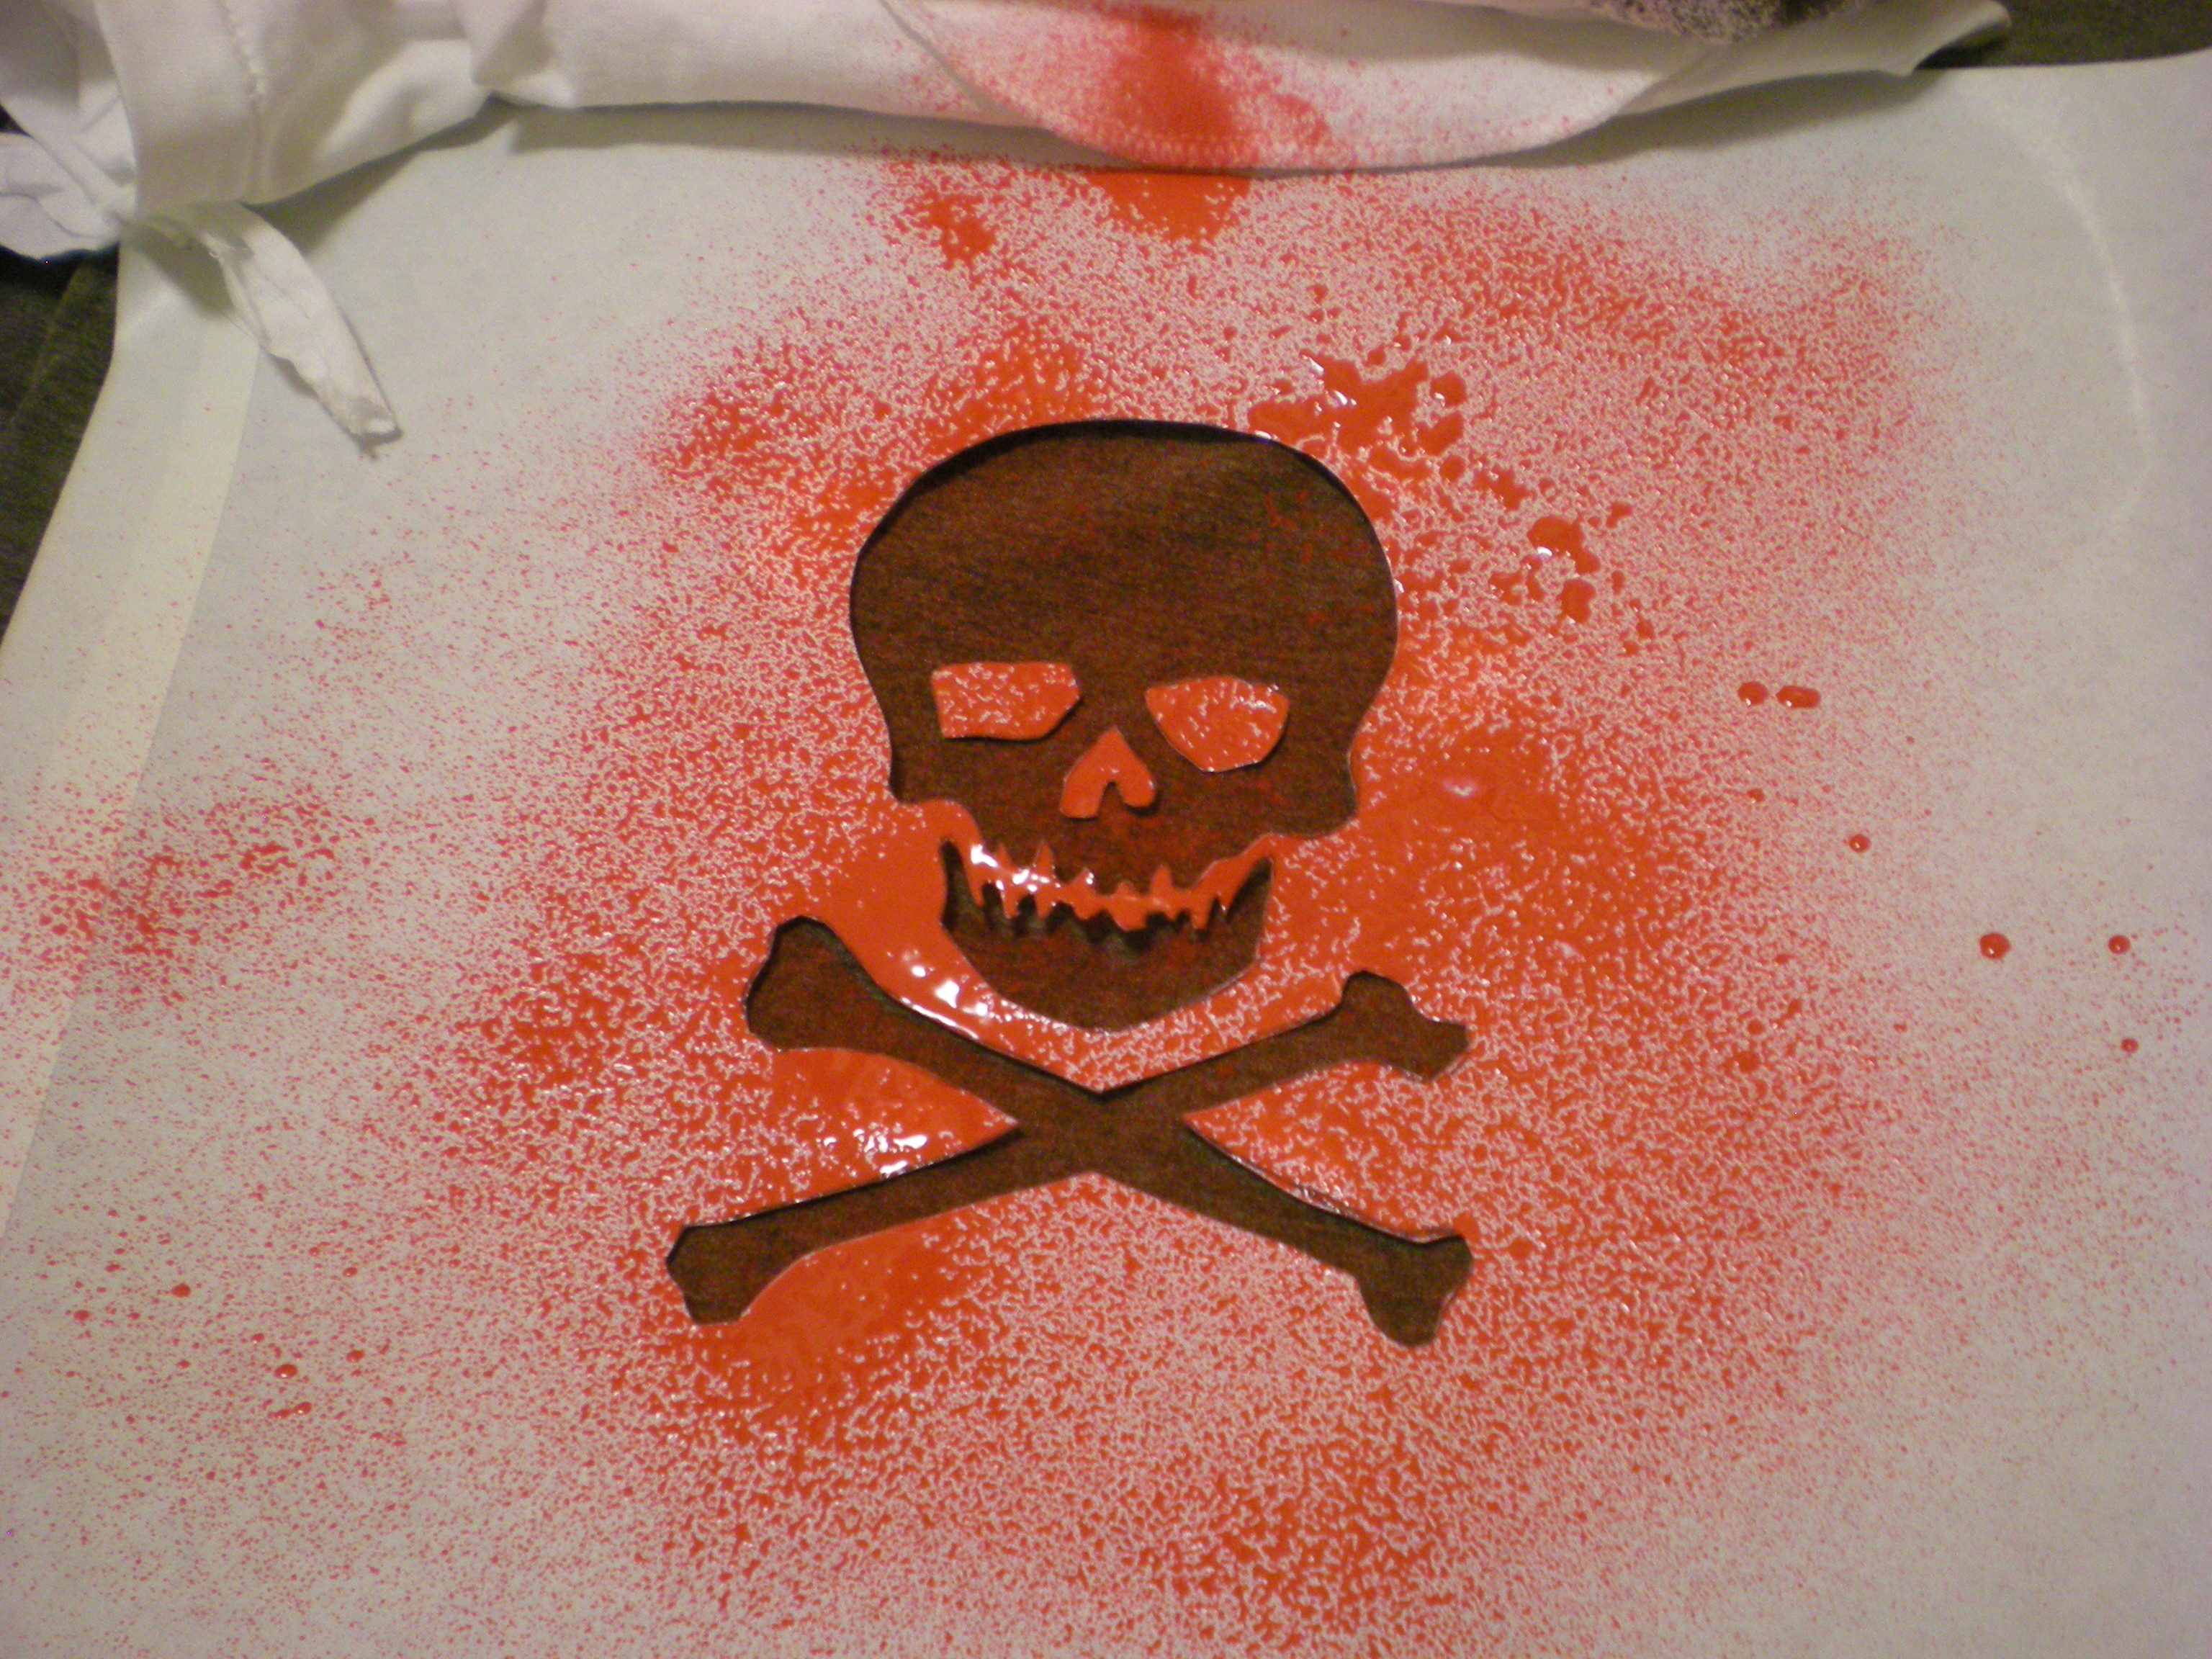
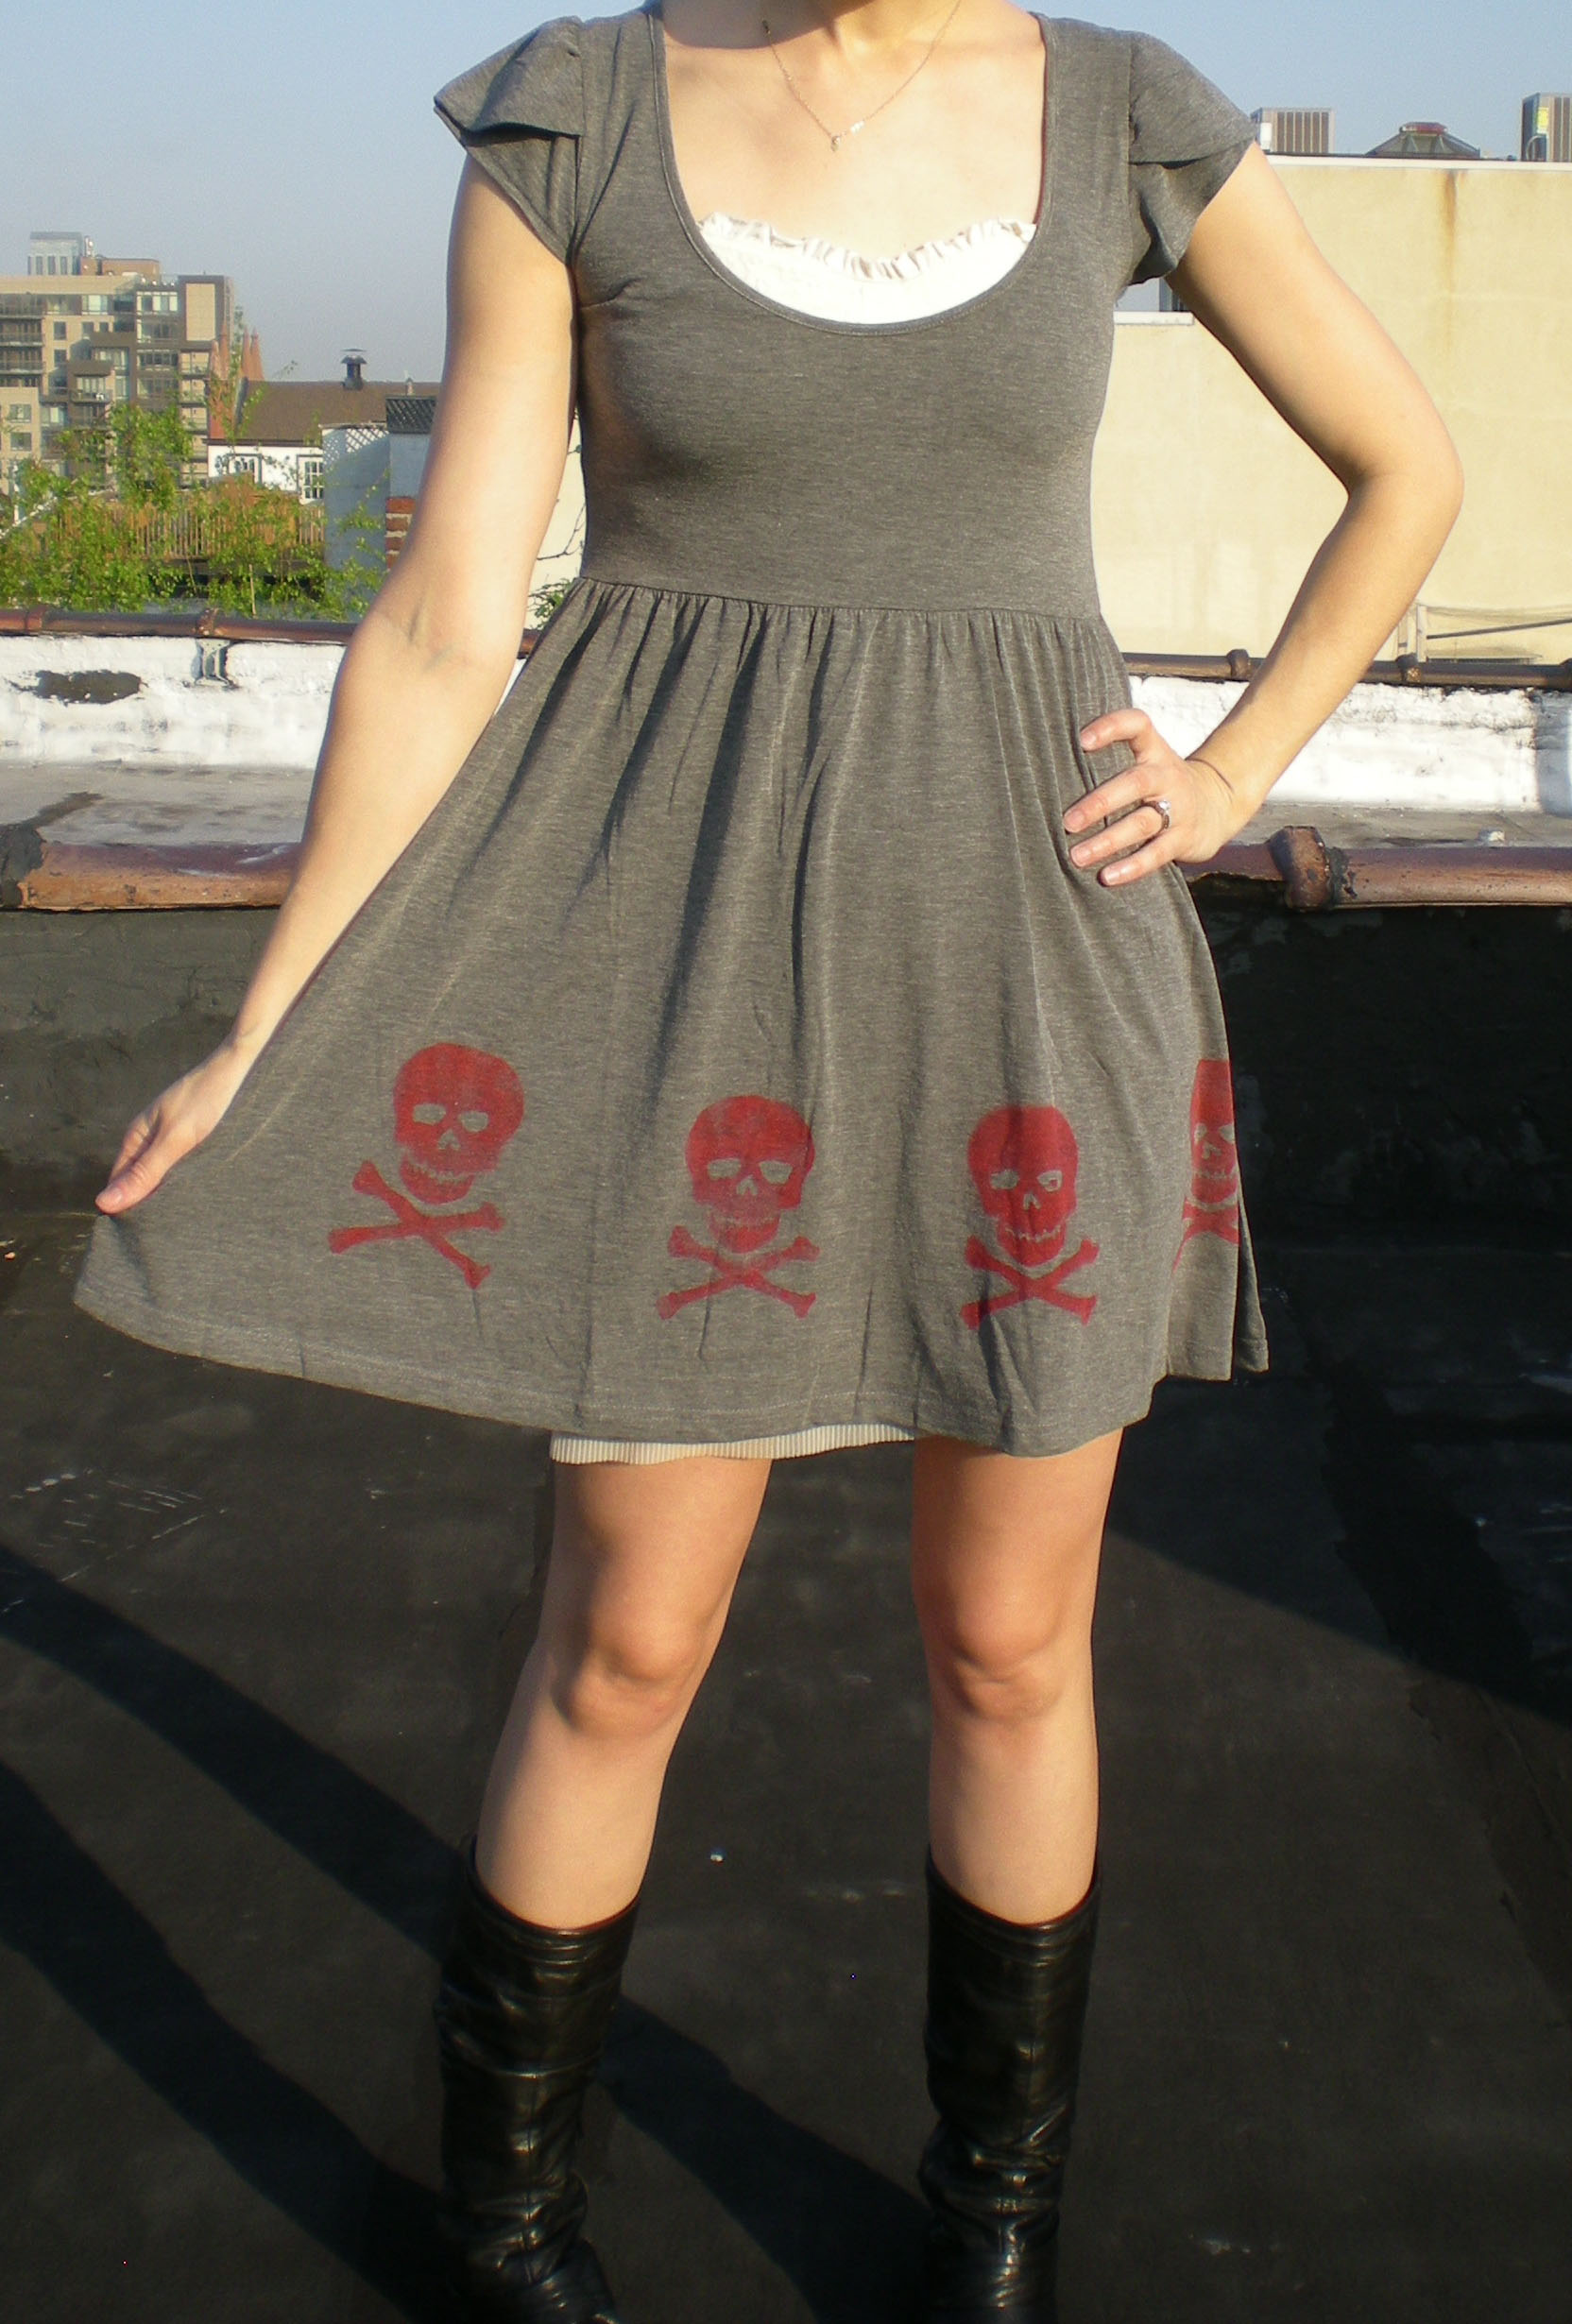
2. Skull & Bones

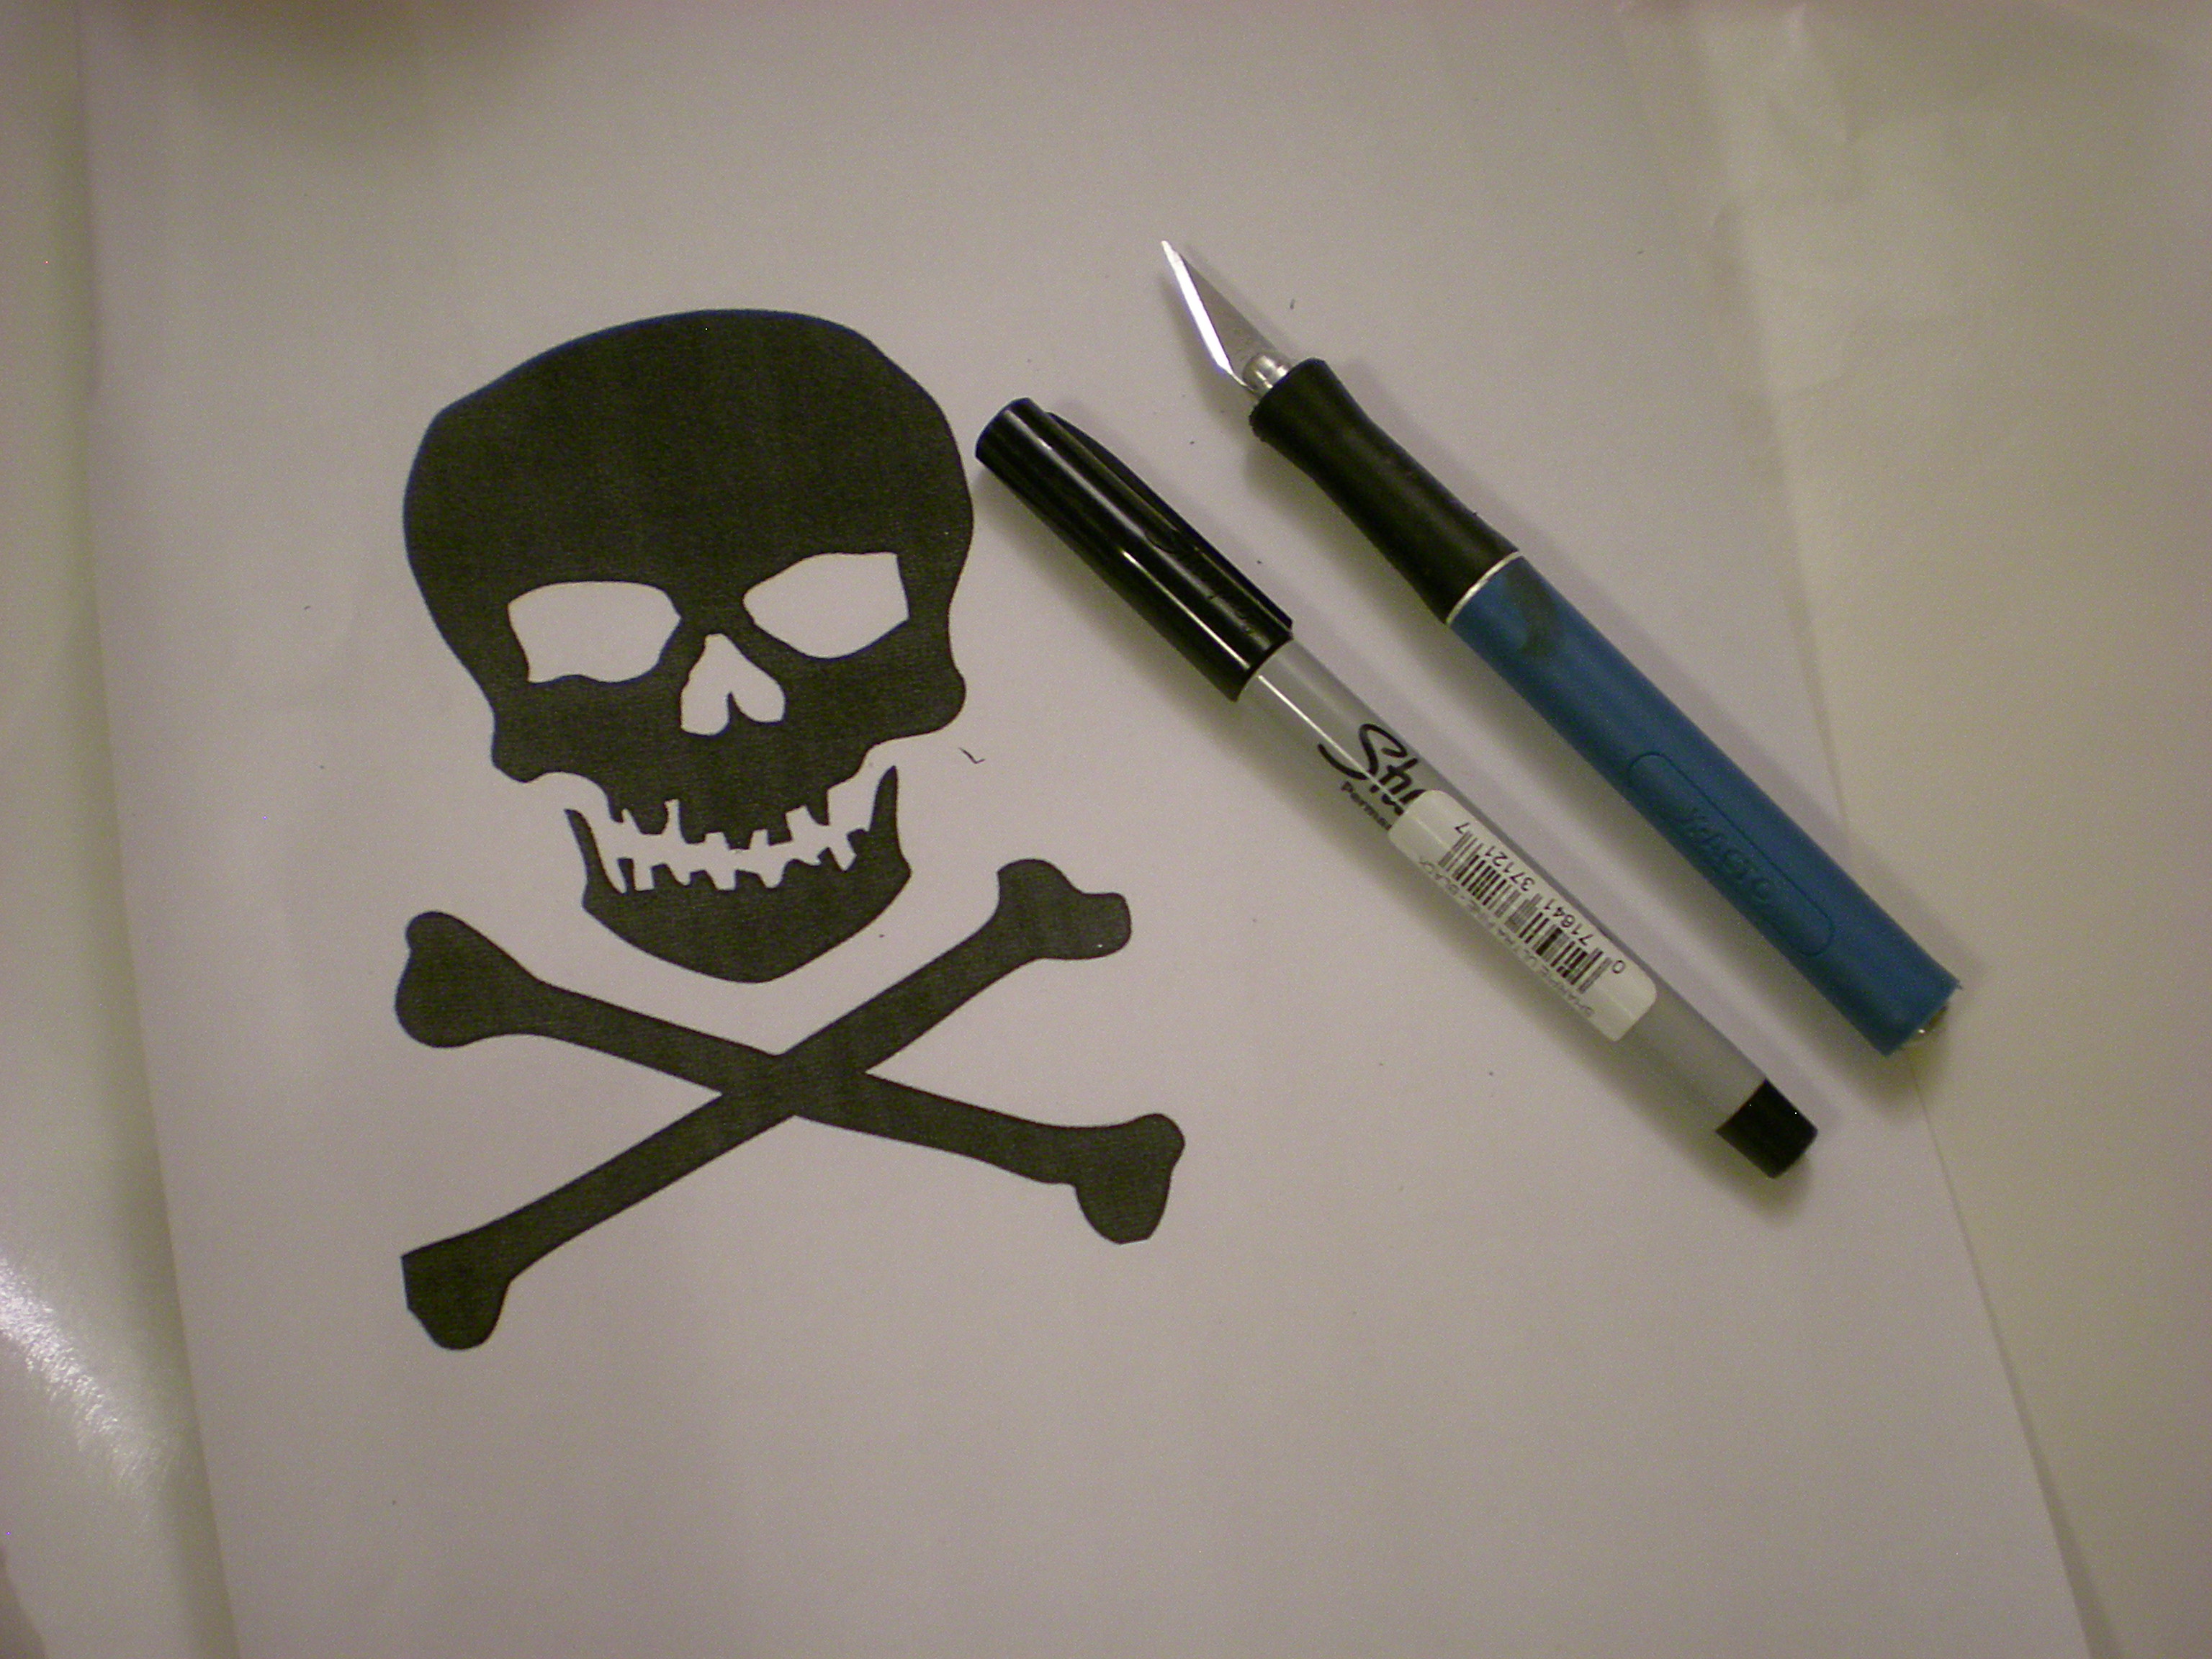
Secret weapons from around the house: Freezer paper, high-contrast image printout, marker, craft knife, and cutting mat

I chose the classic skull and crossbones as my image to download and print for creating the stencil, but any image is fair game!


Trace the design onto a sheet of freezer paper.


Then use the craft knife to carefully cut out the shapes.


Tape the stencil onto the fabric surface (I placed it along the hem). Don't forget to place any loose pieces (in this case, the eye sockets and nose cavity!). I sprayed red spray paint on the charcoal gray surface and reused the stencil to create a pattern around the bottom of the skirt.


Let each image dry slightly before moving the stencil to another part of the fabric.


Then let the image dry completely before spraying it on the back of the garment. Let all the paint dry completely before you try it on!


3. Bubble, Bubble, Toil, and Trouble

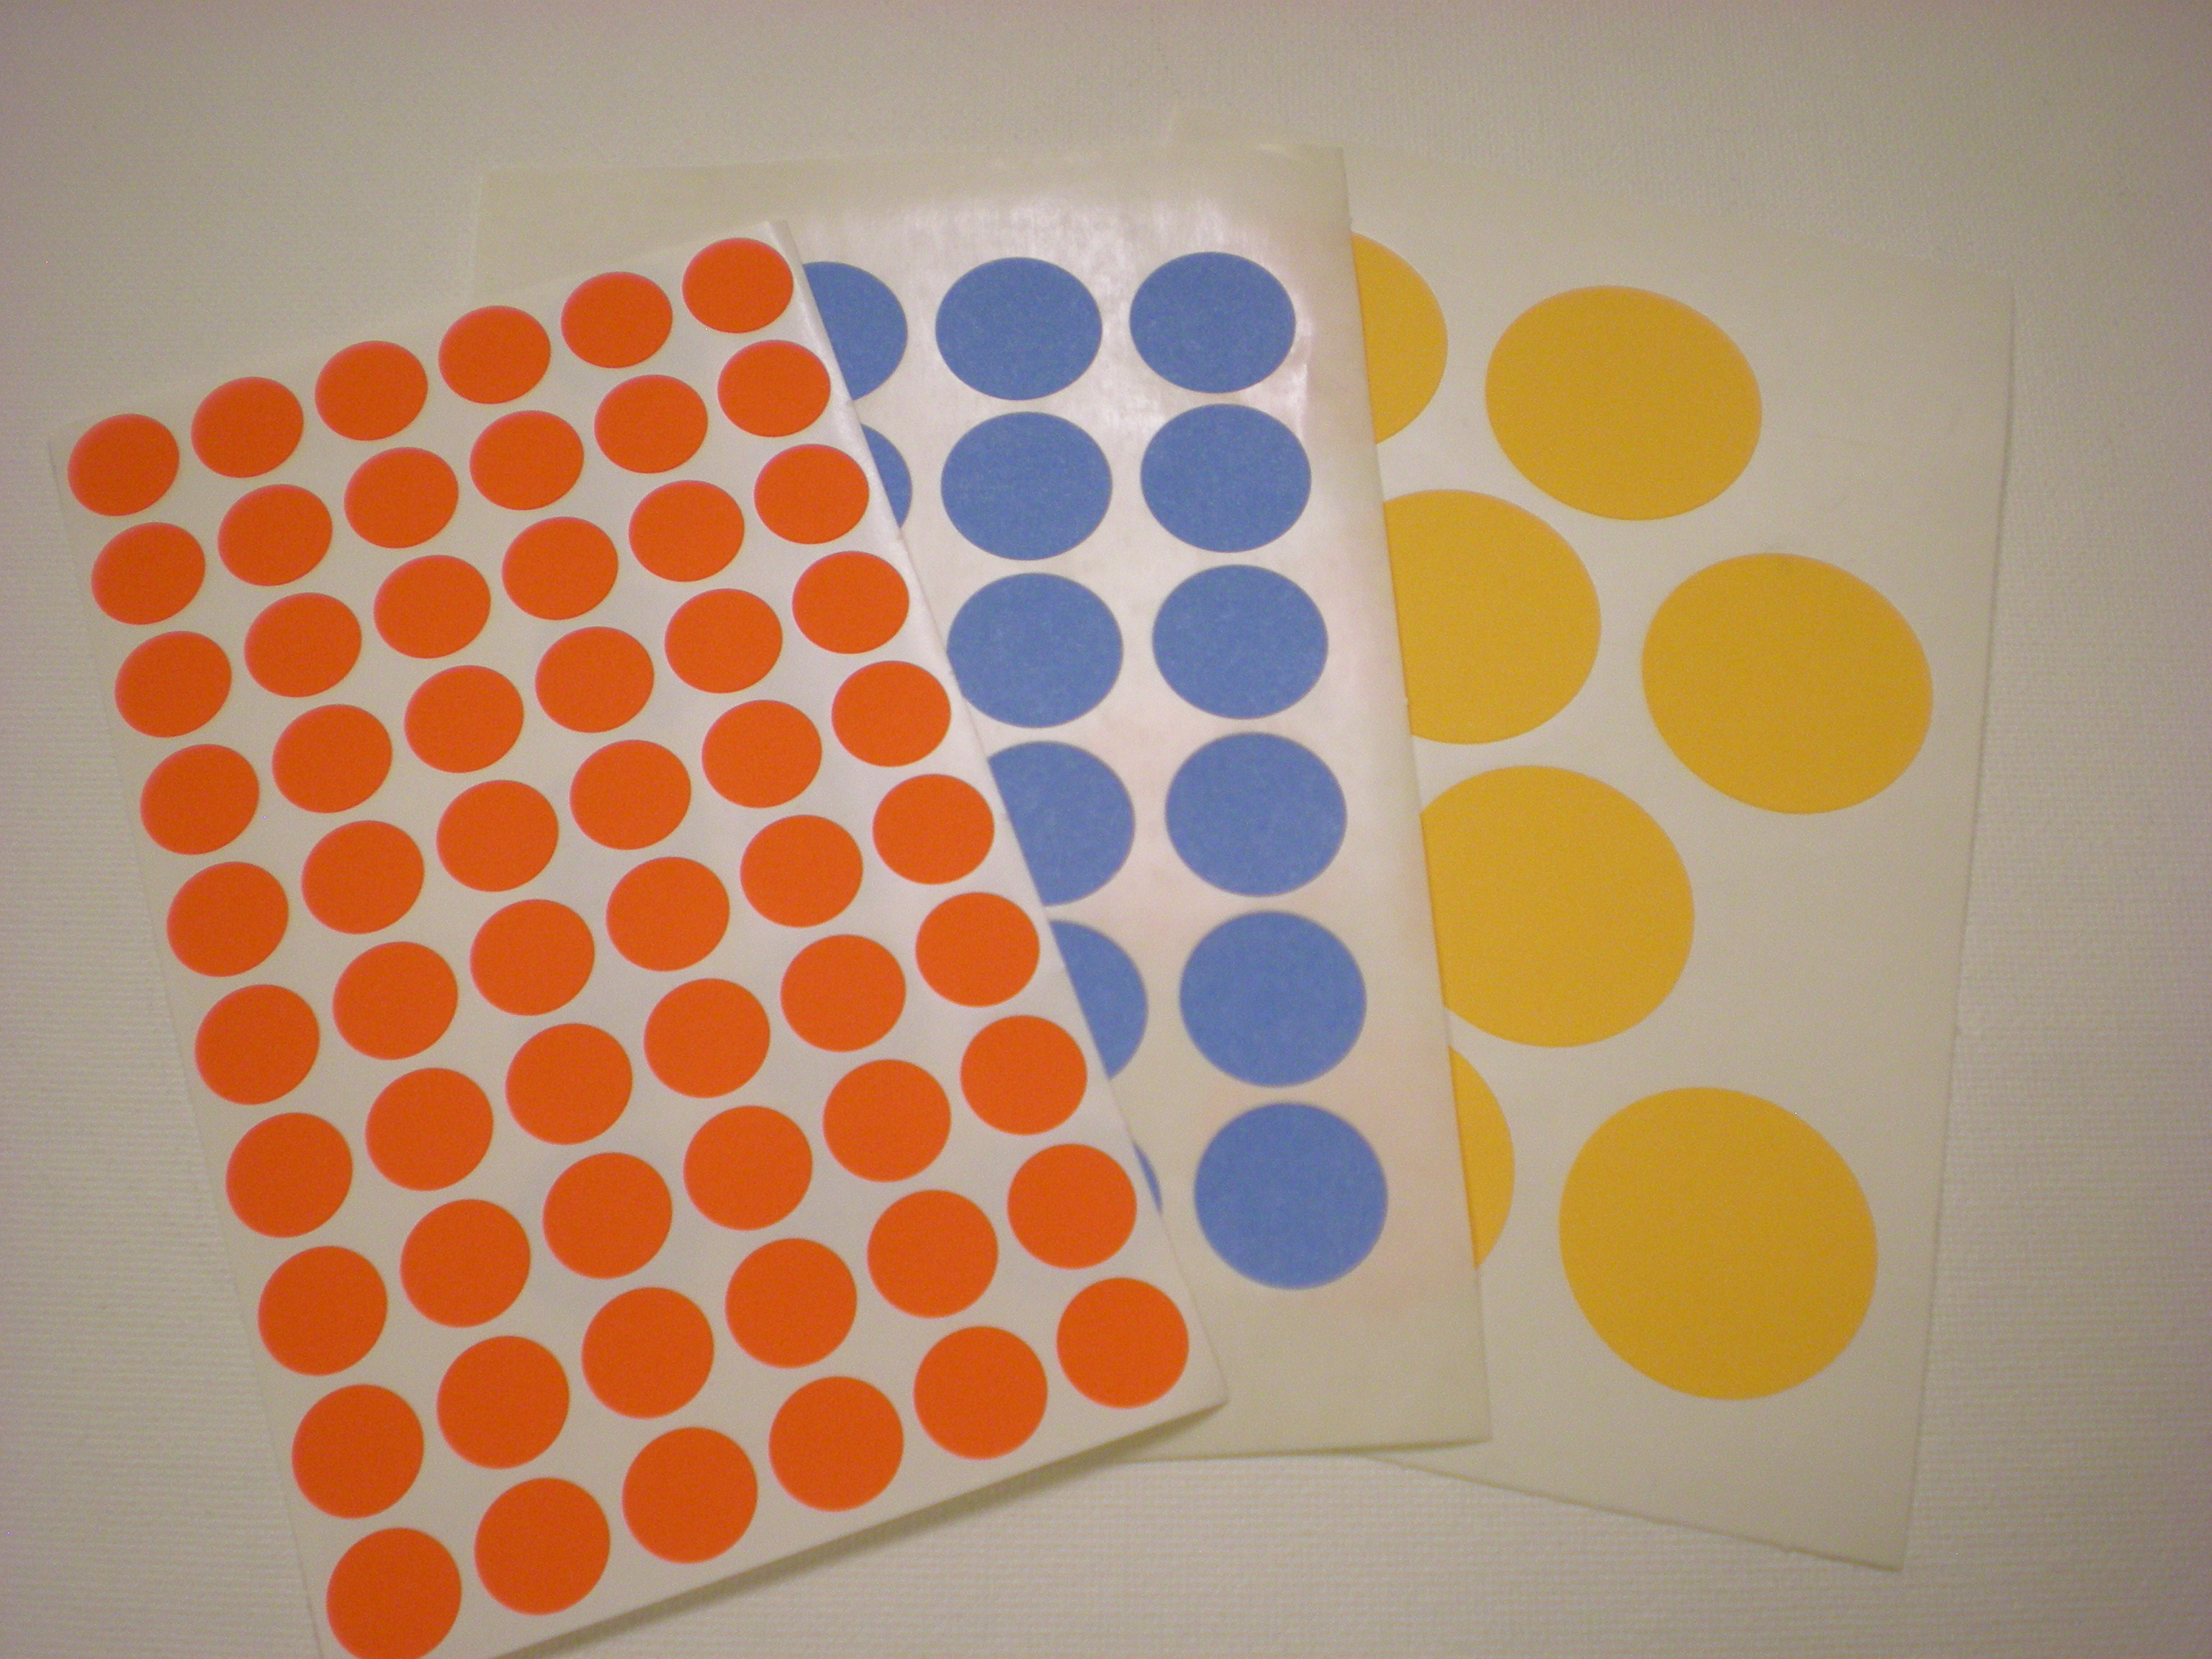
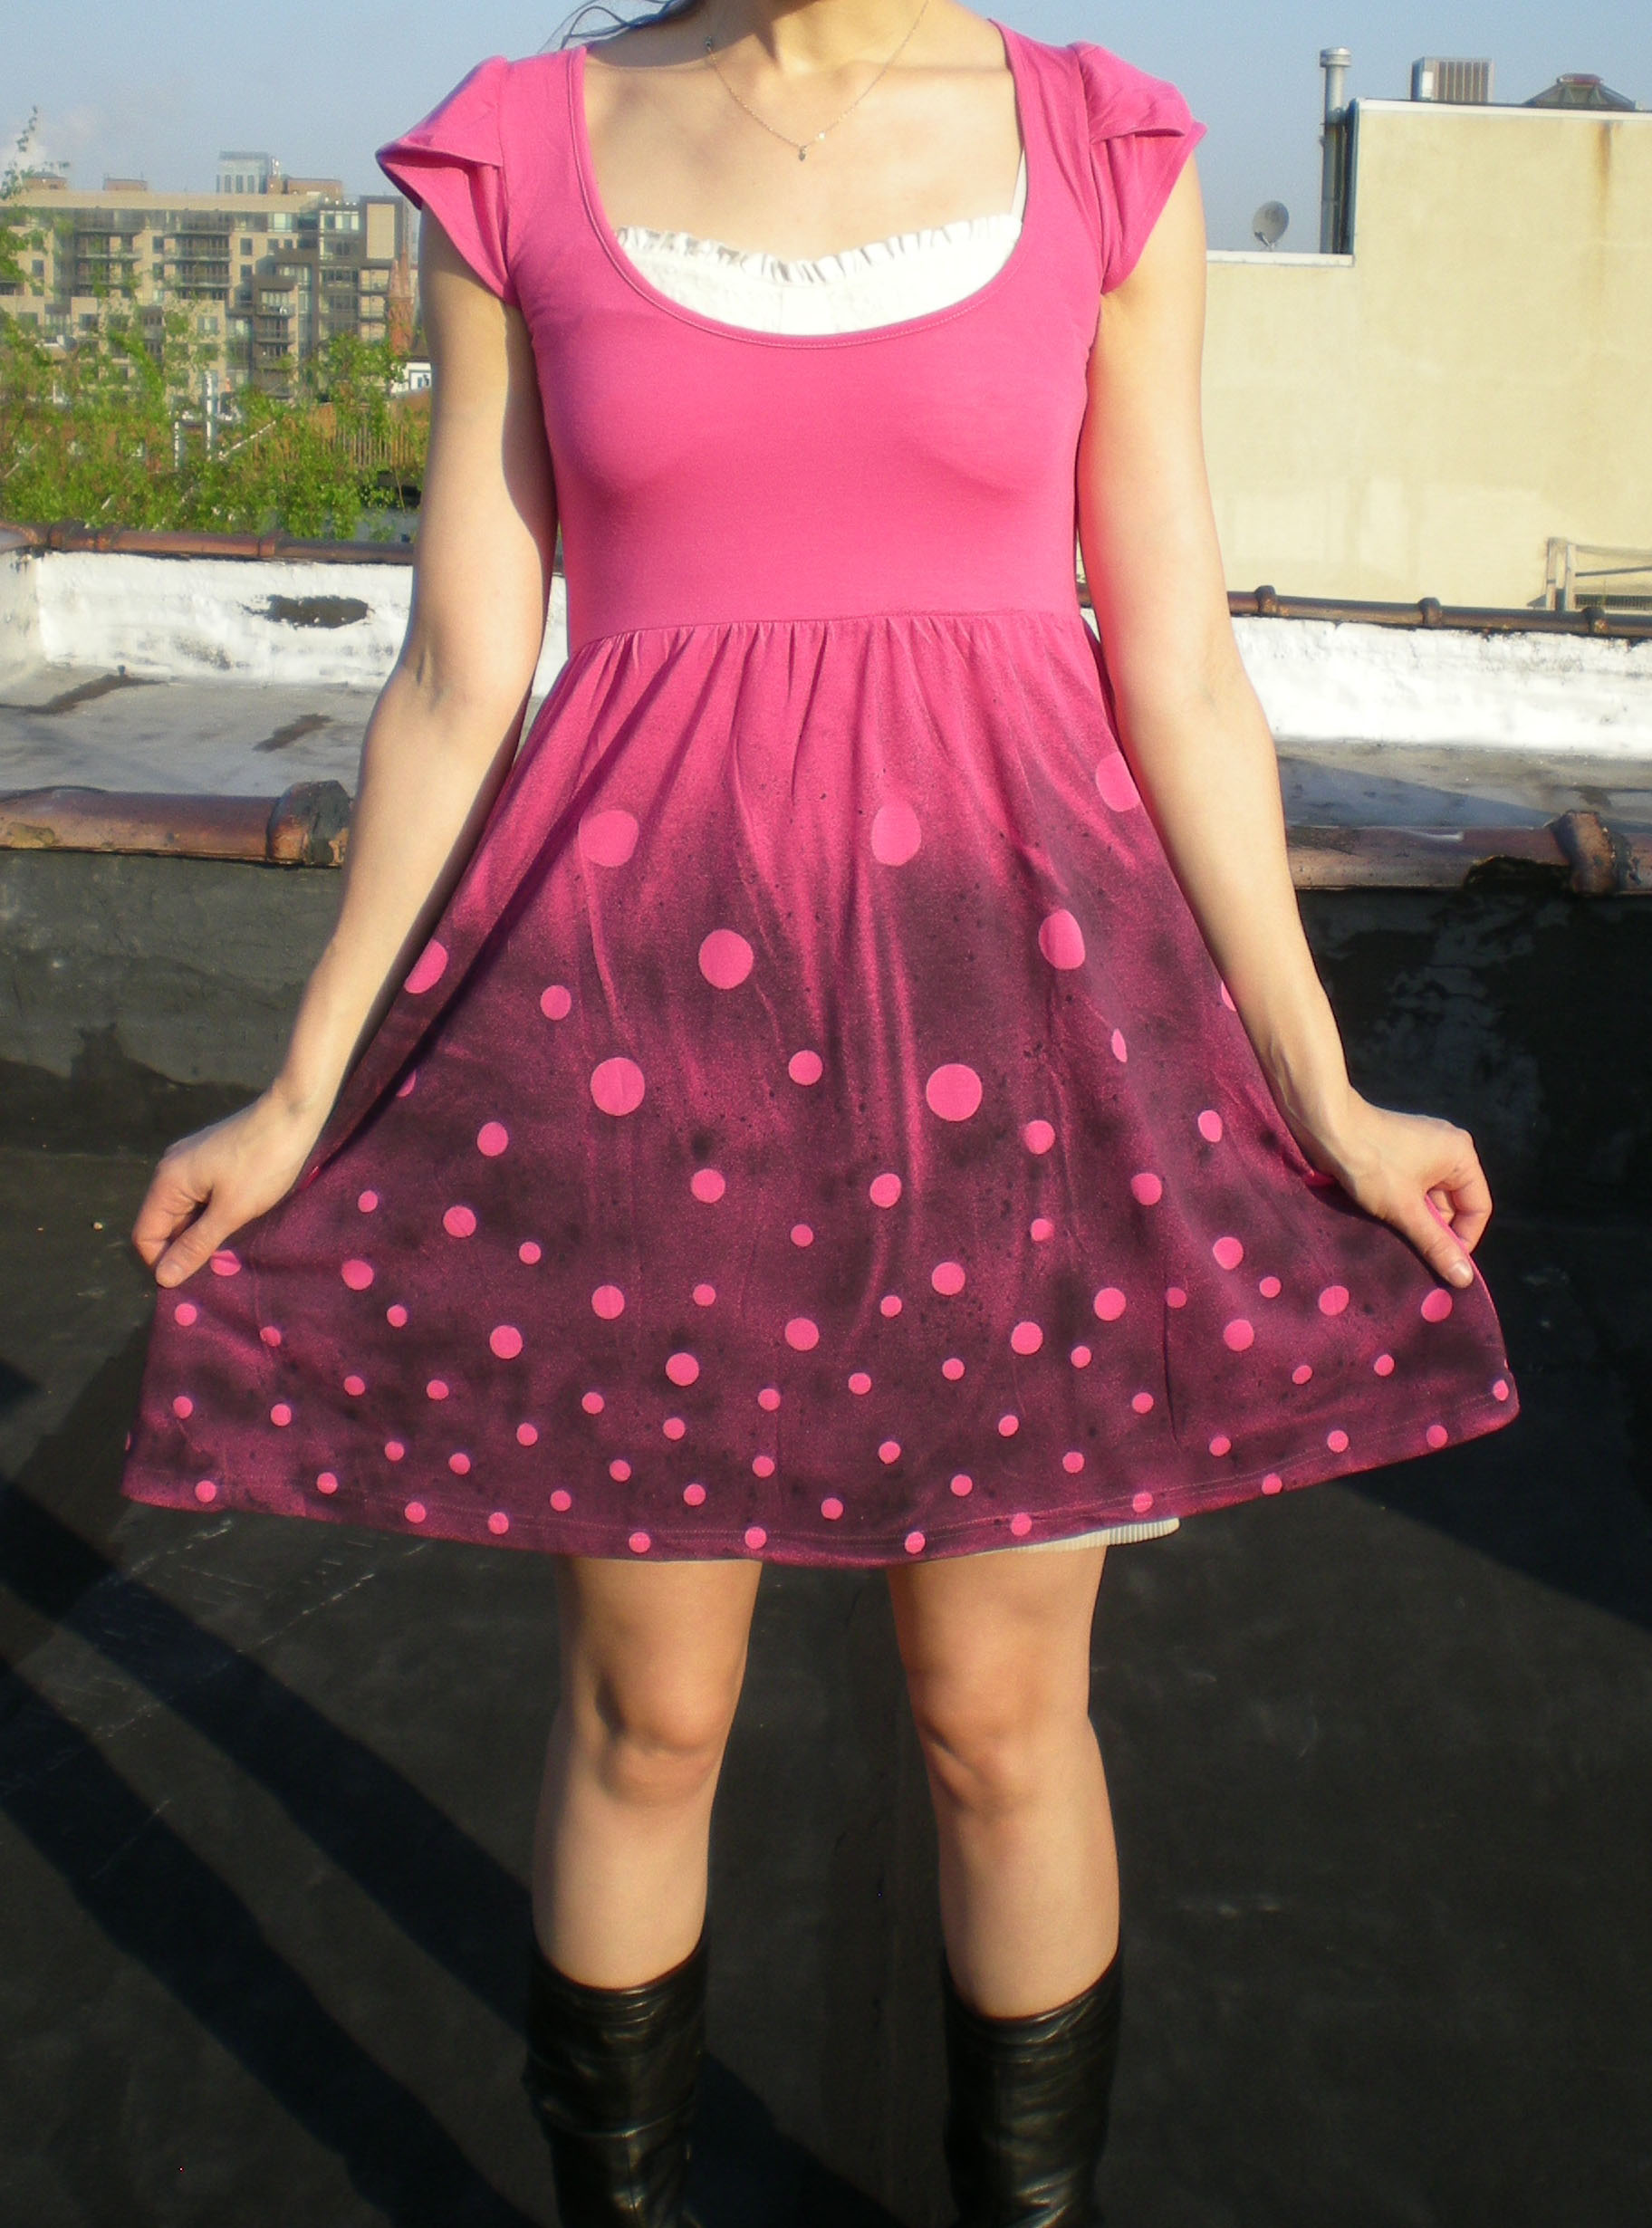
Secret weapon from around the house: Map or garage sale dot stickers in different sizes.

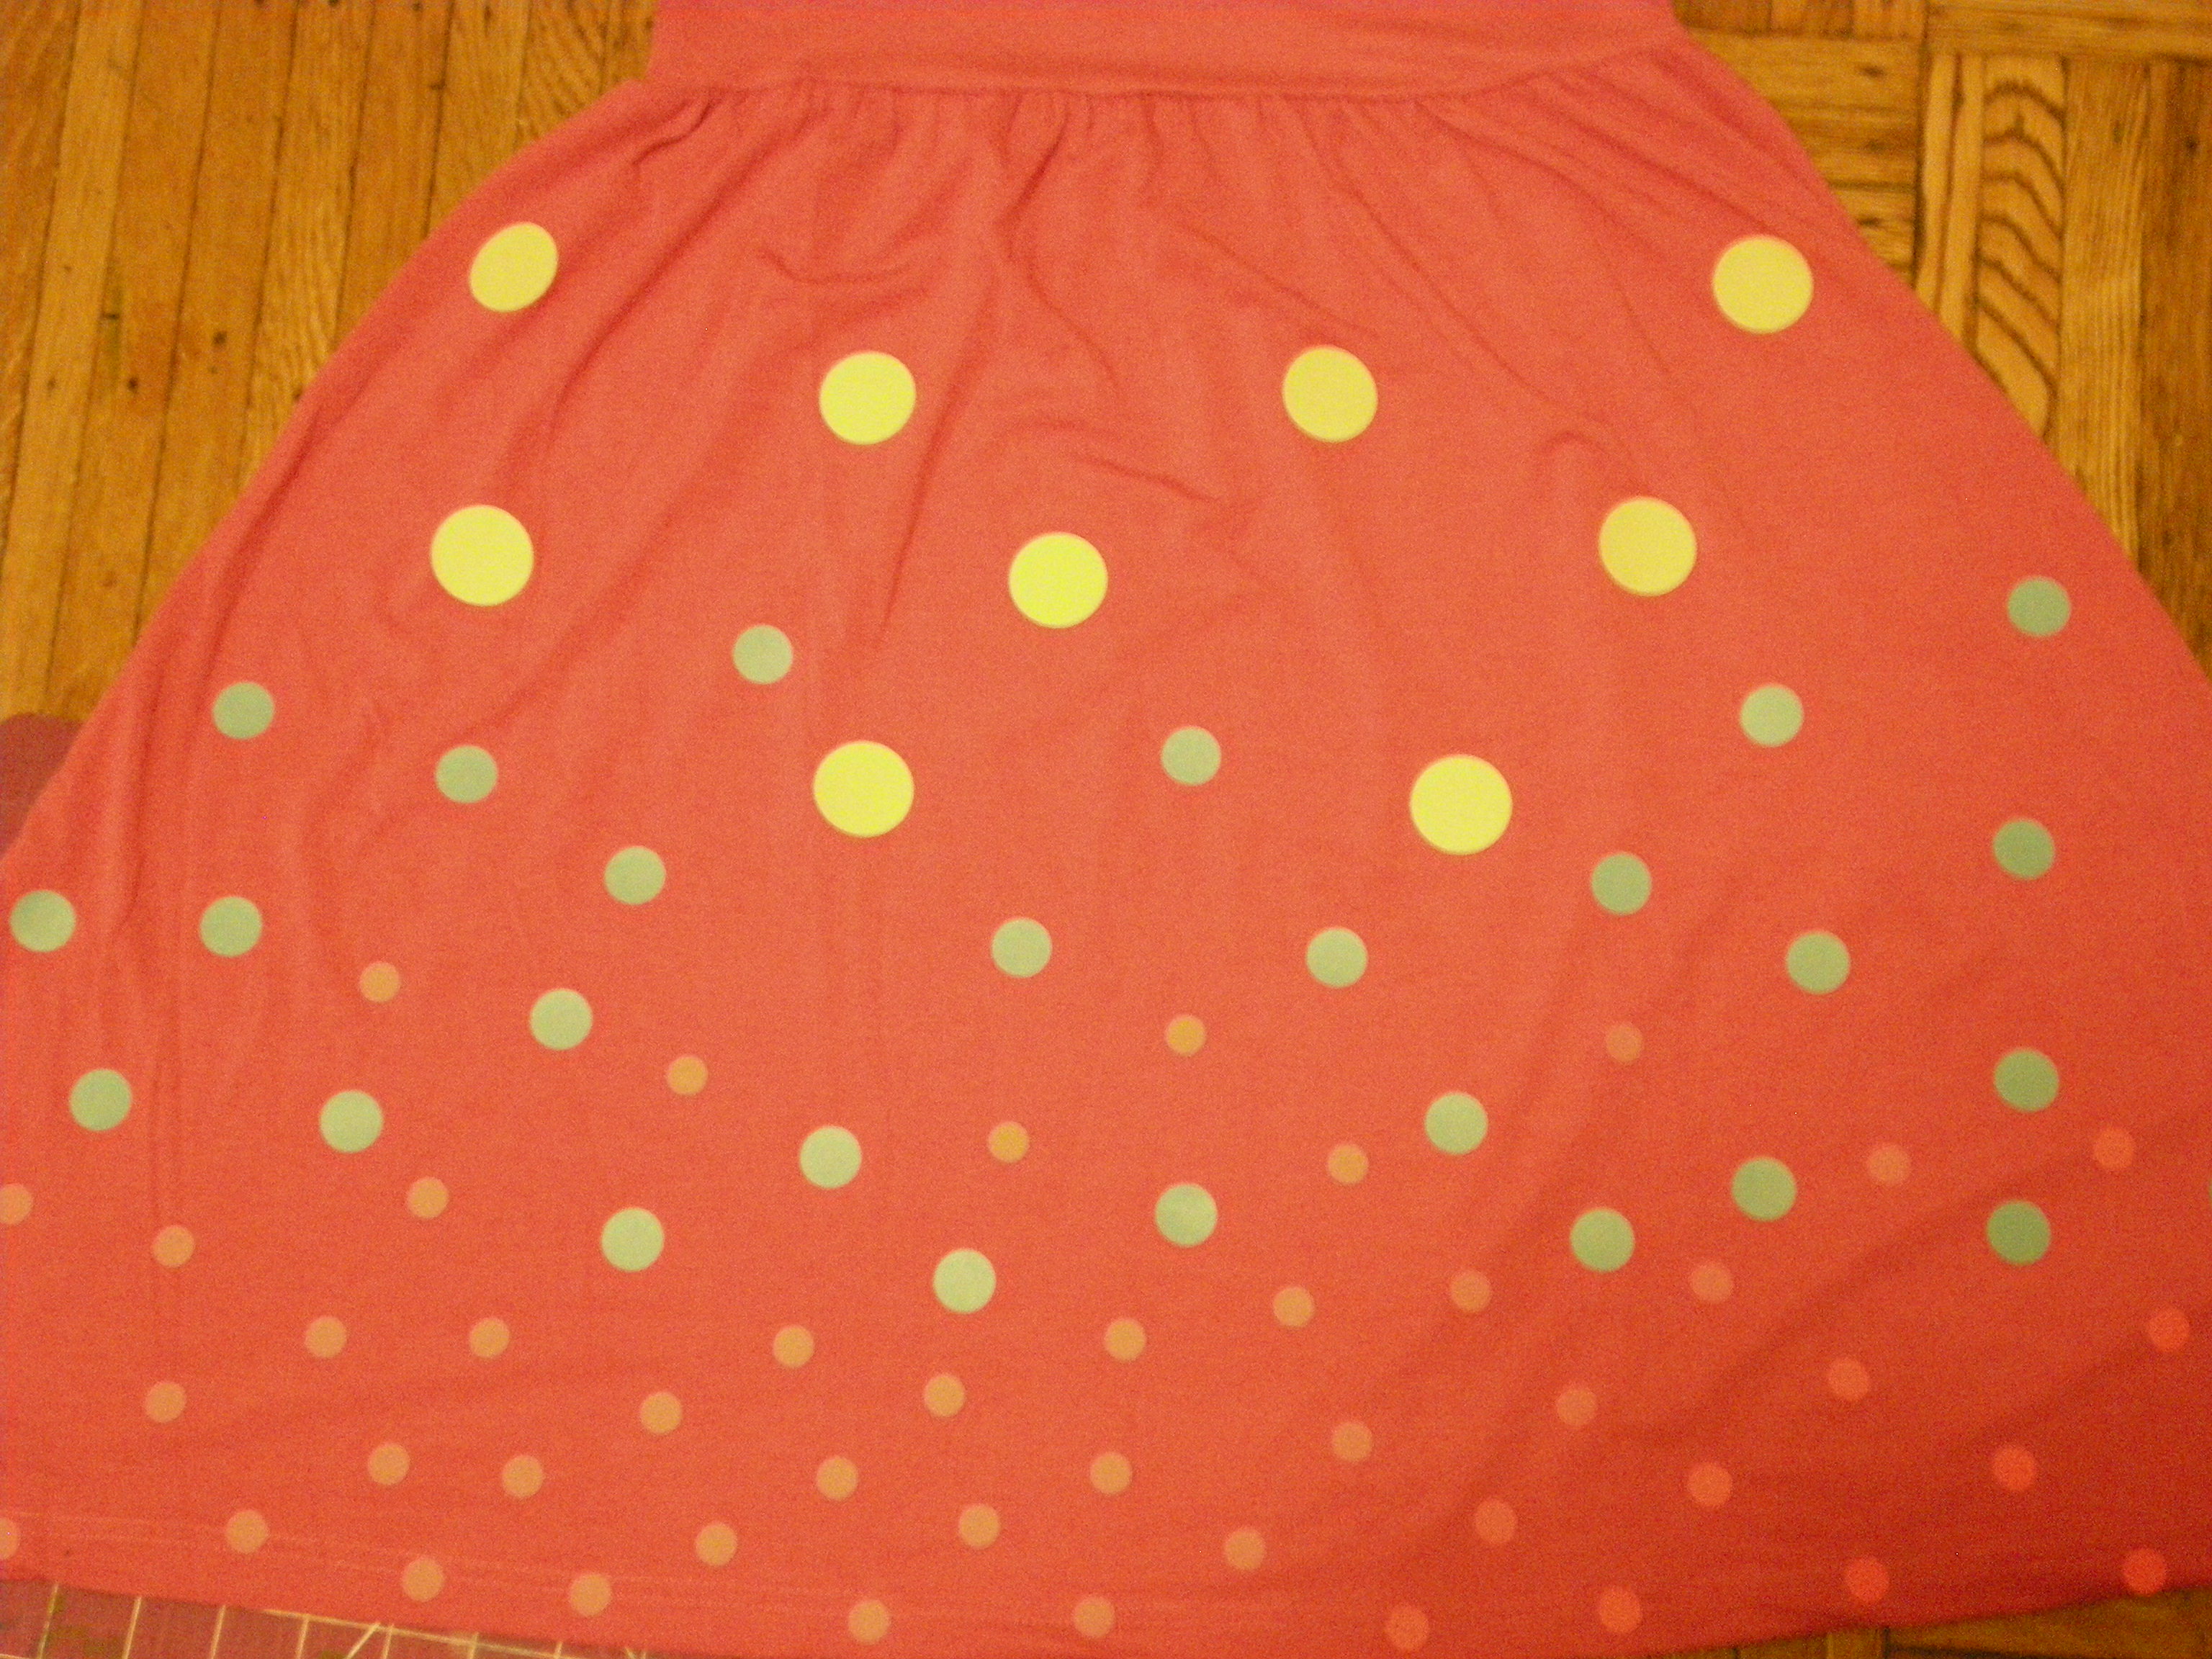
These stickers have so much potential. Beyond mixing up the sizes, you can arrange them into patterns, overlap them, use the surrounding sticker bits to create reverse dots, and so on. I used three sizes (3/4", 1 1/4", and 1 3/4").


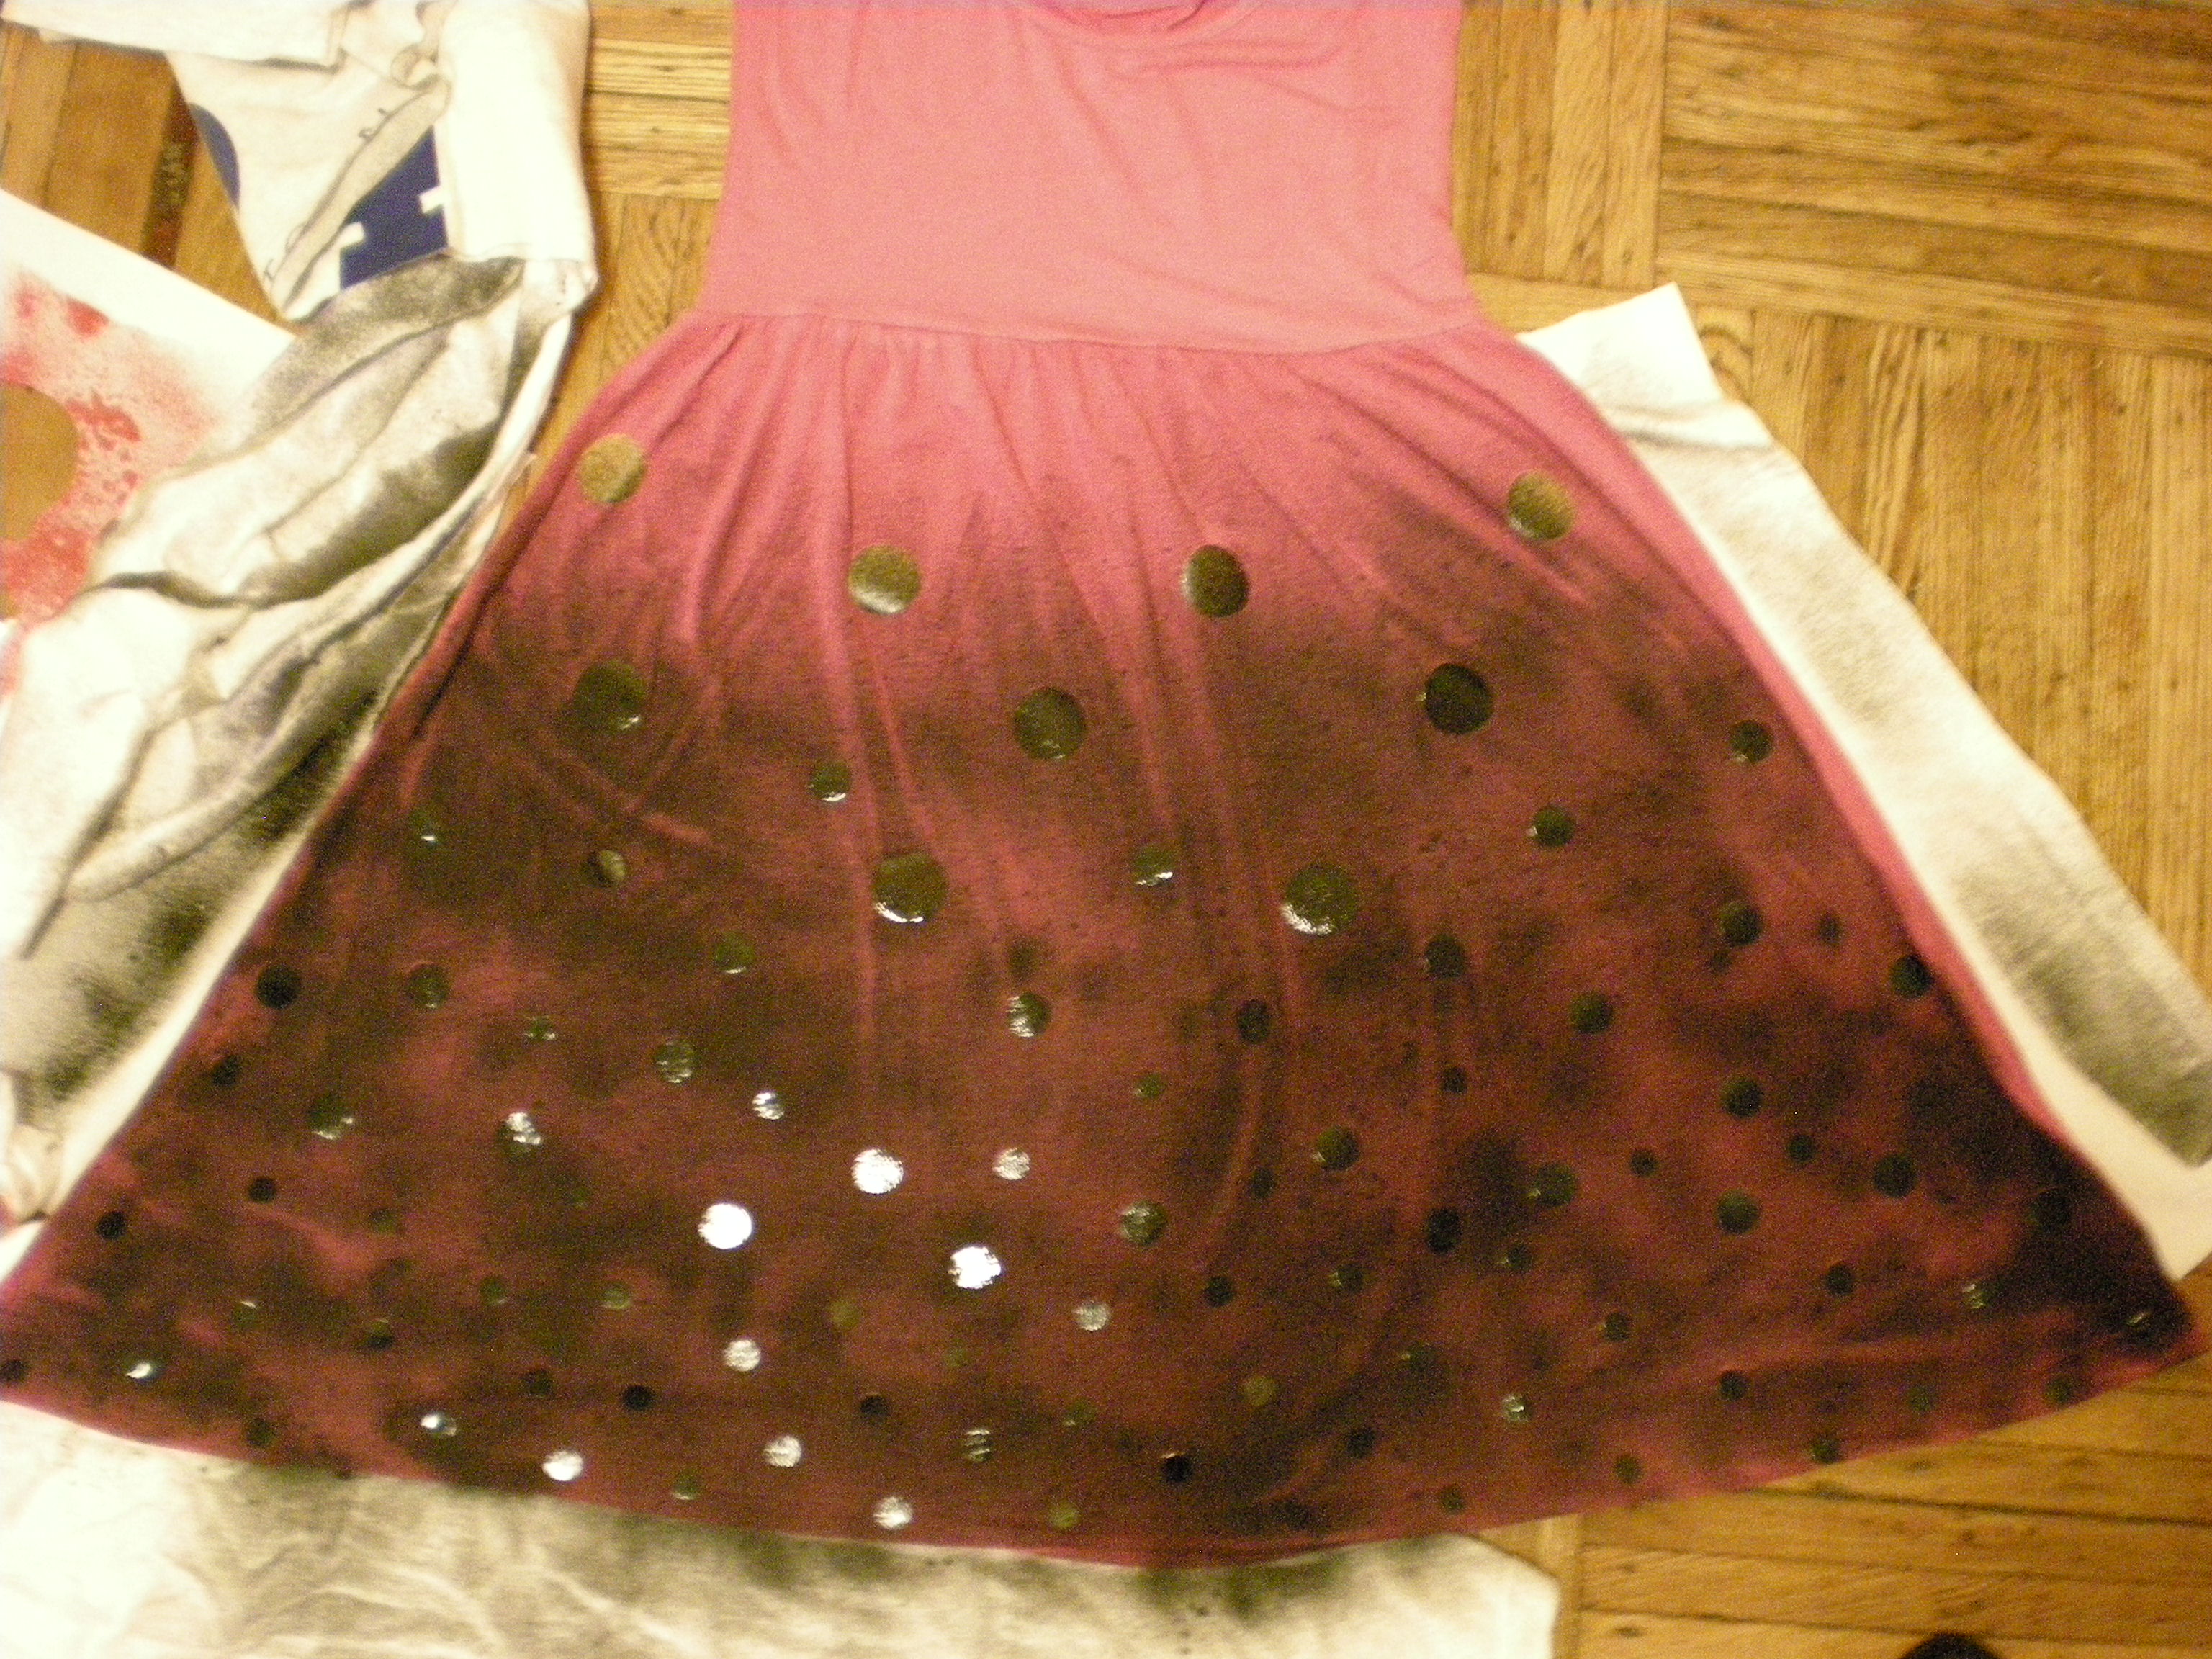
To create the appearance of bubbles rising up to the surface, I started with closely spaced small dots at the hem, then transitioned to more widely spaced medium dots, with the large dots finishing below the bodice.


Mask all the parts of the garment you don't want to color. I used black spray paint, fading out at the top, to make the pink really shine through! I also allowed the naturally occurring wrinkles caused by the gathered skirt to form "cracks" in the paint.


Let the paint dry completely before you put it on. You that you've made your bubbles, go out and make some trouble!


4. Yipes Stripes!

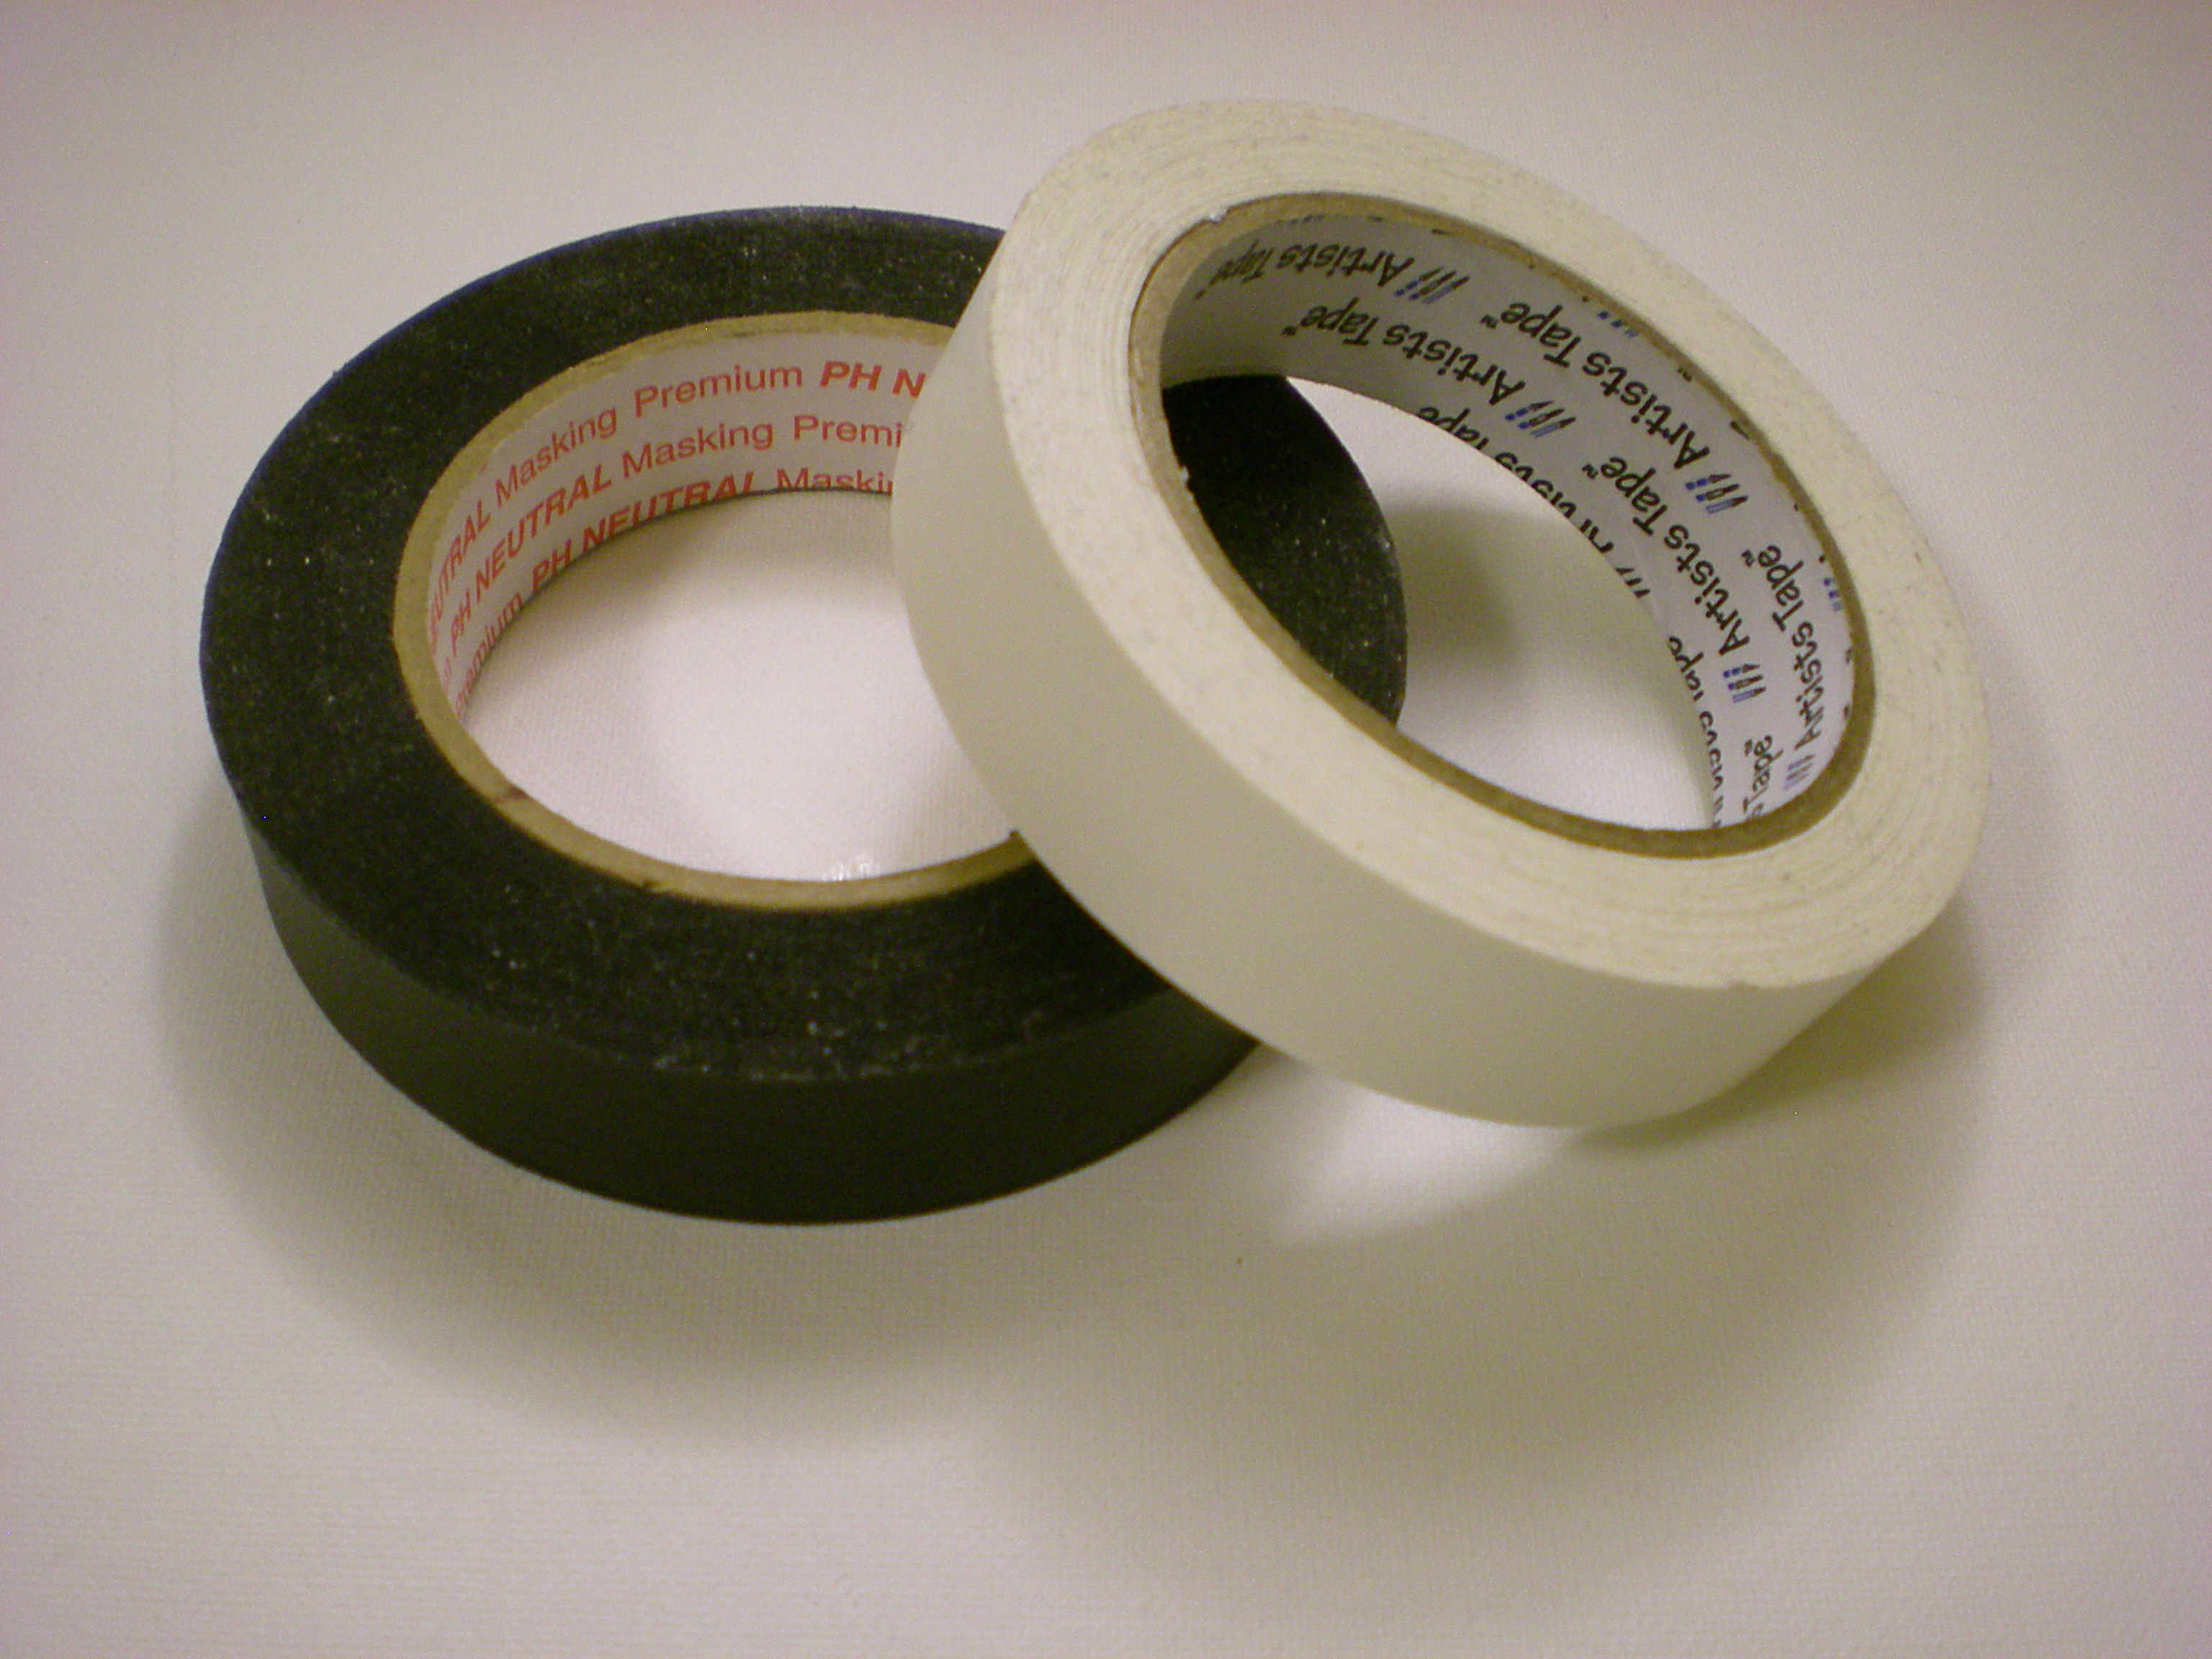
Secret weapon from around the house: Masking or Artists tape

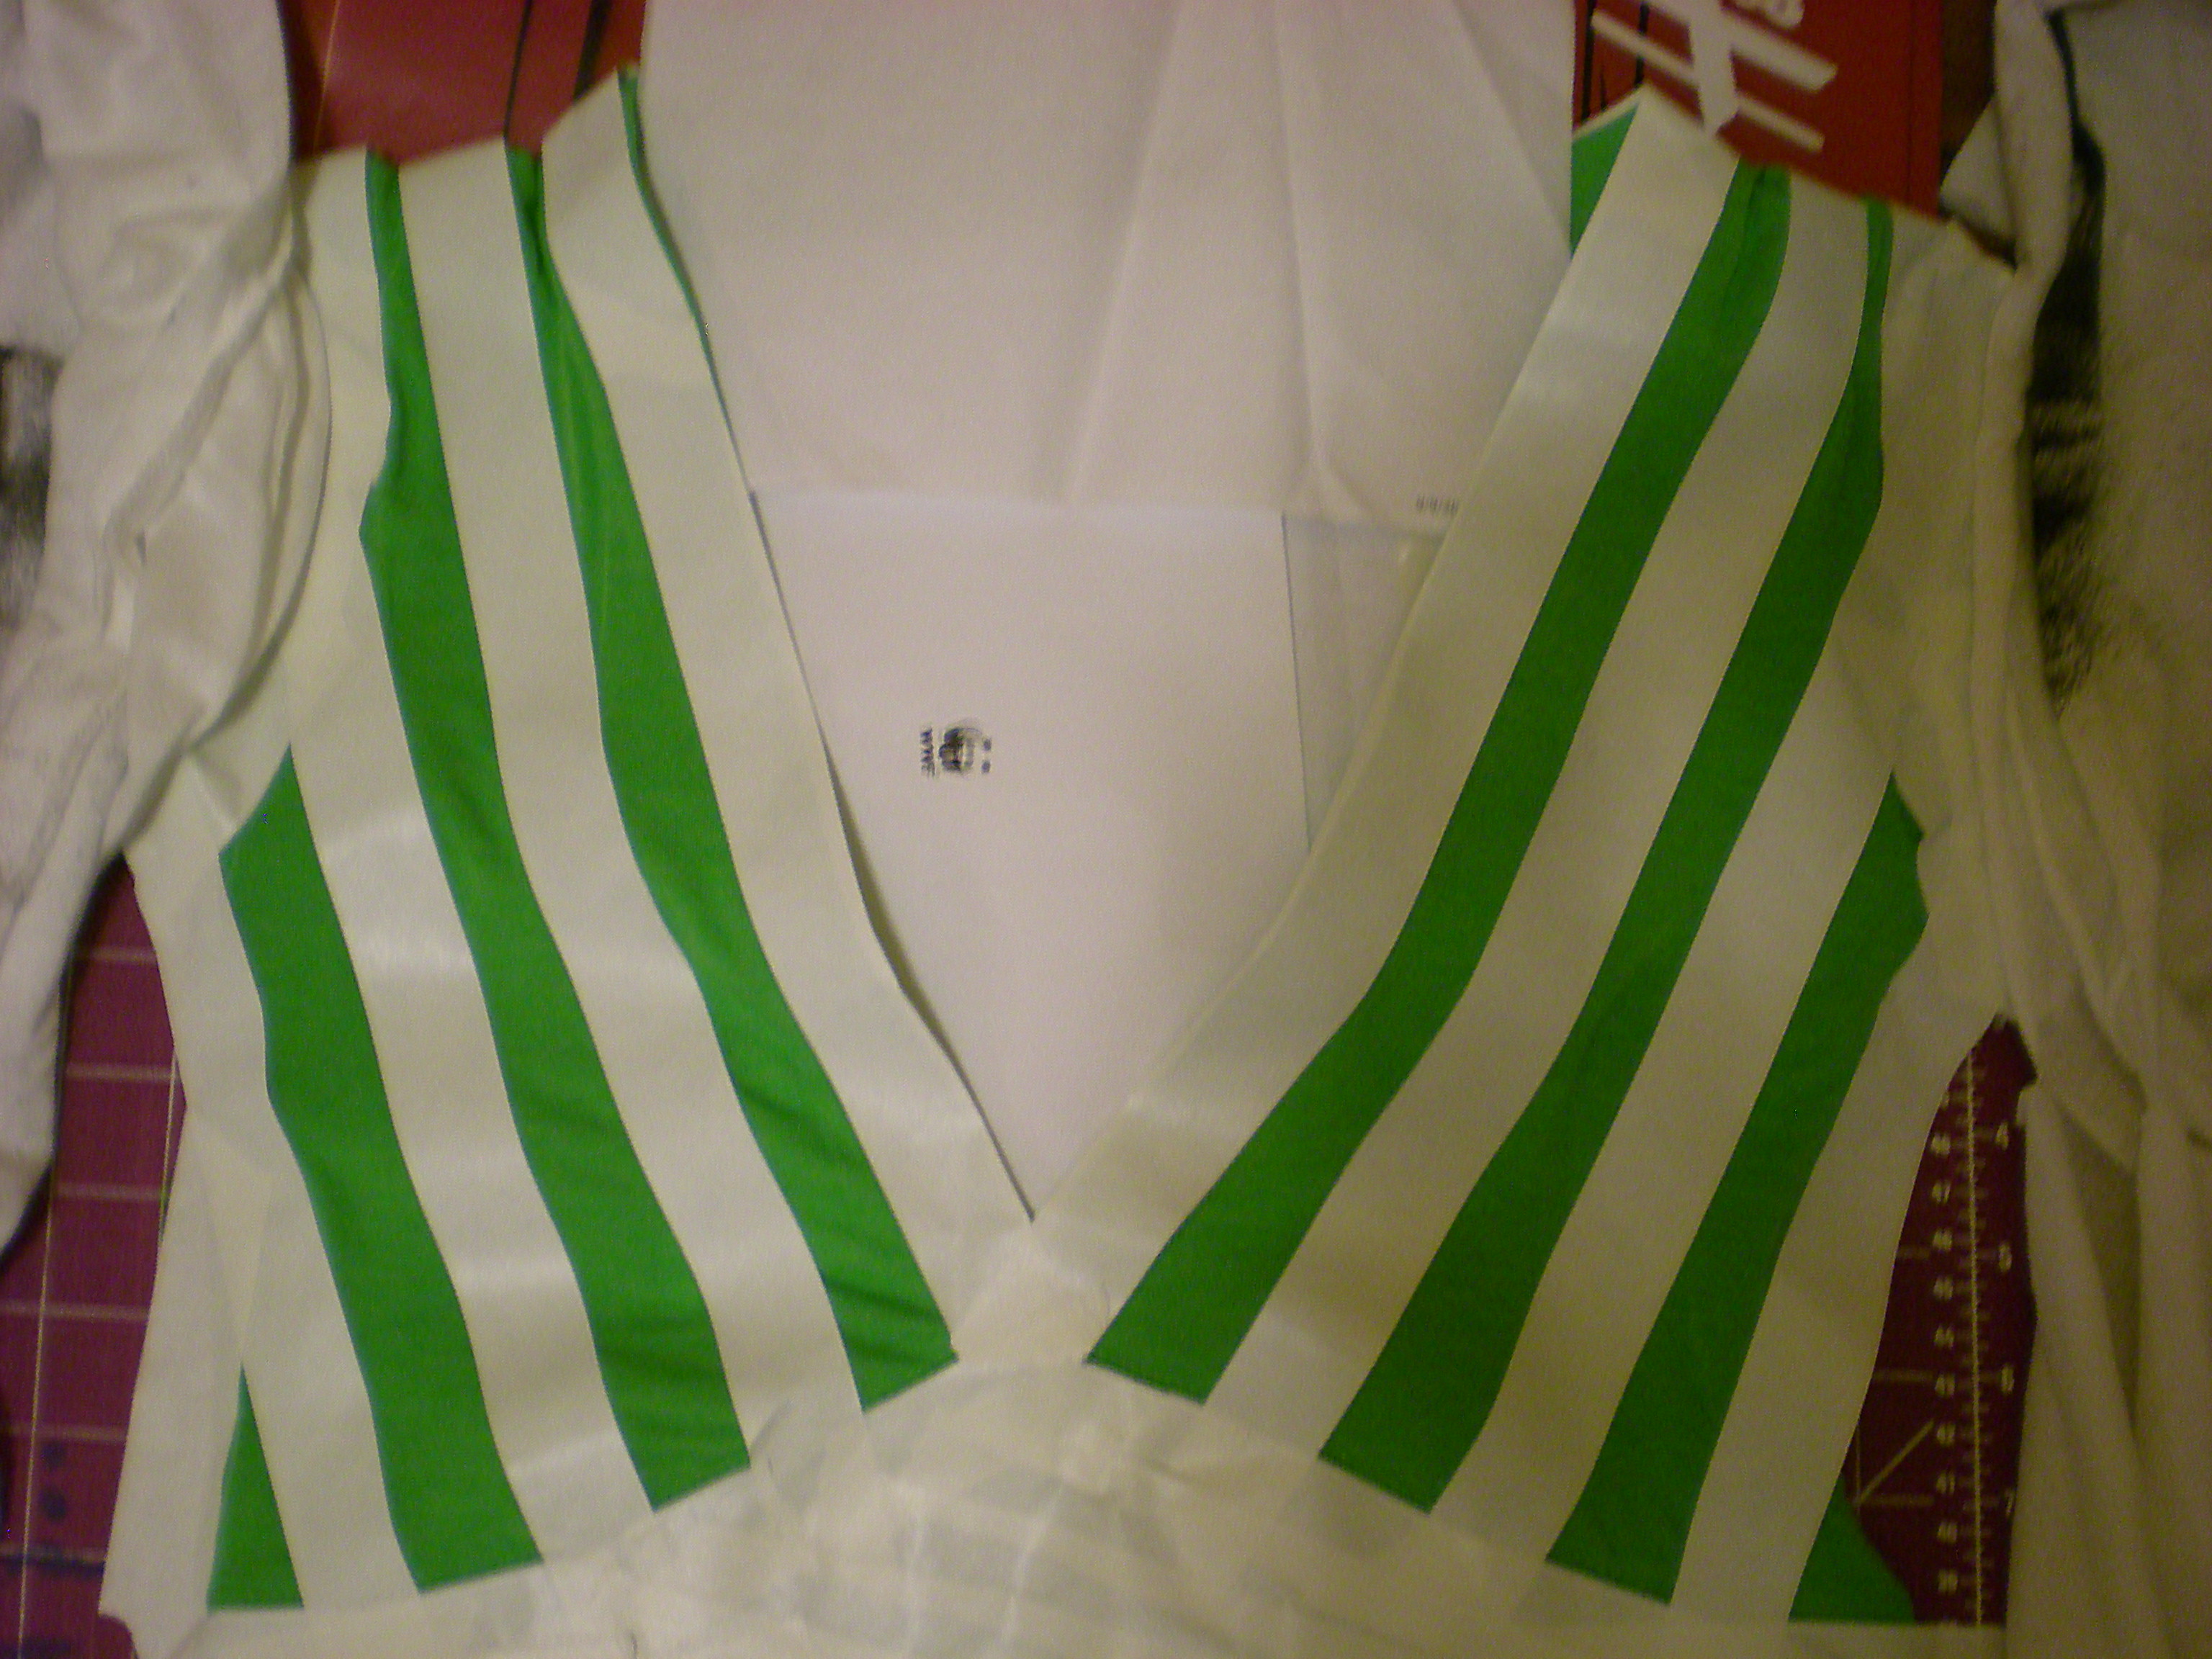
Stripes are just the beginning--you can create plaid, checkered, or gingham patterns with a roll of masking tape. Keep in mind that the width of the tape (and how closely you align them) determines the width of your stripes!


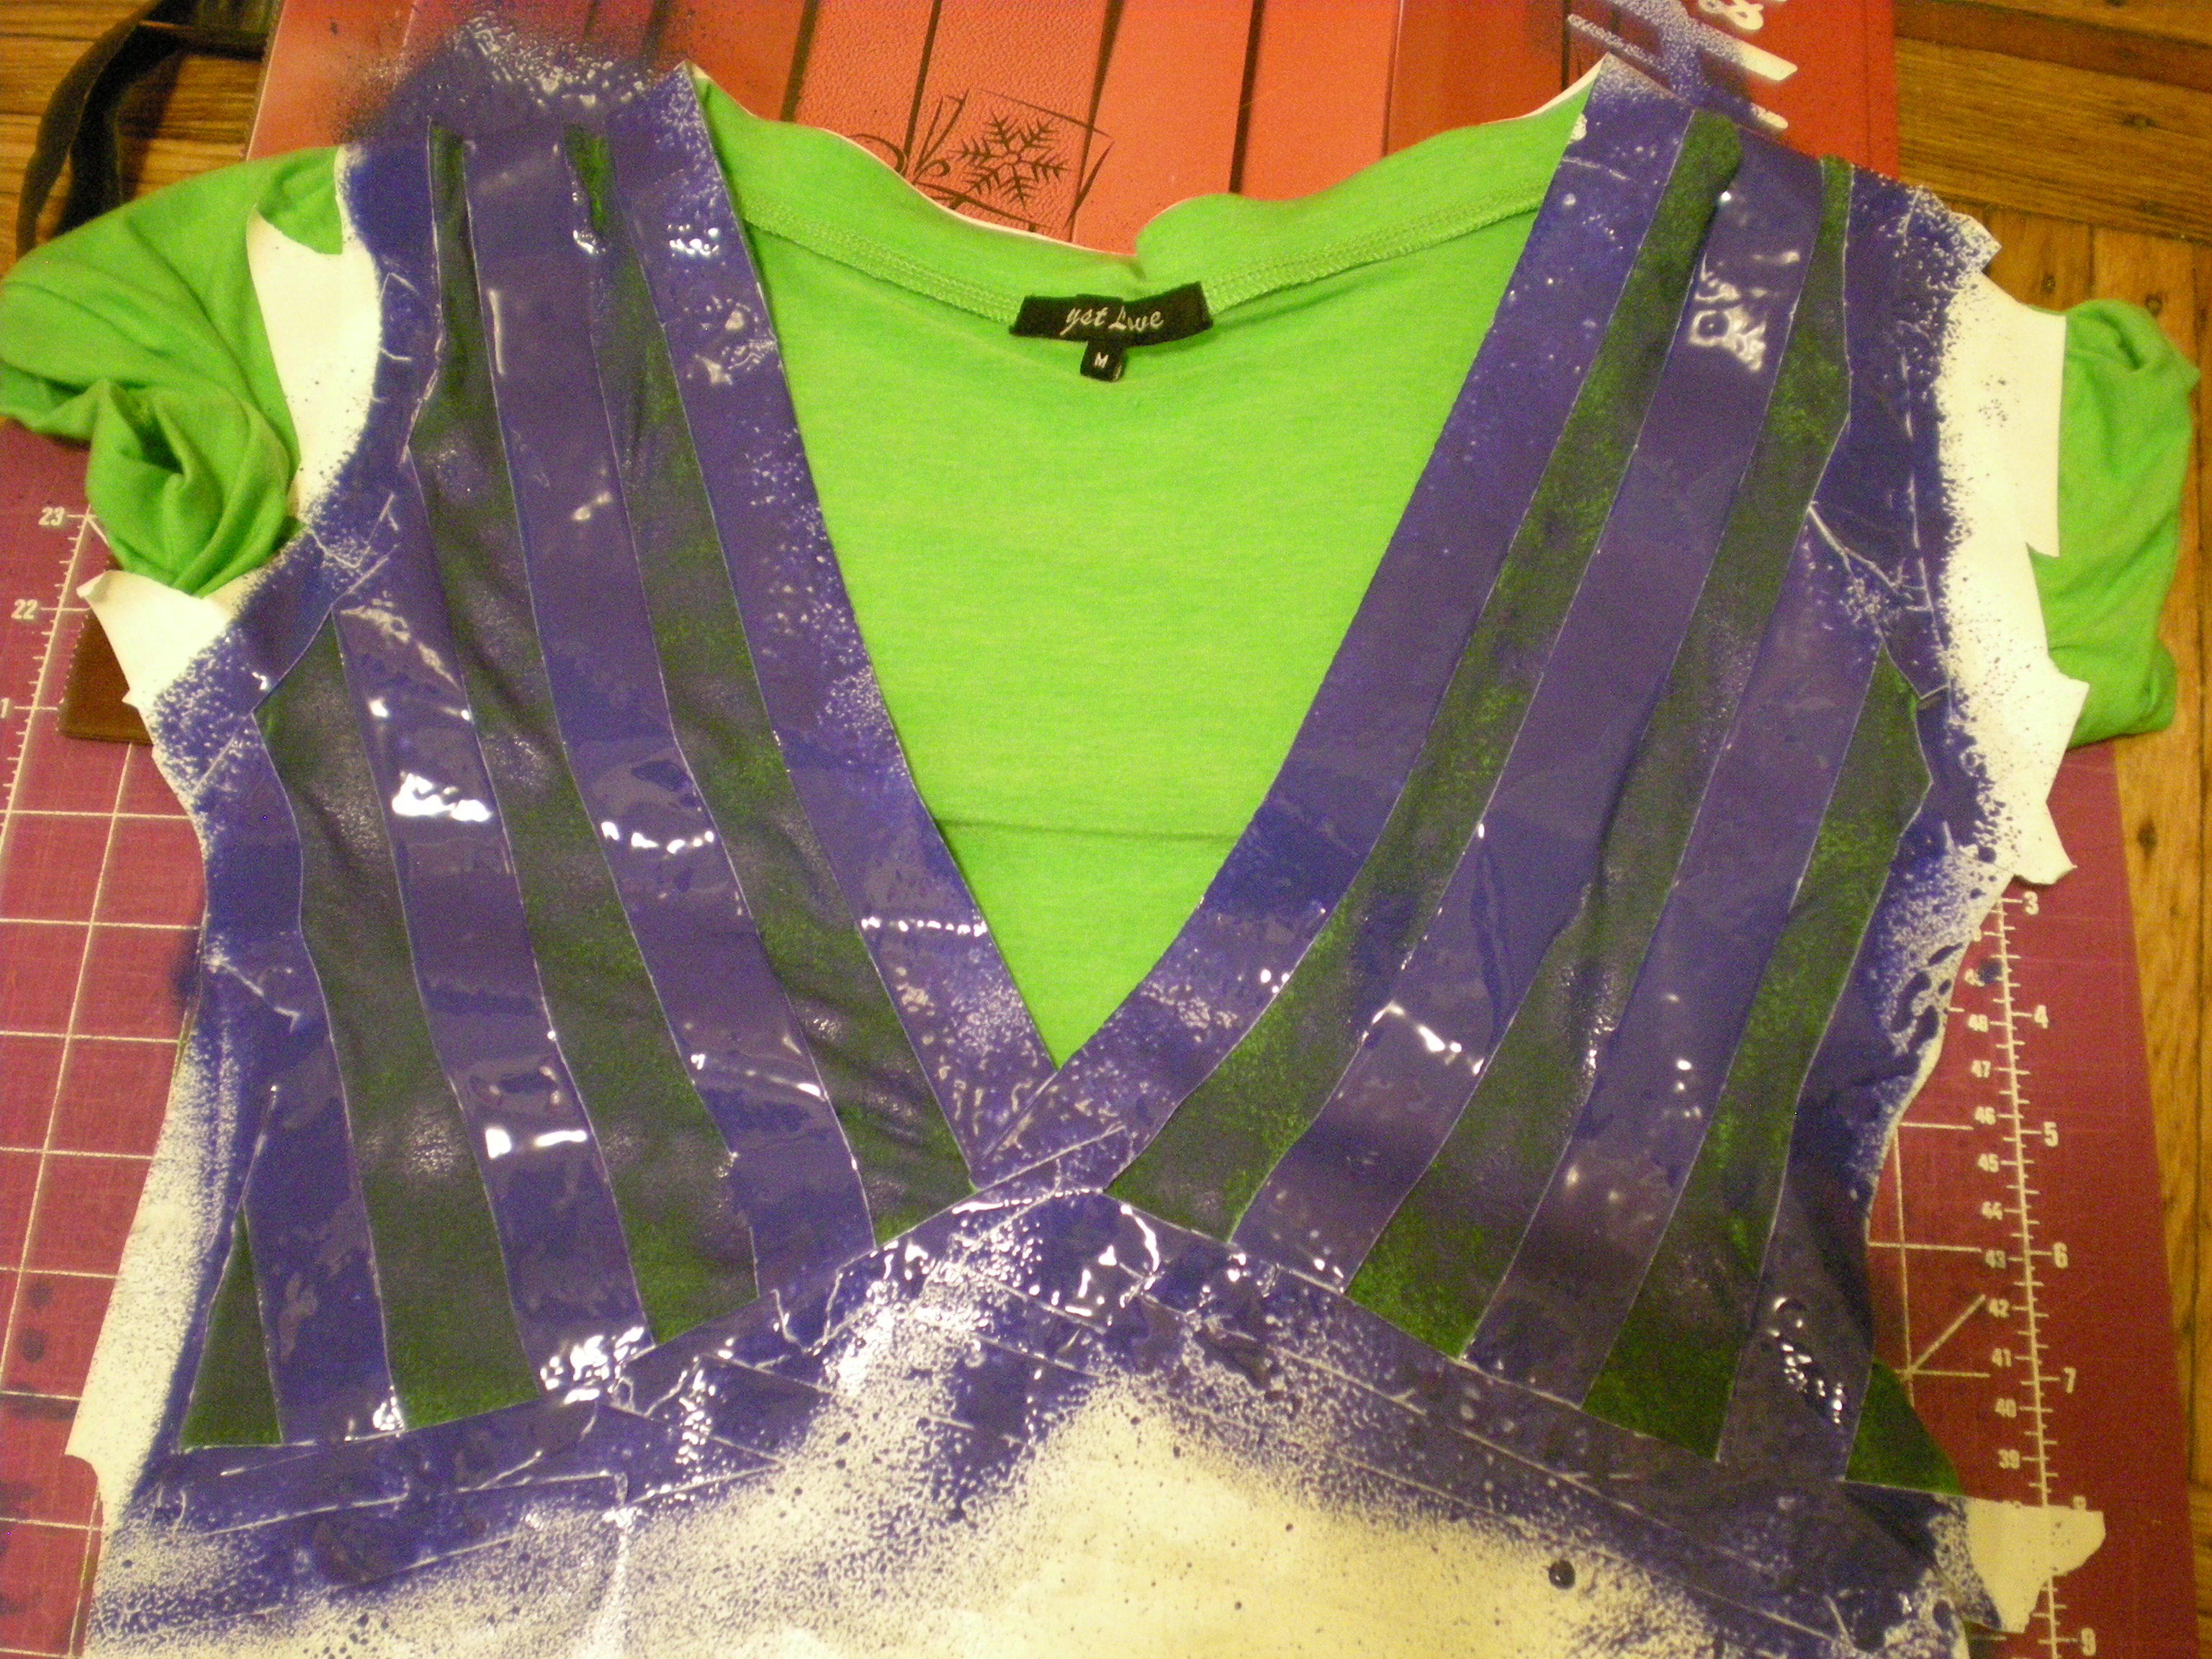
I followed the V-neck cut of the dress to create gently slanting diagonal stripes. Be careful to line up the tape strips carefully in order to keep your design symmetrical and even.


As always, mask the fabric you don't want to paint! I chose blue spray paint to pair with my bright green frock--a springtime inspiration, for sure!


Let the paint dry before peeling off the tape to reveal your sassy stripes!


One, two, three, four -- don't stop now, let's spray some more! How many more ways can you spray?


Visit us on Facebook!
Craft on!Click here for today's daily giveaway!
Clicky Web Analytics
Pin It button on image hover

Subscribe to our newsletter

* indicates required
I am interested in products and inspiration for...
Close