Showing posts with label DIY accessories. Show all posts

Tuesday, June 30

ColorShot Love Tote DIY


Looking for a cute and fun tote for the summer? Create your own designs using stencils and Tulip’s ColorShot for a fun, easy and super fast design with this DIY Love Tote tutorial. I’m always so impressed with how well ColorShot’s color goes on, I was able to get smooth, solid color with just a couple of sprays. Read more to see how you can make your own tote!

Tuesday, December 16

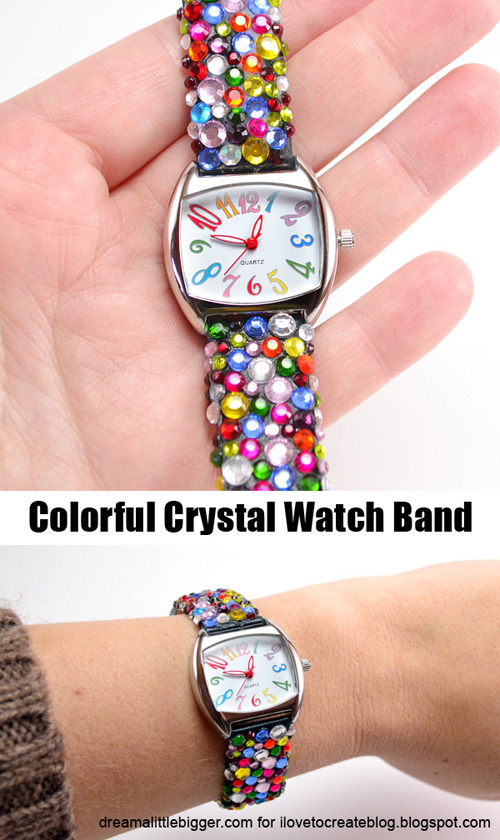
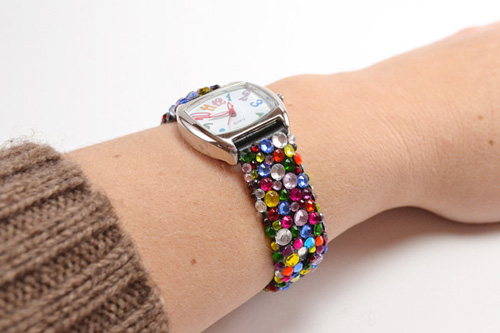
Colorful Crystal Watch Band

header-crystal-watch-band-dreamalittlebigger

I have a jumbo thing for watches. They're functional so I can wear them any time and there is something comforting about the way they wrap around my wrist. So I thought a personalized, crystallized watch band would make an amazing gift. 


Unfortunately I've decided to gift myself with this one because I LOVE it! Oops!

 011-crystal-watch-band-dreamalittlebigger

Sunday, December 7

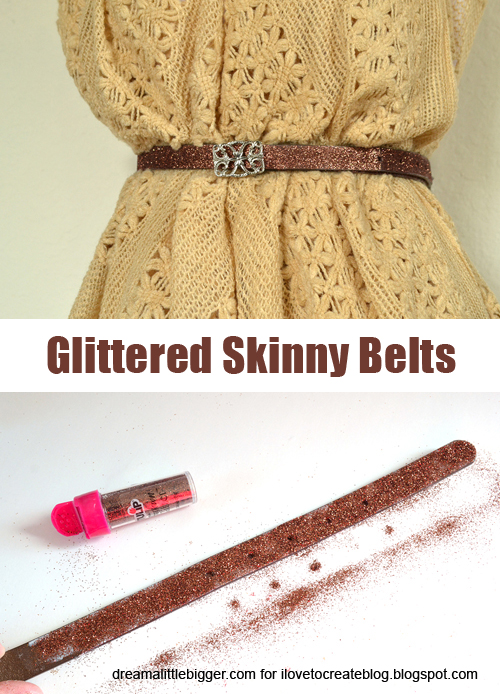
Glittered Skinny Belts

header-glitter-belts 
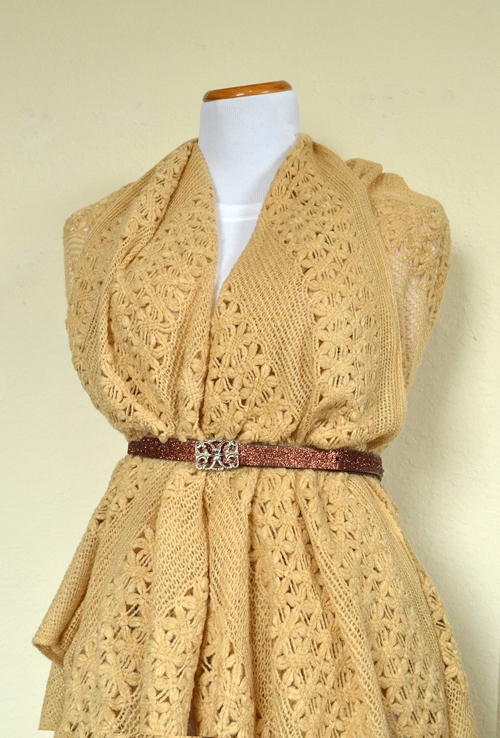
Sometimes I want to add a quick and low budget bit of pop to an outfit. Loving my over-sized throw-like cardigan, I thought it would be nice to cinch it with a skinny belt for a more fitted look. And then it seemed only right to toss in a bit of glitter as well!
For this project you will need:
Skinny belts

002-glitter-belts 
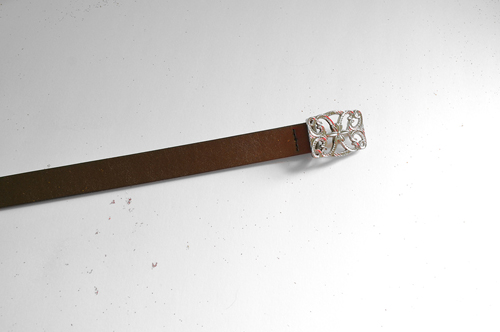
I love this skinny belt. It's plain and brown, which isn't bad in and of itself but it has a fabulous buckle!

010-glitter-belts 
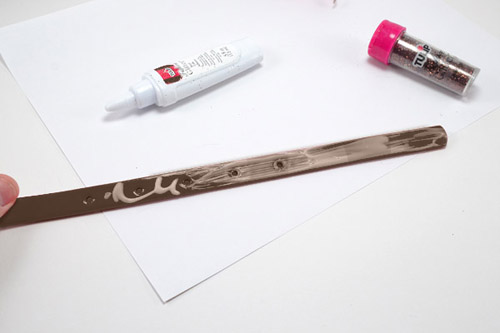
To update simply apply your glitter bond...

001-glitter-belts 
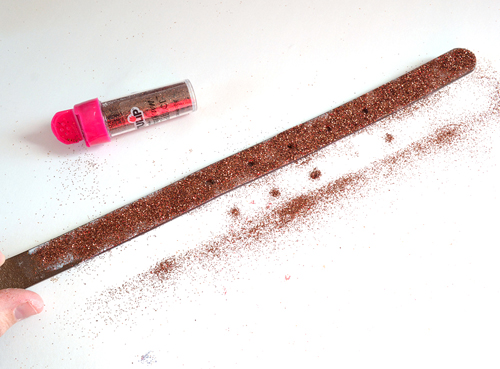
Sprinkle glitter liberally over a piece of paper to easily collect and return the stray glitter back into your tube.

006-glitter-belts 
Allow to dry and rock it out!

003-glitter-belts
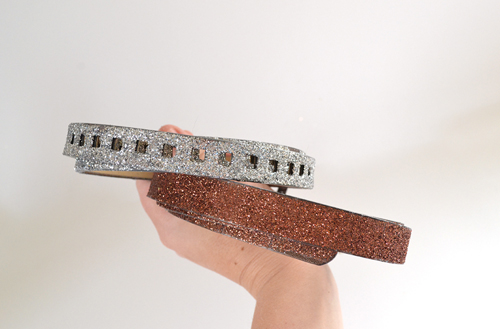
I decided to go brown glitter on my brown belt to keep things kind of sedate, but on my belt with square cut outs thought SILVER was the way to go for an edgier look!

All in all, this project took about 5 minutes. The hardest part was waiting for my belts to dry!

For more fun projects, I hope you'll visit me at Dream a Little Bigger!

Tuesday, August 26

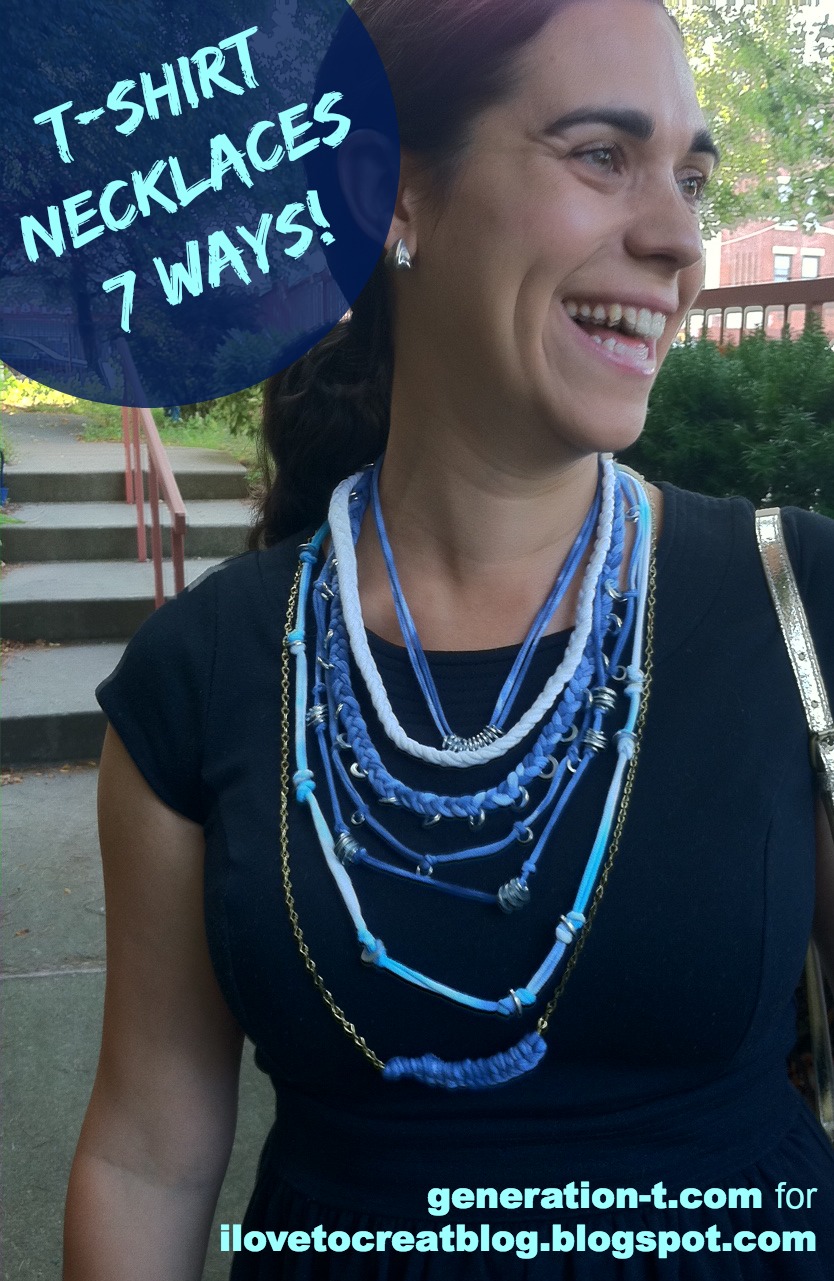
Tie-Dye T-shirt & Hardware Necklaces: 7 Ways!

 necklace finish2 generation-t.com  
Whether you're celebrating back to school or back to work, here are a handful of quick-and-easy, no-sew techniques to accessorize on the cheap. Just grab all those scraps you've cut from your white T-shirts, rejuvenate them with a splash of tie-dye, and macramé your way to a statement necklace or two (or seven!)
I've always loved shopping at hardware stores for my materials -- washers and hex nuts and some of the more delicate chains lend a nice physical weight to a fabric-based piece while adding an industrial edge to the overall aesthetic.
megan-nicolay-blog-footer-1

Tuesday, August 6

Arrow Baby Boots


Baby boots have been something on my list of things to make my new little baby girl.  However, while walking the aisles at Michael's the other day I saw they had some there for only $7 (and less if you use your coupon).  That saved me a lot of sewing time.  They were right next to all the I Love to Create products and I thought they'd be really fun to embellish.

So, I play off the recent trends of neon and arrows and turned them into these little arrow baby boots.

Tuesday, July 3

DIY Muslin Hair Scarf

Recently I chopped off my hair (like over 12 inches), and I've been playing with some different hair accessories.  Do you know those muslin swaddle blankets that are all the rage right now?  They are really lightweight and have a bit of stretch to them.  Well, I thought that same fabric would make the perfect hair scarf.  Why?  Because it's super duper light weight (making it cool and not hot),  it doesn't shift around like a silky scarf, and it has enough stretch to make it comfy.

I made a couple versions.  The first was neon, since neon is everywhere right now and the second was more neutral.


Muslin (a.k.a. cotton gauze) can be purchased at your fabric store, but it doesn't usually come in a lot of colors and I couldn't find any prints.  Enter Tulip fabric markers.


But let's not put the cart before the horse.  Here are the sewing details.  I purchased 1/8 of a yard which was $.87.  I took it home and cut it to the size I wanted, leaving room for seam allowances.  I folded over the edge twice and sewed it.  This fabric tends to stretch so I set my tension lower to accommodate that.  


If it's a little wavy when you're down don't fret.  It'll be fine when you stretch it to tie it on.


For the next step, you can really just doodle and have fun.  I used Tulip Fabric Markers in neon.  They don't make the fabric stiff and they are easy to use.  I usually hold the fabric tightly with my left hand and draw with the other (though you can't see that below because I'm holding the camera in now hand).  I changed up the colors as I went.


For the more neutral scarf I used Tulip's Big Phat Fabric Markers.


I love using these like a stamp.  You can make "X's" or a checkerboard pattern or a brick pattern like I did here.  I kept a plate under me to make sure I didn't color my table.


I made the neon scarf shorter and wider to I could just knot it.


I made the neutral one thinner and longer, so I could tie it in a bow.


So, for 87 cents a piece and a little coloring fun you've got a new, fun look.


Tuesday, January 31

Easy Peasy Hairpins

Today's project is super, duper easy and fun.  We're going to make/embellish some hairpins.  


This is a great project to do with younger people as well because it's really easy.  (While my son won't be wearing one, he was really excited to help make them.)  The reason for this project is that I've been wanting to wearing my hair (not my makeup) like these pictures I found on Pinterest.


Then I saw these clips at Anthropologie and while I was tempted to get some, I figured making them would be inexpensive and easy.


So I purchased some hairpins and clips at Hobby Lobby and I also stopped at an antique shop and picked up some vintage earrings.  I invited my crafty friend over and we worked together.  It's a good project to do with a friend, because there are two hairpins to make from each earring set - one for each person.


After the supplies were assembled we broke out the secret weapon - Aleene's SUPER Gel Adhesive.  I love this glue.  It holds so well - even metal to metal.  What I like about it the most is that it has a little brush in it just like nail polish.  (Let's just say I've had some bad encounters with little tubes of super glue and there's still evidence on my kitchen table.)  This stuff is way easier to use because of the brush.


I used some wire cutters to snap off the back of the earrings.


We brushed on some adhesive and added the earrings.  


You only have to hold the pin to the earring for a minute or two until it's really on there and dry.


This clip was originally blank on top, but I happened to have little leaf beads that fit right in it, so I glued them on.


Buttons also work well for this project.  You just have to use ones that don't have a loop on the back.  I had my assistant select some for me.


I am excited to wear them now.  The redish-brown one looked so cute in my friend's blonde hair.


It's a great five minute project with fun results.


Thanks for stopping by.


Tuesday, November 15

Little Man Cuffs

Yesterday I made some belts for my little boys and I had some extra belt fabric left, so I decided it was time for a round of little man cuffs.  I made some a long time ago, but that was when I used an old belt.  At that time I didn't even know you could just buy the belt stuff.  (I found it at Hobby Lobby for $1.20 a yard.)  Anyhow, I had some left and so I decided to make cuffs in the same way I made yesterday's belts.  Here they are.


I measured my boys' wrists (not super tight) and added an inch.  I zigzag-stitched both ends to eliminate fraying and then sewed on a little velcro to each end.  One square of velcro goes on the top side and one goes on the bottom side to they will attach when you loop the cuff.  (In the last set of cuffs I used snaps, but velcro makes is really easy for little guys to get them on and off.)


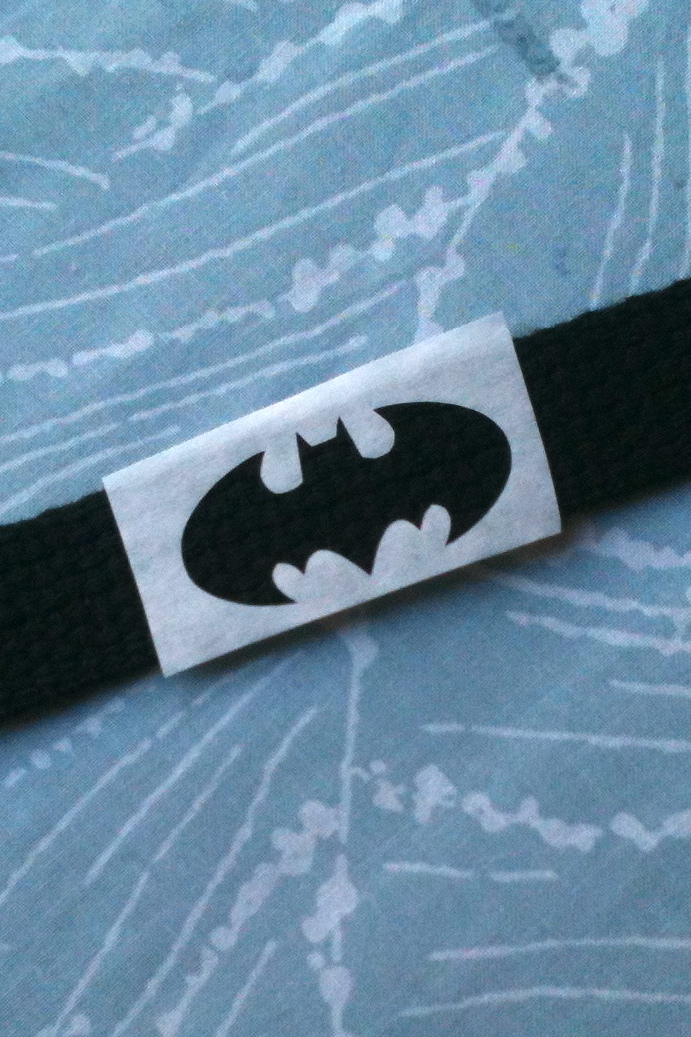
Then I cut some freezer paper stencils.  For an in depth tutorial on freezer paper stenciling you can find my video tutorial HERE.  I ironed on the stencil.


I didn't have the colors I wanted to use in regular fabric paint, so I tried something different than normal.  I used the 3D fabric paint.  I've never used it with a stencil before.  I squirted it out as I moved the nozzle back and forth quickly (as if I were coloring something in with a marker).  I removed the stencil really carefully while it was still wet.  You'd think it wouldn't work, but the paint is pretty thick so it doesn't bleed after you remove the stencil.  It worked well and it gives the images a fun 3-D look.


And this batch of cuffs went to my cute nephews.


For the Pacman cuff I added the dots and eyes without stencils.  I just squeezed out a little paint, which formed a circle.  I used a Sharpie to color the black dot in the eye.


I liked the Pacman theme so much I made another belt for my son.  (You can find that tutorial HERE.)  I love seeing it on his tiny waist.


And there you have it - inexpensive, personalized, and fun.  Thanks for reading.


Clicky Web Analytics
Pin It button on image hover

Subscribe to our newsletter

* indicates required
I am interested in products and inspiration for...
Close