Showing posts with label baby t-shirt. Show all posts

Tuesday, January 24

How-to: Iron-on Glitter Toddler Tee!

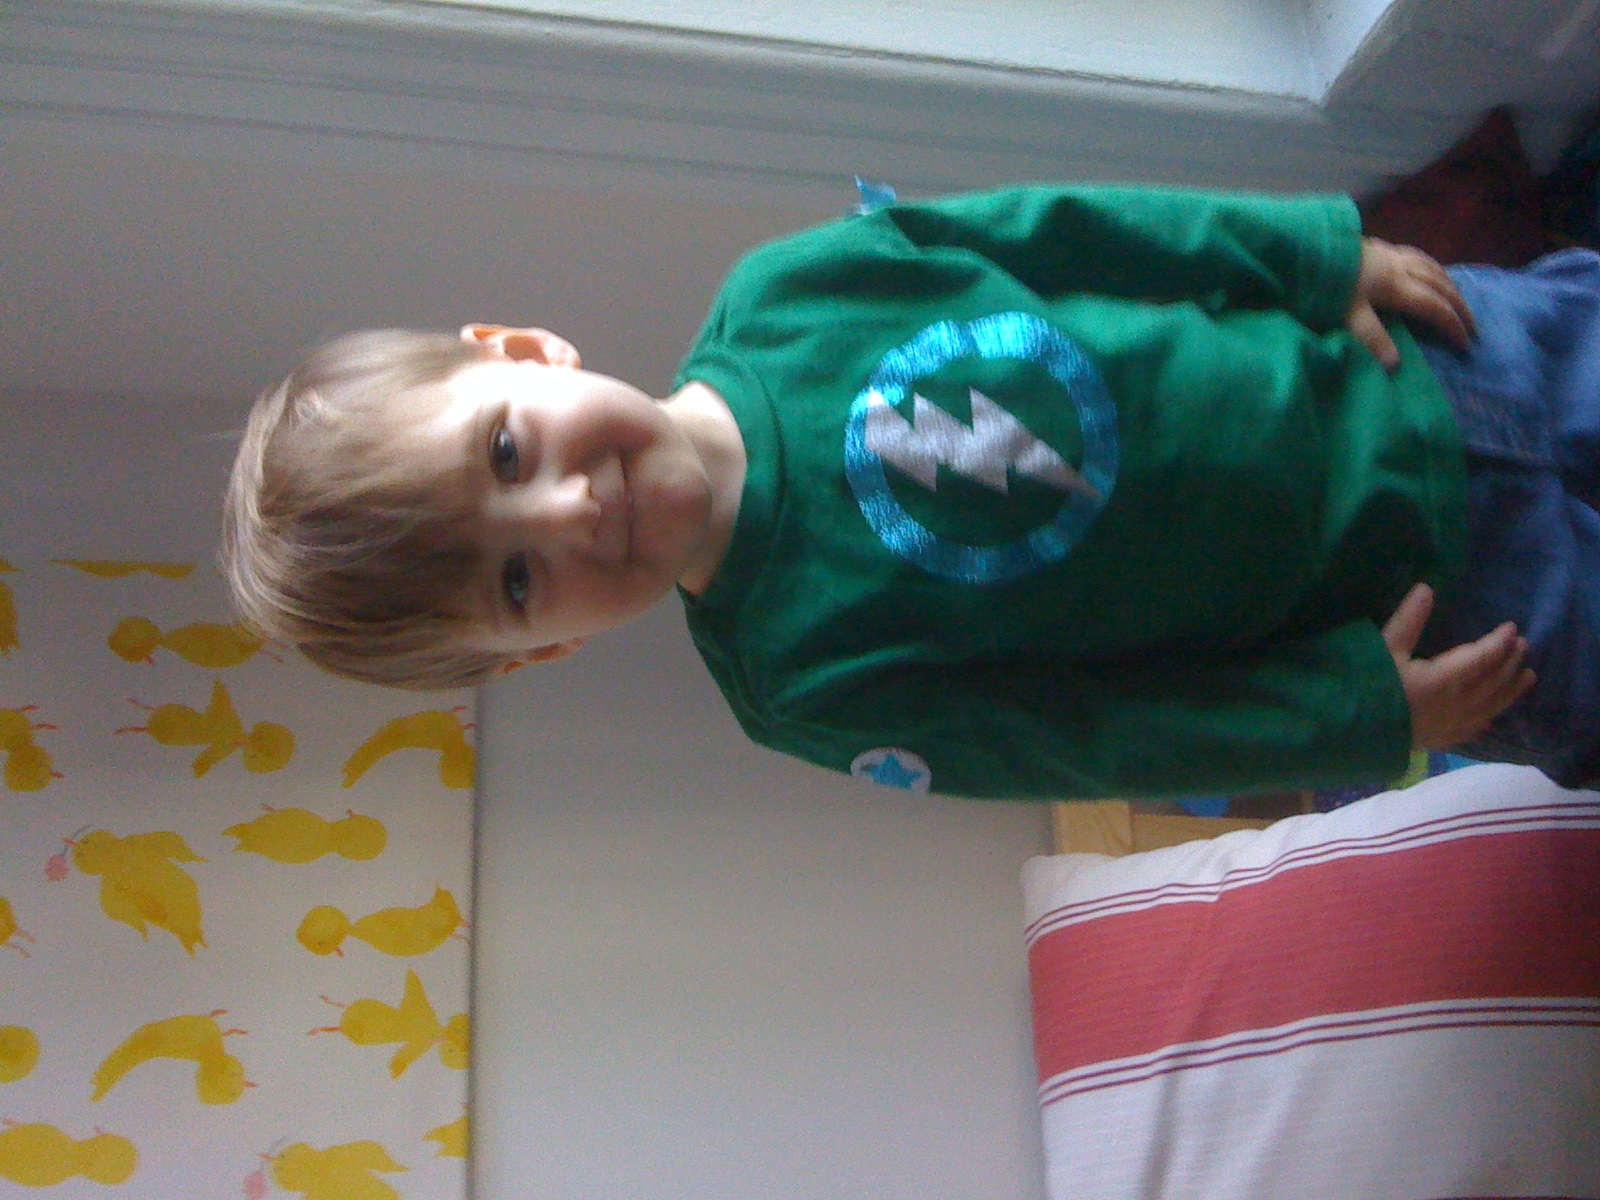
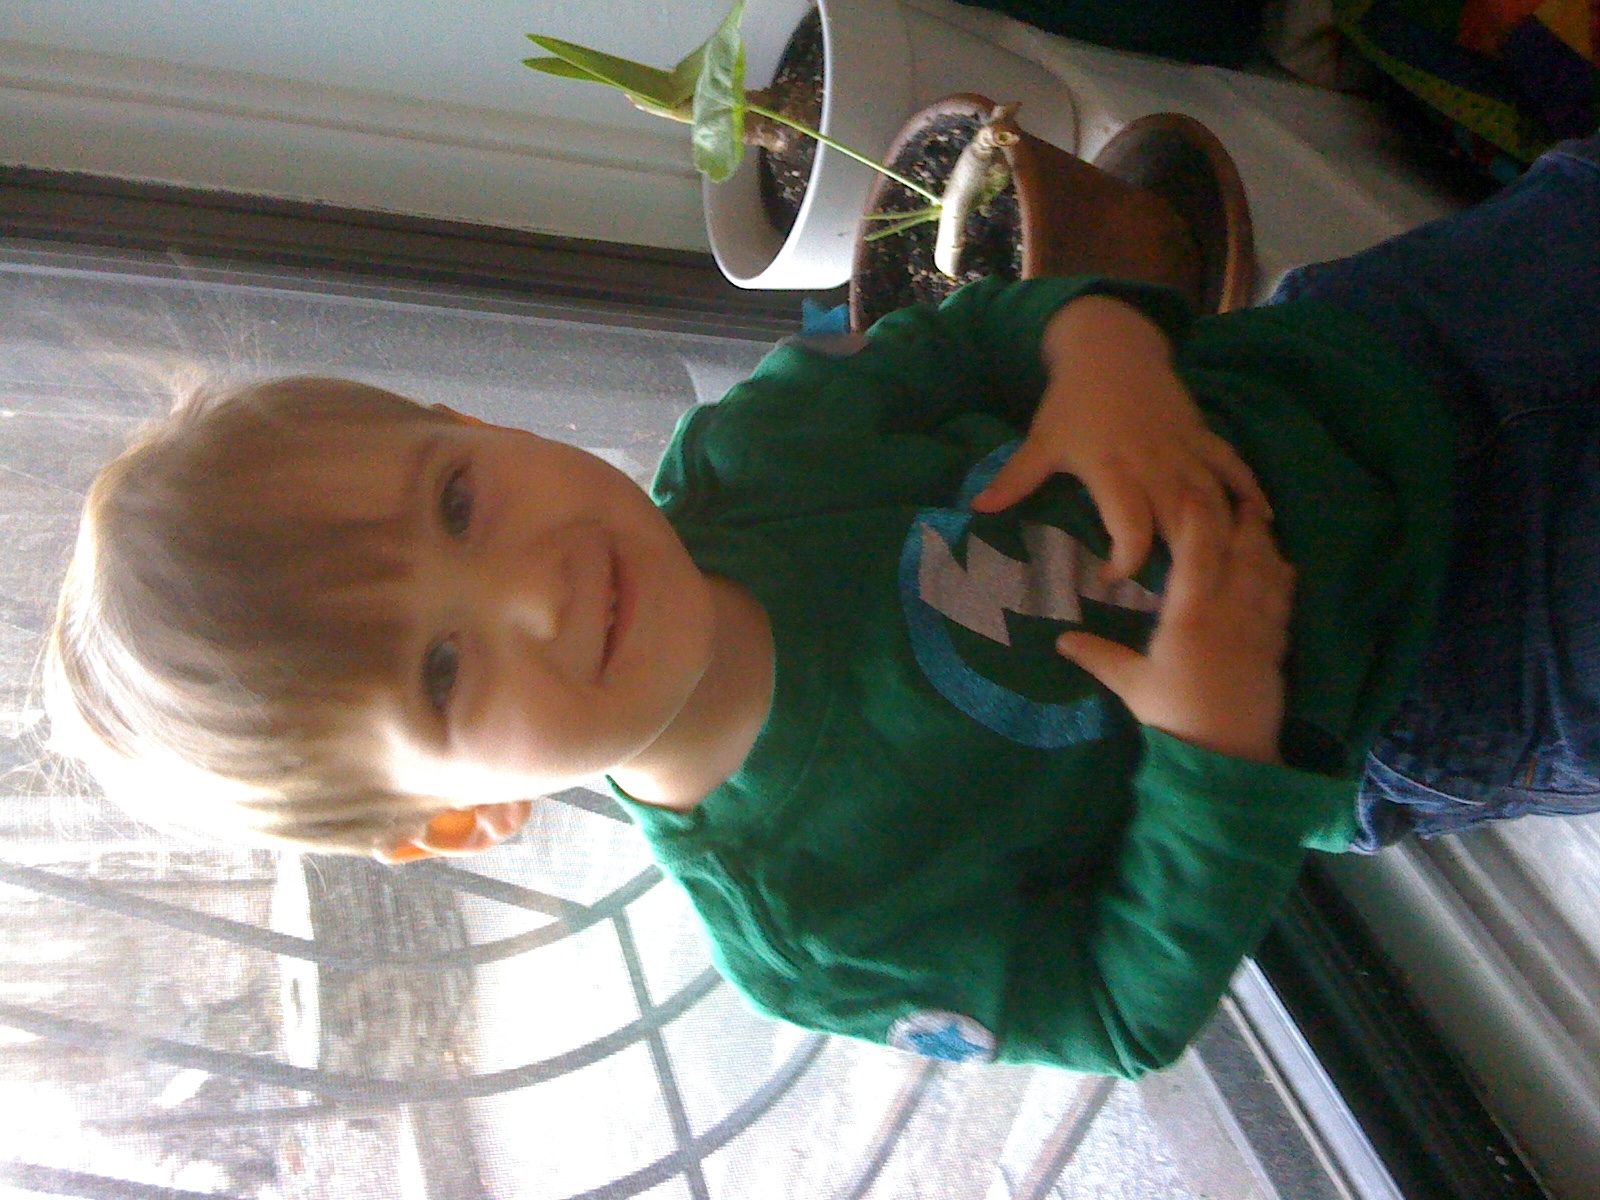
I missed posting an iLoveToCreate project last month because I got a little distracted by a rather big DIY project of my own (more projects relating to my newest muse in the coming months, but in the meantime...). I recently attended a little boy named Caleb's 2nd birthday party and was inspired to make something -- something superhero-inspired for a super little guy! And since I'm obsessed with these iron-on glitter sheets, how about some fun, sparkly T-shirts?

Materials:
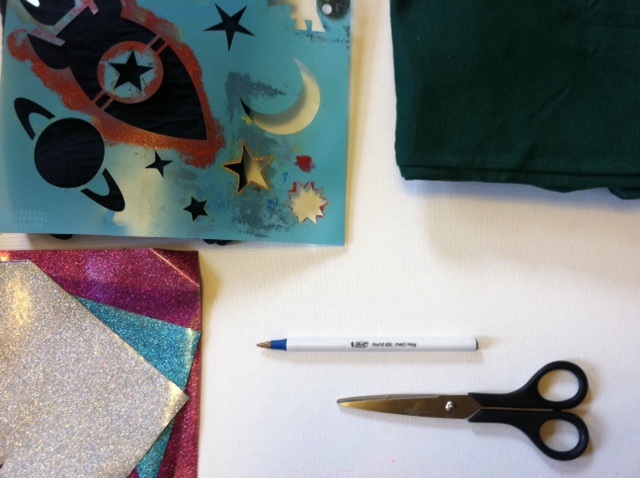
-Stencils and other household objects to trace

-Ballpoint pen

-Tulip Fashion Glitter Shimmer Transfer Sheets
-All-purpose scissors
-Toddler T-shirt(s)
-Pressing cloth
-Iron

Make it:
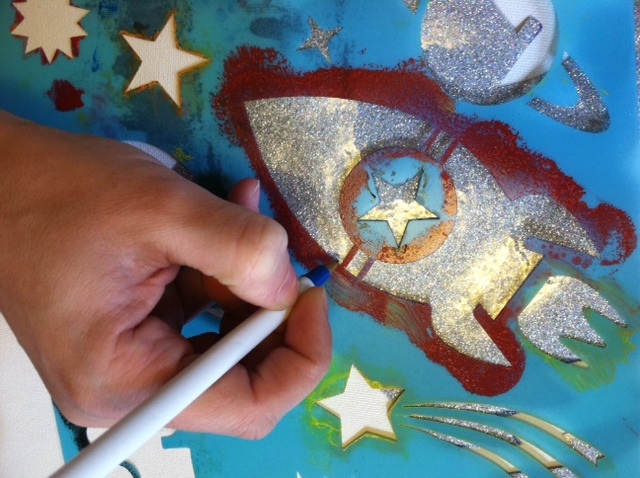
1. Select a stencil and trace the parts of it onto the desired color glitter transfer sheets. (Silver for the body of the rocket ship, purple for the star decal, blue for the stripe and the flame. Extra stars in blue!) Alternately, trace household items (like different size bowls, jars, tupperware lids, bottle caps, etc.) to create basic shapes like circles and rectangles.

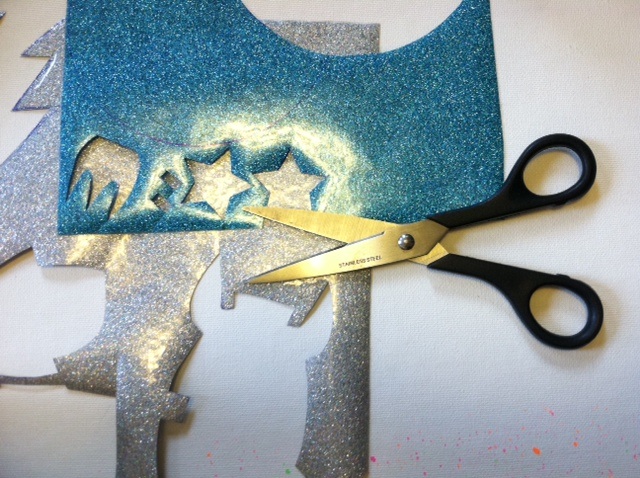
2. Cut out all of the shapes and peel off the top layer of plastic before arranging the shapes on the front of the shirt.

3. Use the warm iron and pressing cloth to press on one piece of the design at a time (so that none of the pieces shift accidentally as you're applying them). Iron on any sleeve decorations separately so you can lay that portion of the fabric flat when you're working on it.

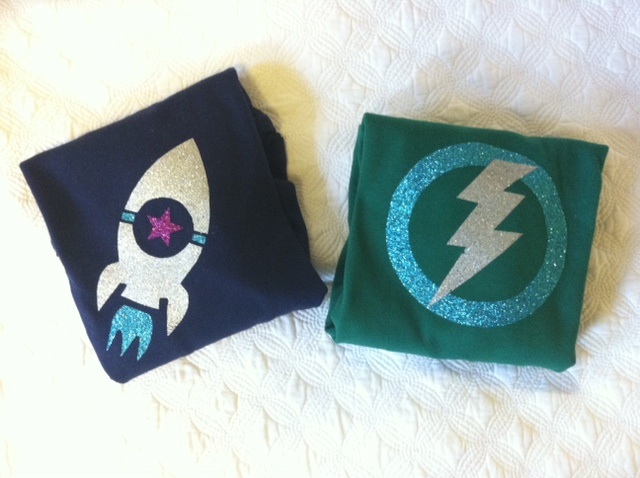
4. Then fold them, wrap them, and tie a ribbon in a bow...

5. ...and gift them to a cute little toddler you know!

(Caleb's mom reports that he loves wearing them, and points often to the sleeves, identifying the "stahs.")


Visit us on Facebook!
Craft on!

Tuesday, January 25

T-shirt Book for Baby!

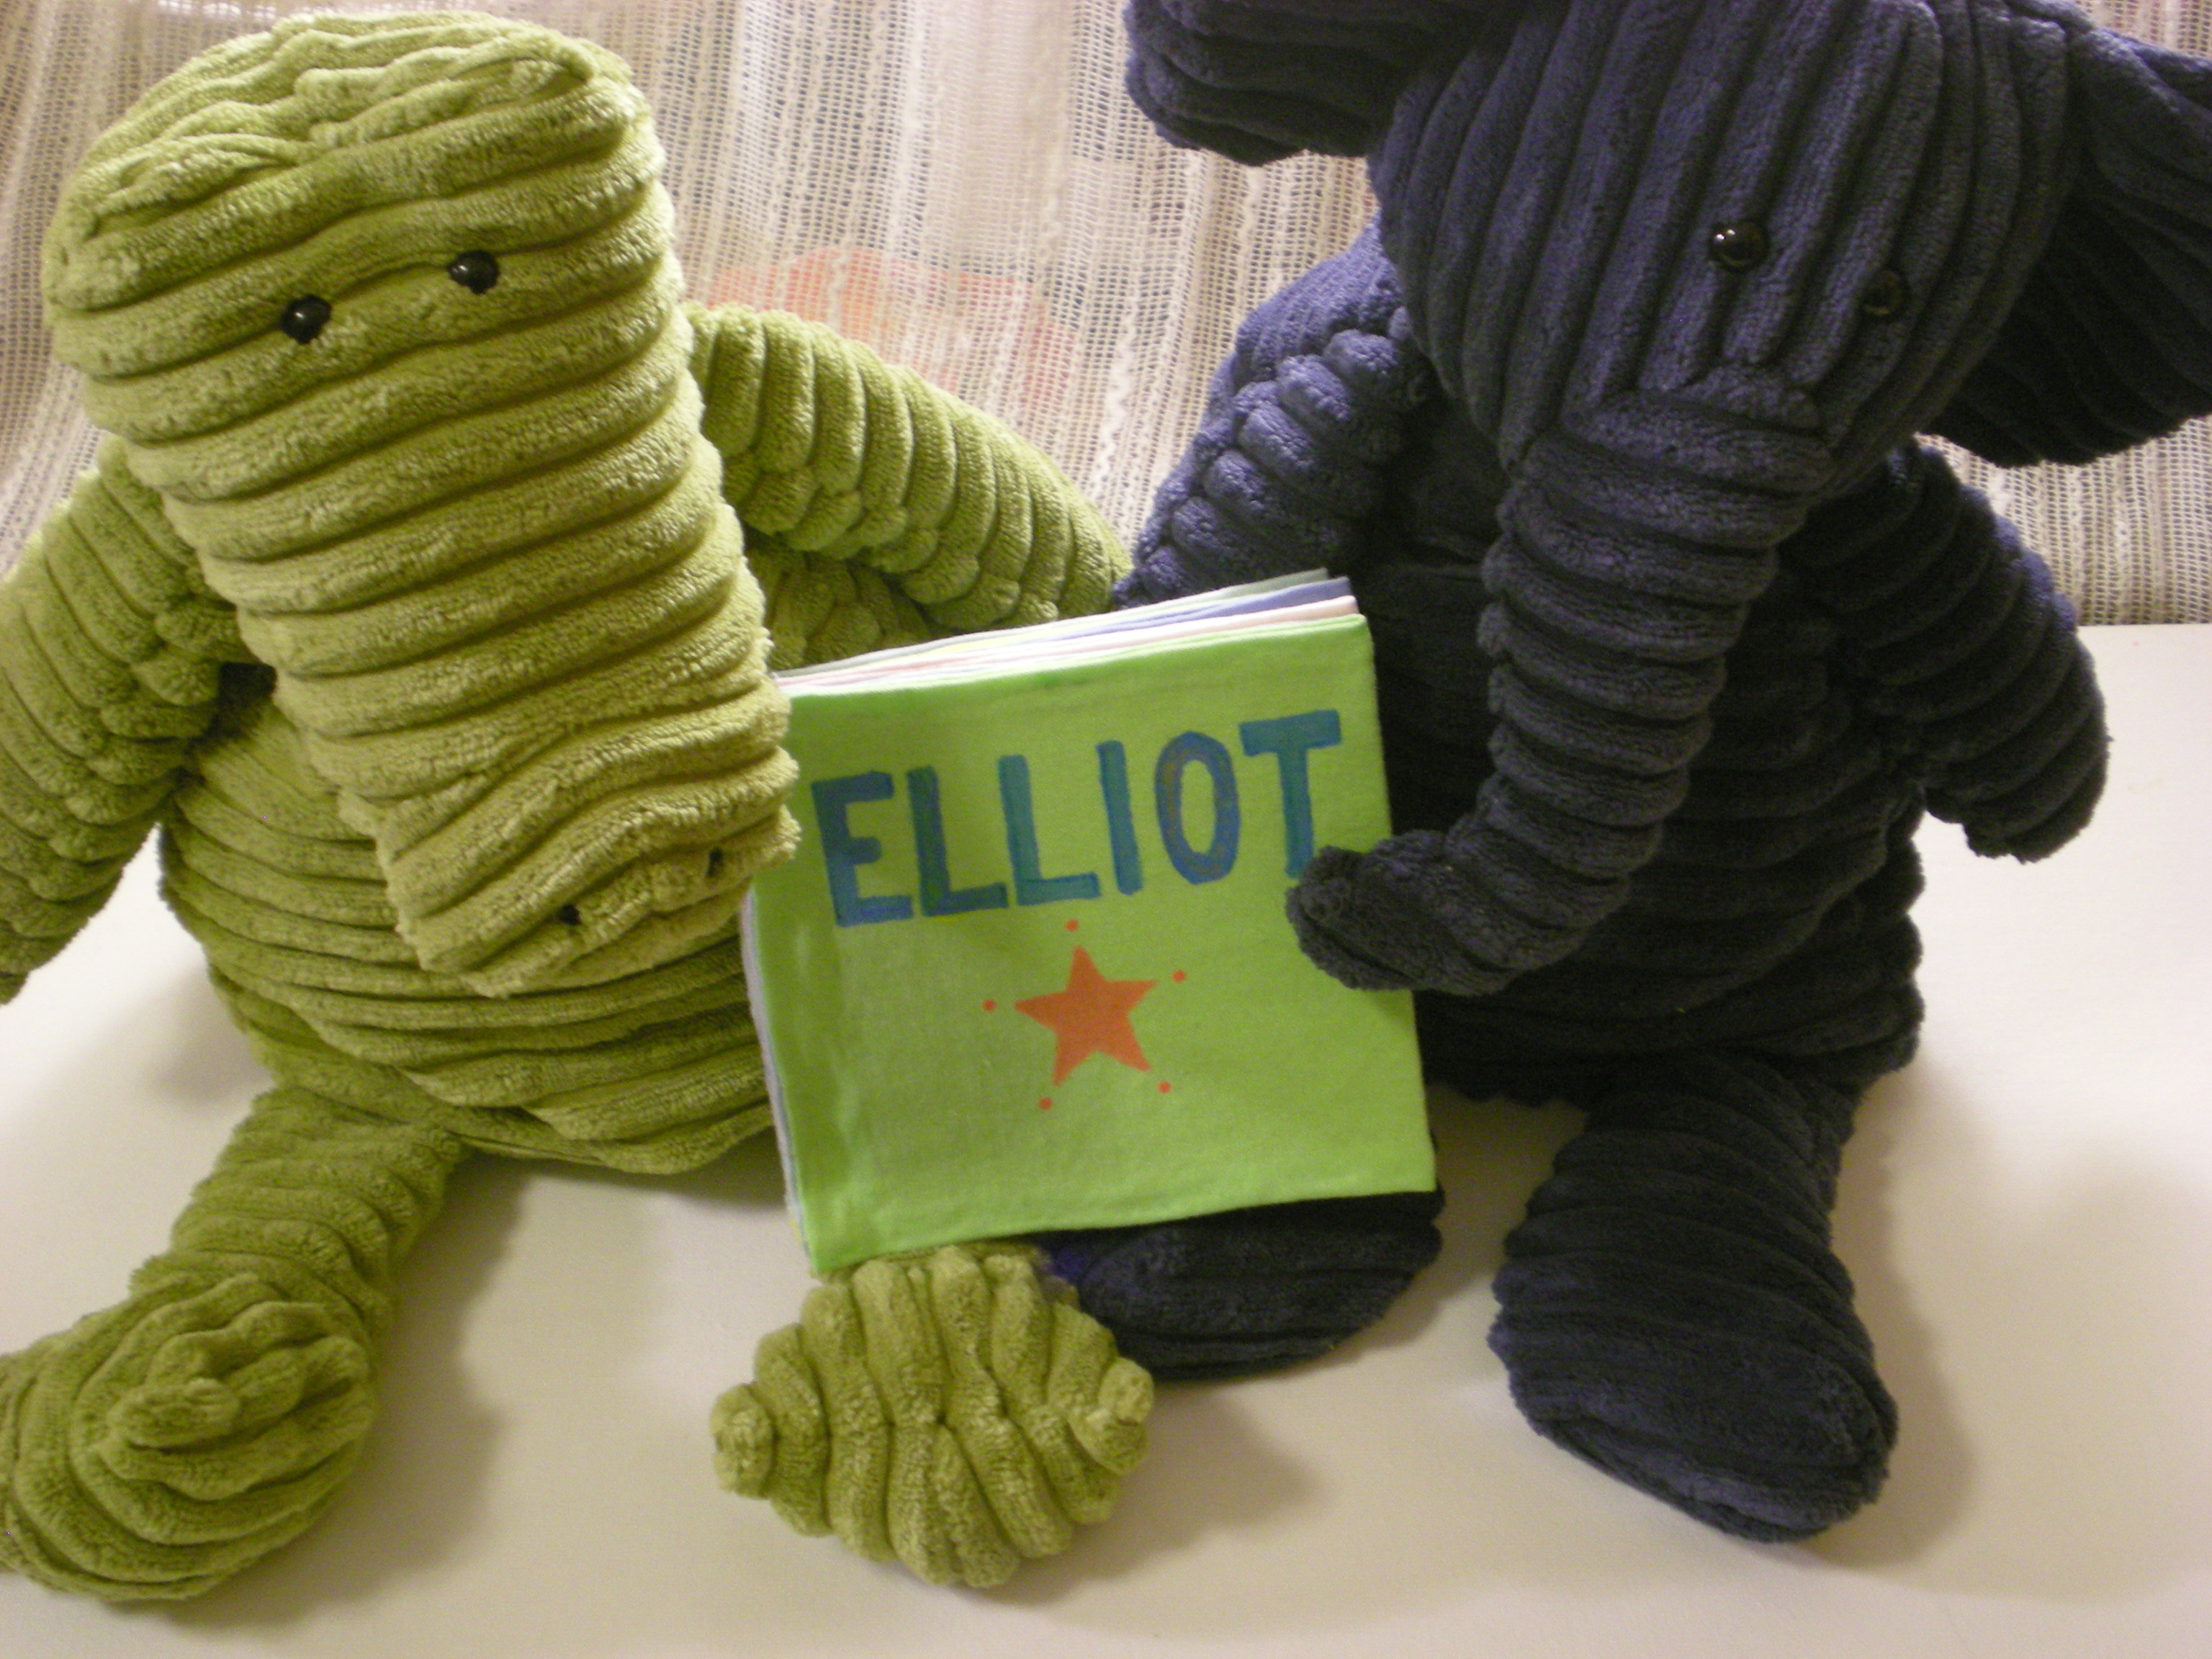
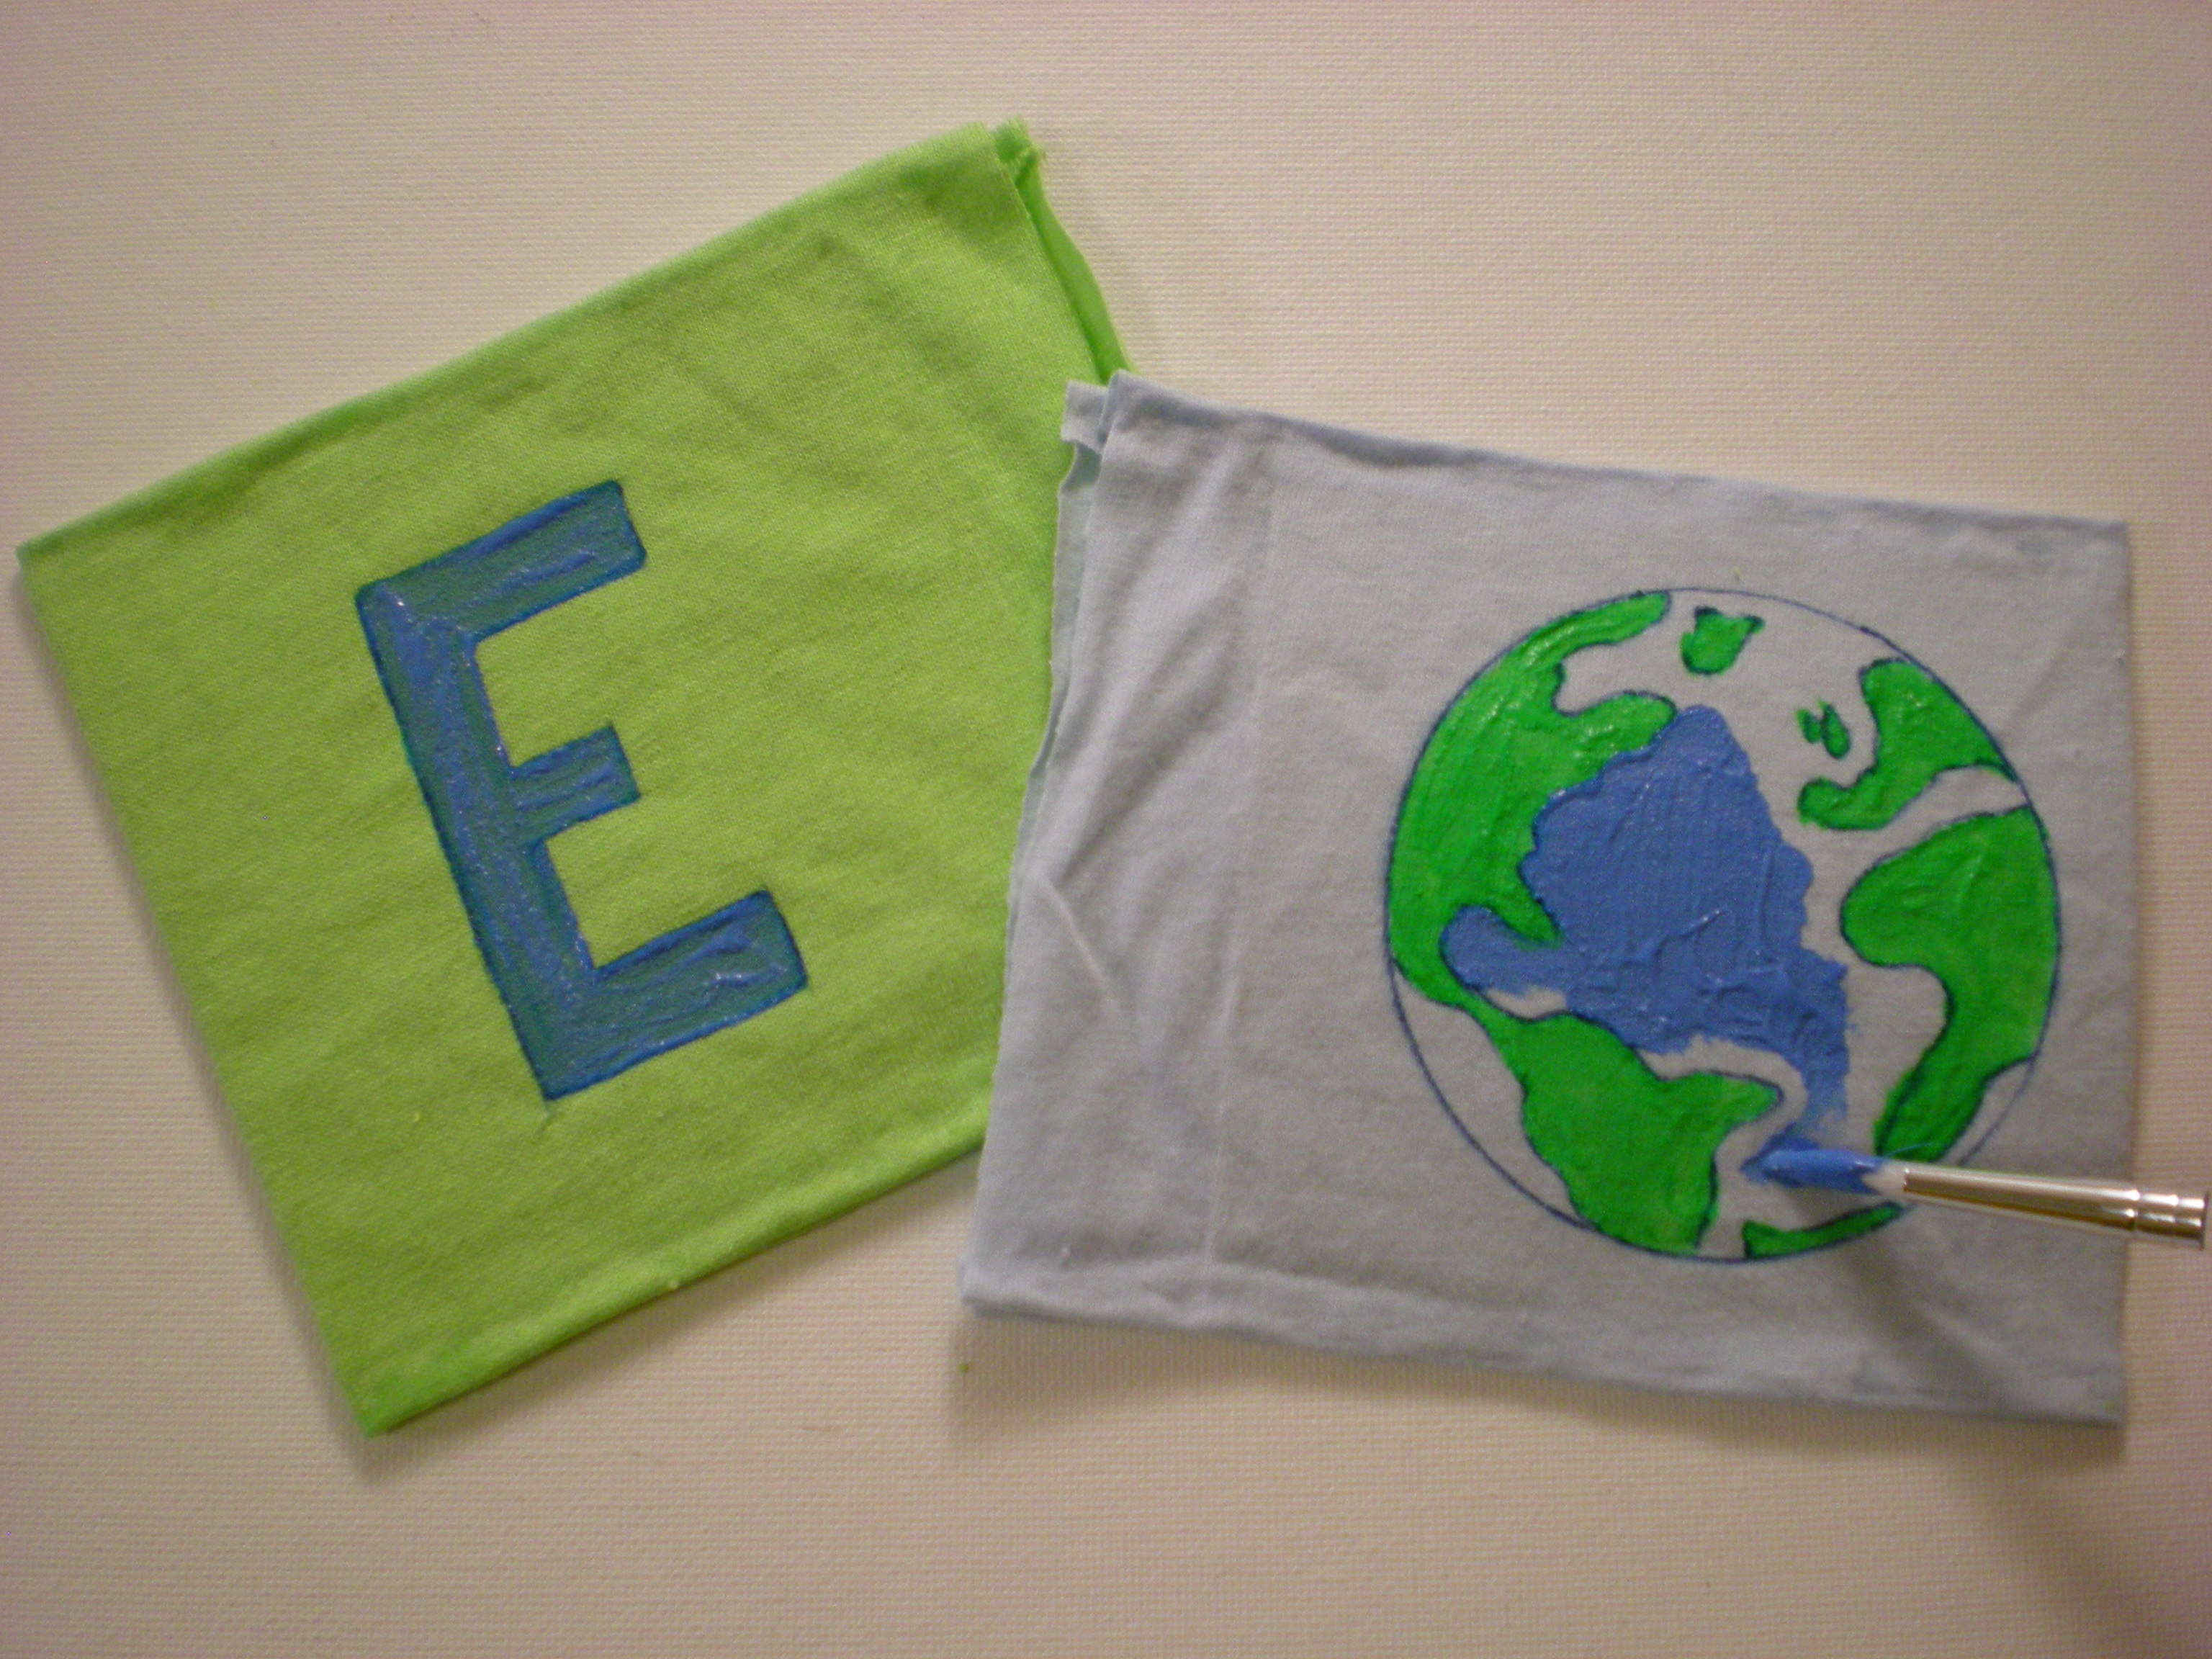
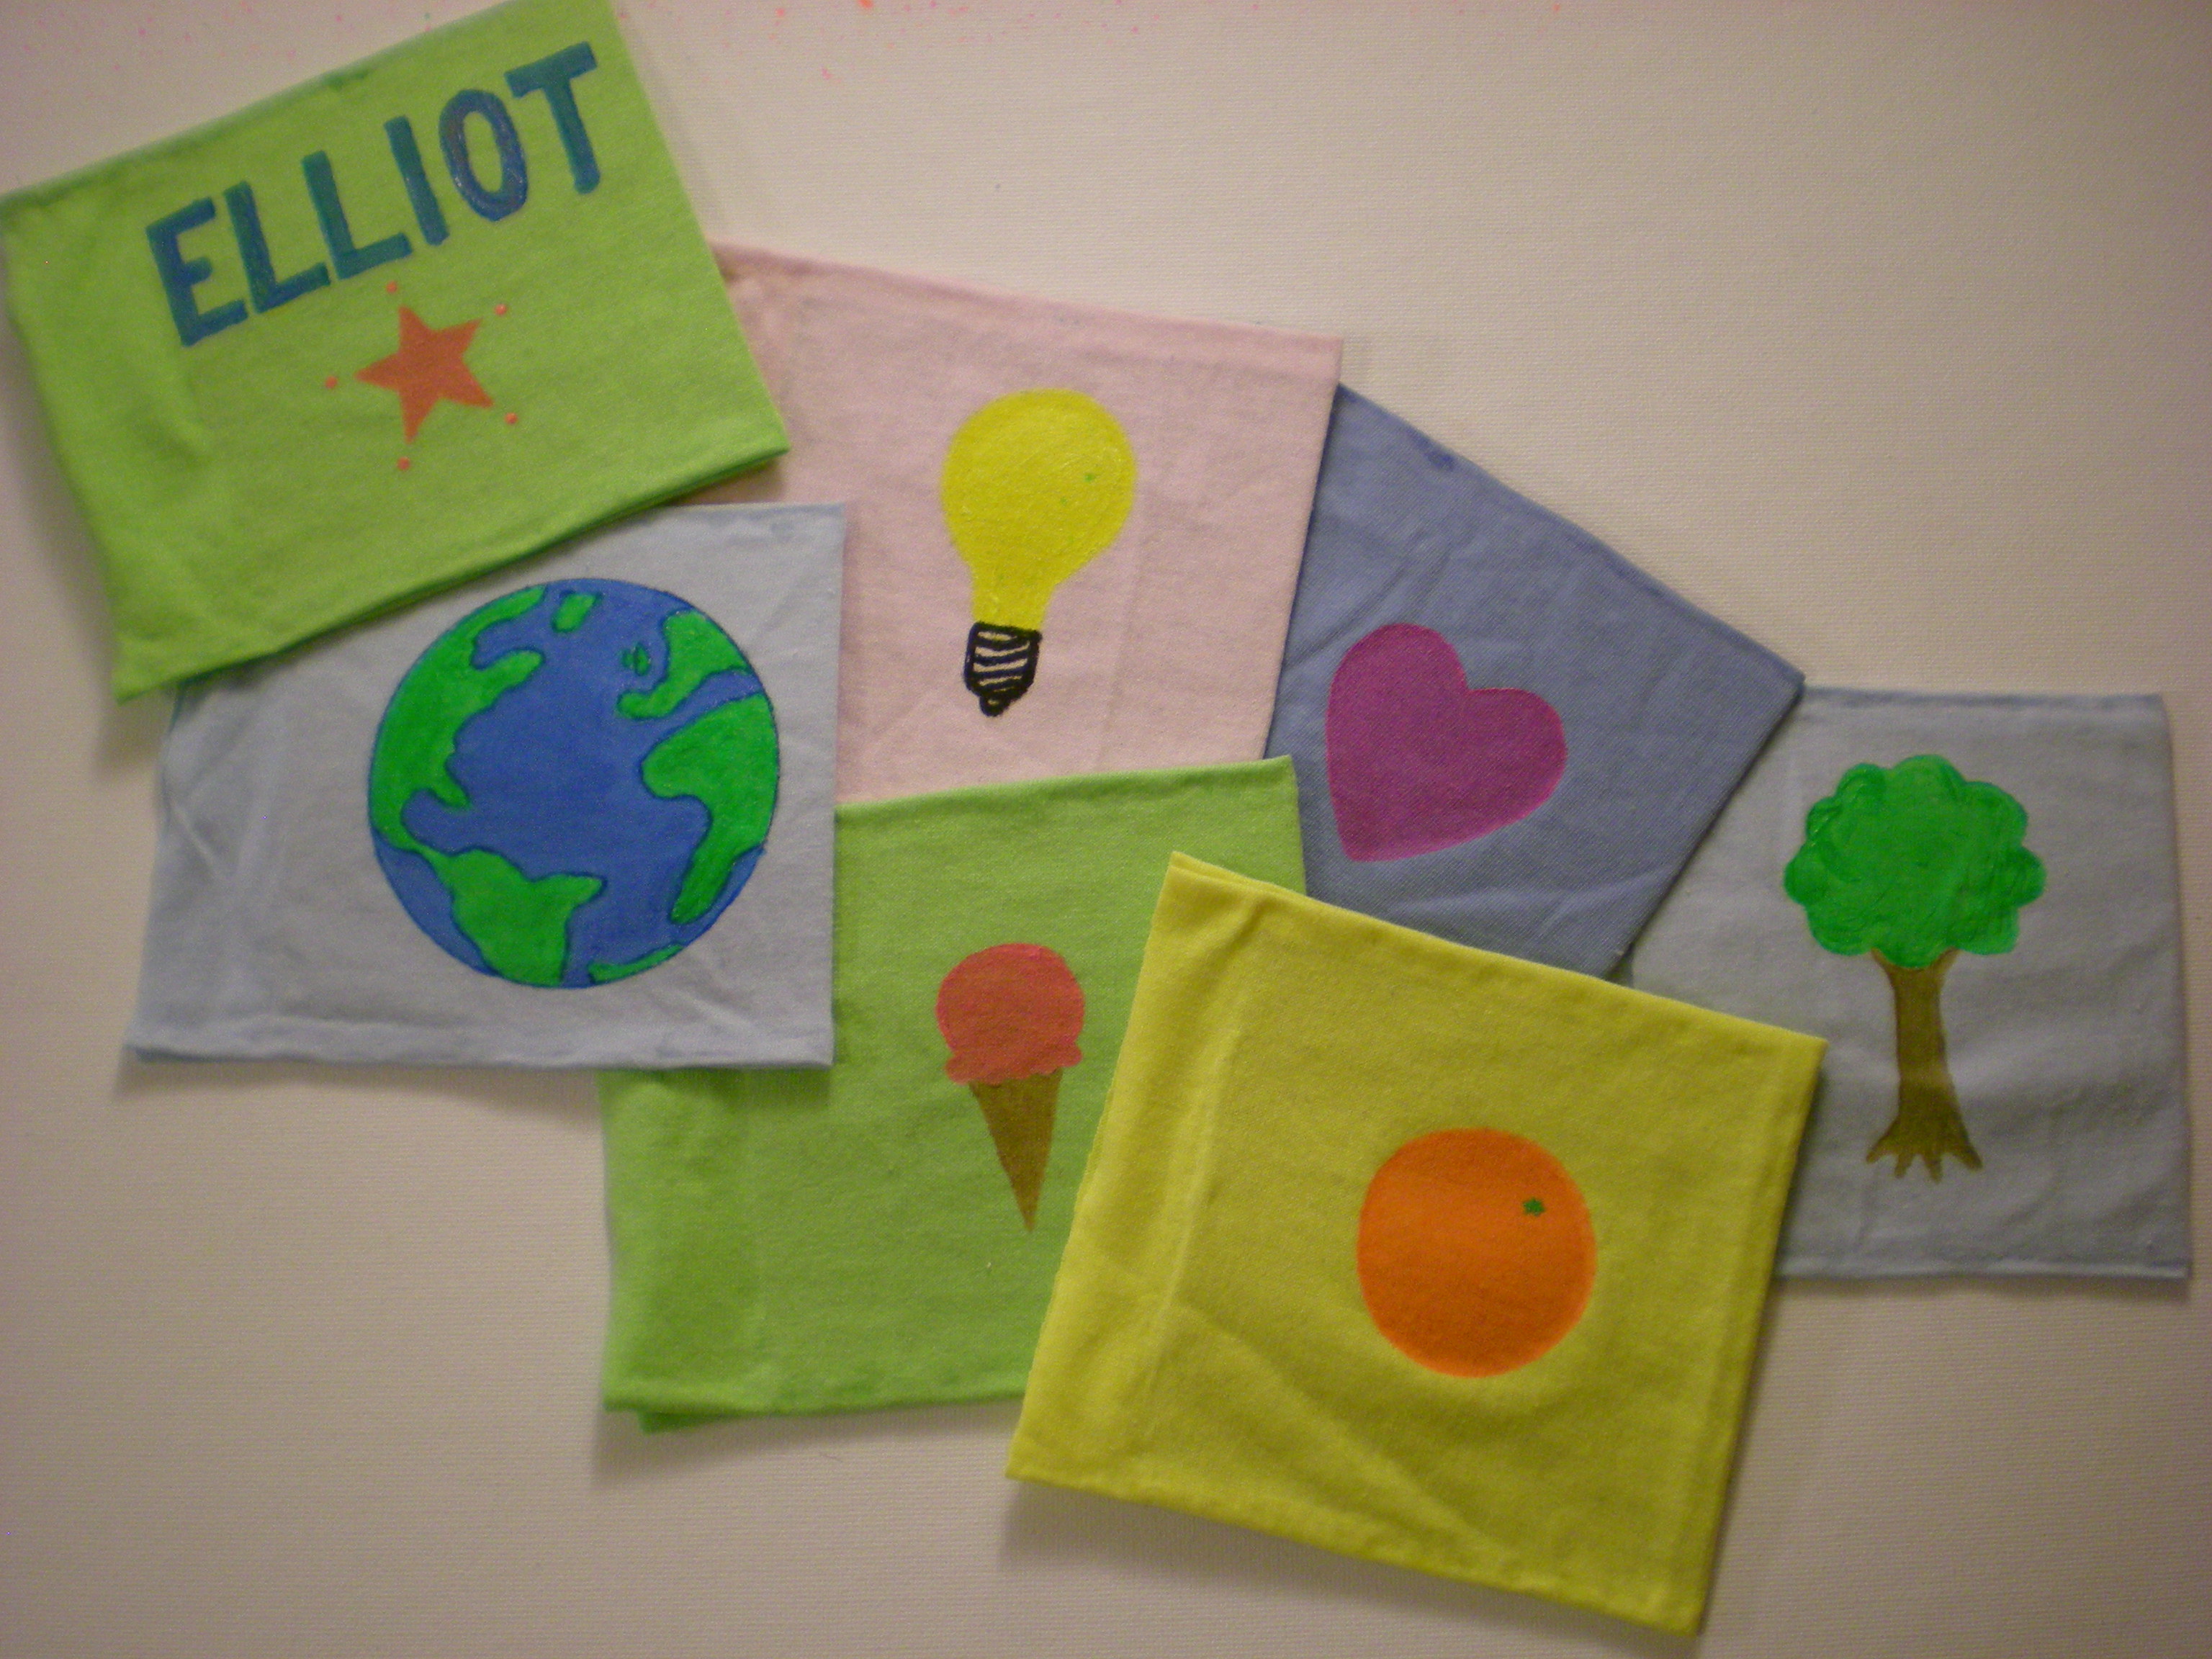
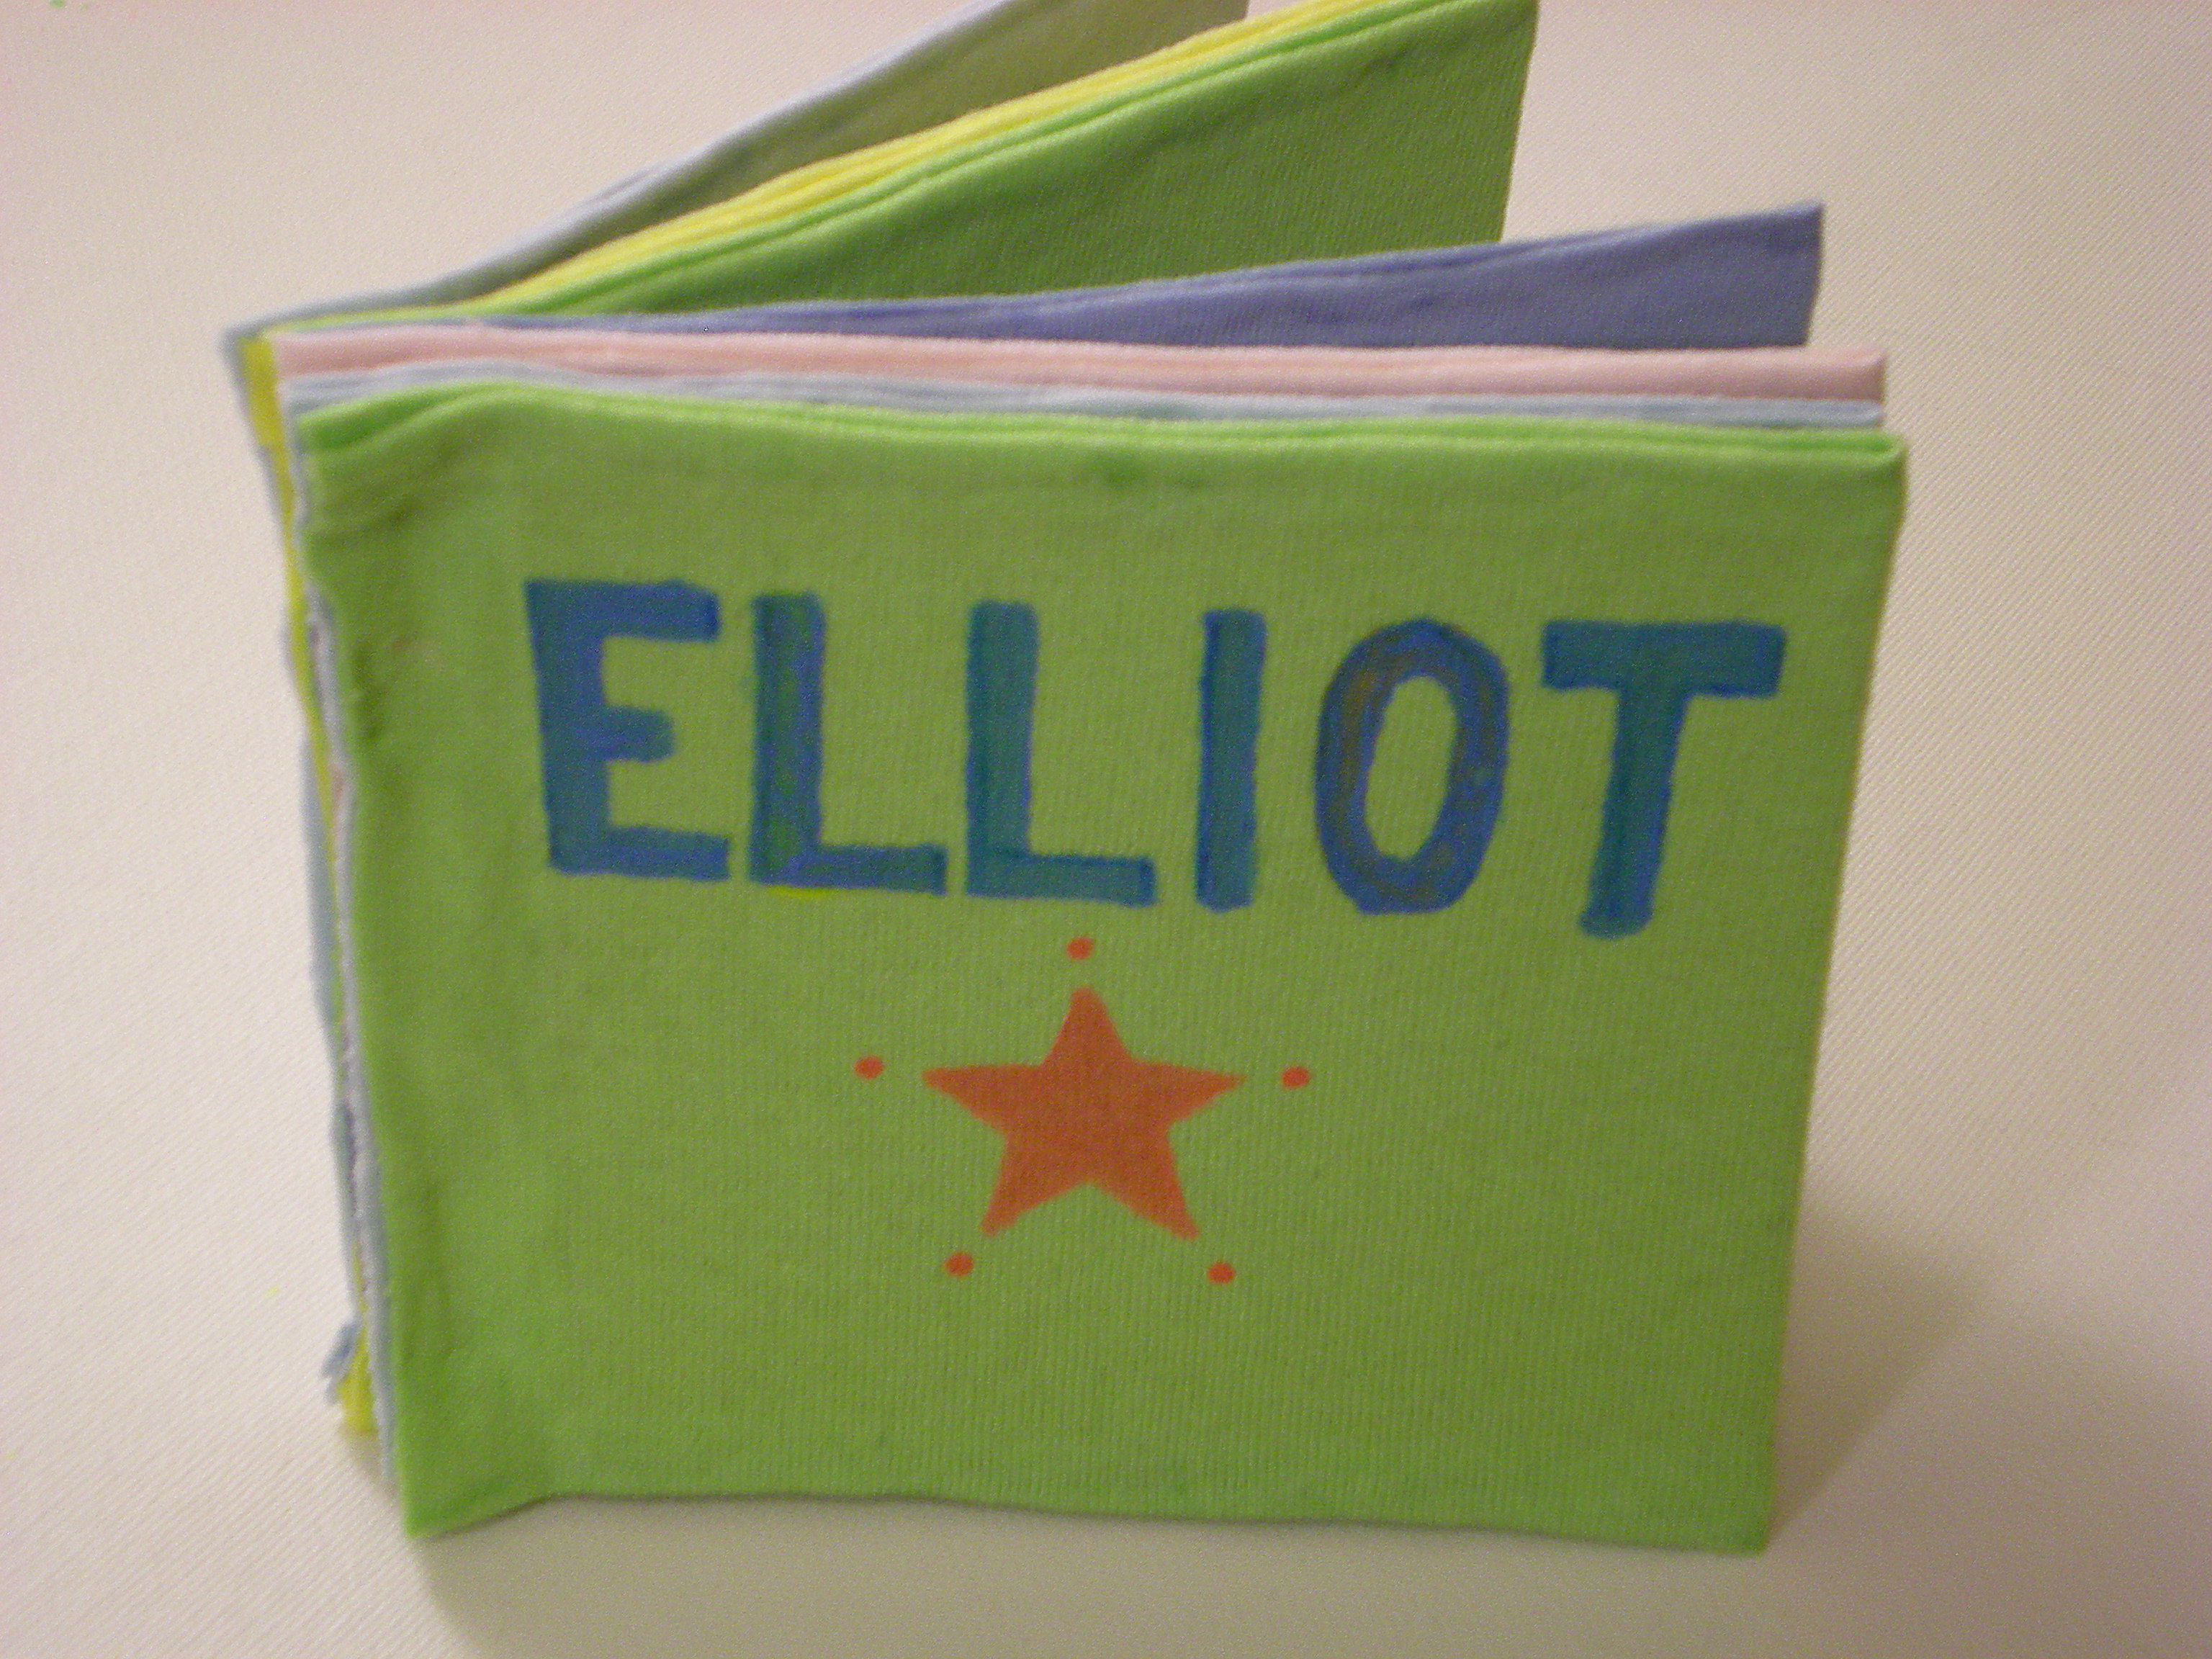
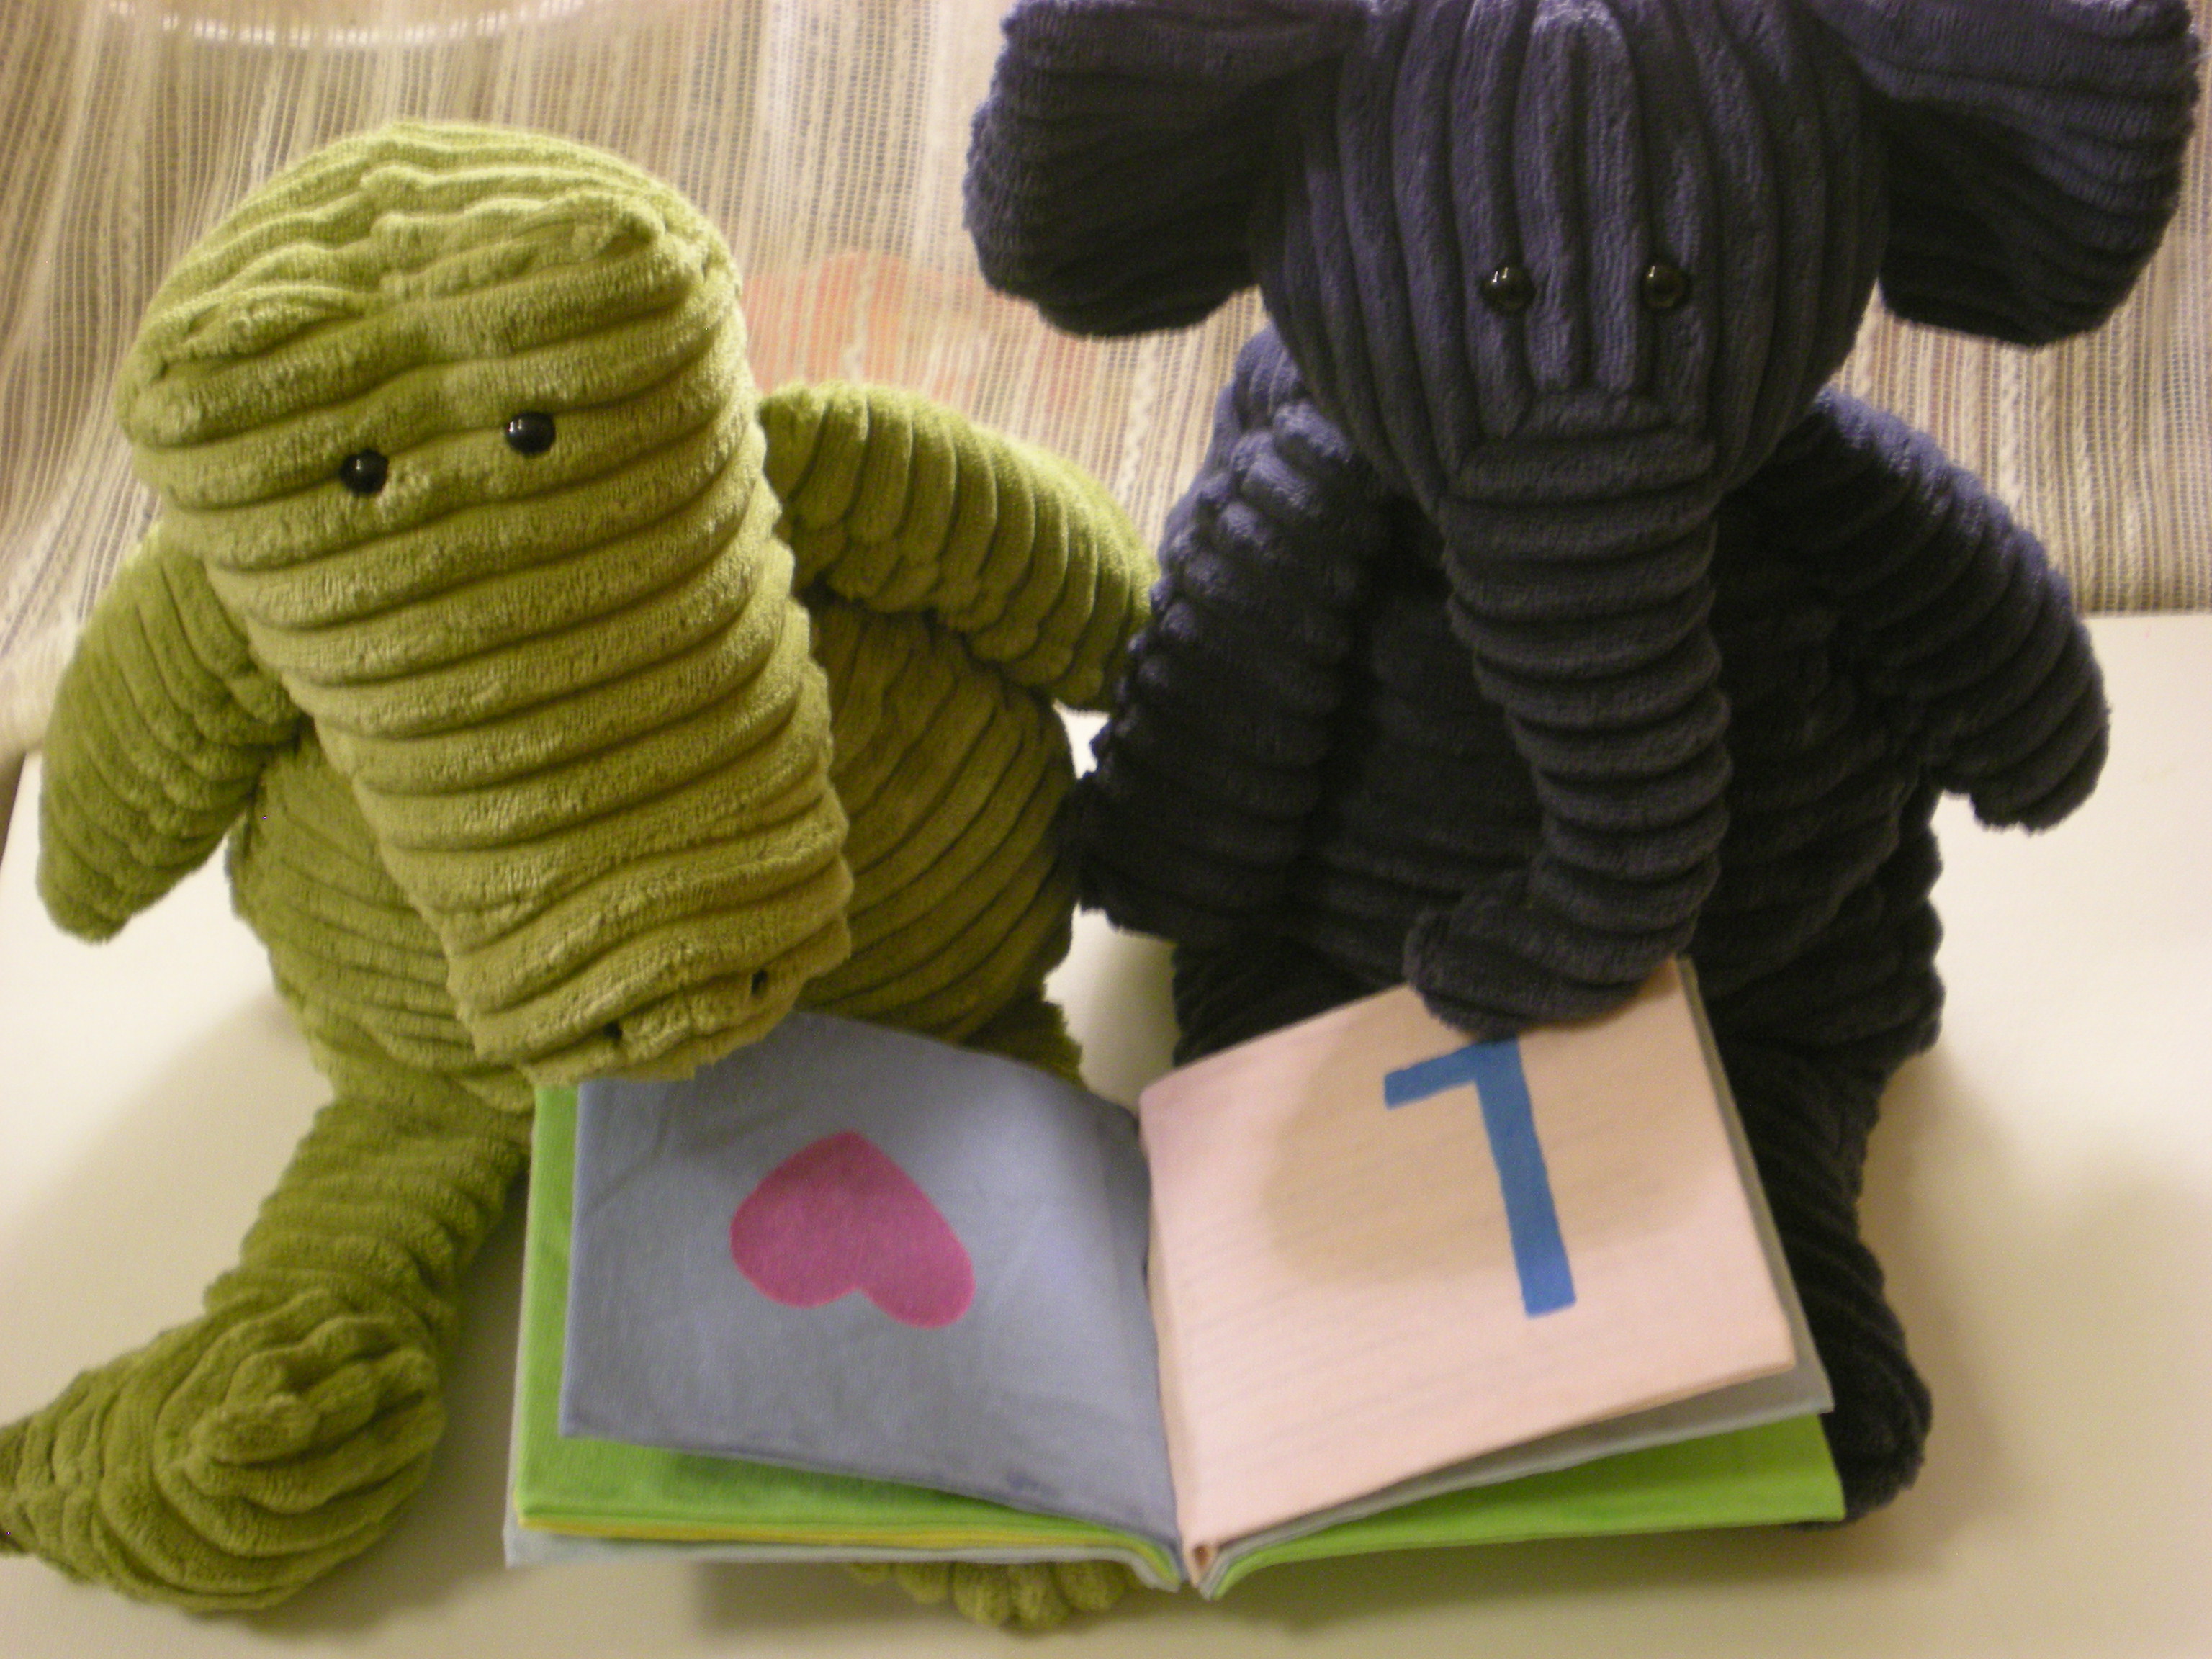
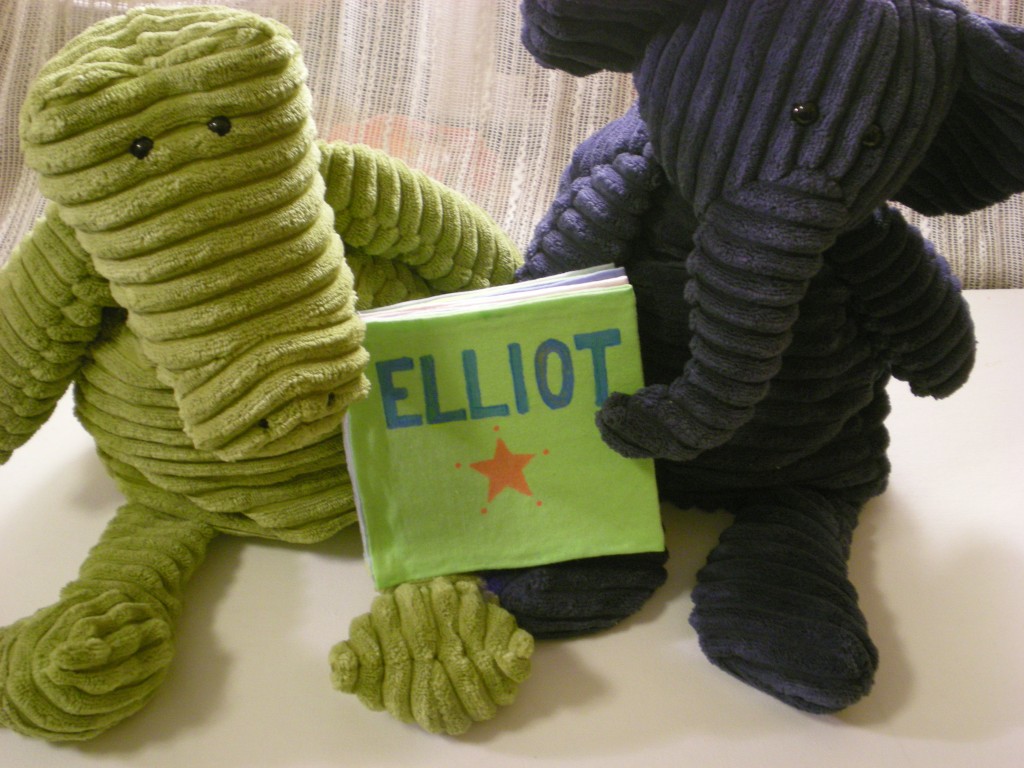
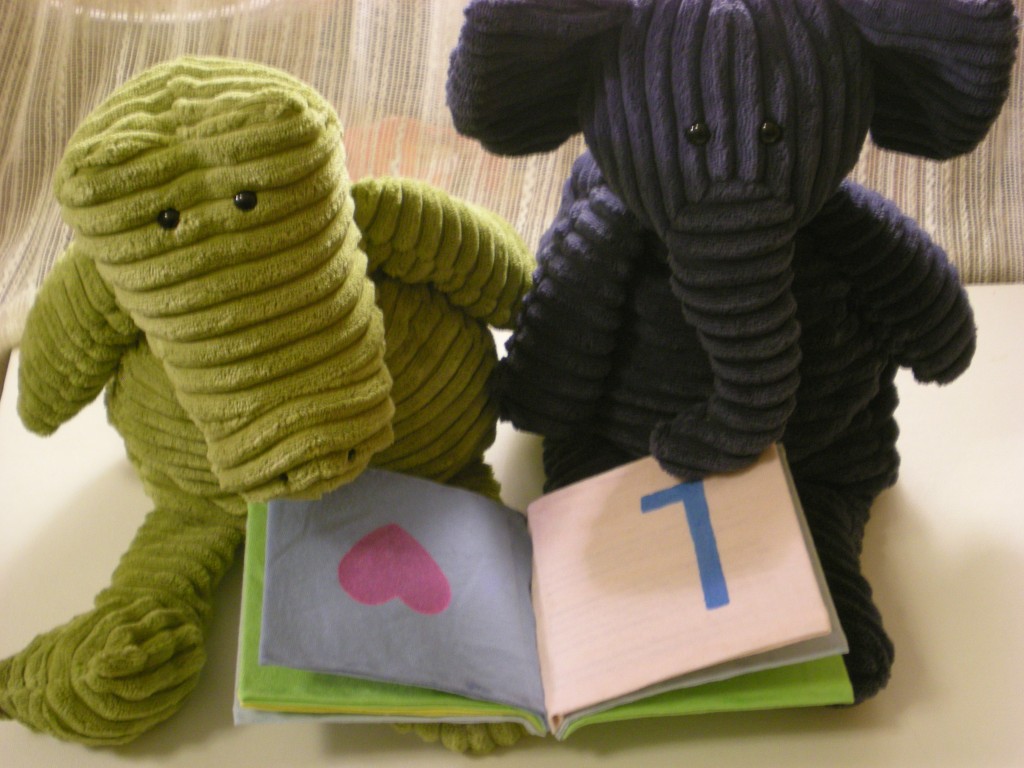
I like projects that help me use up the scraps that threaten to overwhelm my craft space. I also like projects that can be gifted. So this one's a win-win: The T-shirt Baby Book is perfect for using the T-shirt sleeves that have been cut from another project (like a tank top) and it makes a great baby gift. Did I mention it's personalized? Once I picked the recipient (my friend's new baby, Elliot), I enjoyed figuring out what words to have each letter of his name represent (in other words, what could I illustrate easily?). I settled on: E = earth, L = light, L = love, I = ice cream, O = orange, and T = tree. No pictures of baby Elliot and his new book just yet, so the book is presented by these two cute corduroy pals.

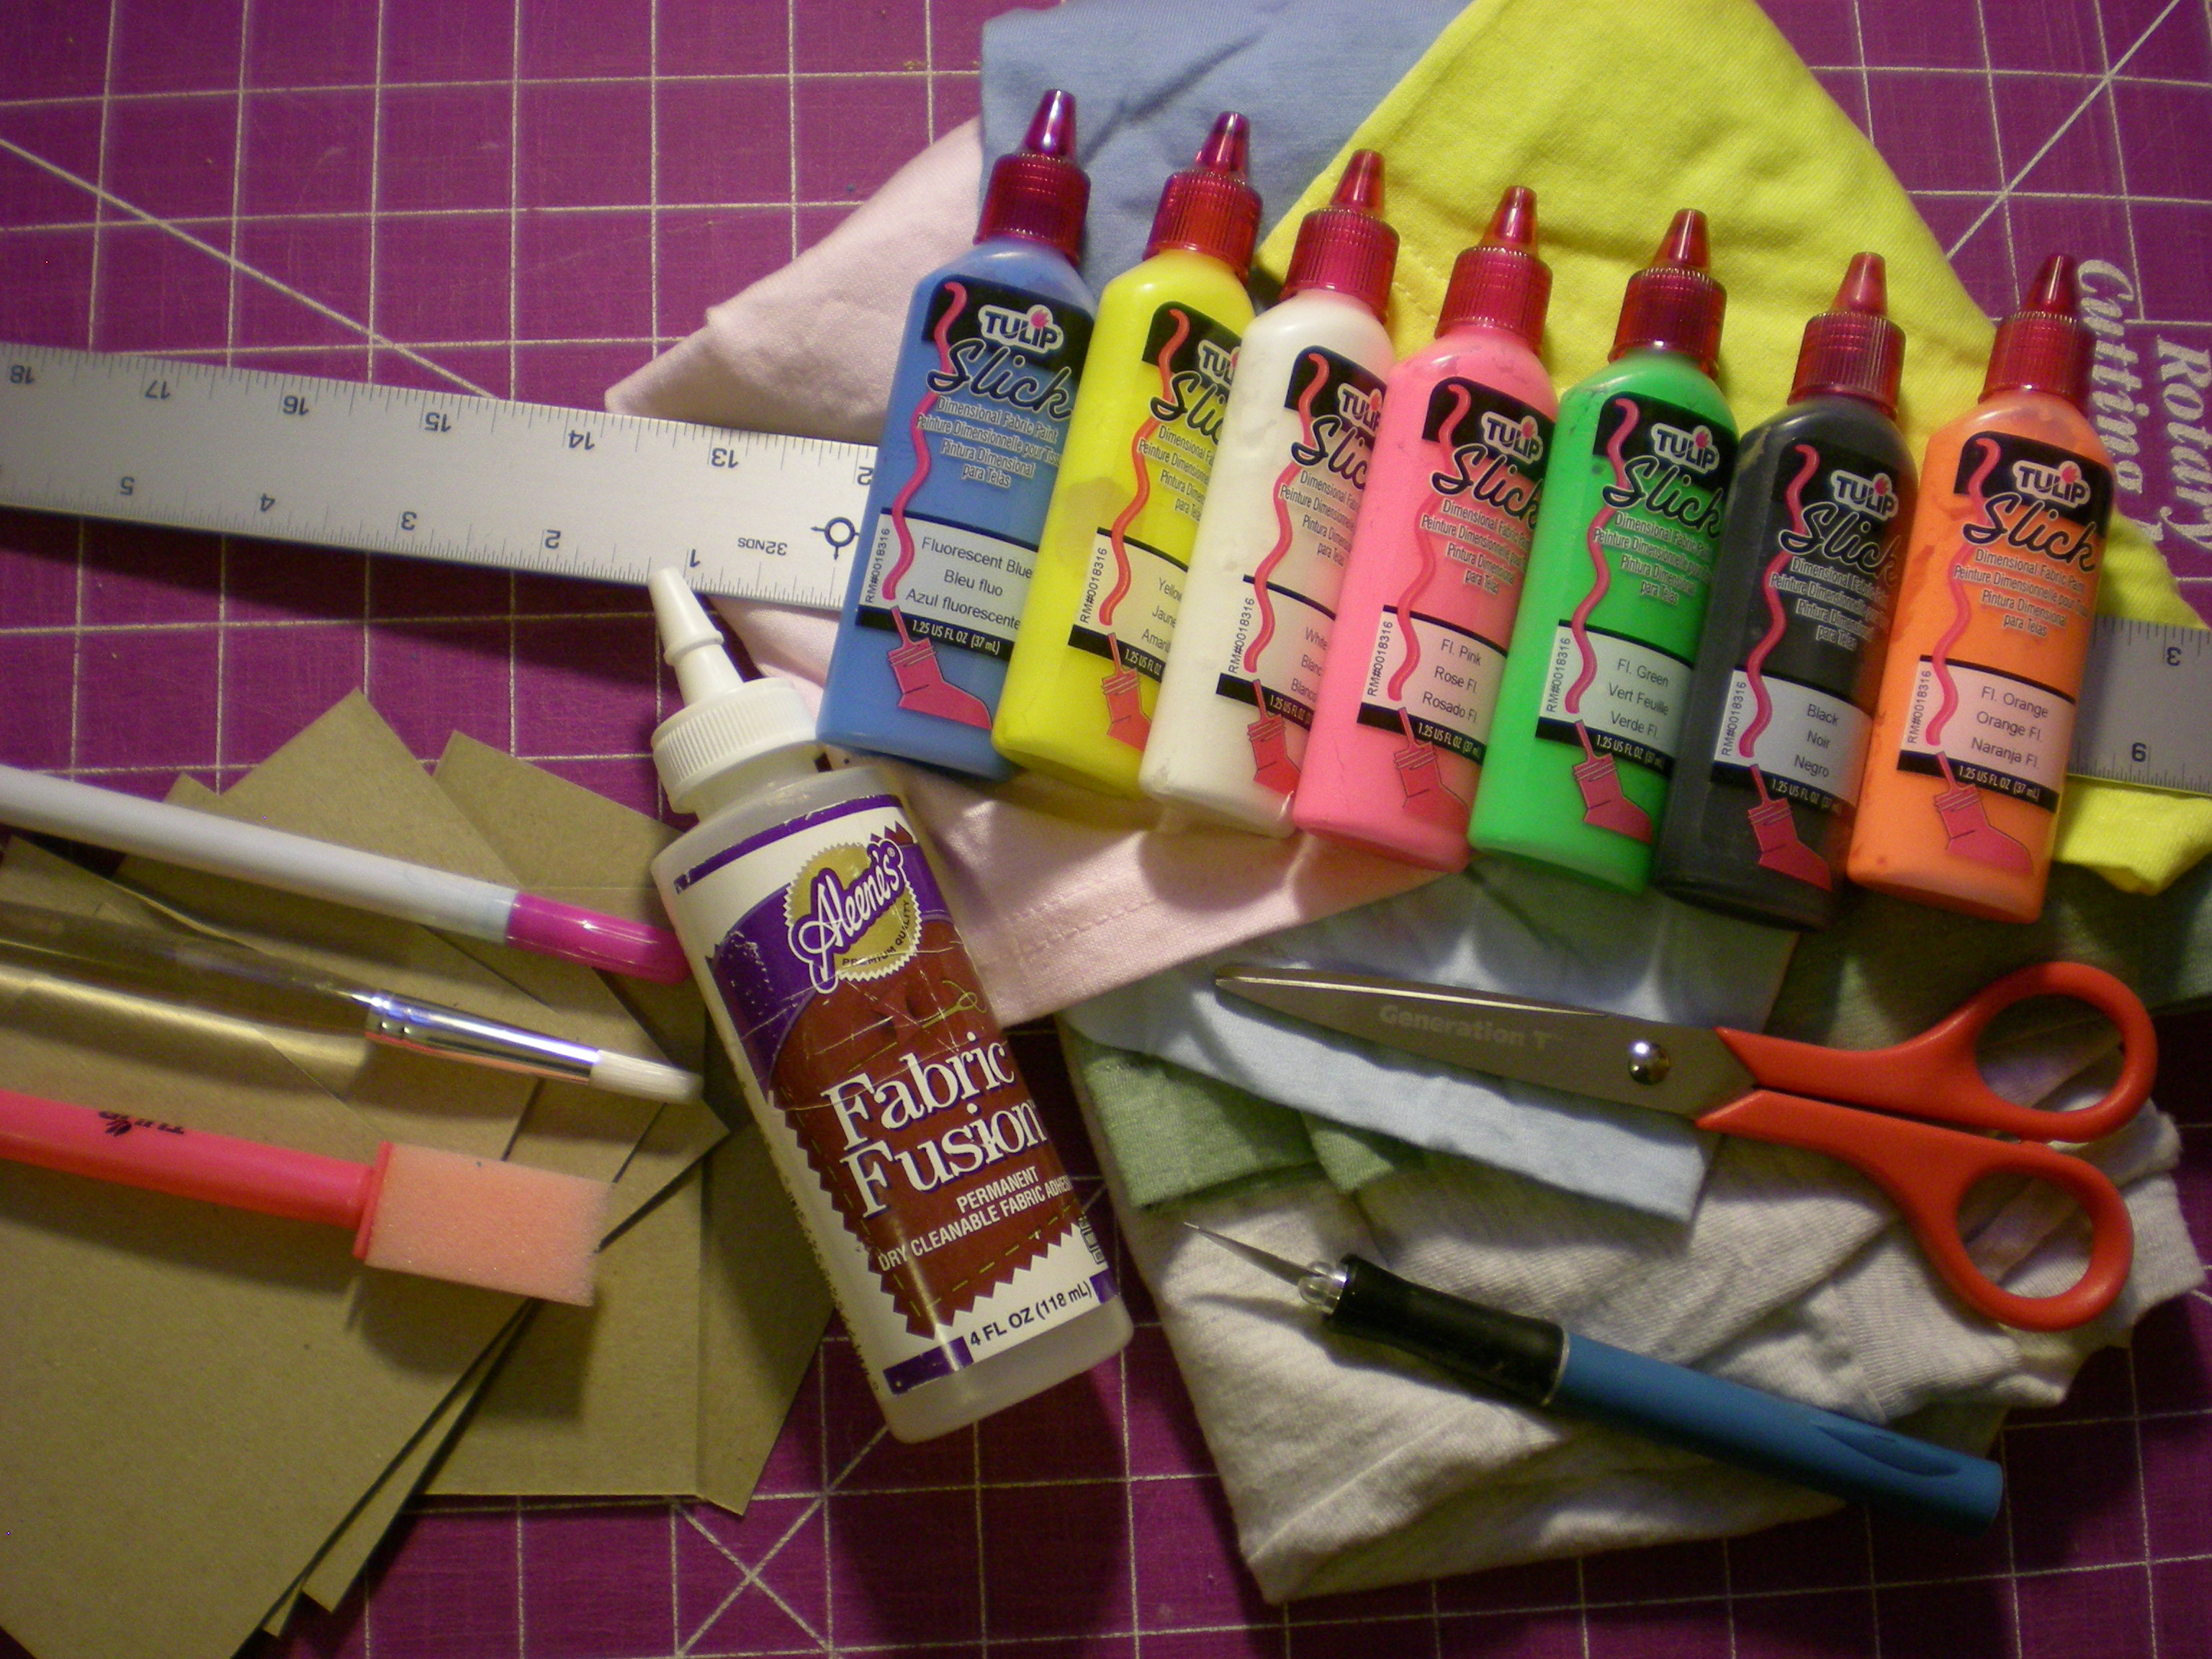
Materials:

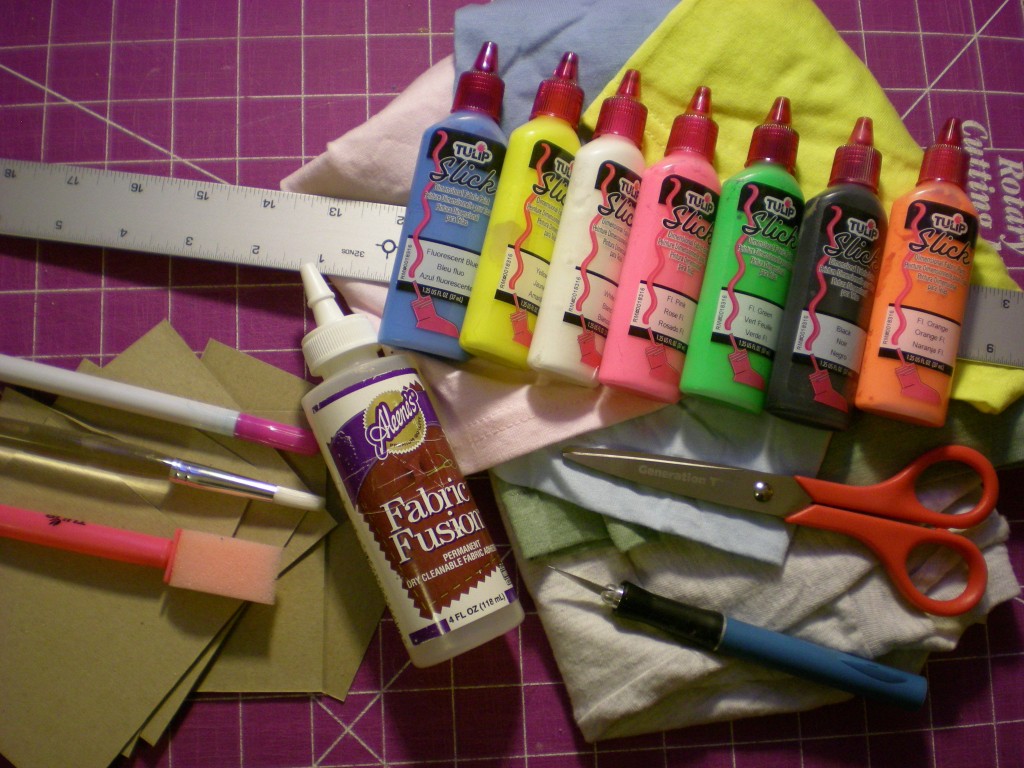
-T-shirts or T-shirt scraps (in multiple colors)

-Scissors

-Ruler

-Craft knife

-Cutting mat

-Lightweight cardboard (cereal, snack, or tissue boxes work great!)

-Aleene’s Fabric Fusion Permanent Dry Cleanable Fabric Adhesive

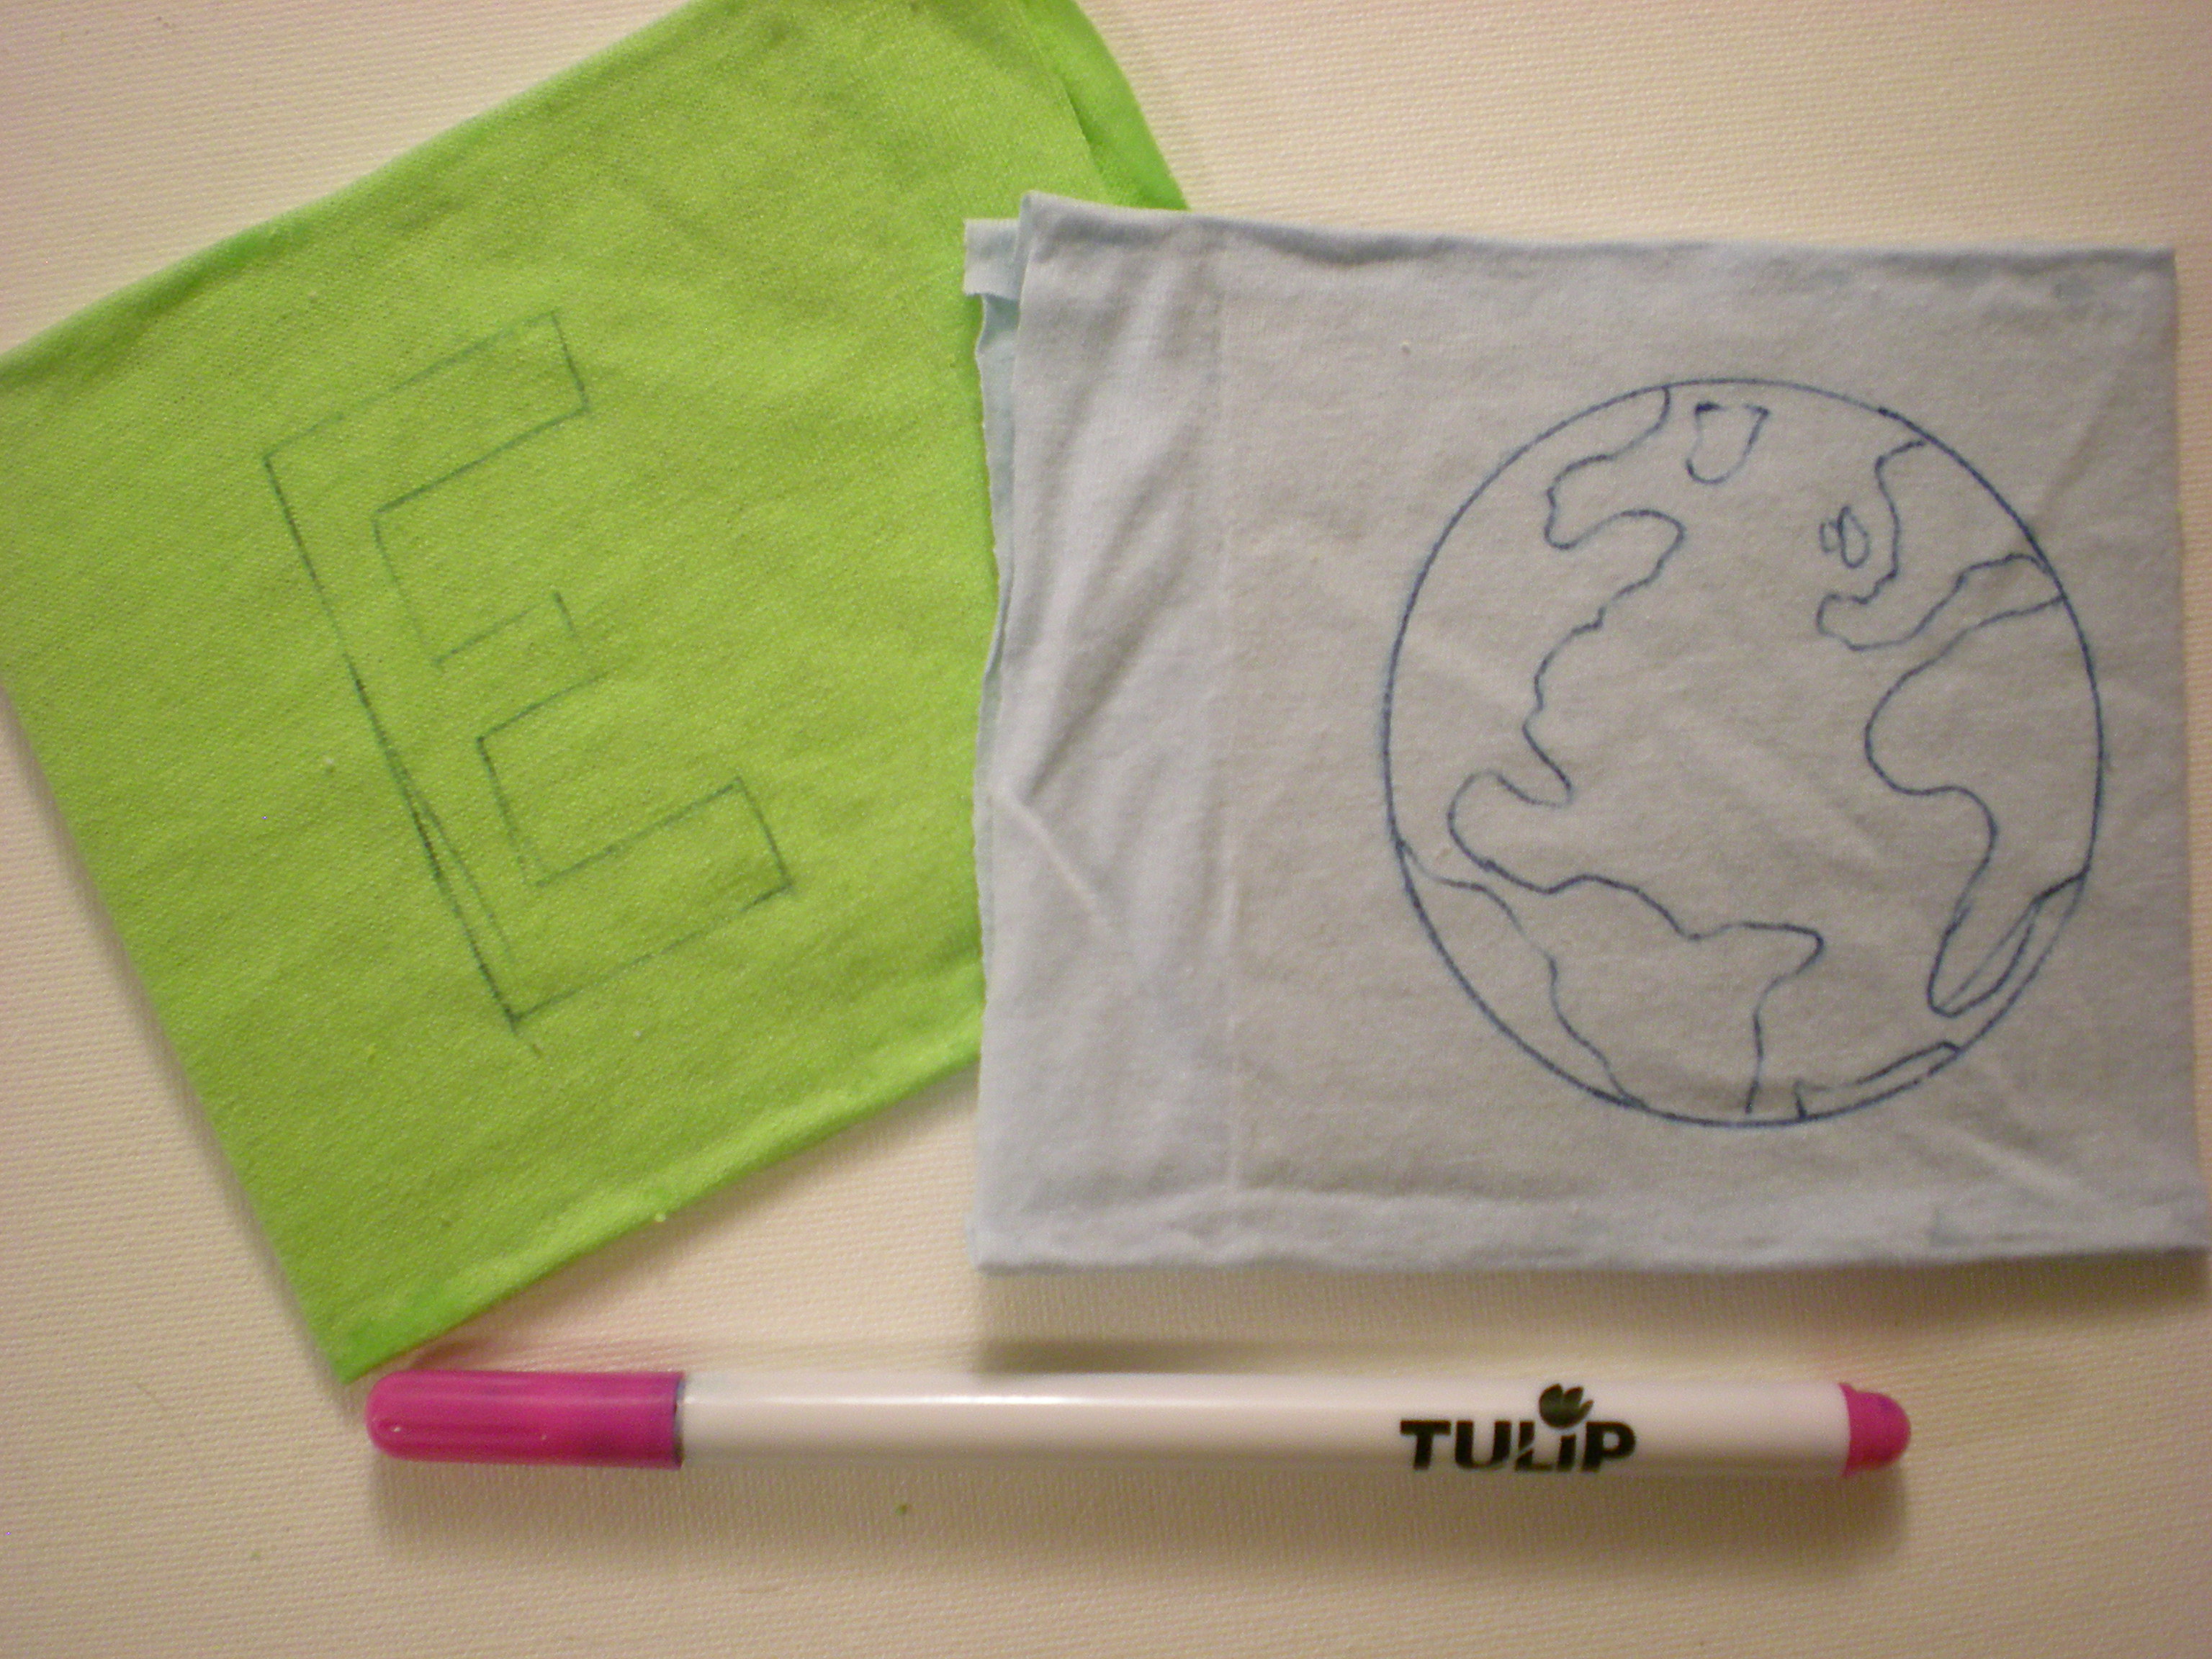
-Tulip Disappearing Ink Pen

-Fabric paintbrushes

-Tulip 3D Fashion Paint Blazin' Brights (variety of colors)

-Clothespins (optional, for clipping in place while gluing/drying)

Make it:

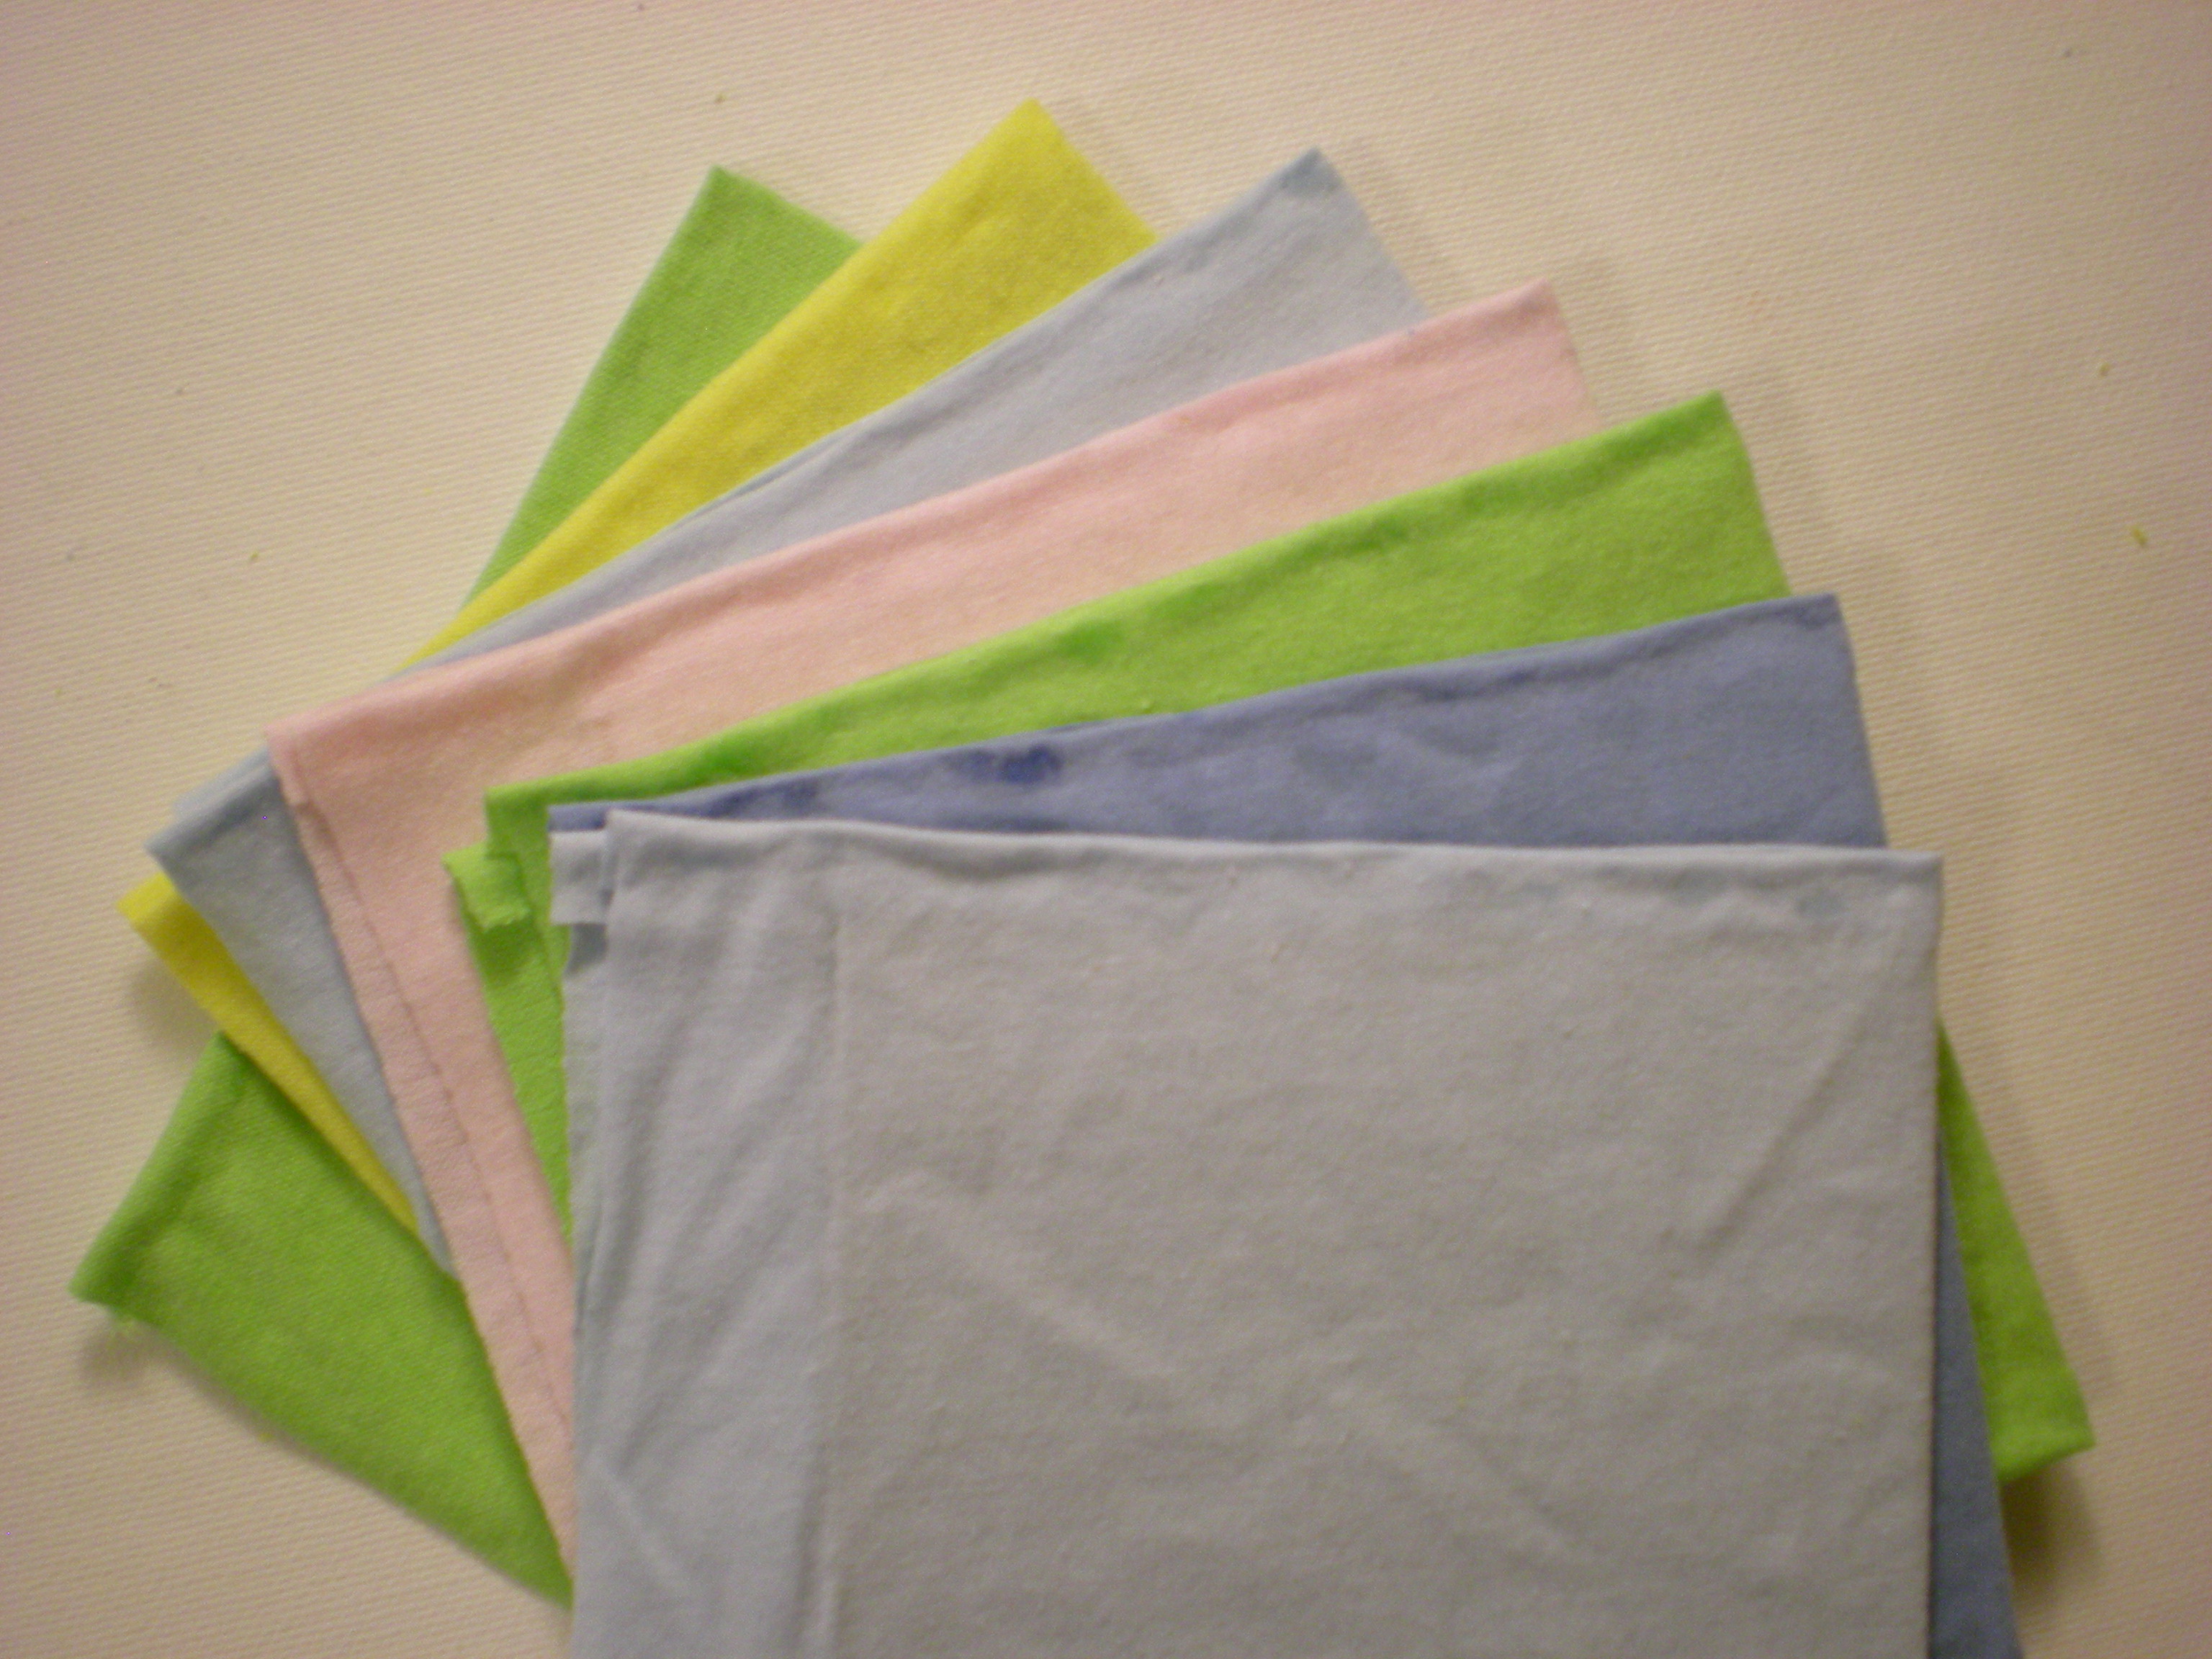
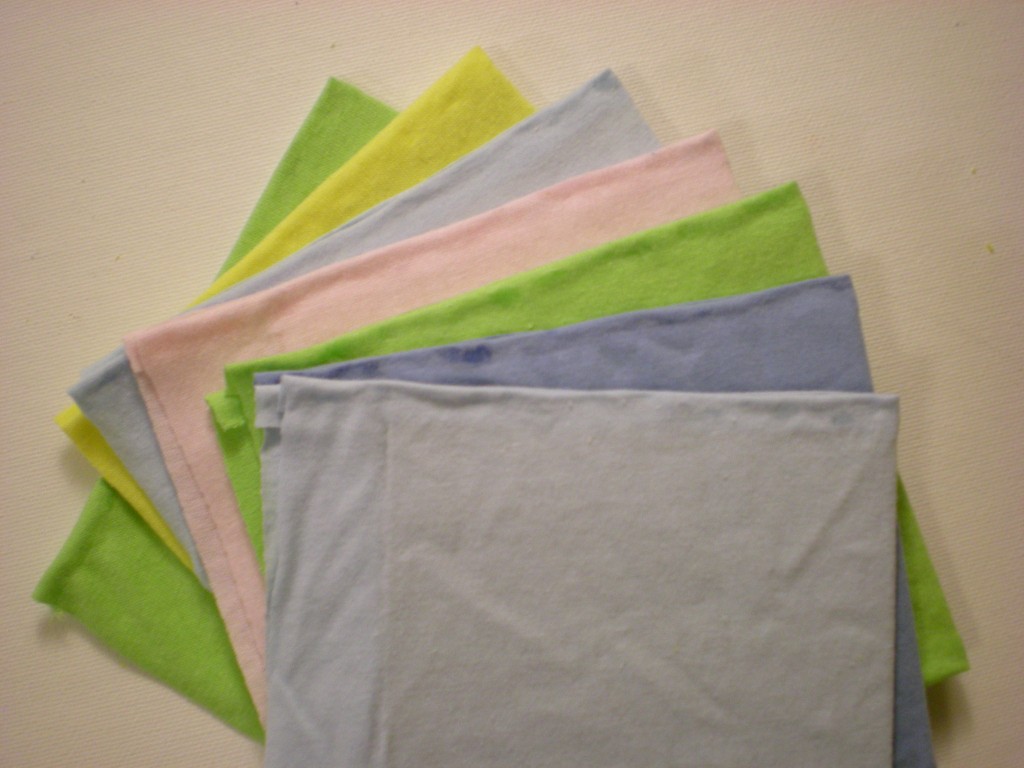
1. Measure and cut one more 4" x 4" square of cardboard than there are letters in the baby's name. (Example: Elliot has 6 letters, so I cut 7 squares.) Then cut as many 5" x 10" rectangles from the T-shirts as there are cardboard squares.

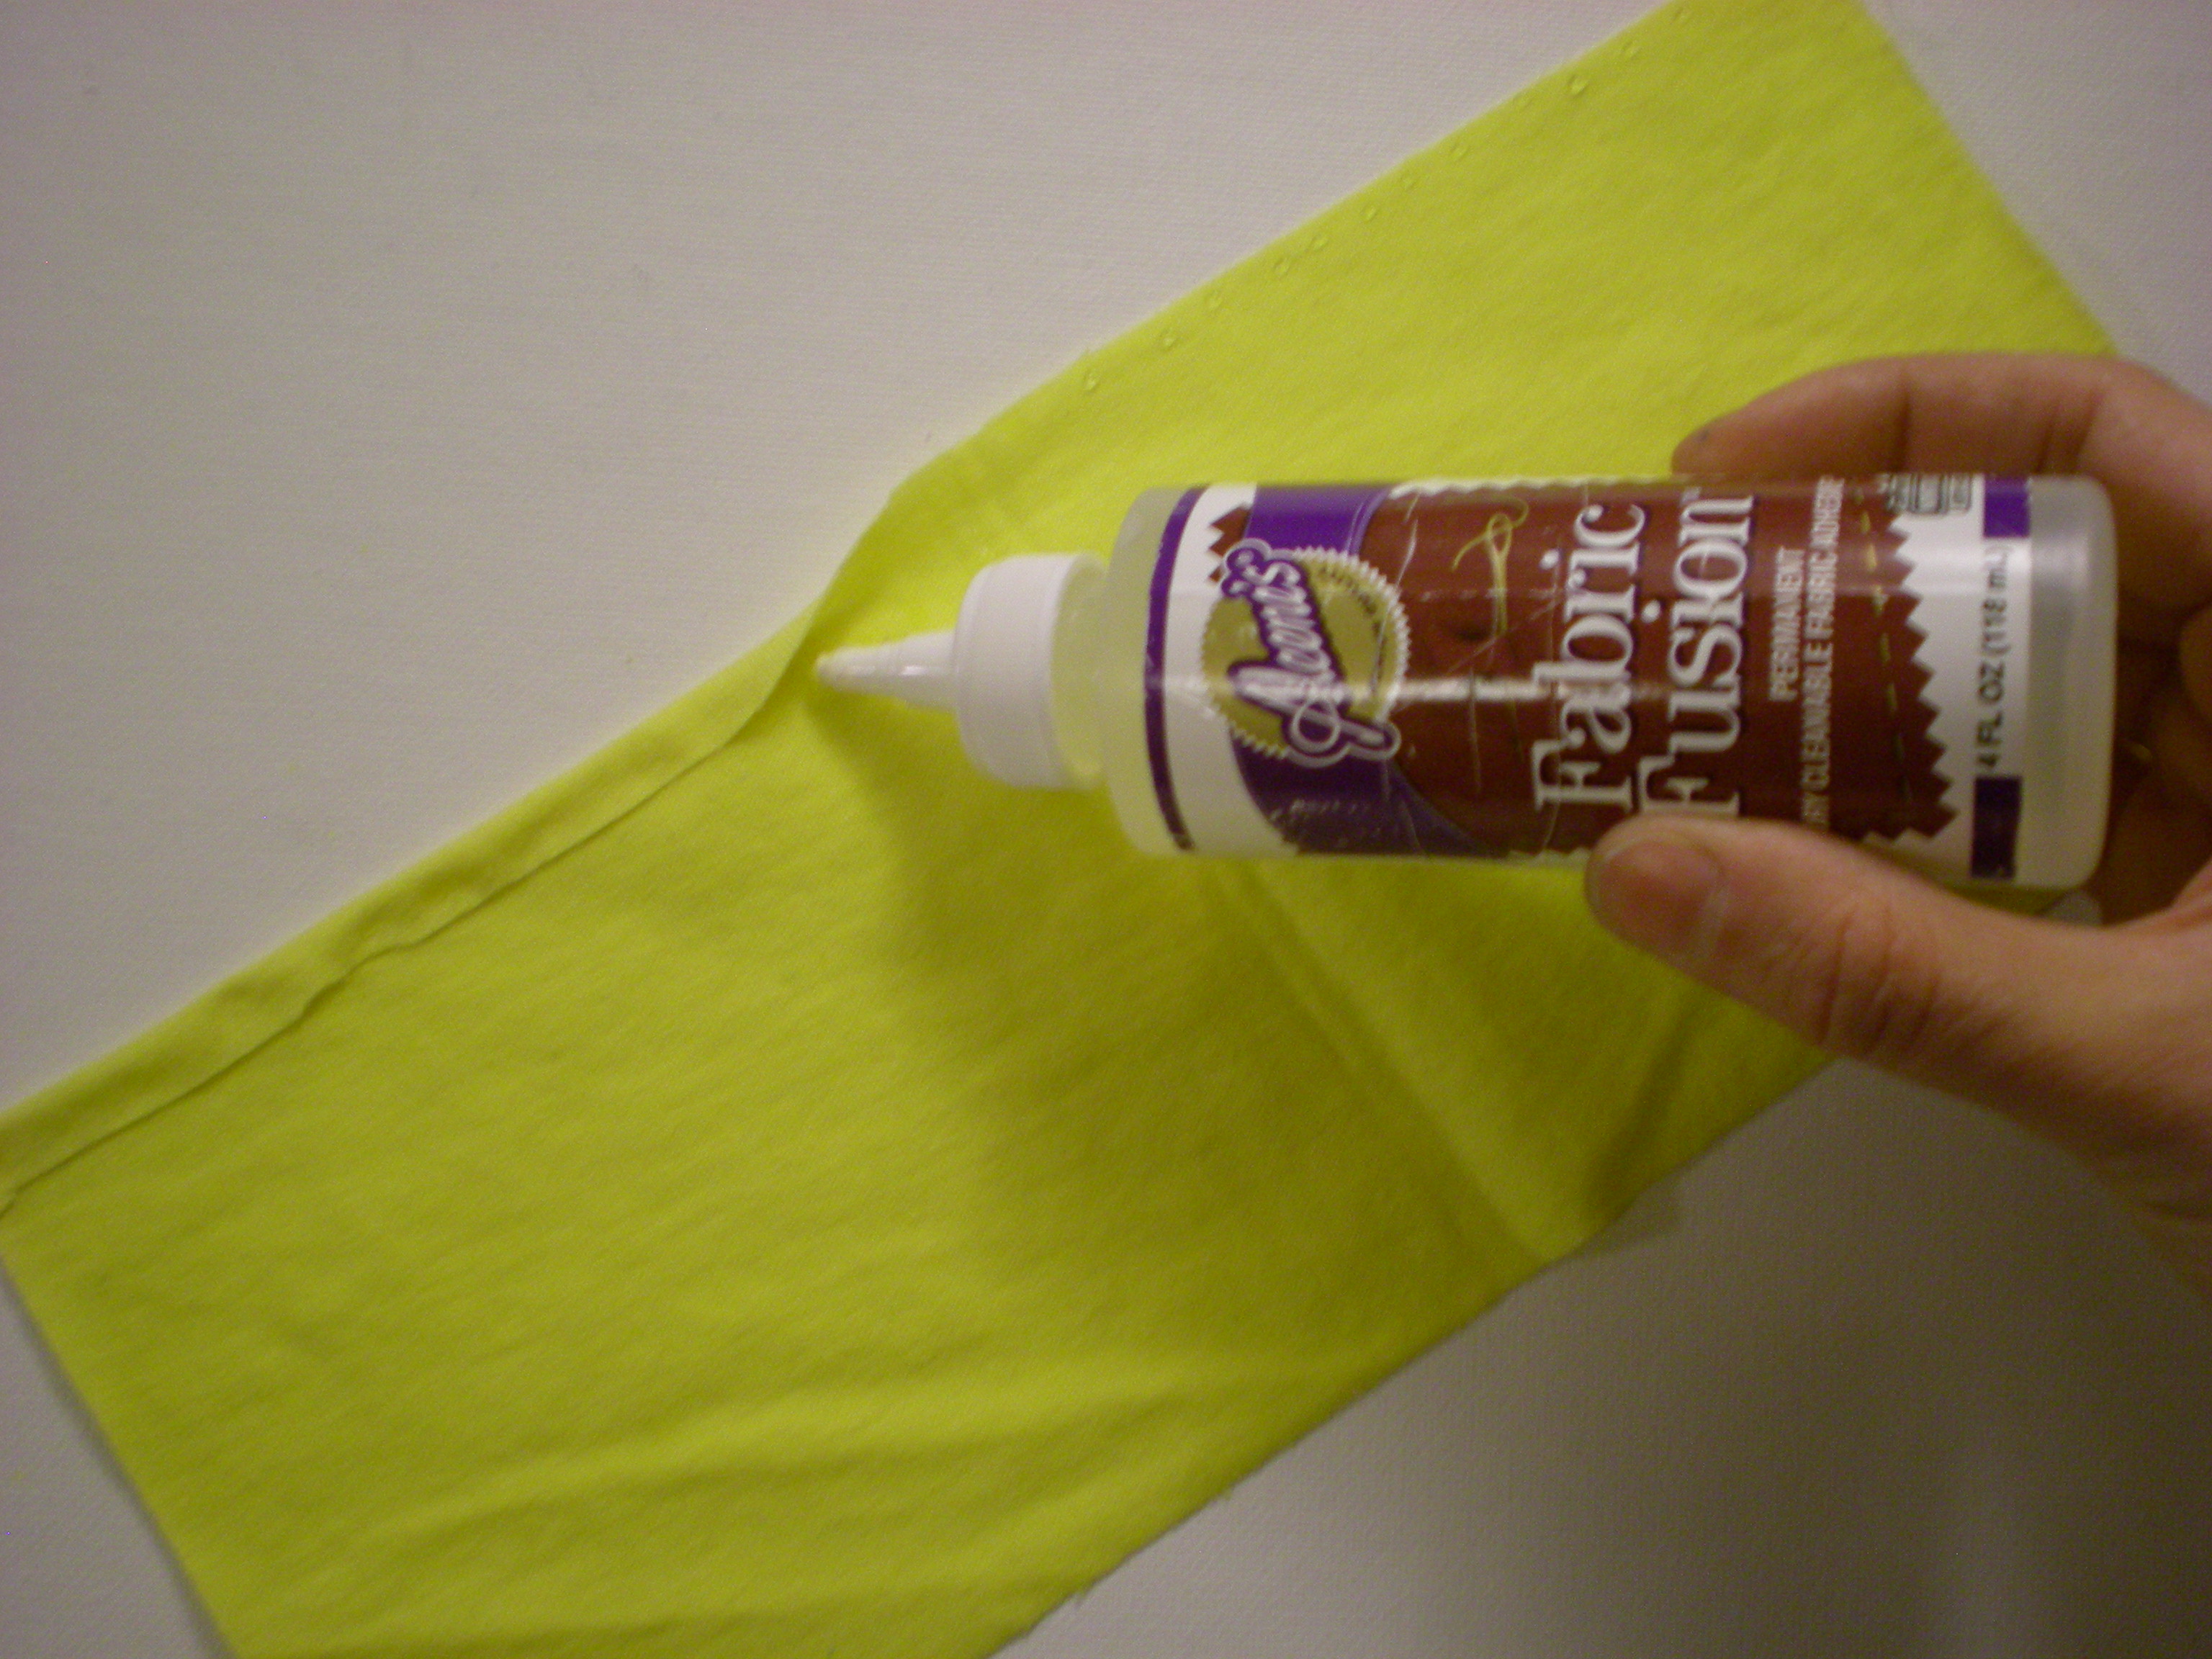
2. Squeeze a small ribbon of glue along one long side of one of the fabric rectangles. Then fold over the edge about 3/8" and press. Repeat on the other long side.
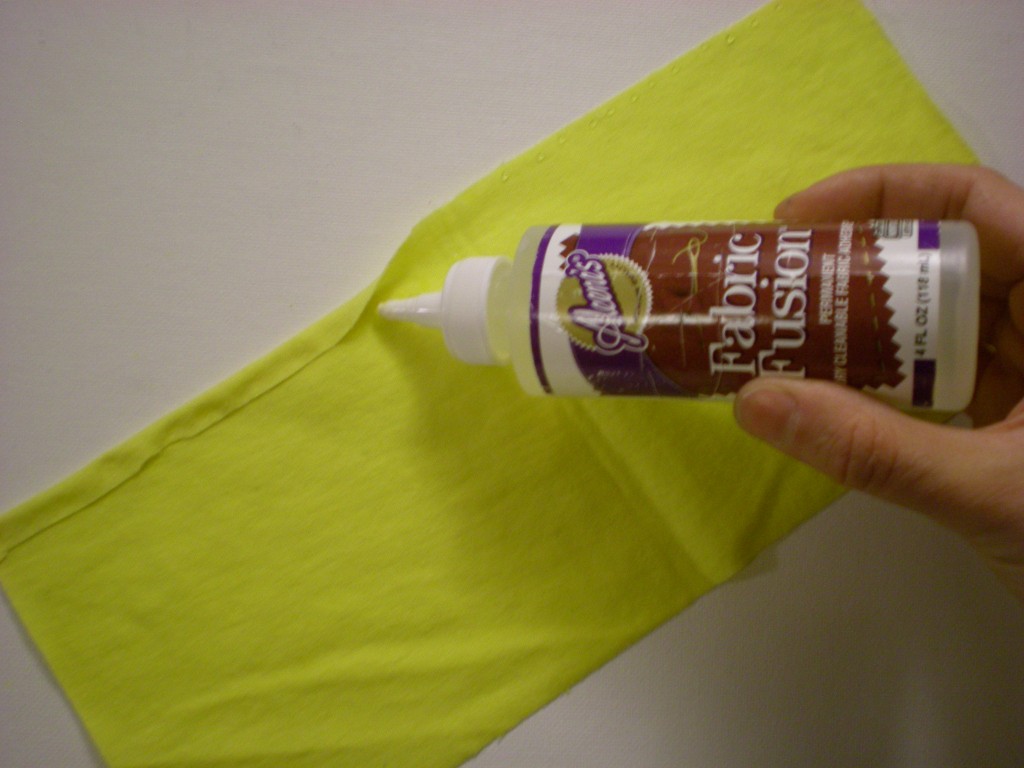

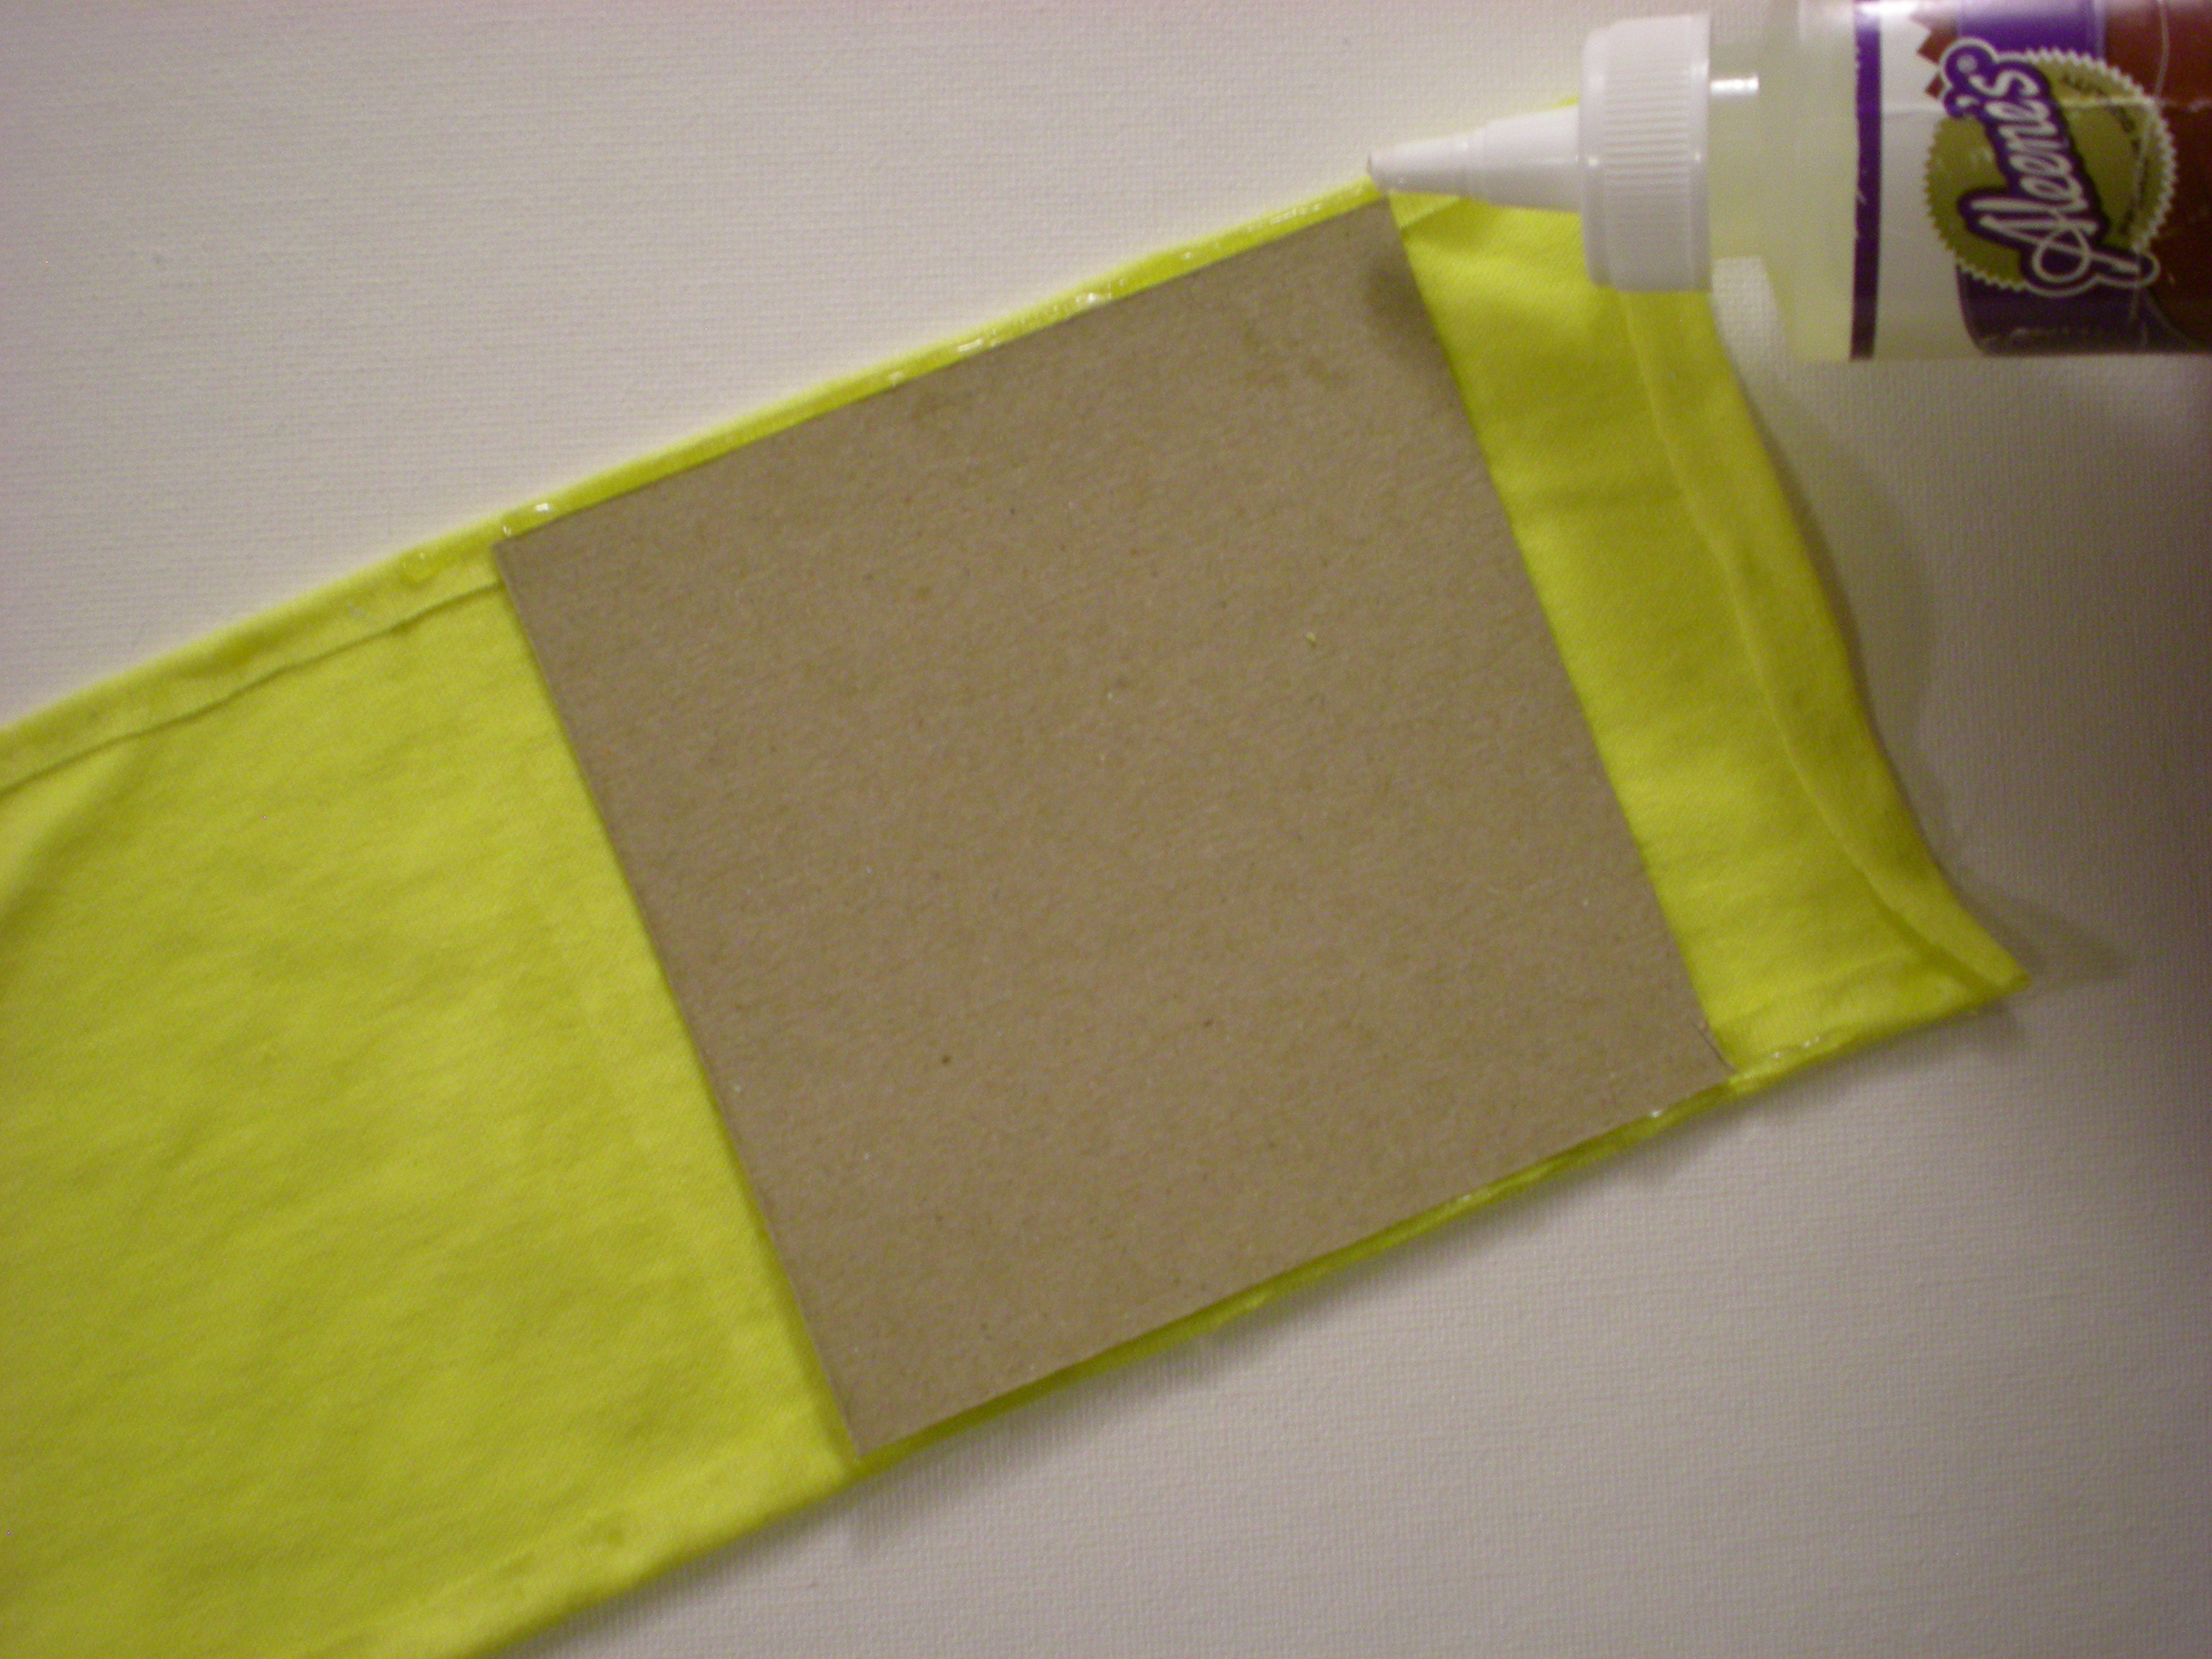
3. Find the center of the rectangle and line up one edge of one of the cardboard squares. Squeeze a small ribbon of glue along the fabric at the top and bottom edge of the cardboard.
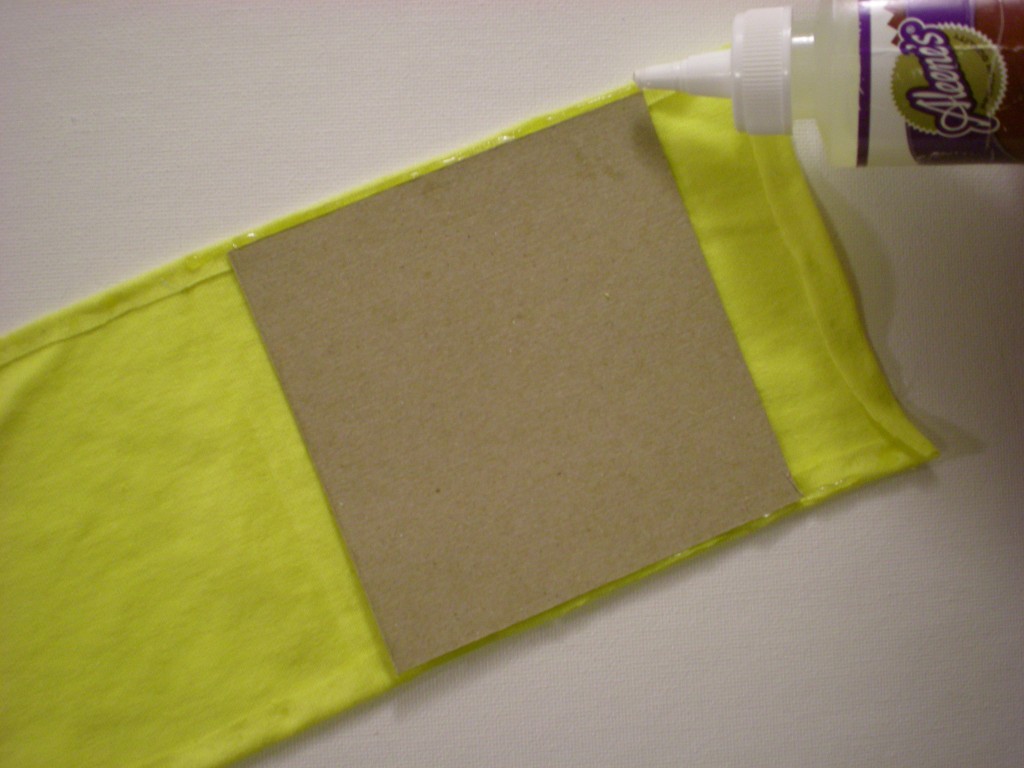

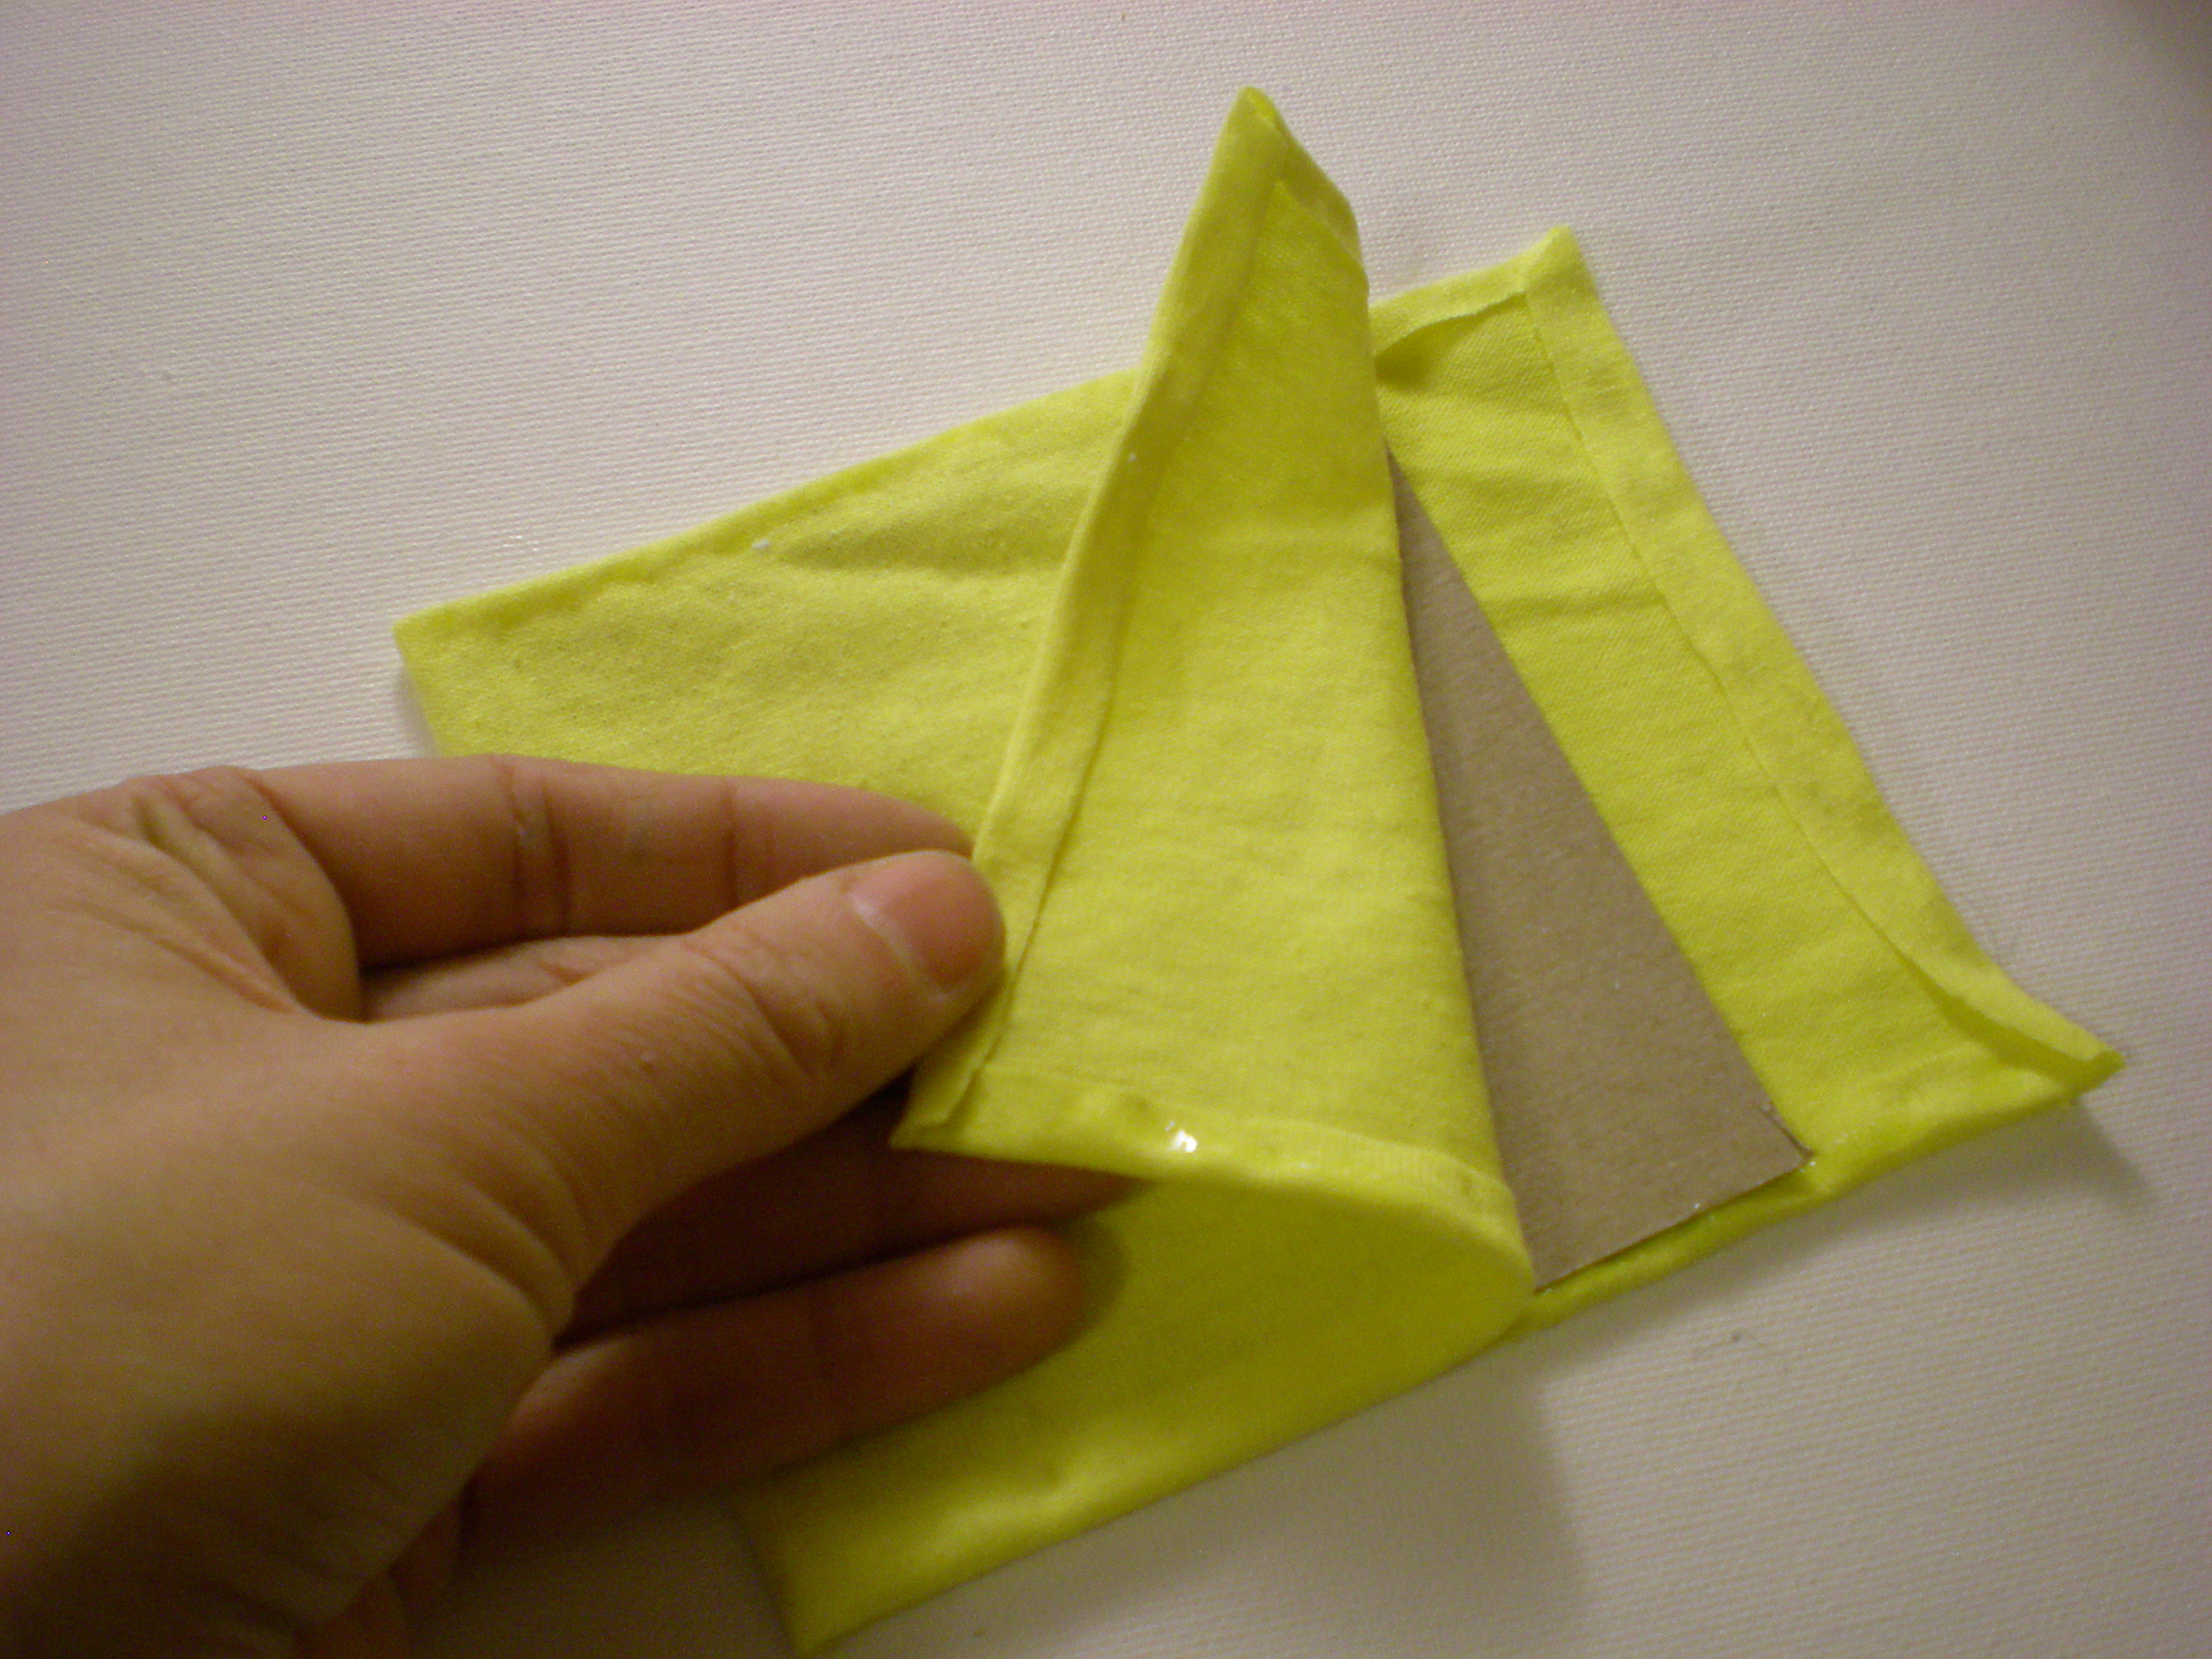
4. Fold the fabric in half, sandwiching the cardboard in between the layers. Press the glue into the edges to seal them. Squeeze another ribbon of glue against the cardboard and between the fabric layers on the open side. Press it closed.
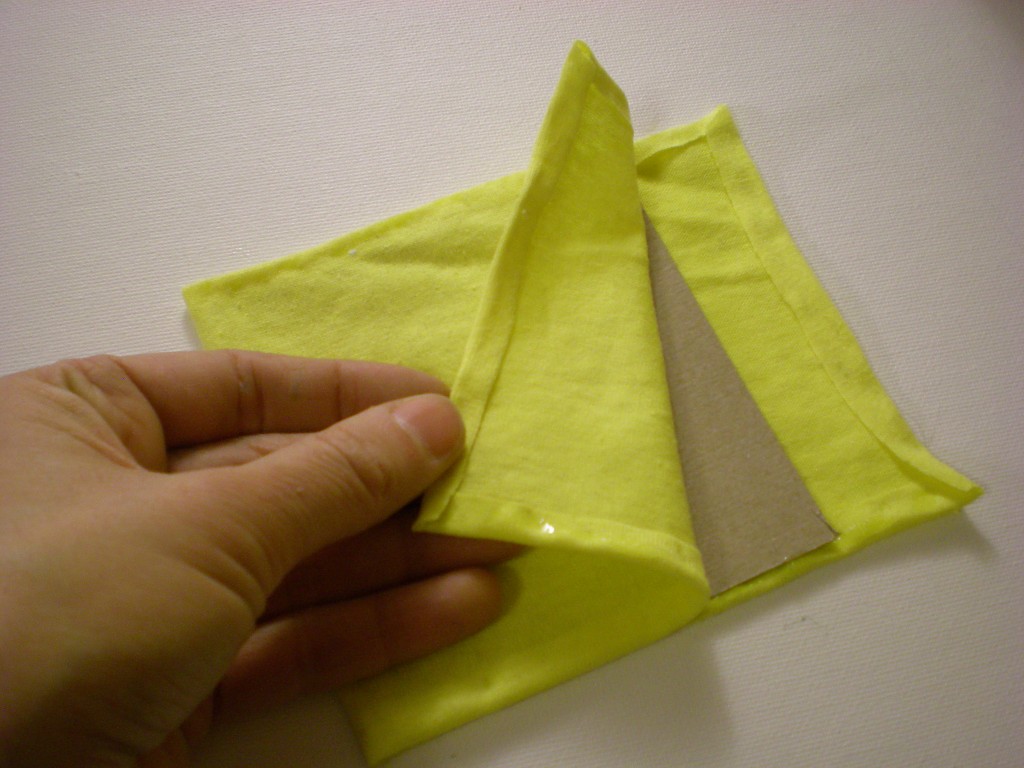

5. Repeat steps 2 through 4 until all of the cardboard squares are covered. These are the pages of the book.

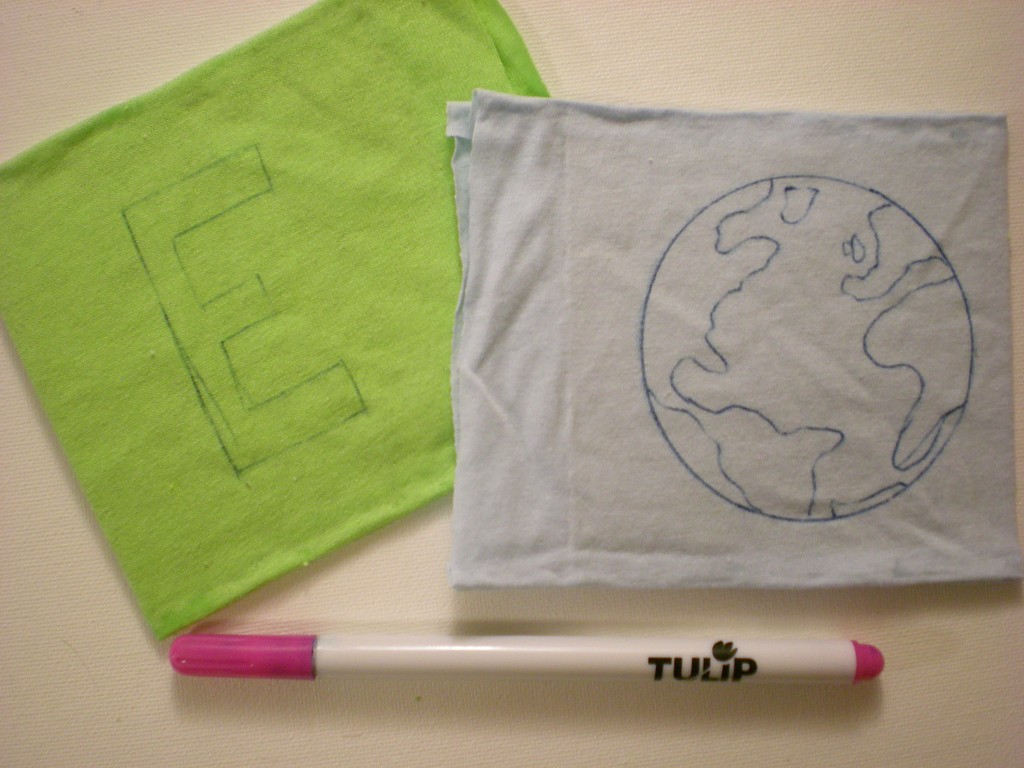
6. Use the air-soluble ink pen to begin outlining the letters and images on the book pages. (Or, skip this step and freehand them with paint--I outlined the earth, but skipped to painting for them rest.)

7. Color in the lines with fabric paint!
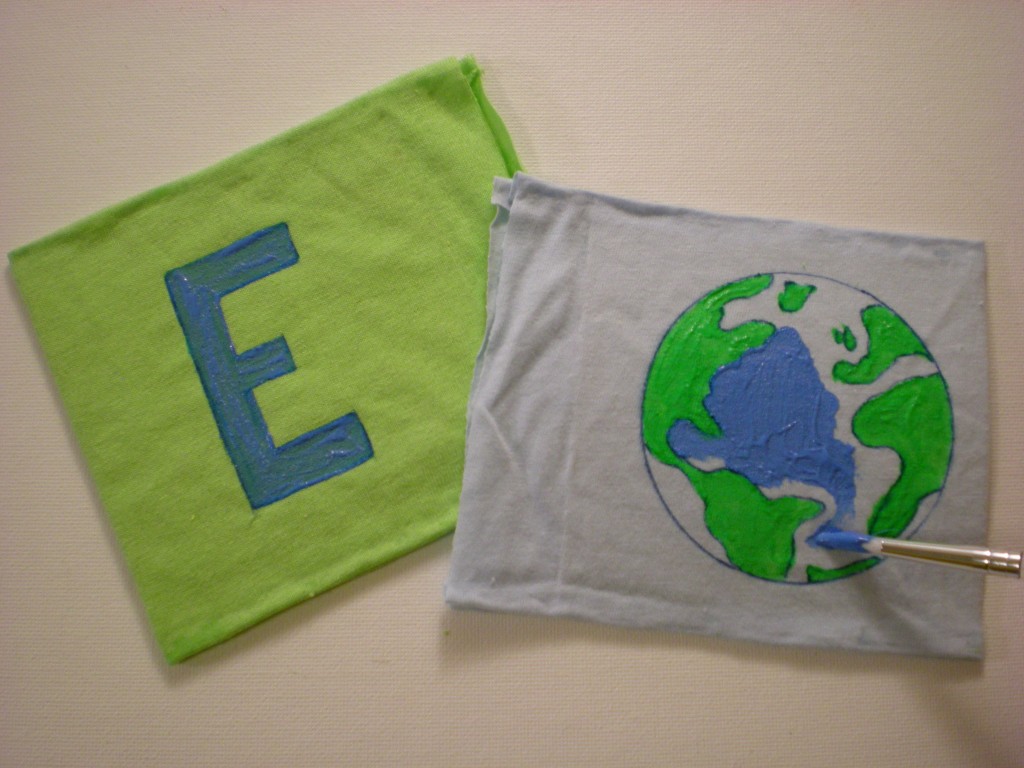

8. Paint all the right-folio pages first (including the front cover), let them dry, then paint all the left-folio pages, making sure you match up all the letters and images.
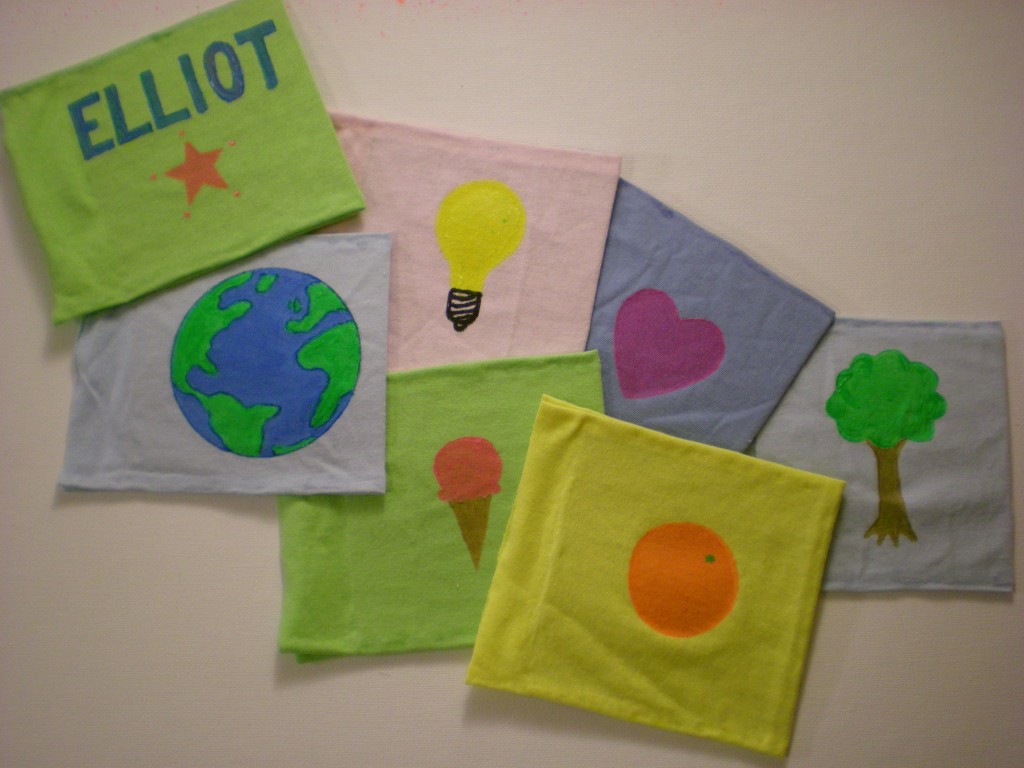

9. Trim the raw edges (the side of the pages that will go into the binding) down to 1/2". Then squeeze a line of glue along one of the edges you just trimmed and press it against the adjacent page. Keep gluing and adding pages (in the correct order!) until the book is complete.
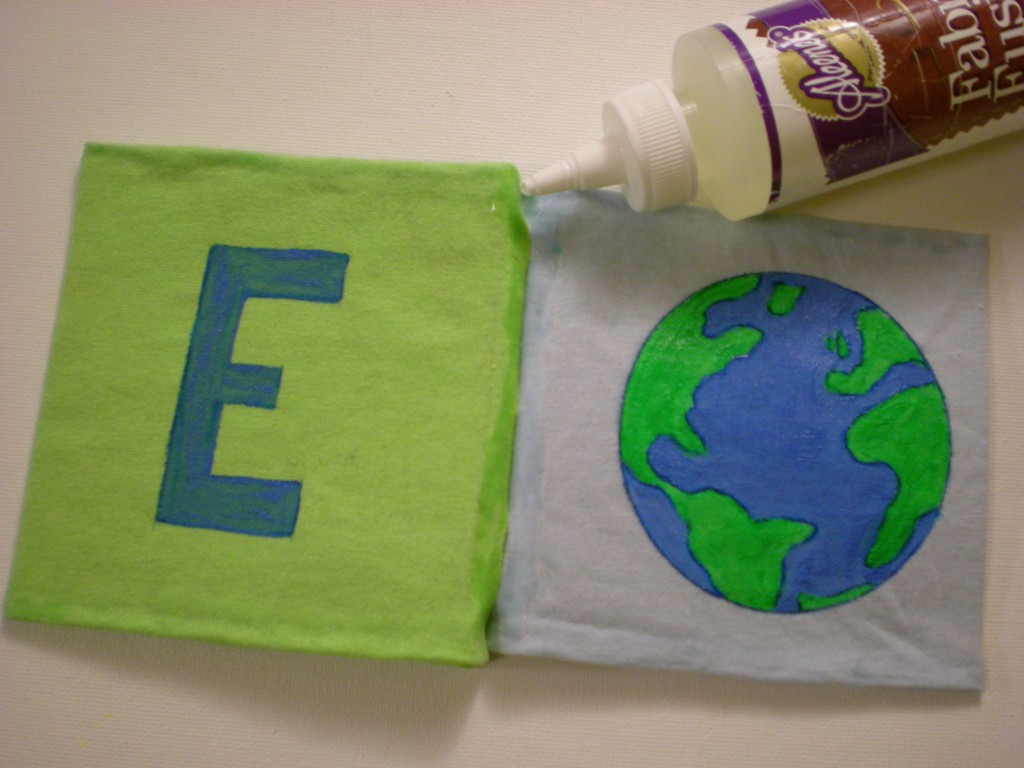

10. Let dry completely. Optional: Clip the binding closed with clothespins while it dries.
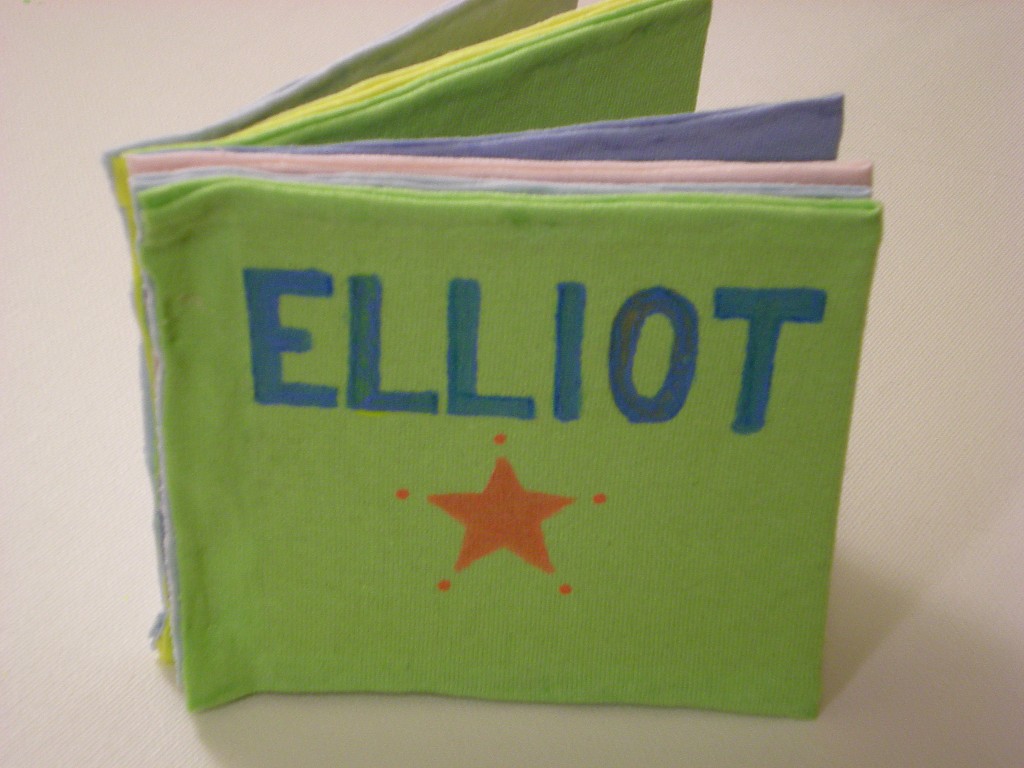

11. Then it's story time! E is for earth. L is for light. L is also for love. I is for yummy ice cream. O is also for a delicious orange. T is for Tree (and Totally Terrific and....T-shirt book!).


Visit us on Facebook!
Craft on!Click here for today's daily giveaway!
Tuesday, August 3

High Voltage Boy Tee


Today I'm going to show you how to make this little "High Voltage" tee that I made for my youngest boy.


I started with a Fashion Graffiti stencil that looked like a chain link fence.  I love this set of stencils.  There's a cool old school car, there's a stencil of headphones, and a whole lot more.  They are are really easy to use.  I taped freezer paper around it so I wouldn't get the whole shirt when I sprayed.


I was also really excited to try the Fashion Graffiti Spray Paint Kit.  It works just like spray paint, but it's not aerosol.  You pump it instead.  For the purposes of this shirt, you could just use the Fabric Spray, but the paint cannon is pretty fun and I'll definitely be experimenting more with it in the future.


So, I set the stencil on the shirt and sprayed.  I moved the stencil to a new location and sprayed again.  I did this until I was happy with the amount of coverage.


 I wanted to make it look like there was a sign hanging on the fence, so I created an image I liked.  Here it is as a jpg.  Feel free to use it if you'd like.
I used this image to create a freezer paper stencil.  If you've never tried this out, click HERE to watch my in-depth tutorial on freezer paper stenciling.  You'll be a pro in no time.  Warning: You might also become an addict as well.


I ironed my stencil onto a scrap piece of white fabric.  I painted the background black and removed the stencil.  To give the letters a shaded look, I took my brush and wiped off most of the paint.  Then I made some messy strokes with it towards the botton of the lettering.


I used the Tulip 3-D Slick paints on this part.  They are a bit thicker, but they cover really well.  I filled in the lightning bolt with yellow.


I took this fabric and ironed on some fusible adhesive.  I cut out the image, but I left a bit of white for edging.


I peeled off the backing, ironed it on, and sewed it on as well just for extra security.


Lastly, I forced my child to model it for me instantly.  I get a bit excited when I finish my project.


That's it.  Now feed him a big piece of chocolate cake and you'll see what high voltage is really all about.
Clicky Web Analytics
Pin It button on image hover

Subscribe to our newsletter

* indicates required
I am interested in products and inspiration for...
Close