Showing posts with label t-shirt craft. Show all posts

Tuesday, May 28

How to: Tie-Dye Your Life (Starting with Your Kids)

I always bring a craft project when I visit my niece, Dorothy. One time it was Embroidery Day, another it was Felt Cat Ear Day...this time it was Tie-Day Day! Our goal, which we nobly chose to accept: to tie-dye an entire wardrobe. As you can see, we got pretty darn close...
So, despite all my T-shirt proclivities, I have to confess I actually have never tie-dyed in my adult life. I don't know what made me think that it would be so hard, but honestly, the only thing that could have made this easier was a nice picnic table outside to craft on (and that's just me asking for a luxurious upgrade). 
The takeway: Tie-dye. Is. So. Easy. 
I would go so far as to say it's foolproof! Next time you have a family reunion, skip ordering the printed T-shirts: Set up a tie-dye station for all the siblings and cousins--by morning, you'll have a full set of T-shirts perfect for a very colorful family portrait!
What You Need:
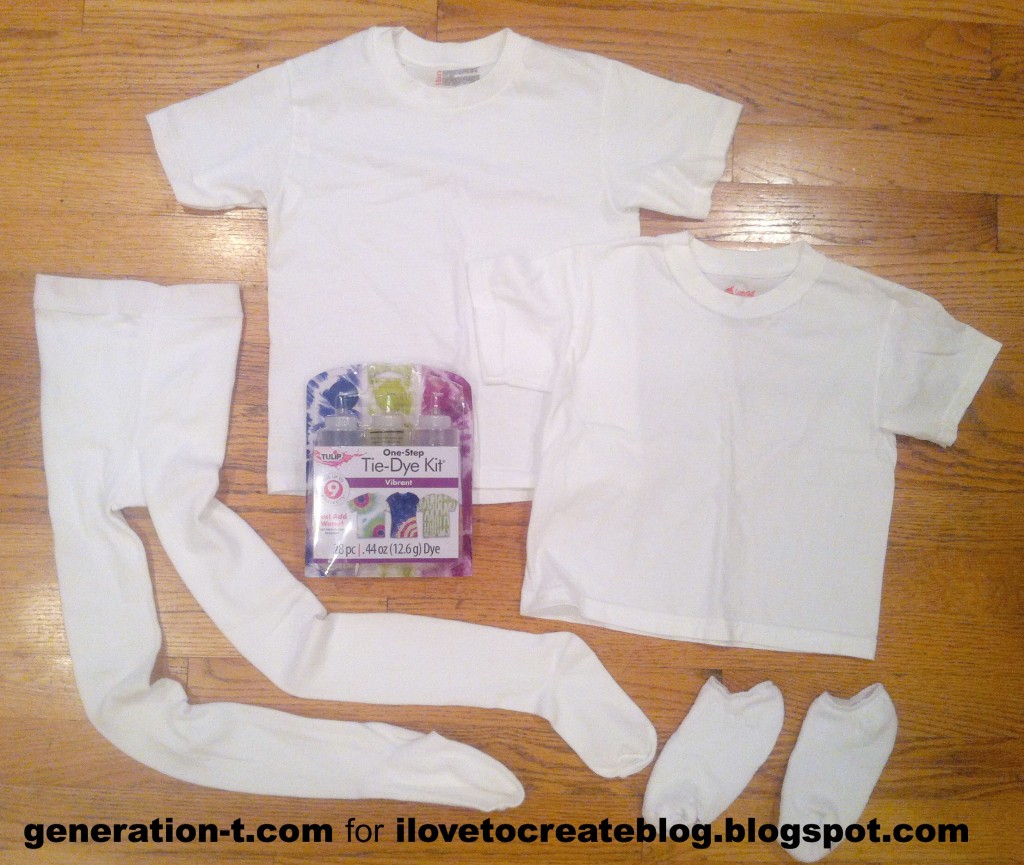
-Tulip One-Step Tie-Dye Kit (color: "Vibrant" -- includes rubber bands, bottles, dyes, two pairs of plastic gloves, and an instruction/inspiration sheet)
-Cotton things to dye: We picked T-shirts (in two sizes, for the two cousins), tights, and socks
-plastic table cloth or plastic garbage bag to cover your work surface
-paper towels
-plastic cling wrap or zip-lock bags
Note: If you're working with new T-shirts, pre-wash and dry them to make sure any shrinking that's going to happen has happened!
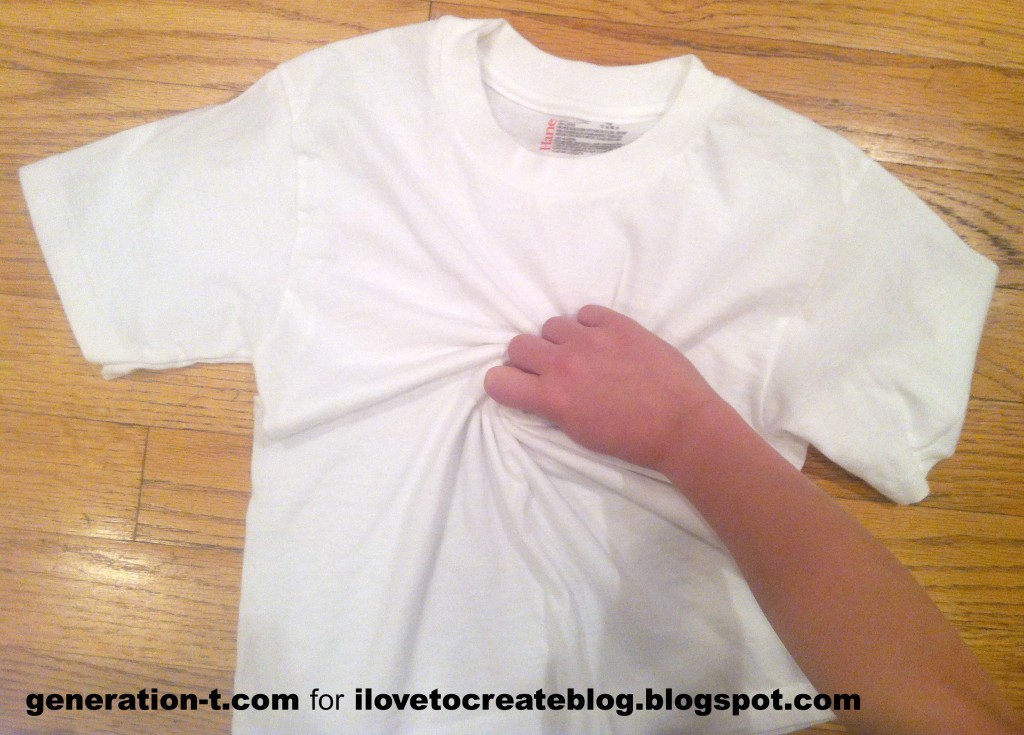
To start with, my niece picked the "Swirl" design from the instruction sheet that comes with the kit. Following the instructions, she pinched the fabric at the center of the T-shirt and twisted the T-shirt until she had a round little, swirled T-shirt "biscuit."
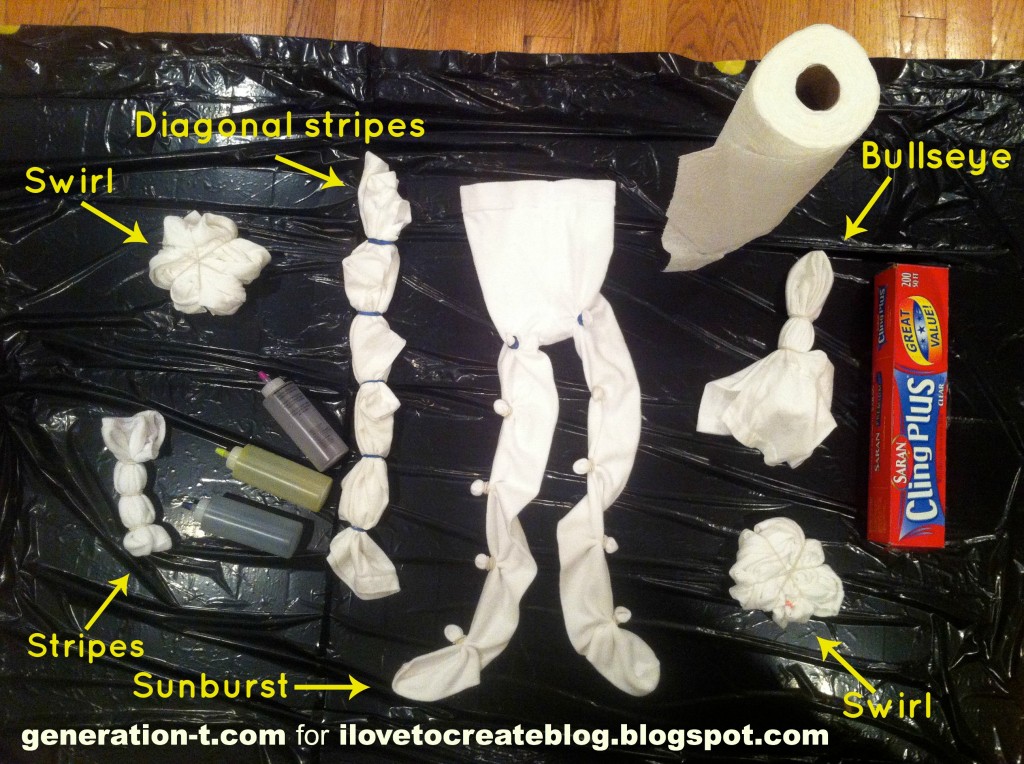
We wrapped the T-shirt swirl with 3 rubber bands (also included in the kit), and dampened it under running water, squeezing out the excess water. We cut open a plastic garbage bag to protect the floor and, armed with plenty of paper towels, we ended up preparing 4 T-shirts, 1 pair of tights, and 1 pair of socks to try out 5 different tie-dye styles that were described in the kit (we even did our own variation on one -- diagonal stripes!).
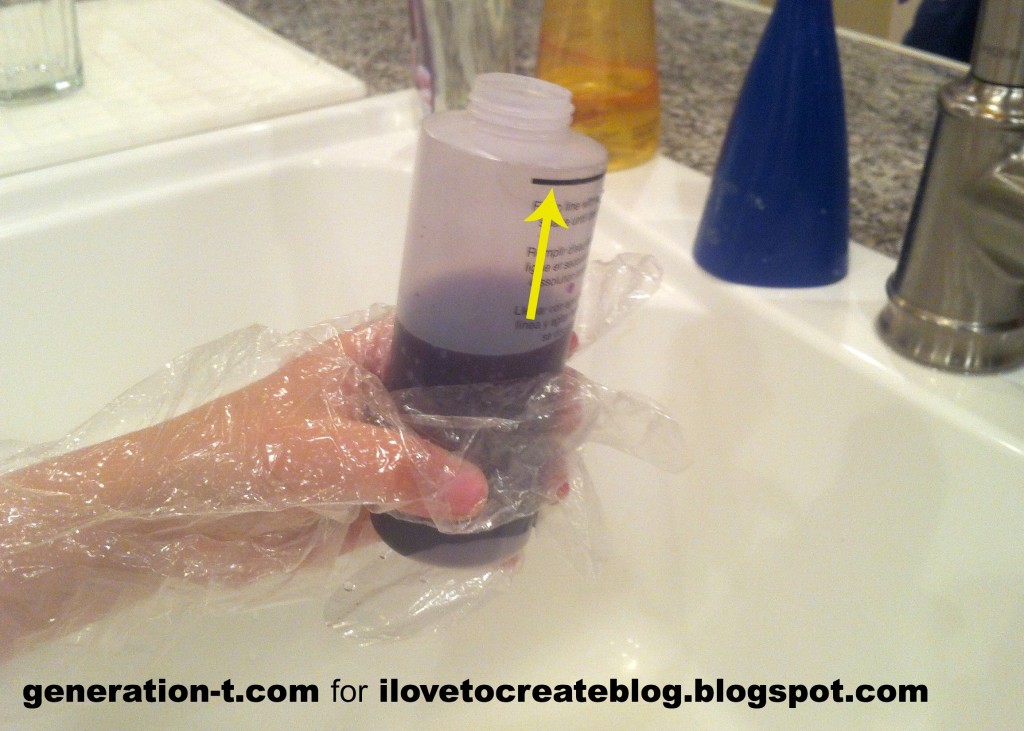
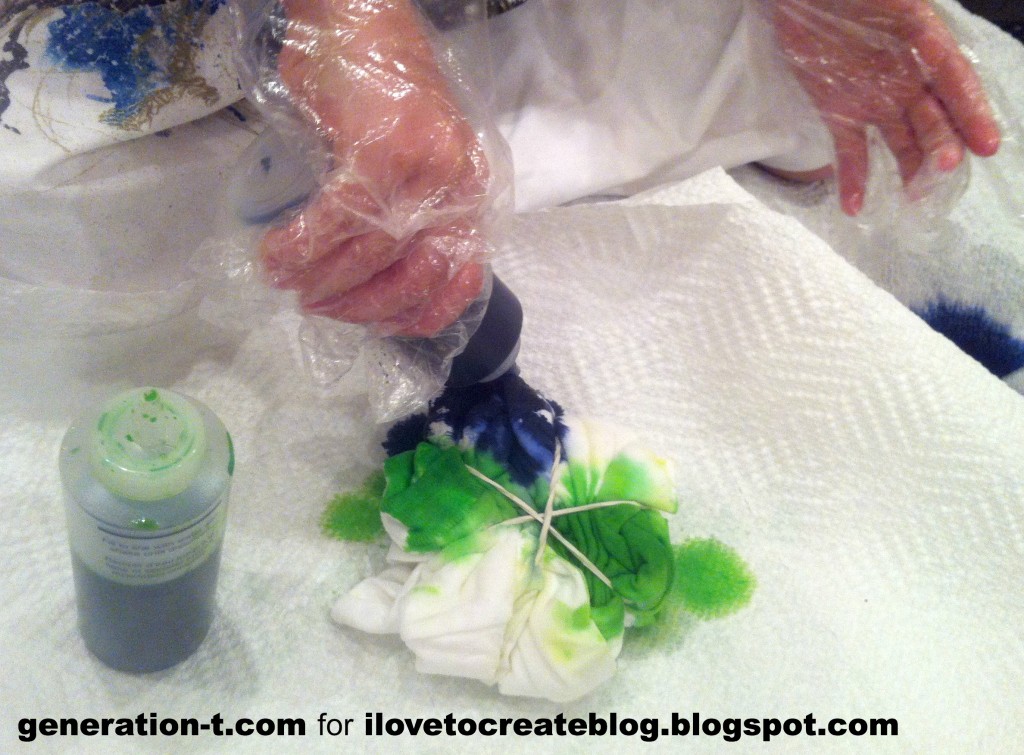
The powder dye comes already in the squeeze bottles; we filled the rest of the bottle with water up to the thick black line, put the top on tightly, and shook each bottle until the dye was mixed.
Dorothy squeezed the dyes onto the T-shirt segments (delineated by the rubber bands) one color and one segment at a time.
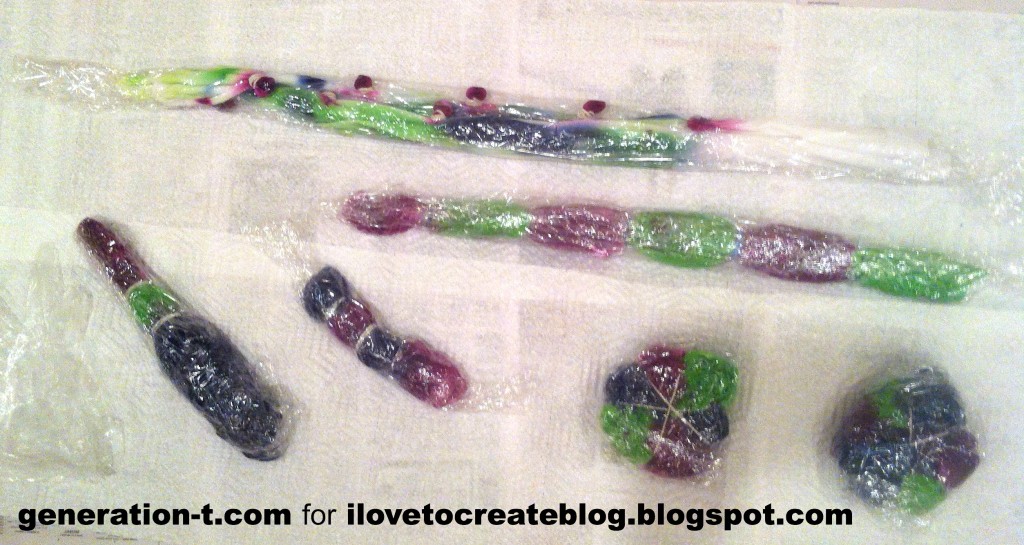
We wrapped each project in plastic cling wrap to sit overnight. Dorothy tie-dyed 2 kid-sized T-shirts and the pair of socks, I tackled the tights and a toddler-sized T-shirt, and Uncle Luke even got in on the action with another toddler-sized T-shirt. Note: The package says you can get up to 9 garments, but if you're crafting with kids, make sure to estimate for fewer, since they tend to be a bit generous when squeezing out the dye (in addition to our 7 garments, we had the most beautiful paper towels!).
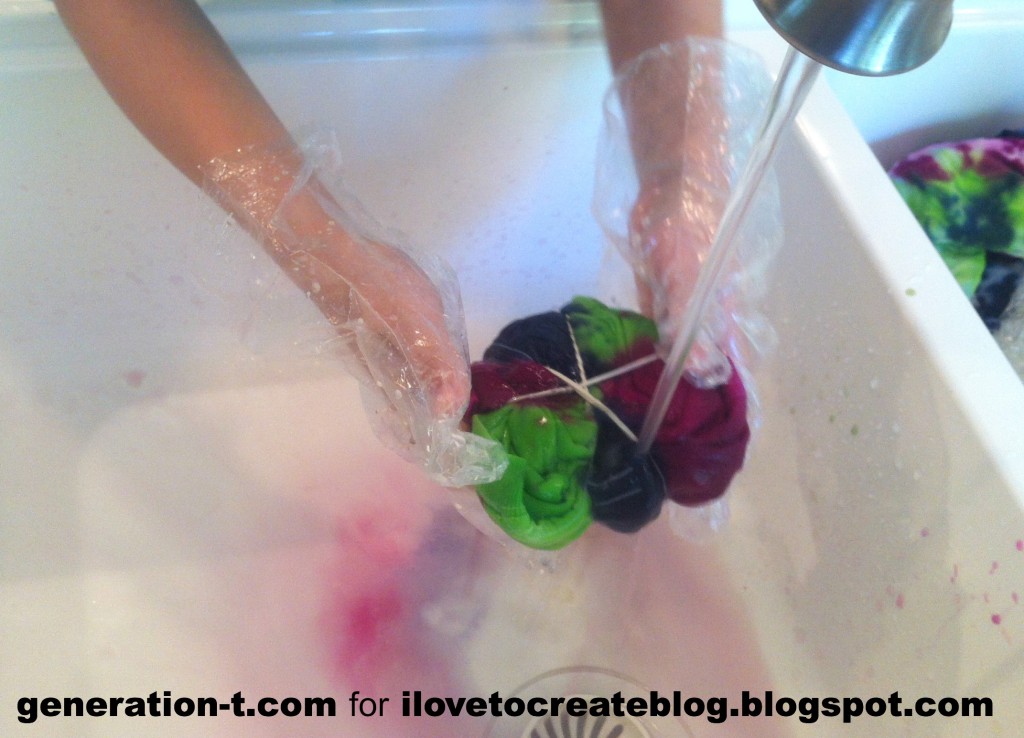
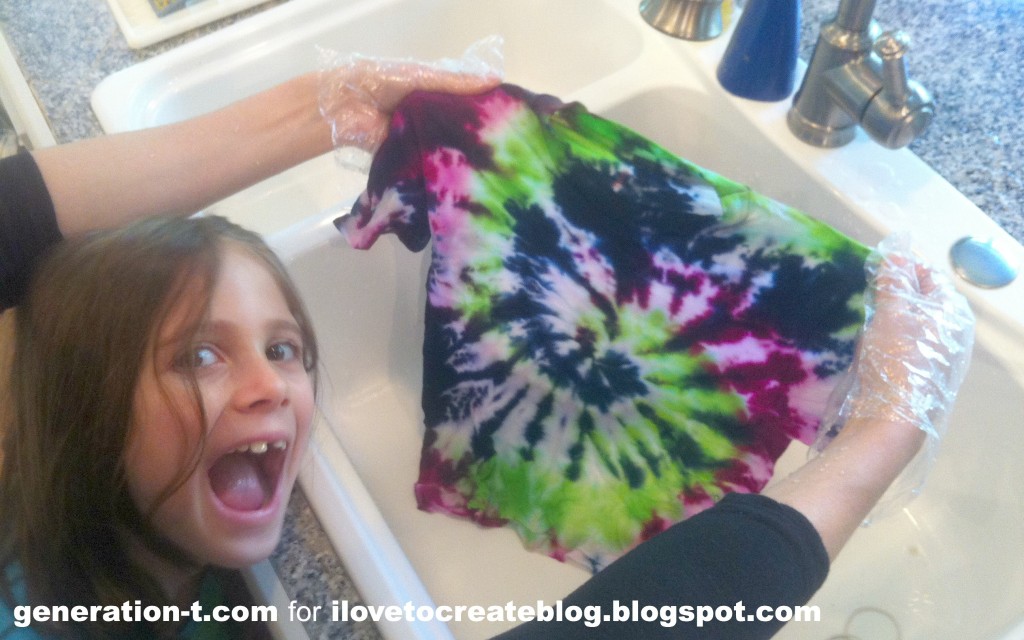
We let the dye soak in overnight (6-8 hours minimum), but we had a busy day, so we left them wrapped up for longer. We unwrapped each project over the sink, and rinsed and squeezed out as much excess dye as possible. Then we peeled off the rubber bands, and gently shook out our masterpieces!
Dorothy was so excited/giddy/proud of the results of her T-shirt that she photo-bombed the picture! Since we had a whole batch of garments with the same color scheme, we tossed them all in the washing machine and dryer together to finish the process. After her cousin, Niko, woke up from his nap, it was time to try on the matching Swirl design tie-dye T-shirts!
Because we were running low on dye by the time I did the tights, they're a little more pastel-colored in the back than the T-shirts, but the violet sunbursts on the front are perfect little rosettes (says Dorothy).
And because it didn't make sense to layer the socks over the tights (though she was tempted!) or layer the second T-shirts, we're saving the Bullseye T-shirt the Diagonal Stripes T-shirt and the Stripes Socks tie-dyes from our tie-dye extravaganza for tomorrow's coordinating cousin outfits.
Did I mention tie-dye is great for obscuring grass stains? An added bonus, for sure! There's definitely more tie-dye to come this summer -- and quite likely in my size this time.

Tuesday, March 1

Chic Shoe Travel Bag from an Old T-shirt!

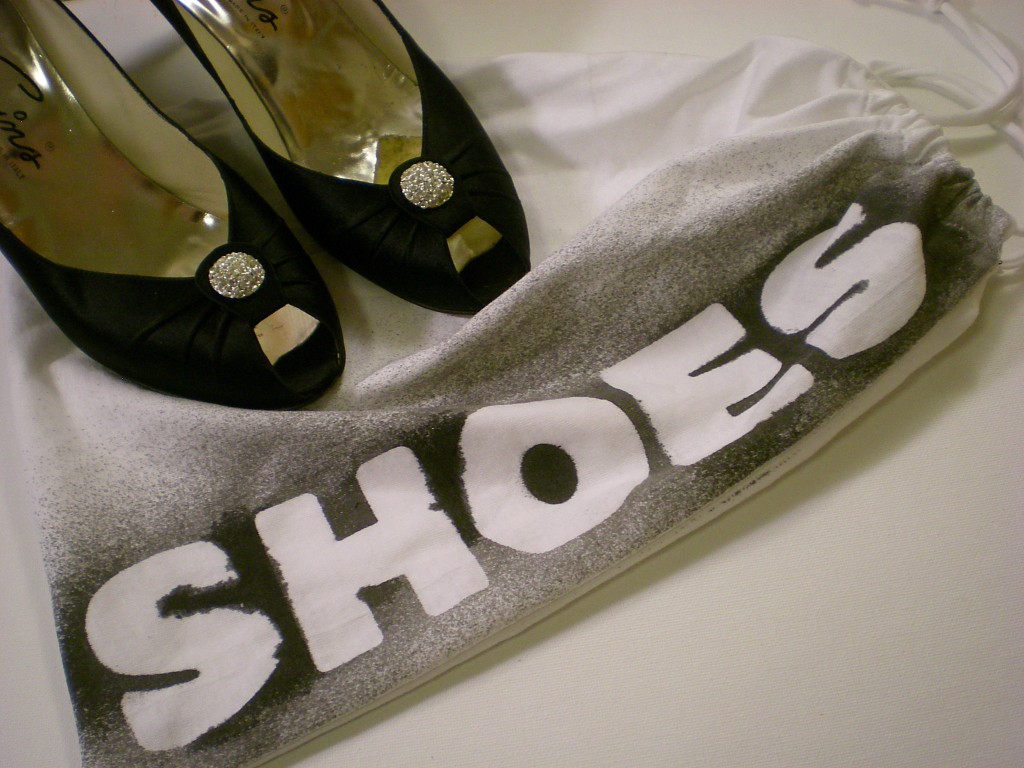
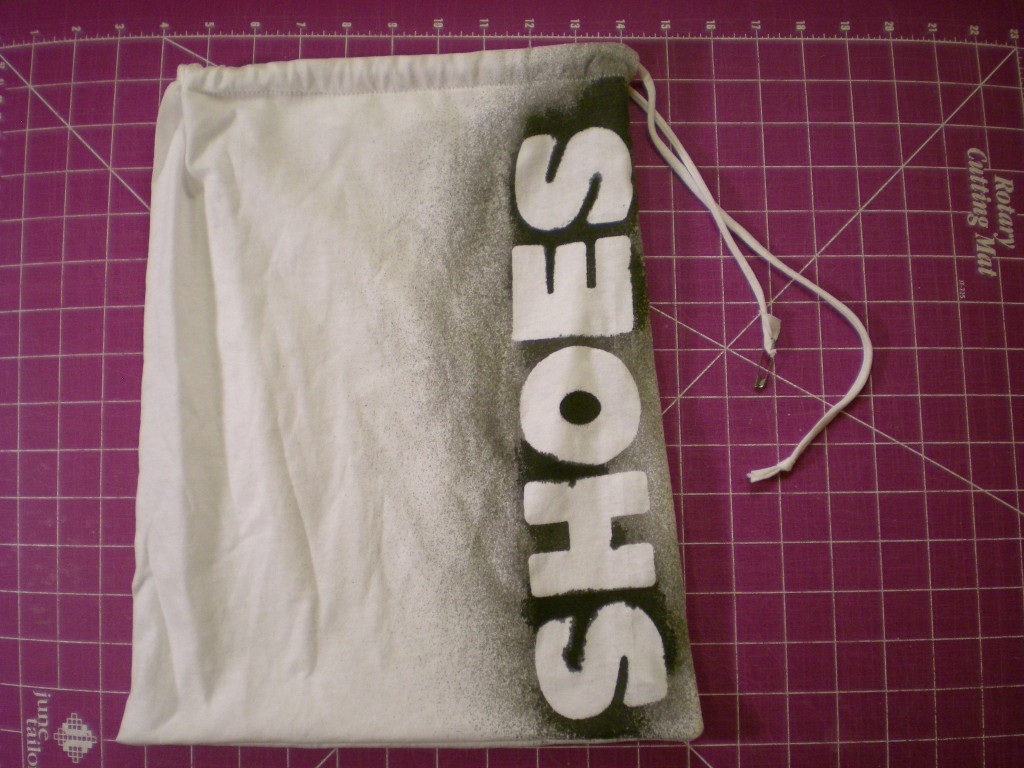
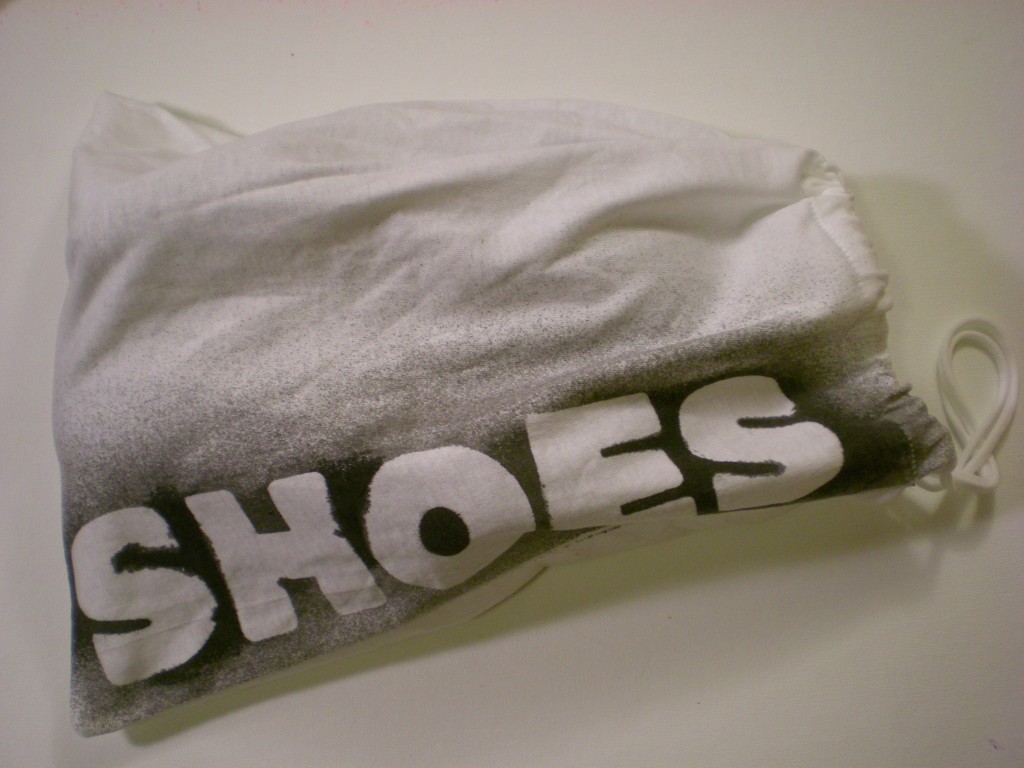
Let's face it: Shoes get dirty. Really dirty (okay, maybe I'm only speaking for New York sidewalks and streets, but my shoes pick up a lot of filth!). So it's not a particularly charming prospect when I have to pack a suitcase full of nice clean clothes and those dirty shoes. Solution: Here's a simple project that makes use of an old T-shirt, requires very little sewing (you can use the T-shirt hem as the drawstring casing!), and keeps the rest of your wardrobe fresh and clean. And, because the bag is made from an old T-shirt, it's easy enough to toss in the wash when you get home and unpack.


Materials:

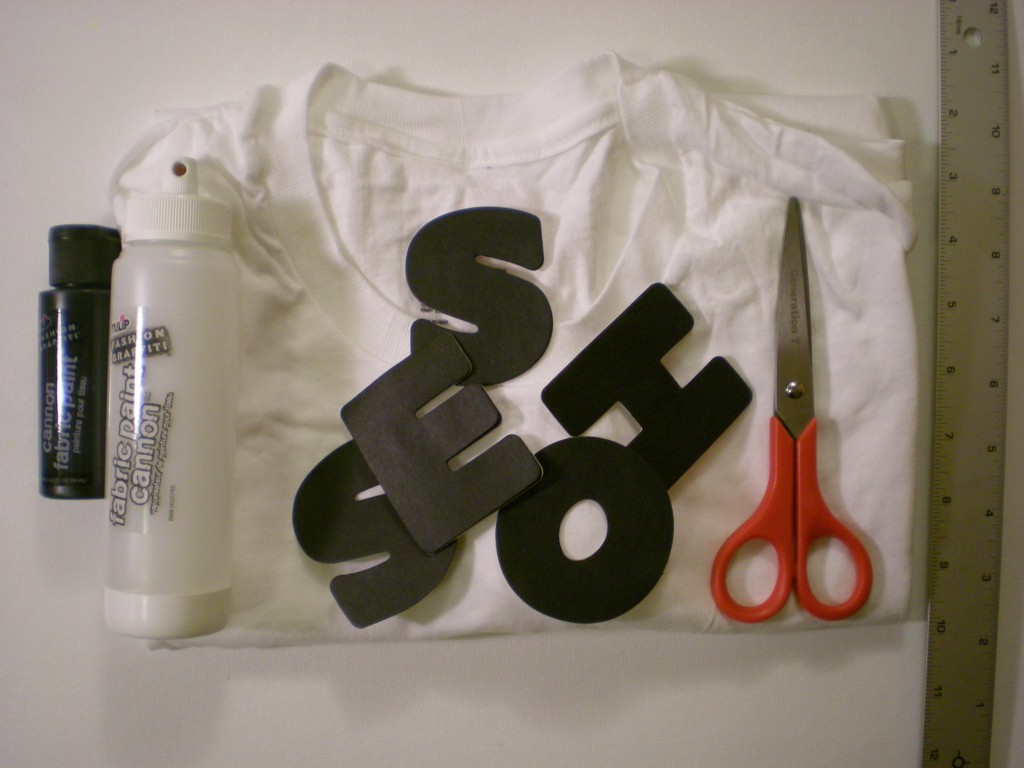
-T-shirt (M or larger)

-Ruler

-Scissors

-Sewing machine (with a ballpoint needle and thread), or Needle and thread

-Alphabet stickers (or make your own; I used alphabet sticky notes!)

-Fabric paint and paint cannon (black)

-Safety pin


Make it:

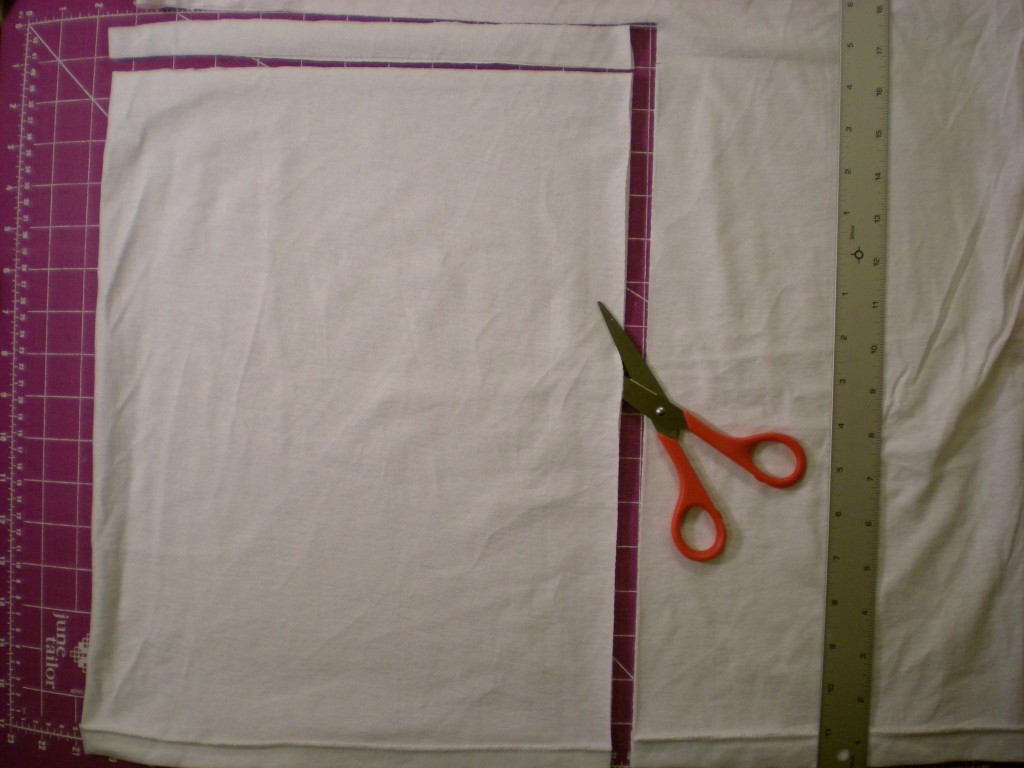
1. Turn the T-shirt inside out and lay it flat. Measure and cut a 12" x 16" rectangle extending in from one side and up from the bottom hem. Cut a 1" strip from the top of the rectangle, through both layers. Set aside the strip.


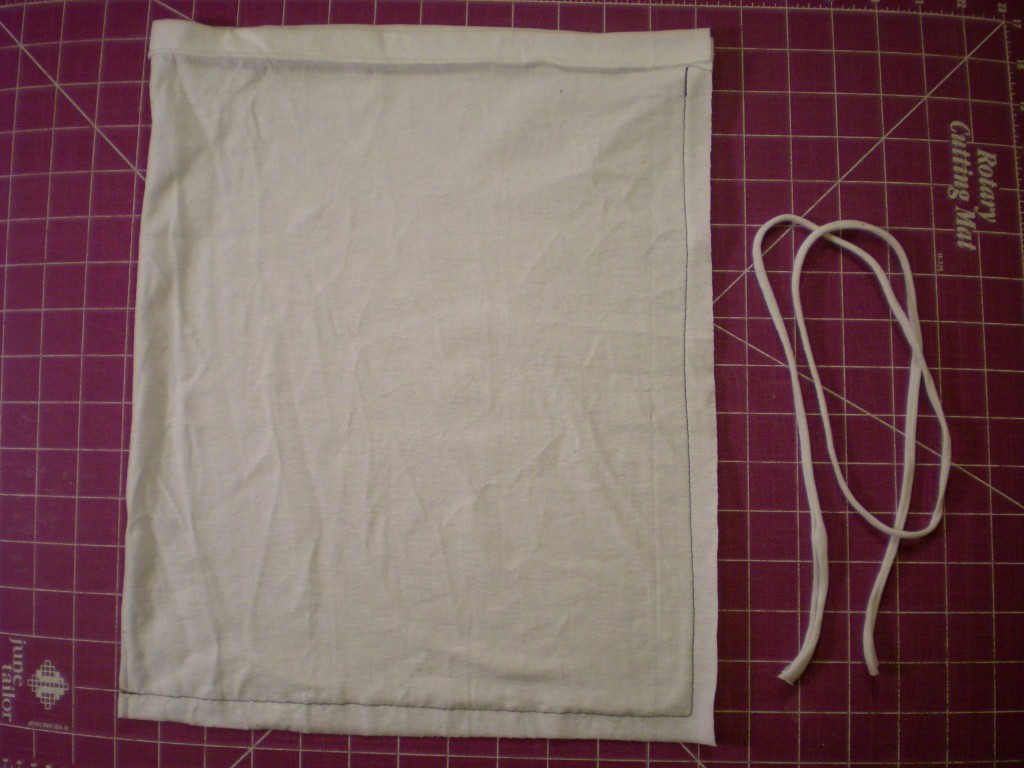
2. Sew a straight stitch along the two cut edges of the rectangle, leaving a 1/2" seam allowance, and stopping at the hem (this becomes the drawstring casing. (I used contrasting thread for visibility, but matching your thread to the fabric color is recommended.)


3. Turn the bag right side out and lay it flat, oriented with the hem (the opening of the bag) at the top. Stretch out the fabric strip to make a drawstring cord and set it aside again. Arrange the letters across the side of the bag.


5. With the fabric paint, spray lightly over the letters and let dry completely. (Paint will seep around the sides of the letters that are not sealed flat, creating a rough-edged look to the lettering.)


6. Carefully peel off the letters to reveal the reverse silhouettes. Attach a safety pin to one end of the cord and draw it through the entire drawstring casing. Remove the safety pin and tie the ends together in a knot.


7. Now spin the globe and buy a ticket! If your shoes are made for walking, this T-shirt shoe bag is made for packing. Bon voyage!


Variations:

-Differentiate your various shoe stashes by making multiple bags--do away with the generic "shoes" label and instead indicate heels, flats, sneakers, and so on.

-Scrap the shoes altogether and use the bag to pack pajamas for a slumber party!


Visit us on Facebook!
Craft on! Click here for today's daily giveaway!

Tuesday, January 25

T-shirt Book for Baby!

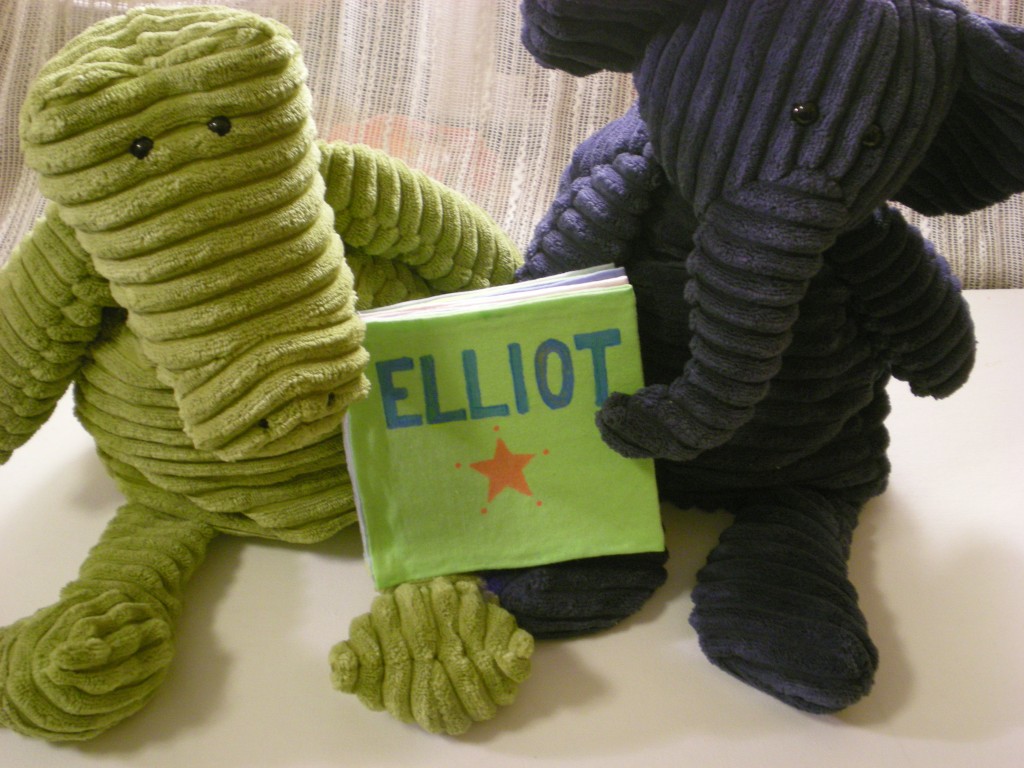
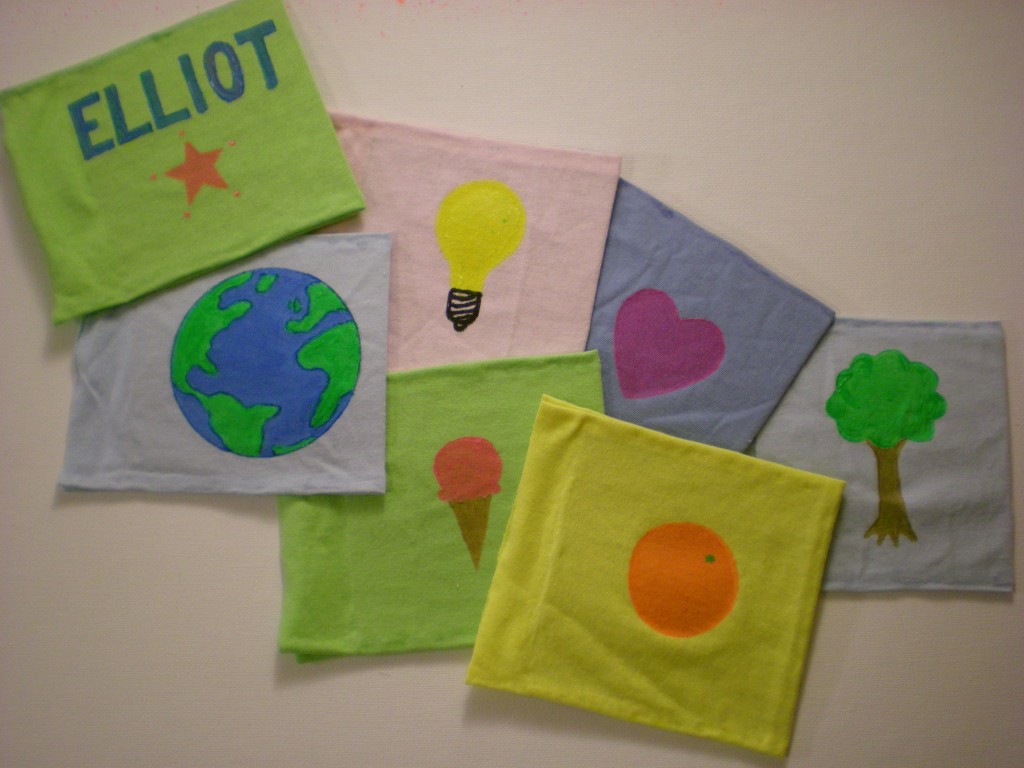
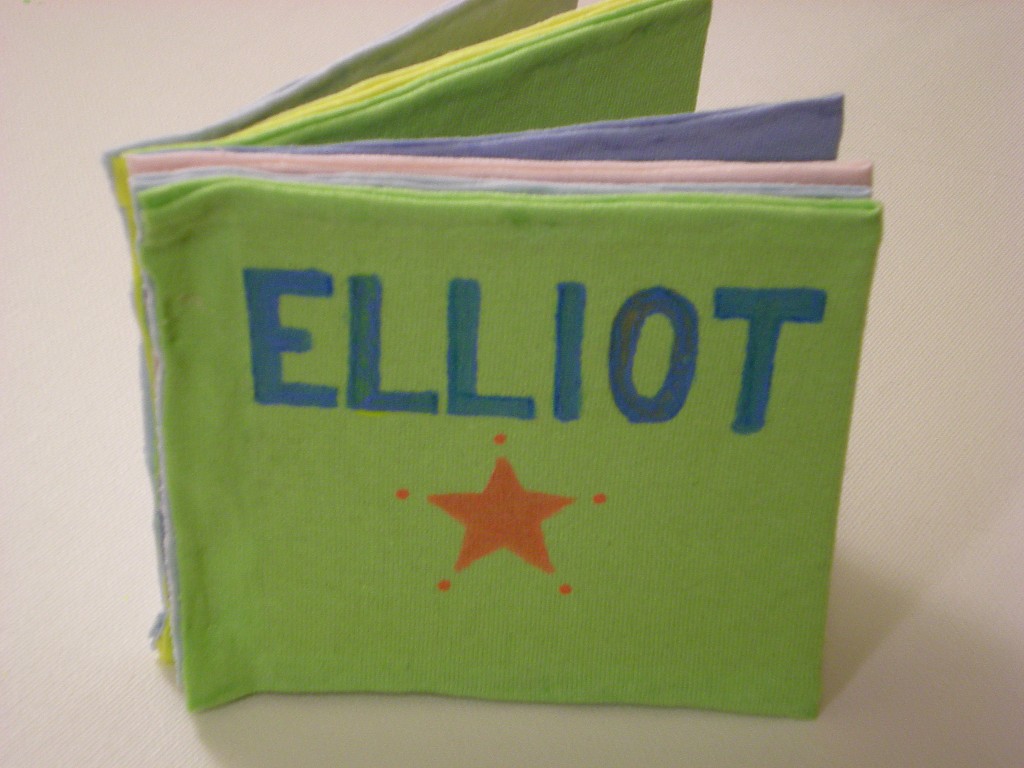
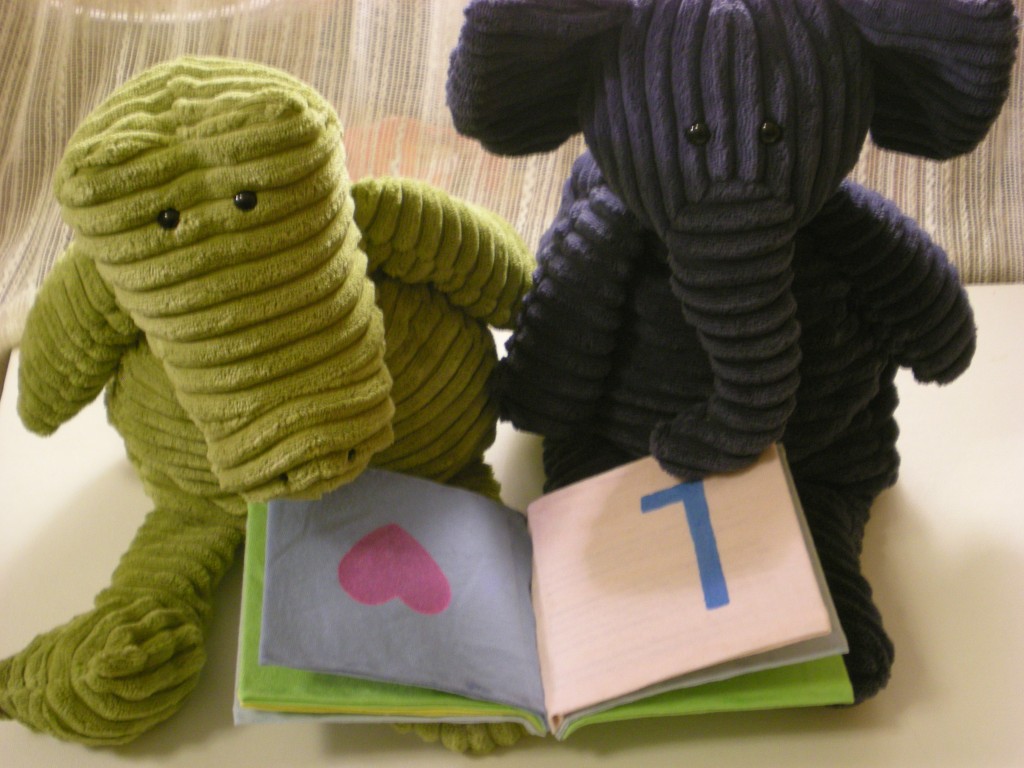
I like projects that help me use up the scraps that threaten to overwhelm my craft space. I also like projects that can be gifted. So this one's a win-win: The T-shirt Baby Book is perfect for using the T-shirt sleeves that have been cut from another project (like a tank top) and it makes a great baby gift. Did I mention it's personalized? Once I picked the recipient (my friend's new baby, Elliot), I enjoyed figuring out what words to have each letter of his name represent (in other words, what could I illustrate easily?). I settled on: E = earth, L = light, L = love, I = ice cream, O = orange, and T = tree. No pictures of baby Elliot and his new book just yet, so the book is presented by these two cute corduroy pals.


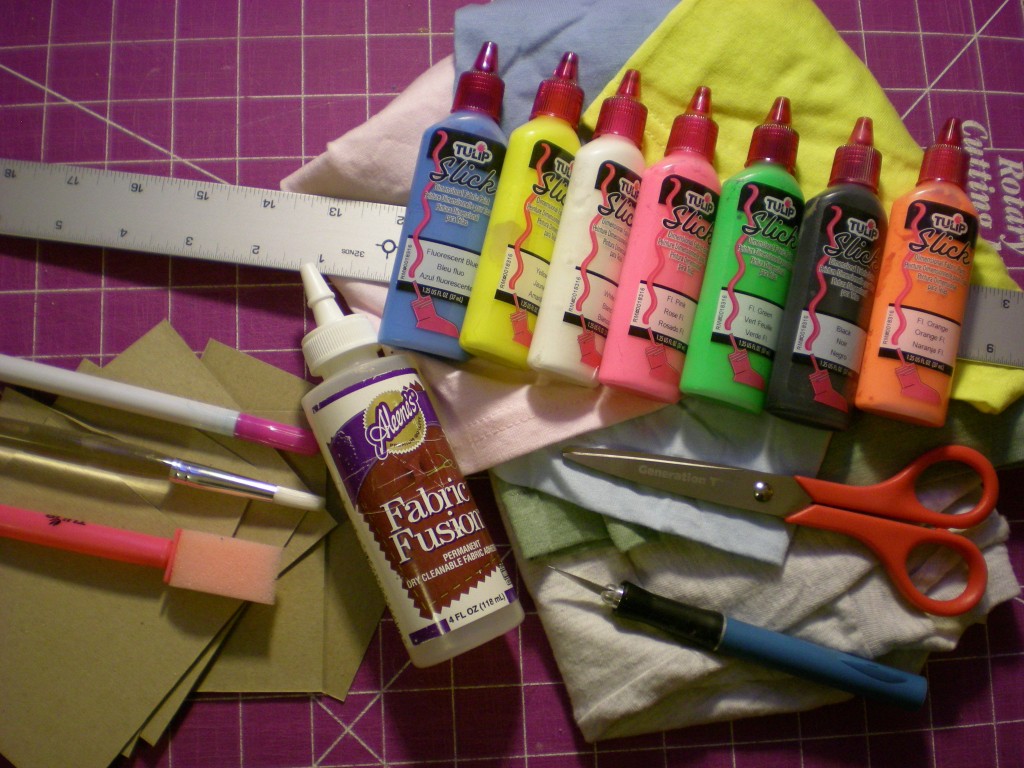
Materials:

-T-shirts or T-shirt scraps (in multiple colors)

-Scissors

-Ruler

-Craft knife

-Cutting mat

-Lightweight cardboard (cereal, snack, or tissue boxes work great!)

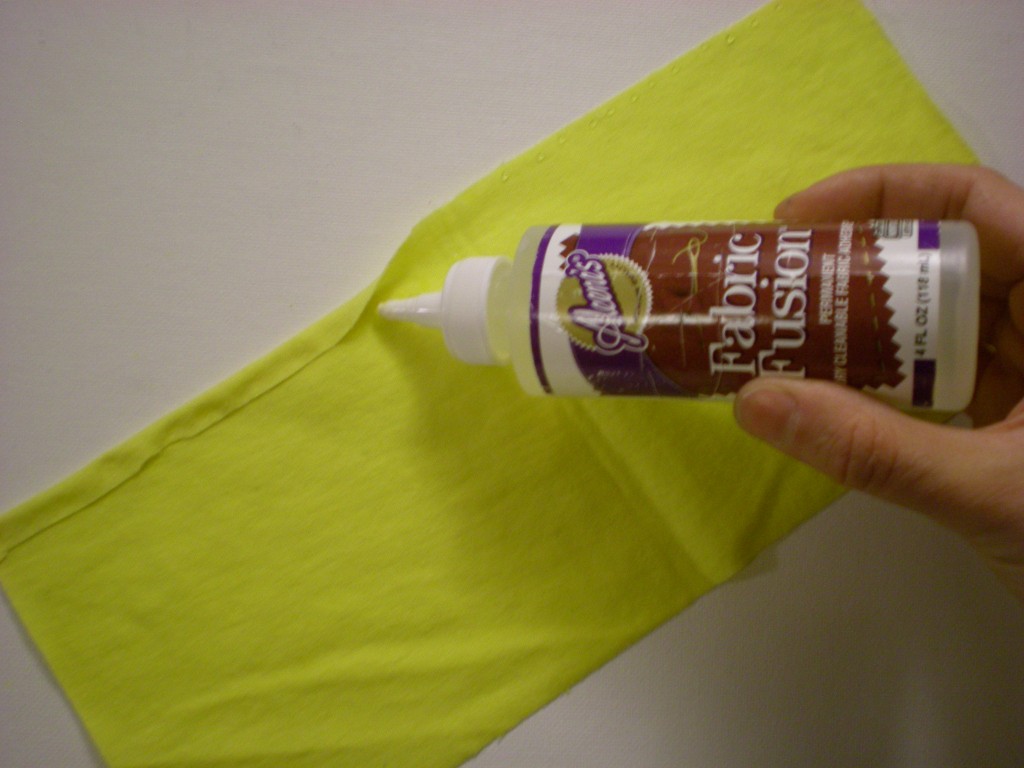
-Aleene’s Fabric Fusion Permanent Dry Cleanable Fabric Adhesive

-Tulip Disappearing Ink Pen

-Fabric paintbrushes

-Tulip 3D Fashion Paint Blazin' Brights (variety of colors)

-Clothespins (optional, for clipping in place while gluing/drying)


Make it:

1. Measure and cut one more 4" x 4" square of cardboard than there are letters in the baby's name. (Example: Elliot has 6 letters, so I cut 7 squares.) Then cut as many 5" x 10" rectangles from the T-shirts as there are cardboard squares.

2. Squeeze a small ribbon of glue along one long side of one of the fabric rectangles. Then fold over the edge about 3/8" and press. Repeat on the other long side.


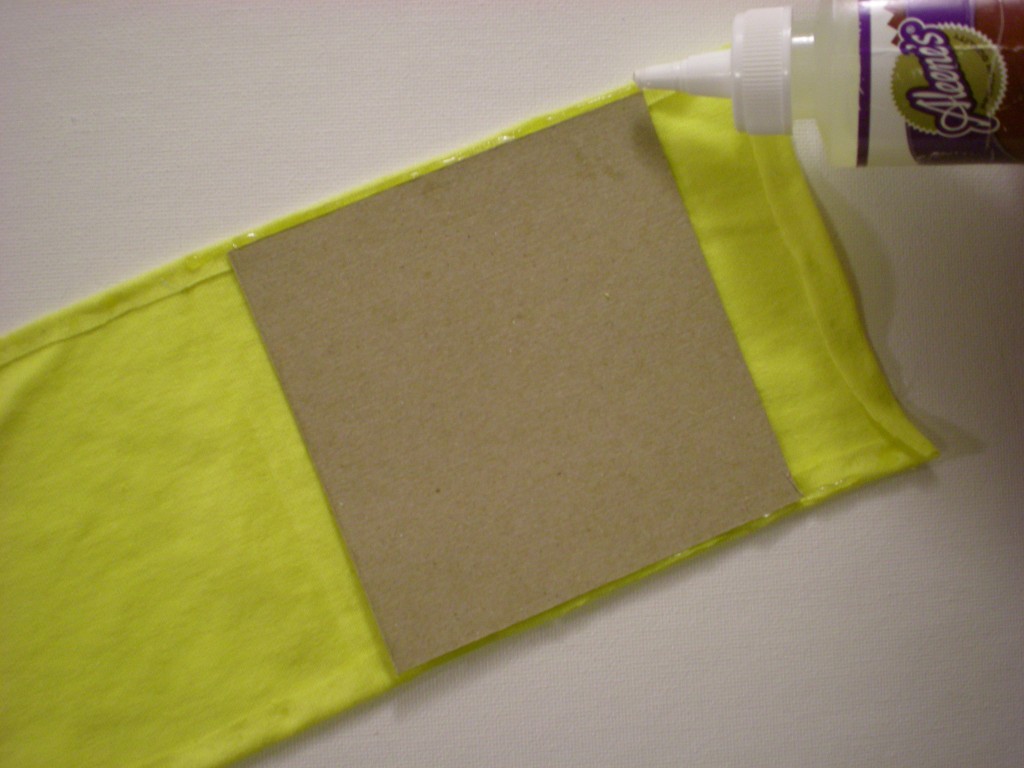
3. Find the center of the rectangle and line up one edge of one of the cardboard squares. Squeeze a small ribbon of glue along the fabric at the top and bottom edge of the cardboard.


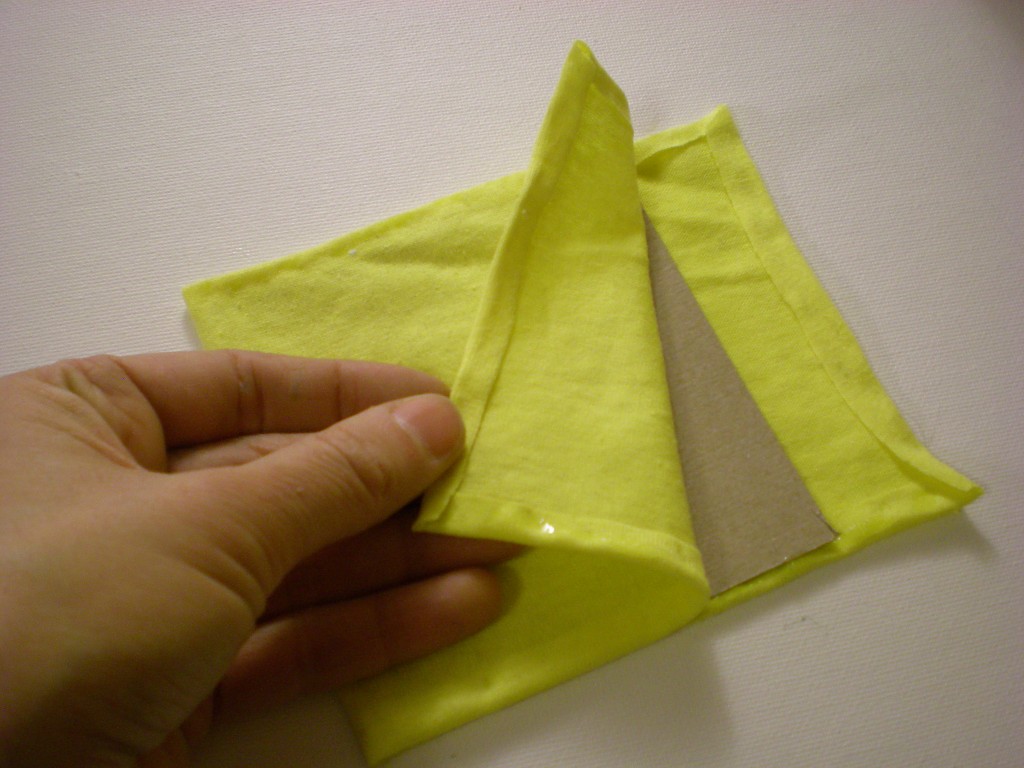
4. Fold the fabric in half, sandwiching the cardboard in between the layers. Press the glue into the edges to seal them. Squeeze another ribbon of glue against the cardboard and between the fabric layers on the open side. Press it closed.


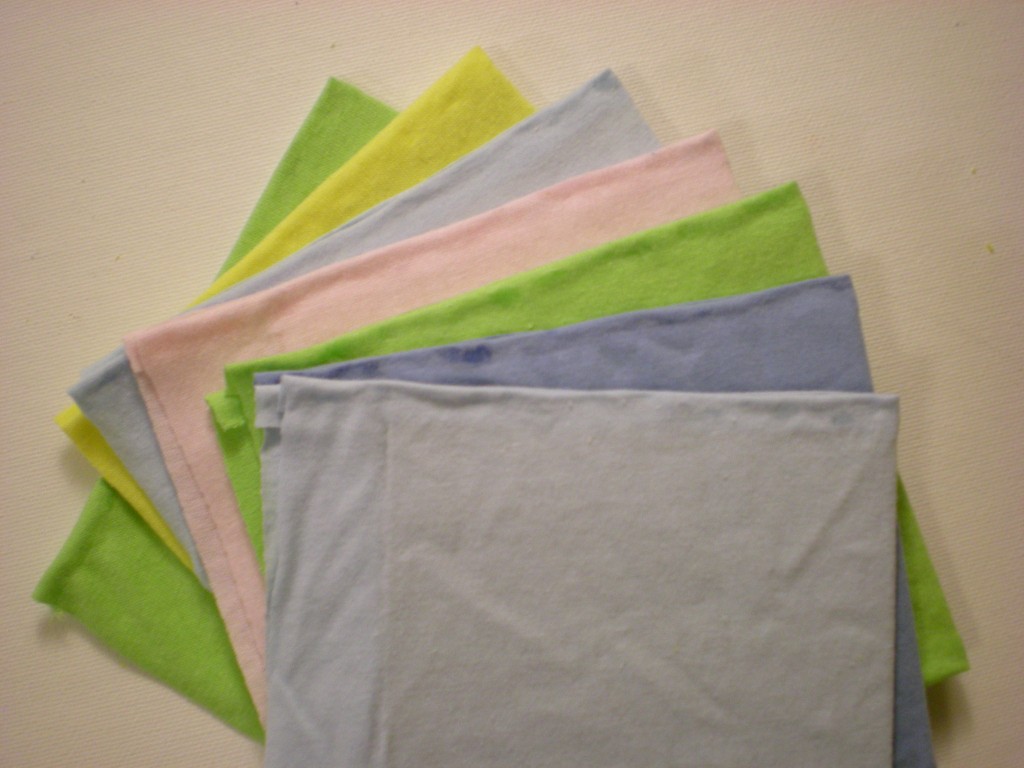
5. Repeat steps 2 through 4 until all of the cardboard squares are covered. These are the pages of the book.


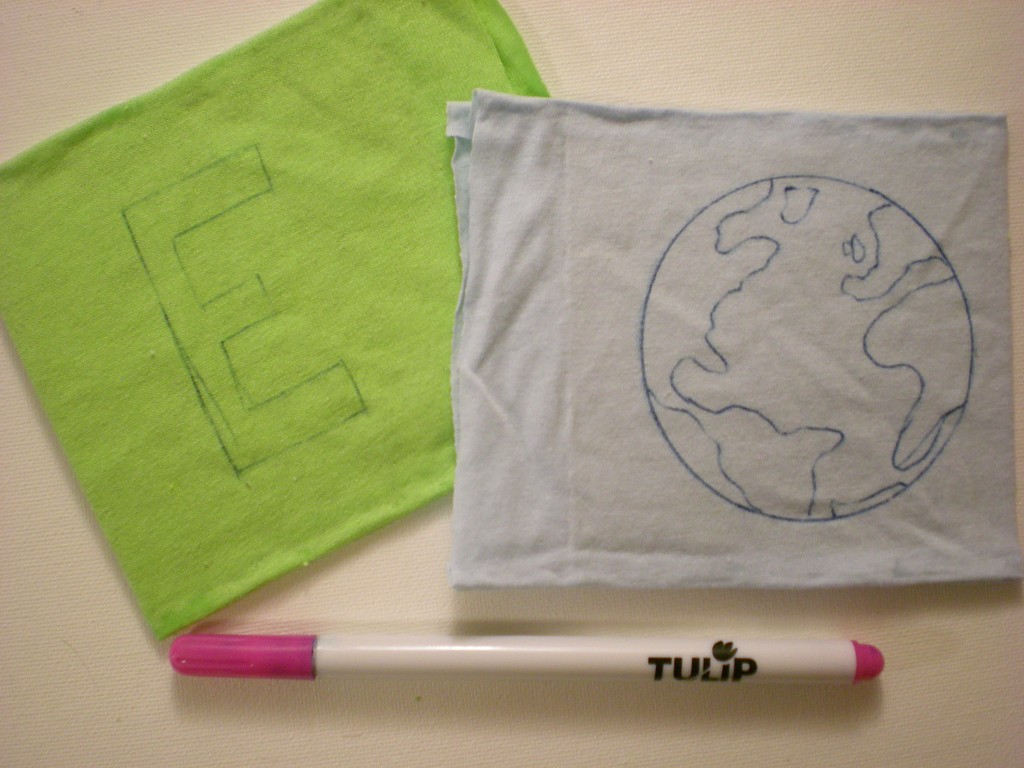
6. Use the air-soluble ink pen to begin outlining the letters and images on the book pages. (Or, skip this step and freehand them with paint--I outlined the earth, but skipped to painting for them rest.)


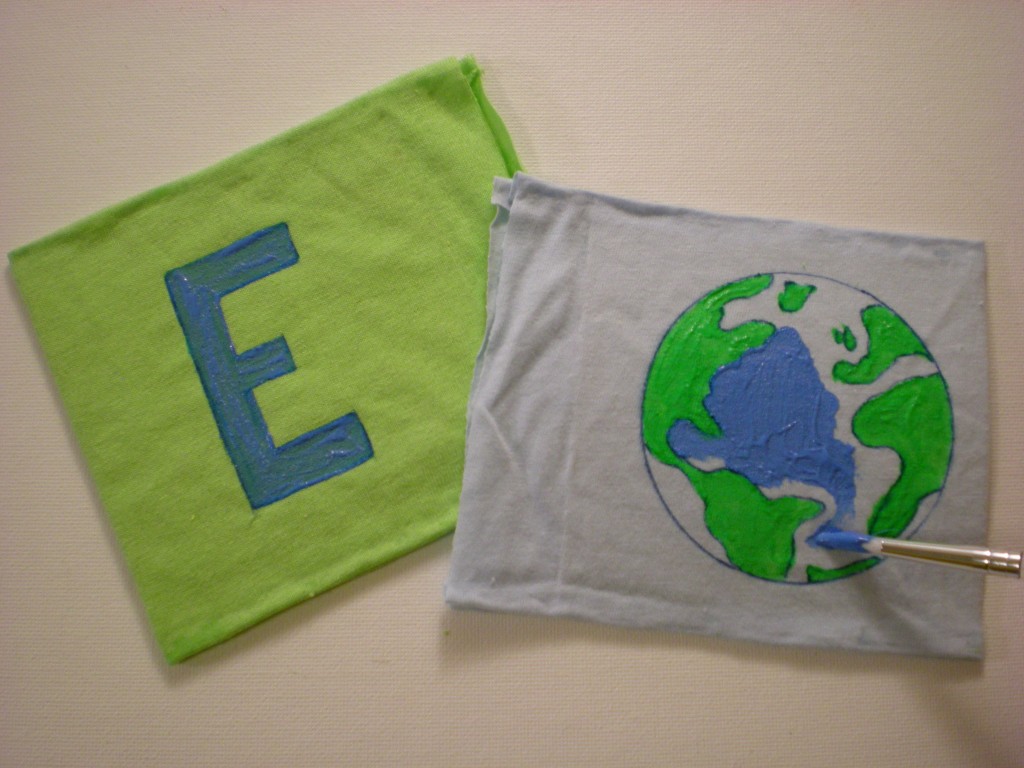
7. Color in the lines with fabric paint!


8. Paint all the right-folio pages first (including the front cover), let them dry, then paint all the left-folio pages, making sure you match up all the letters and images.


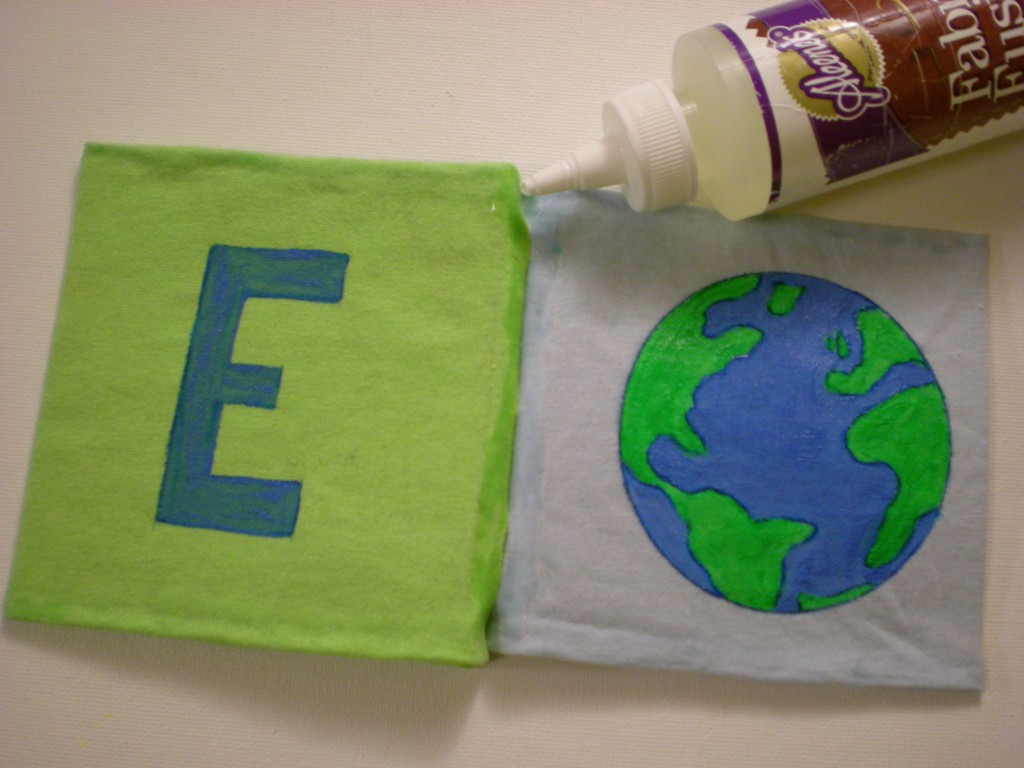
9. Trim the raw edges (the side of the pages that will go into the binding) down to 1/2". Then squeeze a line of glue along one of the edges you just trimmed and press it against the adjacent page. Keep gluing and adding pages (in the correct order!) until the book is complete.


10. Let dry completely. Optional: Clip the binding closed with clothespins while it dries.


11. Then it's story time! E is for earth. L is for light. L is also for love. I is for yummy ice cream. O is also for a delicious orange. T is for Tree (and Totally Terrific and....T-shirt book!).


Visit us on Facebook!
Craft on!Click here for today's daily giveaway!

Tuesday, October 26

Glow-in-the-Dark Ghoulish Tee


Here's a last-minute Halloween costume that easily transitions from day to night! Wear the T-shirt casually by day in all the sunny places, then skulk in the shadows at night and you'll take on an eerie glow. (A dark-colored tee ensures that the glow will be all the more dramatic.)

Materials:

-A plain T-shirt

-Scrap paper

-Sponge brush

-Tulip Neon Glow-in-the-Dark Paint in "Natural Glow"

-Black permanent marker (optional, for the stencil)

-Freezer or parchment paper (optional, for the stencil)

-Scissors (optional, for the stencil)


Make it:

1. Draw the outline of a skull (teeth, nasal cavities, eye sockets) on the stencil paper, then cut out the pieces. Insert a piece of scrap paper (like a paper grocery bag) between the layers of the T-shirt and lay it flat. Lay the stencil over the front of the shirt. (Note: If you're feeling brave, skip the stencil and freehand the design on the shirt.)


2. Squeeze out some glow-in-the-dark paint and generously sponge it onto the front of the T-shirt.


3. Cover the whole design evenly!


4. Peel off the stencil and let the paint dry completely.


5. Then slide out the scrap paper from between the layers and wriggle yourself in there instead. In other words, try on you shirt and find the light! (And pack a flashlight in order to recharge as needed throughout the witching hours.) I tried to take a cool picture of the glowing shirt in the dark, but alas, it proved too challenging for my weakling camera. But it looks SO ghoulishly good.


Craft on! Click here for today's daily giveaway!

Tuesday, September 21

T-shirt Covered Notebooks


Back-to-school means fall fashion and outerwear in some circles, but here, we're talking about the style inside your backpack. Take those old worn-out T-shirts languishing in the bottom of your dresser drawers and put them to work!


Materials:
-Old T-shirt
-Scissors
-Composition notebook or sketchbook
-Aleene's Super Thick Tacky Glue
-Squeegee-like hand applicator


Make it:

1. Lay the notebook open on the T-shirt (preferably over the logo or design you'd like to feature). Cut through one layer of the T-shirt, about 2" outside the edge of the notebook.


2. Lay the T-shirt panel face down on your work surface. Apply glue liberally to the cover of the composition notebook.


3. Spread the glue evenly across the cover. Be sure to reach the edges, but avoid getting any glue on the pages!


4. Fold the T-shirt fabric over the front cover and press it evenly into the glue.


5. Flip the notebook over and spread glue over the spine and the back cover. Then pull the remaining T-shirt fabric over the back cover, smoothing any wrinkles. Let it dry flat.


6.
Trim the excess fabric to the edges of the notebook cover. With glue, touch up any edges that are pulling away from the fabric.


7. Repeat with tie-dye T-shirts, old concert shirts, your favorite (but threadbare) sports jerseys, and so on...until your notebooks and sketchbooks are as stylin' as the person who carries them!


Variation: If you don't have that perfect T-shirt with the perfect text on it (like the Dancil-McGriff Family Reunion "Fun in the Sun" from August 31, 1999 that I found at a thrift store in Florida), make your own! Use iron-on letters to express whatever sentiment you're feeling. Announce your alliance to a particular sports team, school subject, or just claim it as your own by spelling your name across the front.

Craft on! Click here for today's daily giveaway!
Clicky Web Analytics
Pin It button on image hover

Subscribe to our newsletter

* indicates required
I am interested in products and inspiration for...
Close