I love the look of rolled fabric flowers. I love how easy they are to make even more. There are a million and one tutorials out there on how to make them, but I thought today for
I Love to Create I would add to the pile with a few new spins on the classic.
The basics of rolled flowers goes like this... Get a long strip of torn fabric that is about 2"s wide. How big your flower is depends on how long your strip is. Be sure to tear the fabric and not cut it. The rough edges and stray threads are half the fun. Fold your strip in half wrong sides to wrong sides. When you first start rolling make your roll really tight and add a few drops of Fabric Fusion Glue. After the initial tight roll start twisting your fabric as your wrap it around the roll add
Fabric Fusion Glue as you go. Still confused?
My Sparkle has some really easy to follow step by step pictures.
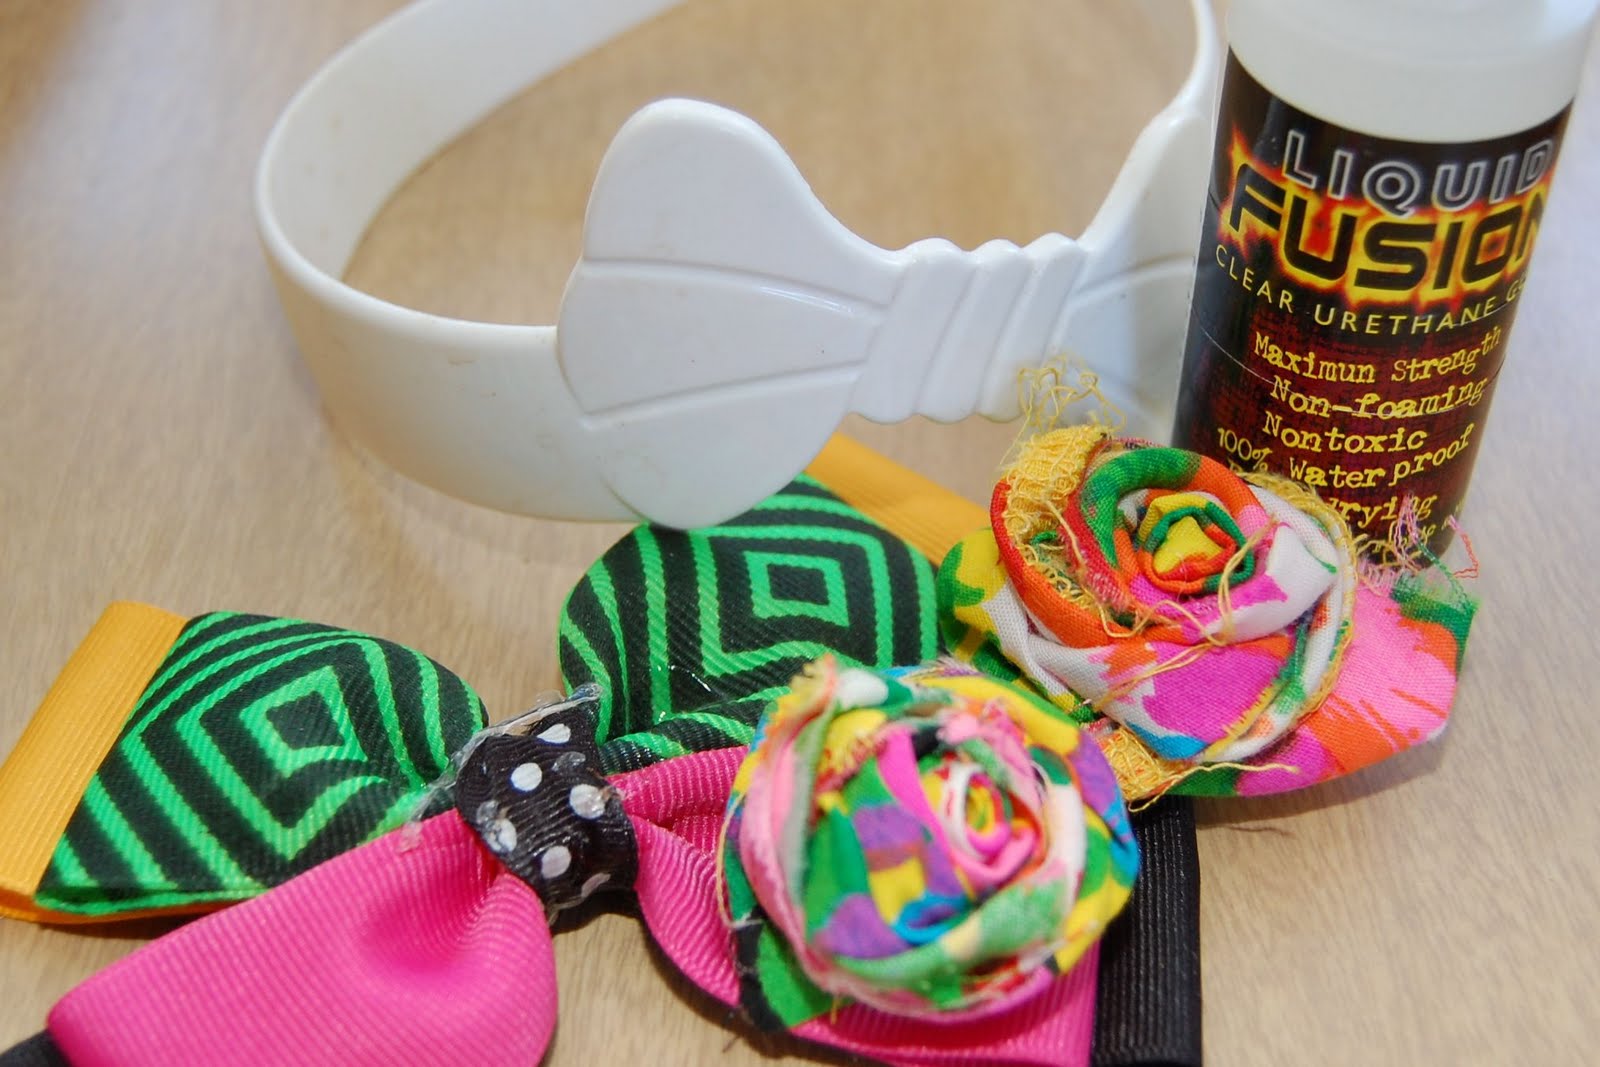
First there is the basic fabric flower. Just roll and go. That is exactly what I did to make a bright and kitschy headband. There is nothing wrong with using a solid colored fabric, but I prefer a pattern myself. You might recognize these flowers from the fabric I used to make my
suitcase lap top case. I just happen to have a slew of 80's bows I found at the thrift store and a white plastic headband on hand.
Put them all together and that is where the hair magic happens. I used
Liquid Fusion Glue to attach the bow and flowers to the headband.
Another popular motif with the rolled flowers is the bib necklace. This is where I first spied rolled flowers and it was true love ever since.
I made my rolled flowers just as before, but this time I wrapped them in colored thread and coated the bottom with Fabric Fusion Glue a second time to keep the thread in place. I love the way the teal, yellow and hot pink pop against the black and white flowers.
After my flowers were ready I used Liquid Fusion Glue to attach them to a black bib.
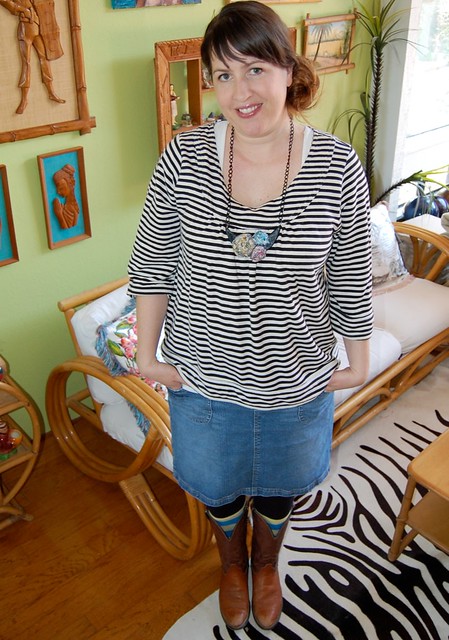
All that was left to do was add a couple of jump rings and black chain.
Crazy quilts + rolled flowers = true love 4/ever. I decided to make my own fabric my using Fabric Fusion Glue to attach several small squares of fabric. Once the glue was dry and I had a long strip of patchwork fabric that I rolled into a flower.
Somewhere along the way I picked up this vintage piece of sequined floral felt. I cut out the leaves to use with my patchwork rolled flower and saved the flowers to use on another project.
Ta-da patchwork rolled flower hair clips with sequined felt flowers. Speaking of felt, special shout out to
Jen from Hell Razor for sending me the adorable mustard hair bow.
I have to say this is my favorite one out of the bunch.
For my last trick I thought I would tweak the technique I used to make
ribbon flowers. Tear a strip of fabric and slather with
Tulip Soft Fabric Paint randomly.
Tulip Spray Dye would work well too.
Once the paint is dry roll into a flower and secure with Fabric Fusion Glue. I decided to make this flower into a pearl encrusted brooch.
Are you excited to get your flower roll on? Can you hardly wait to rush out and start ripping, rolling and gluing fabric strips? I warn you they are addictive, which is ok since they are really easy.

Check out more I Love to Create projects by Jennifer Perkins
right here.
Visit us on Facebook!
Craft on!
Click here for today's daily giveaway!

.JPG)