Showing posts with label DIY Headband. Show all posts

Tuesday, September 3

Bitty Bow Headbands (No Sew!)


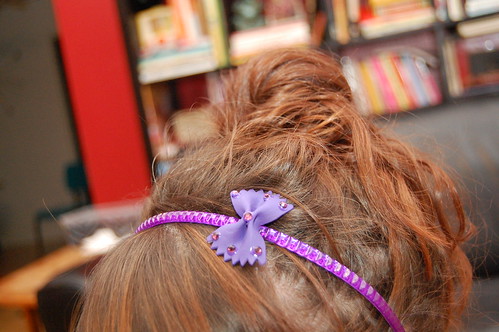
Now that I have a baby girl it's been fun to throw in some girly projects among all the boys projects I'm usually working on.  These little headbands are super easy to make and don't even require sewing.
They add a little girly flair to any outfit.  Here's my little girl.  She's almost 3 months old and I love putting a headband on her with her crazy hair flying out all around it.
 

Tuesday, September 25

Happy, Shiny Pixie Headband!

I attended a photo shoot recently and was inspired to make this headband after I saw a similar one in the stylist's stash of goodies! While hers was glittery gold and mine is iridescent (I also doubt that hers was fashioned from an old T-shirt sleeve), it's the Lady-liberty-inspired shape that's so compelling to me.
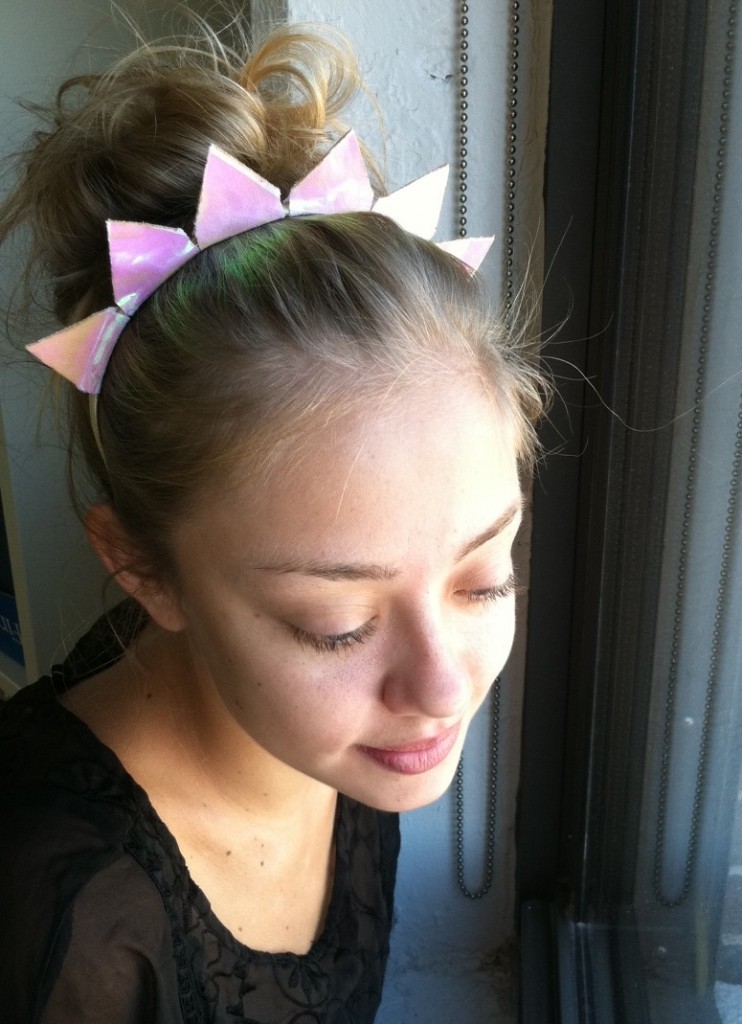
I mean, it's so bright and sunshine-filled (and a little prehistoric?), and I have to admit, though I was begging for cool temperatures back in the heat waves of July (and couldn't be happier that nature has complied!), the shorter days are already threatening to change my mood. I'm already missing the sun! This happy, shiny, pixie headband brightens up the day wherever you are.

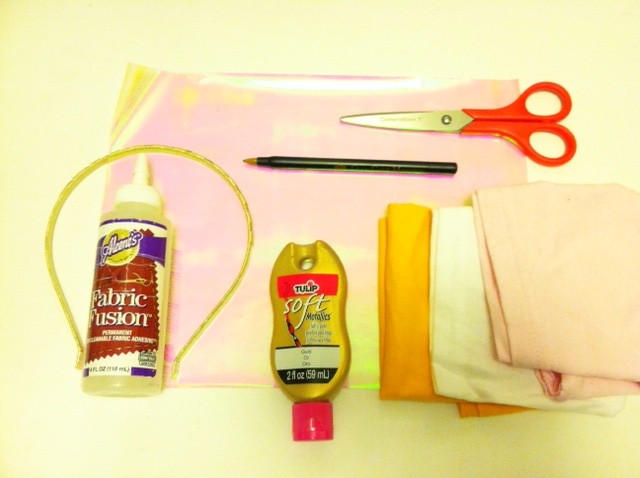
Materials:
-T-shirt sleeve (or T-shirt scrap of equivalent size)
-scissors
-Tulip Fashion Glitter transfer sheets
-ballpoint pen
-ruler
-Aleene's Fabric Fusion
-warm iron and pressing cloth-blank headband (preferably metal rather than plastic)
-Tulip Soft Fabric Paint in gold metallic (optional)
-toothpick (optional, to use as a paint applicator)

Make it:
1.
Cut out the underarm seam of the sleeve, and lay it flat, right side up. Measure, mark, and cut two 1 1/4"-wide to 1 1/2"-wide strips from the iron-on transfer sheets.
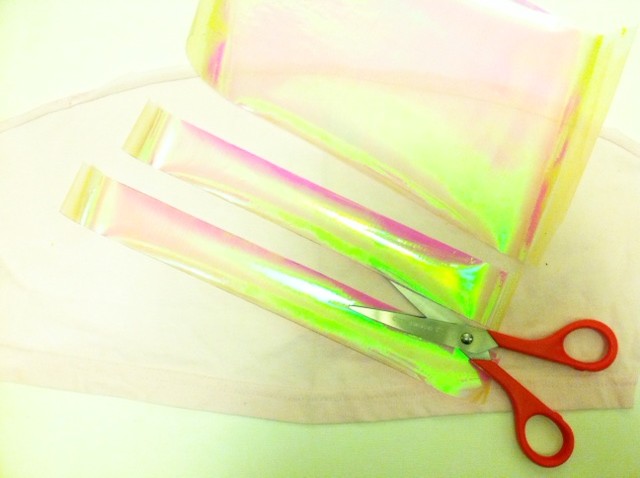
2. Sandwich the two strips together and cut out a series of triangles from one edge (through both layers), leaving a zigzag that runs the width of the strips.
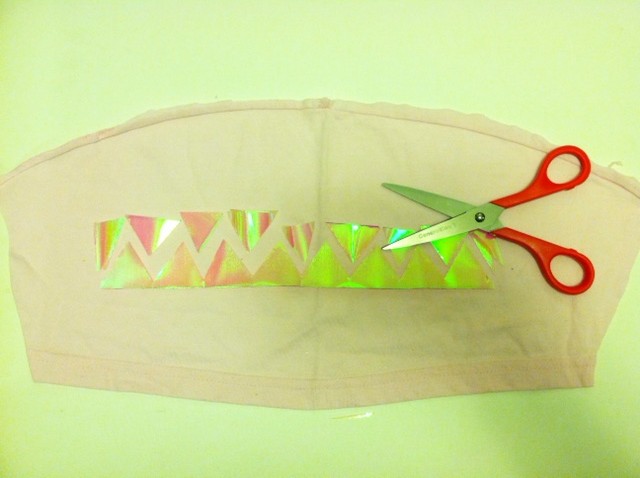
3. Separate the strips and align them along the straight edges, about 3/8" apart. Use a pressing cloth and iron the strips onto the fabric.
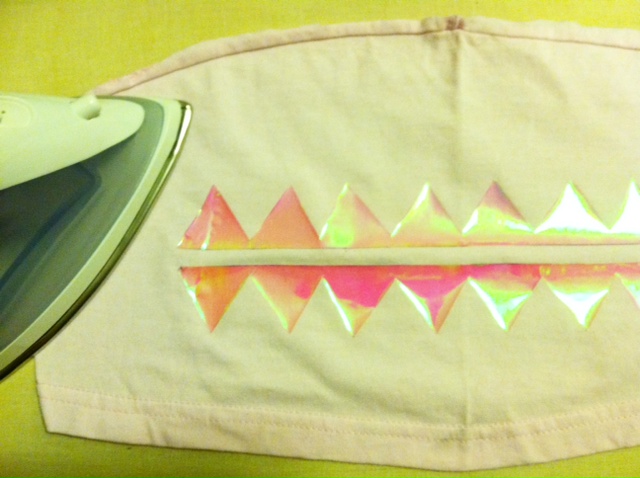
4. Make parallel cuts through the fabric, separating each pair of triangles from the row of zigzags.
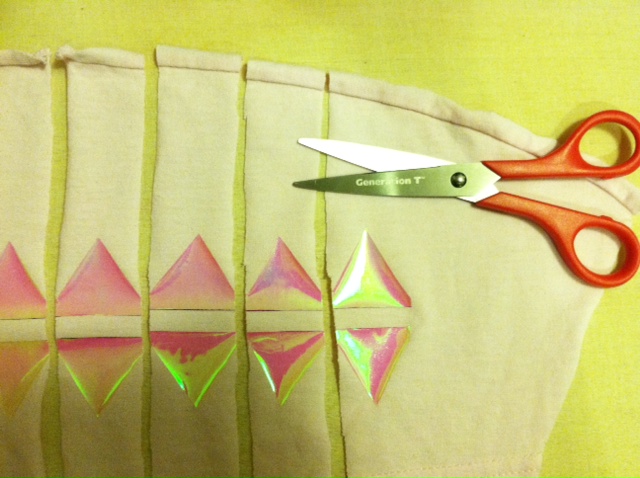
5. Determine how many rays of sunshine you'd like (I debated between 5 and 6, and ultimately went with 6), and arrange them evenly around the arc of the headband. Working one ray at a time, spread fabric glue evenly along the inside of the headband, and wrap the flexible fabric piece around the headband, lining up the triangles. Apply glue evenly to the inside of the strip of fabric and press the triangles together (the triangles should seal beyond their edges).
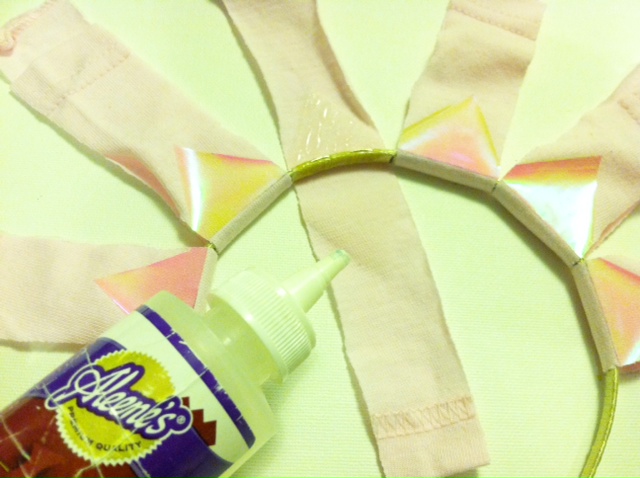
6. Finish gluing each ray, and let them dry flat. (Note: If the fabric is pulling apart, use a clothespin or paperclip to pinch it while it dries.)

7. When the glue is completely dry, trim the fabric to the edges of the triangles.
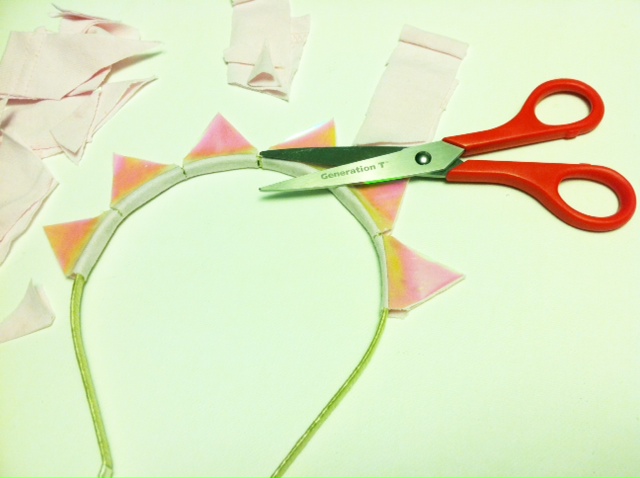
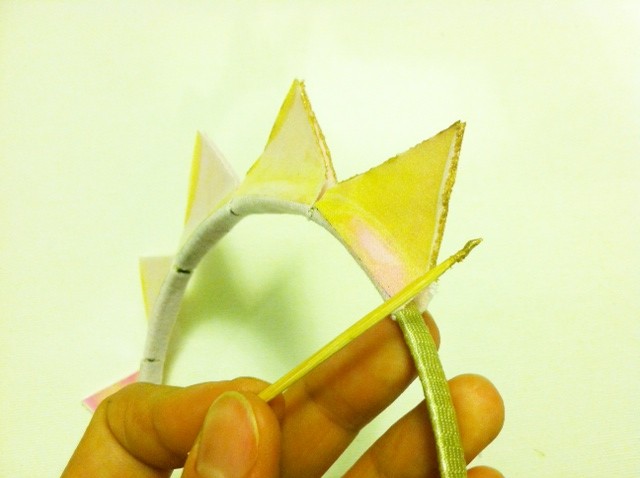
8. As an optional finishing touch, apply the metallic paint carefully with a toothpick along the fabric edges of the rays. Let it dry.
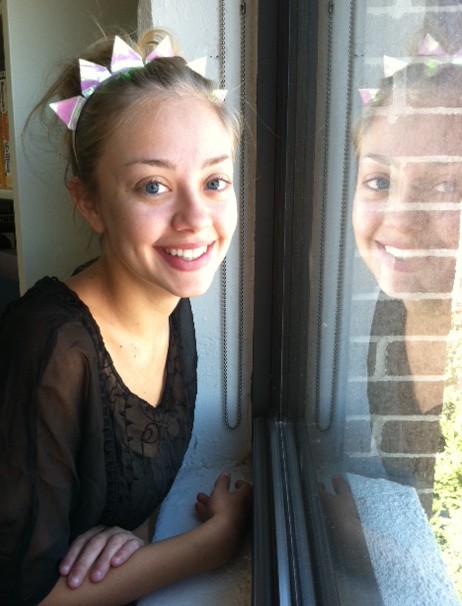
9. Try on the headband to spread a little sunshine both indoors and out!
Thursday, August 9

Pretty in Pasta Headband

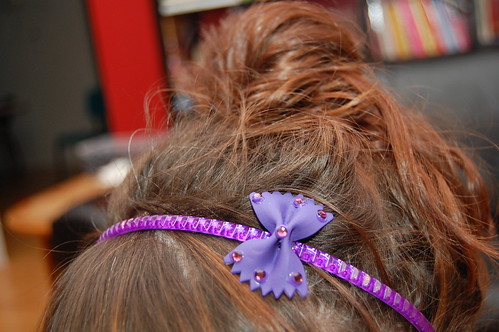
Tallulah and I have been on a pasta painting kick lately. Some people make their noodles into necklaces around here we have been working the hair clip angle. Today for I Love to Create I'll show you an updated spin on noodle art.

SUPPLIES

Bow Tie Pasta

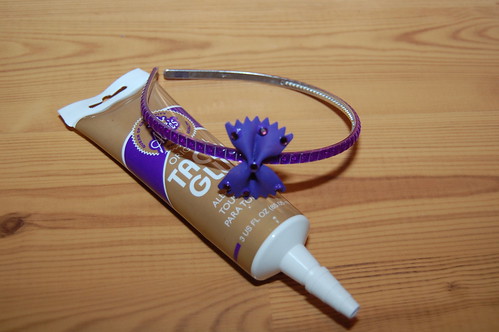
Aleene's Tacky Glue

Headband

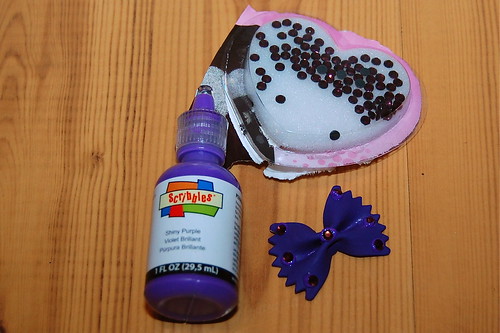
Tulip Glam-It-Up Iron On Crystals

Scribbles Paint

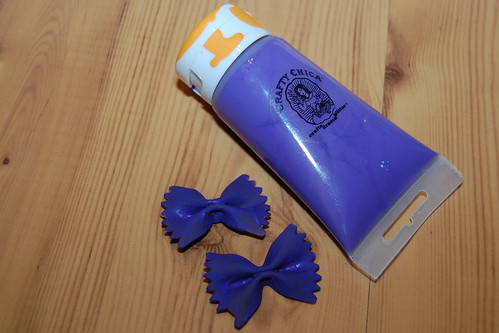
Crafty Chica Paint

Finding the right paint to stick to your pasta can be tricky. I used two coats of Crafty Chica paint on my noodle.

Once my noodle paint was dry I went in with Scribbles paint and Glam-It-Up Crystals to add a little sparkle.

Once all the paint was dry using Aleene's Tacky Glue I attached my little bow to the side of my headband.

Who says that you can't be pretty in pasta?

Tuesday, July 3

DIY Muslin Hair Scarf

Recently I chopped off my hair (like over 12 inches), and I've been playing with some different hair accessories.  Do you know those muslin swaddle blankets that are all the rage right now?  They are really lightweight and have a bit of stretch to them.  Well, I thought that same fabric would make the perfect hair scarf.  Why?  Because it's super duper light weight (making it cool and not hot),  it doesn't shift around like a silky scarf, and it has enough stretch to make it comfy.

I made a couple versions.  The first was neon, since neon is everywhere right now and the second was more neutral.


Muslin (a.k.a. cotton gauze) can be purchased at your fabric store, but it doesn't usually come in a lot of colors and I couldn't find any prints.  Enter Tulip fabric markers.


But let's not put the cart before the horse.  Here are the sewing details.  I purchased 1/8 of a yard which was $.87.  I took it home and cut it to the size I wanted, leaving room for seam allowances.  I folded over the edge twice and sewed it.  This fabric tends to stretch so I set my tension lower to accommodate that.  


If it's a little wavy when you're down don't fret.  It'll be fine when you stretch it to tie it on.


For the next step, you can really just doodle and have fun.  I used Tulip Fabric Markers in neon.  They don't make the fabric stiff and they are easy to use.  I usually hold the fabric tightly with my left hand and draw with the other (though you can't see that below because I'm holding the camera in now hand).  I changed up the colors as I went.


For the more neutral scarf I used Tulip's Big Phat Fabric Markers.


I love using these like a stamp.  You can make "X's" or a checkerboard pattern or a brick pattern like I did here.  I kept a plate under me to make sure I didn't color my table.


I made the neon scarf shorter and wider to I could just knot it.


I made the neutral one thinner and longer, so I could tie it in a bow.


So, for 87 cents a piece and a little coloring fun you've got a new, fun look.


Tuesday, April 10

No Sew Headbands

While I love to sew, I also like to throw in a project that doesn't require sewing because it reaches a lot of people who might not have a sewing machine.  These little headbands literally took 2 minutes to make and I used old t-shirts to make them.  You can make them for any age person.


Just gather some old t-shirts and get out your scissors.  I used Aleene's Peel and Stick Tape, but you could also use fabric fusion as well.  (I just like the no mess of dry adhesives.)

Now, I don't like to give an exact length of the headband because not only are head sizes different, but every knit fabric stretches differently as well.  Some are super stretchy and others are more tight.  This measurement was for a small baby.  You need one rectangle big enough to go around the head and another to wrap your seam.


Once your rectangle is the right size you'll cut a piece of the Peel and Stick Tape.  It's sticky on one side and has paper on the other.  Once it's in place you'll peel off the paper....


...and it'll look like this.  It's a thin layer of sticky adhesive.


Make a headband by attaching the ends.


Gather where the seam is and use the other rectangle to wrap around the headband.  Use the tape at the end to secure it.


That's it.  I was serious about the two minutes.  These are super comfortable for a baby, with no seams to even irritate them.  Plus, knits are so soft and they don't fray.  I plan on making a larger one for myself.


For the second headband I did everything the same, except I added an additional rectangle of fabric on the headband to look like a bow.


Then I decided to add some life to the knits by stamping them with fabric paint (same paint, but a new bottle).  I used the top of an eraser and pounced it all over the headband to create polka dots.


This way if it's a baby headband, there won't even be anything on the inside to irritate the skin.  The paint is all on the outside.


And there you have it.  You can use up some scraps or t-shirts AND have a few new headbands in a few minutes.


Thursday, July 14

Digi Scrap Headband


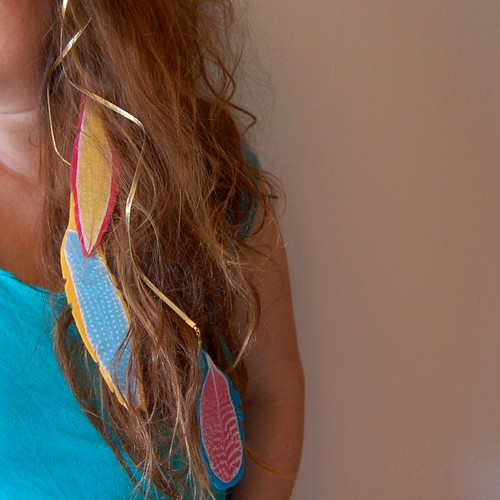
I have recently started dabbling in the world of digital scrapbooking. It was only a matter of time before I made the leap into a hybrid project - AKA printing up digital scrapbooking images and making something tangible with them. This week I did it twice. I'm gonna show you how to make a headband today for I Love to Create and if you jump over to Craft Zine I'll show you how to make a feather hair clip.


SUPPLIES
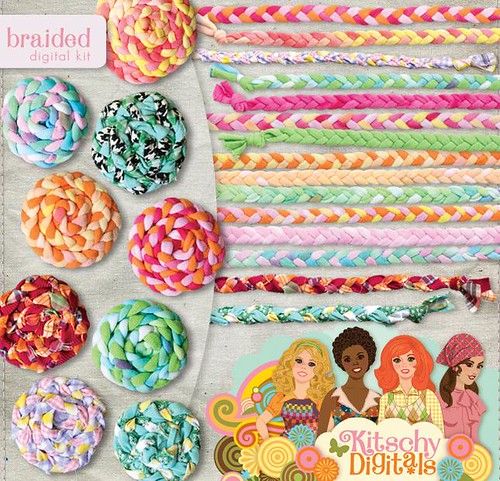
Braided Digital Kit by Kitschy Digitals
Fabric Fusion Glue
Printer Fabric
Felt
Scissors
Scalloped Edge
Stuffing
Piece of Cardboard
Embroidery Thread
Embroidery Needle
Headband
Clothes Pins
Cotton Fabric


The first thing you need to do is decide on which digi scrap item you want to work with. I have a bit of a craft crush on Danielle Thompson and her line of digi scrap goodies called Kitschy Digitals so I went with her Braided Digital Kit.


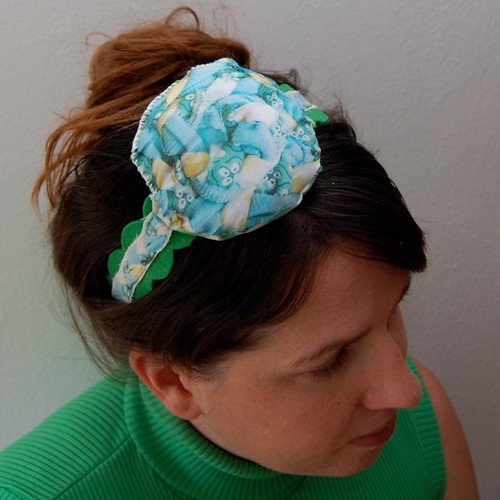
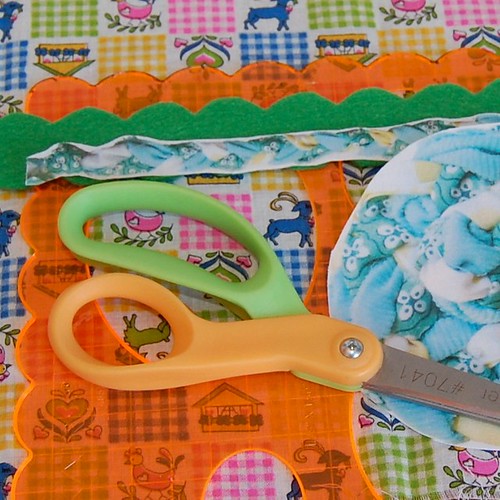
Using fabric that goes through your printer by June Tailor I printed up a braided rosette and braided strip for my headband. Next I cut my images out. Using a scalloped edge I also cut out a piece of green felt.


The next thing I needed to do was to stuff my braided rosette. I cut out a circle of cotton fabric that was the same size as the digi scrap rosette. I also cut out a circle of cardboard slightly smaller than the circles of fabric. Putting like sides of fabric to like sides I started stitching around the edges of the circle with embroidery thread. When the circle was about half way sewn up I inserted my cardboard circle to act as a flat base for my rosette. I continued stitching up the hole in my circle a little more and when there was only a small hole left I filled the little puff with stuffing. Once I had my desired amount of puff I finished stitching everything shut.


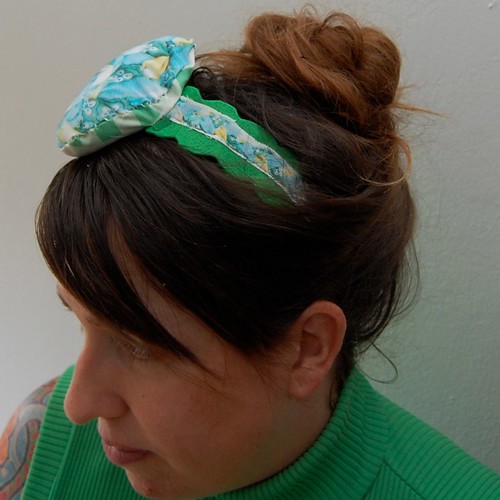
Now you should have all of your pieces. The first thing I did was glue my green felt to the headband using Fabric Fusion Glue. Once that was in place I glued my digi scrap braid on top of the felt. All that was left to do was use more Fabric Fusion Glue and attach my braided rosette.


I held everything in place with clothes pins while the glue dried.


My new headband is ready to roll. I love that I can use all these fun graphics in my digital scrapbooking designs and in my wardrobe. More bang for your buck right!

Have you done any fun hybrid projects with digital scrapbooking goodies? I'd love to hear about it and get inspired.


Visit us on Facebook!
Craft on! Click here for today's daily giveaway!
Clicky Web Analytics
Pin It button on image hover

Subscribe to our newsletter

* indicates required
I am interested in products and inspiration for...
Close