Showing posts with label recycled craft ideas. Show all posts

Thursday, July 26

Glittered Roller Skate Bookends

Everyone needs a pair of glittered roller skates in their life. They make great bookends, door stops, paper weights, meat tenderizers - they are virtually indispensable around the house. Now that you know you need a pair, let me tell you how to make them.

SUPPLIES

Rollerskates

Aleene's Tacky Glue

Yarn

Tulip Fashion Glitter

Scissors

Paint brush

Cardboard

Tulip Spray Fabric Dye
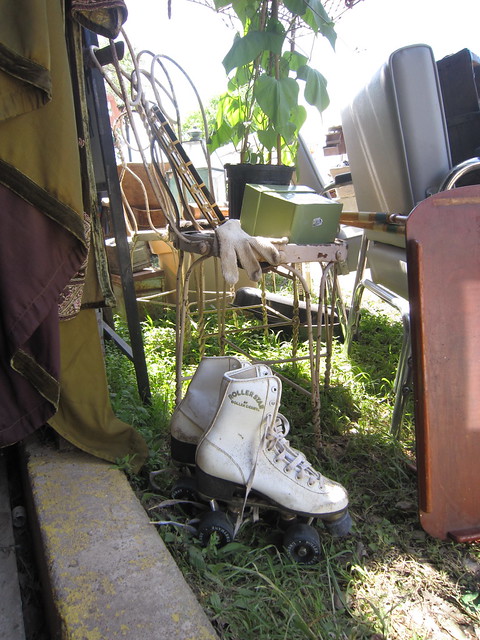
If you are lucky you will find a pair of vintage roller skates at the thrift store or a garage sale where it is a short walk to your car. I found mine at a hot outdoor flea market, nowhere near my car. However, I knew from the minute I laid eyes on them I wanted to glitter them and make a pair of bookends so it was worth it.
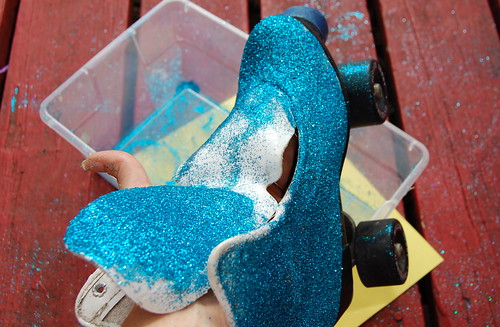
Covering your skates in glitter is really easy. Coat your skates in Tacky Glue and douse the wet glue with tons of glitter. I went with teal.
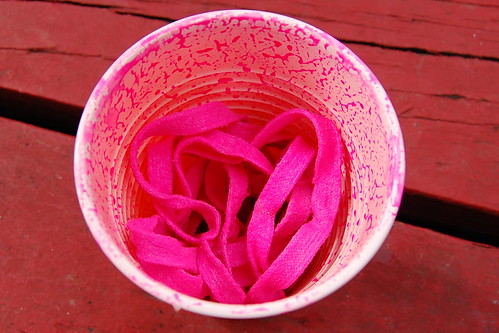
While your glue is drying dye your laces. I went with a neon pink. I put my laces in a plastic cup and sprayed until saturated.
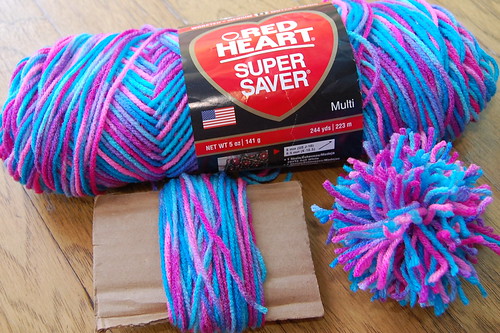
So now your glue and your dye is drying, let's make some yarn pom poms. Remember when you wore pom poms on your skates? Made doing the Hokey Pokey that much more fashionable. Wrap yarn in whatever color you want around a piece of cardboard 100 times. Slide the yarn bundle off one end. Cinch the bundle by tying a piece of yarn tightly around the center. Now with scissors go in and cut all the loops. You may need to trim your pom pom.

Once everything is dry re-lace your skate. My holes had some glue over them so I used a knitting needle to poke them through. You might also realize you need to go back in and do a bit of glue and glitter touch up once you dust off excess glitter and any bald spots are revealed. I also blew my skates with a hairdryer to get a little more glitter off. Using a piece of yarn or glue attach your pom pom to your skate.
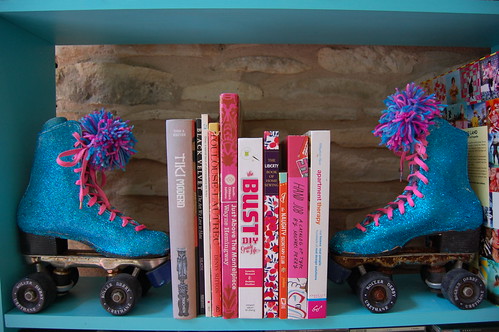
I'm kinda in love with my new skates. I suppose if they were my size I could actually still wear them to the rink. However, I prefer not to fall down in public so I will just keep them on my bookshelf.

Thursday, September 8

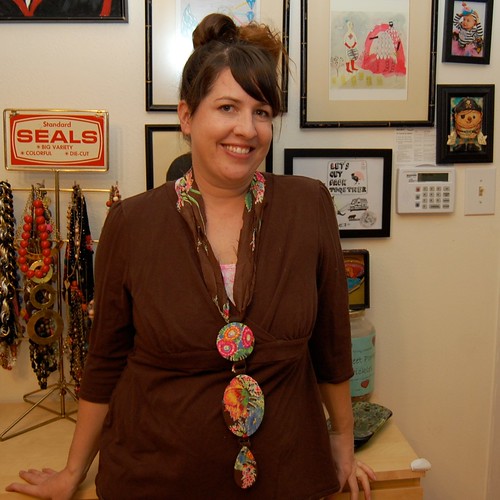
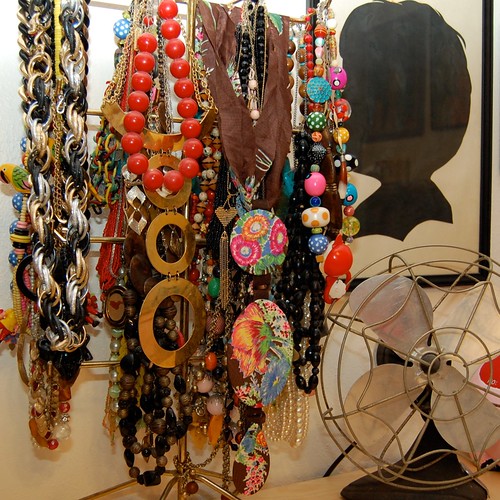
Funky Flower Scarf Necklace


I have oodles of vintage scarves, I'm not sure where they all came from or how I managed to amass so many. Did I mention I'm a bit of a hoarder? Ya, ok, so anyway...like I was saying I have a helluva lotta scarves. The funny thing is I'm not big on wearing scarves, unless they are in my hair. The problem with that is you can't always see the fun patterns and colors. What I am big on is wearing is jewelry. Recently I was looking at my scarf collection that I never wear and started thinking about what I could do.


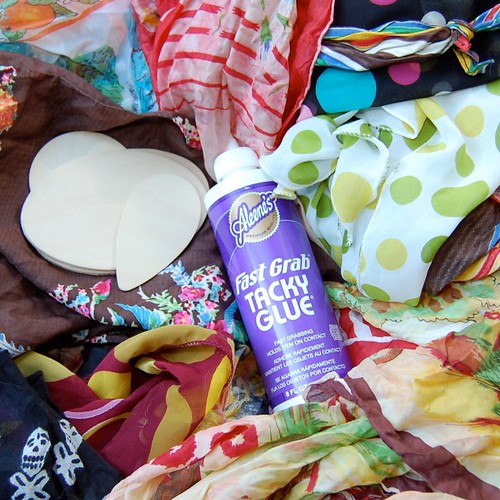
SUPPLIES
Scarf
Wooden Discs
Aleene's Fast Grab Glue
Scissors
Hot Glue Gun
Felt
Clothespins


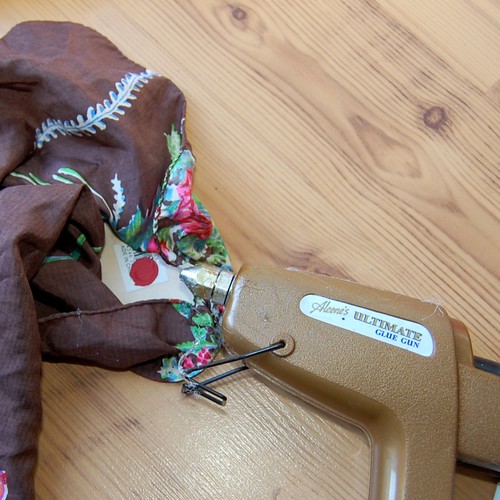
Doing one wooden piece at a time wrap with bits of scarf and adhere to the back of the disc with a hot glue gun. I used a hot glue gun so I could pull the fabric taunt and have it adhere quickly.


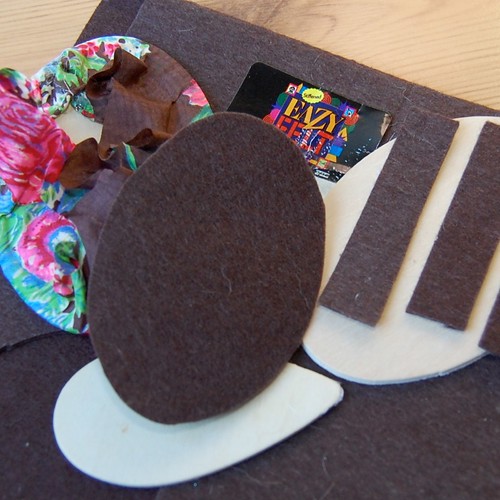
You will be using felt to cover the raw edges on the back of your wooden discs and also to create loops to connect the discs. Cut pieces of felt slightly smaller than your wooden discs and also 5 rectangles to make into hoops.


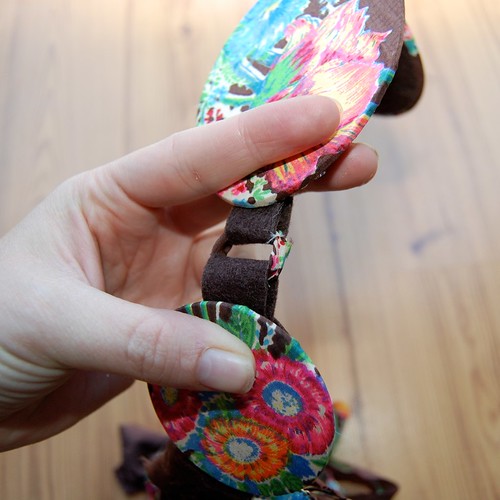
Fold your strips of felt in half and glue together to make a loop. Glue the loops to the back of your wooden discs using Fast Grab Tacky Glue.


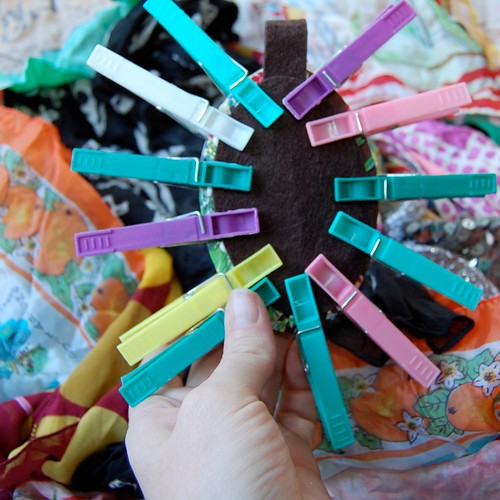
After you have attached your loop to the back of your wooden disc add your large piece of felt using Fast Grab Tacky Glue. This should cover the raw edges and give your piece a finished look. I like to use clothespins while waiting for the glue to dry.


The rest of you scarf will make the strands of your necklace. How long you make your necklace is up to you. You will also need 3 small thin pieces of scarf to connect the pendants.


Using thin pieces of scarf connect your pendents. I just tied the pieces in a double knot and added a small dab of Tacky Glue to hold in place.


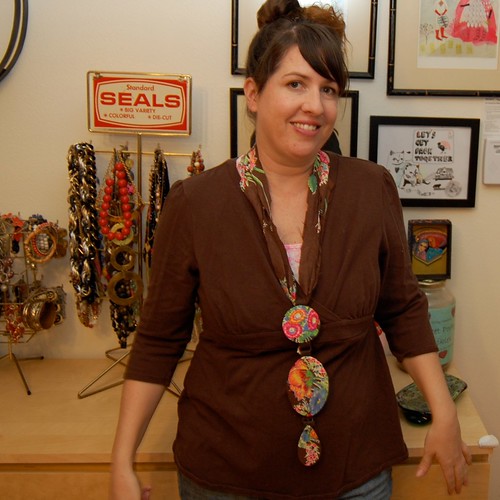
Run your long scarf pieces through the top loop in your pendant. Tie a knot with the ends of the scarf to make into a necklace.


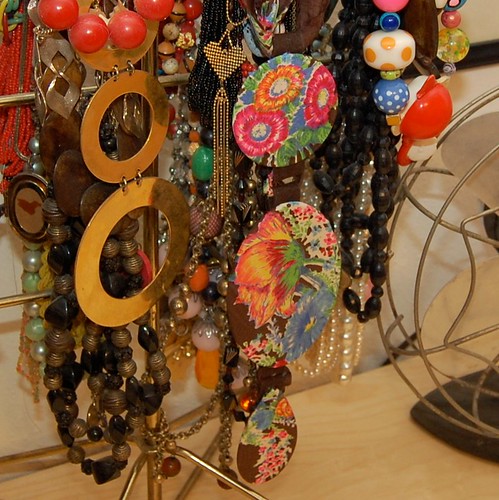
Nothing says you have to make your necklace as big as I did. You can find wooden discs in all shapes in sizes at the craft store. Also the same necklace can be made using your favorite shirt, fabric scraps, quilting squares - you name it.


Check out more jewelry related posts right here.

Visit us on Facebook!
Craft on! Click here for today's daily giveaway!

Thursday, August 25

Thrifting with a Crafty First Aid Kit


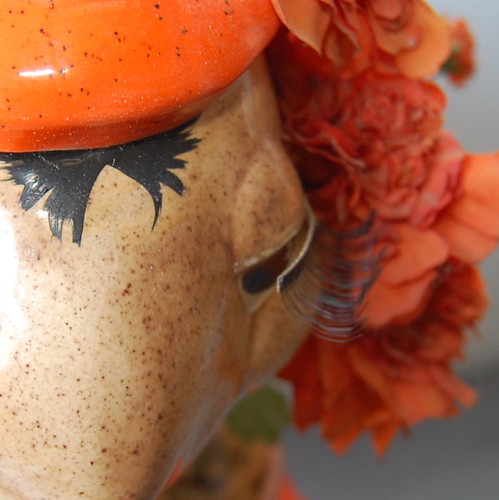
I can't tell you how many times I have seen something at a thrift store or flea market, fell in love and then realized it was damaged. Stained clothing, chipped paint or in my case peeling eye lashes *insert sound of needle scratching off a record here* yup I said peeling eyelashes. A stash of handy craft supplies is all that stands between you and perfect thrift store scores. Today for I Love to Create, I'll give you a few of my recent examples.


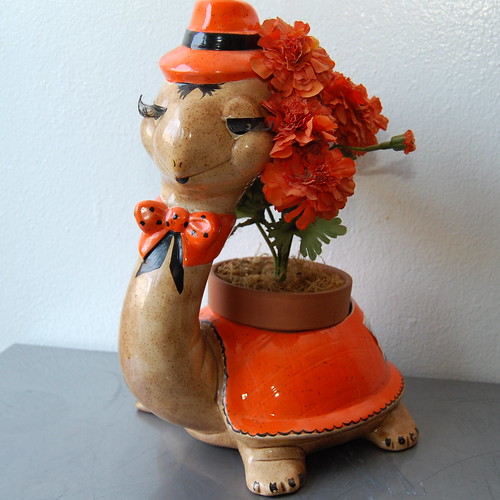
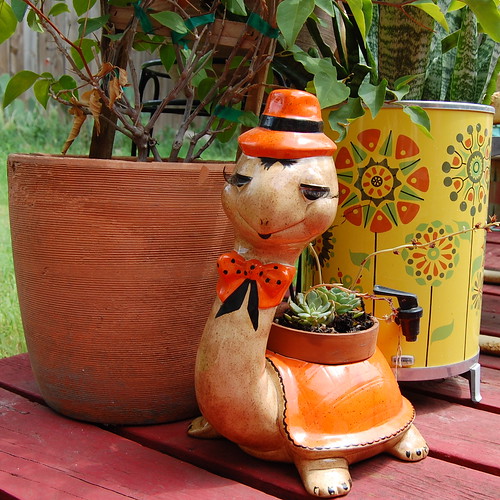
Hello Mr. Turtle Planter, when our eyes met it was kitsch love at first site. It was one of those moments where I could not grab him off the shelf quick enough for fear someone lurking nearby would swoop in and steal him from me. Needless to say there was no one around, but if there had been they would have surely wanted Terry I know it.


ANYWAY - Terry looks like he has had a bit of a rough night and is losing some of his eyelash glue. My first instinct was that he was damaged and I should not buy him since the lashes were one of the selling points (as if the bow time and hat were not enough). Then I thought to myself with a quick touch up using Tacky Glue Terry could be restored to his once glamourous self.

I recently started to notice that at the thrift store there is a distinct lack of clothing in 2T and 3T. Anyone who has a toddler knows why, clothing rarely makes it through toddler-hood unscathed. I can't tell you how many pieces of clothing Tallulah has ripped, stained and torn.

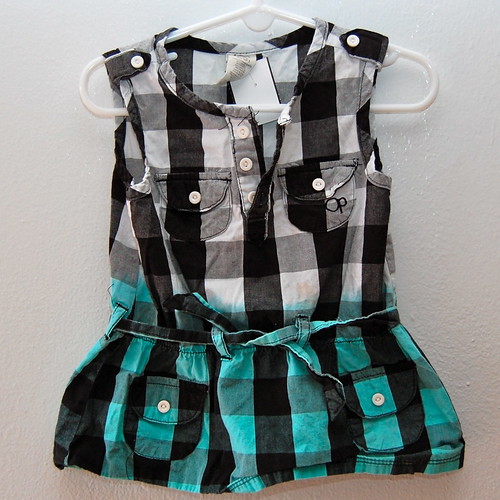
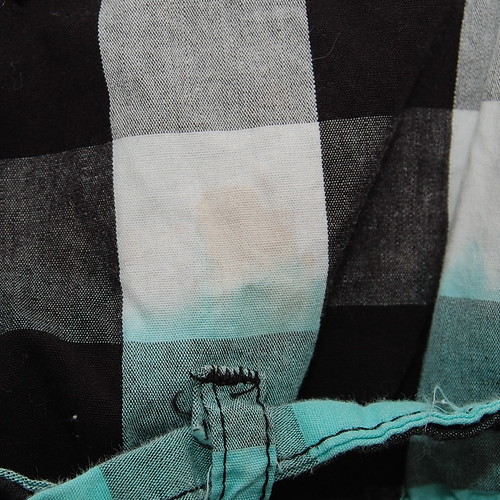
That being the case my theory is that there is hardly ever any toddler clothing worth donating to be much more than a rag. When I found this little black, white and teal top I was so excited at it's cuteness. I was not so excited about the small stains.


A few squirts of Tulip Spray Paint and I not only continued the ombre dye effect I also covered the stain and made the shirt even cuter. With Baxter venturing into the world of solid foods I expect I will be covering lot's of stained onesies with a quick dye job fix.


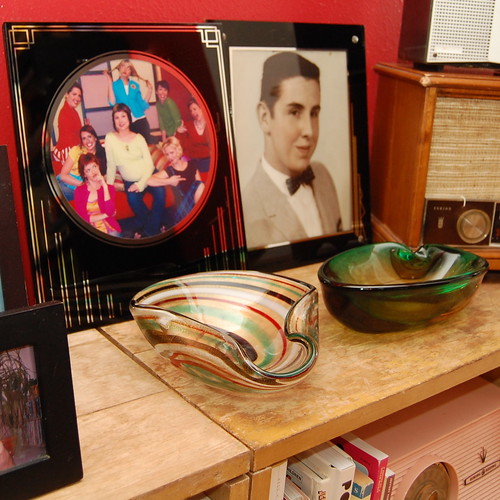
I love vintage glass art deco picture frames, the problem is finding them in pristine condition is not always an easy task. The frames often time are chipped and missing paint.


Never again should you snub a frame of any kind for a little chipped paint. All you need is a little Crafty Chica Paint and chips be gone.


Next time you find a second hand treasure that looks like it was loved a little too hard don't turn it away. Think of your crafty first aid kit and how you can easily make it new and improved!

Visit us on Facebook!
Craft on! Click here for today's daily giveaway!

Thursday, August 11

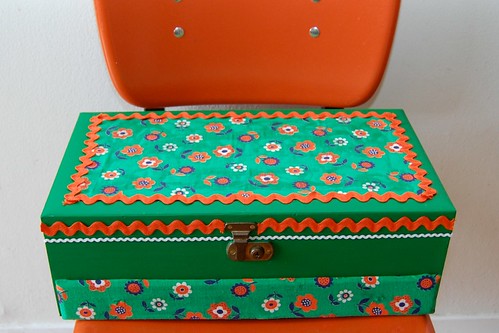
Recycled Reto-Style Jewelry Box


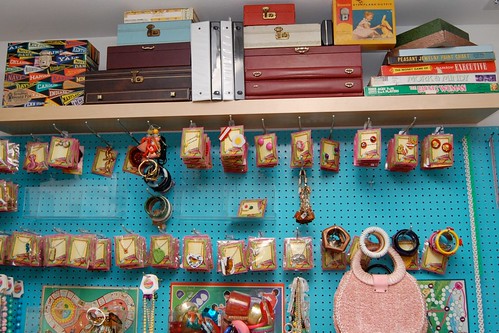
This is not my first time at the jewelry box re-vamping rodeo. Once upon a time I even sold them on my website. Lately, I have spotted several cute recycled jewelry boxes on Pintrest and Etsy that have my creative juices flowing. Flowing so much in fact I decided to revisit my stash of vintage jewelry boxes and see if I couldn't come up with something new and improved. My jewelry collection is always overflowing and I can never have too much cute storage for it.


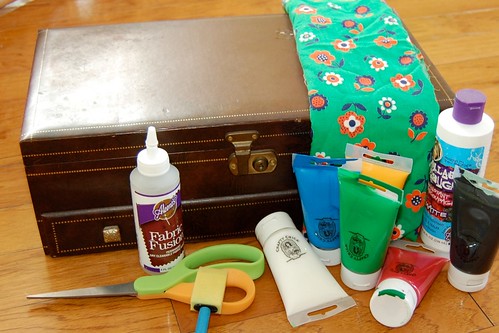
SUPPLIES
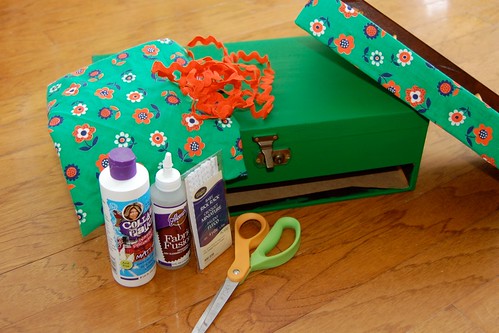
Jewelry Box
Crafty Chica Paint
Scissors
Paint Brush
Aleene's Tacky Glue
Fabric
Collage Pauge
Rick Rack
Pliers


At least every other trip to the thrift store I spot an old jewelry box begging for a face lift. I happen to have a small stockpile in my studio of a few that have called my name through the years. I opted for a large dark brown dude from the 1960's to re-do.


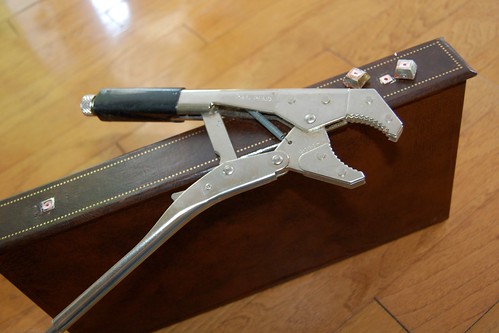
The only priming I did was to remove the drawer pulls. I needed a pair of pliers for this.


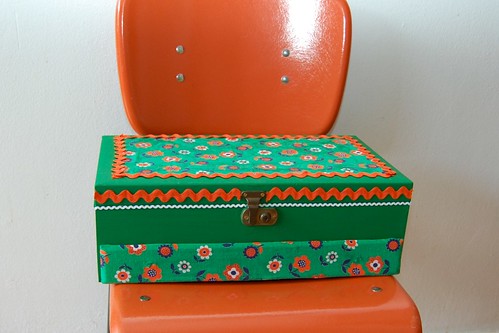
The first thing I did was using Crafty Chica Paint and a sponge brush applied several coats of green paint. Allow your paint to dry completely between coats.


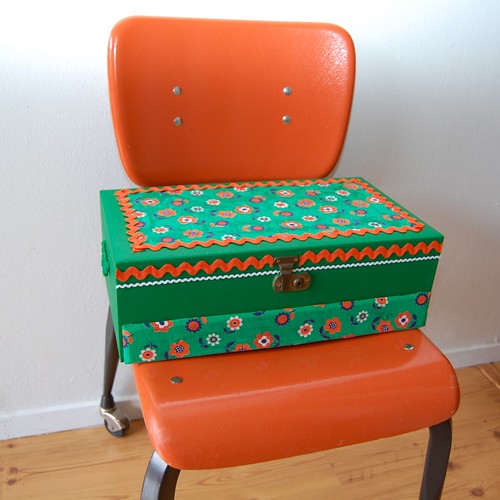
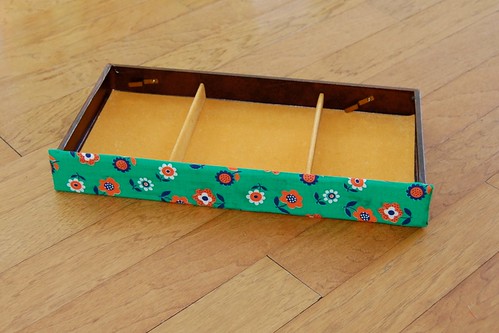
Once my paint was dry I used Collage Pauge to apply my fabric. I re-covered the drawer in my vintage fabric and added a large rectangle of fabric on the lid.


Paula Deen thinks everything is better with butter and I happen to think everything is better with rick rack. I applied the rick rick with a combo of Fabric Fusion and Quick Dry Tacky Glue depending on what surface the rick rack was touching.


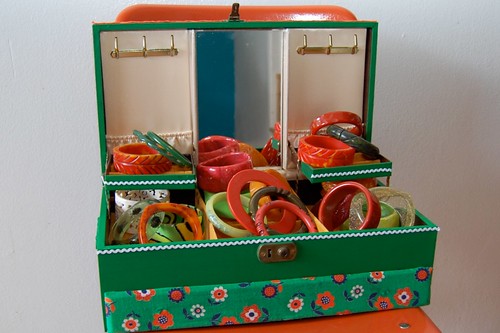
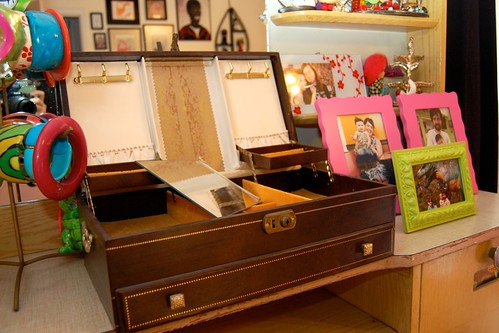
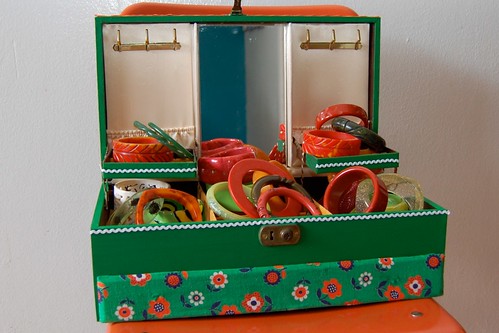
My new and improved jewelry box houses my Bakelite collection perfectly. I like the idea of being able to color coordinate my jewelry with my jewelry box. Ya, I've been accused of being too matchy matchy in my day - so what.


Check out more I Love to Create posts here. Be sure to check out my series on jewelry displays and boxes - Journey Through a Jewelry Box Flickr Faves, How Ya Hanging - Jewelry Displays of Crafty Ladies, Jewelry Displays in Books and Making Your own Jewelry Display.


Visit us on Facebook!
Craft on! Click here for today's daily giveaway!

Thursday, June 30

Recycled Robot Gift Wrapping


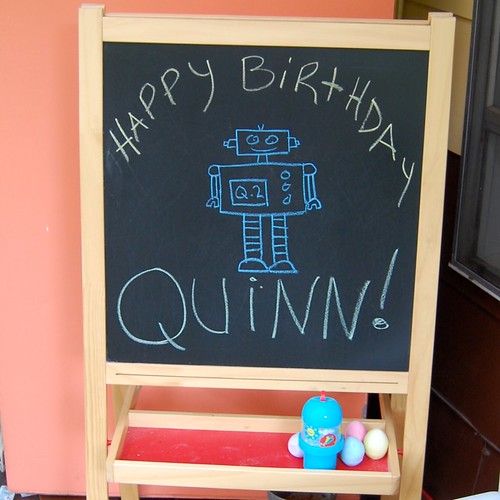
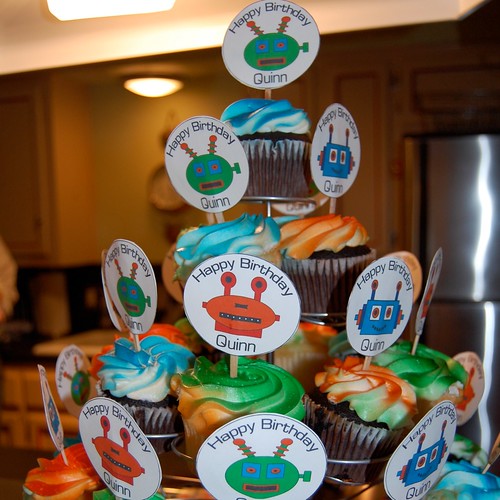
Recently we were invited to a robot themed birthday party for a 2 year old named Quinn. Never one to let a good theme pass me by, I decided to wrap my gift accordingly. Save up your old boxes, cans and toilet paper rolls and you can make your own.


SUPPLIES
1 Large box for body and to put gift inside
1 Small box for the head
Aleene's Tacky Glue
Scissors
Black Paper
Crafty Chica Silver Glitter
Tin Foil
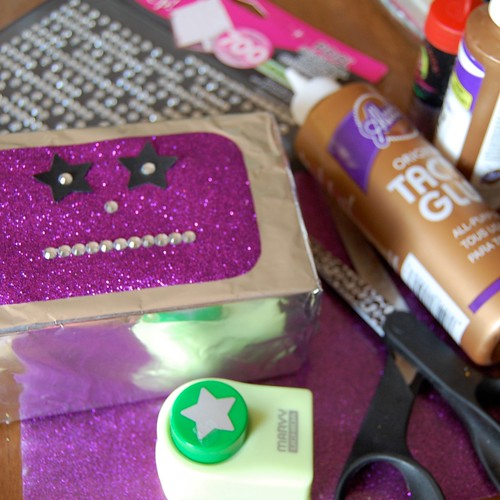
Star Punch
Tulip Fashion Glitter Shimmer Transfer Sheets
3 Wooden Knobs
2 Empty Tin Cans
Tulip Glam it Up Crystals
2 Paper Towel rolls (or toilet paper rolls) for arms
1 Small roll (mine came from a package of cinnamon rolls) for the neck
Aleene's Tacky Tape


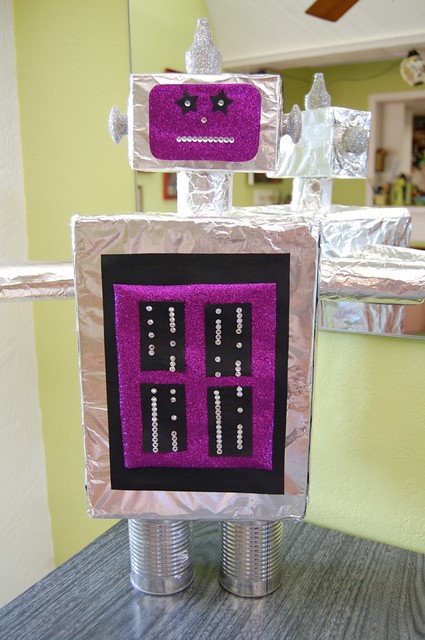
First you want to get all your robot parts ready for assembly. I wrapped the arms, body, legs and neck in tin foil. You can use tape or glue to fasten it. Be sure to put your gift inside the large box before you wrap it in foil.

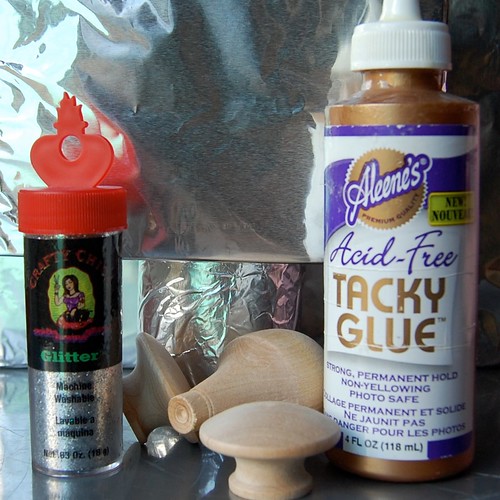
I also got my wooden knobs ready by covering them in Tacky Glue and sprinkling with Crafty Chica glitter while the glue was wet. You can find these random sized knobs in the wood aisle at your craft store. Allow them to dry completely.


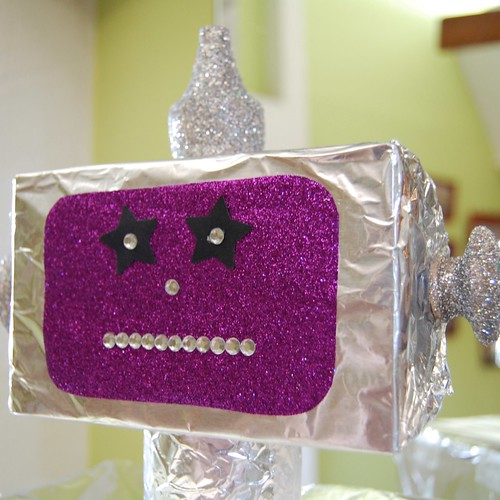
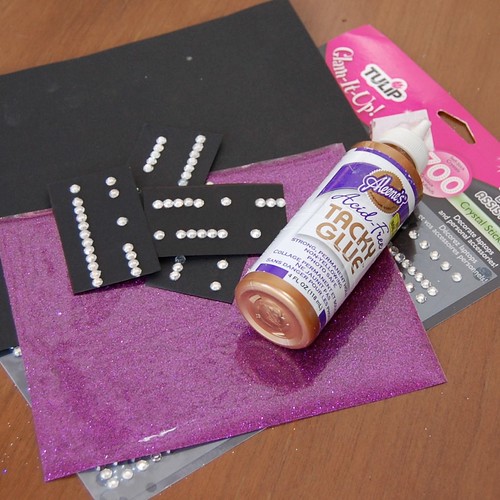
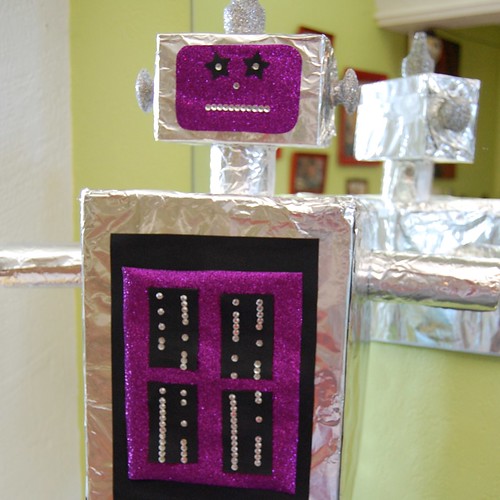
Using black construction paper, Tulip Glam it Up Crystals (which are already sticky backed) and Tulip Fashion Glitter Shimmer Sheets decorate your robot body. I cut out one large piece of purple glitter, several small black paper rectangles and then attached to my body and adorned with crystals.


Making the face is the same as the body. The design you choose is totally up to you. Once you have your face on the box using Tacky Glue add your glittered wooden knobs. I added one to each side of my robots head and one on top for good measure.


All that was left to do was glue everything in place. I used a hot glue gun/tacky glue combo. The hot glue allowed everything like arms and tin can legs to adhere quickly. Once the glue cooled I went over it with Tacky Glue to make sure it would all stay in place.


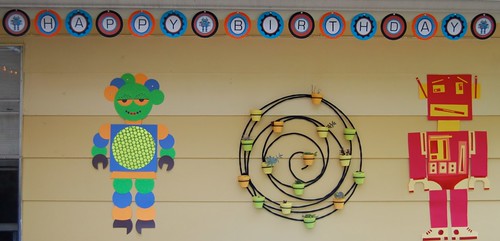
Our wrapped up robot fit right in with all the other bots about. Tune in next week for Robot Party Part2. Also want to make more recycled robots? Check out this project. Looking for more wrapping paper options? How about a wrapped lamp shade, cassette tape gift bow, customized ice cream carton, wrapagami, gift wrap trends, vintage wrapping paper and wrapped gift hula hoop wreath.


Visit us on Facebook!
Craft on! Click here for today's daily giveaway!
Clicky Web Analytics
Pin It button on image hover

Subscribe to our newsletter

* indicates required
I am interested in products and inspiration for...
Close