Showing posts with label beading. Show all posts

Monday, June 24

Jewel Loom Flower Bling Ring


Making beaded rings is fun and easy on my NEW Jewel Loom but the "Glue" holding the bling is the real MAJIC! Aleene's Jewelry & Metal Glue is not only the BEST but it holds really really well! 
Materials needed include: 
Beadalon Wild Fire .15 
Size 6/0 Toho Seed Beads 
Decorative Buttons (if buttons have shanks you will need a pair of wire cutters to remove them) 
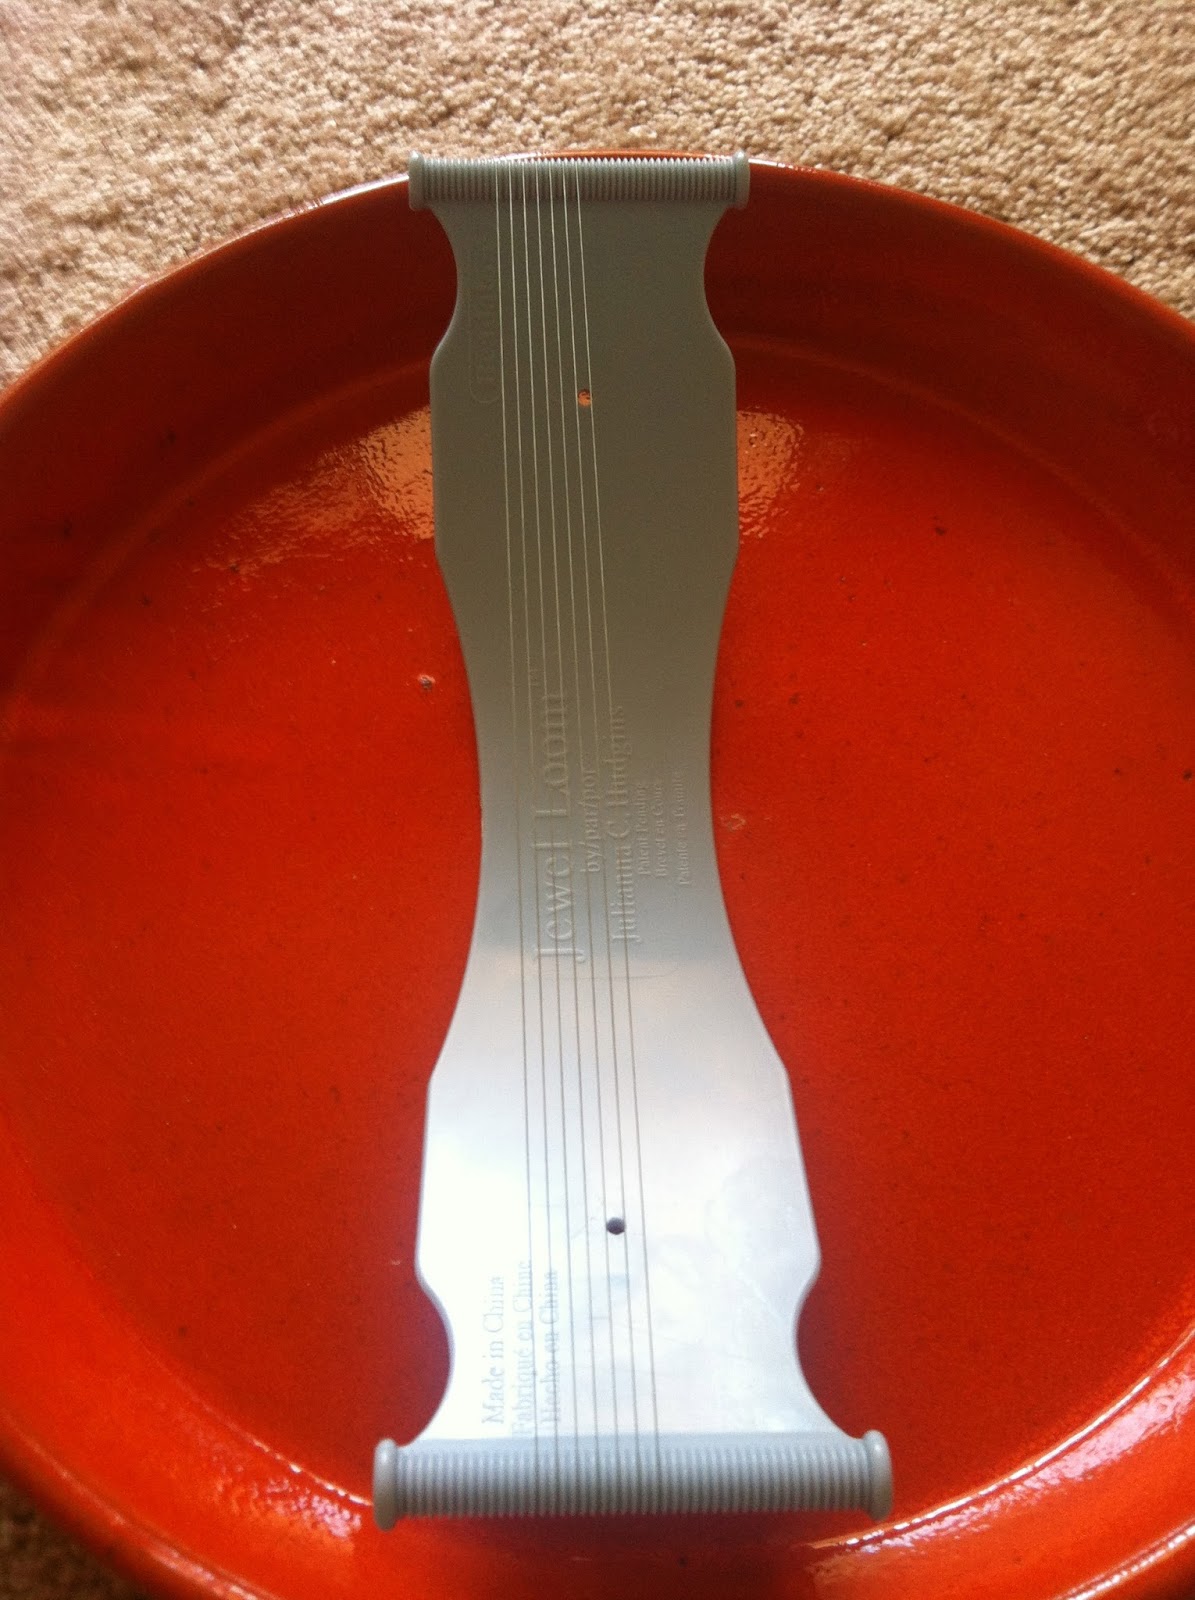
Set up the Jewel Loom with 7 Warp Threads following the Warp Set Up instructions included in the kit. 
Measure your finger of choice with a sewing tape measure and build base of ring according to length. My ring was 2.5inches long 
When base is finished thread needle up one row and back through bottom row at least 3 times. This will lock in rows so they do not slide once they are cute off of warp threads. Continue weaving through base of ring until you reach the top and repeat weaving through top two rows to secure as you did on bottom rows. Make sure that needle and thread are all the way too the top. Do not cut off, leave needle and thread attached to ring. 
I love working on the Jewel Loom because you can create multiple projects at once 
Flip Jewel Loom over and very carefully cut warp threads off the bottom and top of loom
Find the middle of warp threads and very carefully cut 
Tie Warp threads together by gathering and tying two pieces together 
Adhere Aleene's Jewelry & Metal Glue to knots let dry 
Trim excess thread above knots carefully 
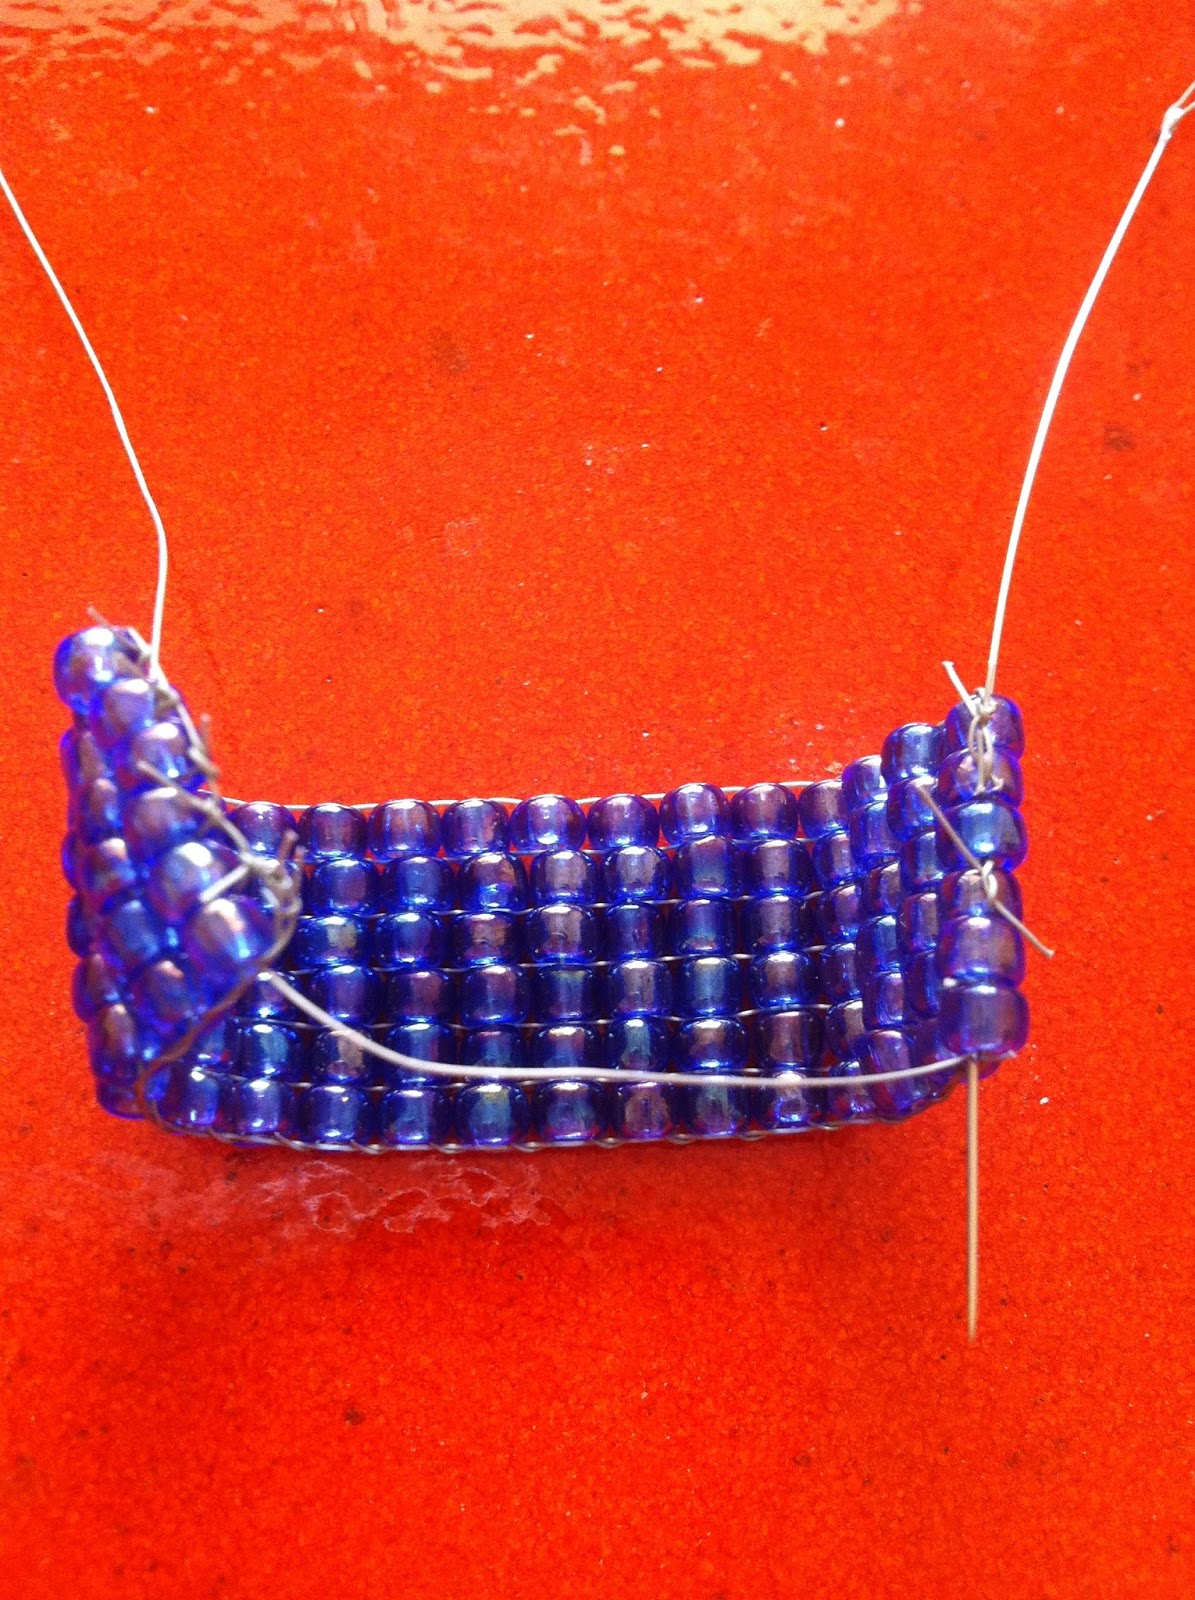
Sew bottom and top ends together with needle thread 
Using your needle tuck knots inside of beads 
Continue to stitch entire base of ring making sure that top and bottom ends are secure 
If decorative button has a shank remove it using a pair of wire cutters. Apply Aleene's Jewelry & Metal Glue to base of button and to ring where two ends meet. This will help to hide knots and to give the ring a finished look. 
Let dry and Wear! 
Super Fun & Easy! You can check out my Blog at juliannahudgins/blog Cheers, Jewels 

Wednesday, March 14

iLoveToCreate Teen Crafts: Teen Stenciled Napkin with Jelly Bean Ring

Visit us on Facebook!
Craft on!

iLoveToCreate Teen Crafts
Peeps Stenciled Napkin with Jelly Bean Ring
Margot Potter for Avalon Potter!

Avalon is on Spring Break and alas she caught a cold.  I stepped in to make this easy peasy stenciled napkin and beaded ring.  I used cardboard to make the stencil, but it's very important to wipe off the excess seepage under the stencil between each use on all four corners.  If you can find 'freezer paper' it makes a much cleaner and easier to use stencil.  We LOVE Peeps around here, this is my third Peeps themed Easter craft!  I had to buy a few boxes for research purposes, but keeping them from being devoured was quite a feat!

Step away from the Peeps.

Tulip Soft fabric paints and Crafty Chica glitter make quick and easy work of this design and the Glam-it-up metallic crystals are perfection for eyes.  Use Aleene's Jewelry Glue to secure the knot on your napkin rings.  This is a great way to get teens off of their cell phones and doing something fun.  Make some coordinating place mats and you'll have a delightfully cheerful Easter table.

Materials
Fabric Napkin
Thicker cardboard for stencil (thicker than a cereal box, but not too thick!)
Chunky colorful beads to make a 4" ring
Tulip Soft Paint in Petal Pink
Crafty Chica glitter in Frida's Fuchsia
Tulip Glam it Up metallic crystals in black (2 for each rabbit)
.8mm clear elastic cord (I used Elasticity)
Aleene's Turbo Tacky Glue 
Aleene's Metal and Jewelry Glue


Tools
Chain nose pliers
Paint pouncer
Craft knife
Fine tip marker


Wash napkins to remove sizing.  Iron to remove wrinkles.  I freehand drew the rabbit, it's very simple.  He should be about 2-3" tall.  You want him to fit the corner of your napkin.  If you need a guide, try using an actual Peep for reference, this also allows you a snack while waiting for the paint to dry.  Use a craft knife to carefully cut the shape out and create a stencil.  Use pink paint and paint pouncer to stencil on napkin corner.  You can also opt to add rabbits along the shorter edge of your napkin, that's up to you.  Hold your pouncer straight and hold stencil firmly to prevent paint bleed.  Be sure to wipe off stencil front and back after each use.


Before rabbits are dry, pour a small amount of glitter on each rabbit, shake around for full coverage and shake off excess. Do them one at a time! The paint should be tacky enough to grab the glitter.


Add eyes using Glam it Up crystals, I use a pair of chain nose pliers to pick up crystal, dip in glue and attach to rabbits. Allow rabbits to dry before using!


Thread beads on elastic cord. Tie ends and pull tightly. Make a double overhand knot and pull tightly. Add a dab of jewelry glue to your knot and let it dry overnight.

Clicky Web Analytics
Pin It button on image hover

Subscribe to our newsletter

* indicates required
I am interested in products and inspiration for...
Close